Updated on March 17, 2026
Day 1 of 2025 Thanksgiving Trip to Tucson, Chiricahua National Monument
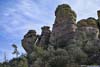
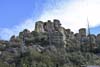
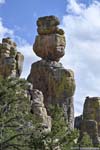
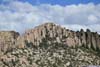
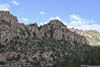
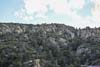
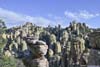
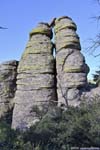
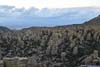
The first day of my 2025 Thanksgiving Trip to Tucson, I found myself wandering through the enchanting labyrinth of hoodoos at Chiricahua National Monument, where nature has sculpted the stone into an intricate forest of fantastical forms.
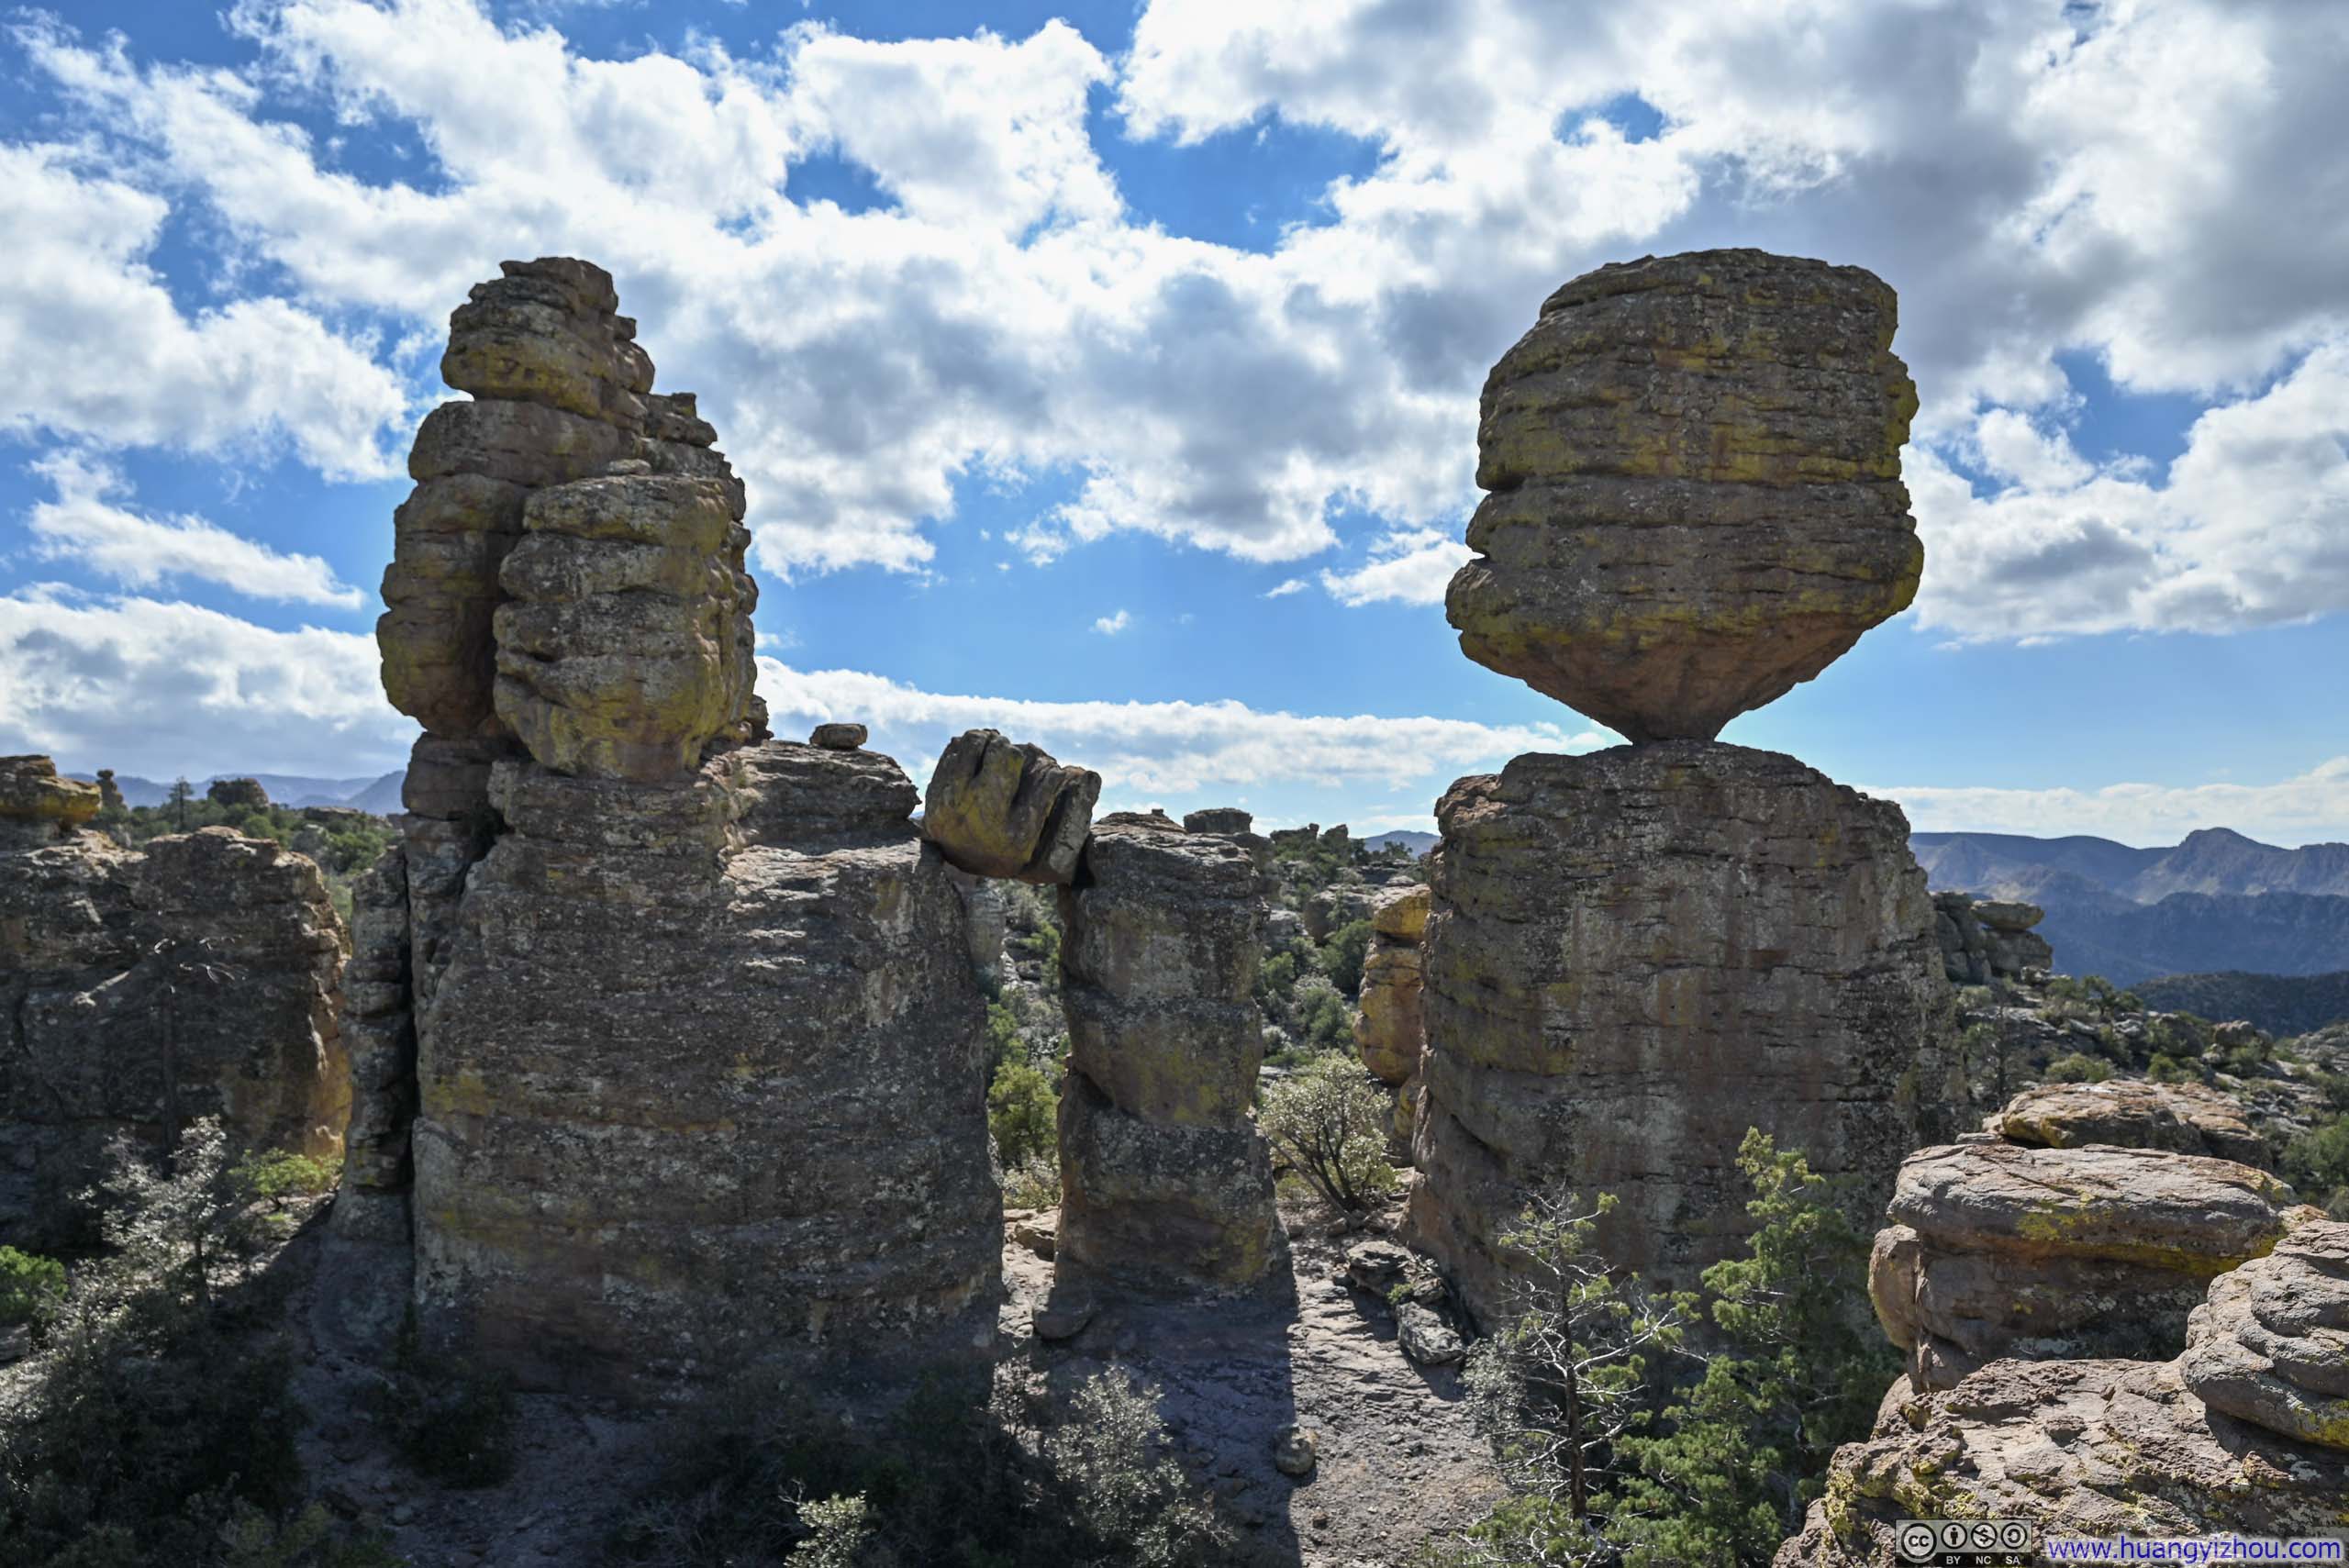
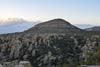
Hoodoos from Massai Point against Setting Sun
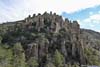
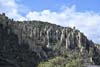
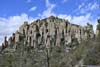
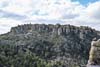
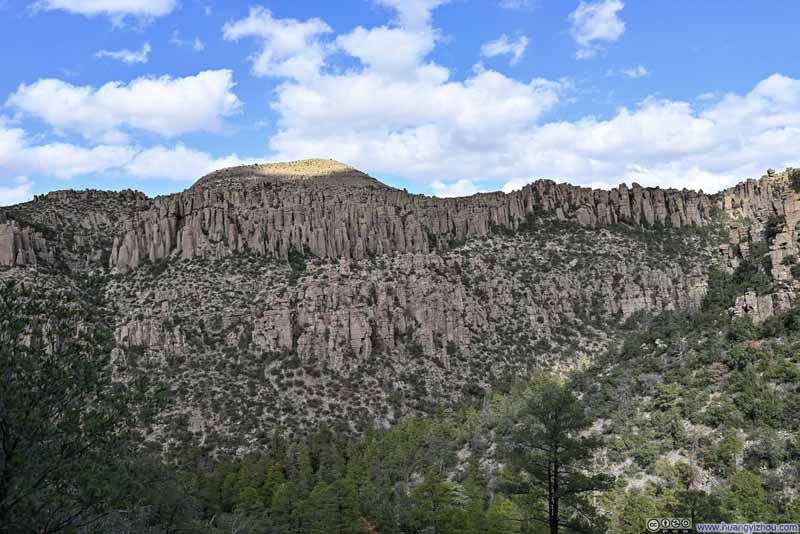
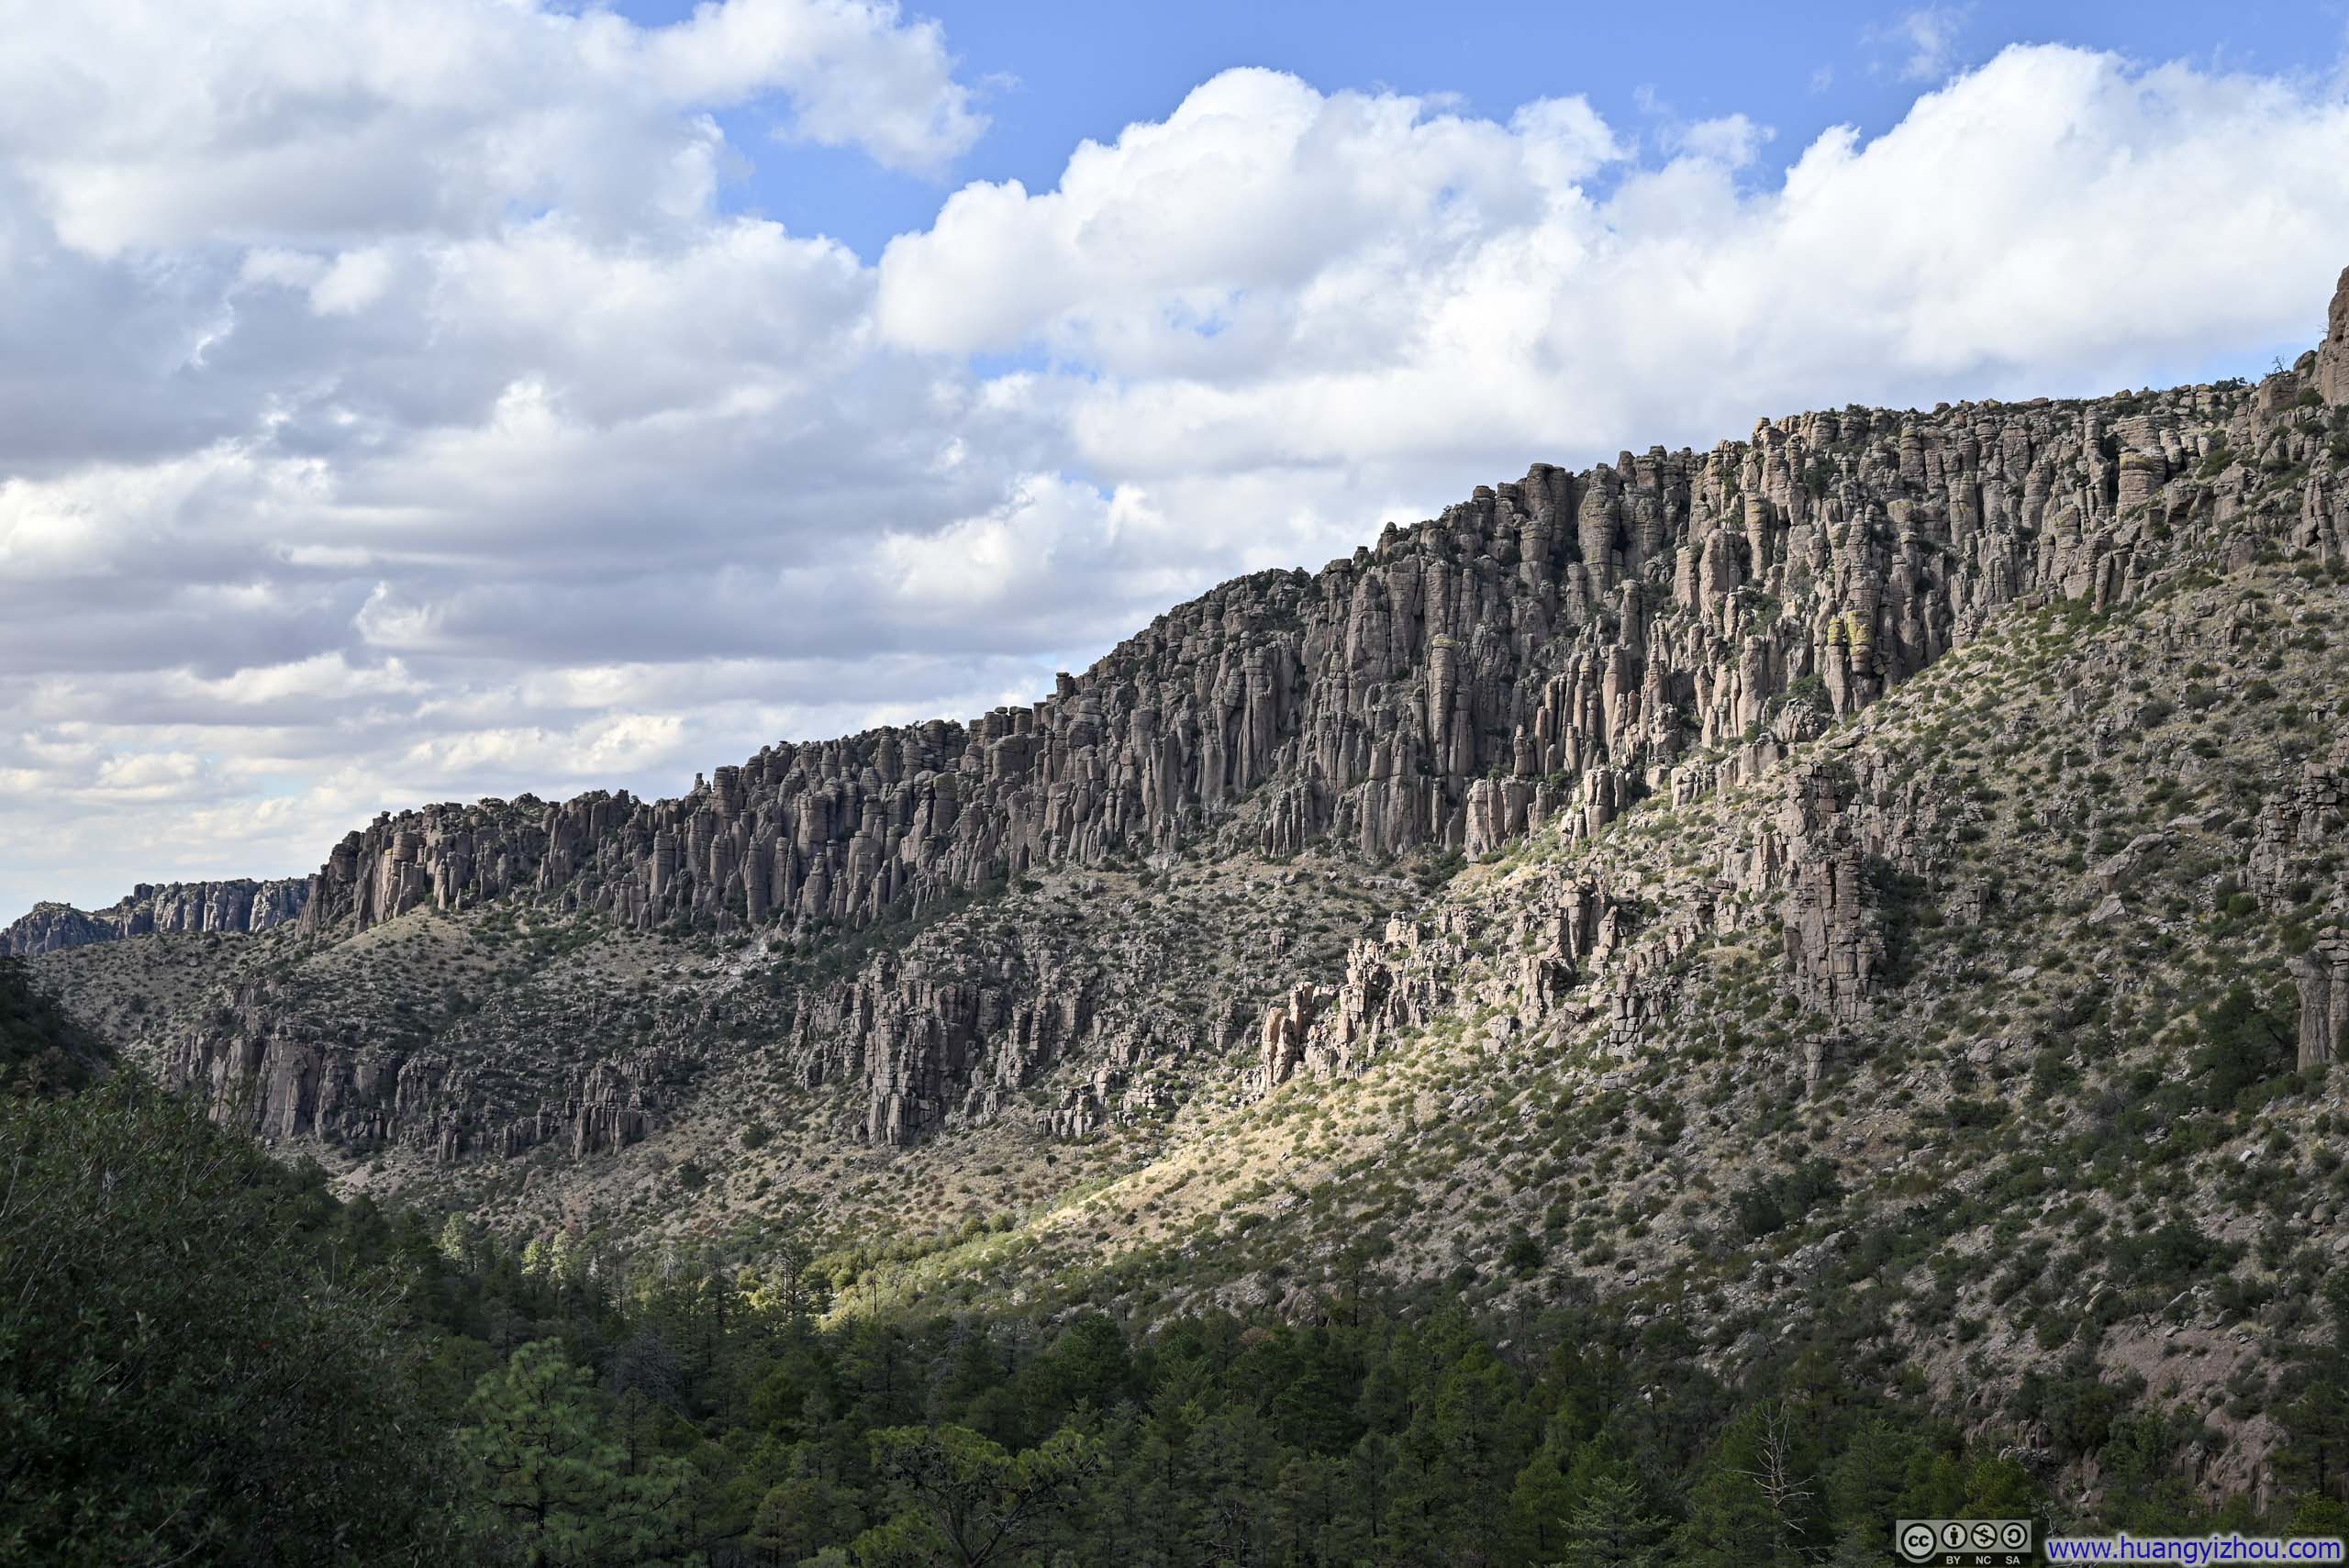
Located on the southeastern corner of Arizona, Chiricahua National Monument preserves various hoodoos and balanced rocks, as the eroded remnants of an ancient volcano eruption. Its fields of soaring stone pillars created such an exhilarating and wondrous spectacle that kept me spellbound for the entire day.
I started my day from the town of Willcox along Interstate 10, the gateway town to Chiricahua National Monument. From there, it’s an hour-long drive through the pleasant countryside into Chiricahua National Monument.
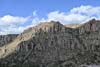
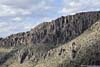
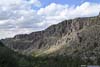
With a full day at my disposal to explore this geological wonder, I decided to tackle the Big Loop (AllTrails link), plus the spur trail to Inspiration Point. The route totaled approximately 15km with 560m of elevation gain (9.3mi/1870ft). I don’t think there’s a preferred direction for this loop, so I randomly picked the clockwise direction, and set off just before 10 o’clock in the morning.
Loop Hike in Chiricahua
Here’s GPS tracking of my hike:
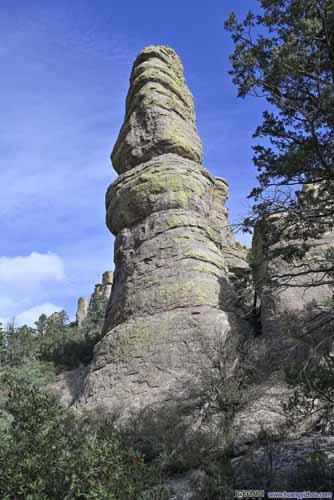
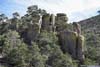
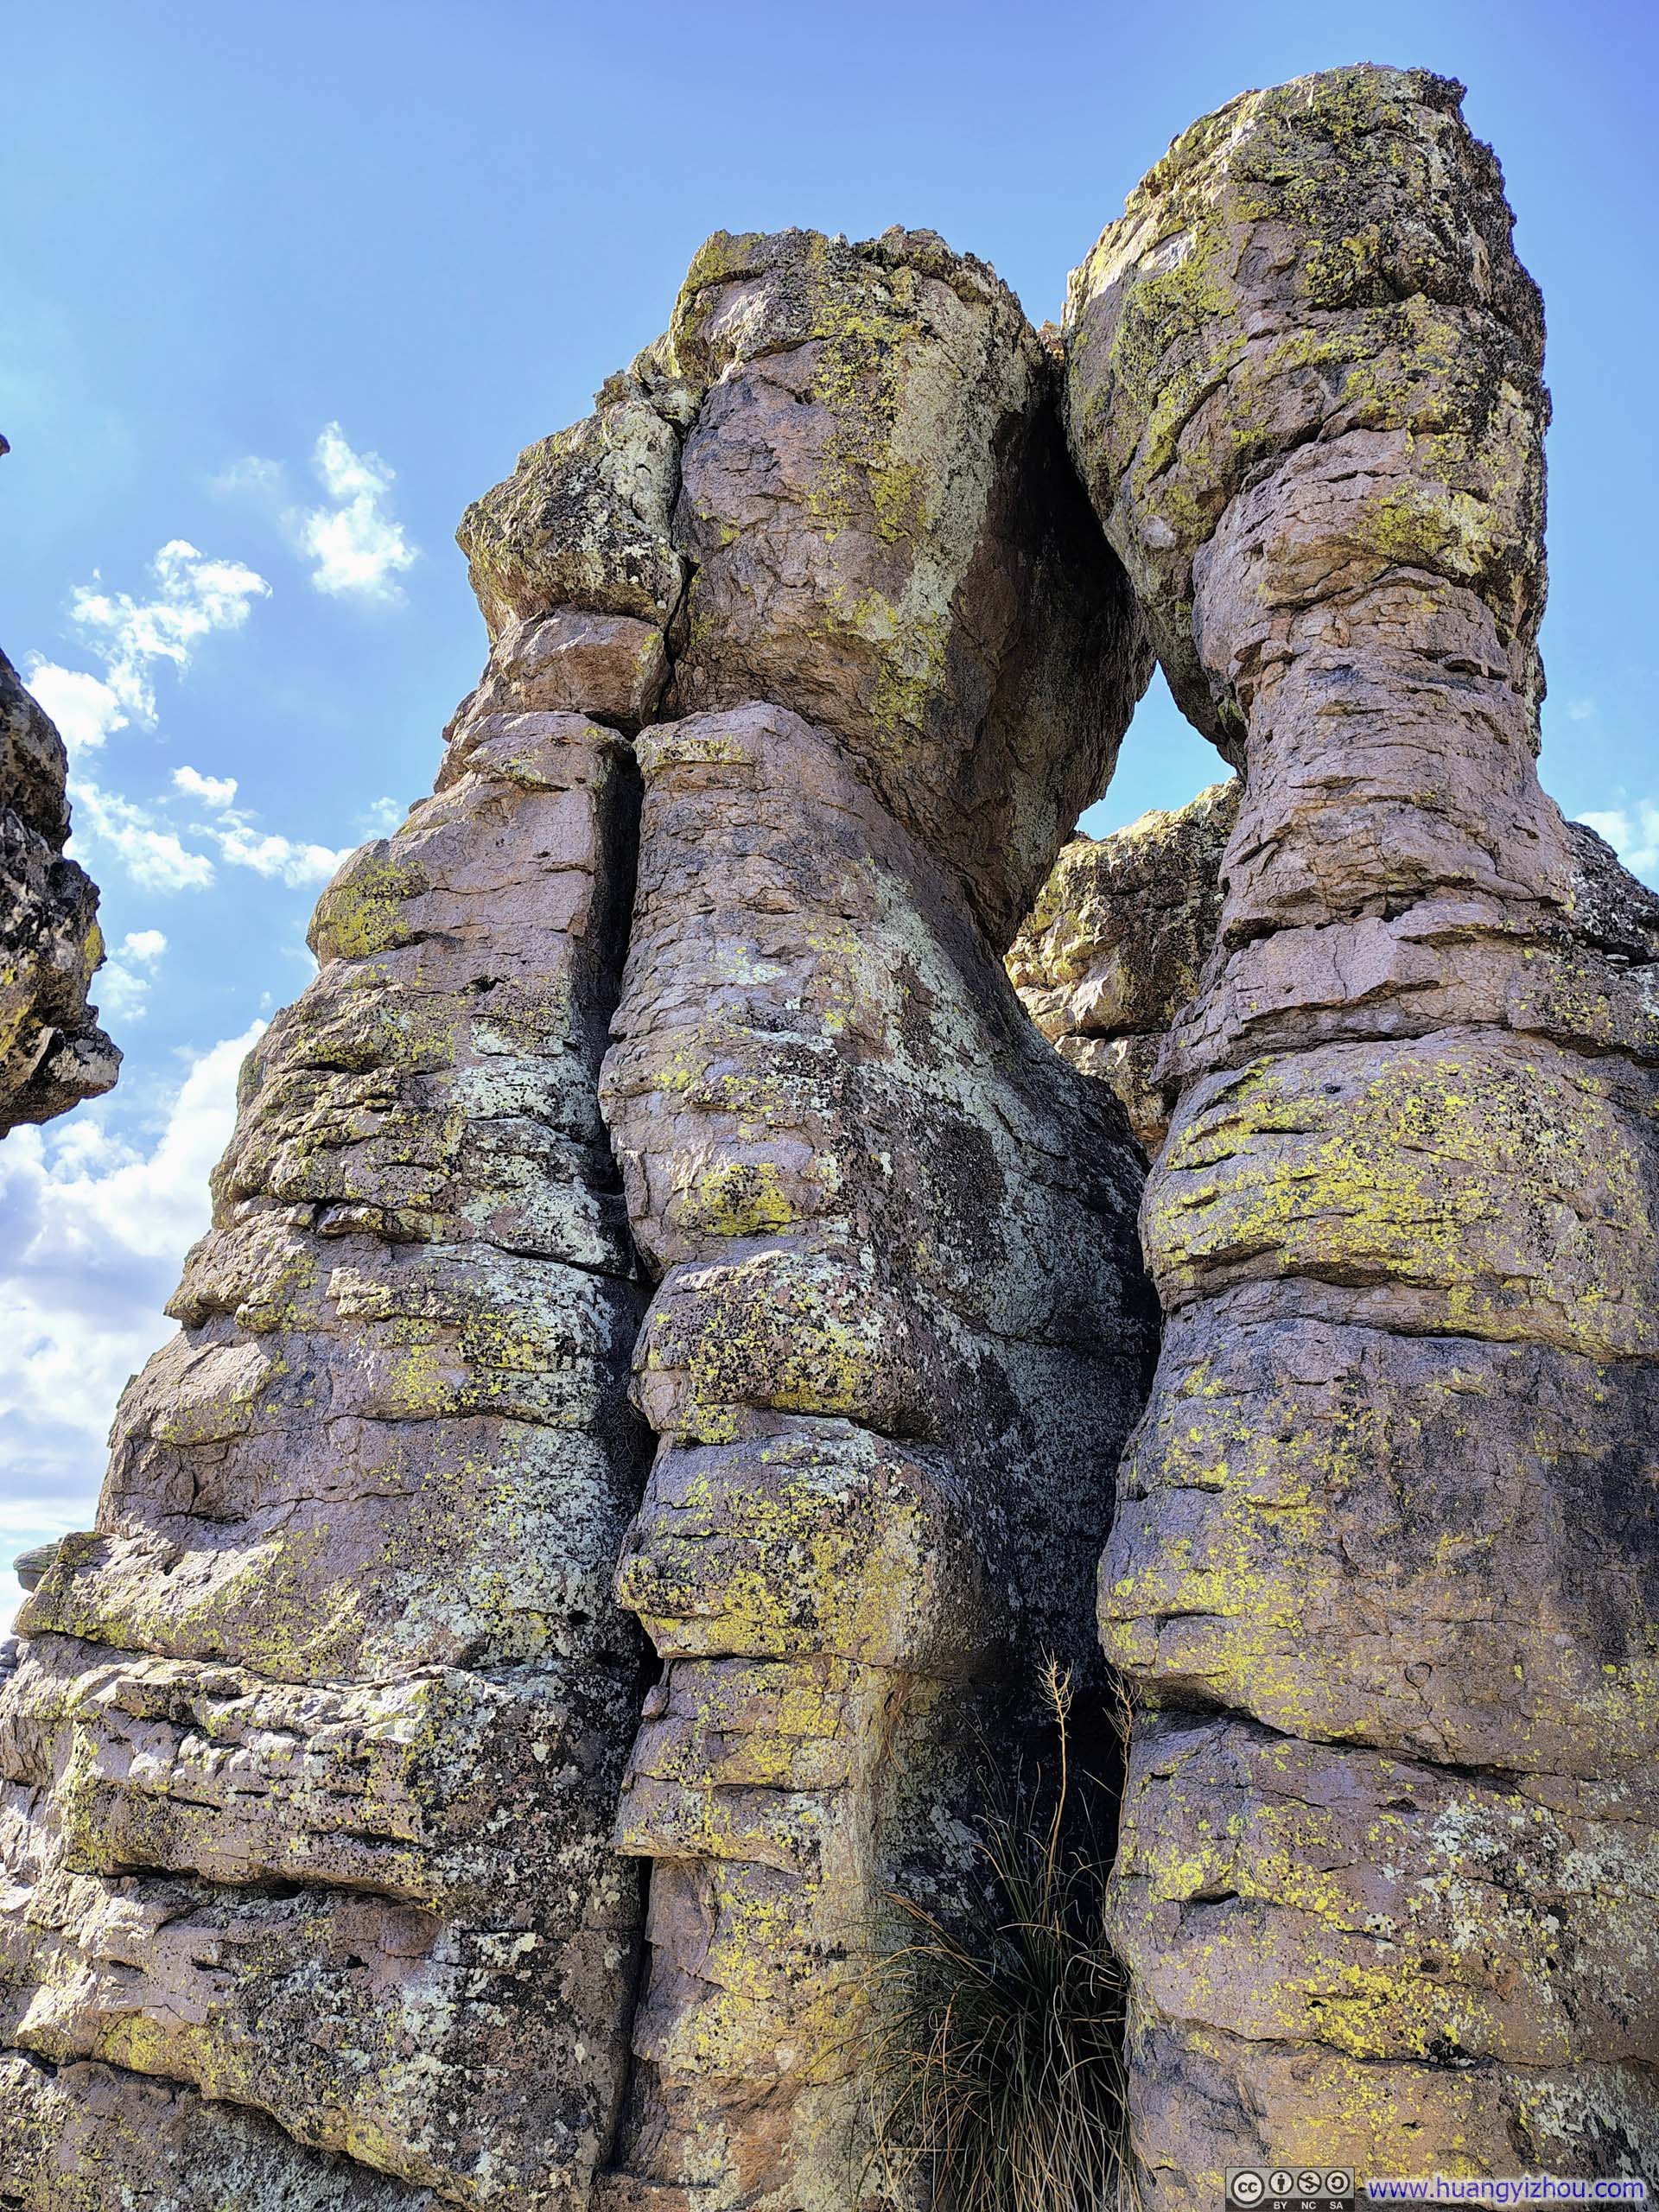
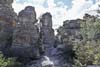
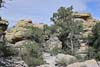
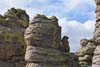
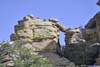
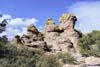
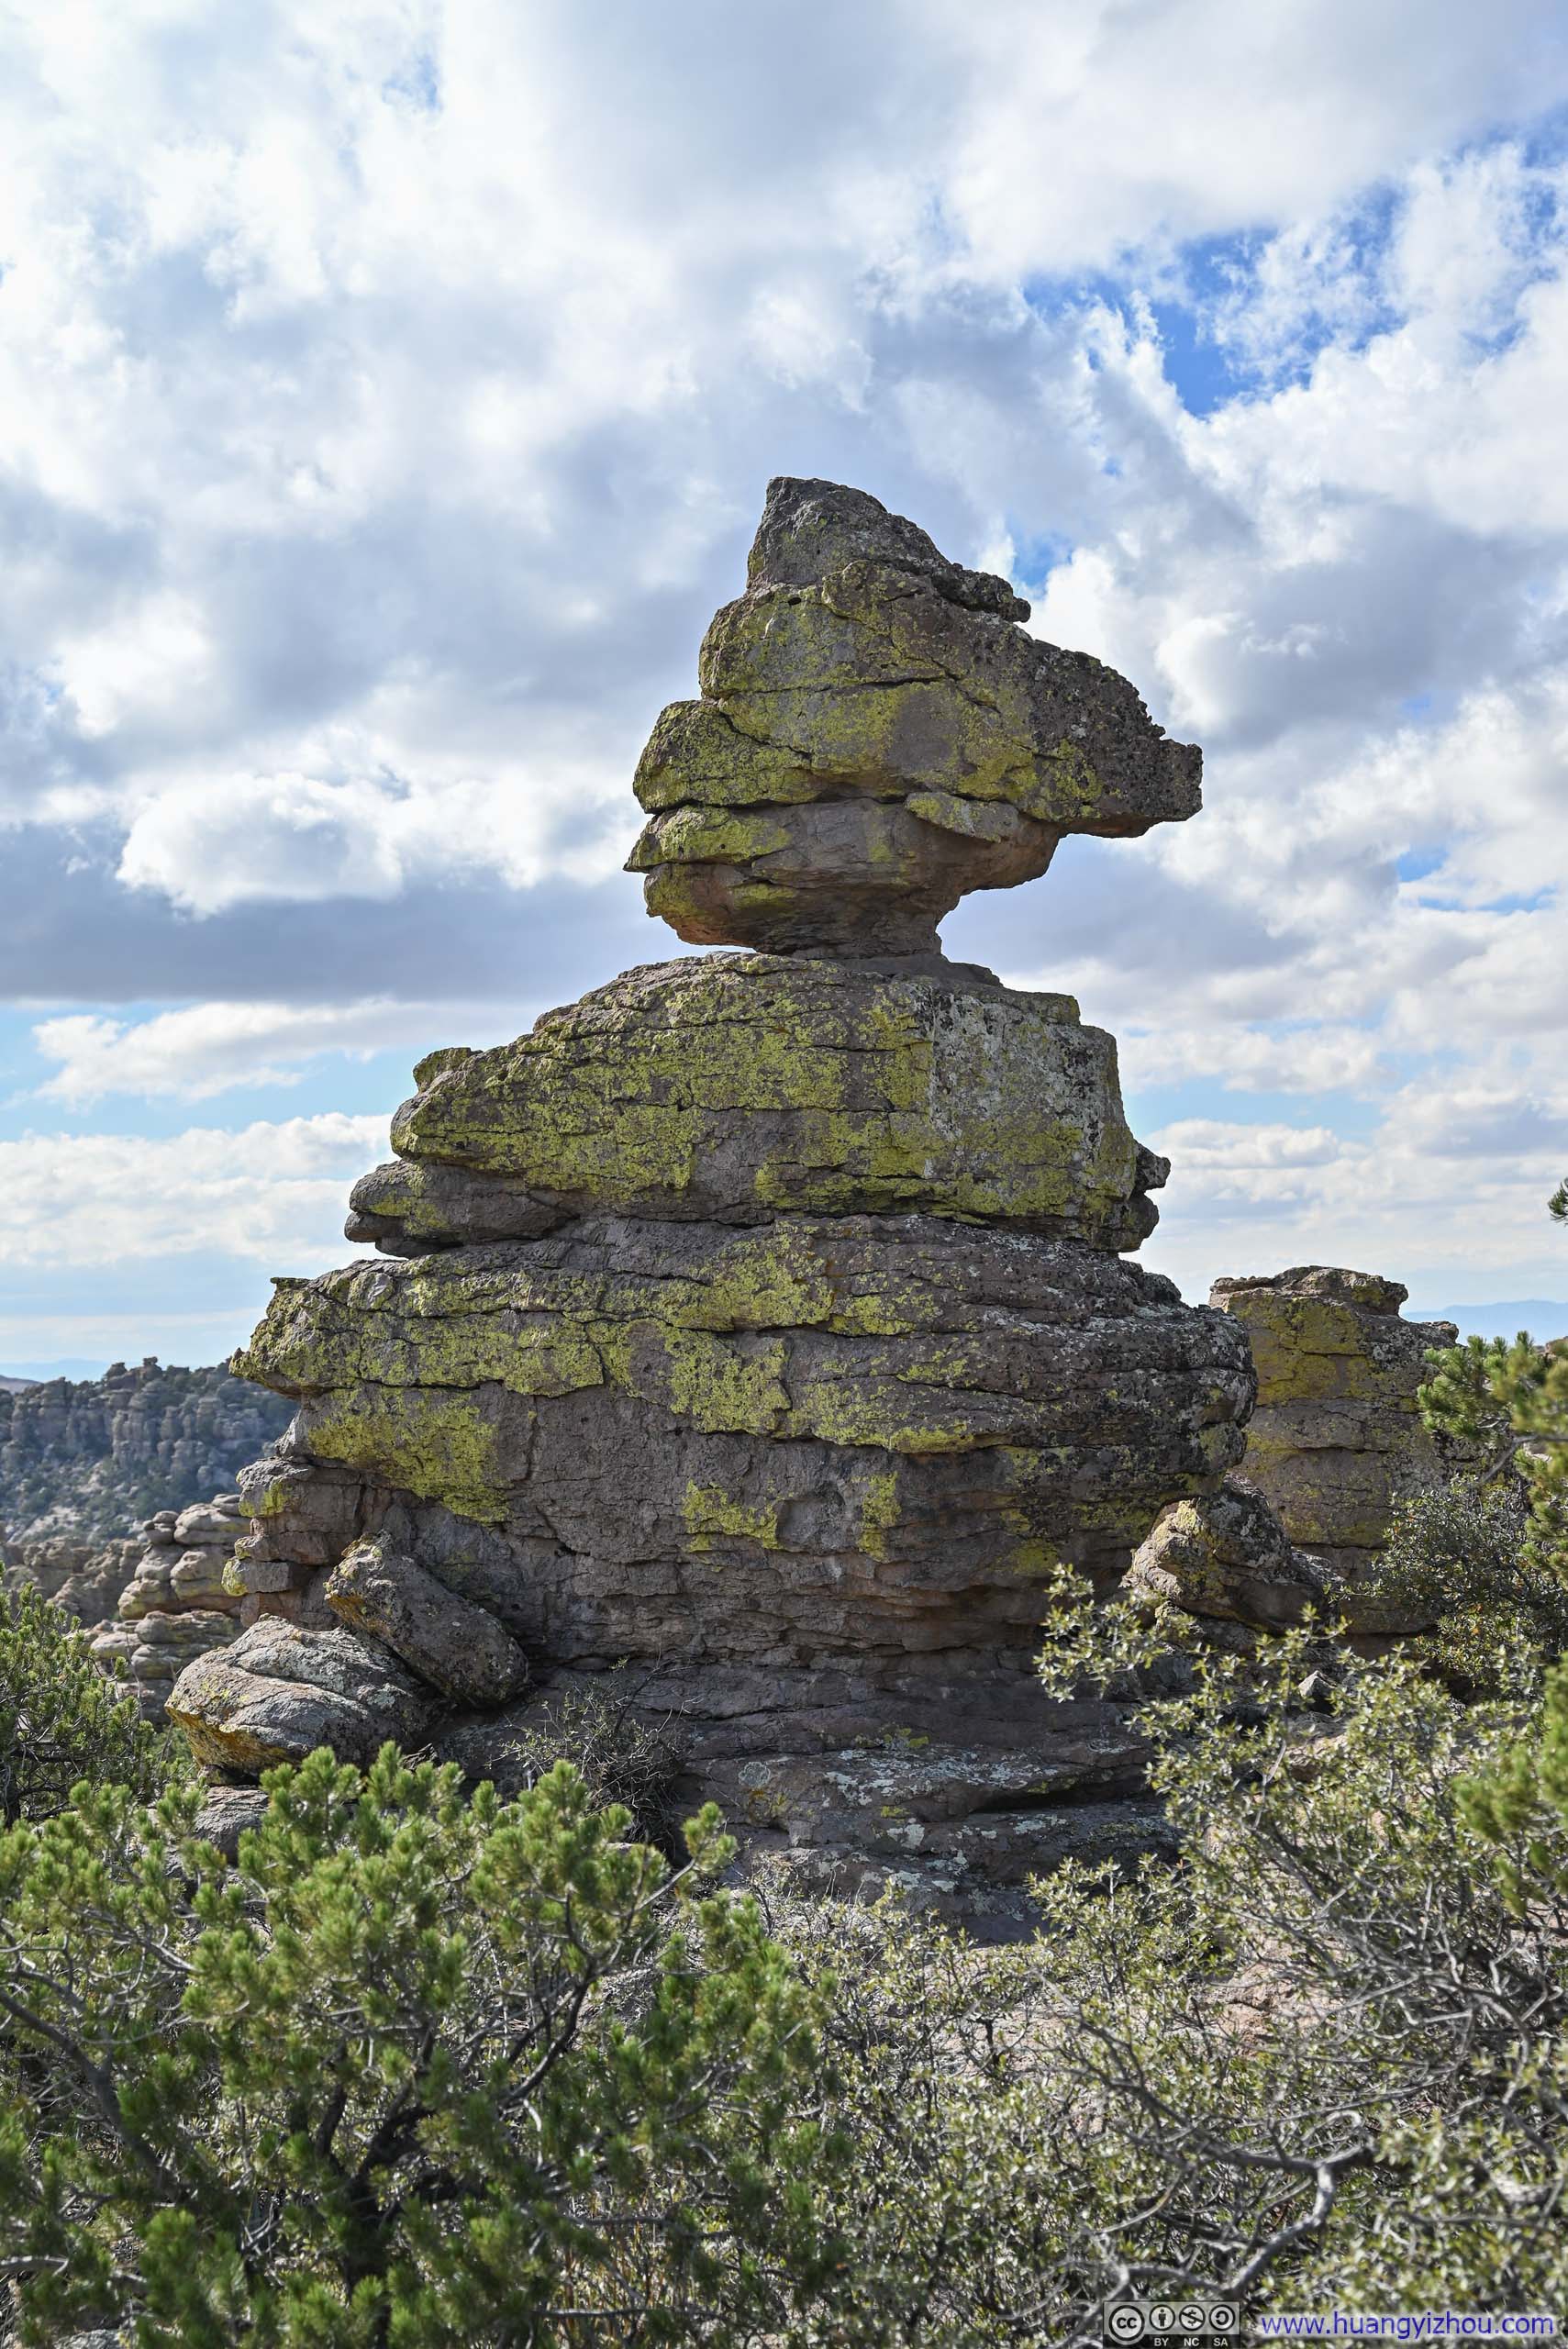
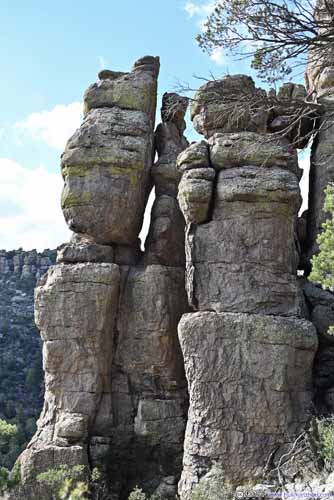
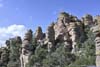
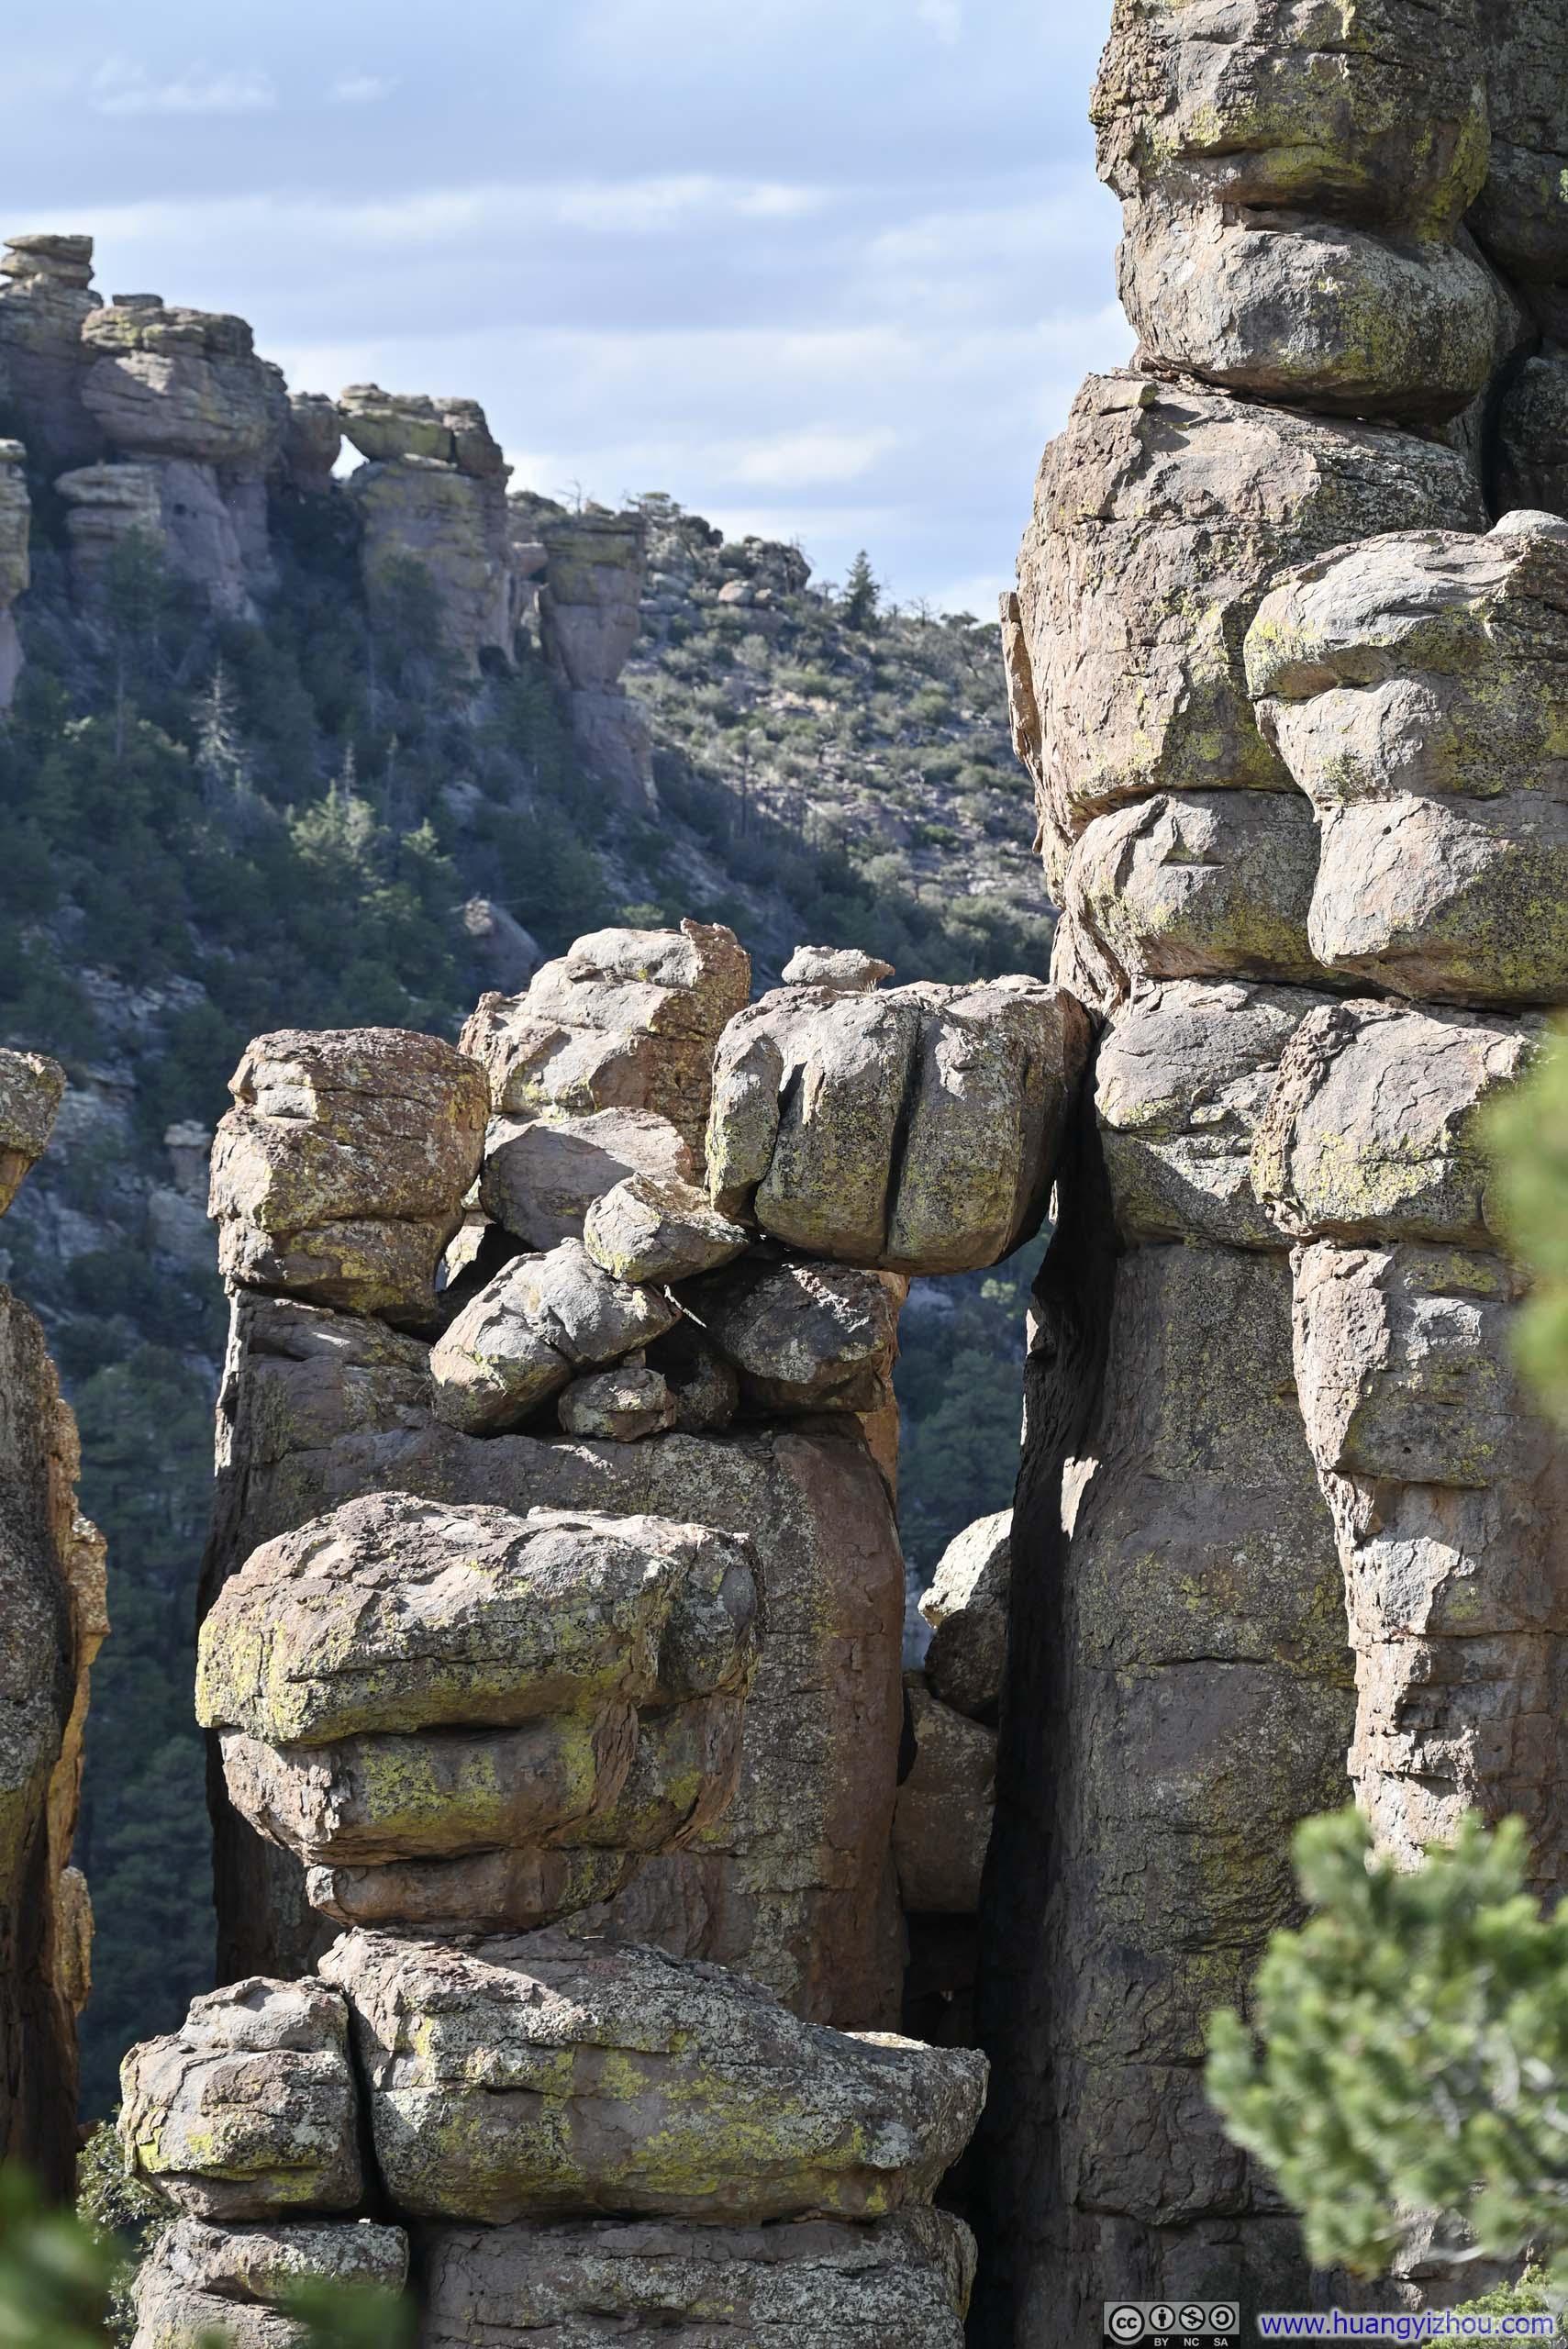
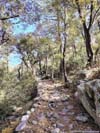
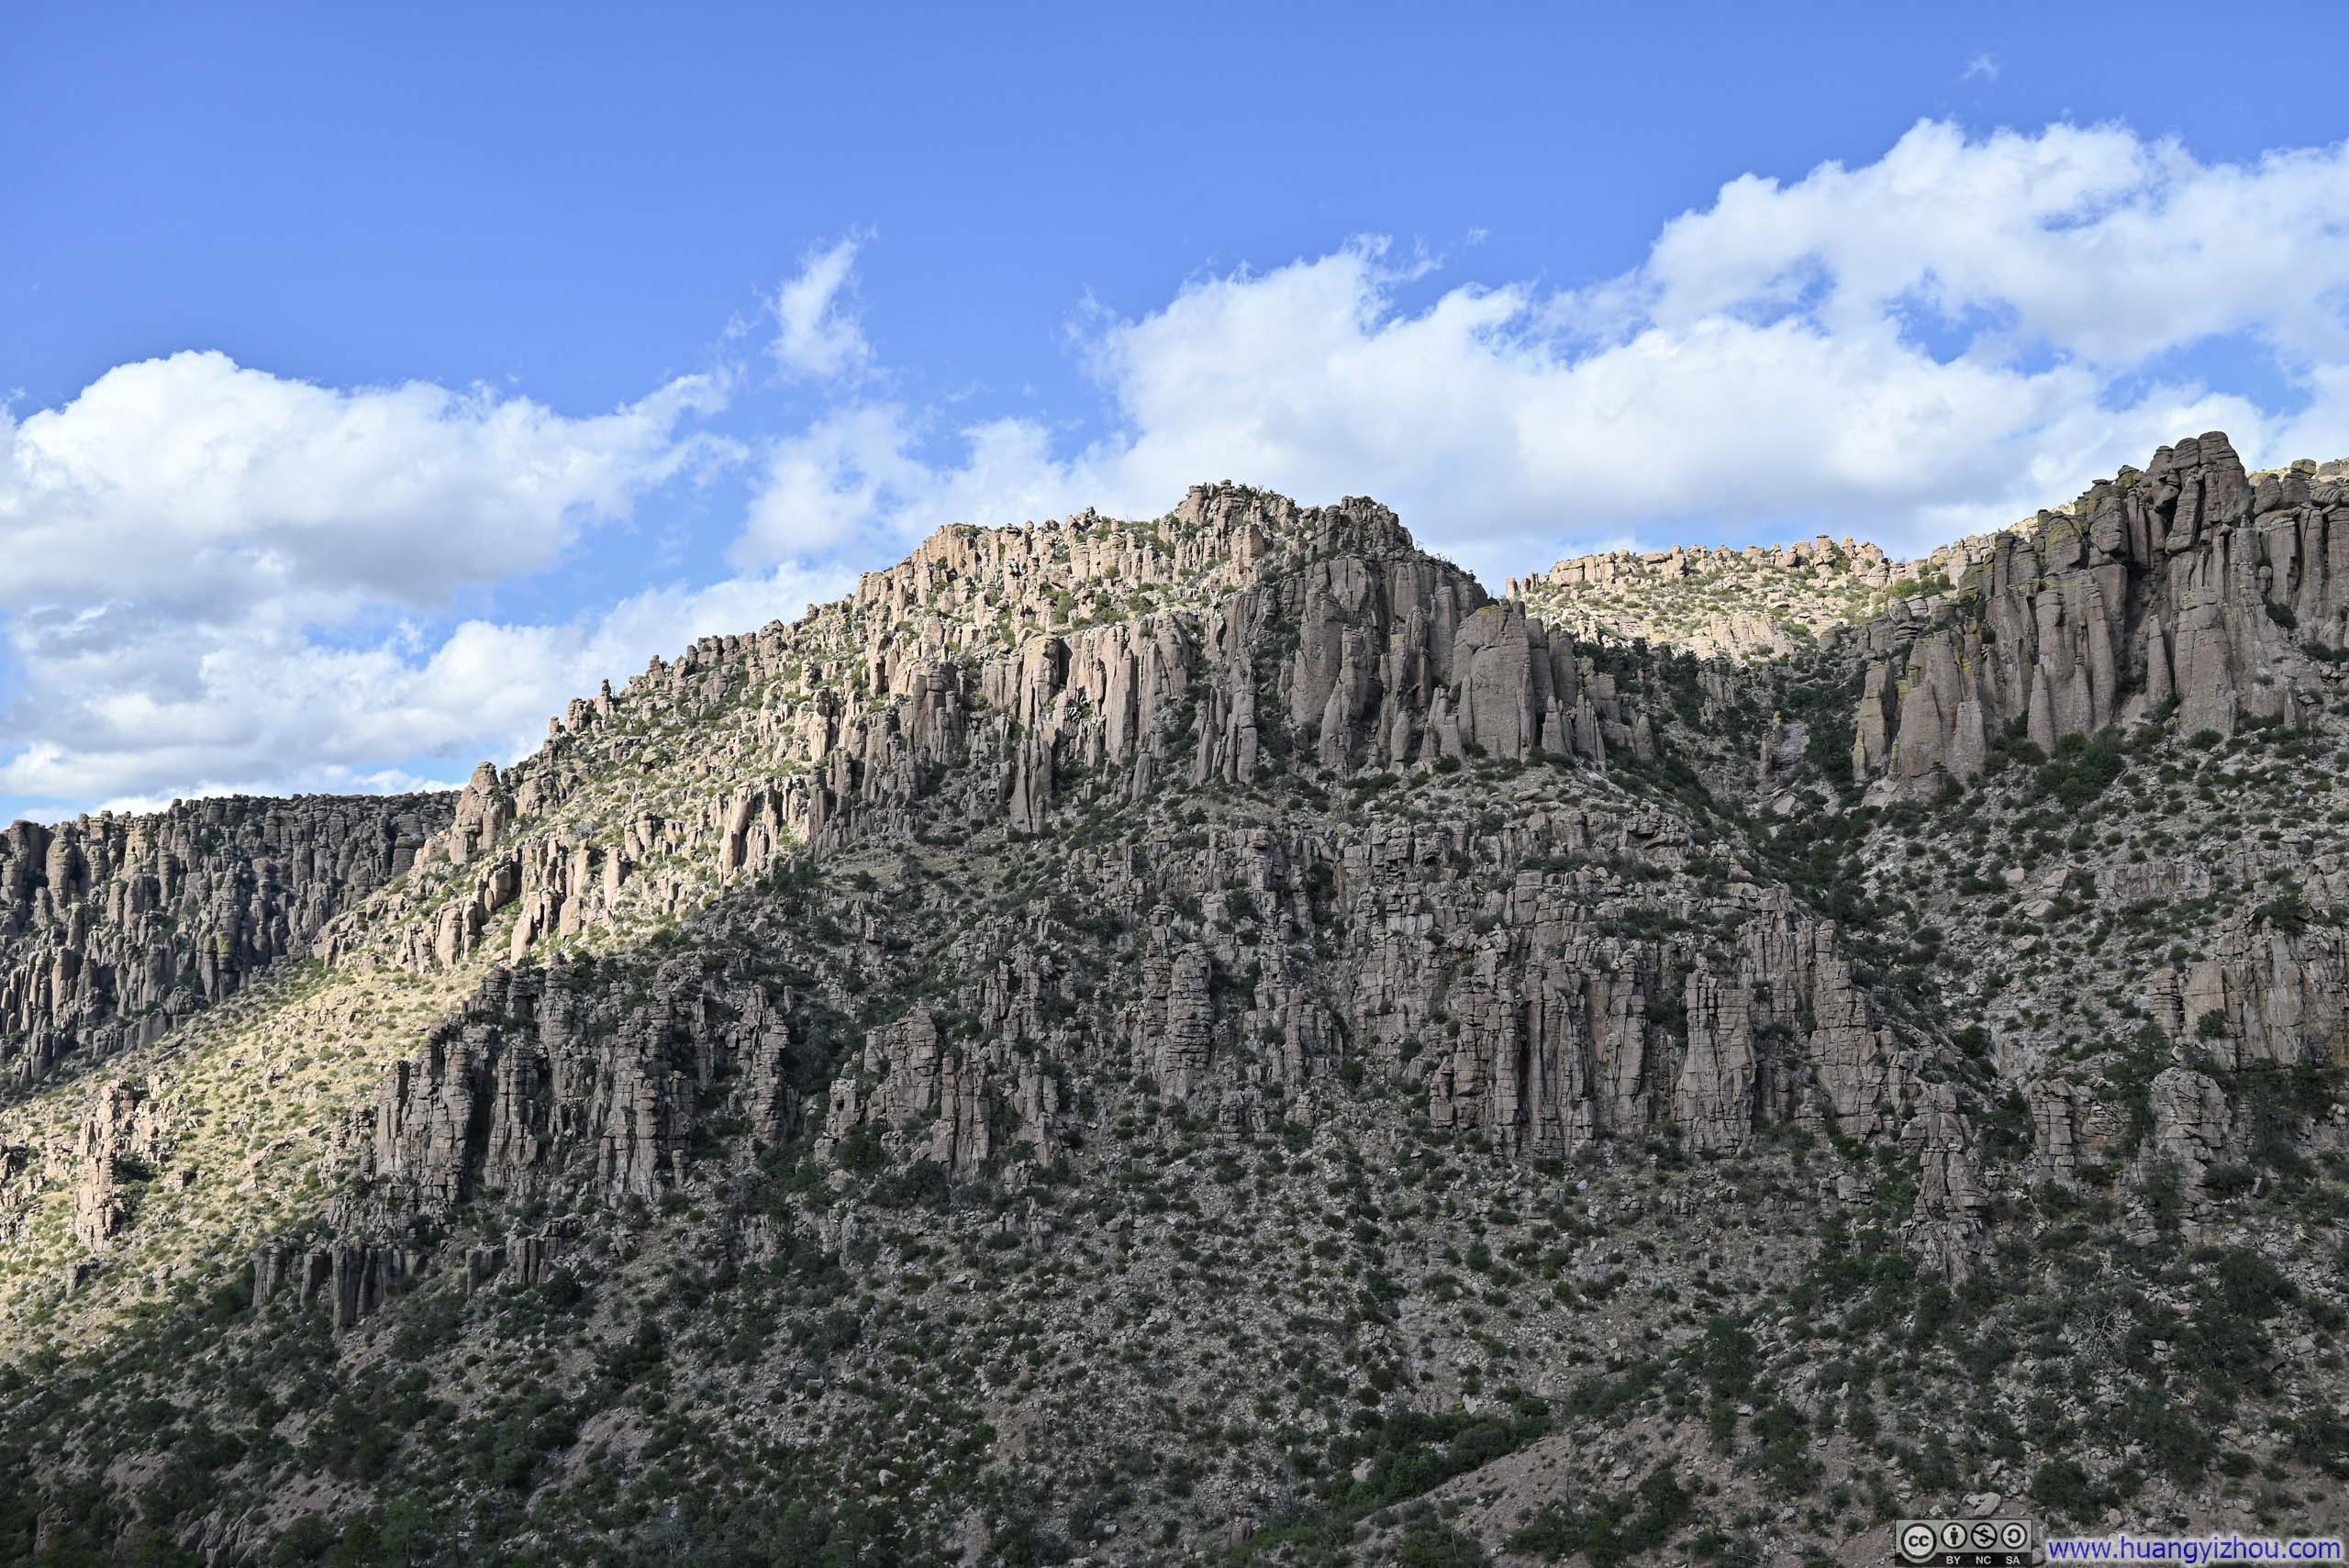
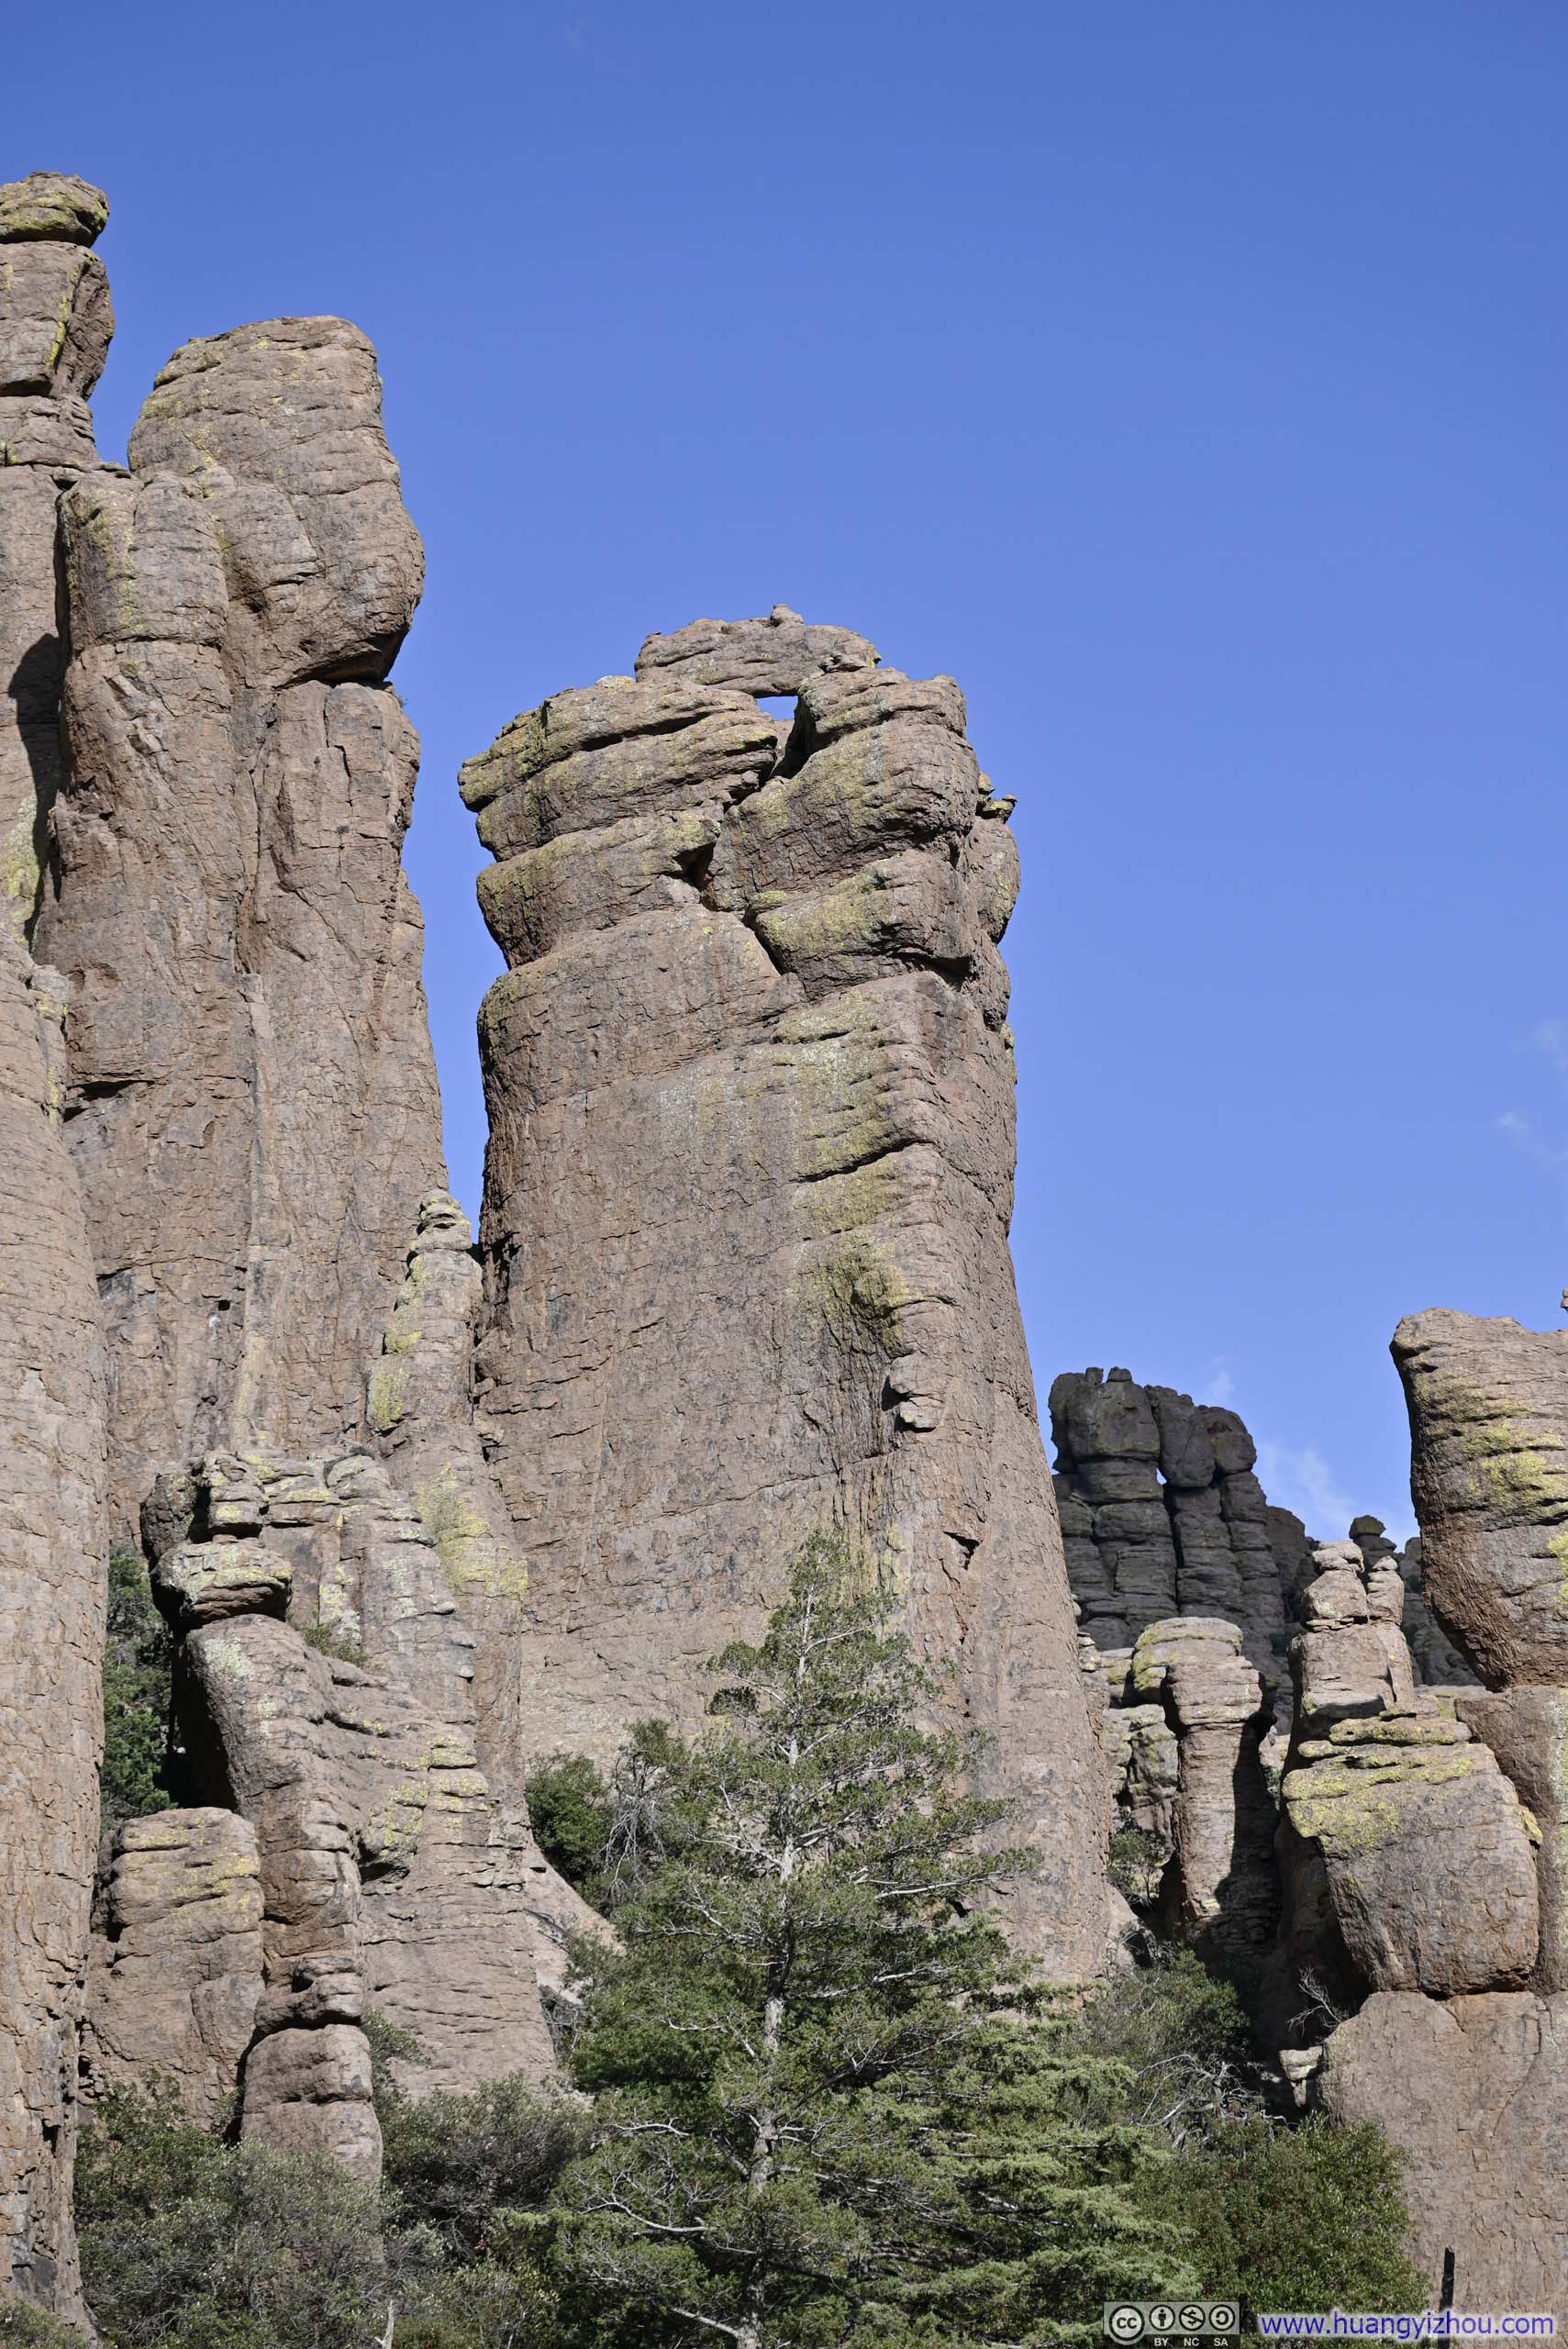
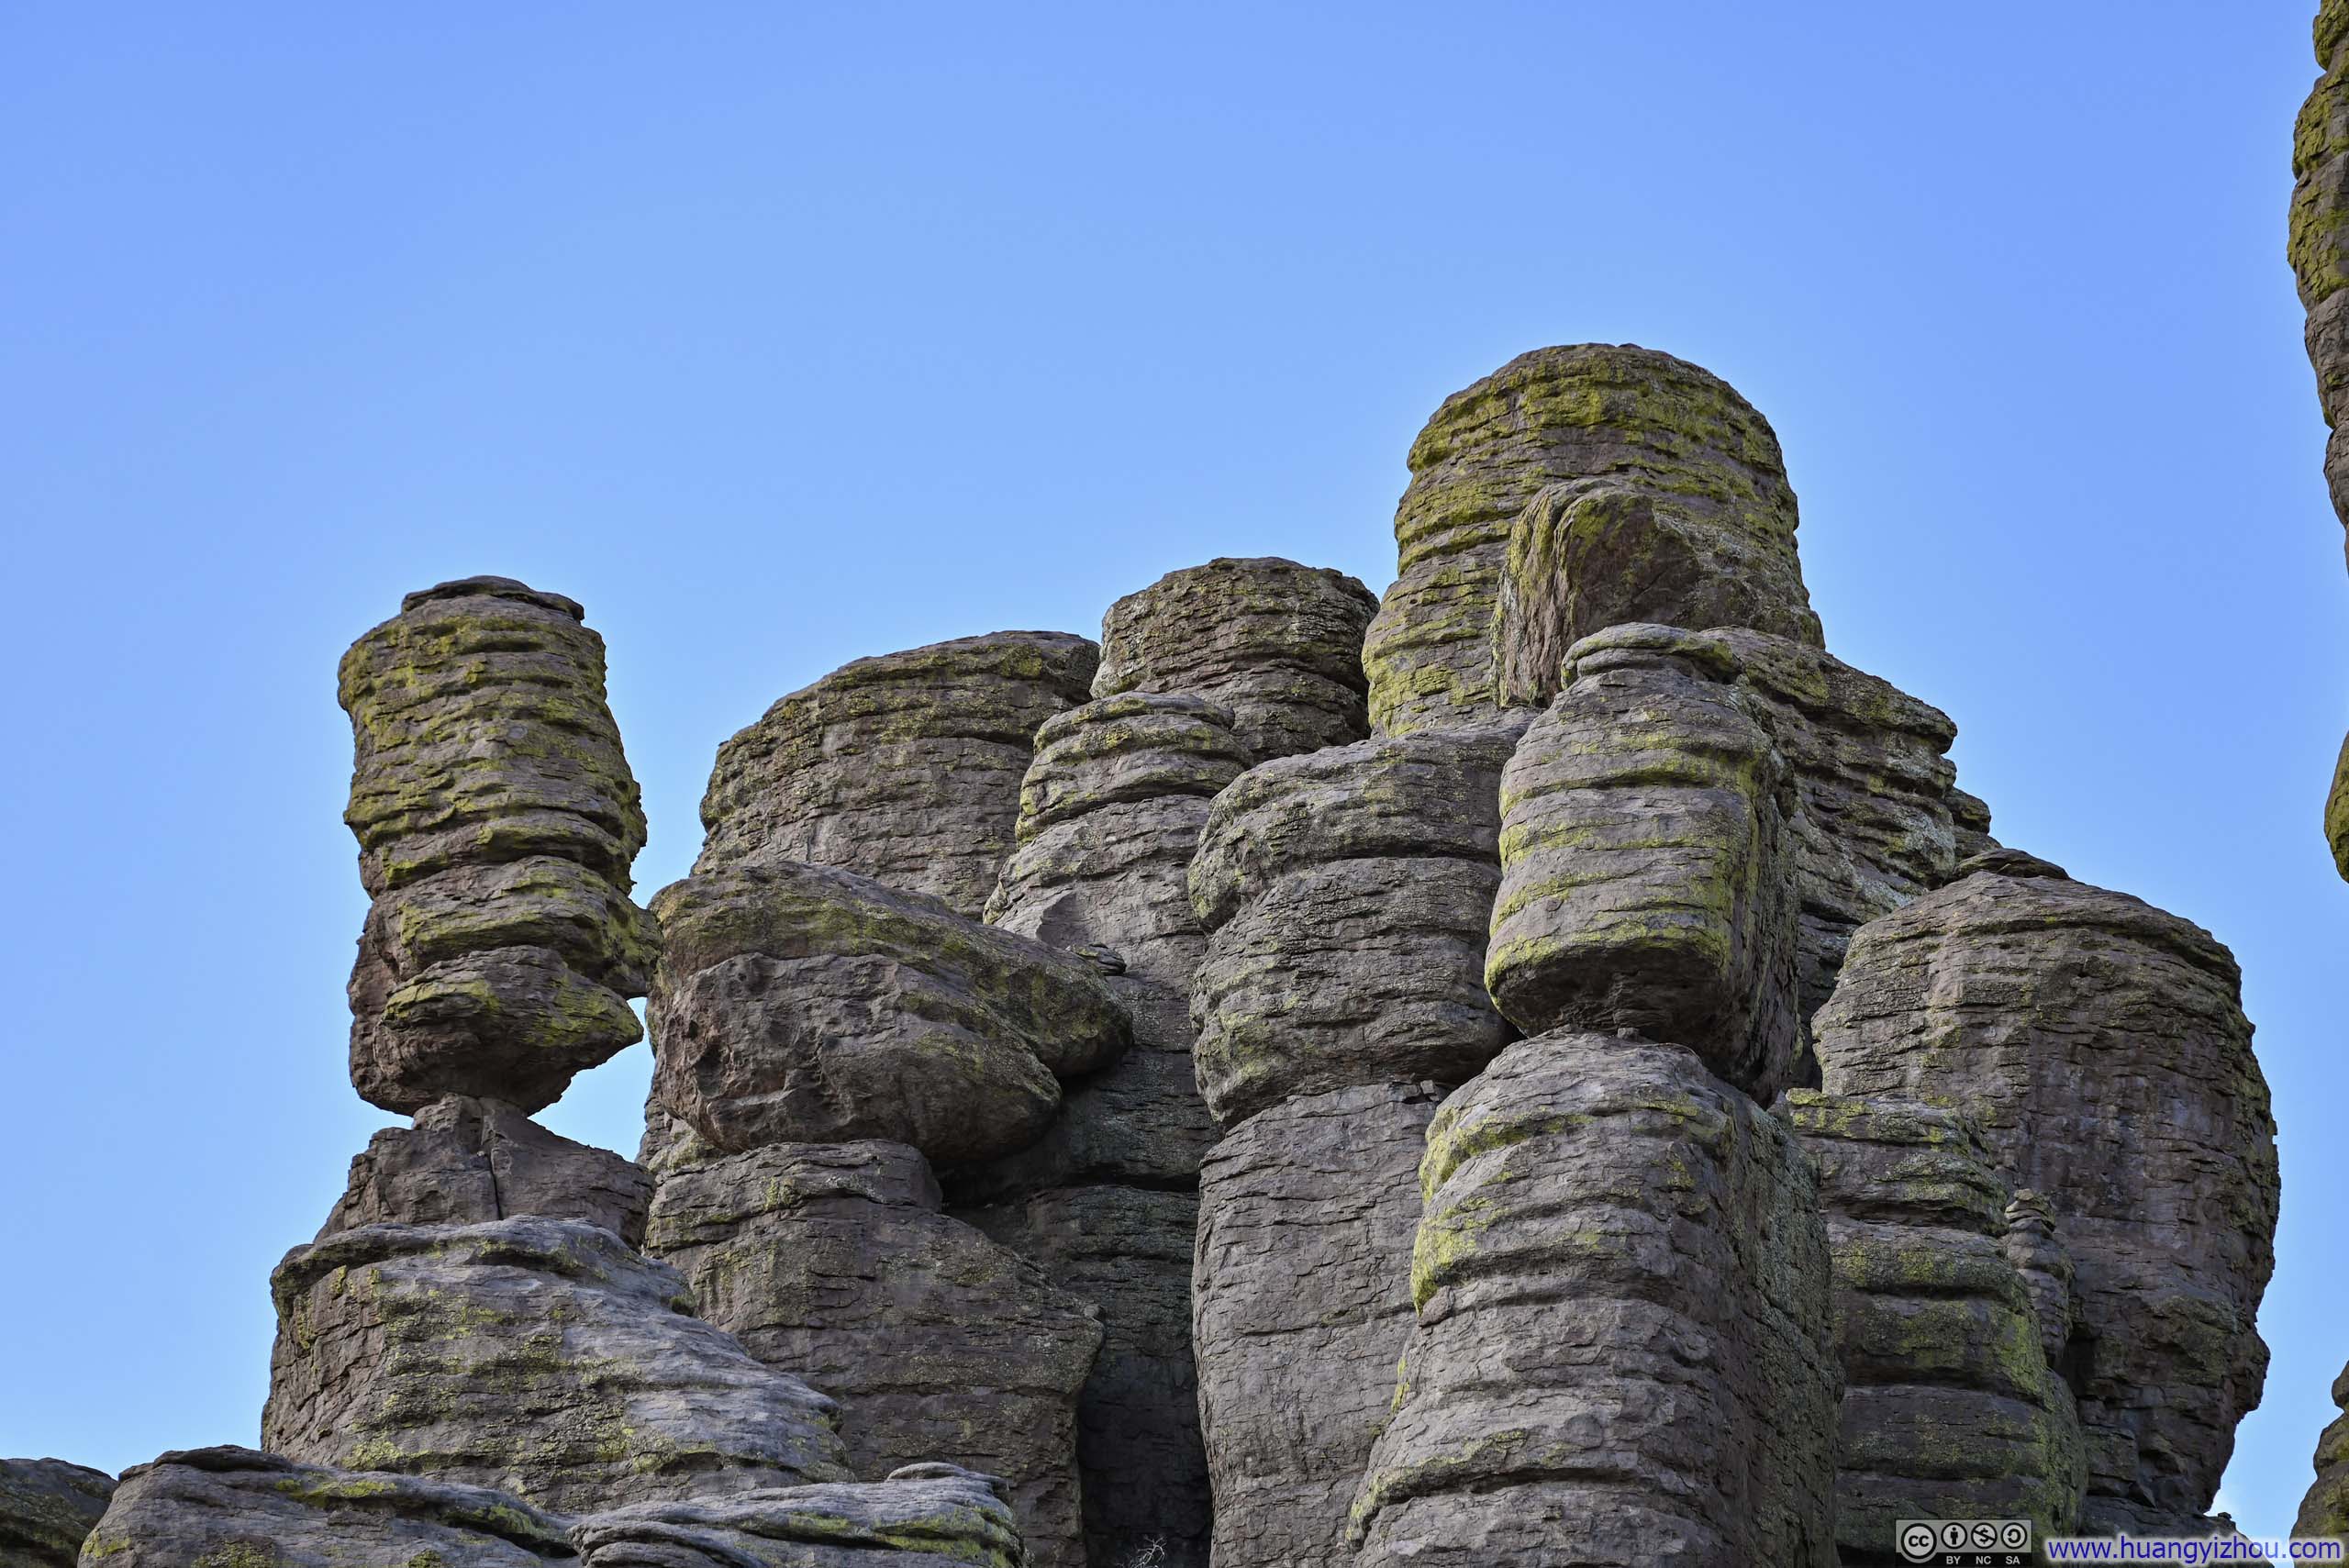
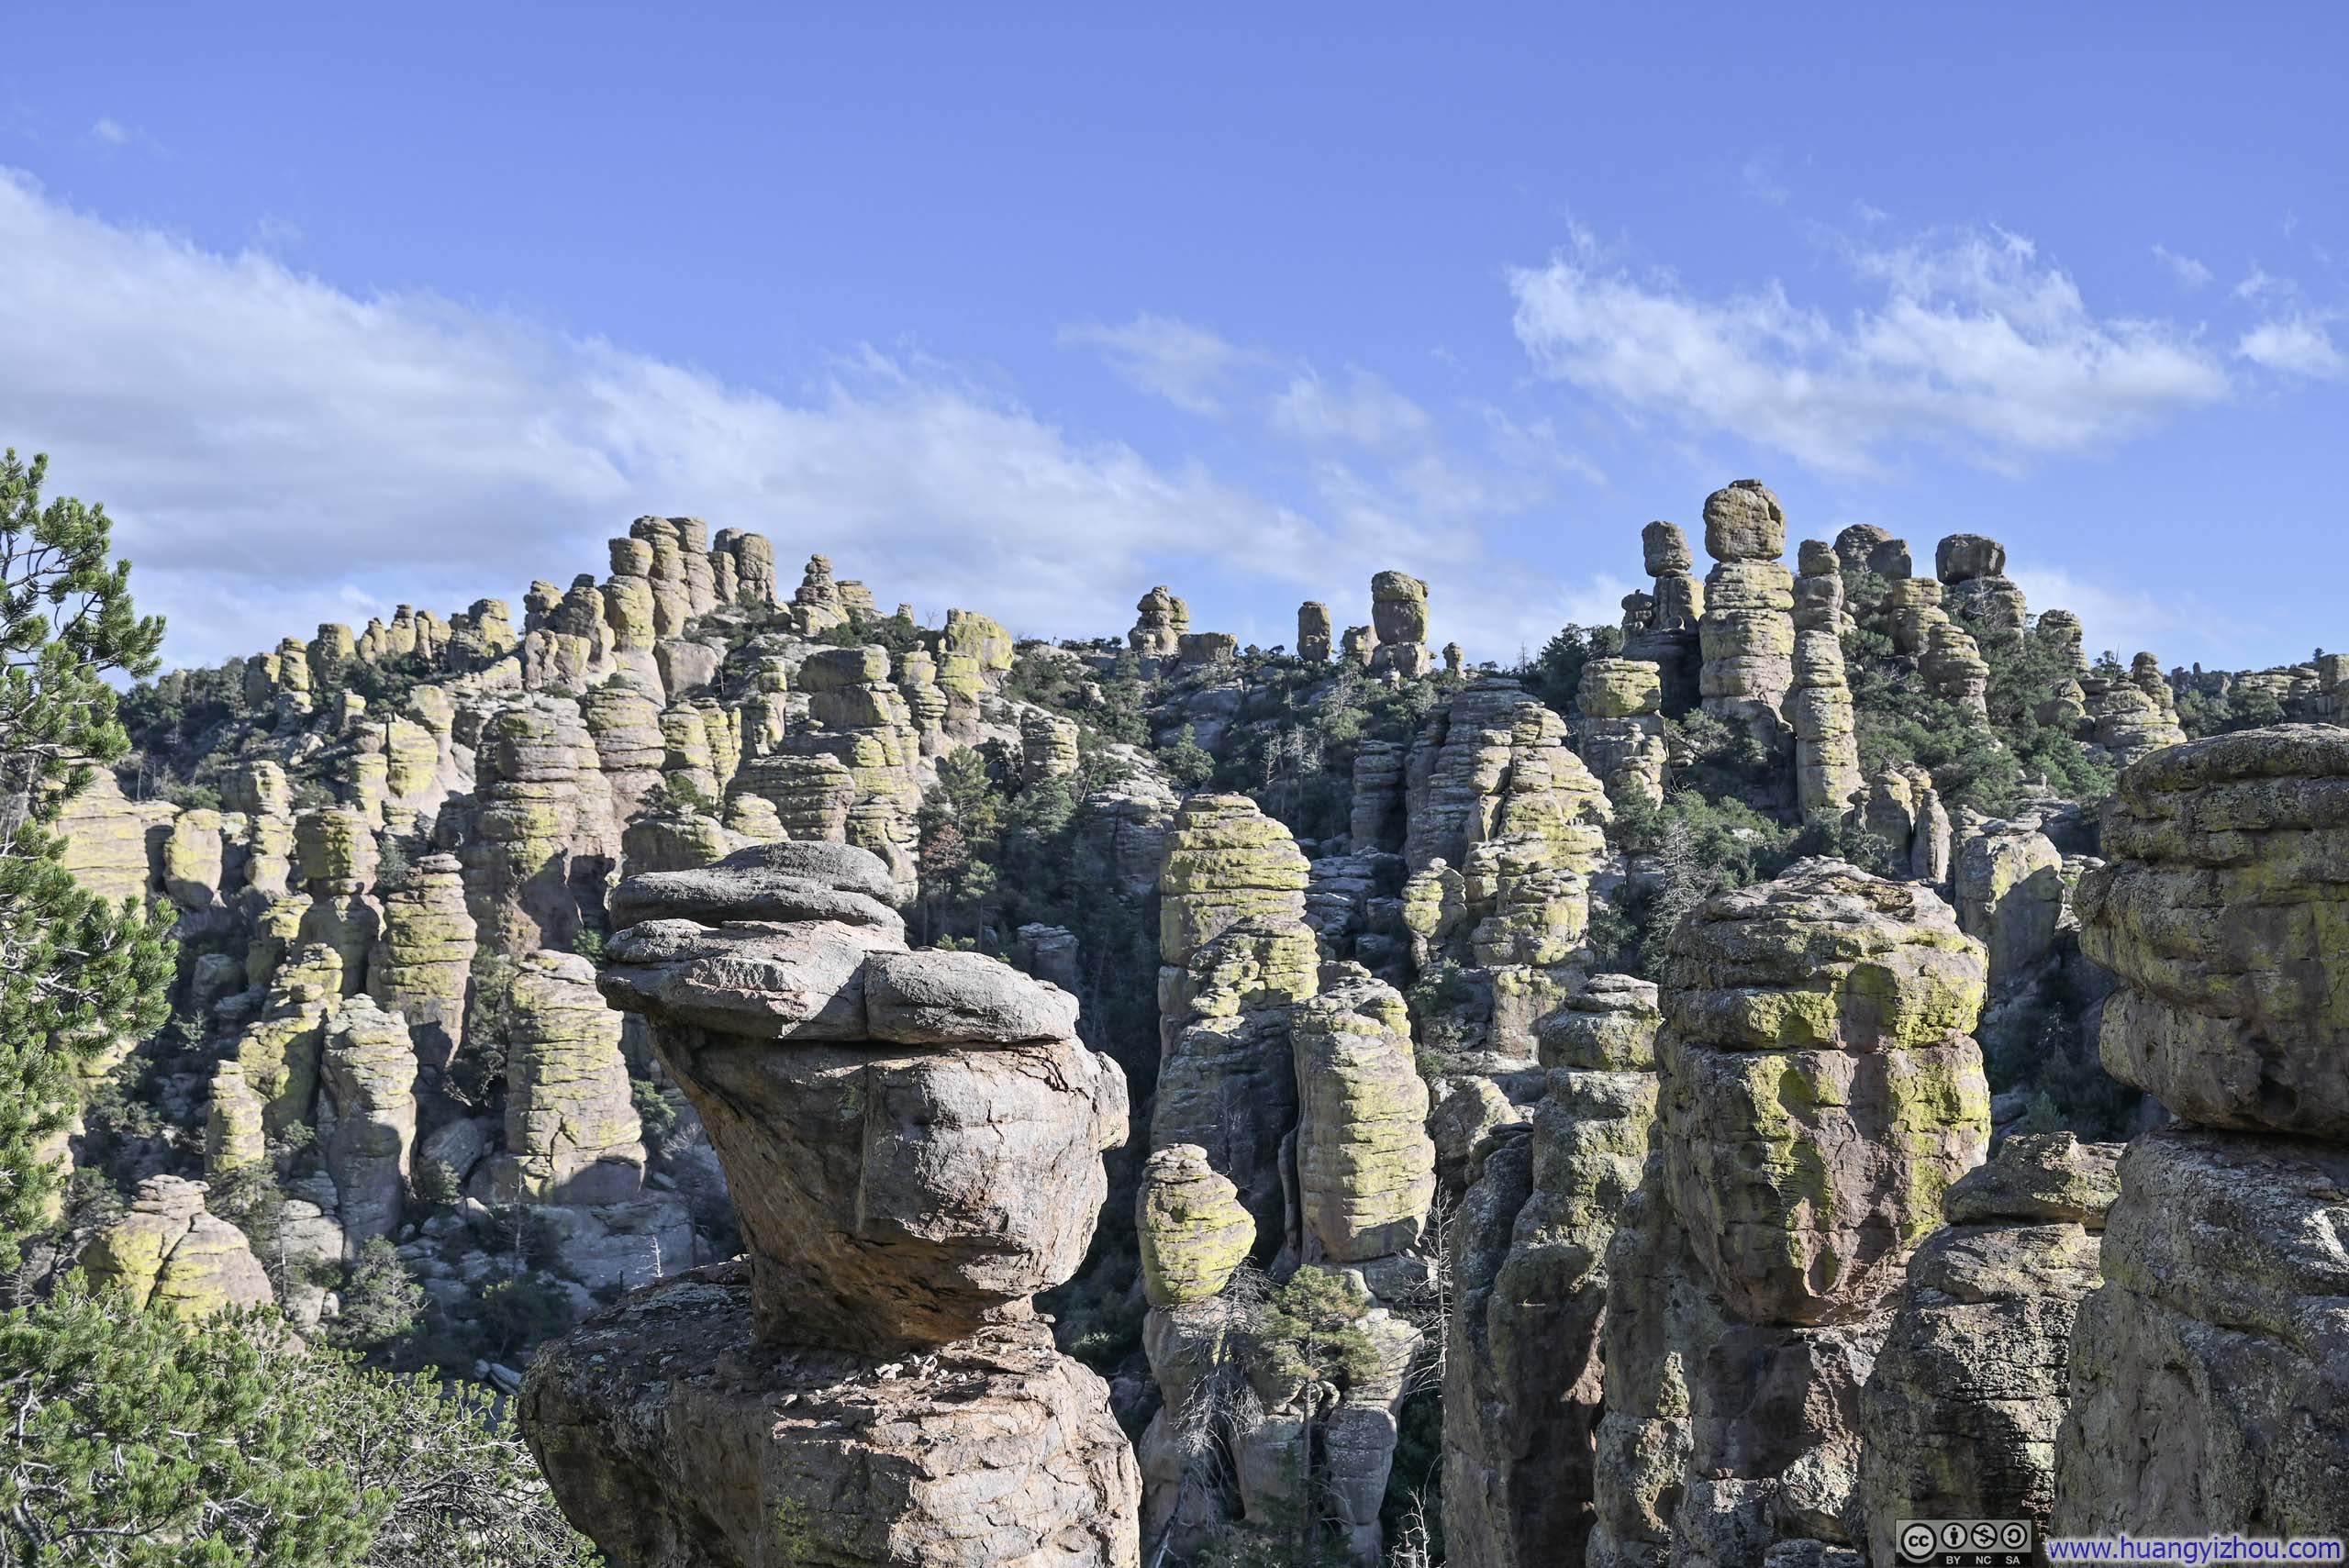
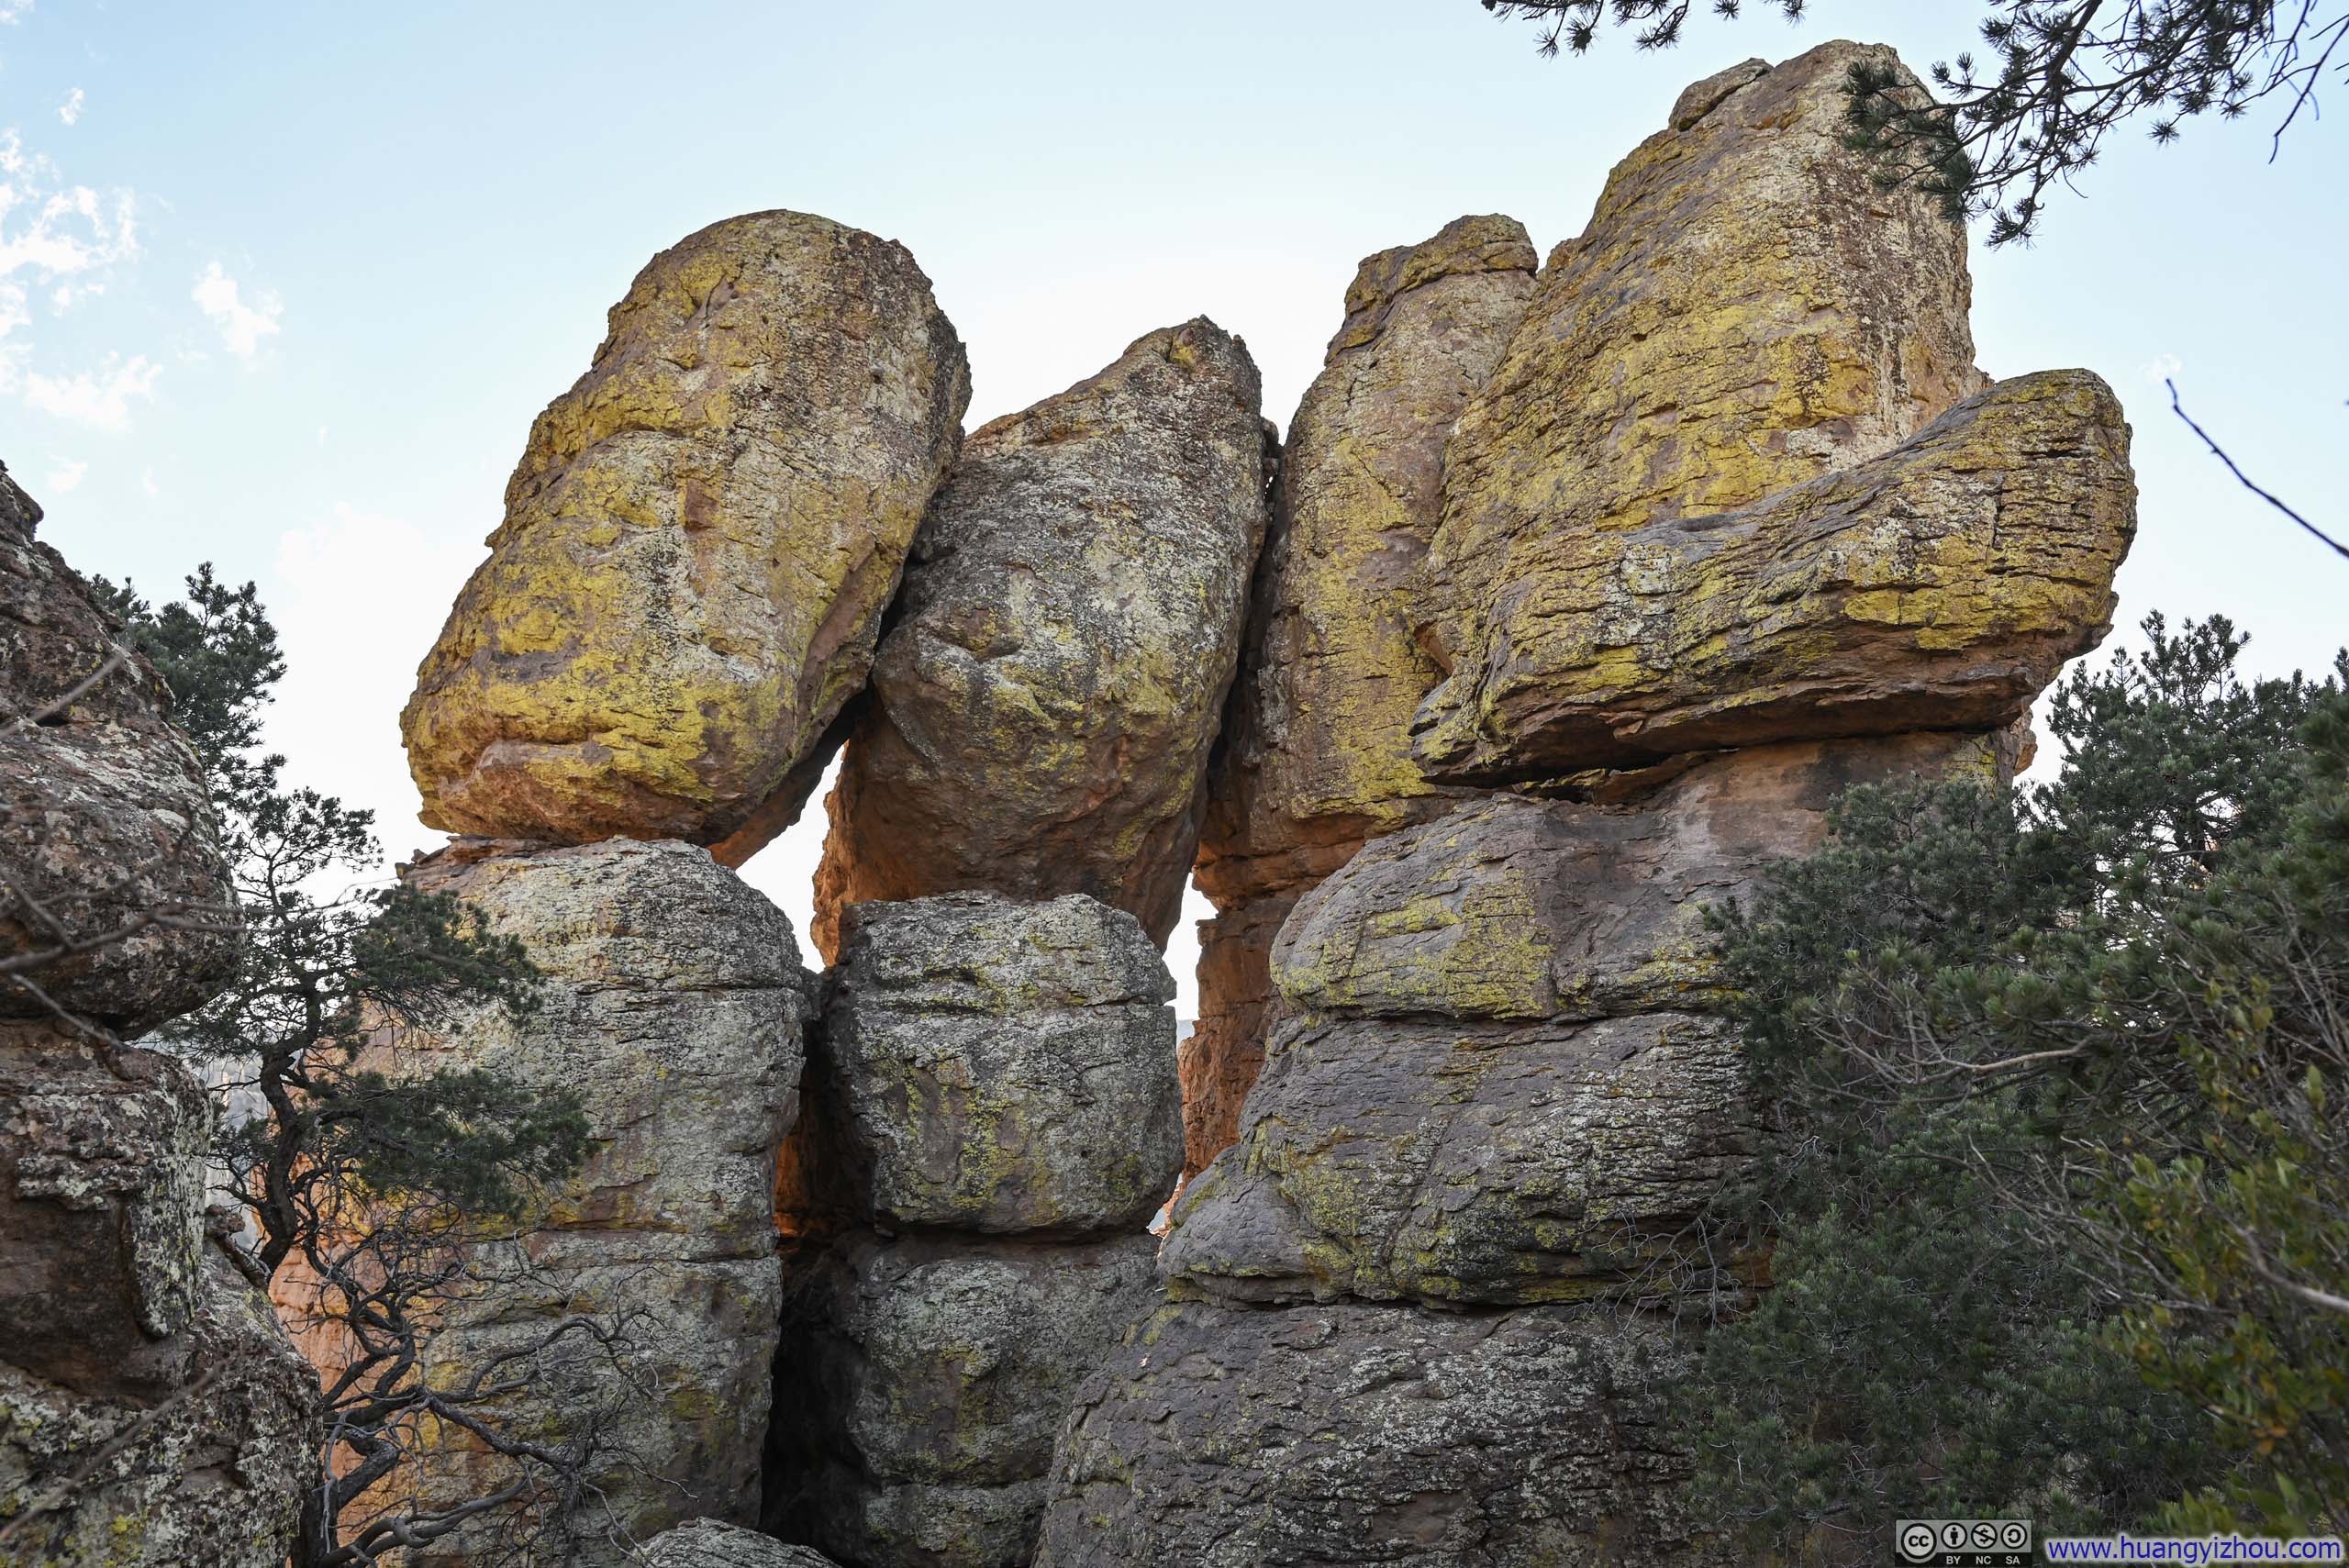
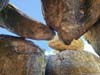
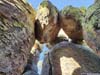
Right from the trailhead, the path threaded its way between various hoodoos. I found it particularly intriguing that many of these formations were heavily eroded, with numerous small rocks intricately wedged between them, creating fascinating and complex topological shapes.
 Rocks with Opening in Middle
 Trail amid Hoodoos
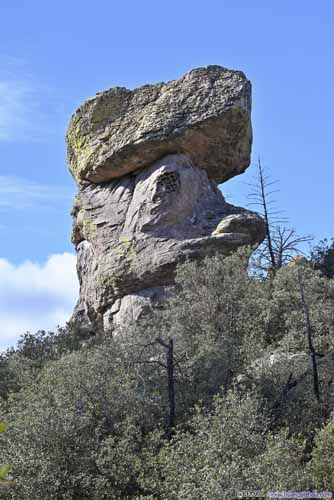
 Hoodoo
 HoodoosA few rocks wedged together.
 HoodoosA few rocks wedged together.
 Hoodoos
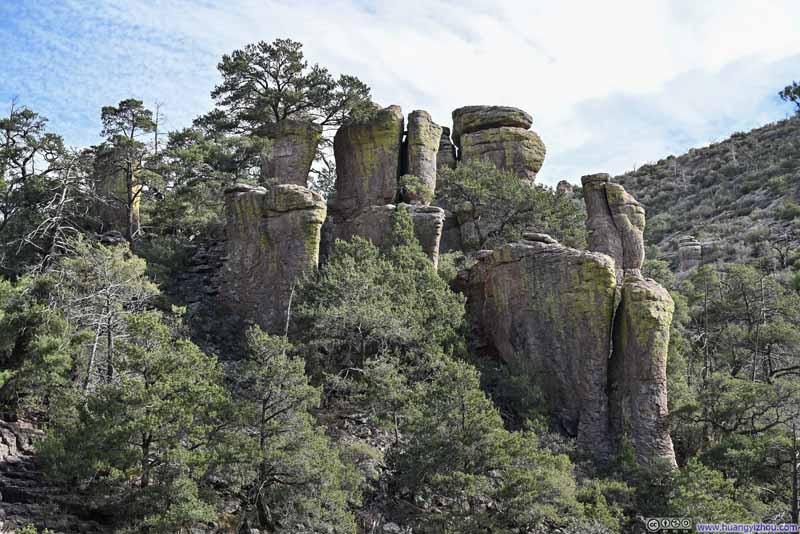 HoodoosA small rock wedged in between two large ones.


Click here to display photos of the slideshow
Rocks with Opening in Middle
 Trail amid Hoodoos

 Hoodoo
HoodoosA few rocks wedged together.
HoodoosA few rocks wedged together.

Hoodoos
HoodoosA small rock wedged in between two large ones.
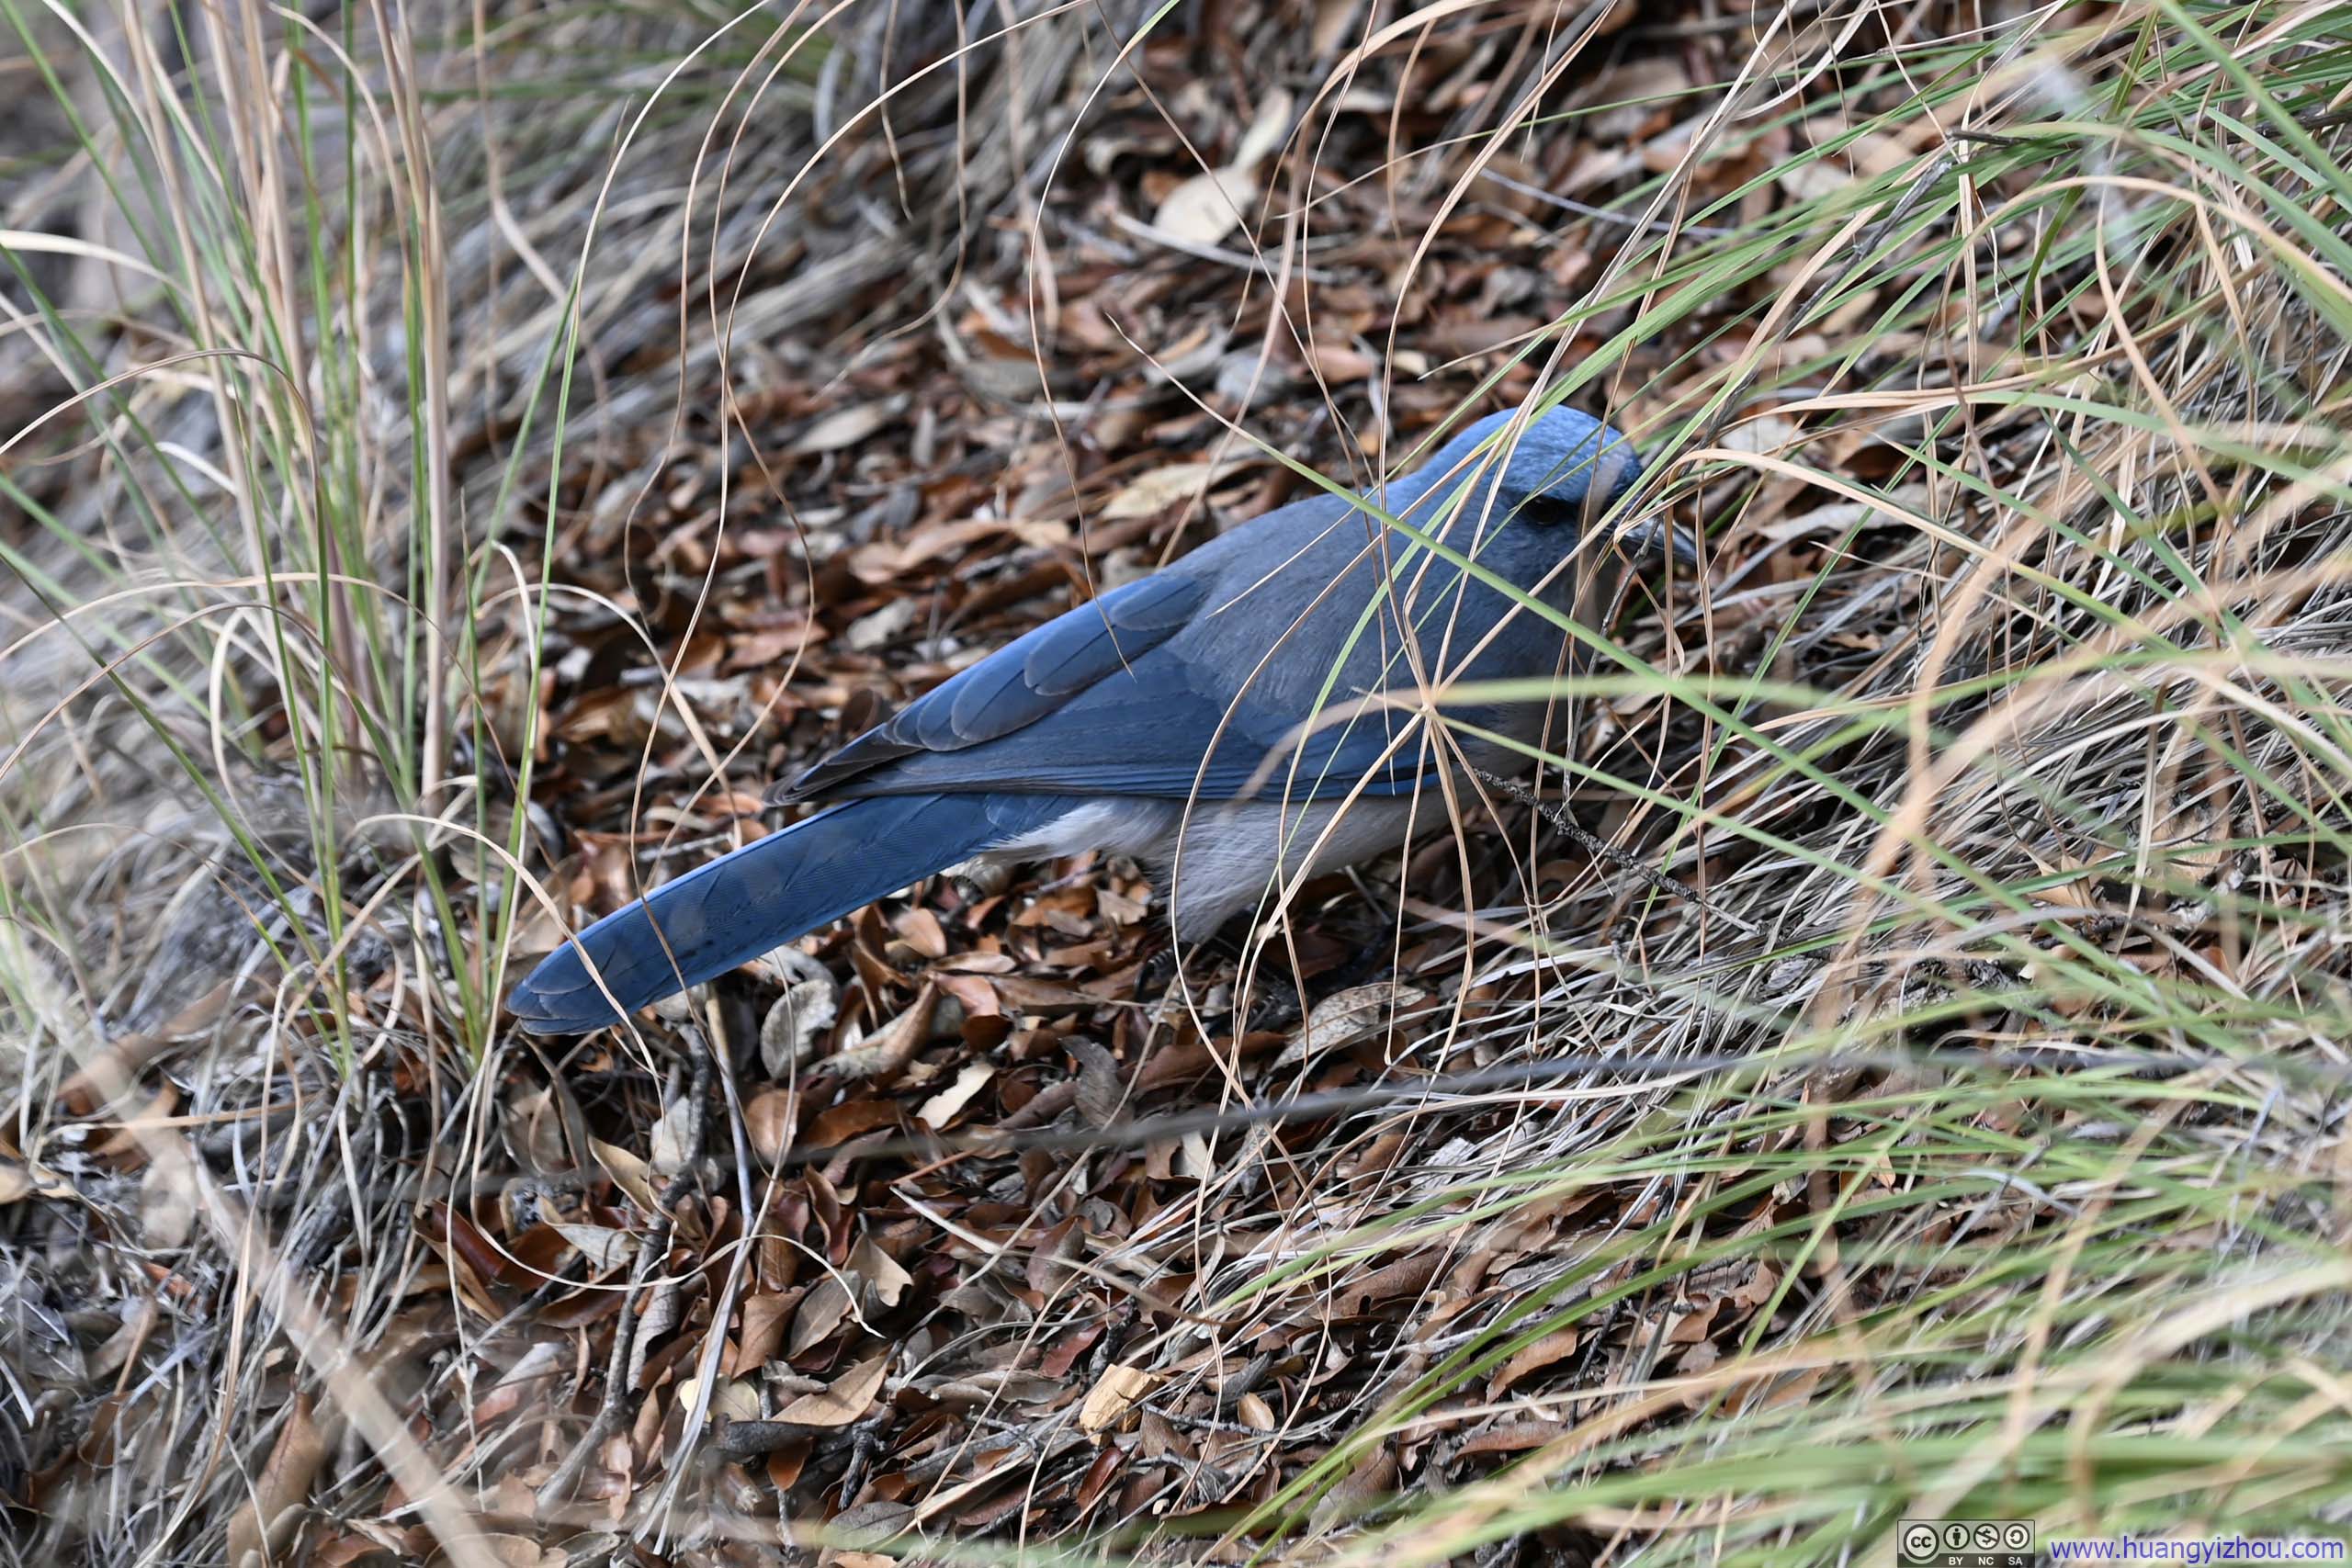
My hike was accompanied by the lovely chirping sound of birds. I ran into a particularly bold one (slideshow below) along the trail that wasn’t shy about my camera. (ChatGPT thinks it’s a scrub jay.)
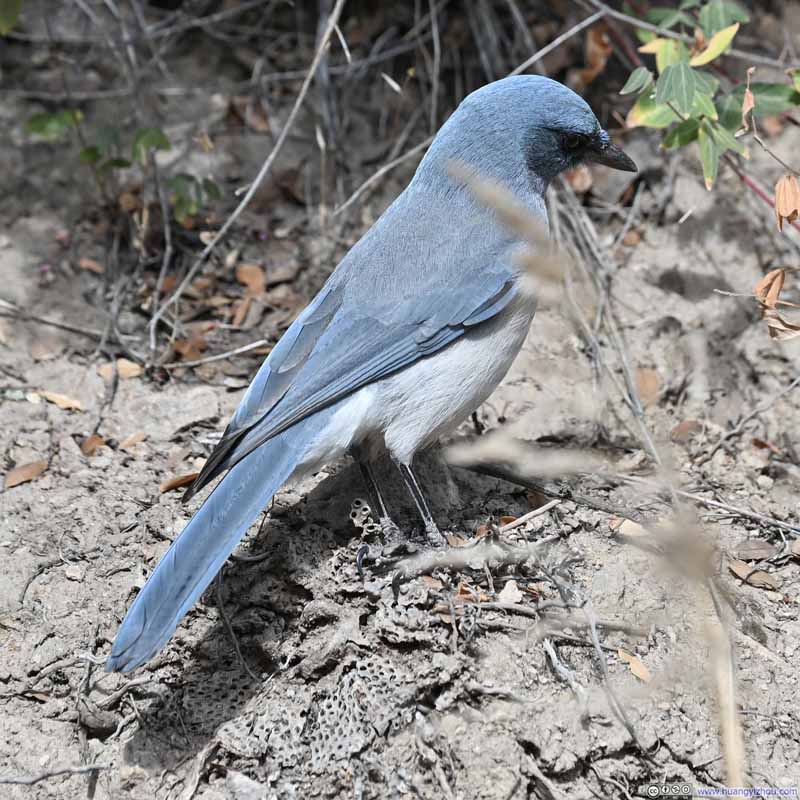 Bird
Bird Bird
Bird Bird
Bird


Click here to display photos of a bird along the trail.

Bird
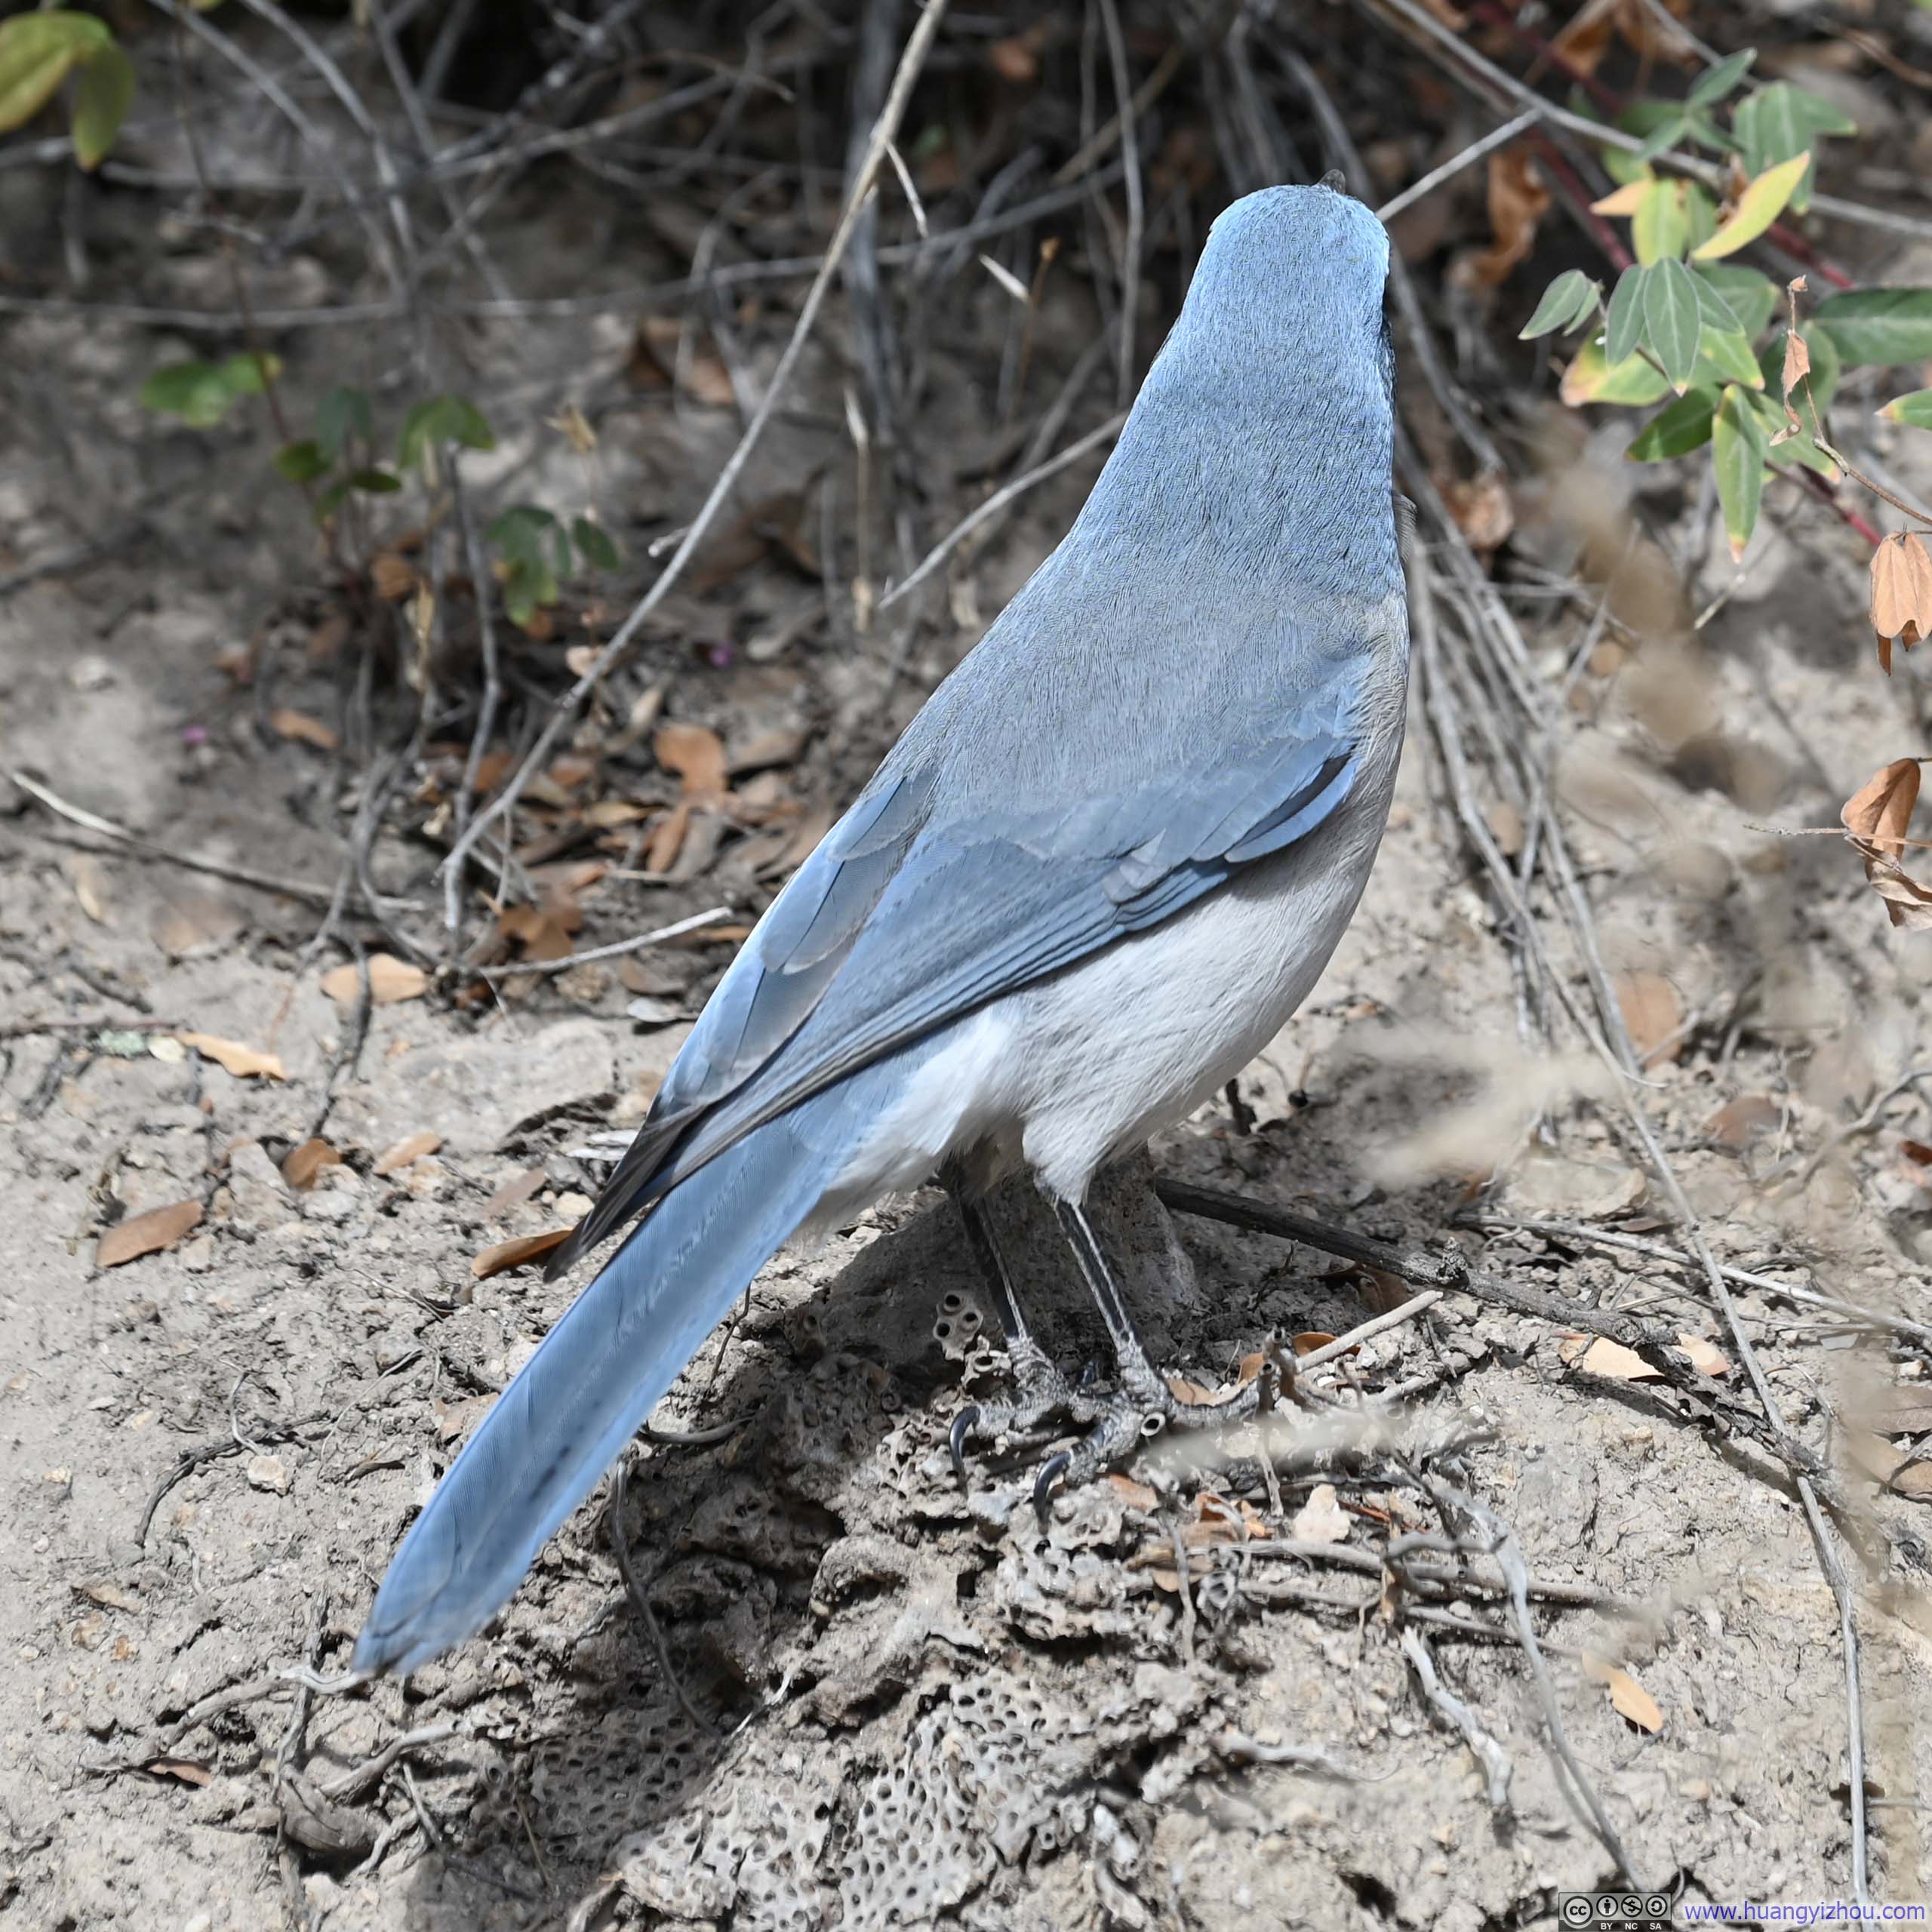
Bird
Bird
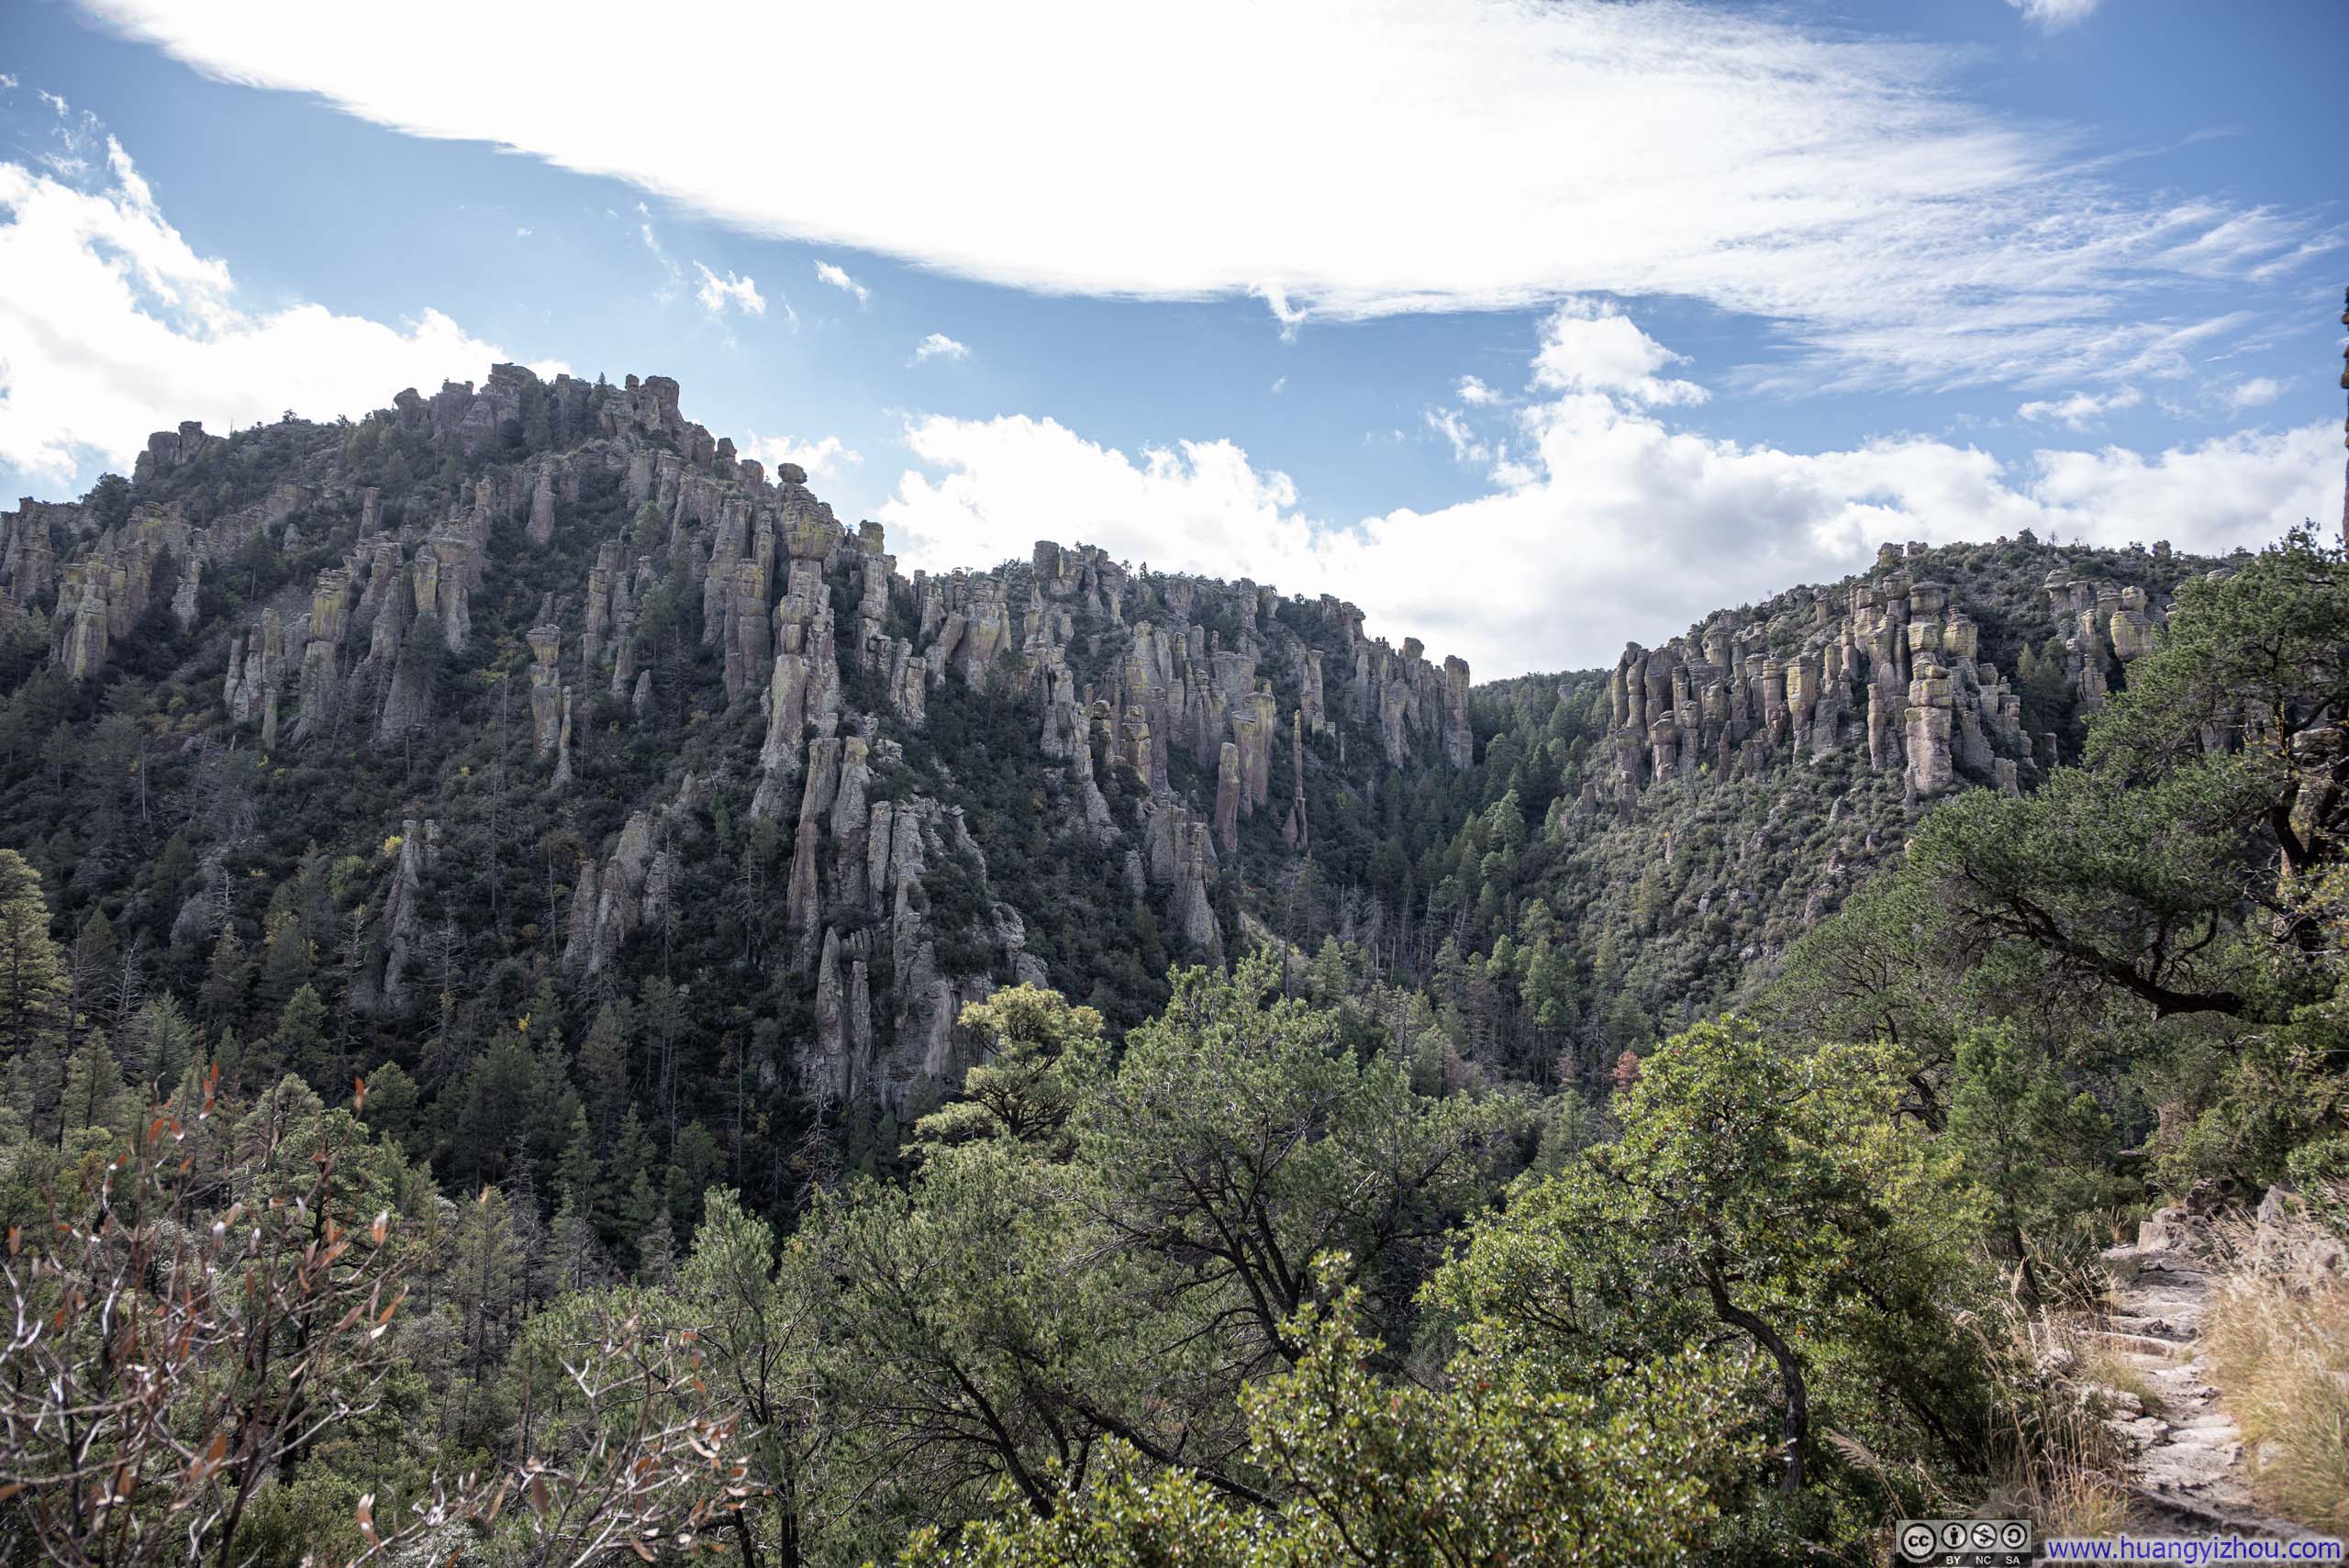
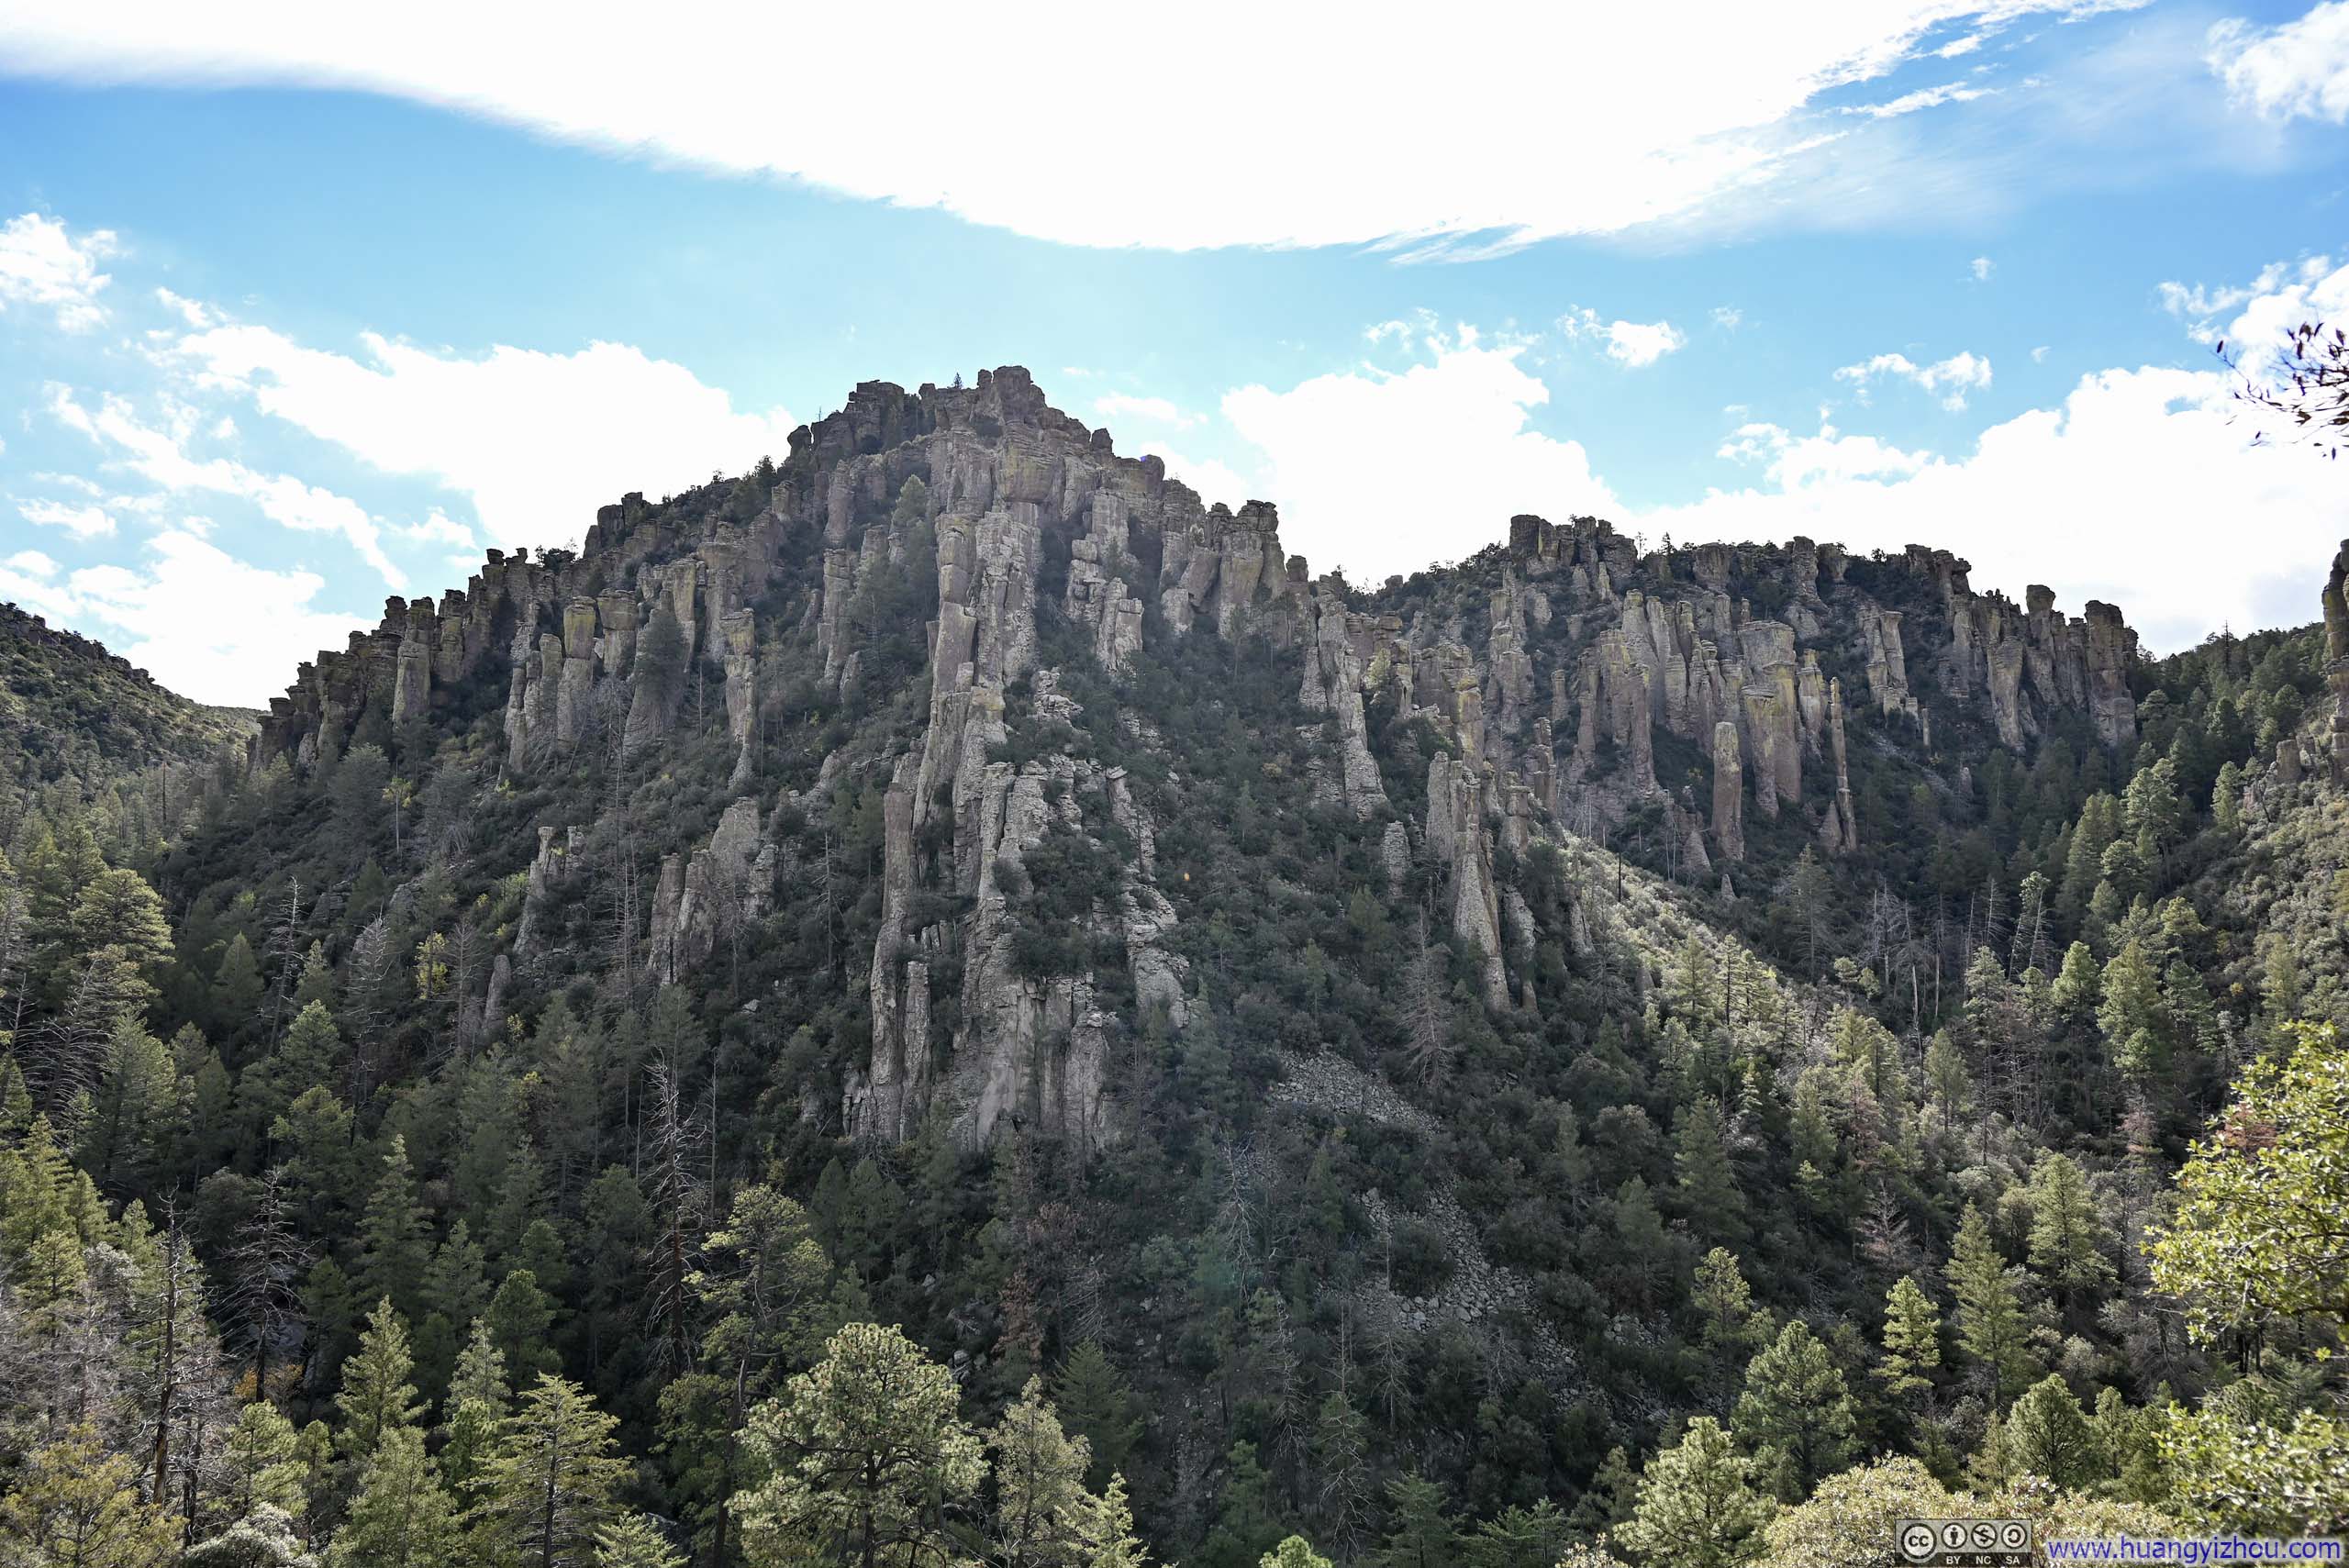
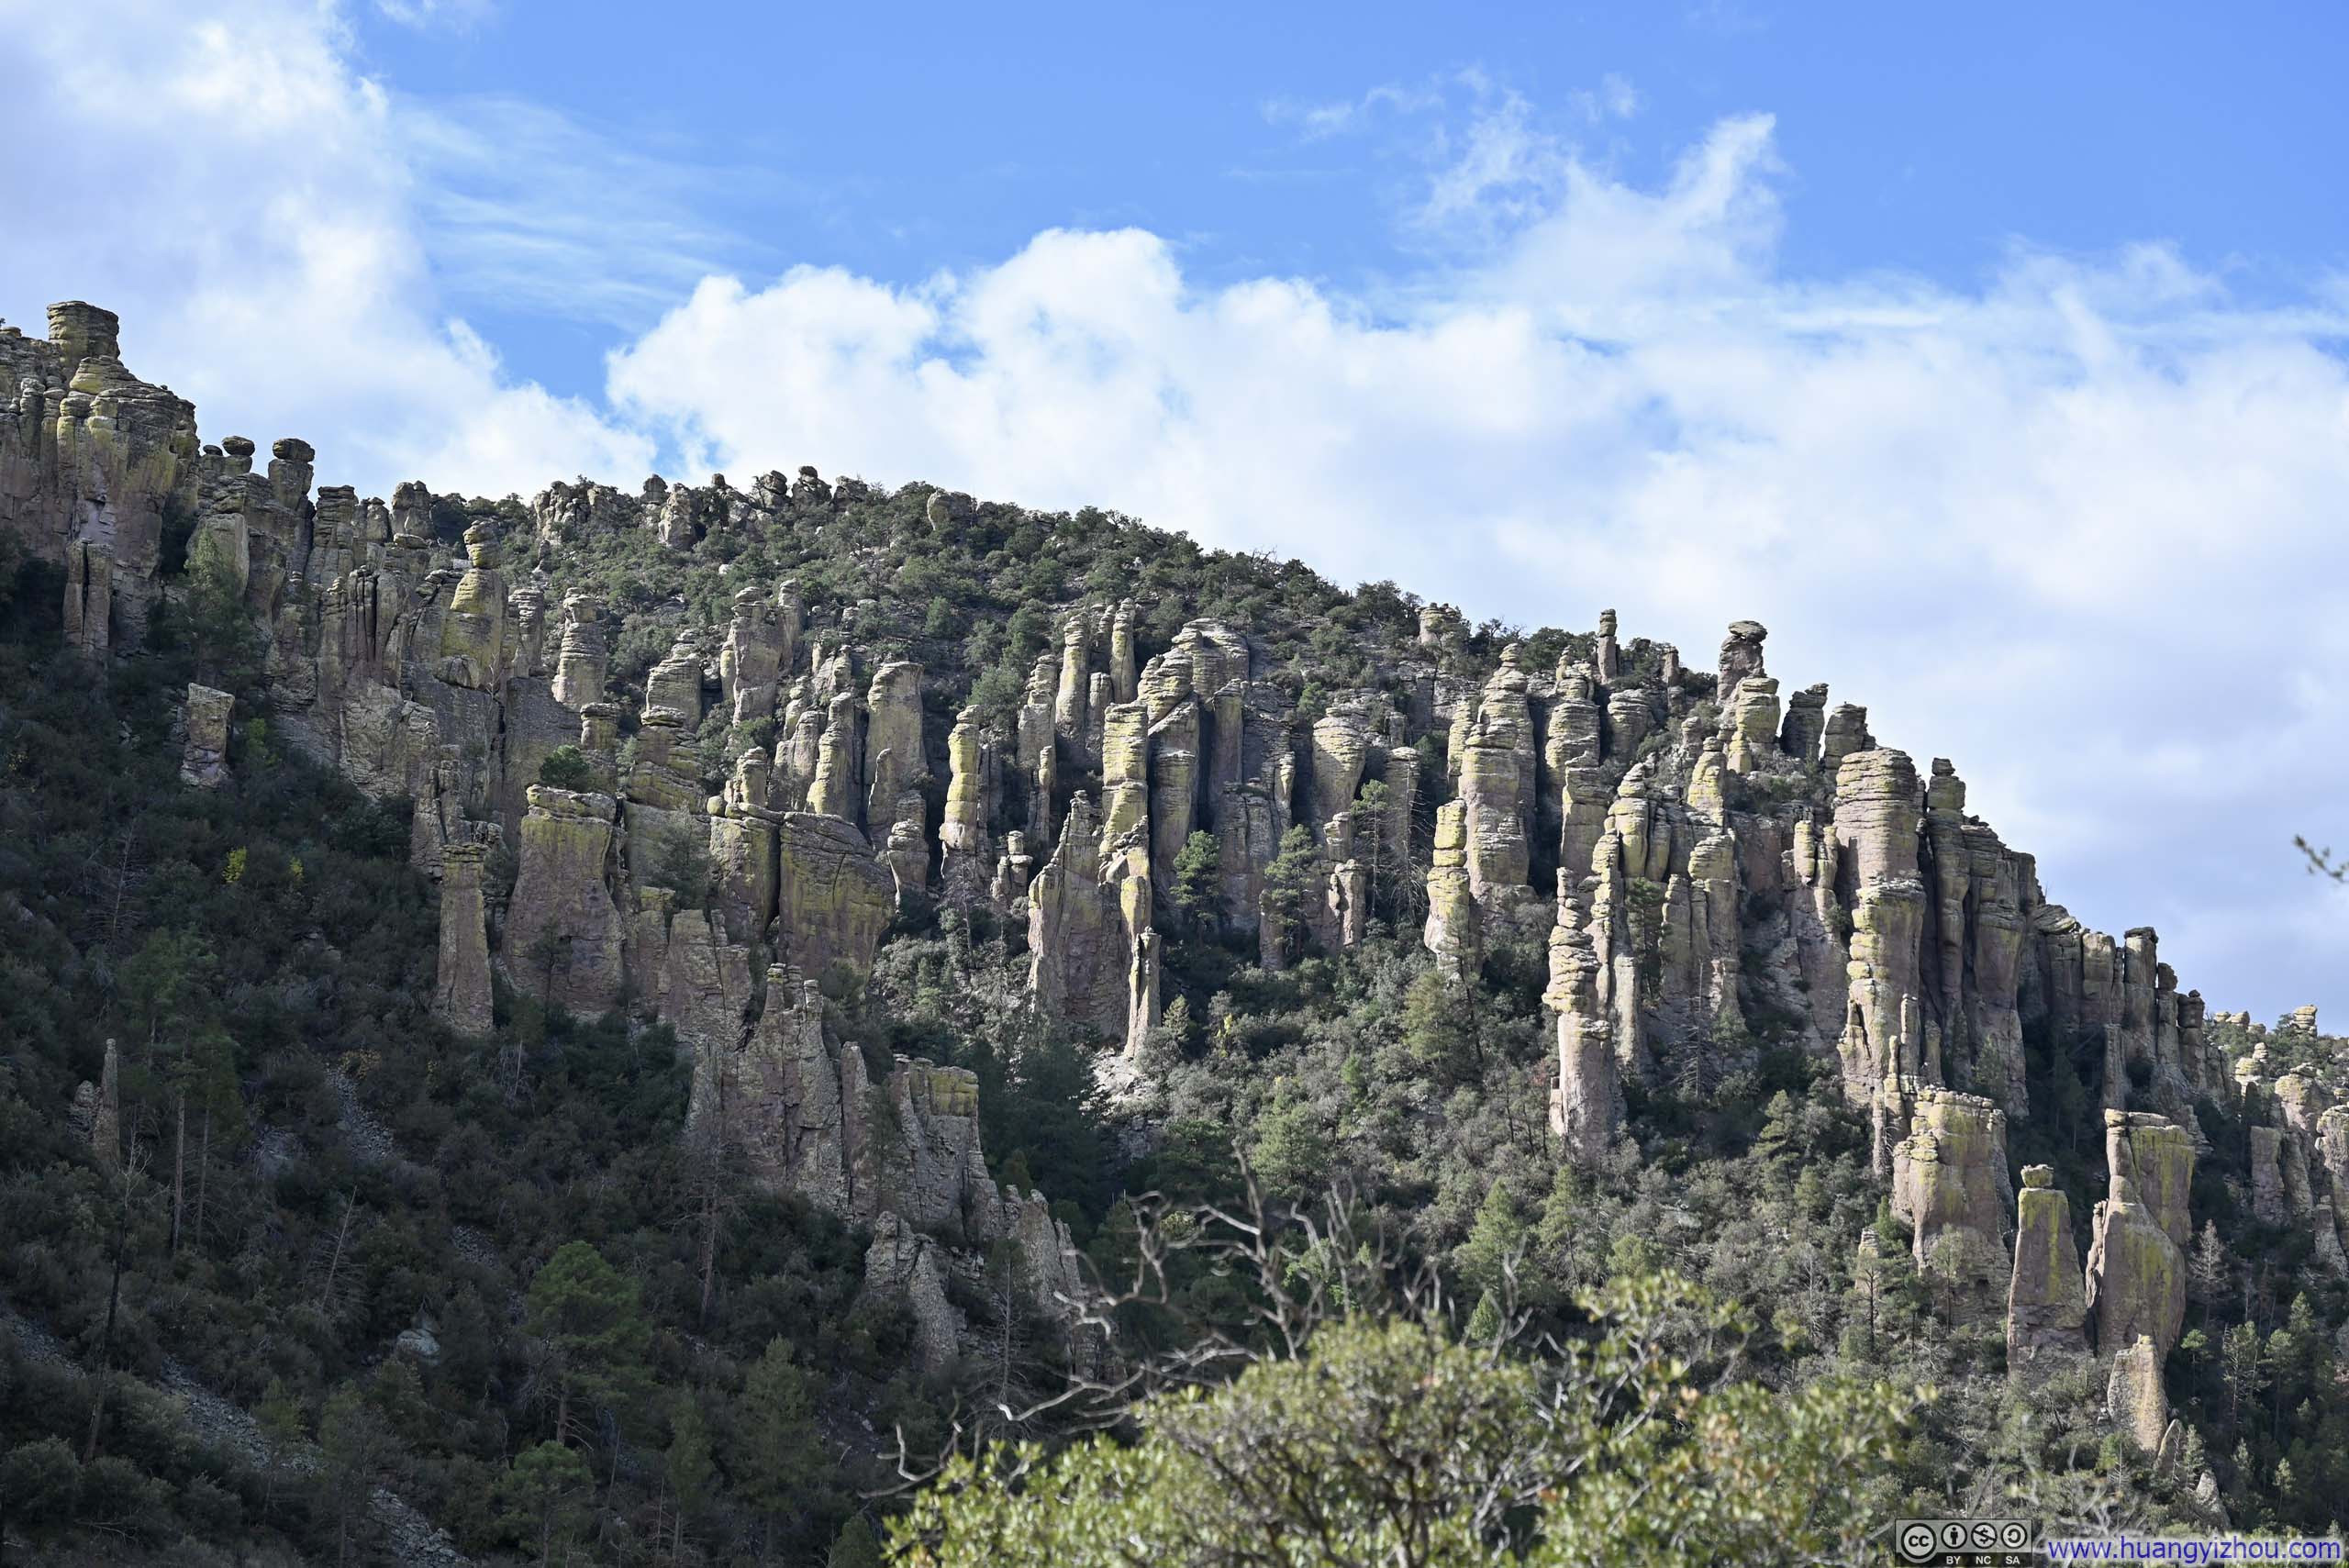
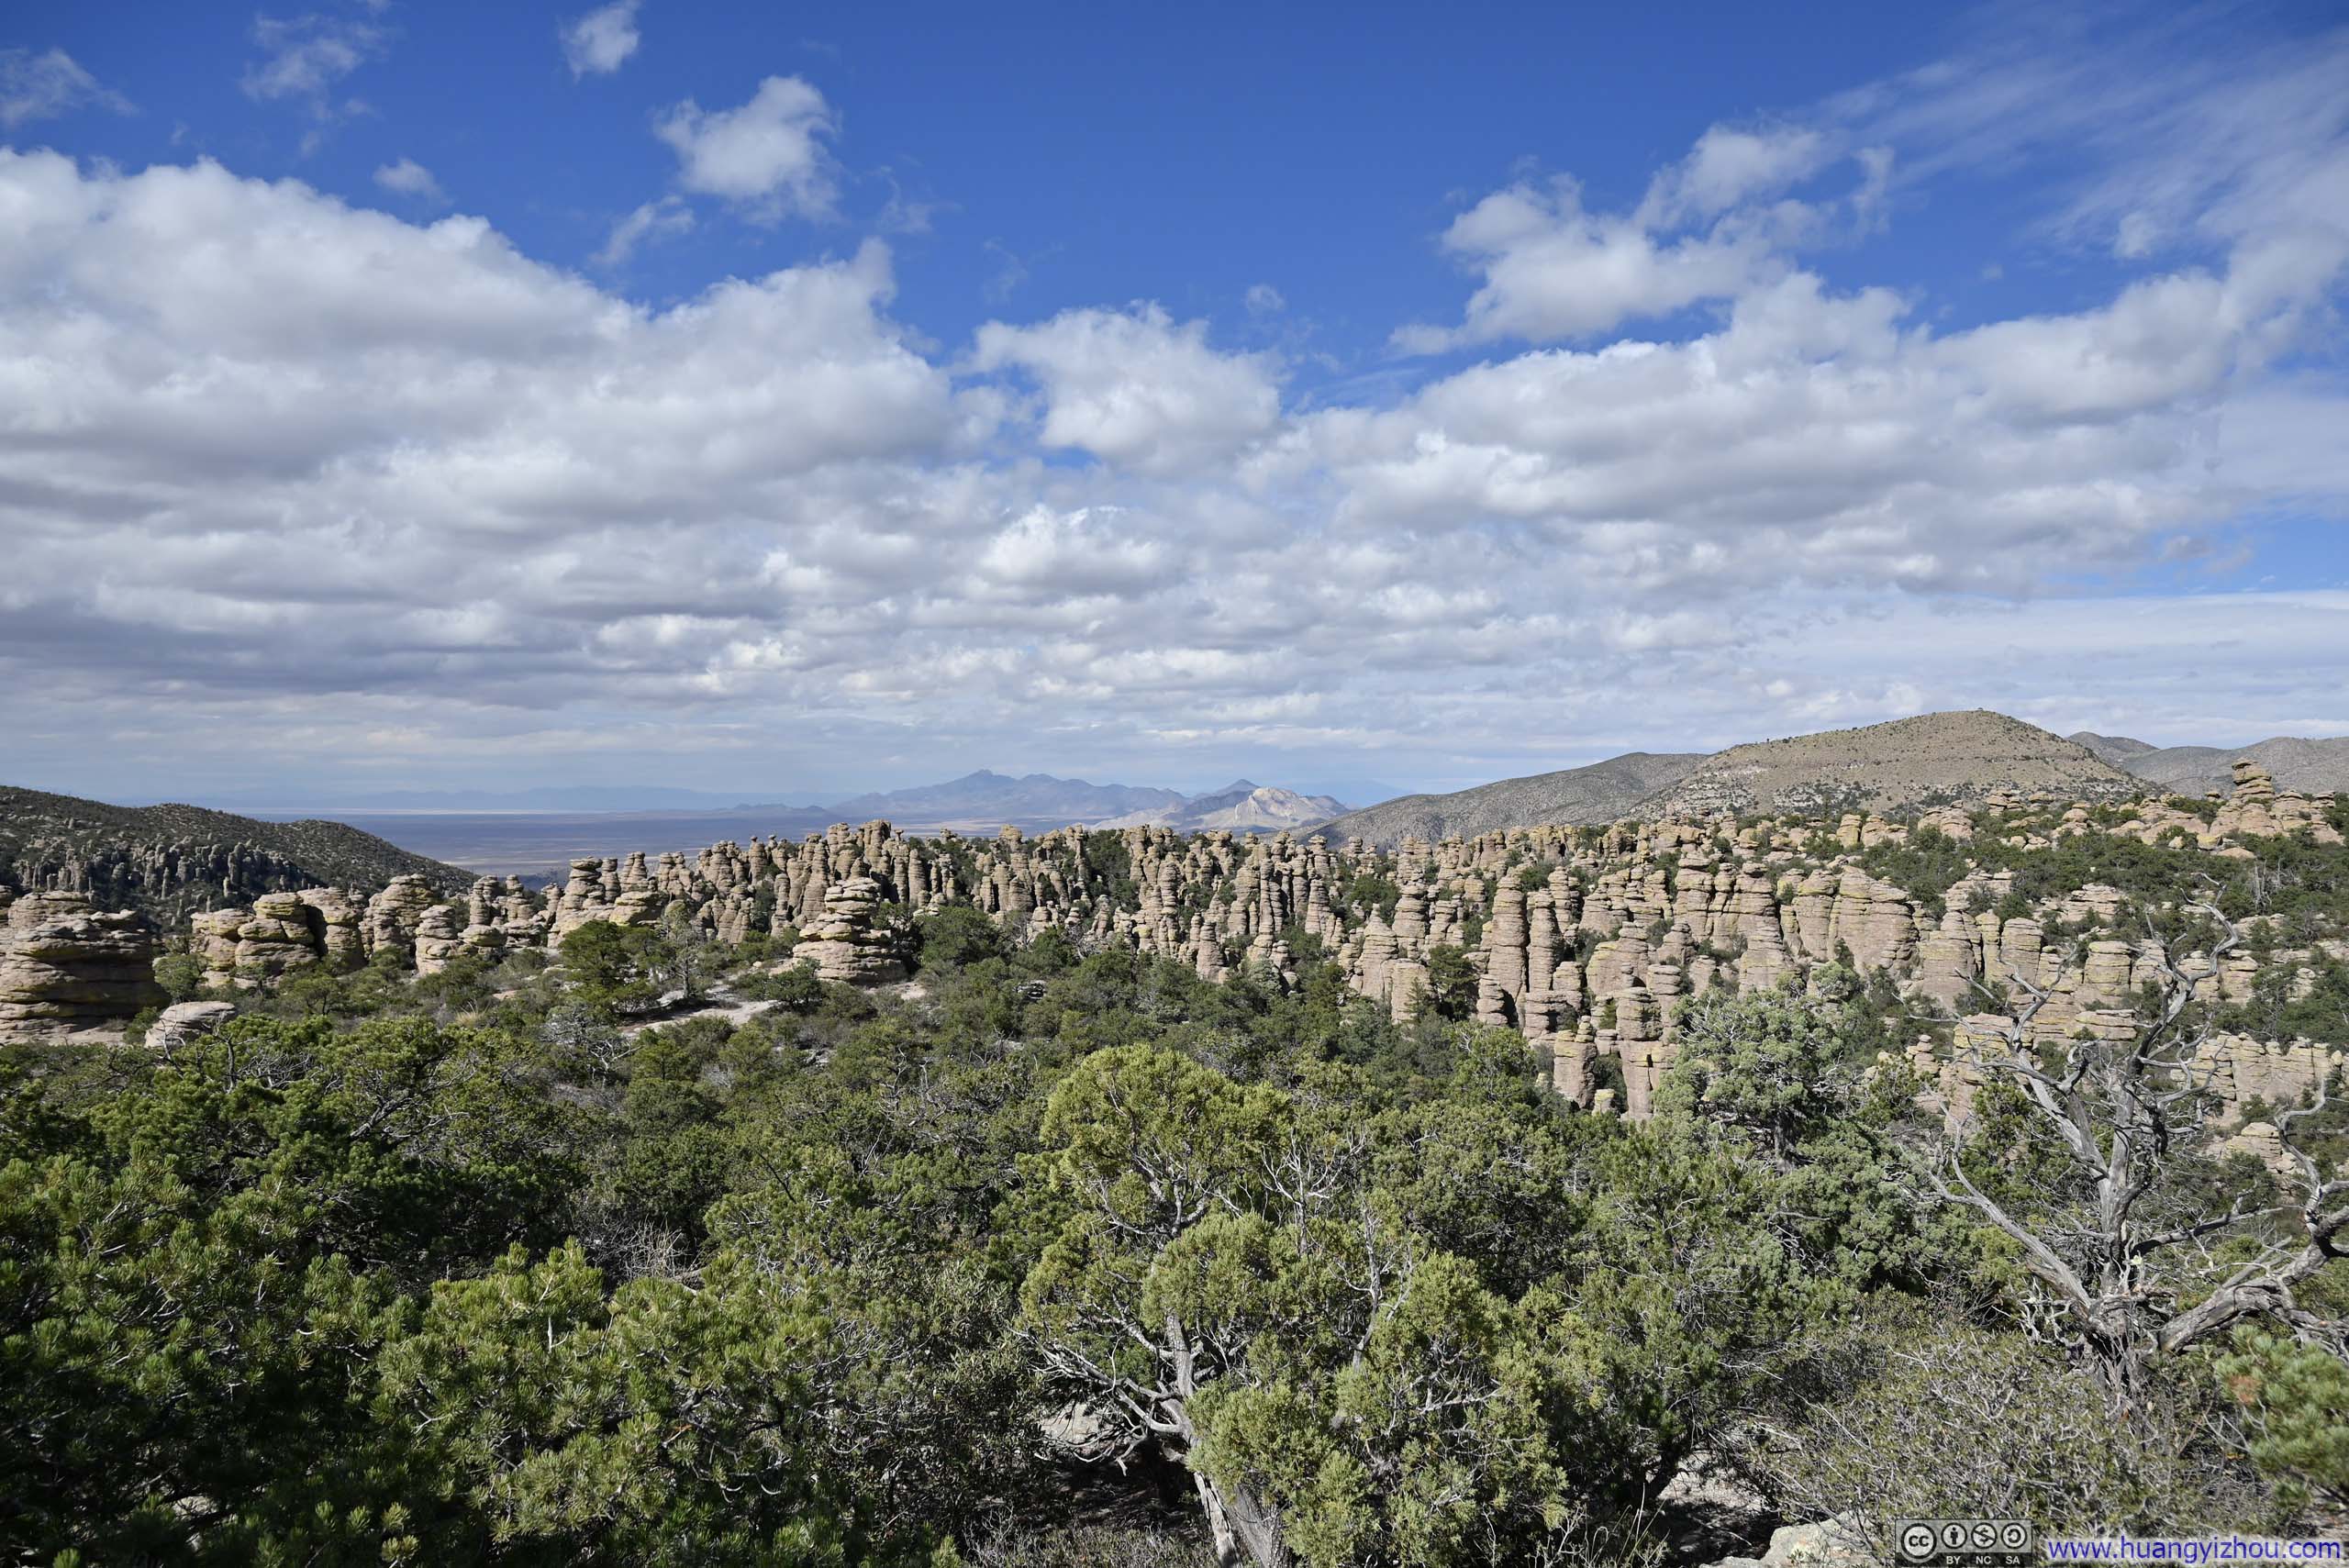
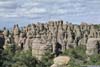
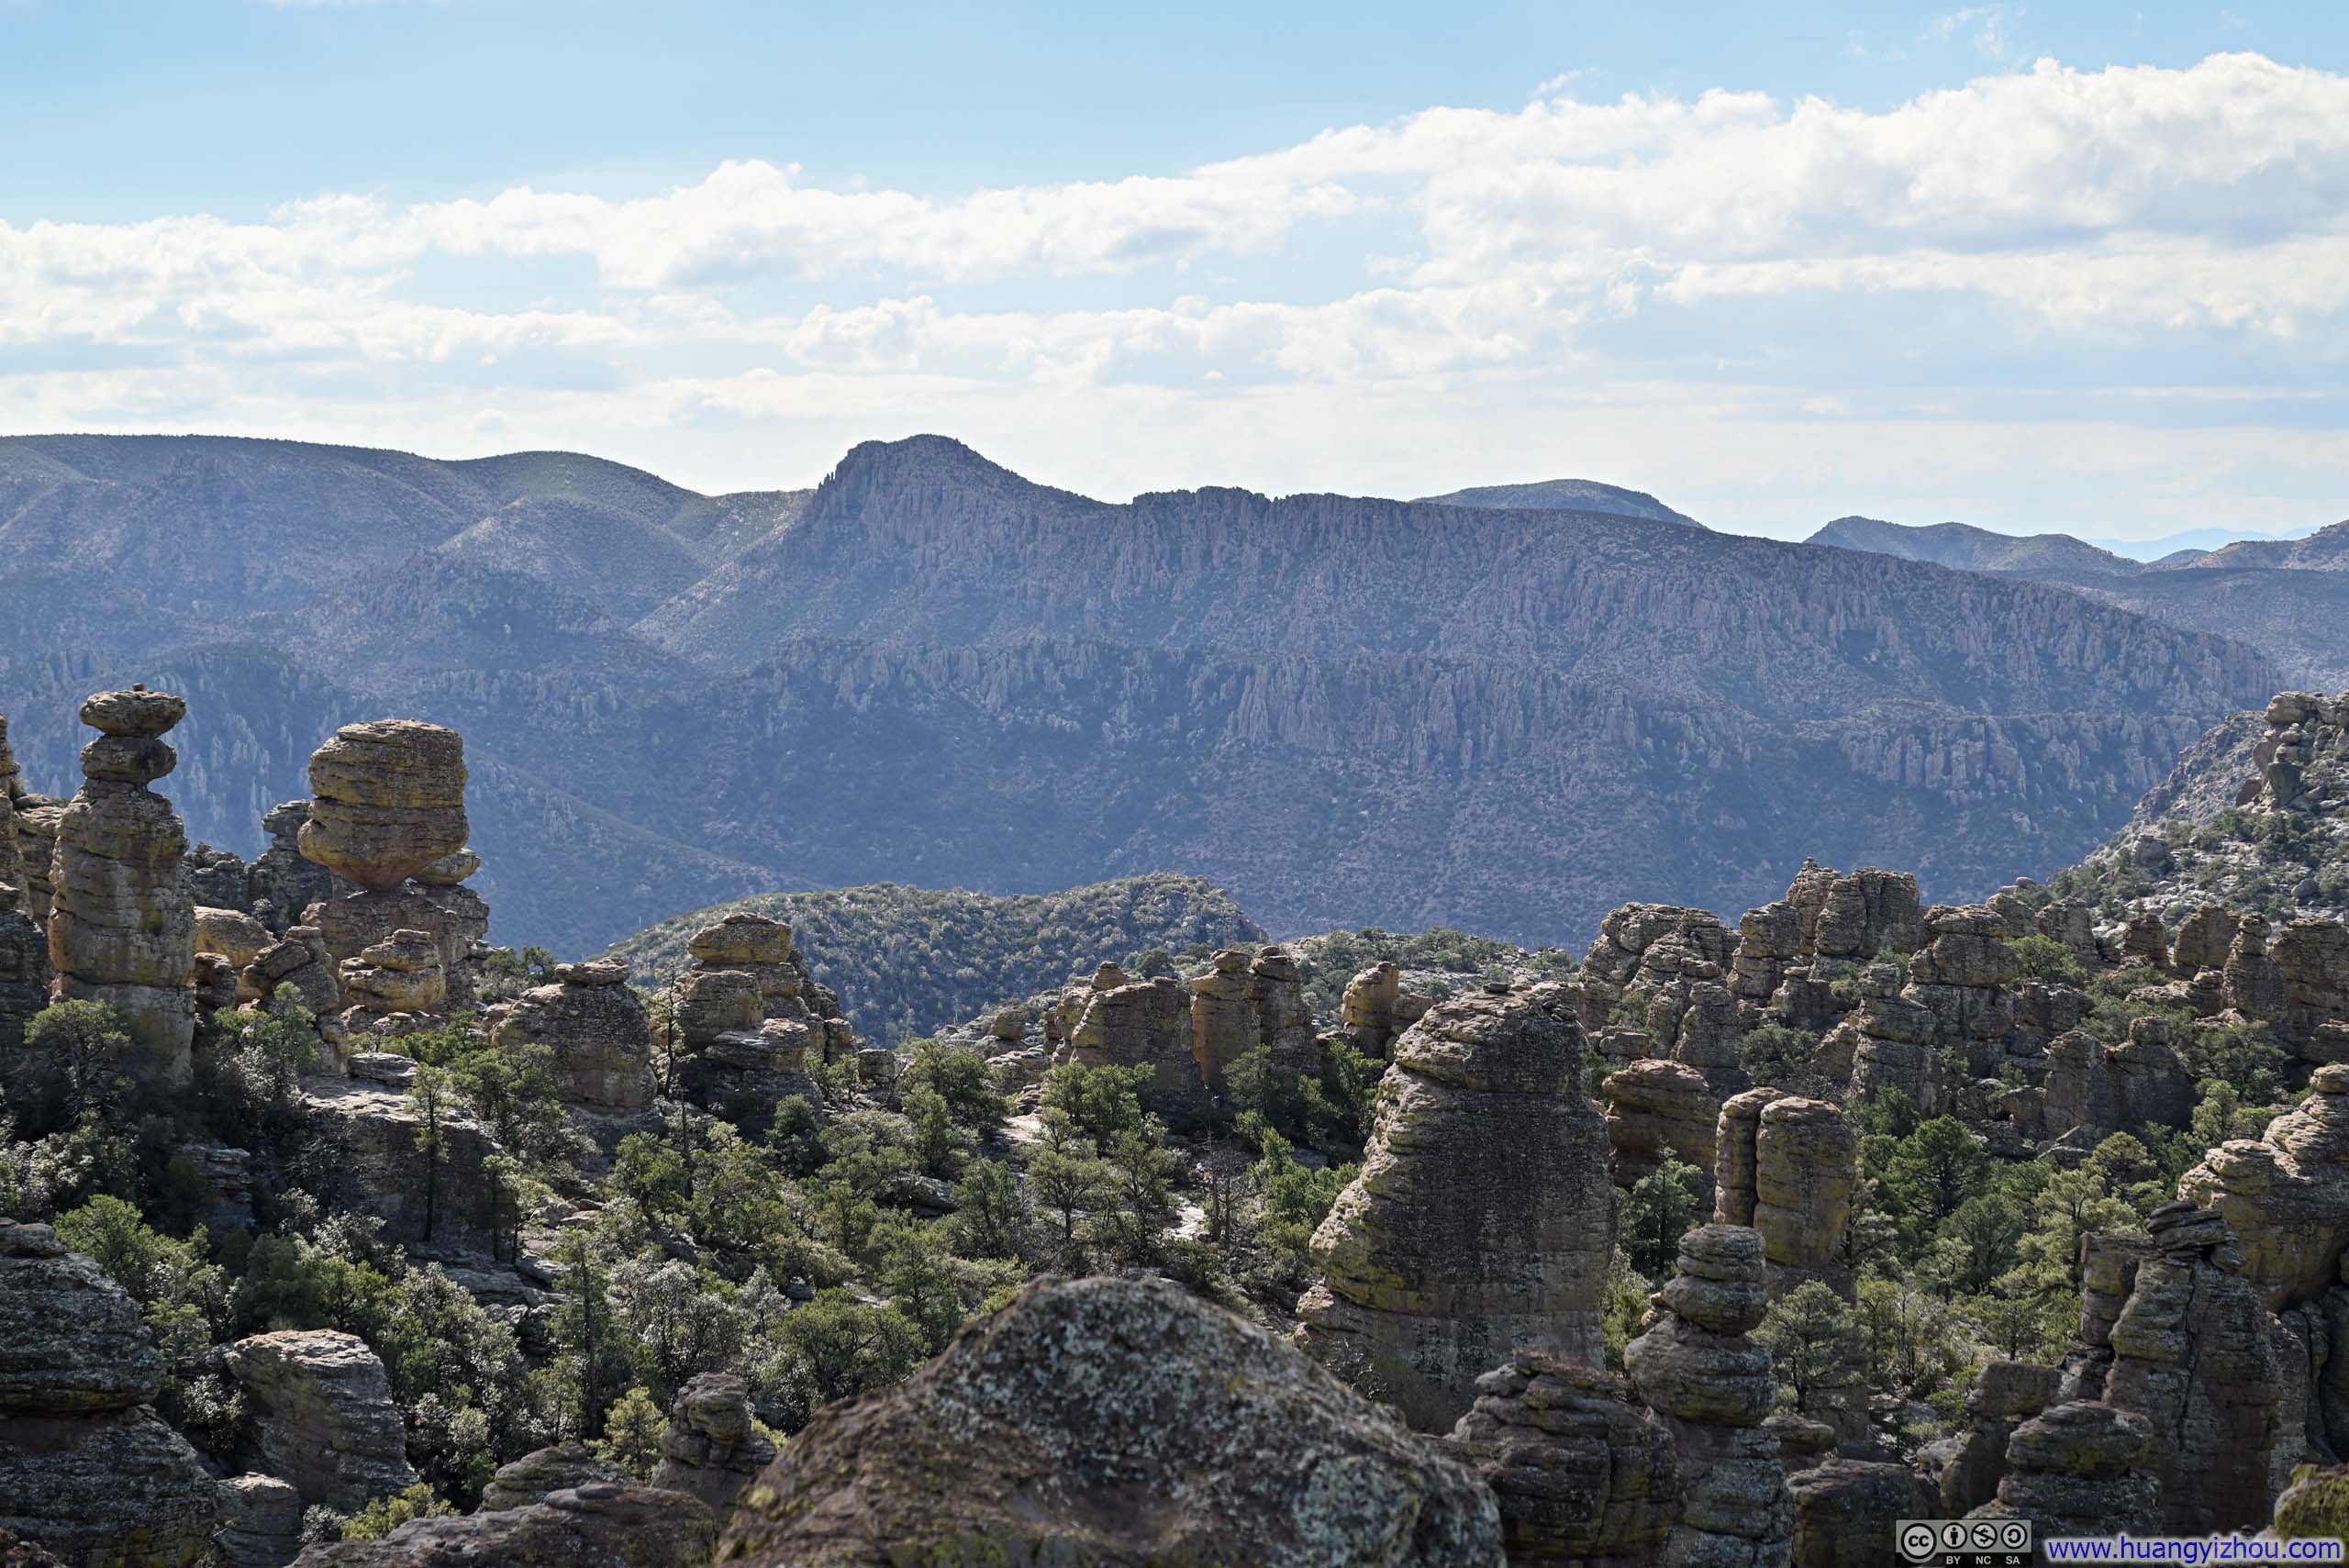
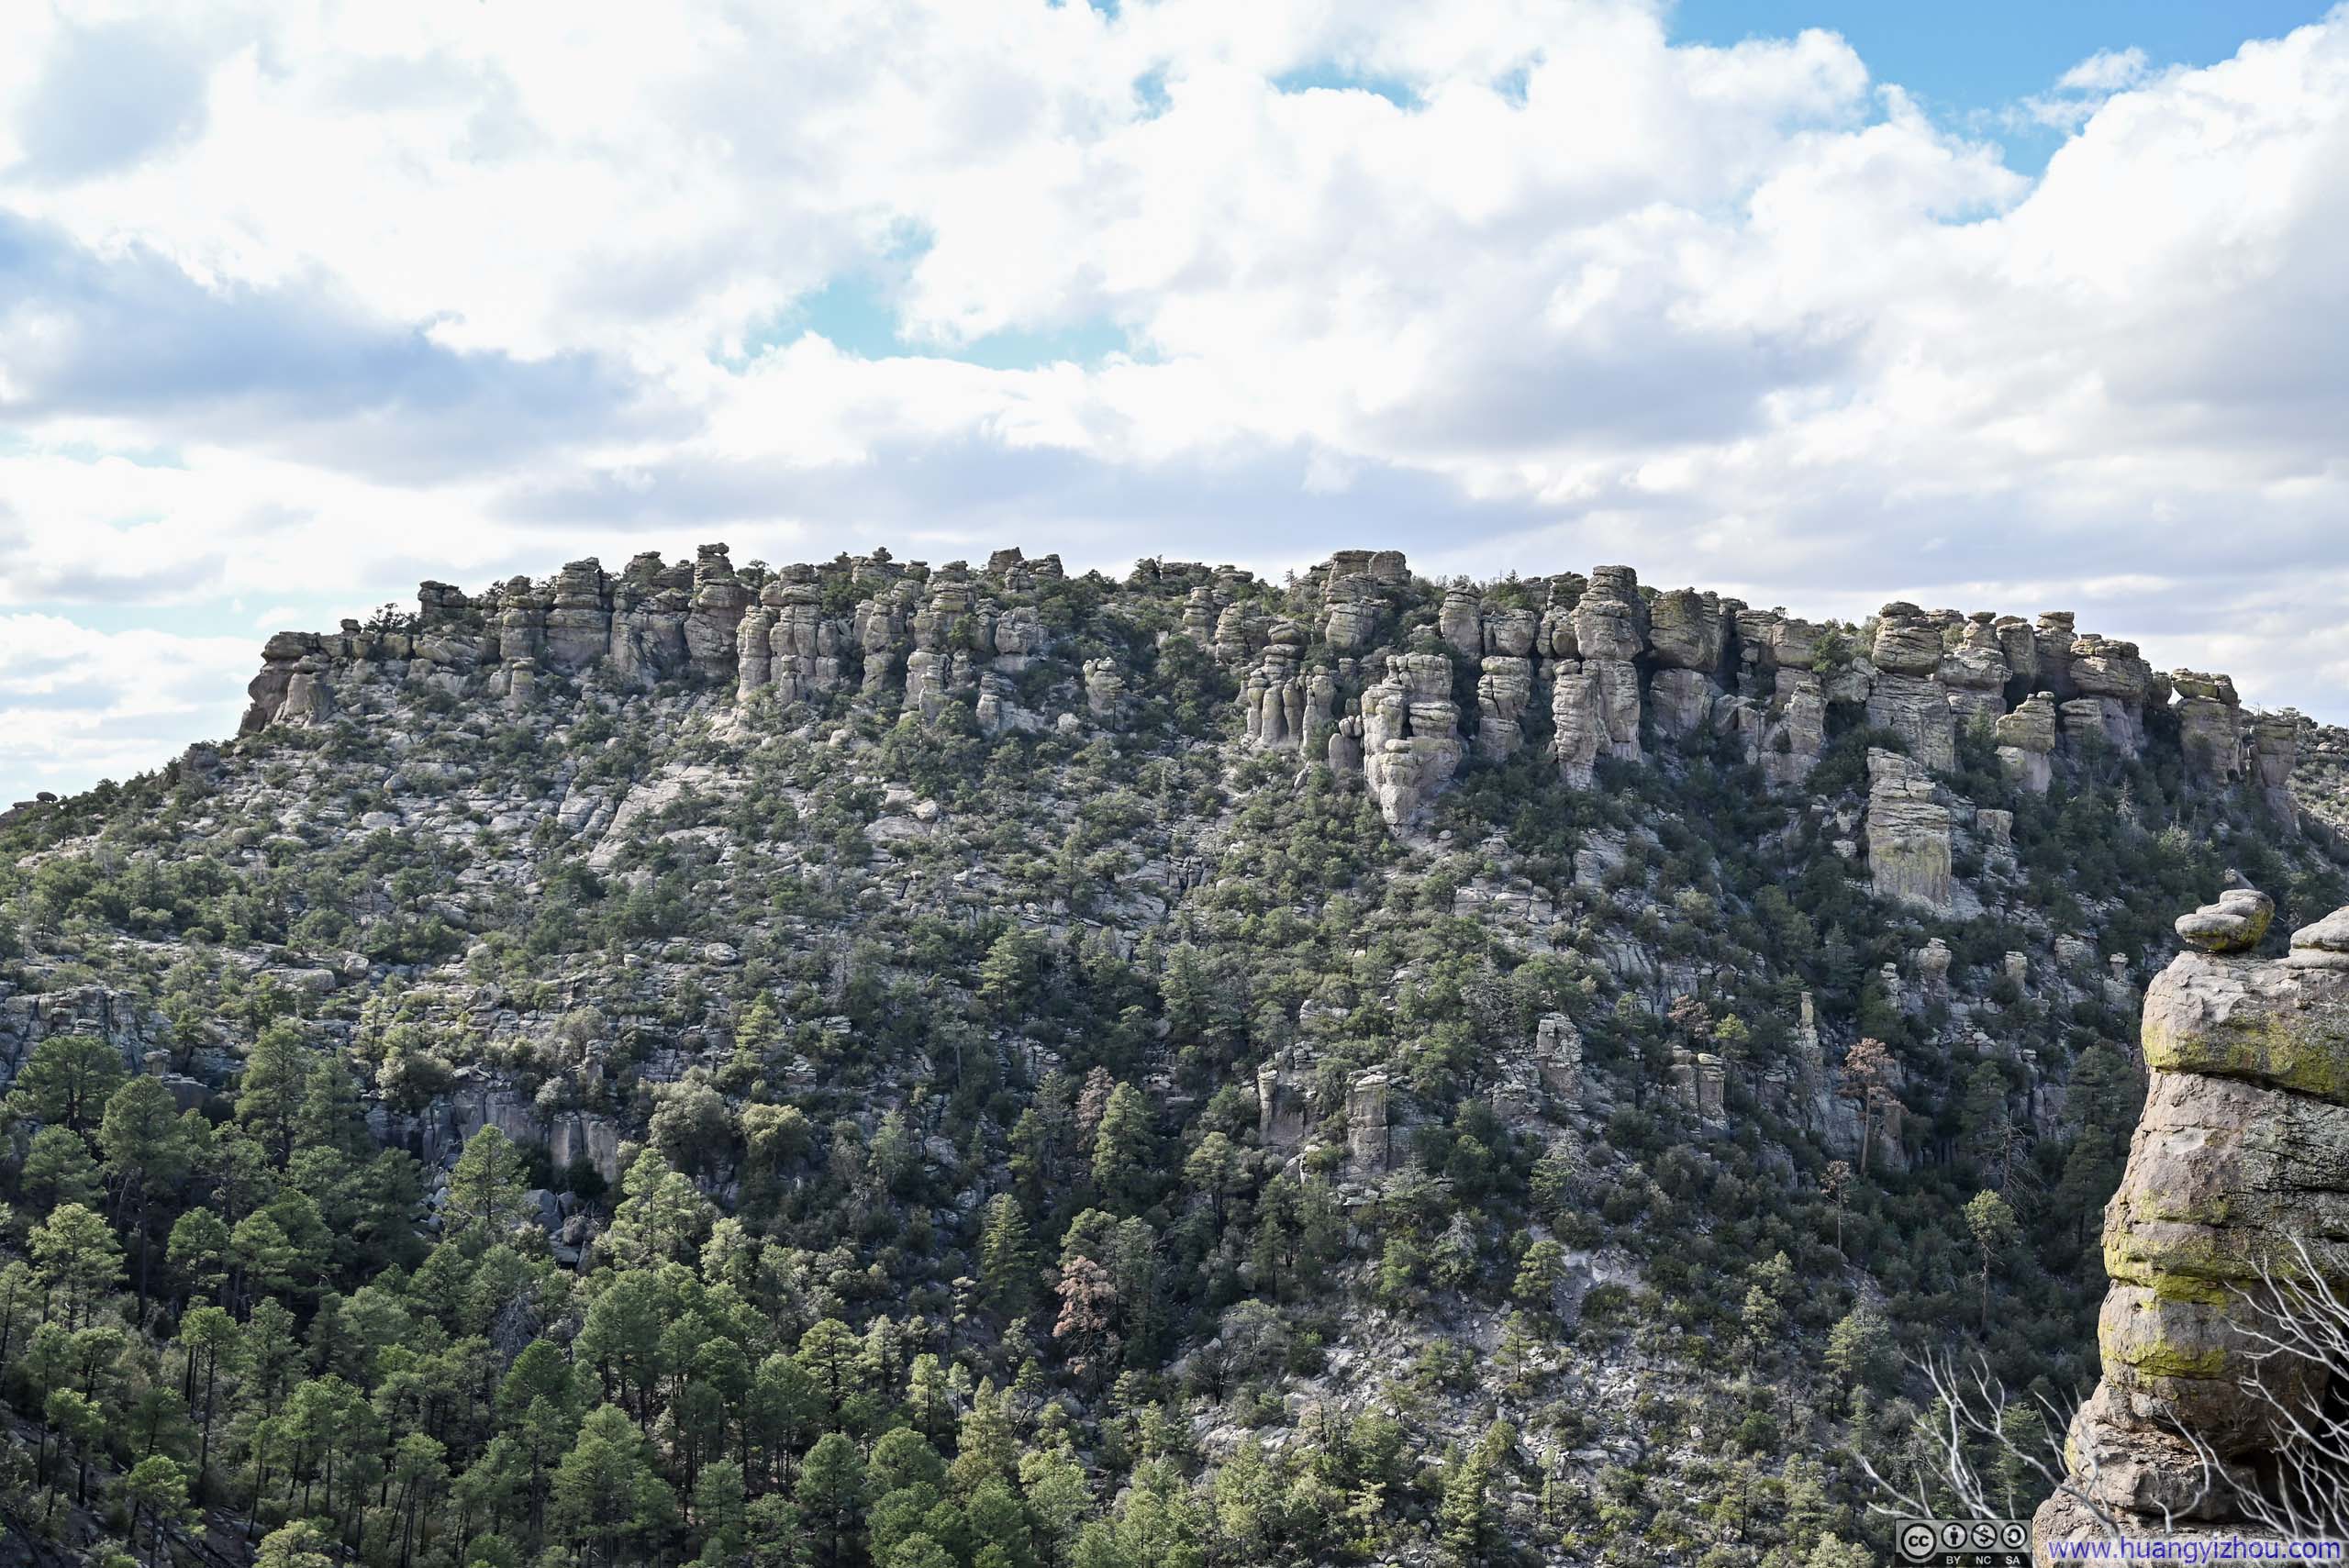
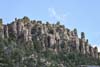
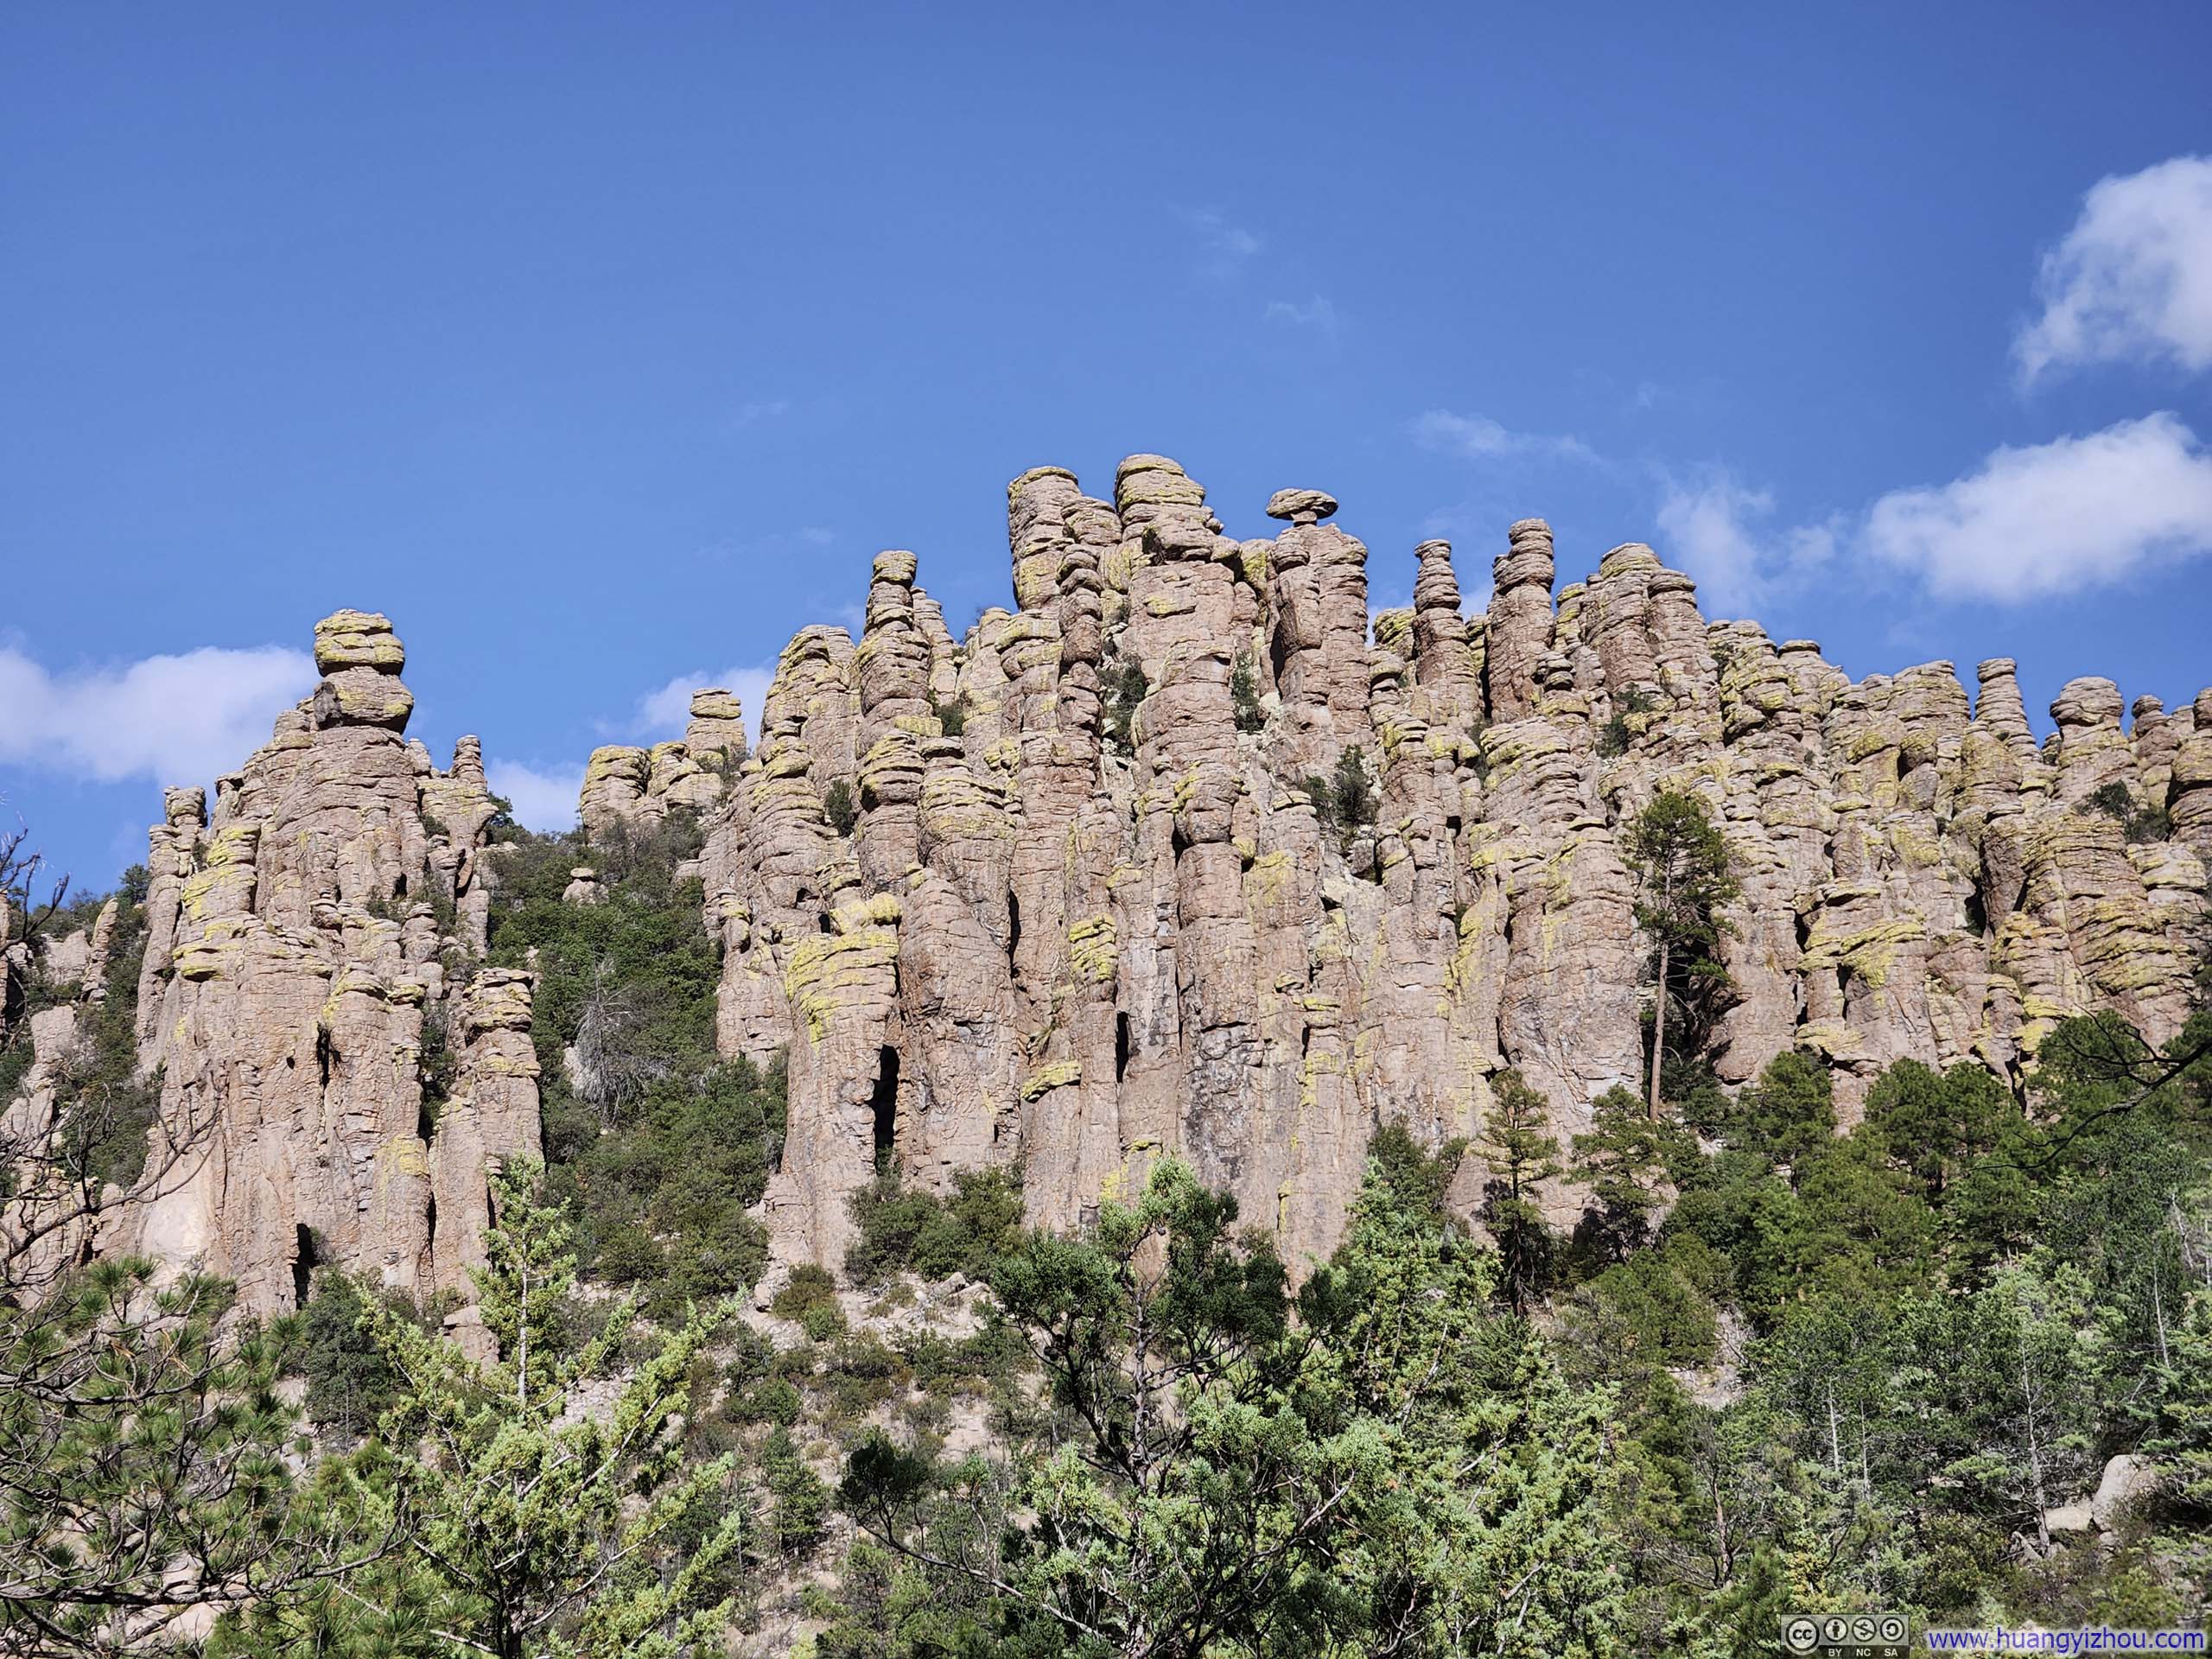
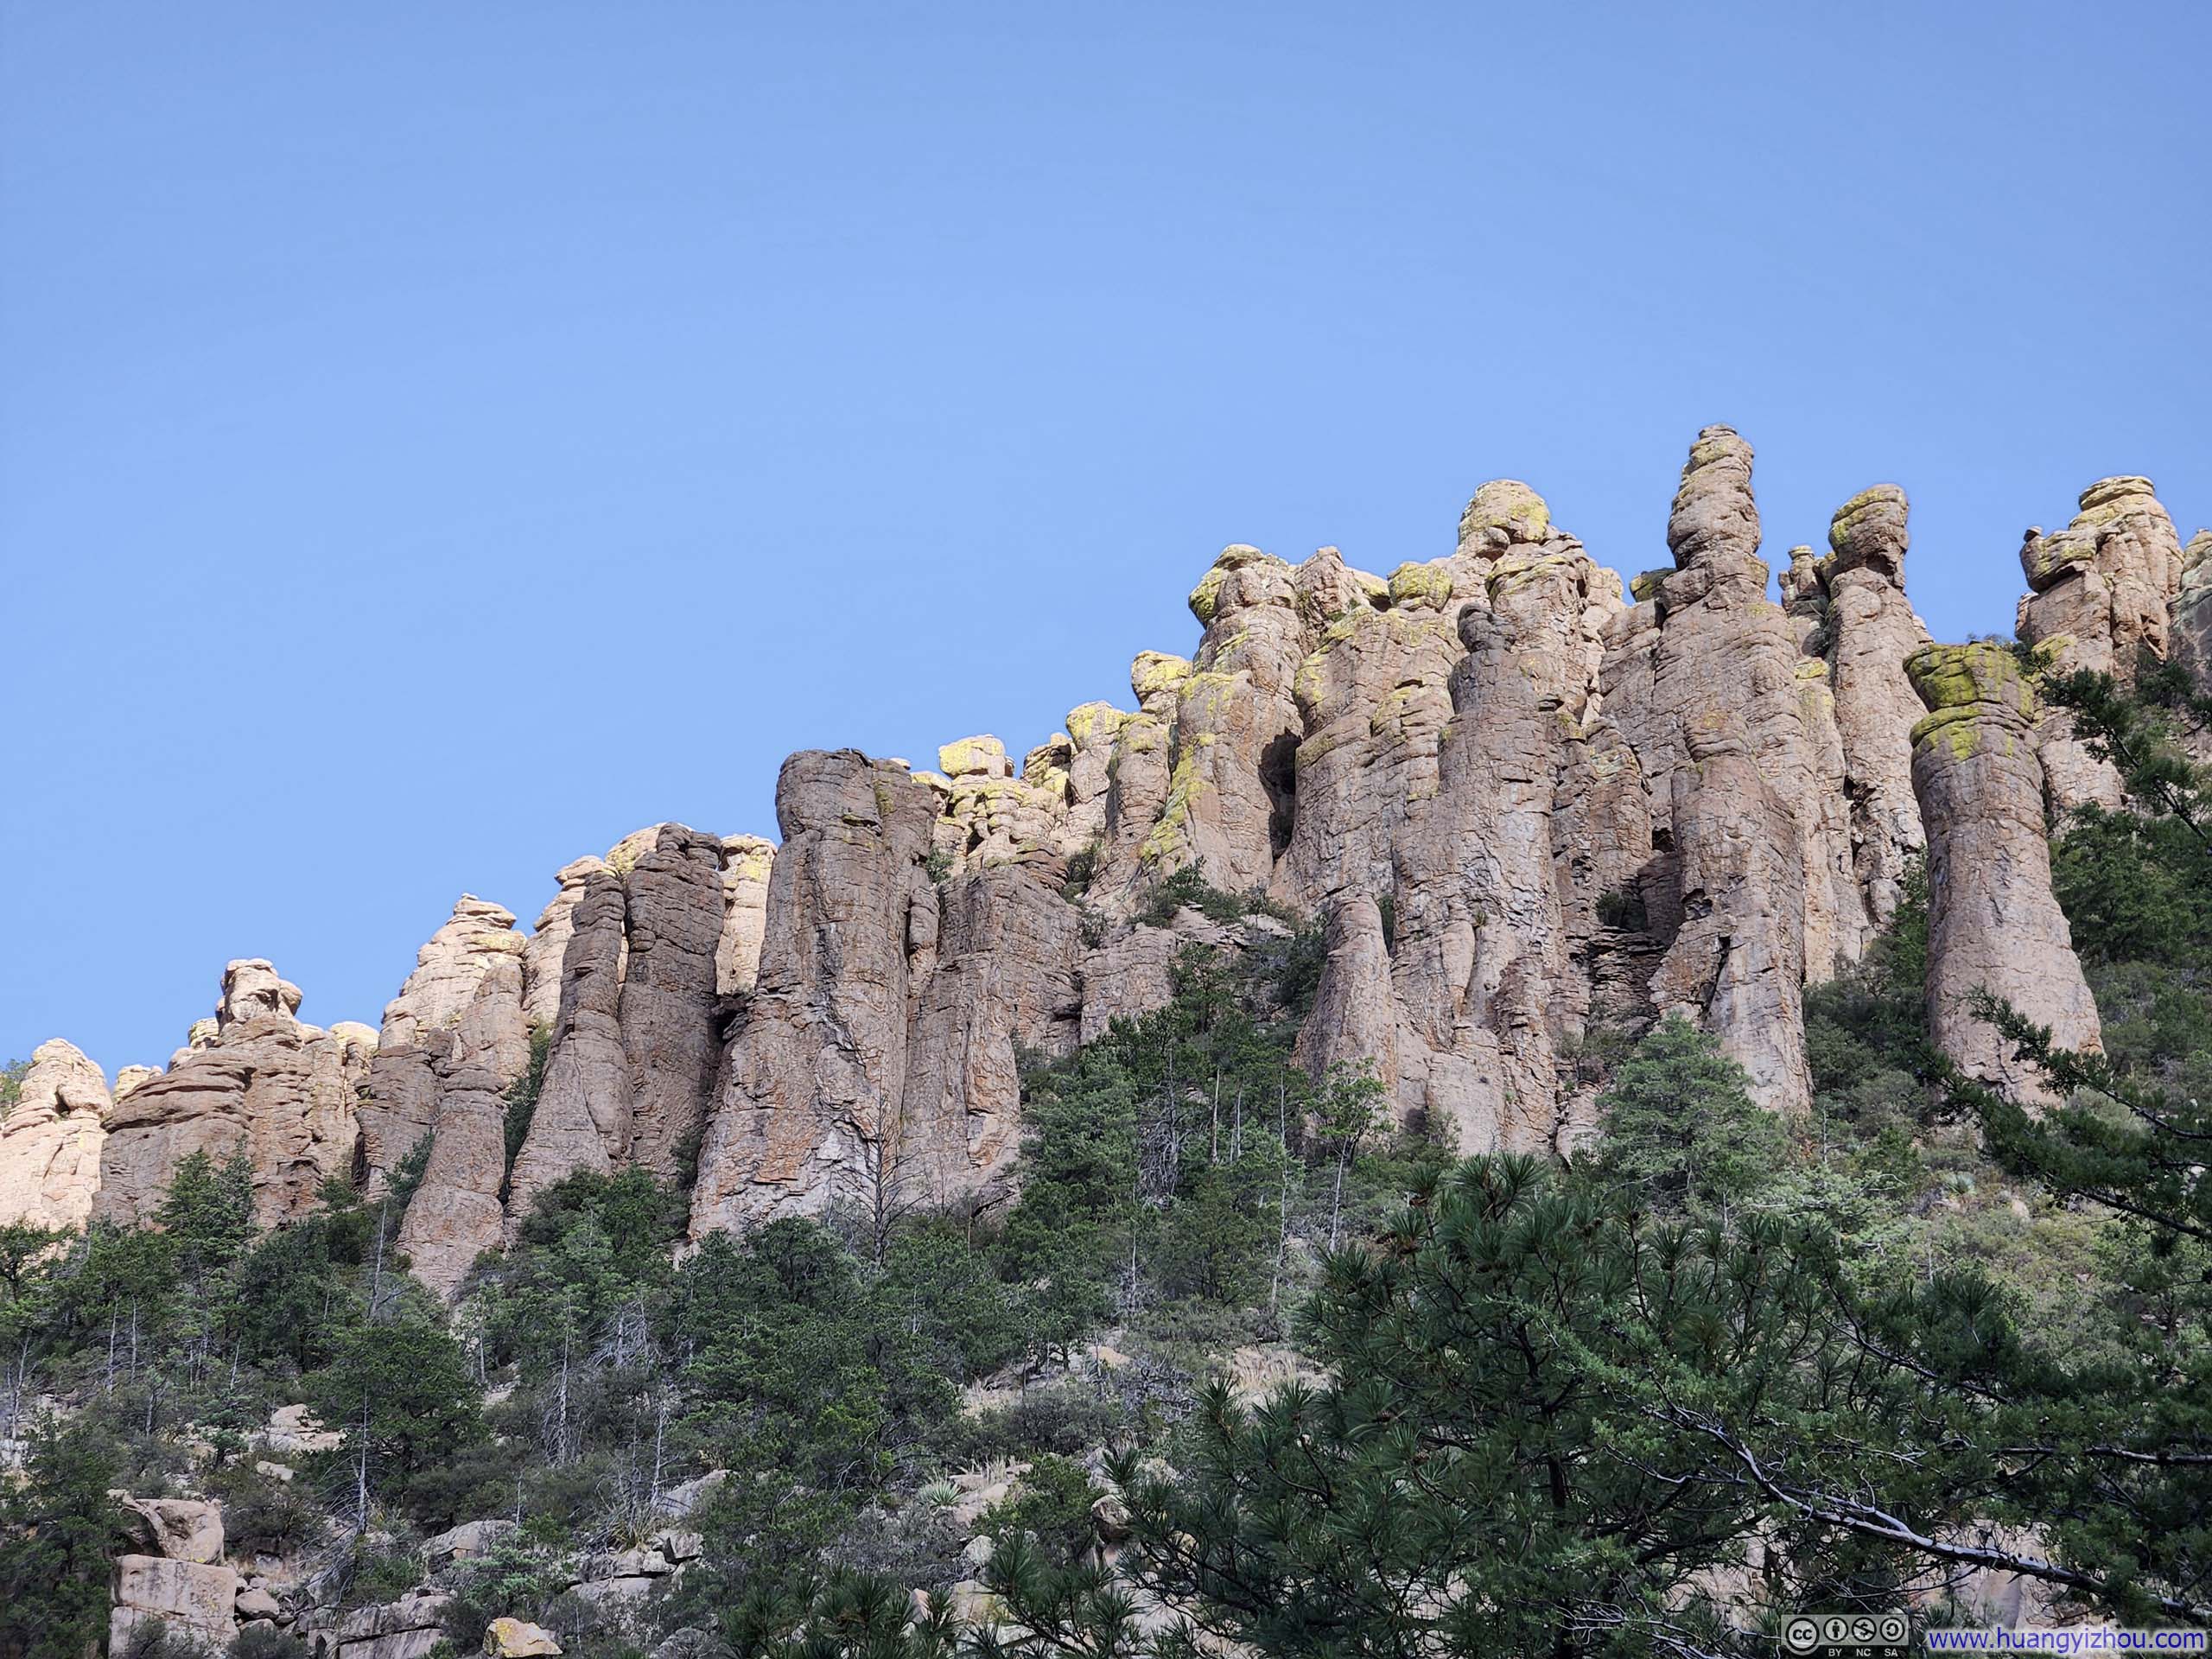
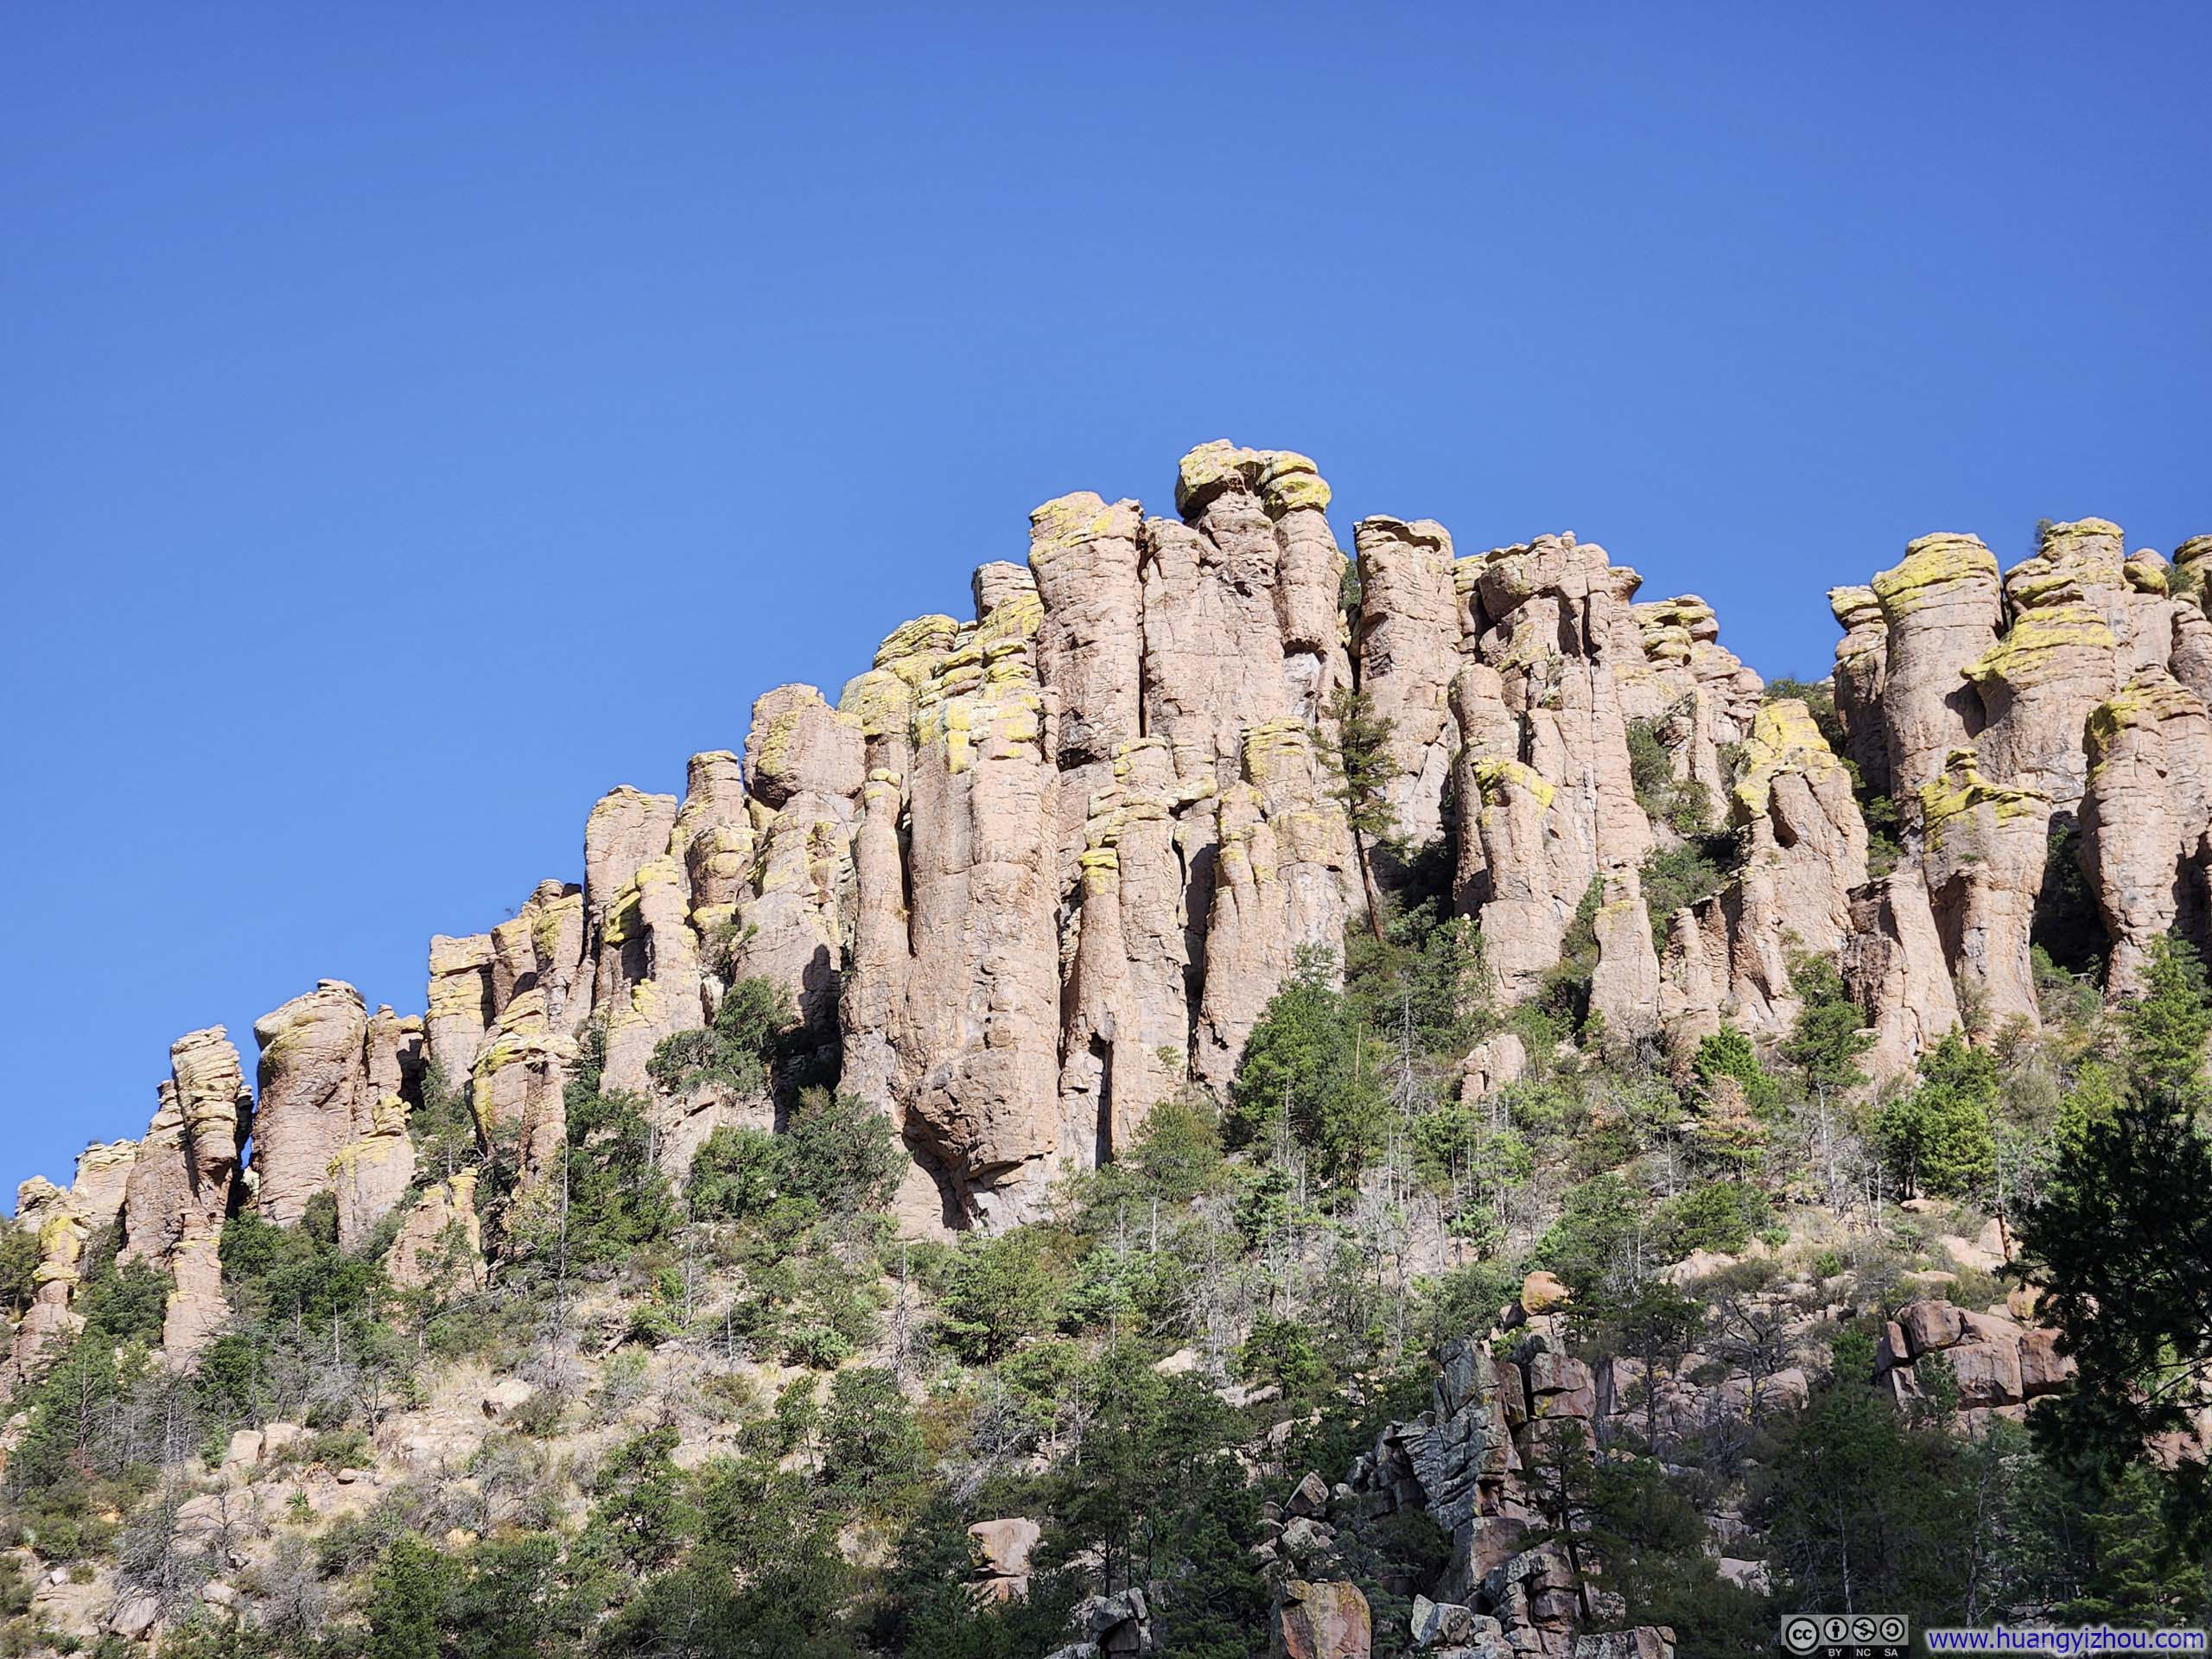
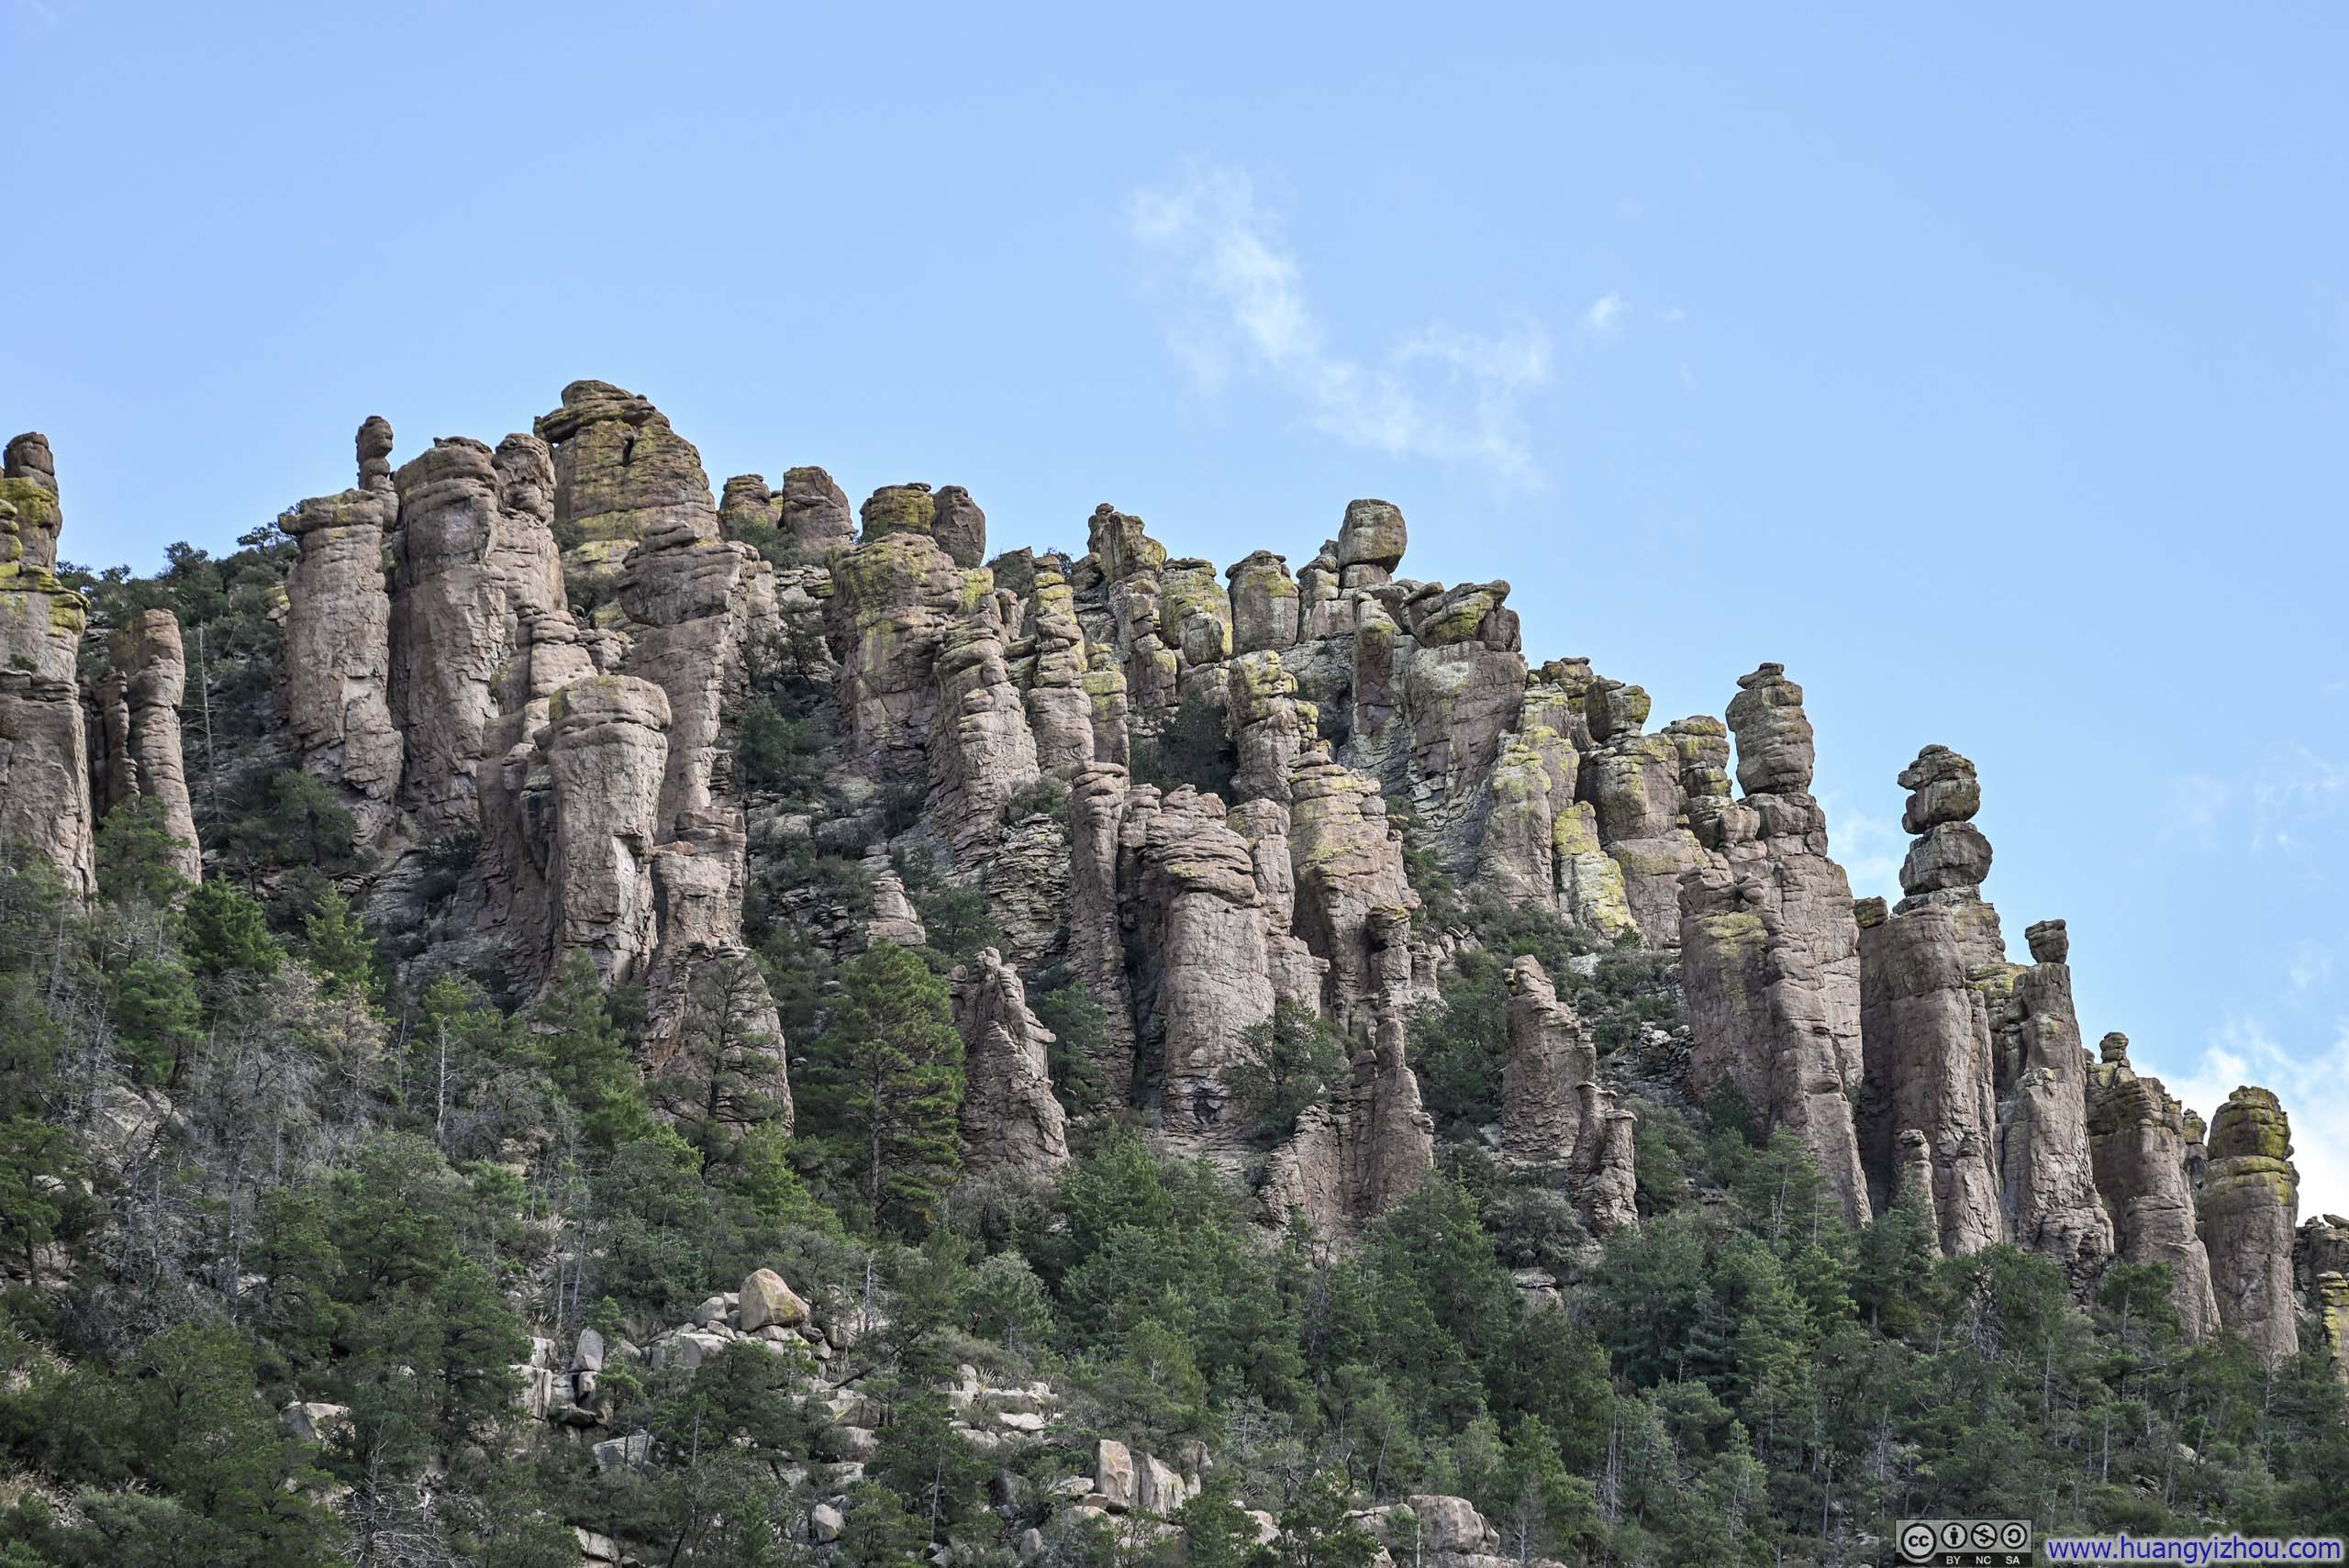
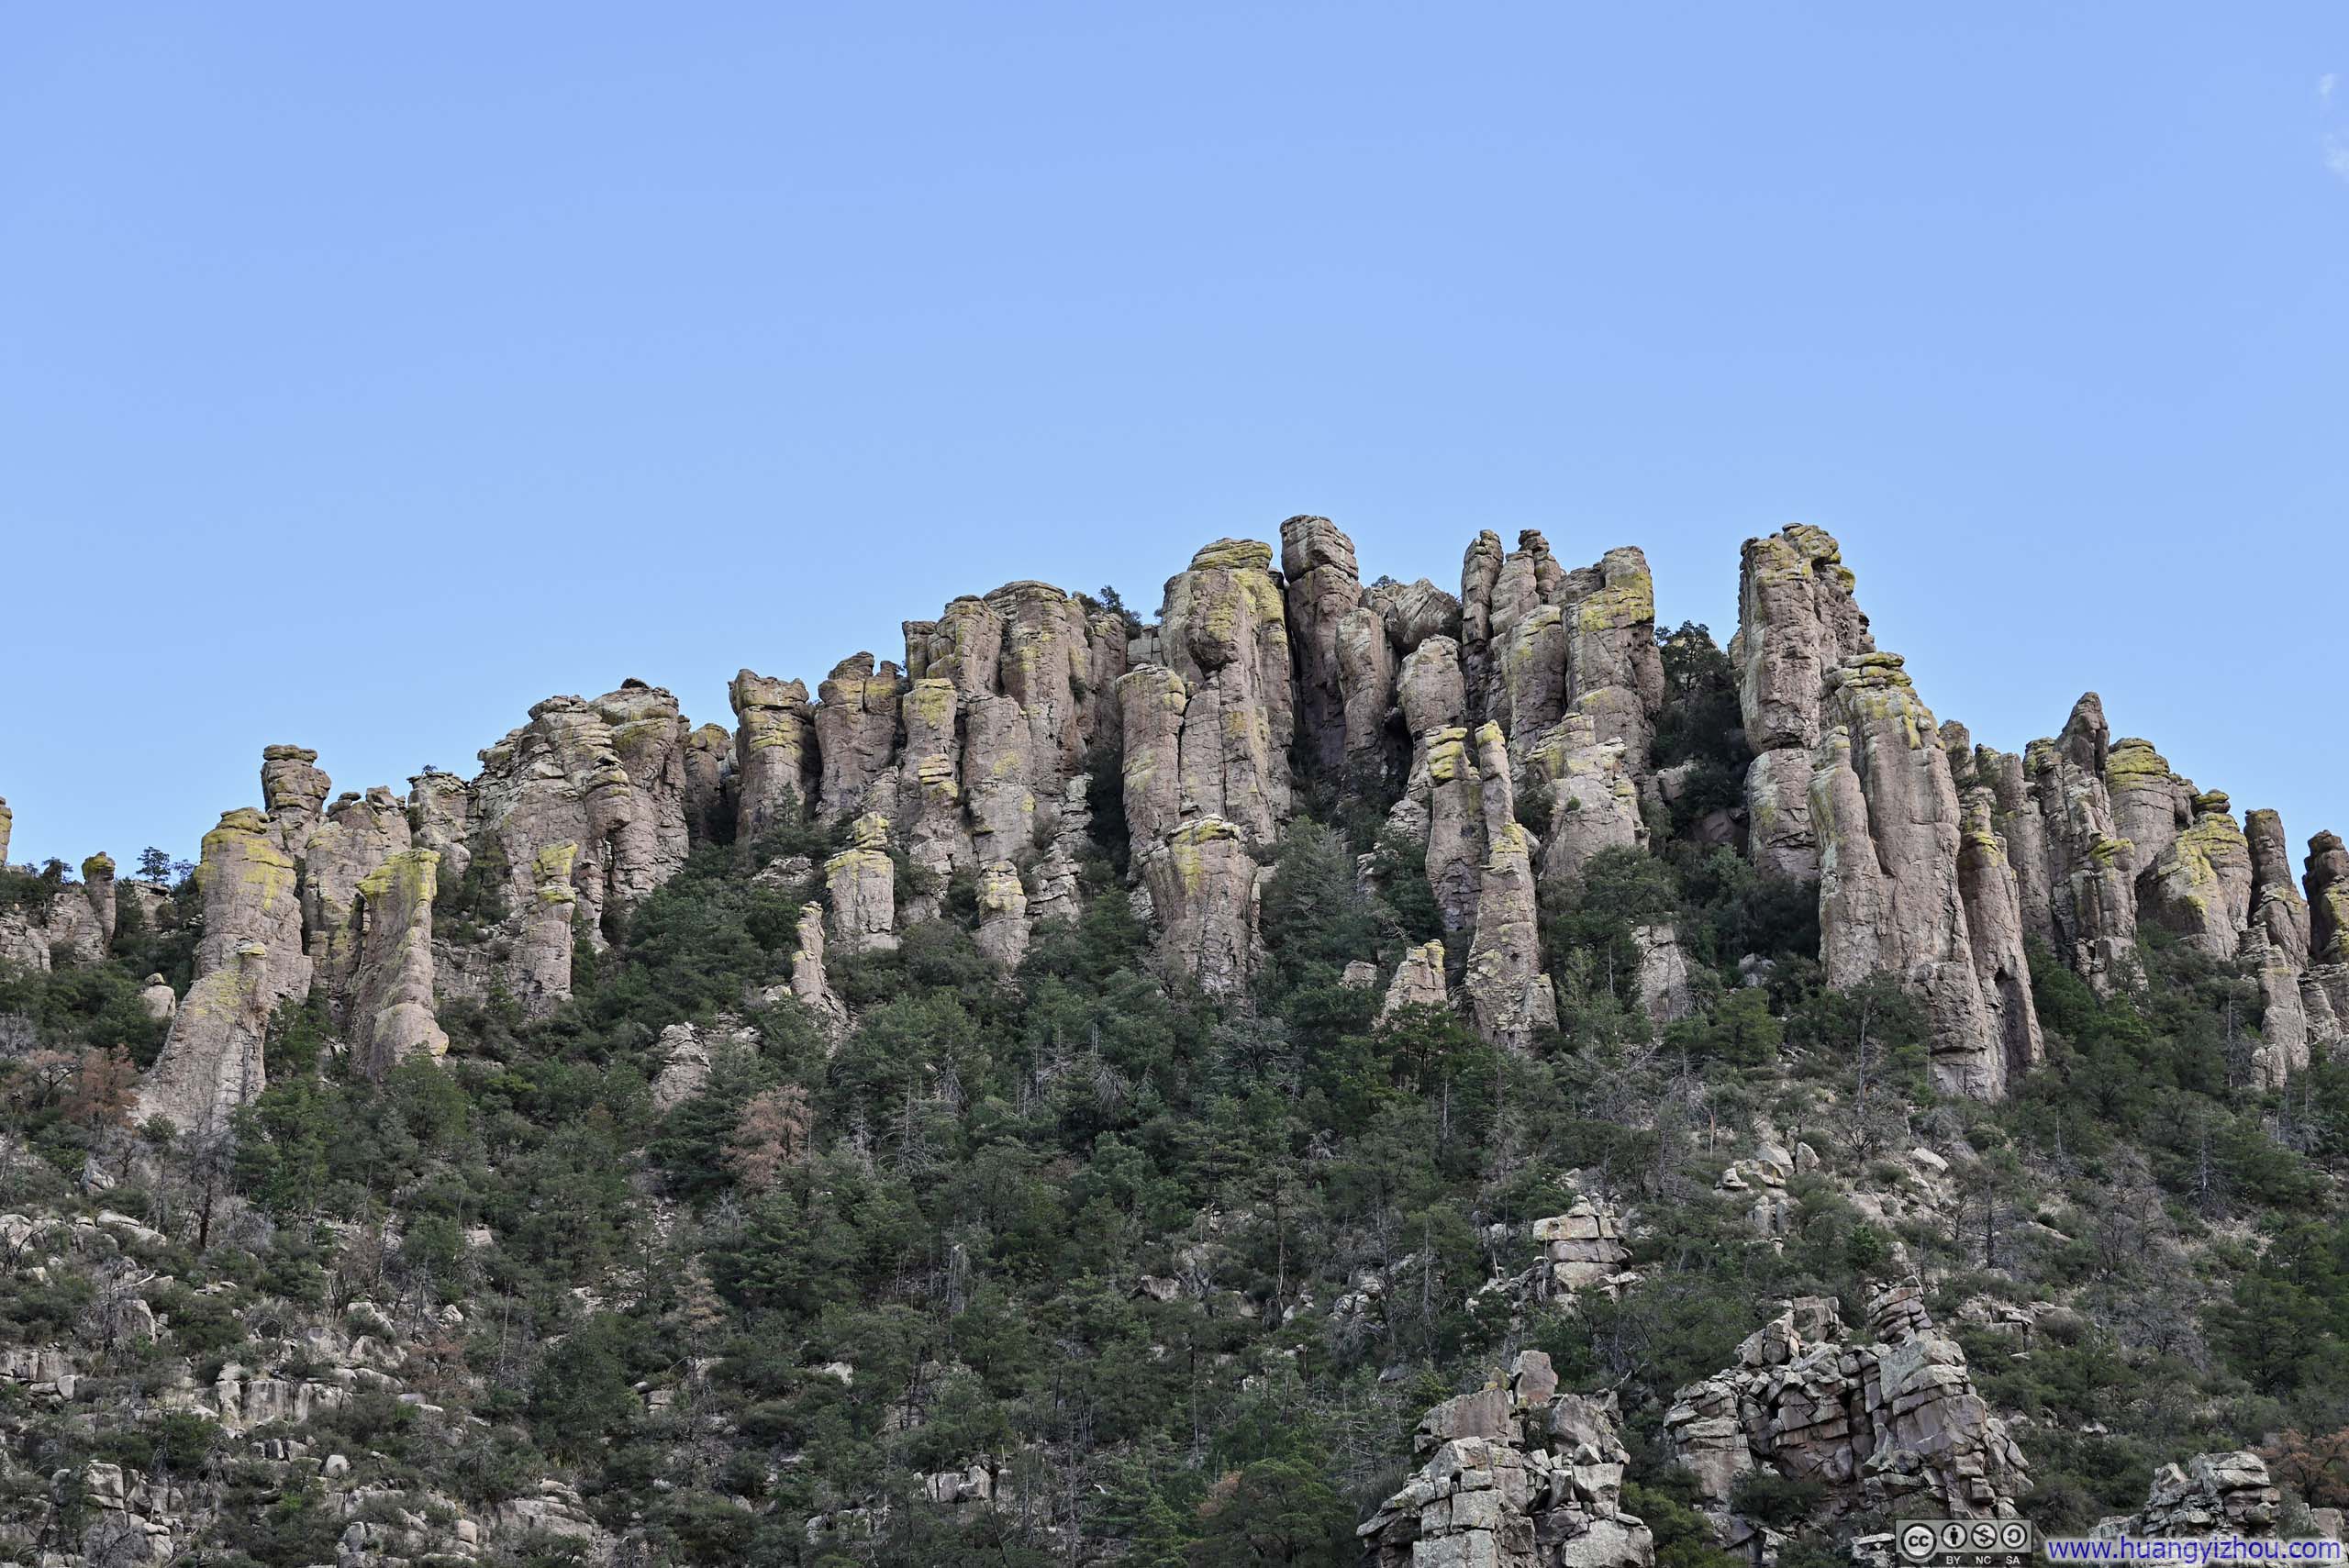
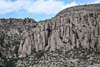
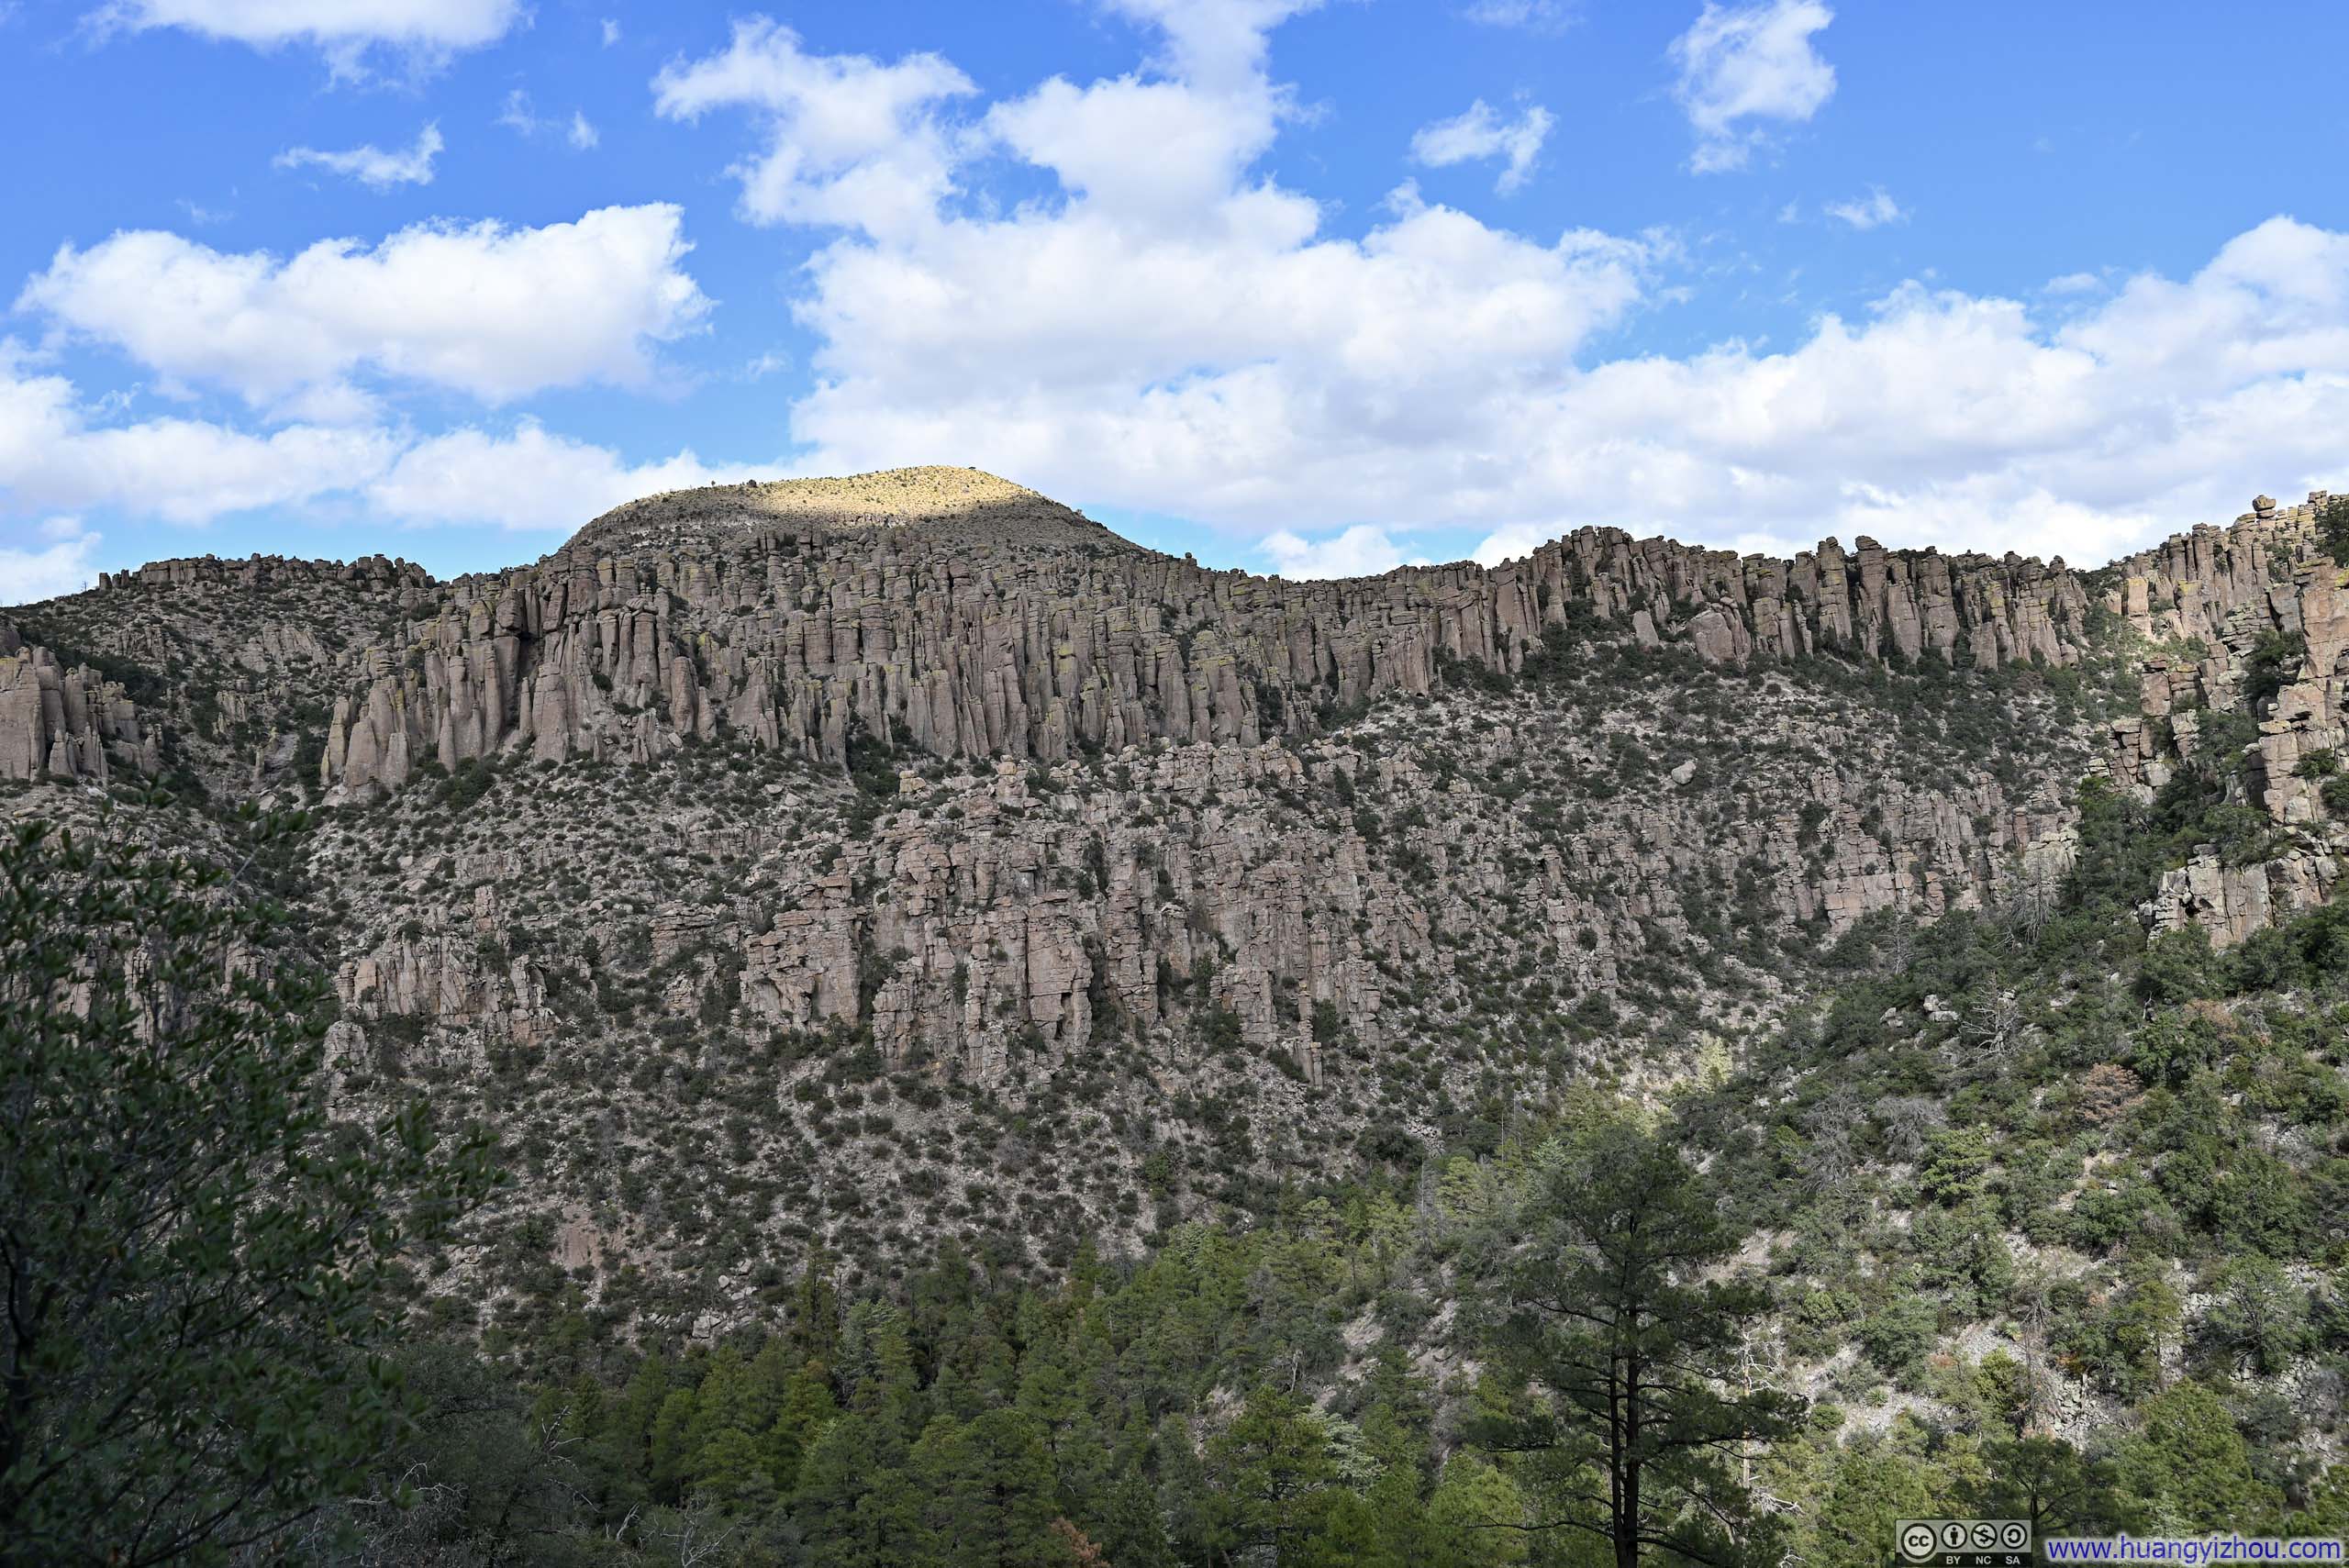
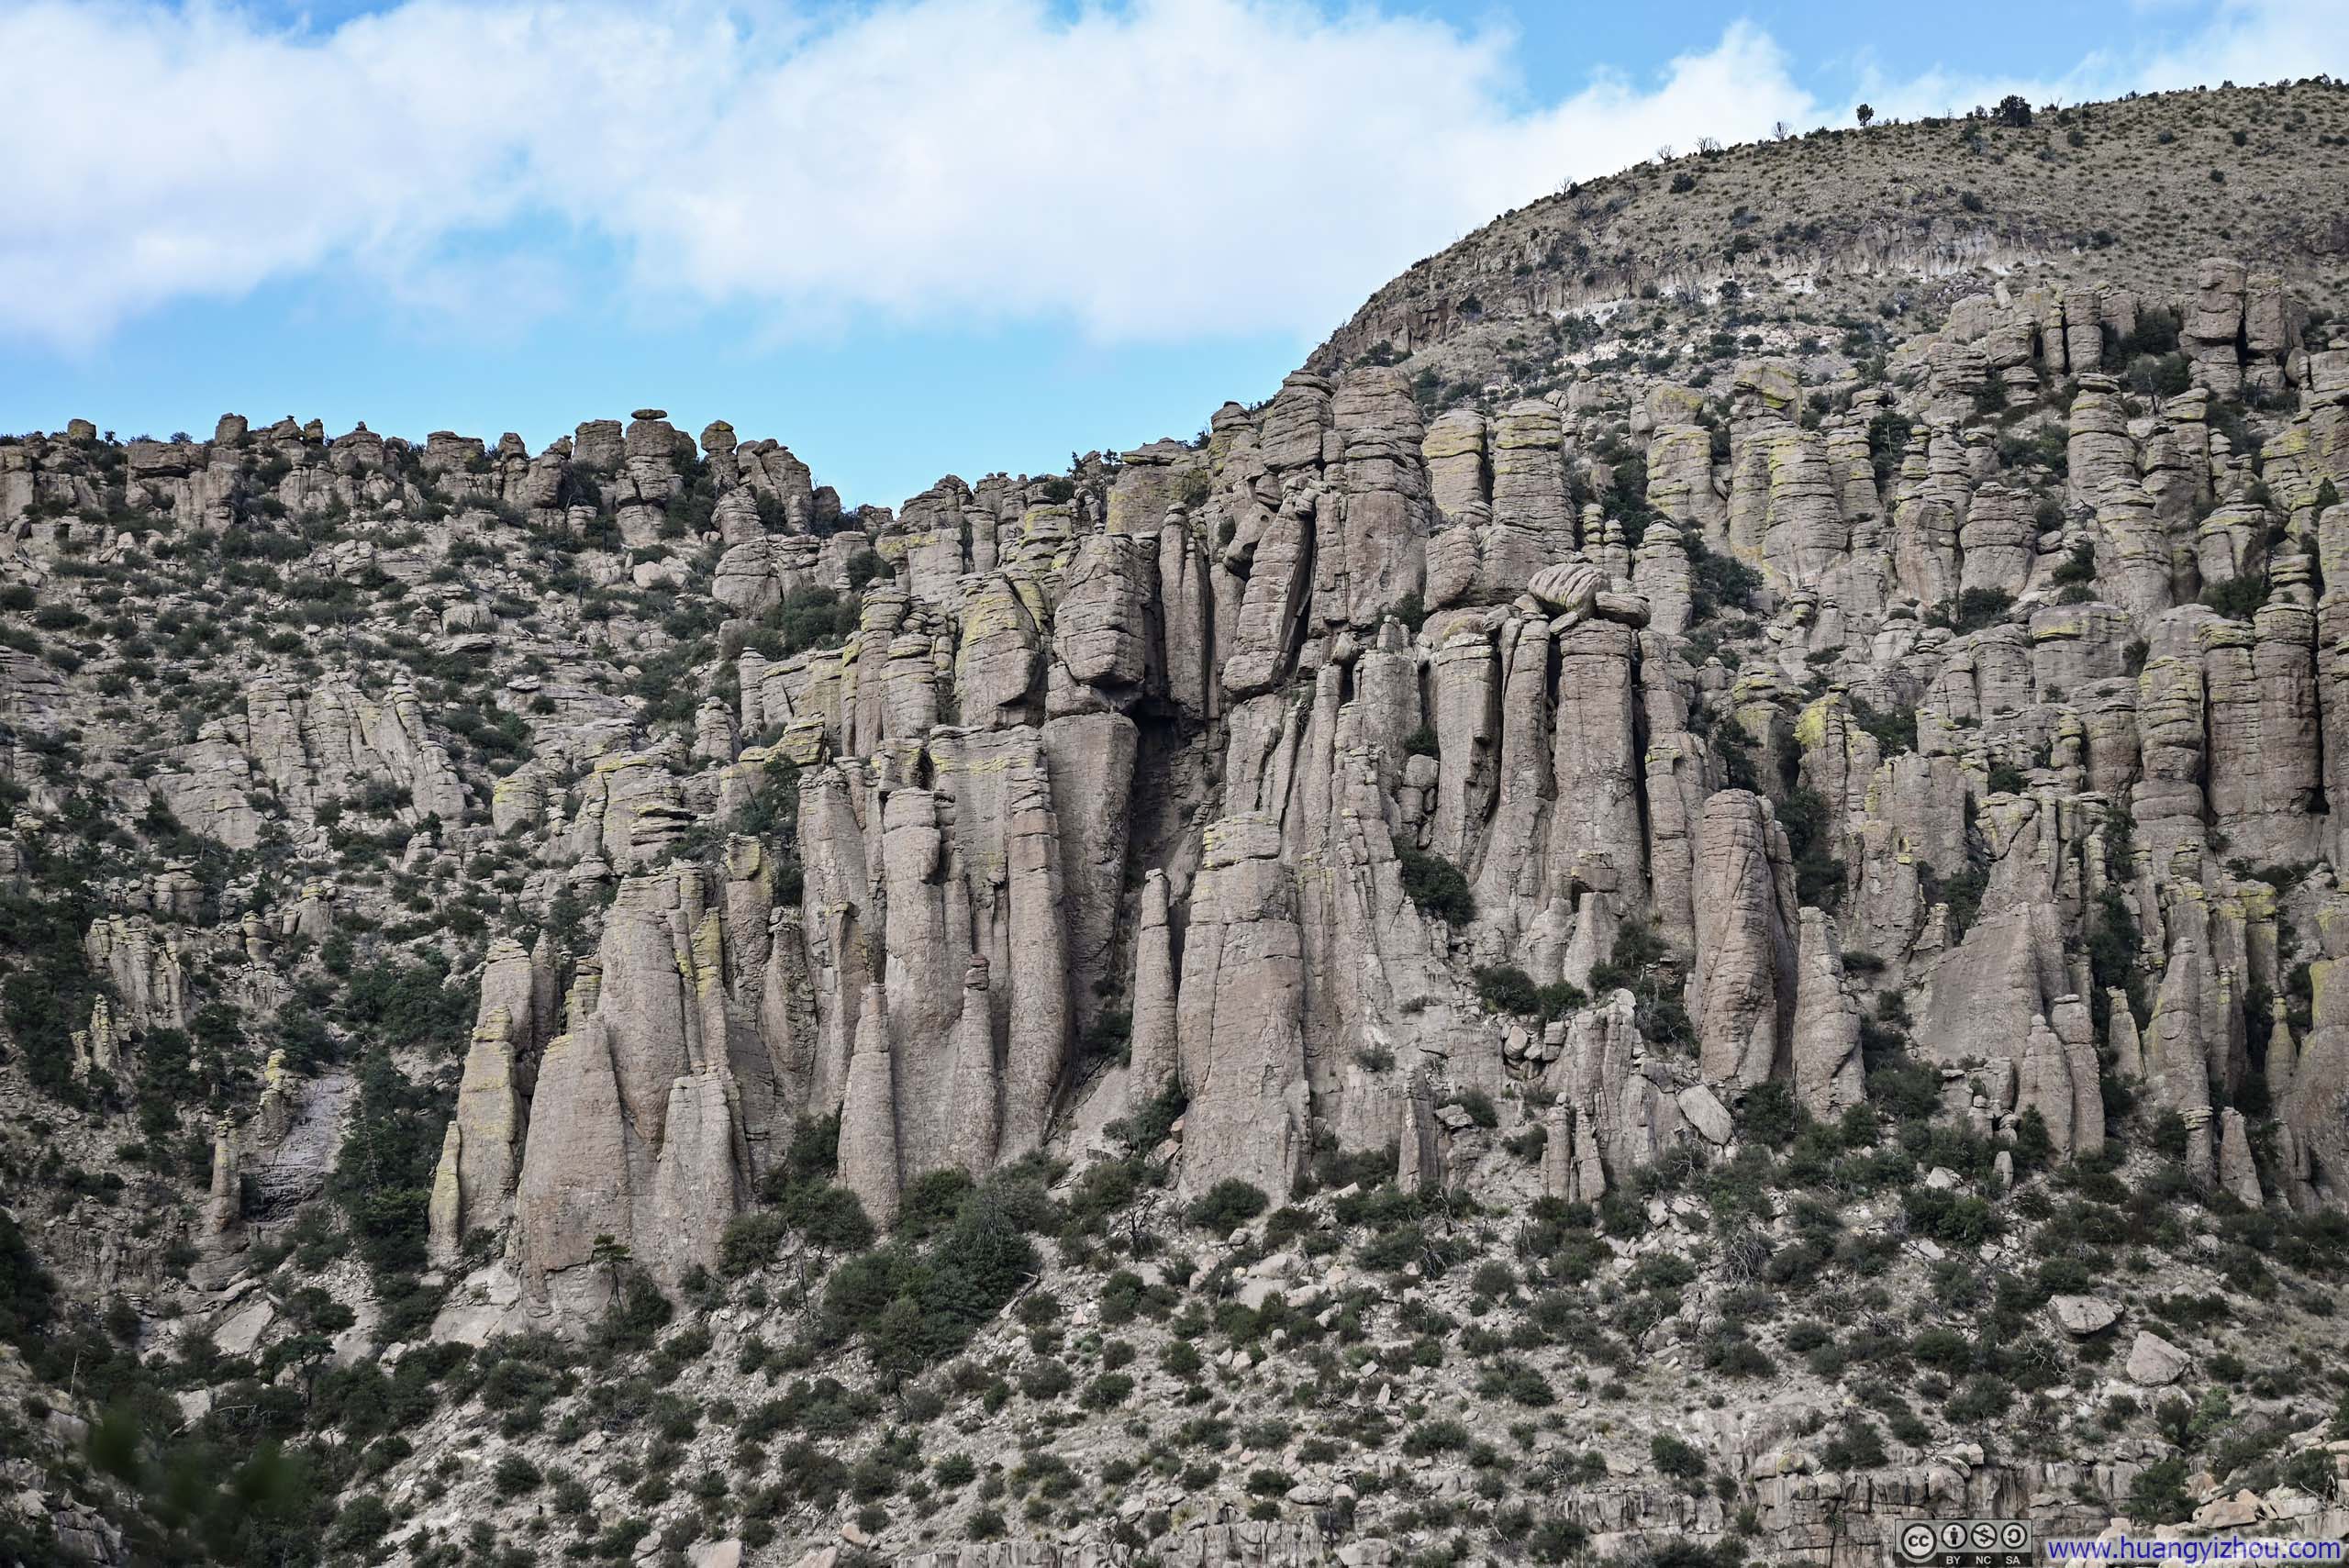
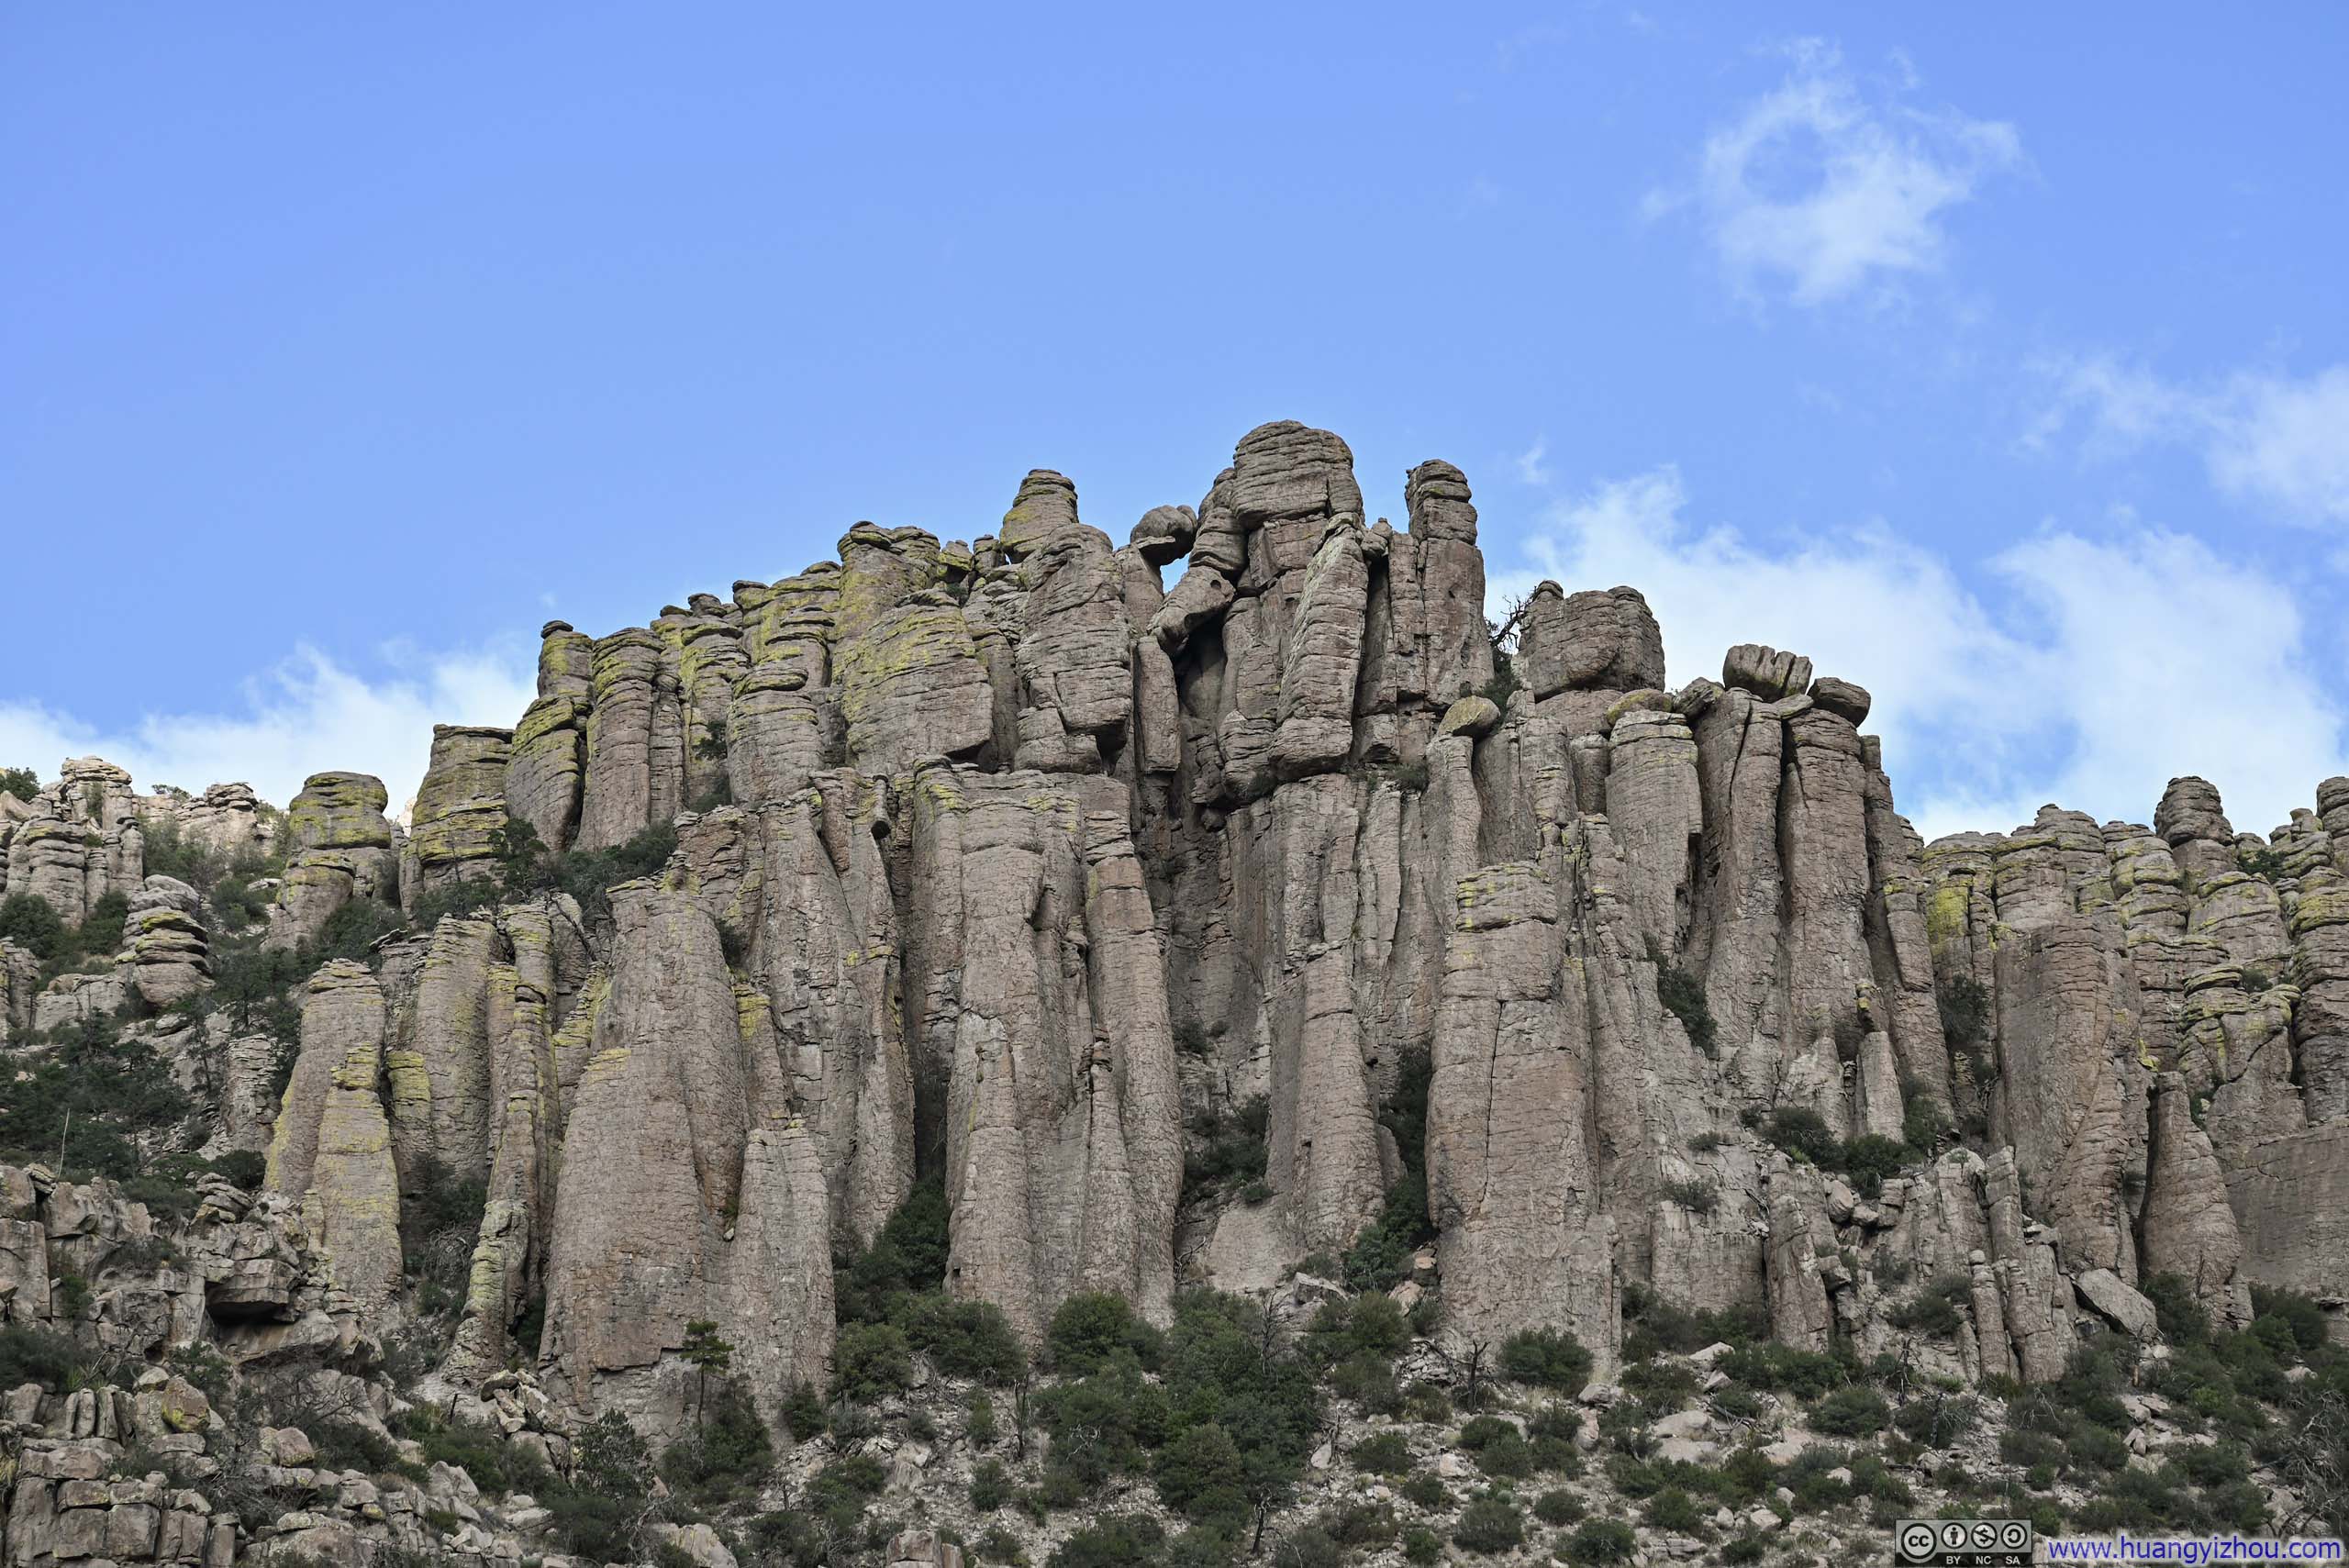
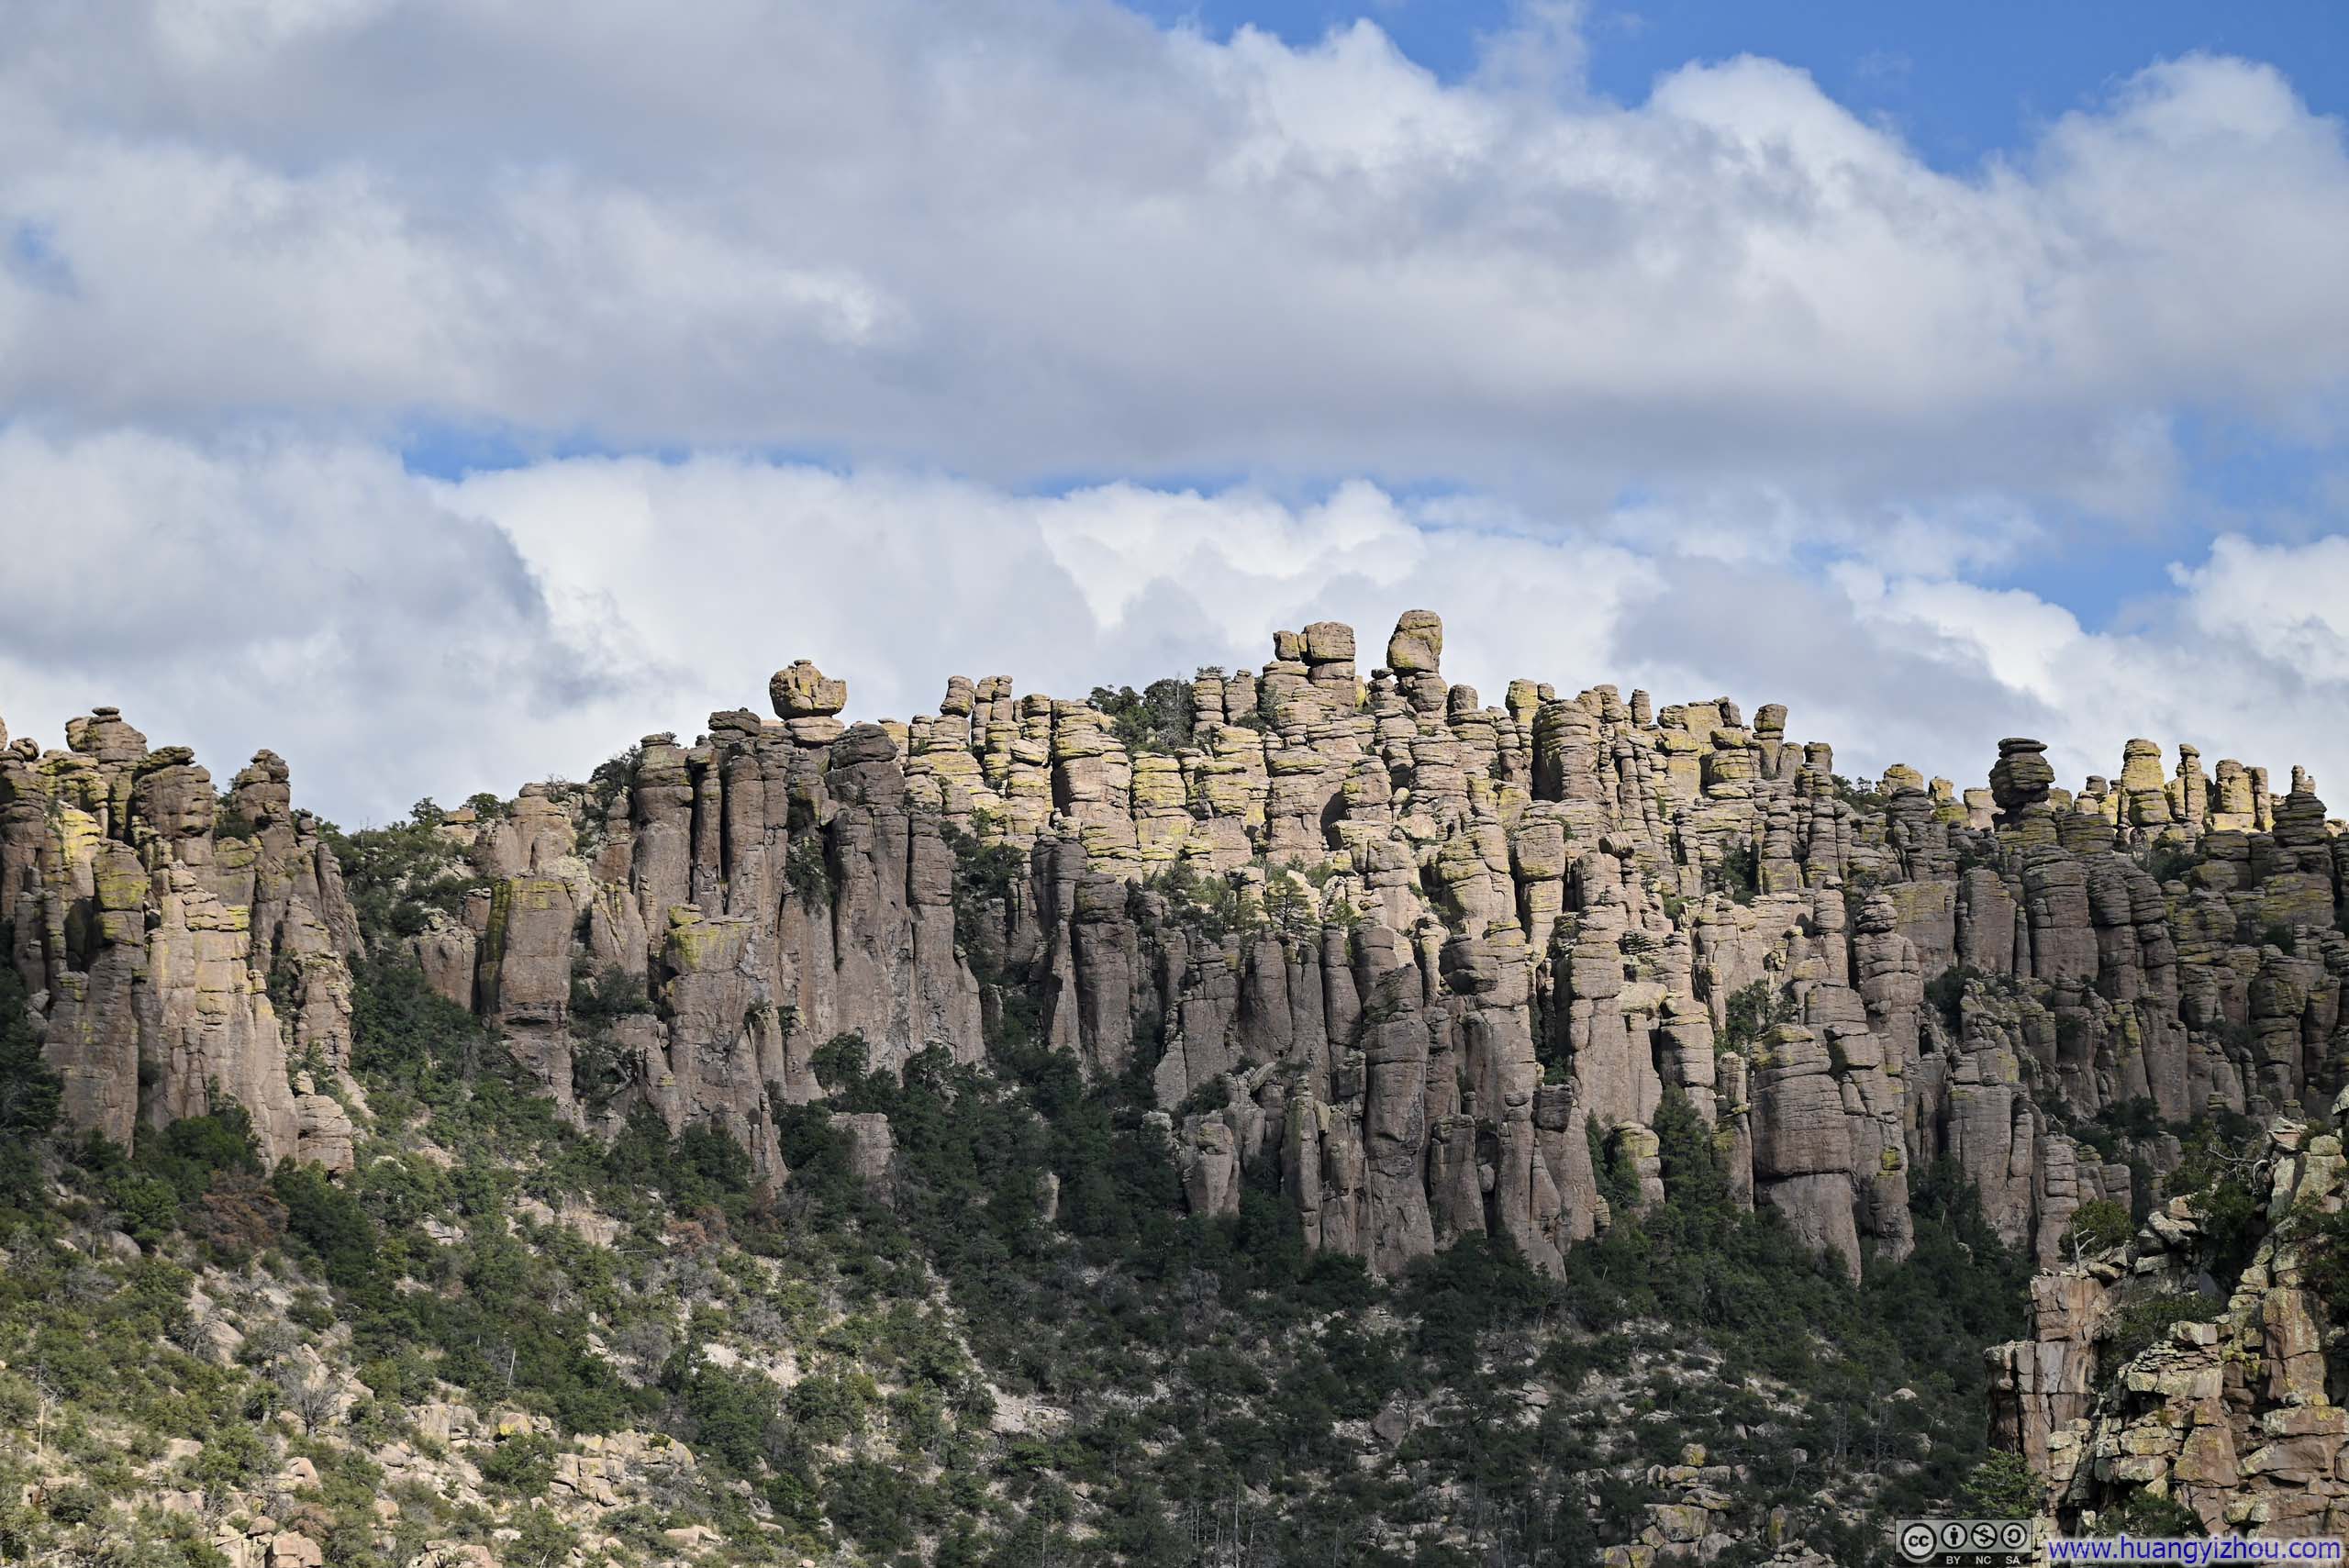
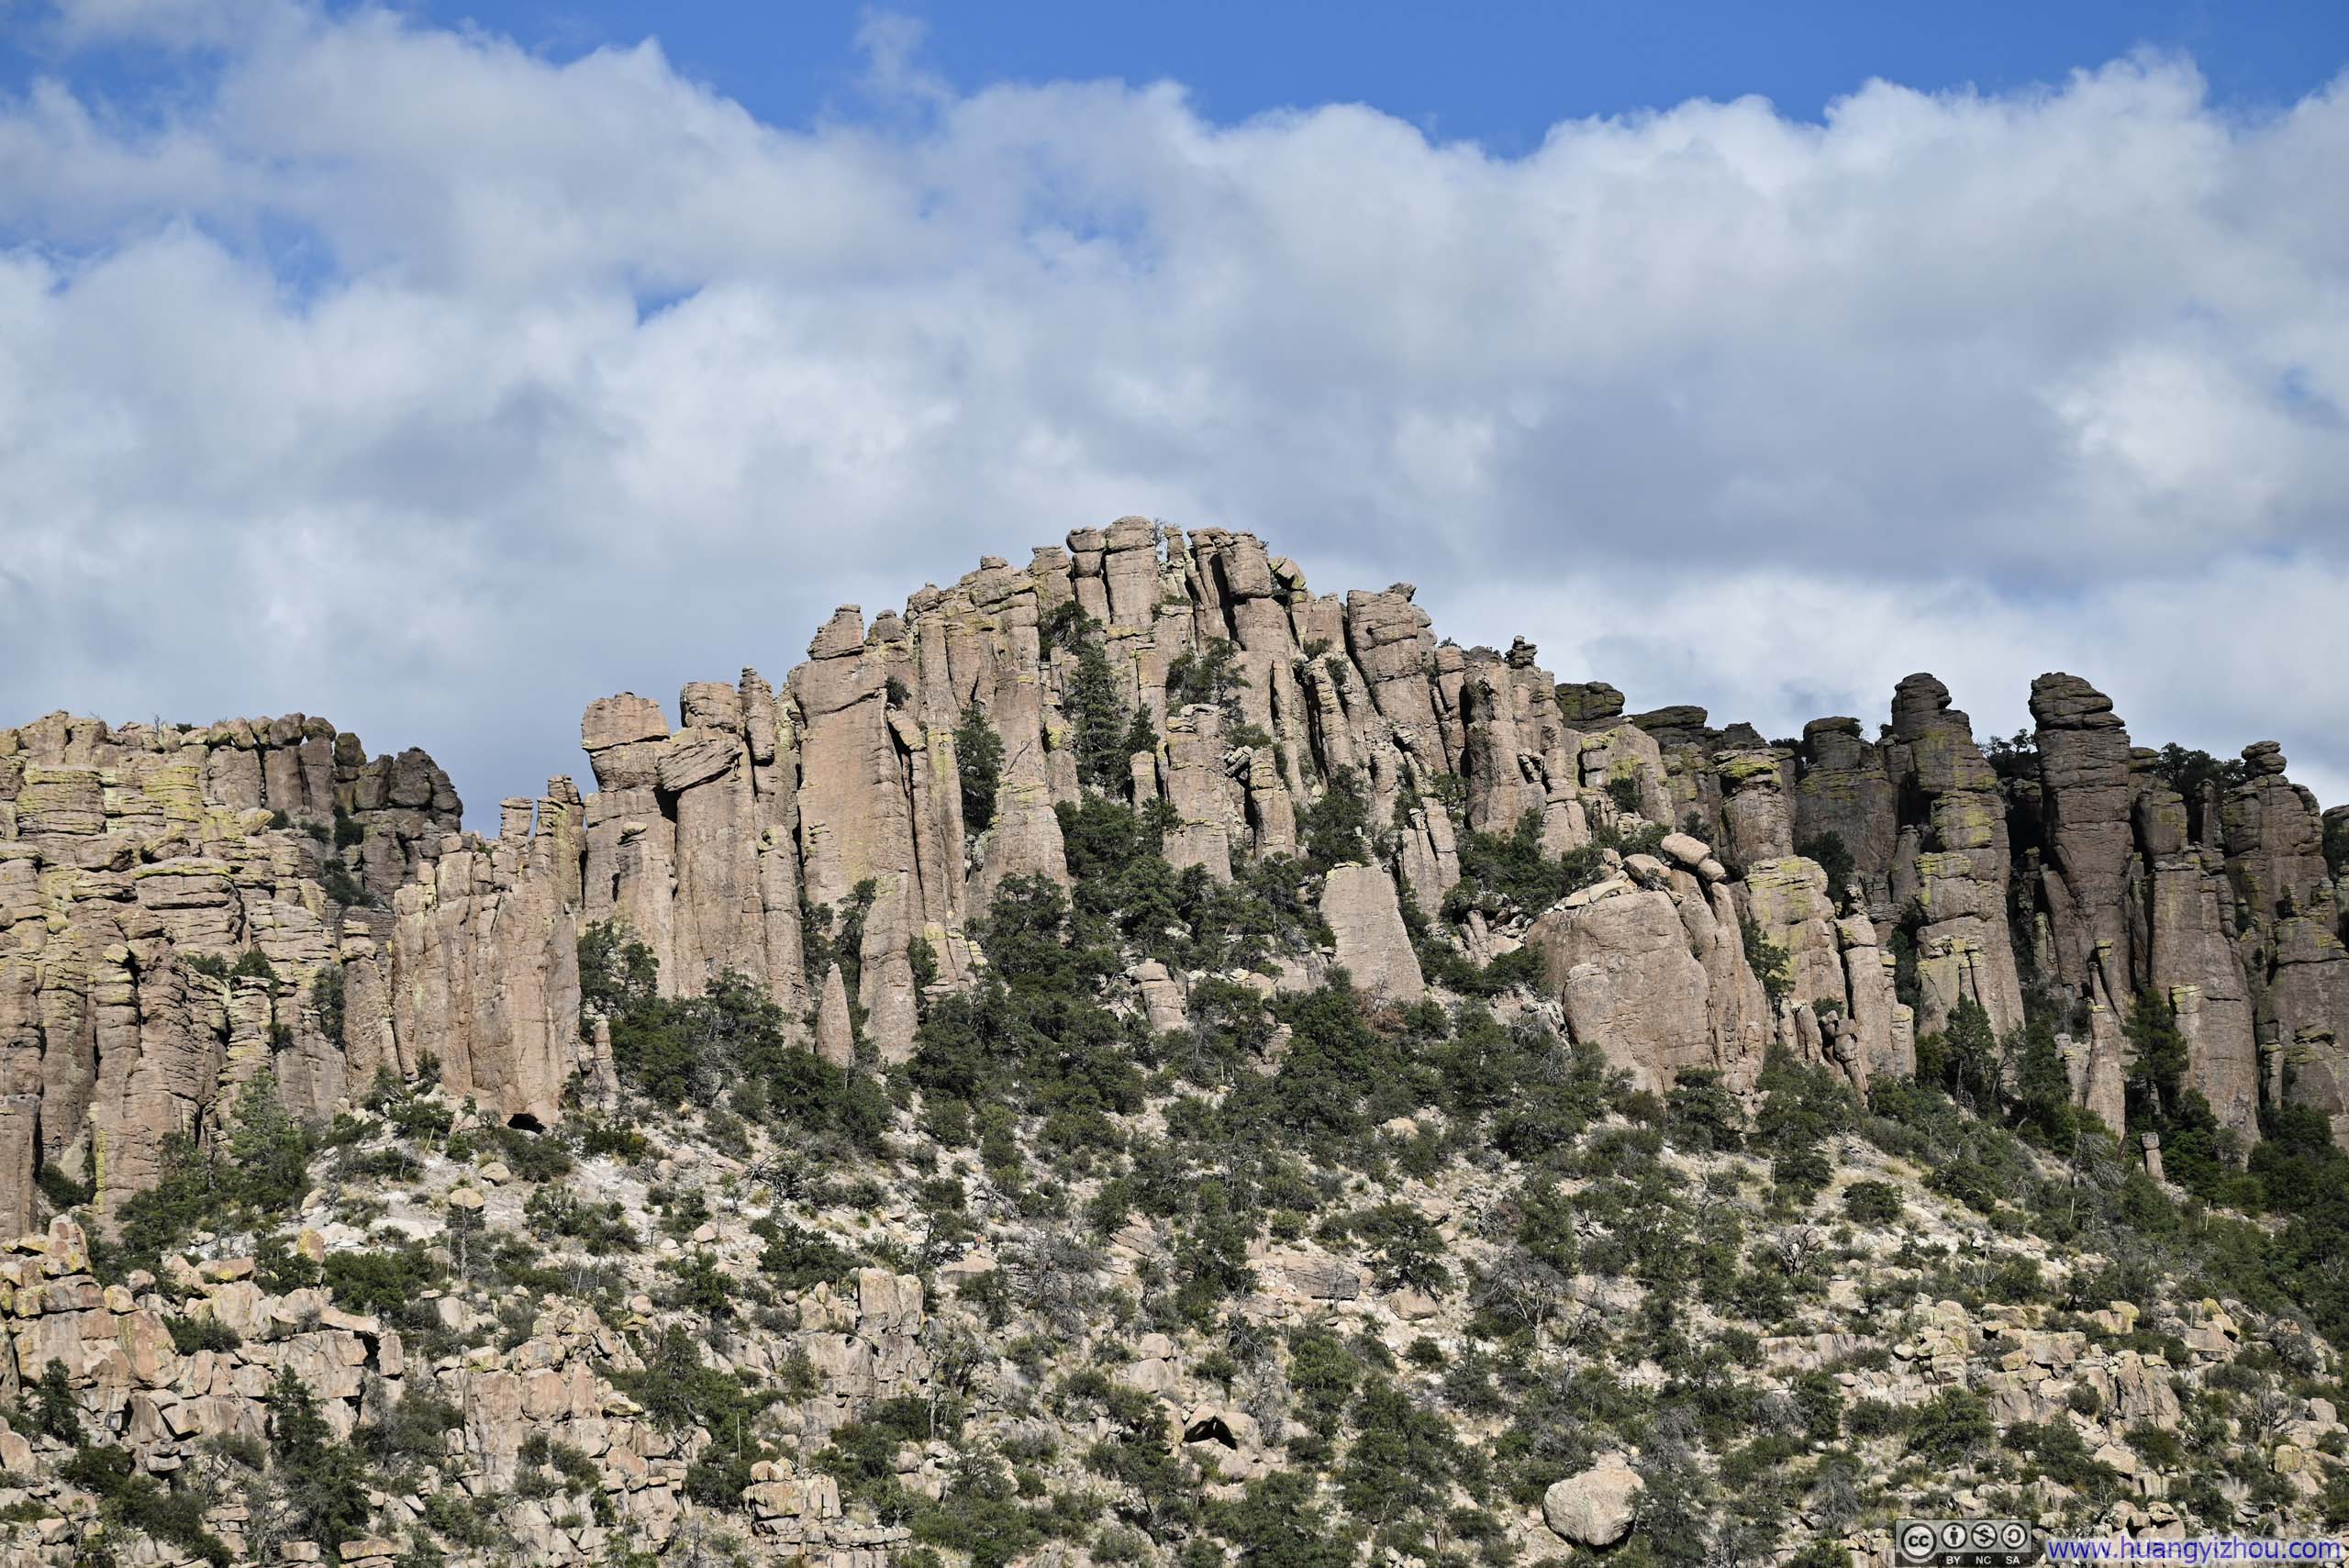
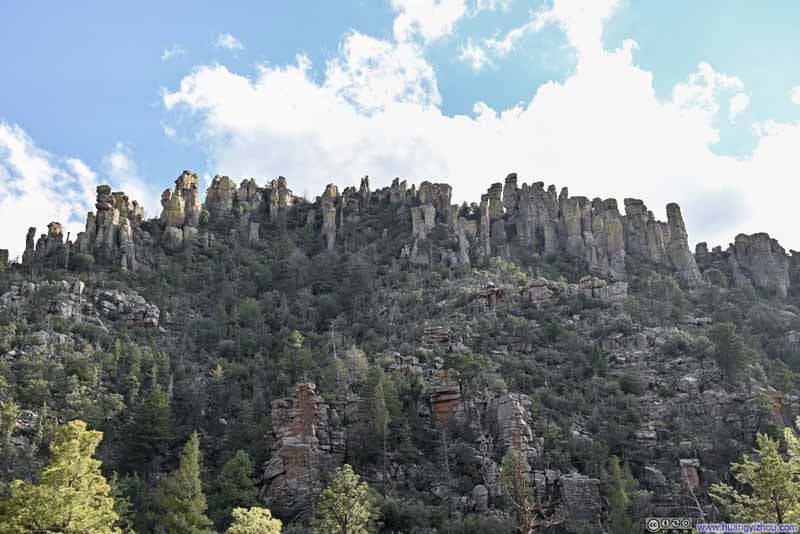
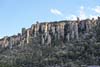
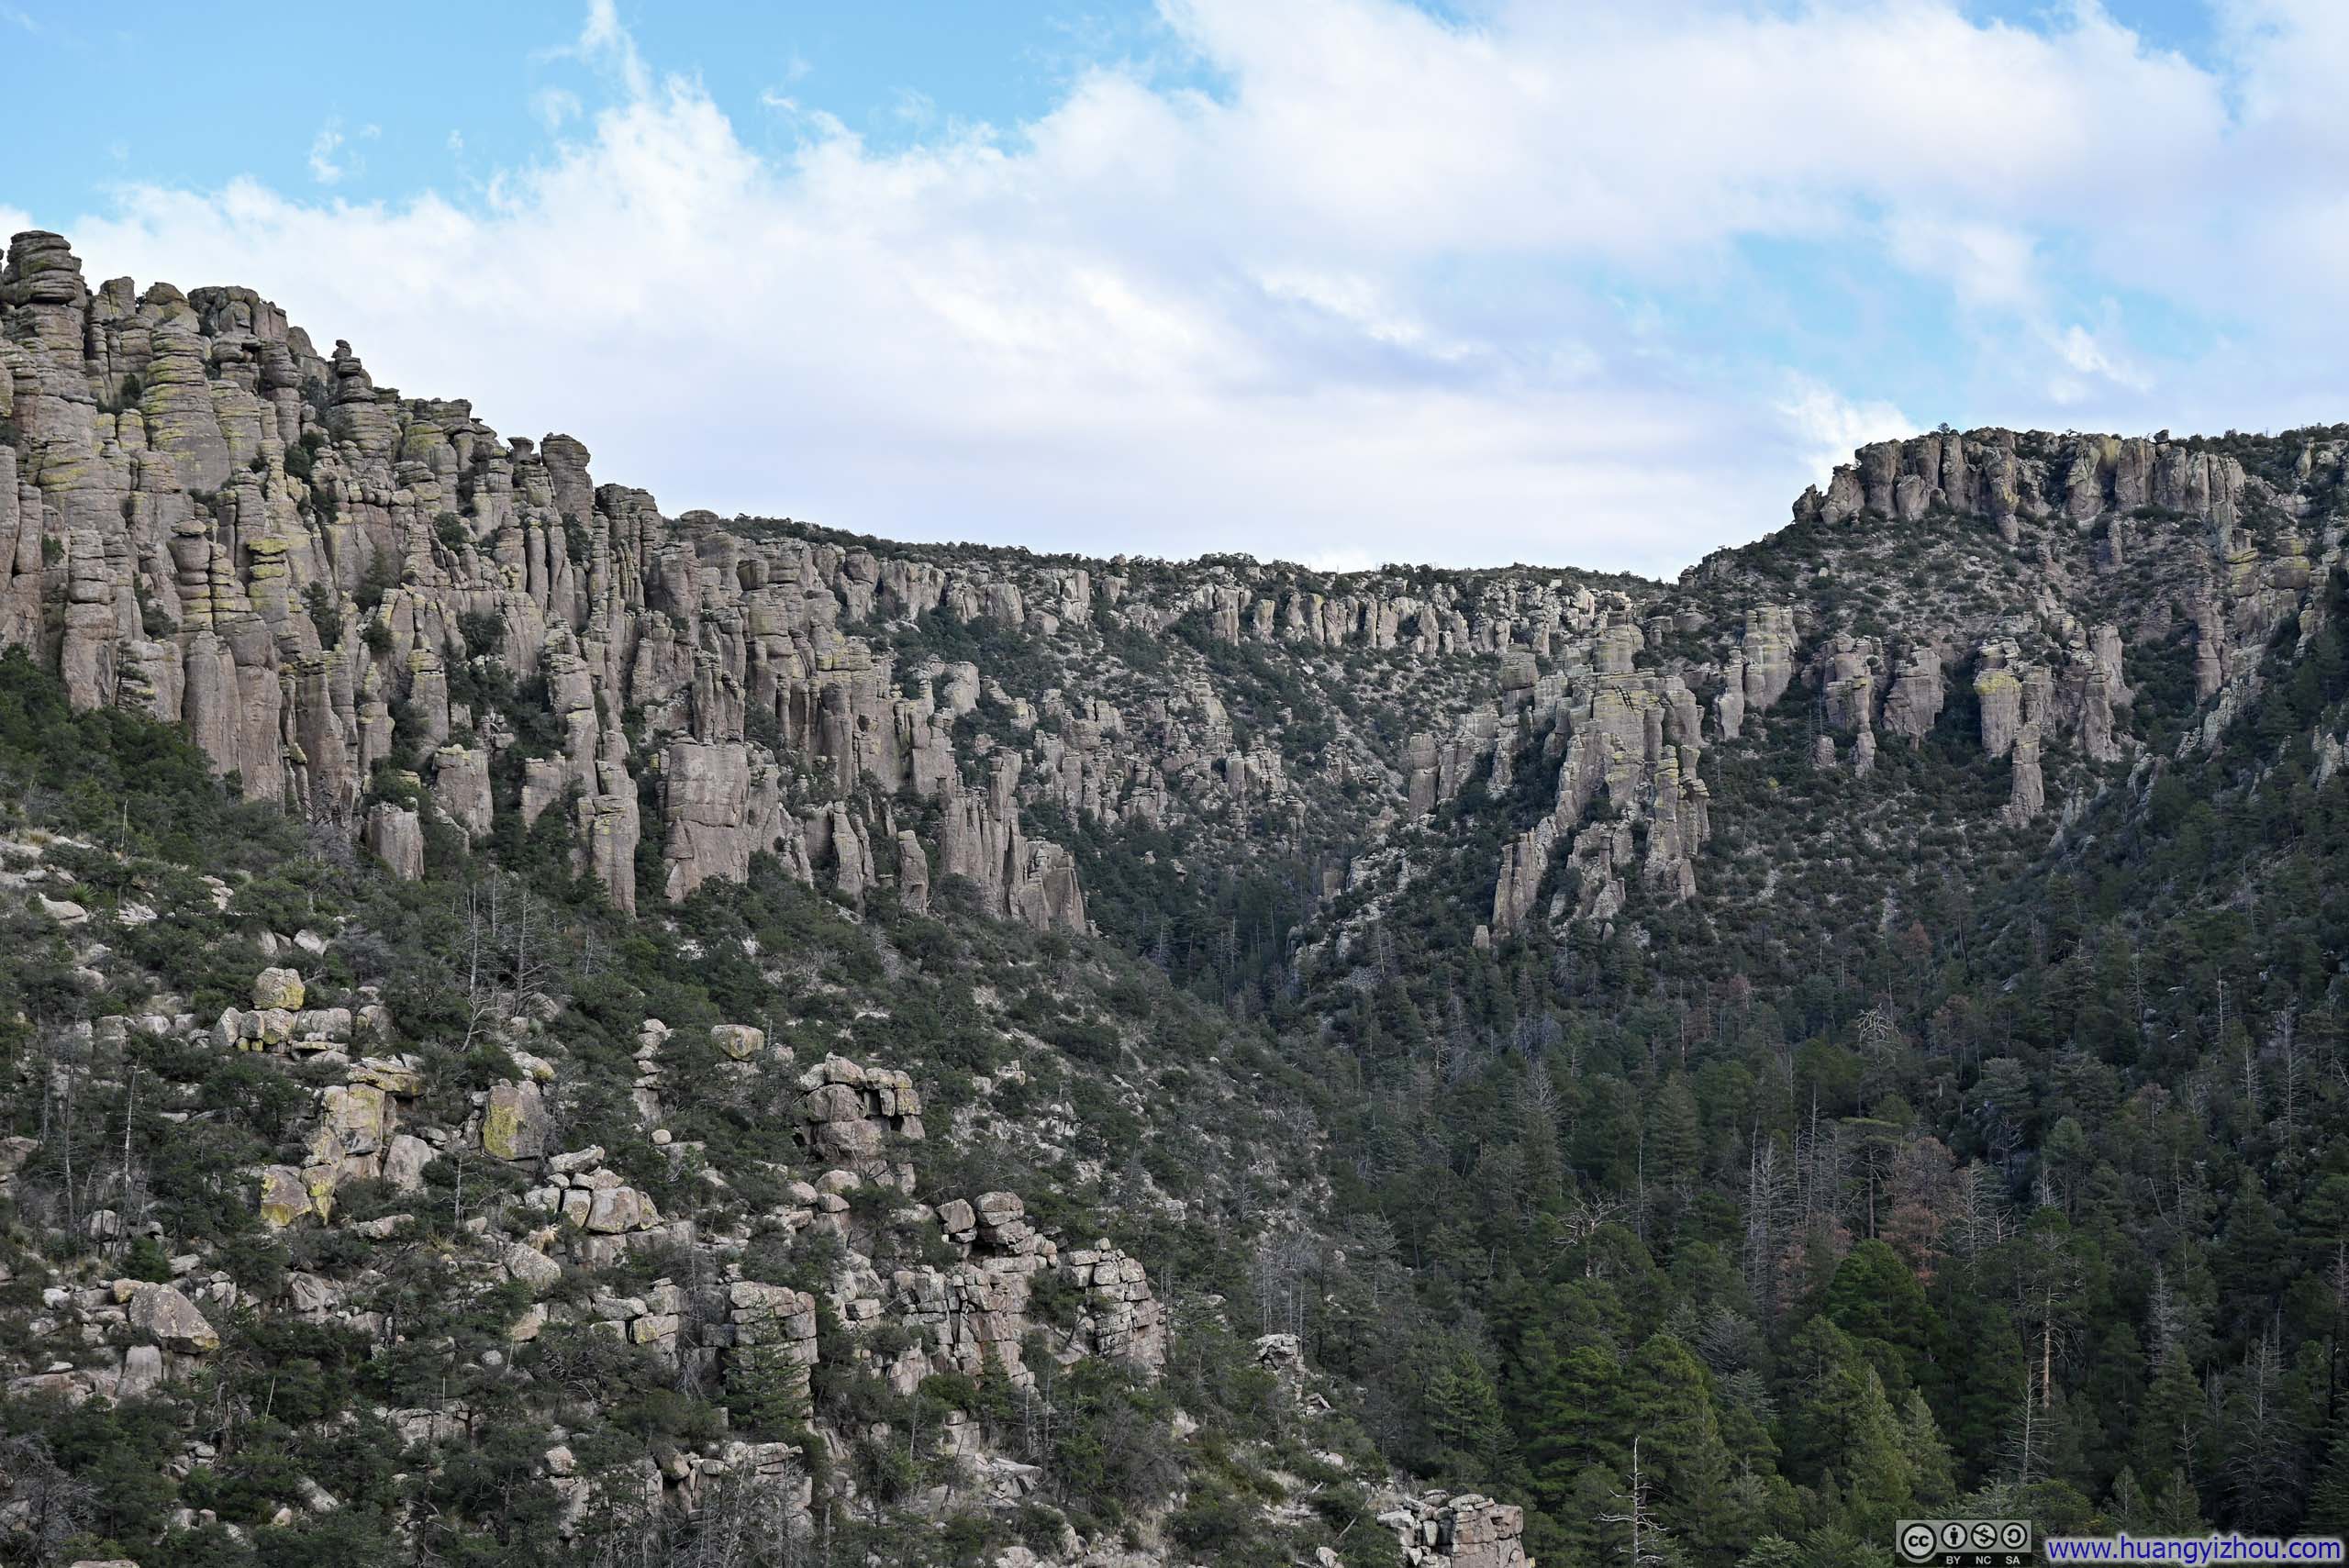
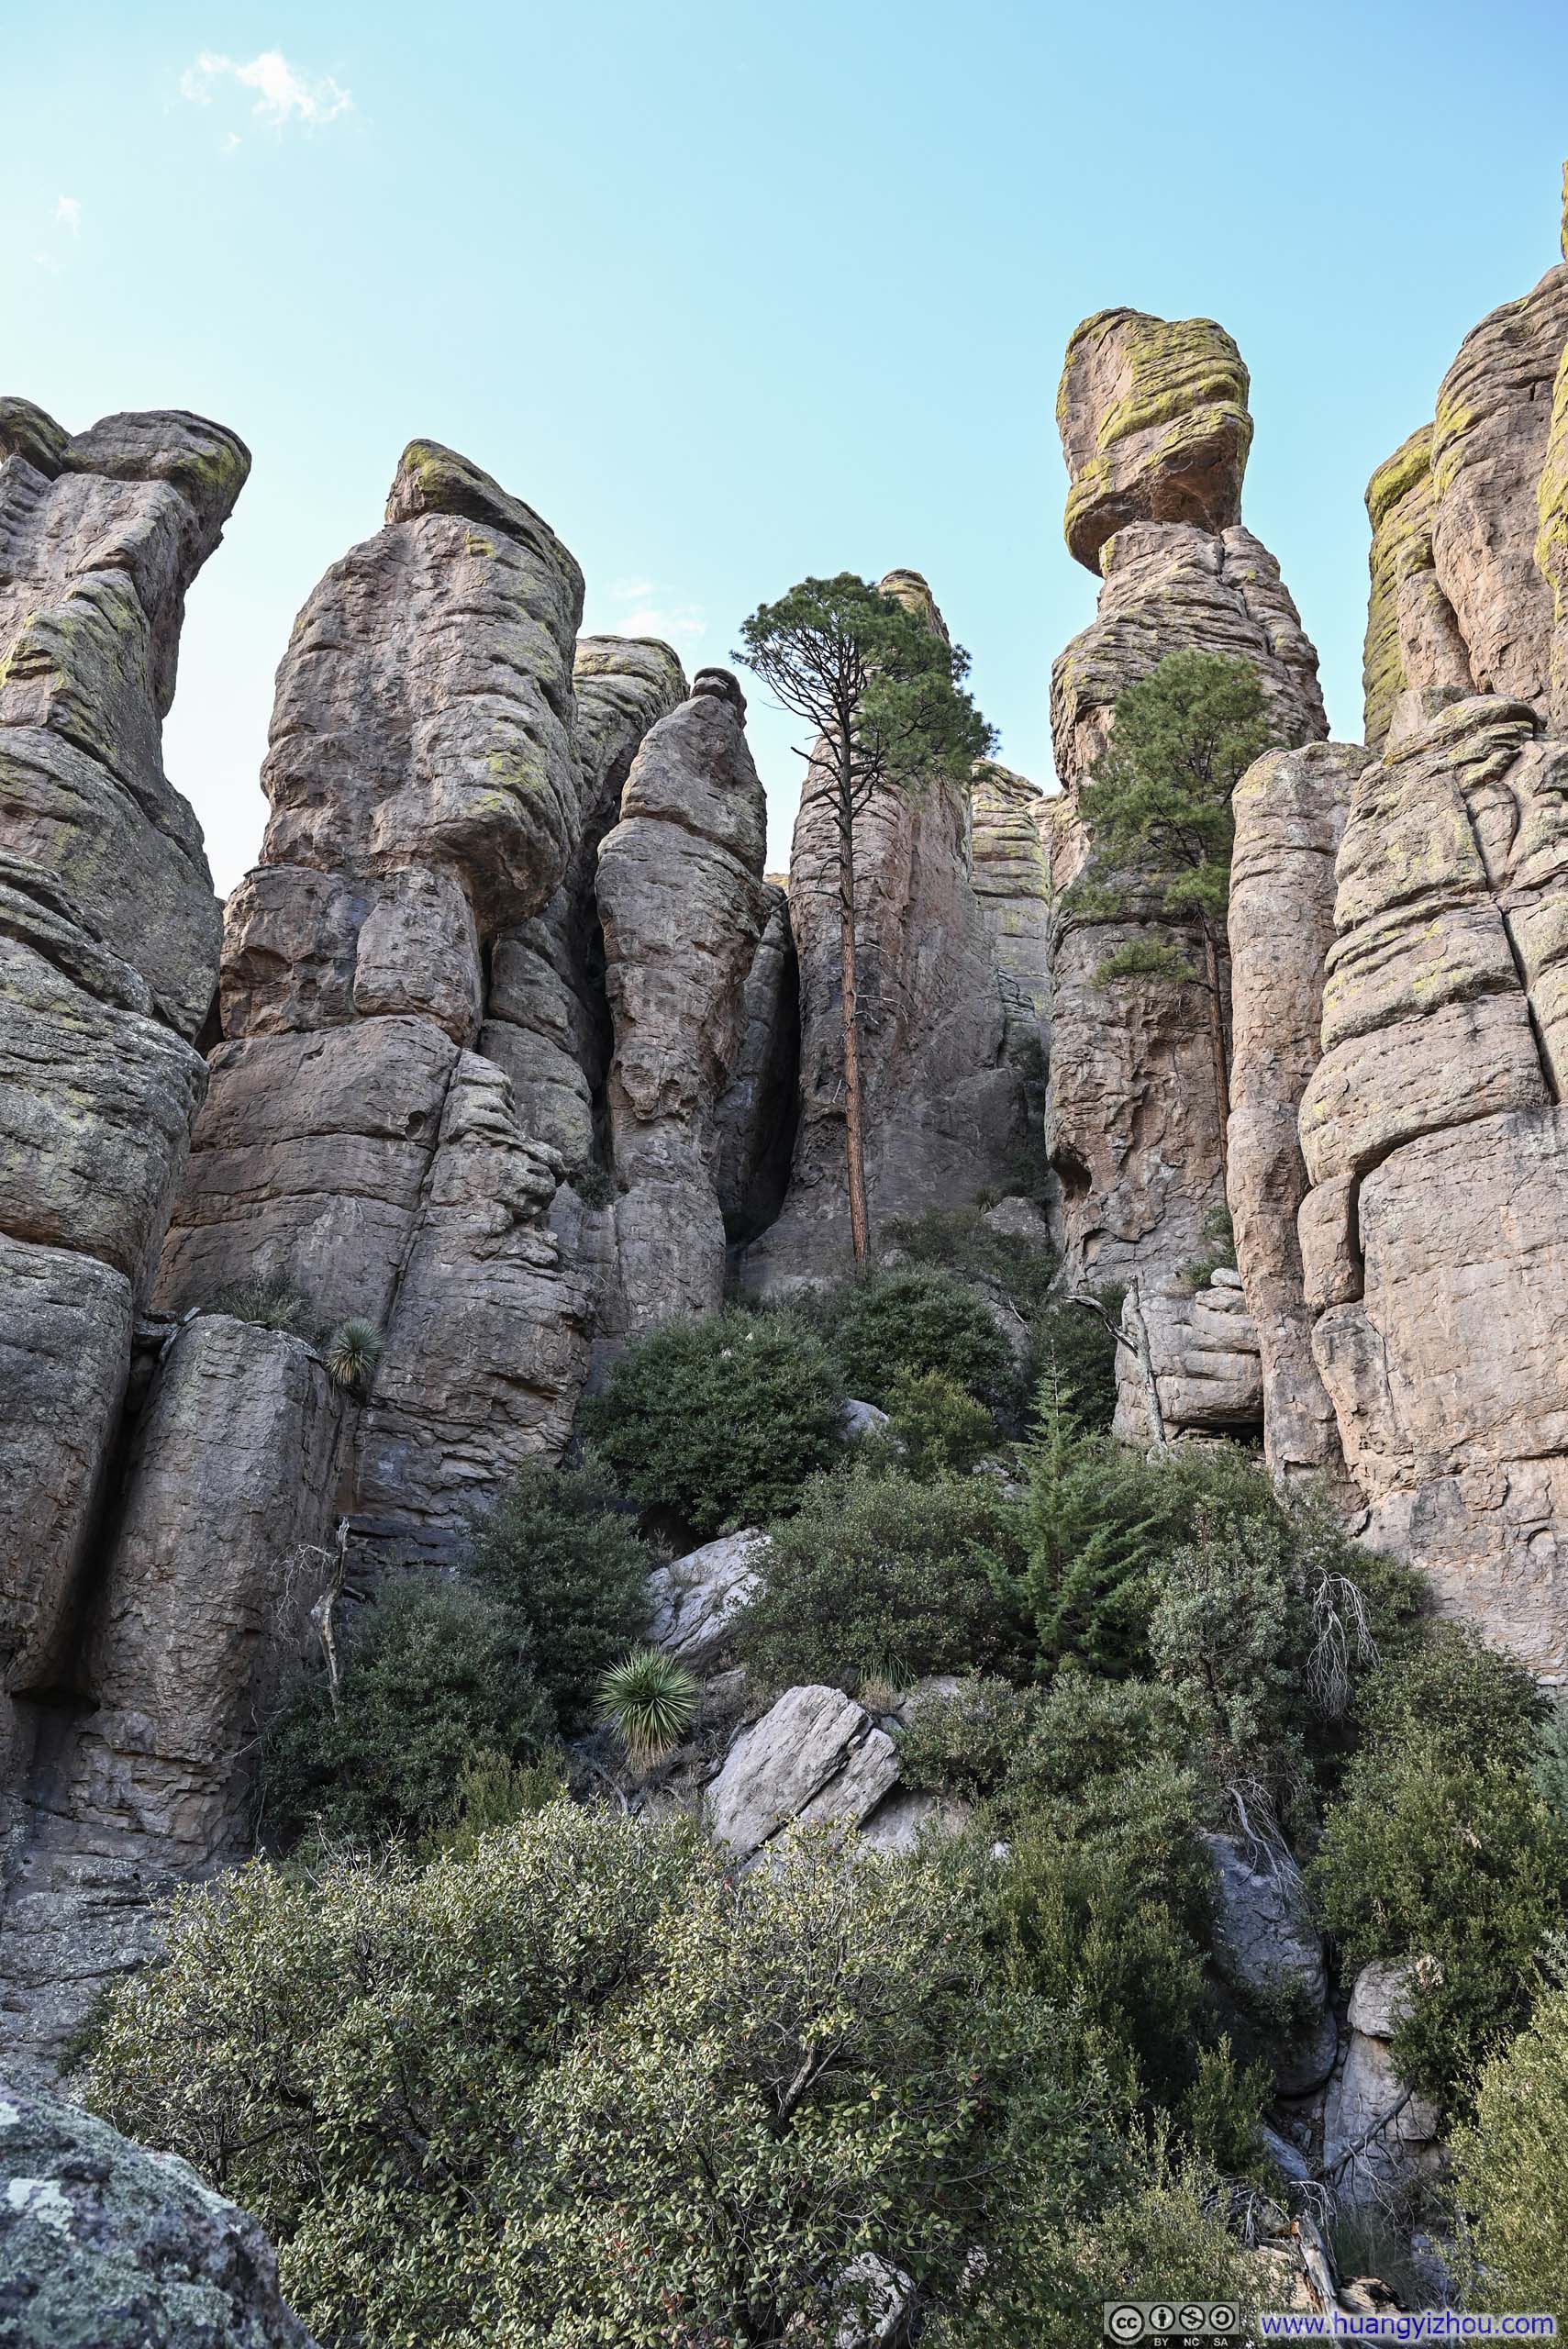
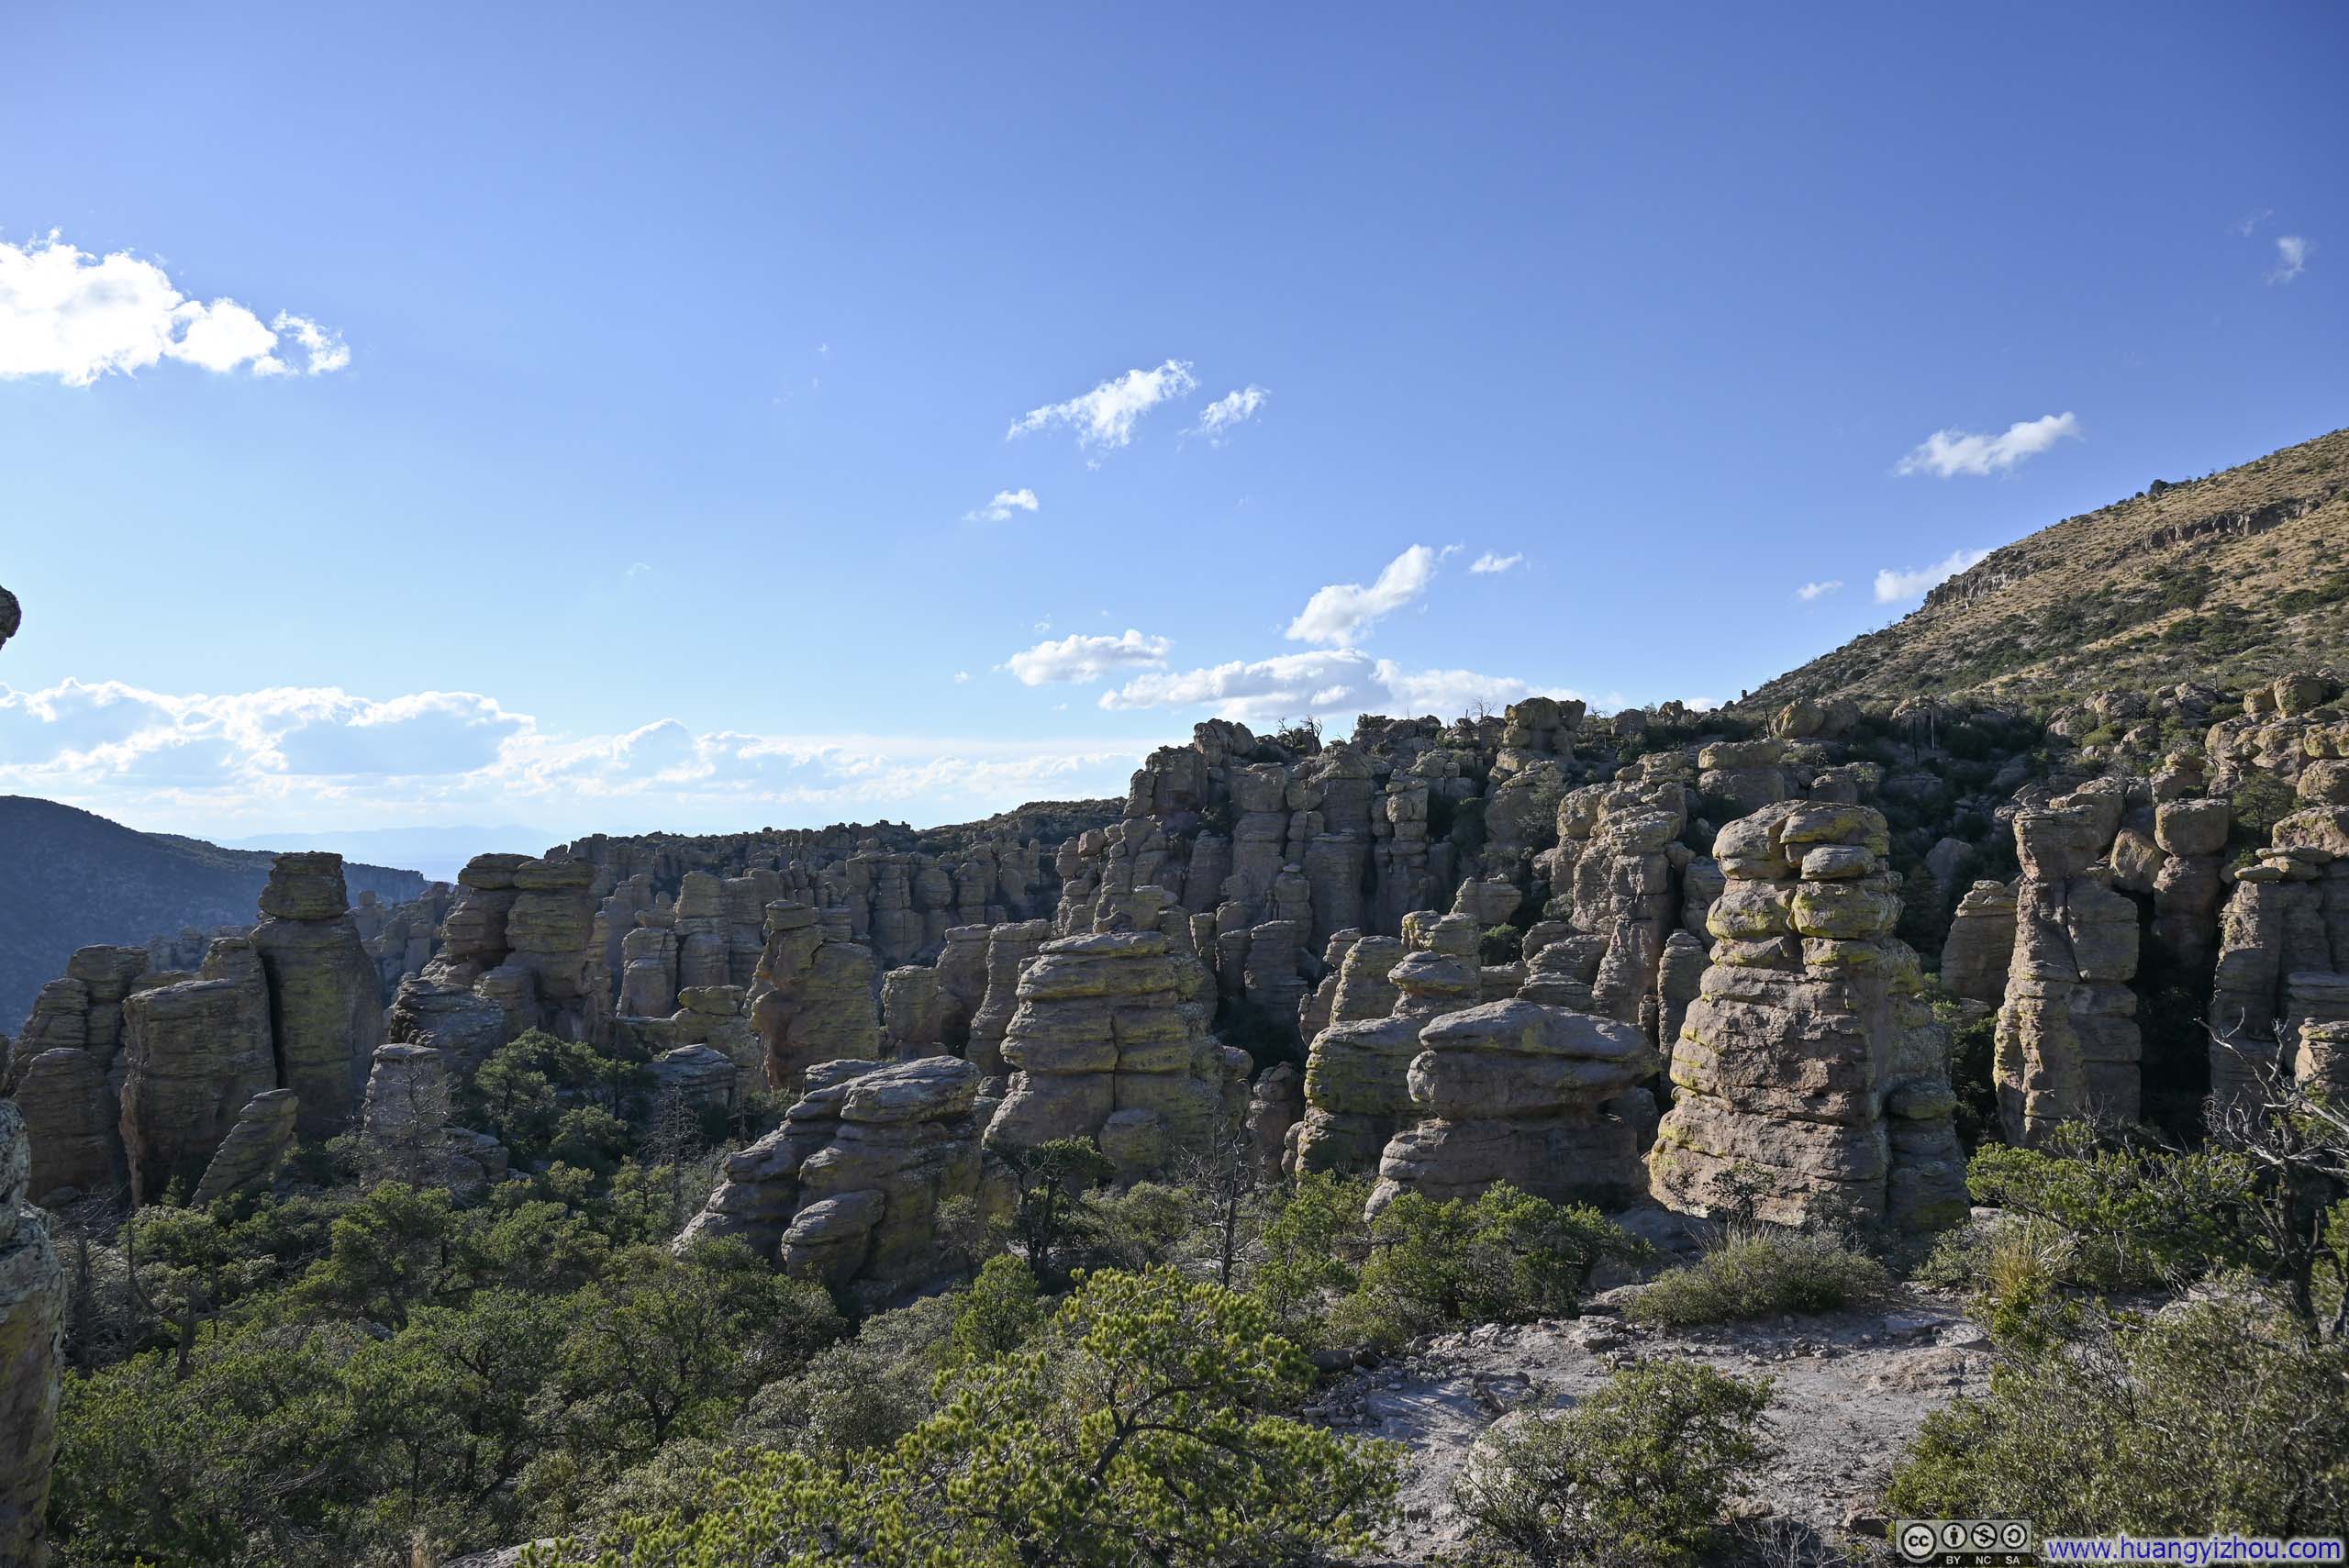
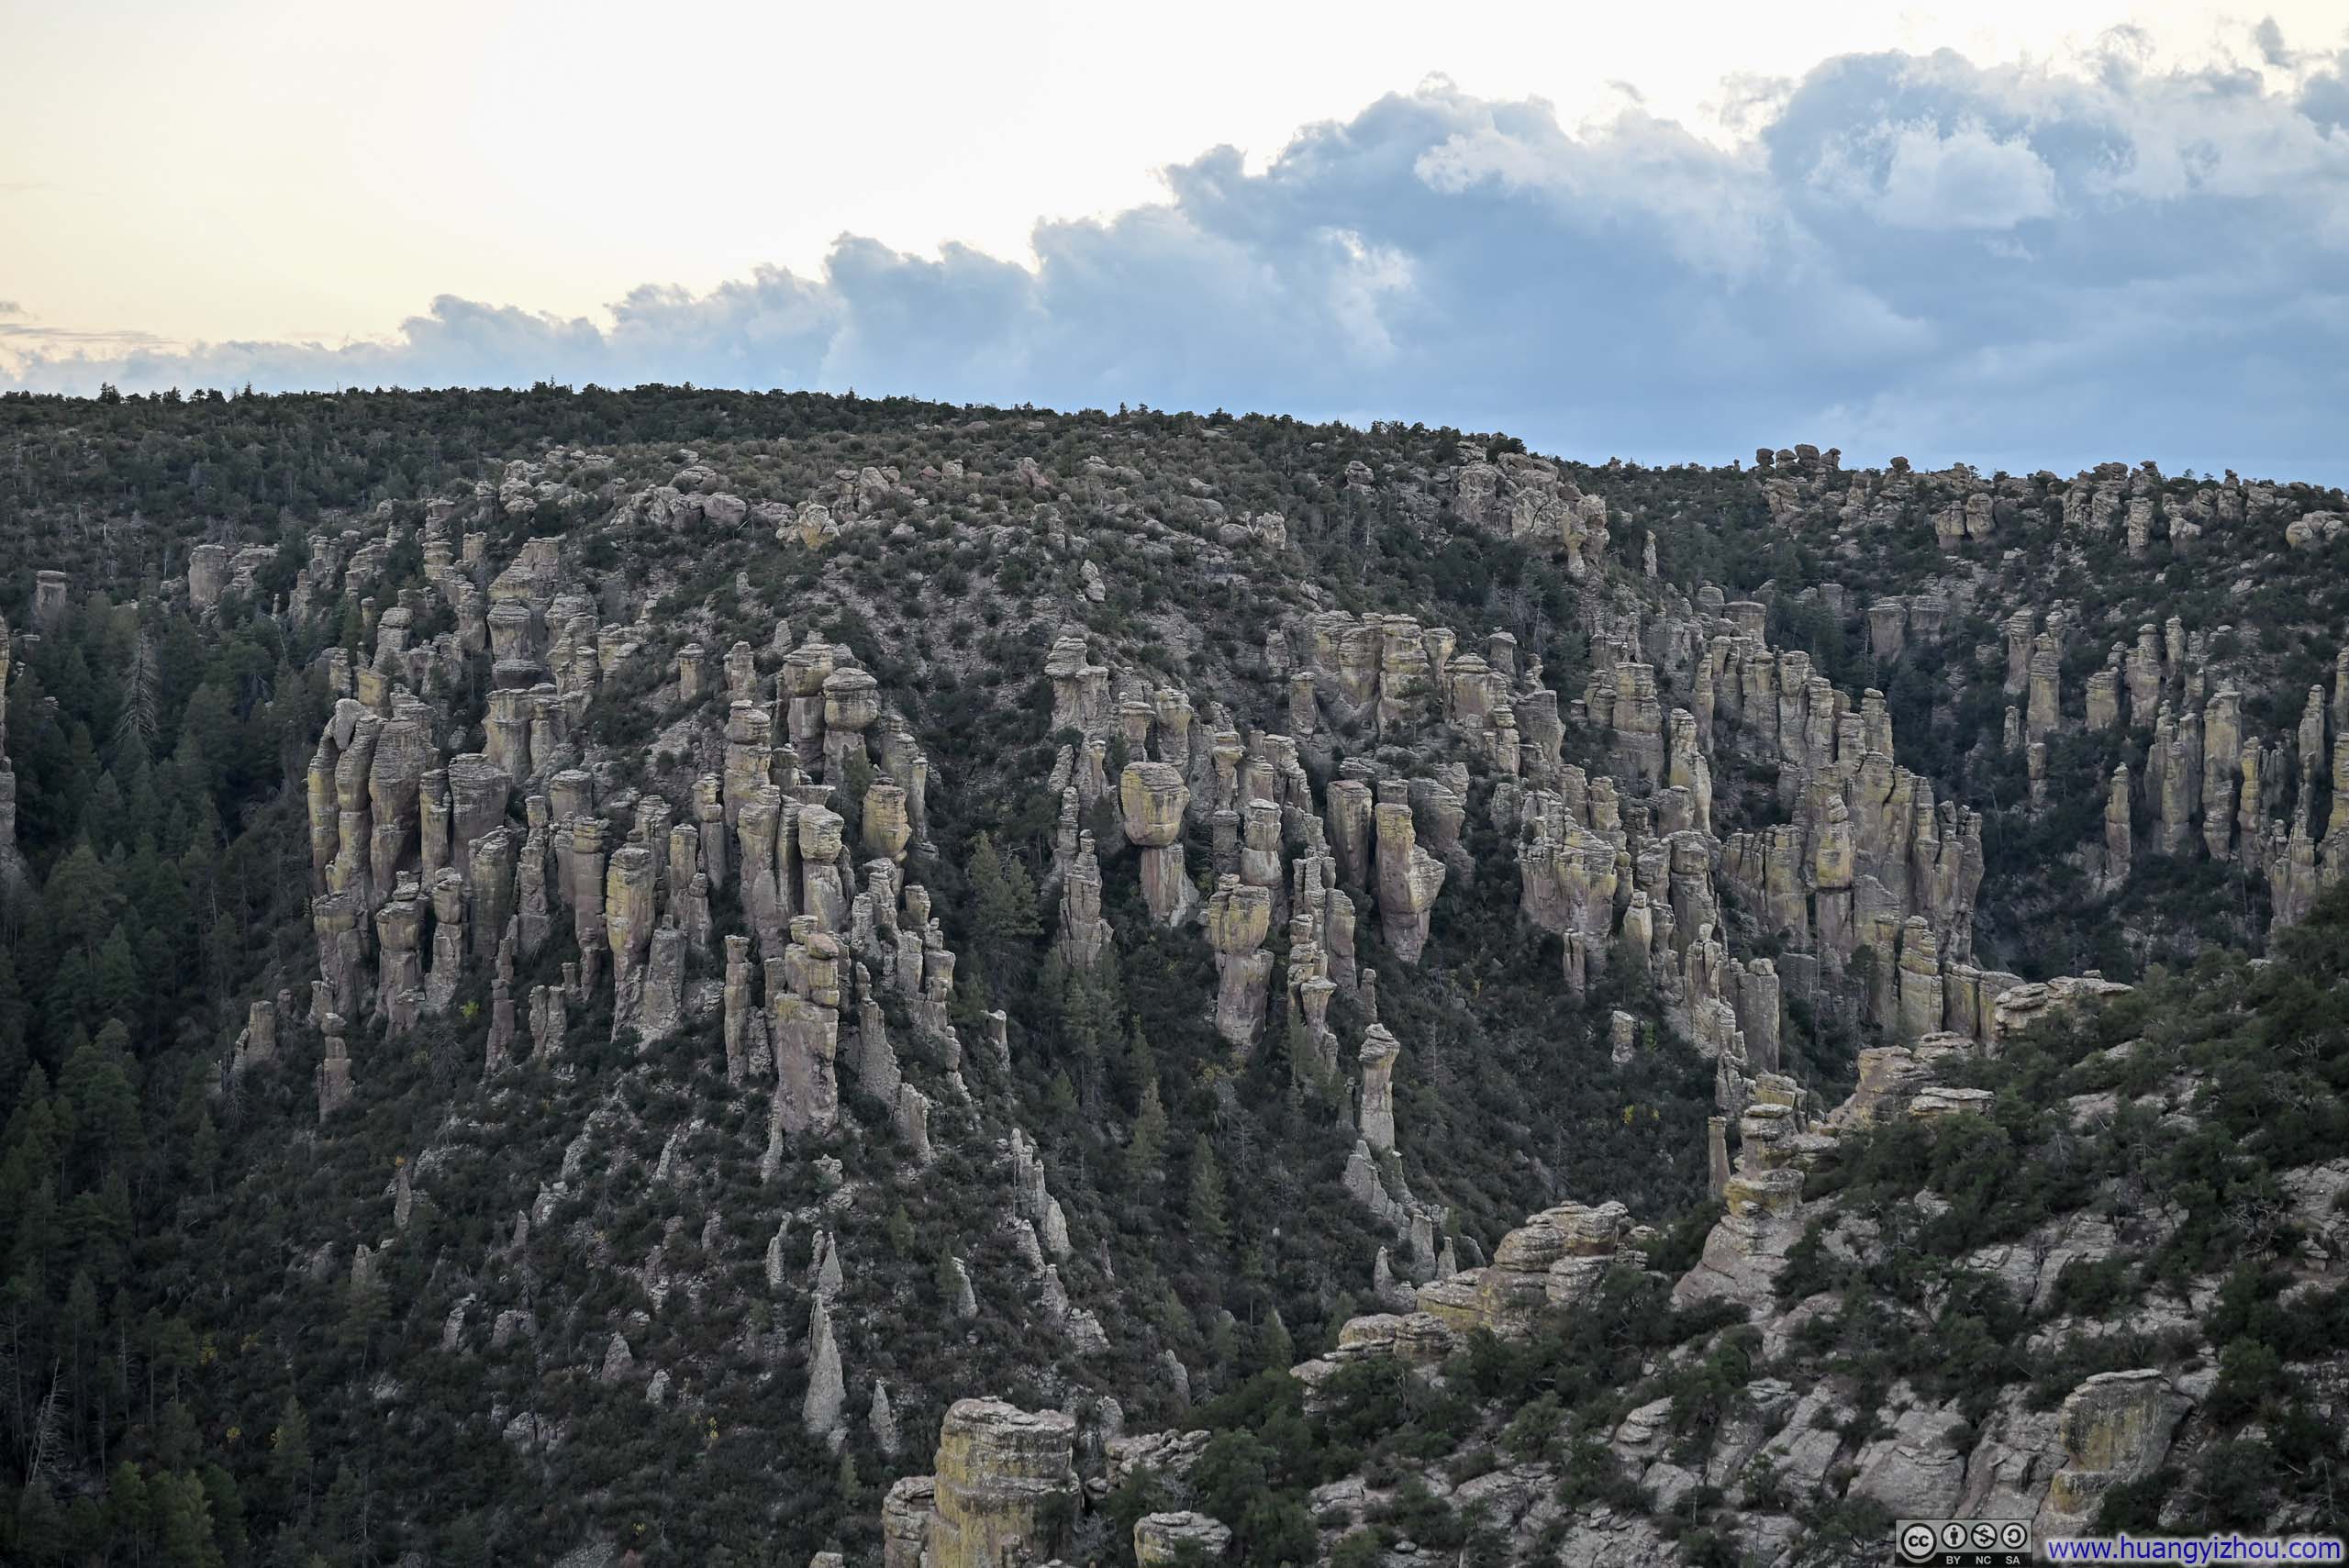
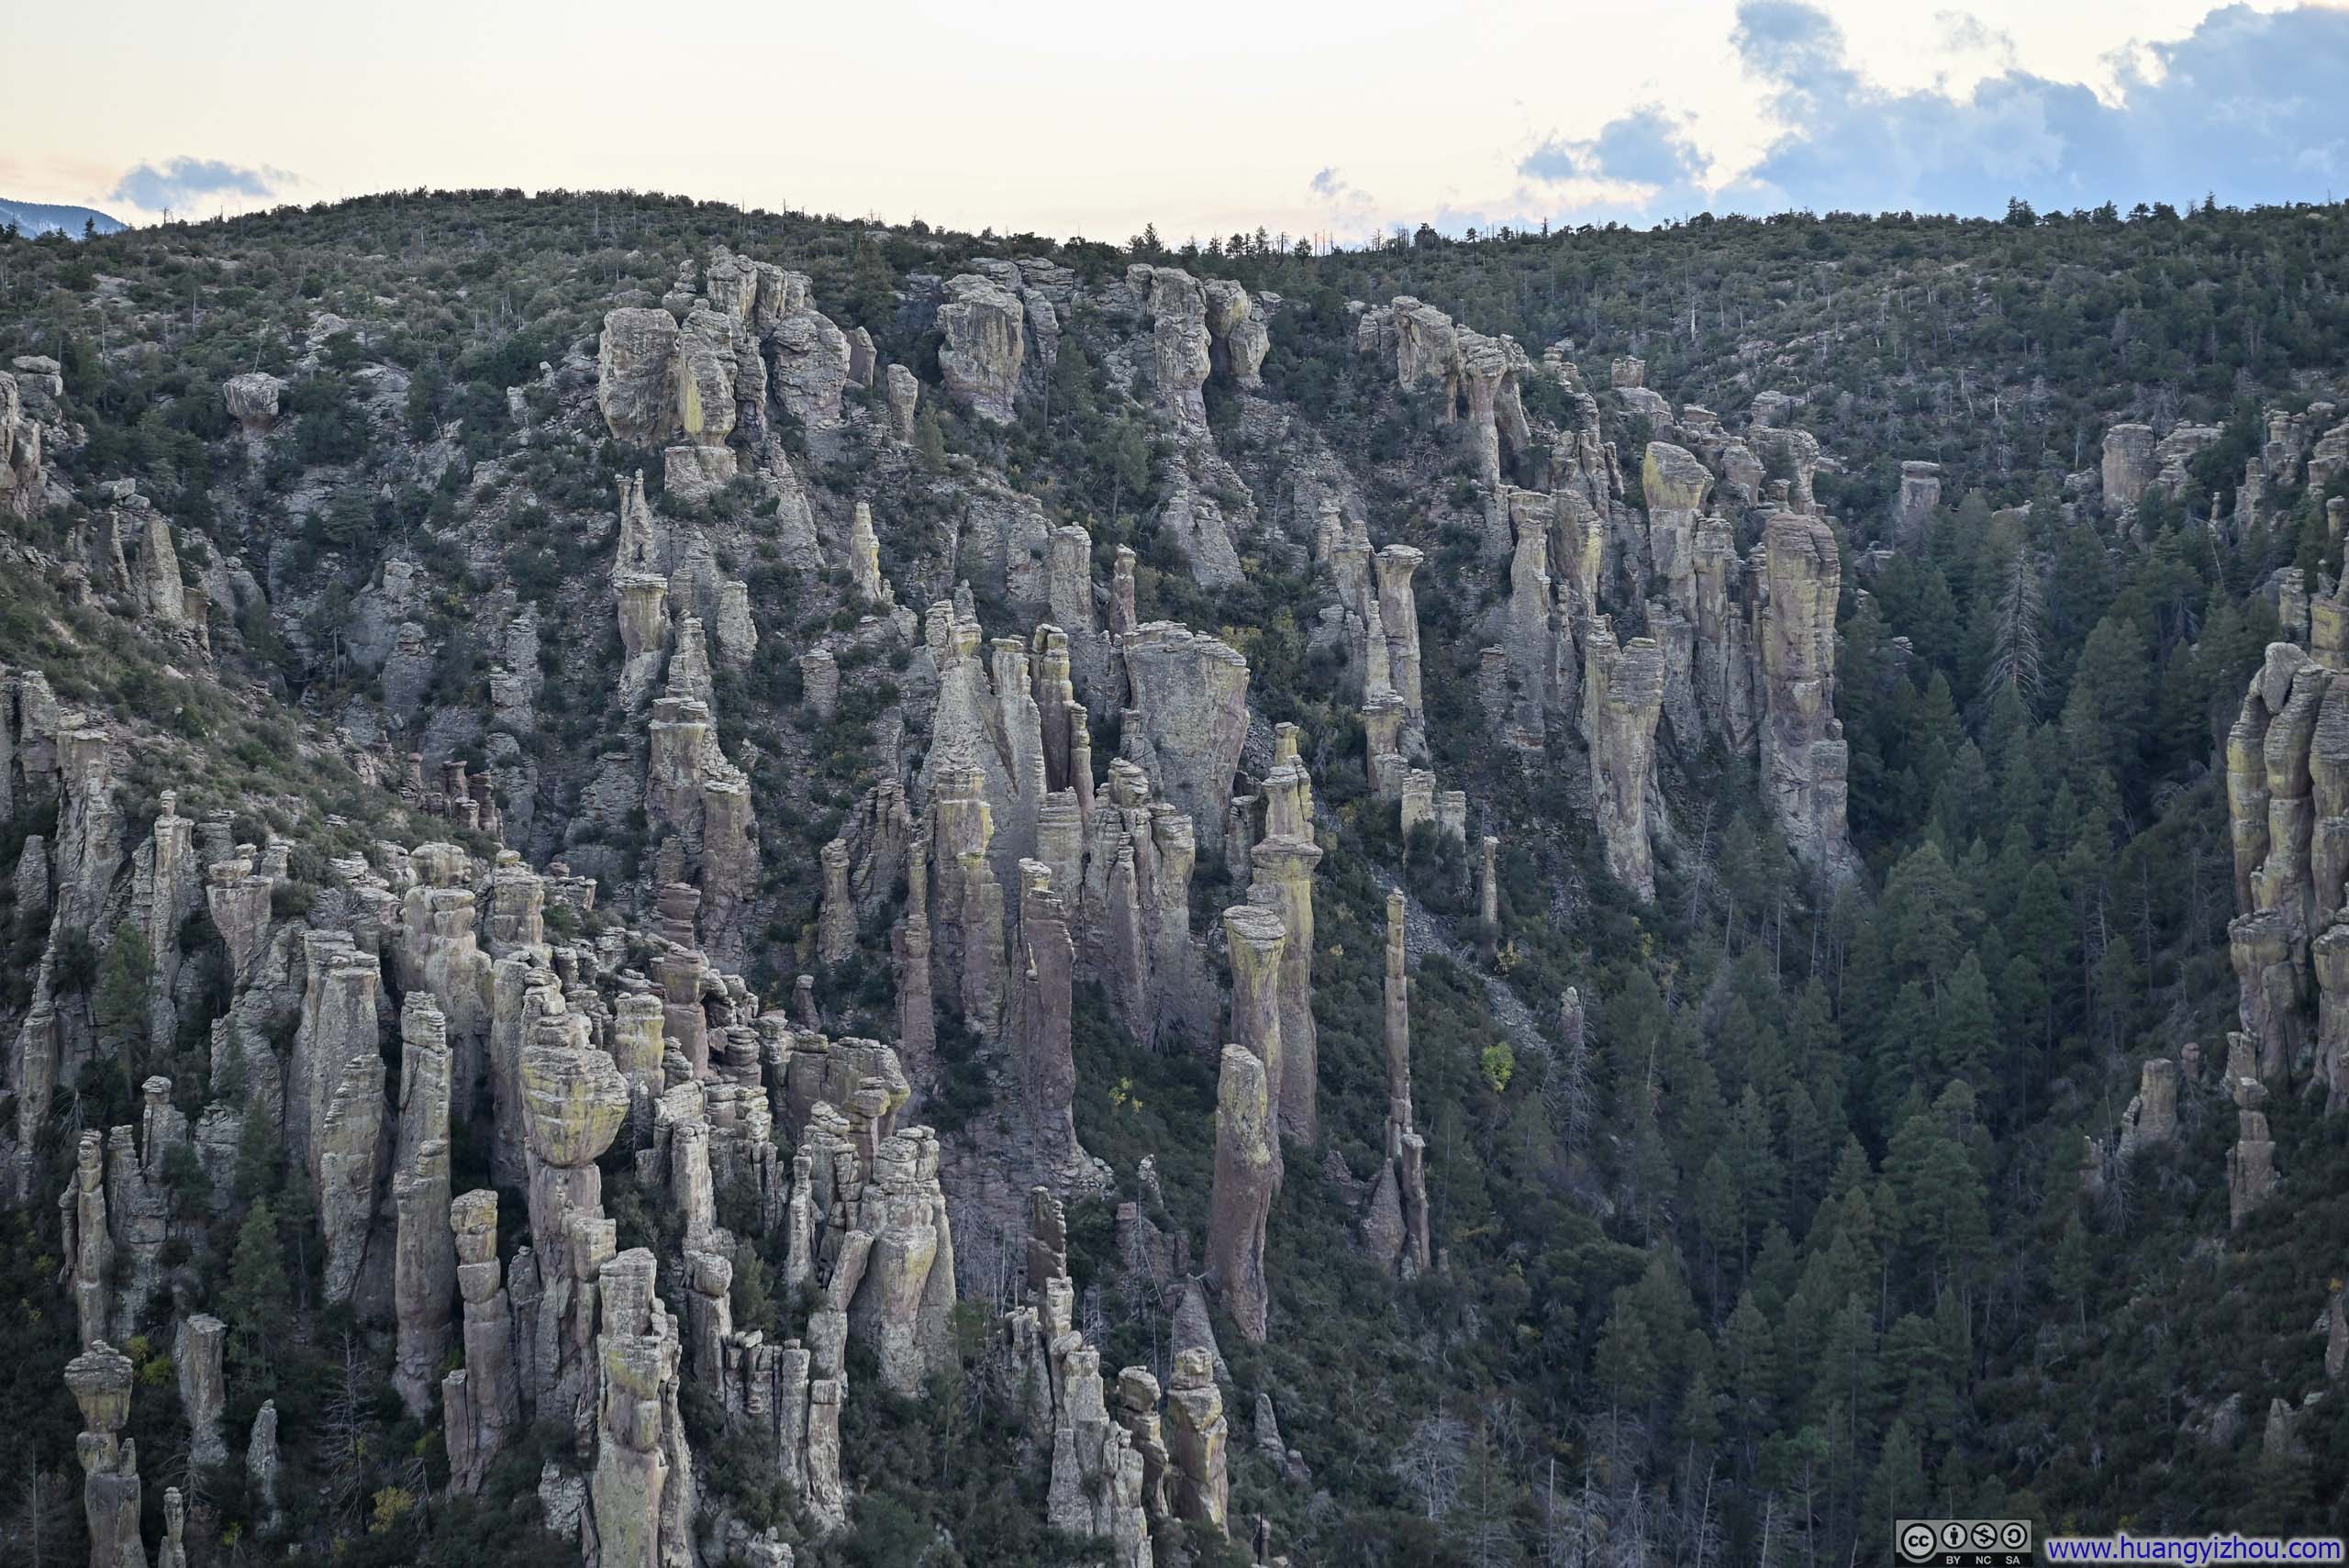
I spotted the bird above near the end of Rhyolite Canyon, where three trails (Ed Riggs / Hailstone / Mushroom Rock) converged. There, I found myself at the base of hillsides adorned with soaring hoodoos, their imposing presence striking the perfect balance between quantity and proximity.
 Hoodoos
 Hoodoos
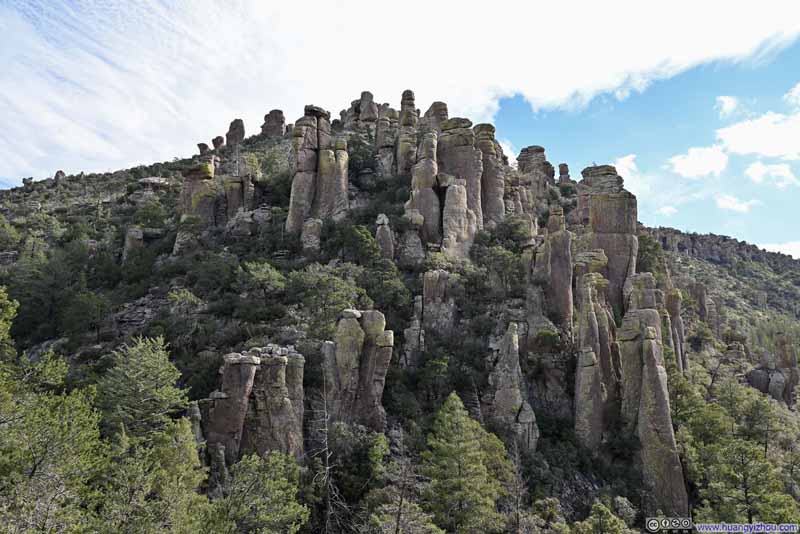 Hoodoos
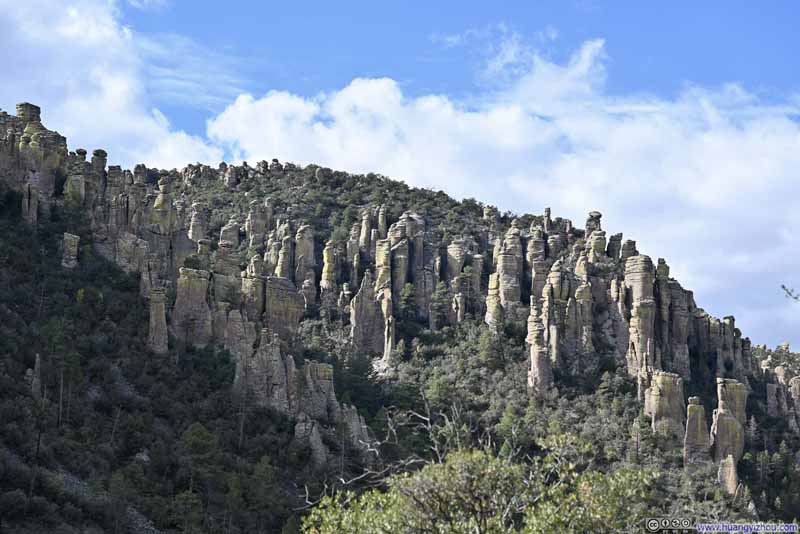 Hoodoos
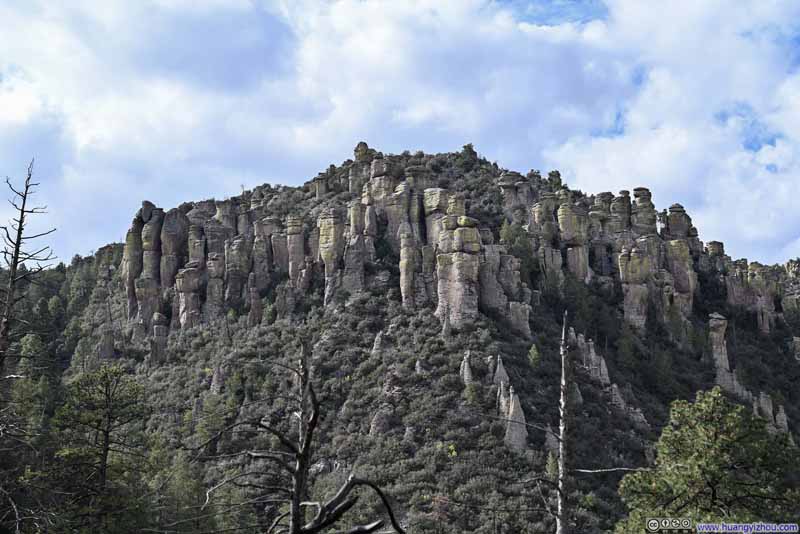 Hoodoos
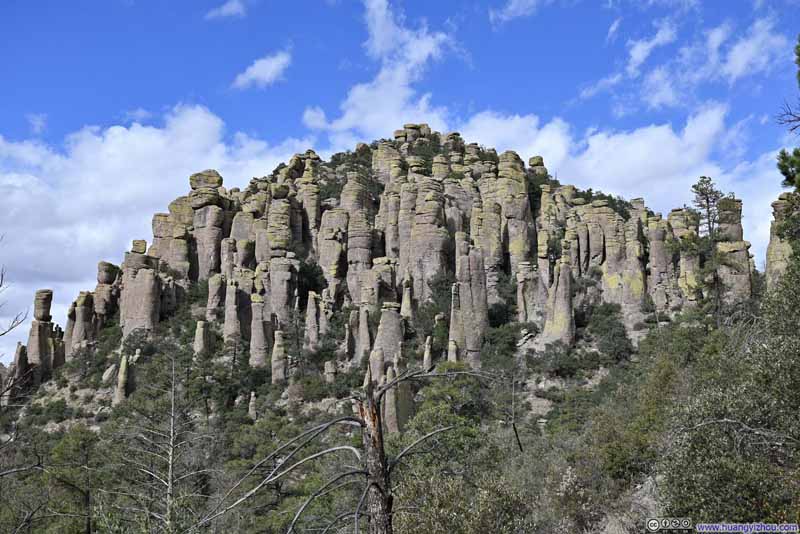 Hoodoos


Click here to display photos of the slideshow
Hoodoos
Hoodoos

Hoodoos
Hoodoos

Hoodoos

Hoodoos
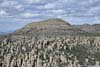
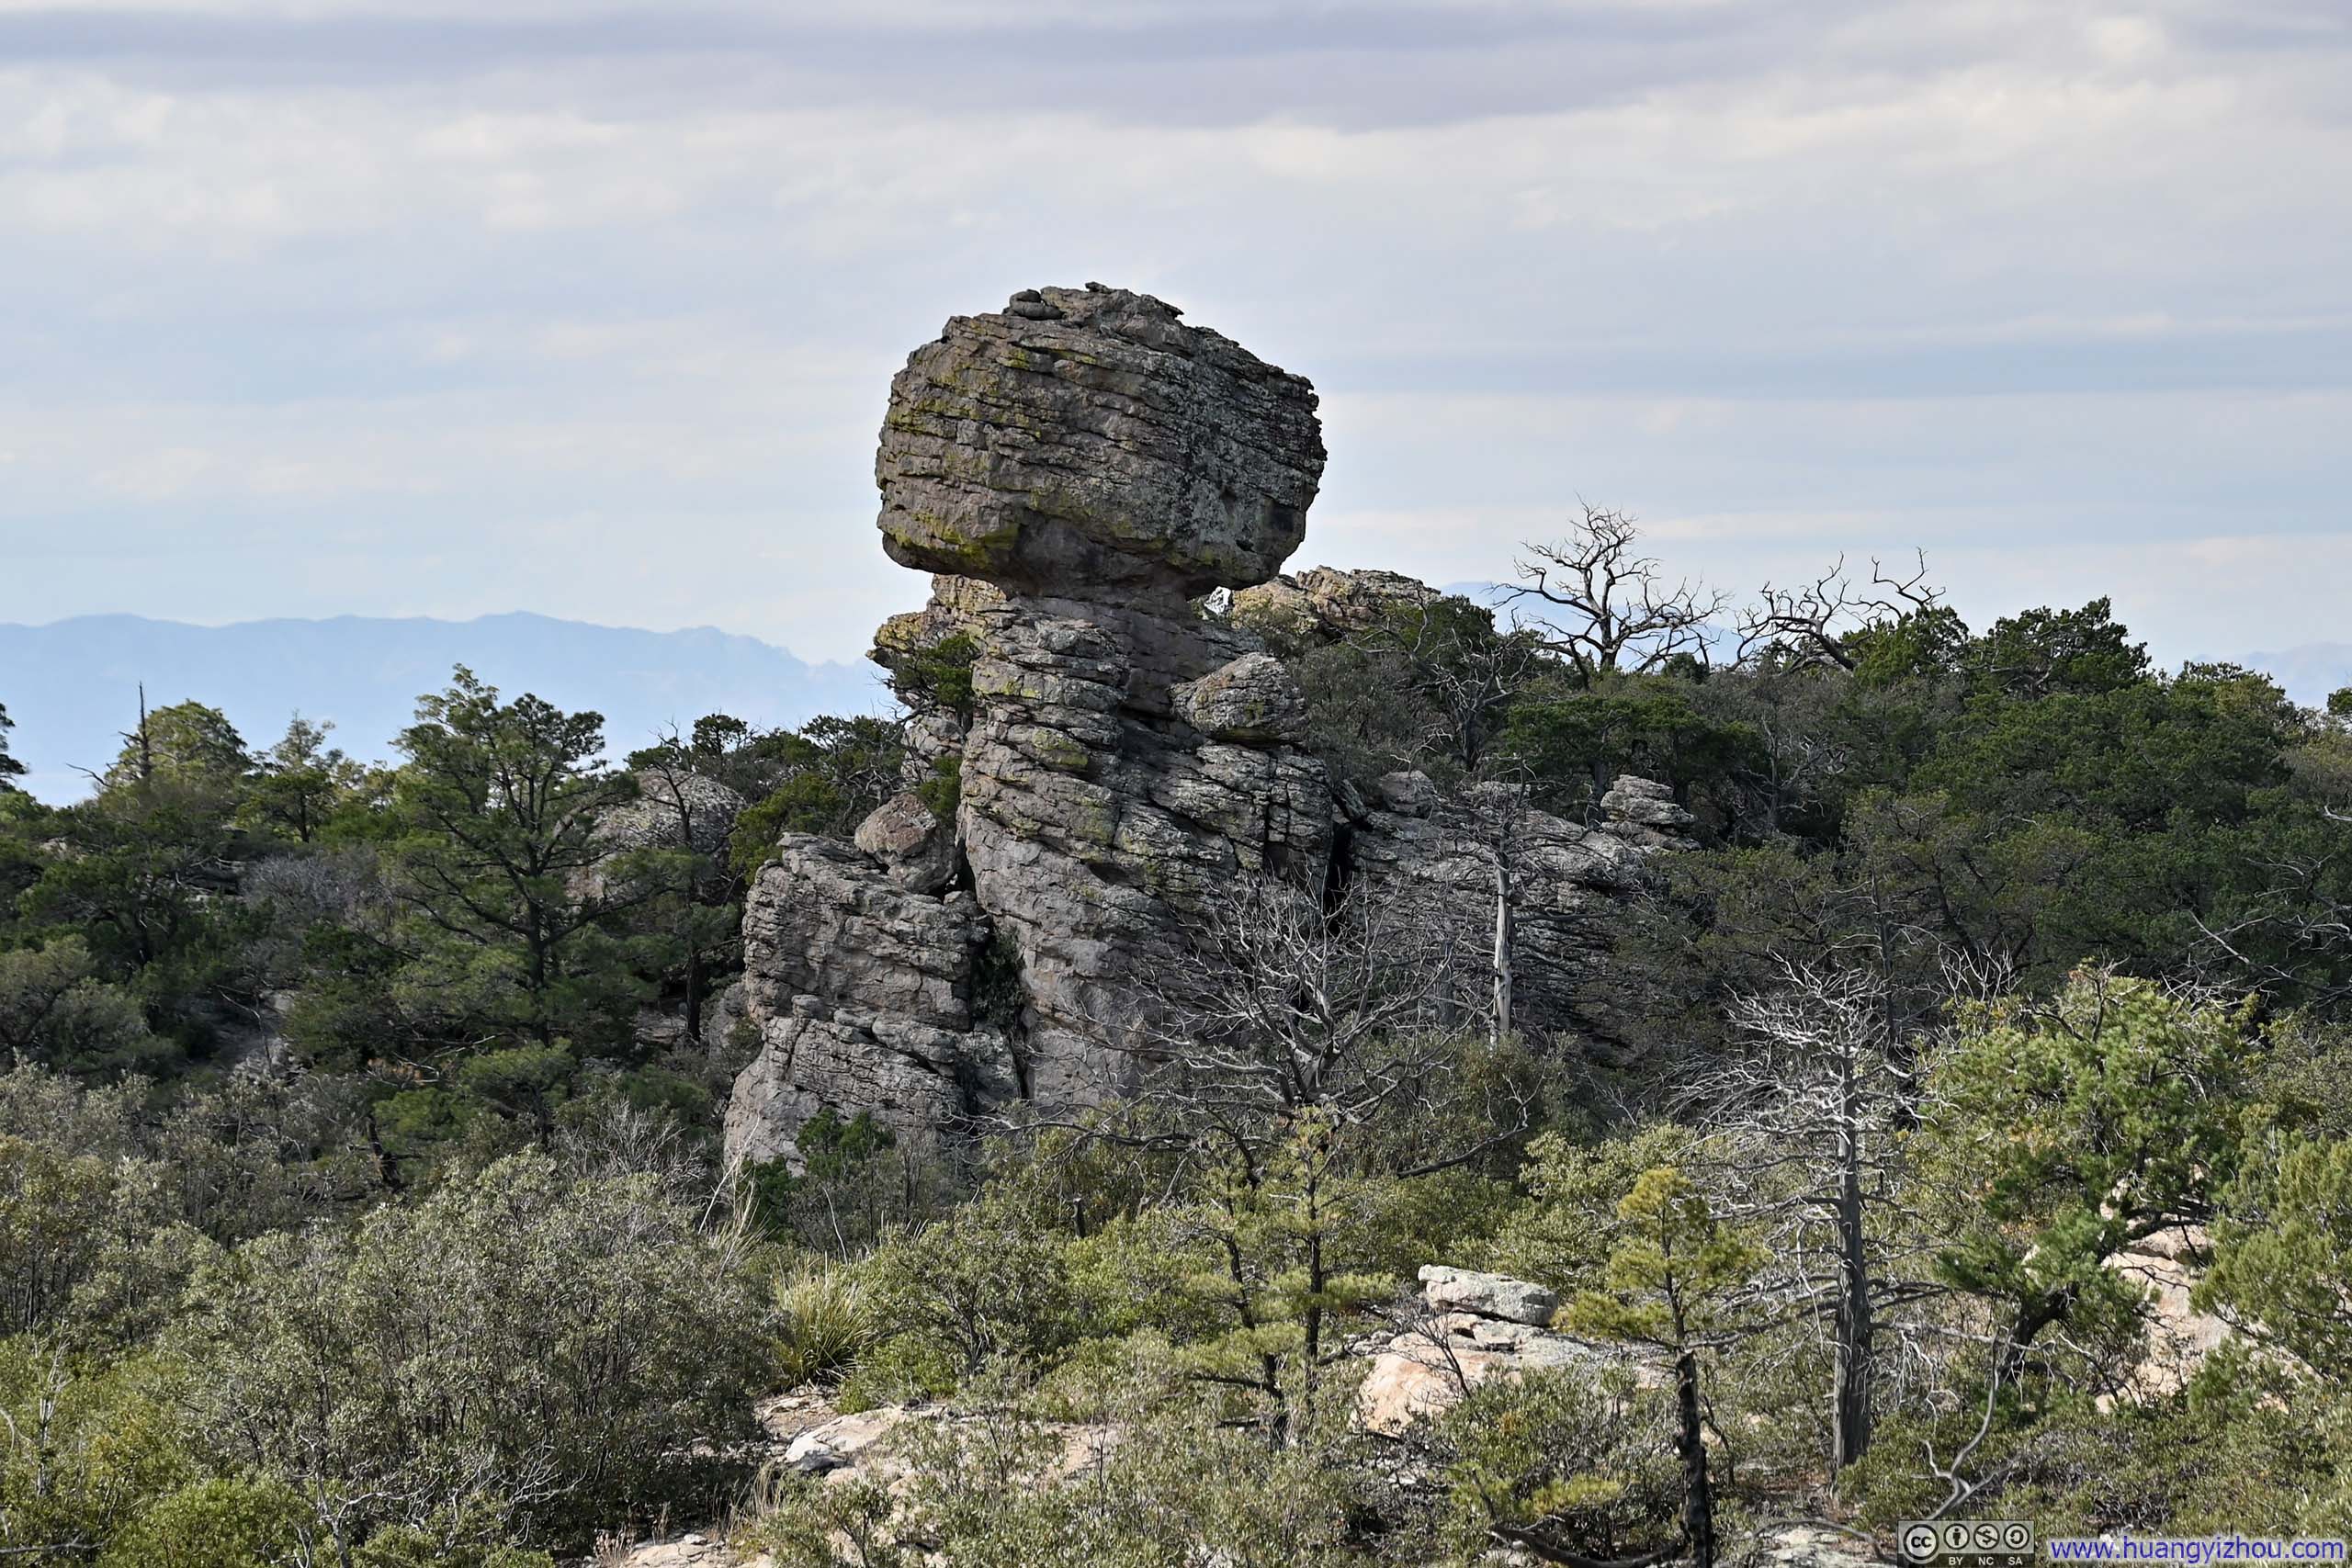
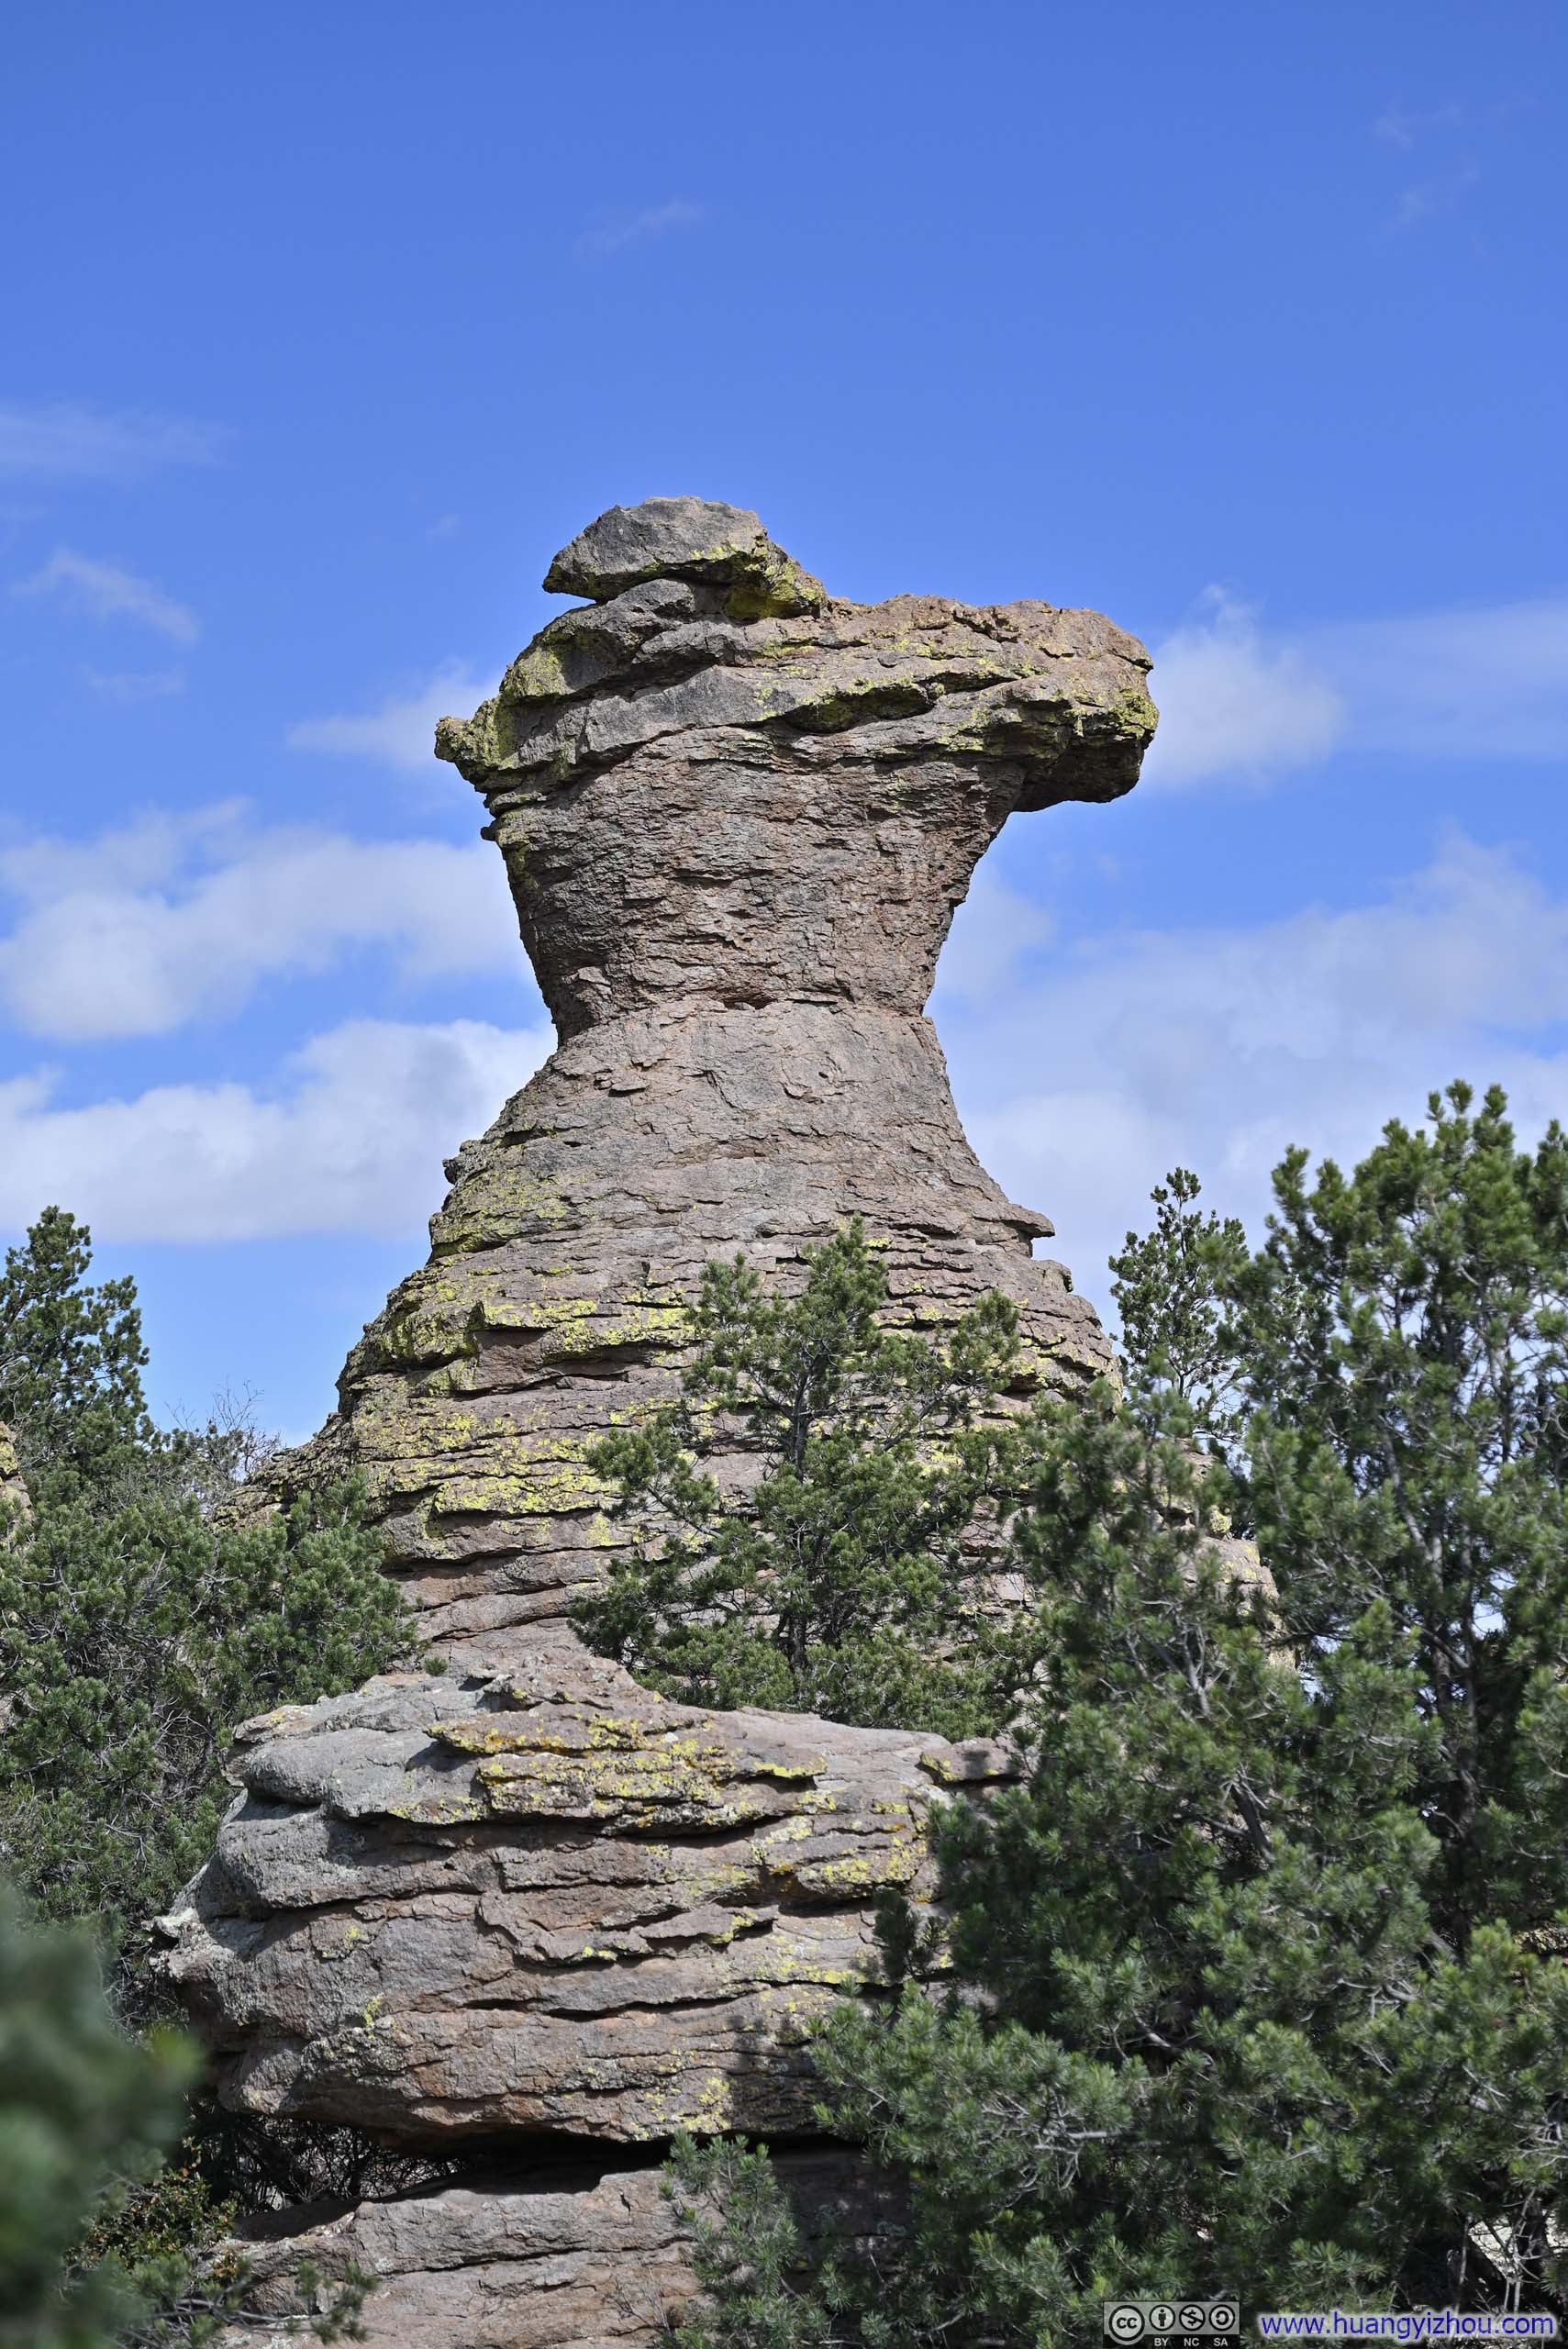
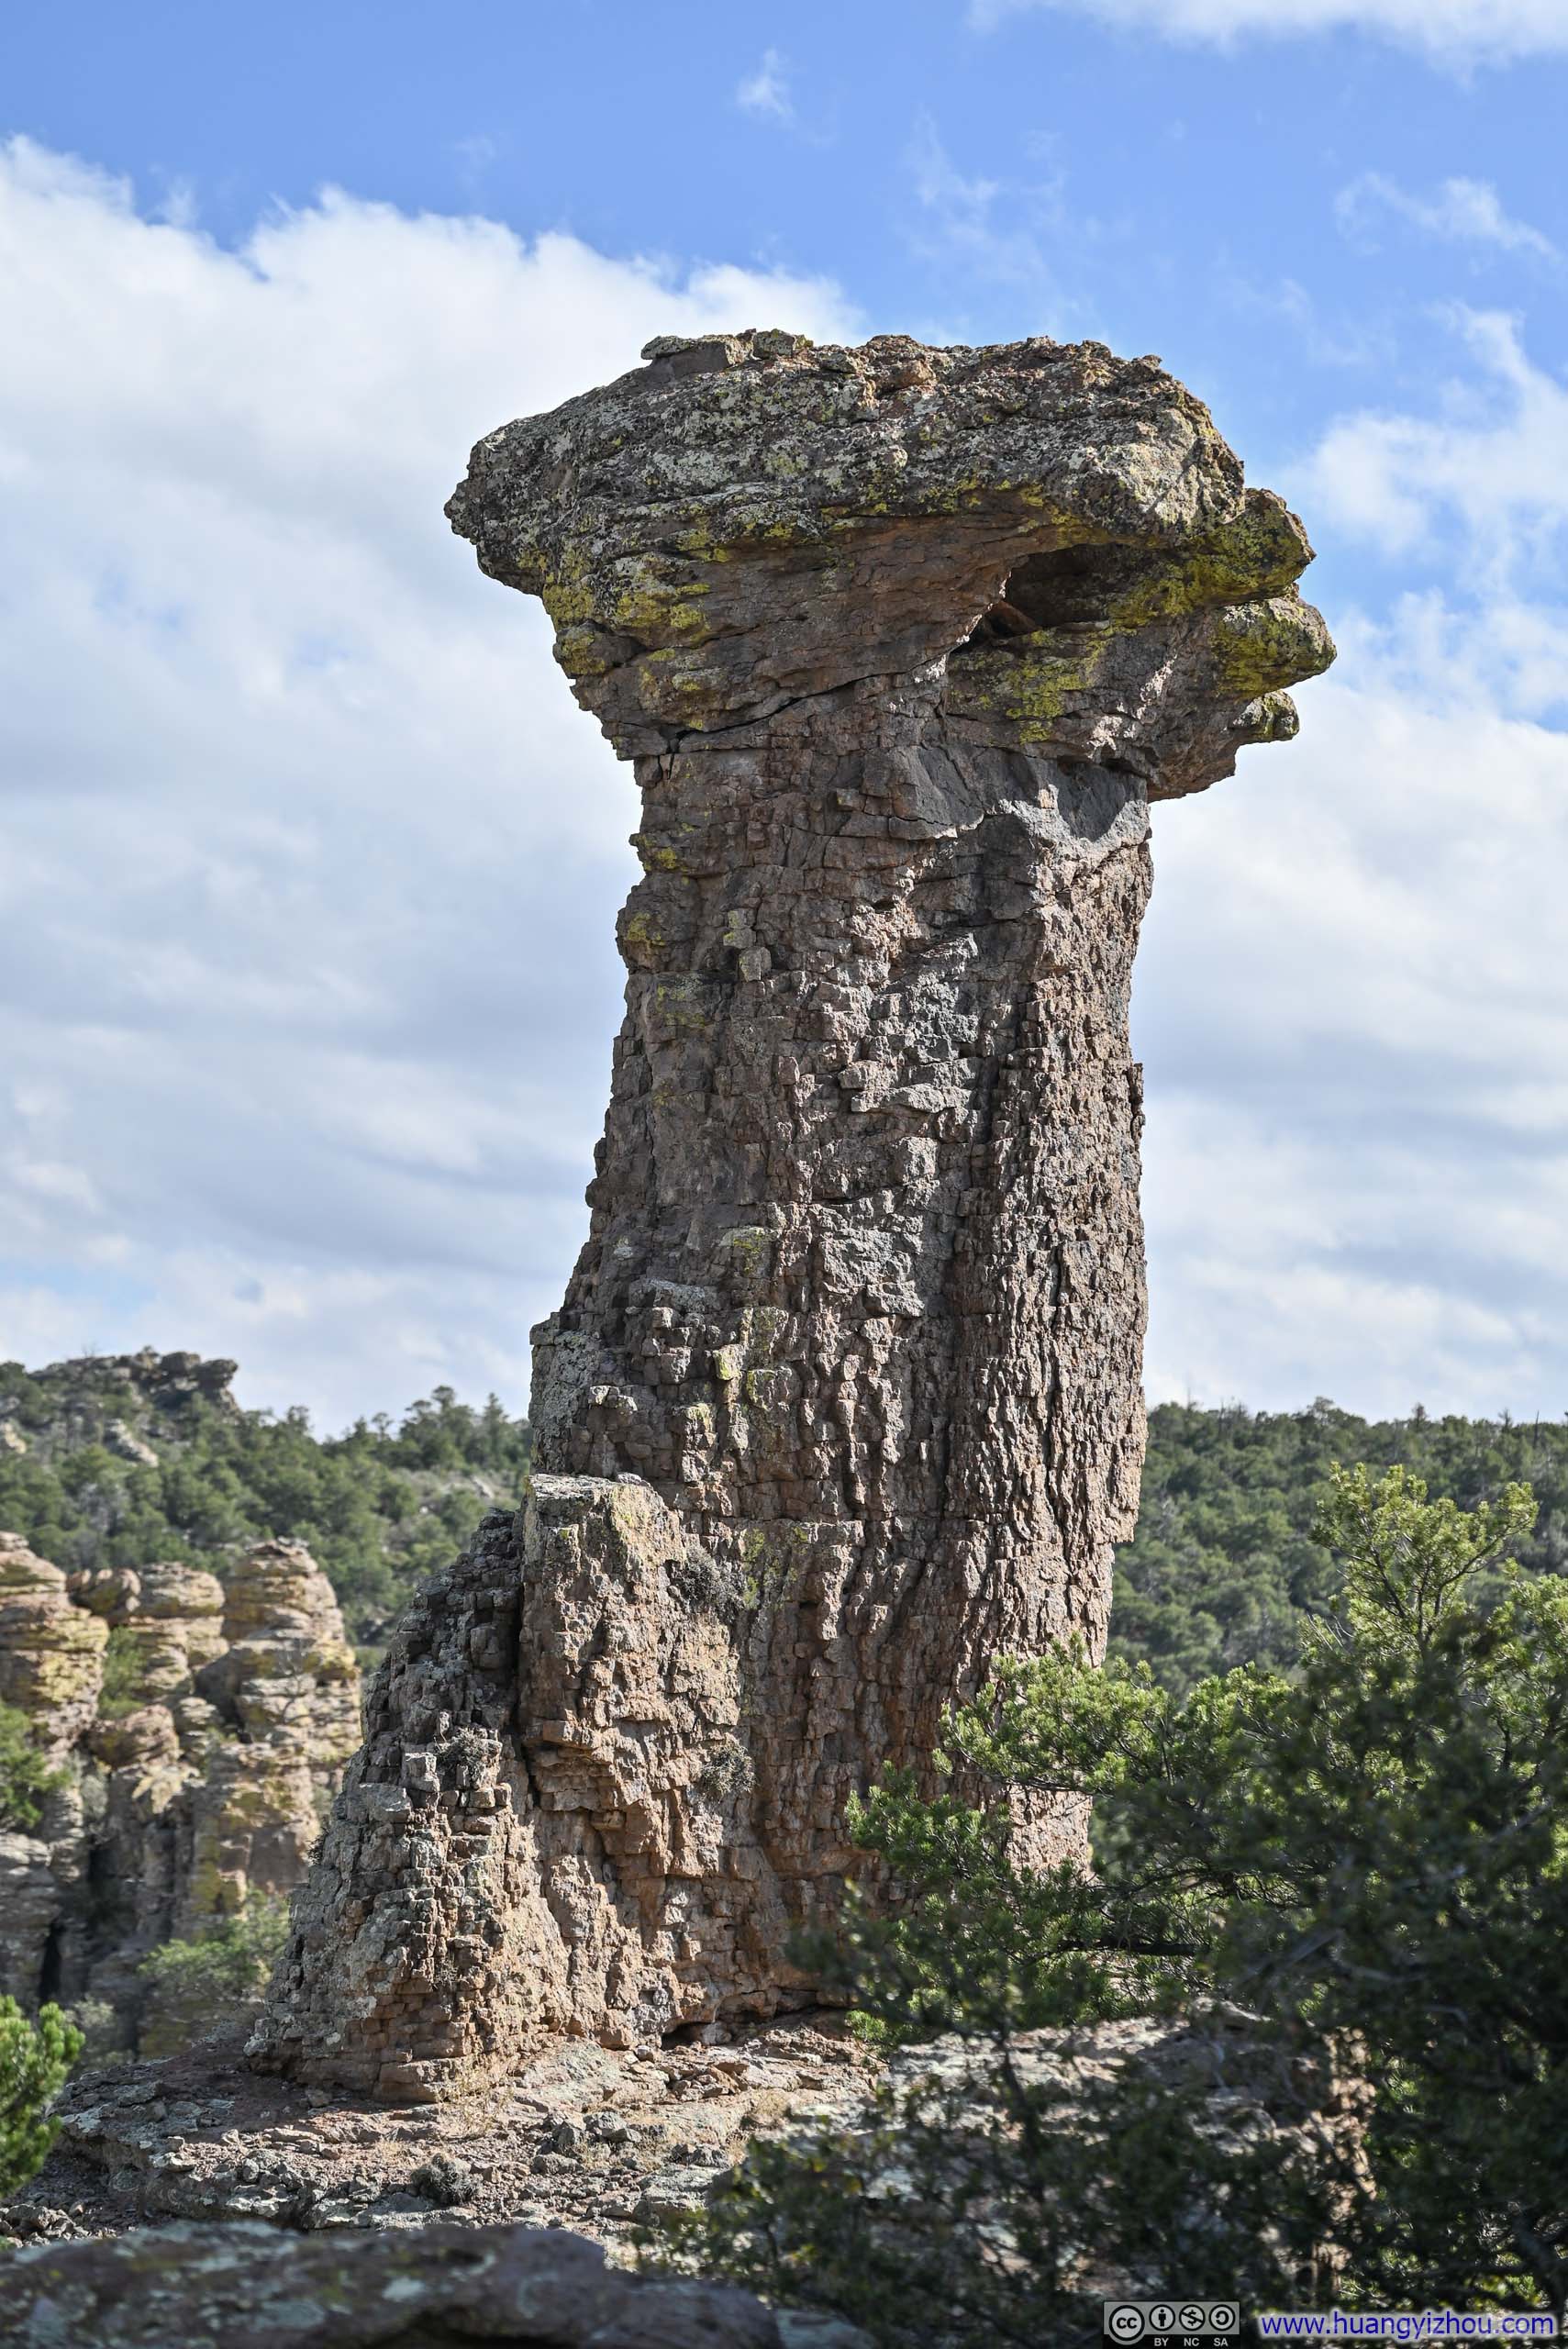
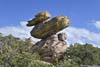
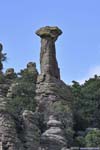
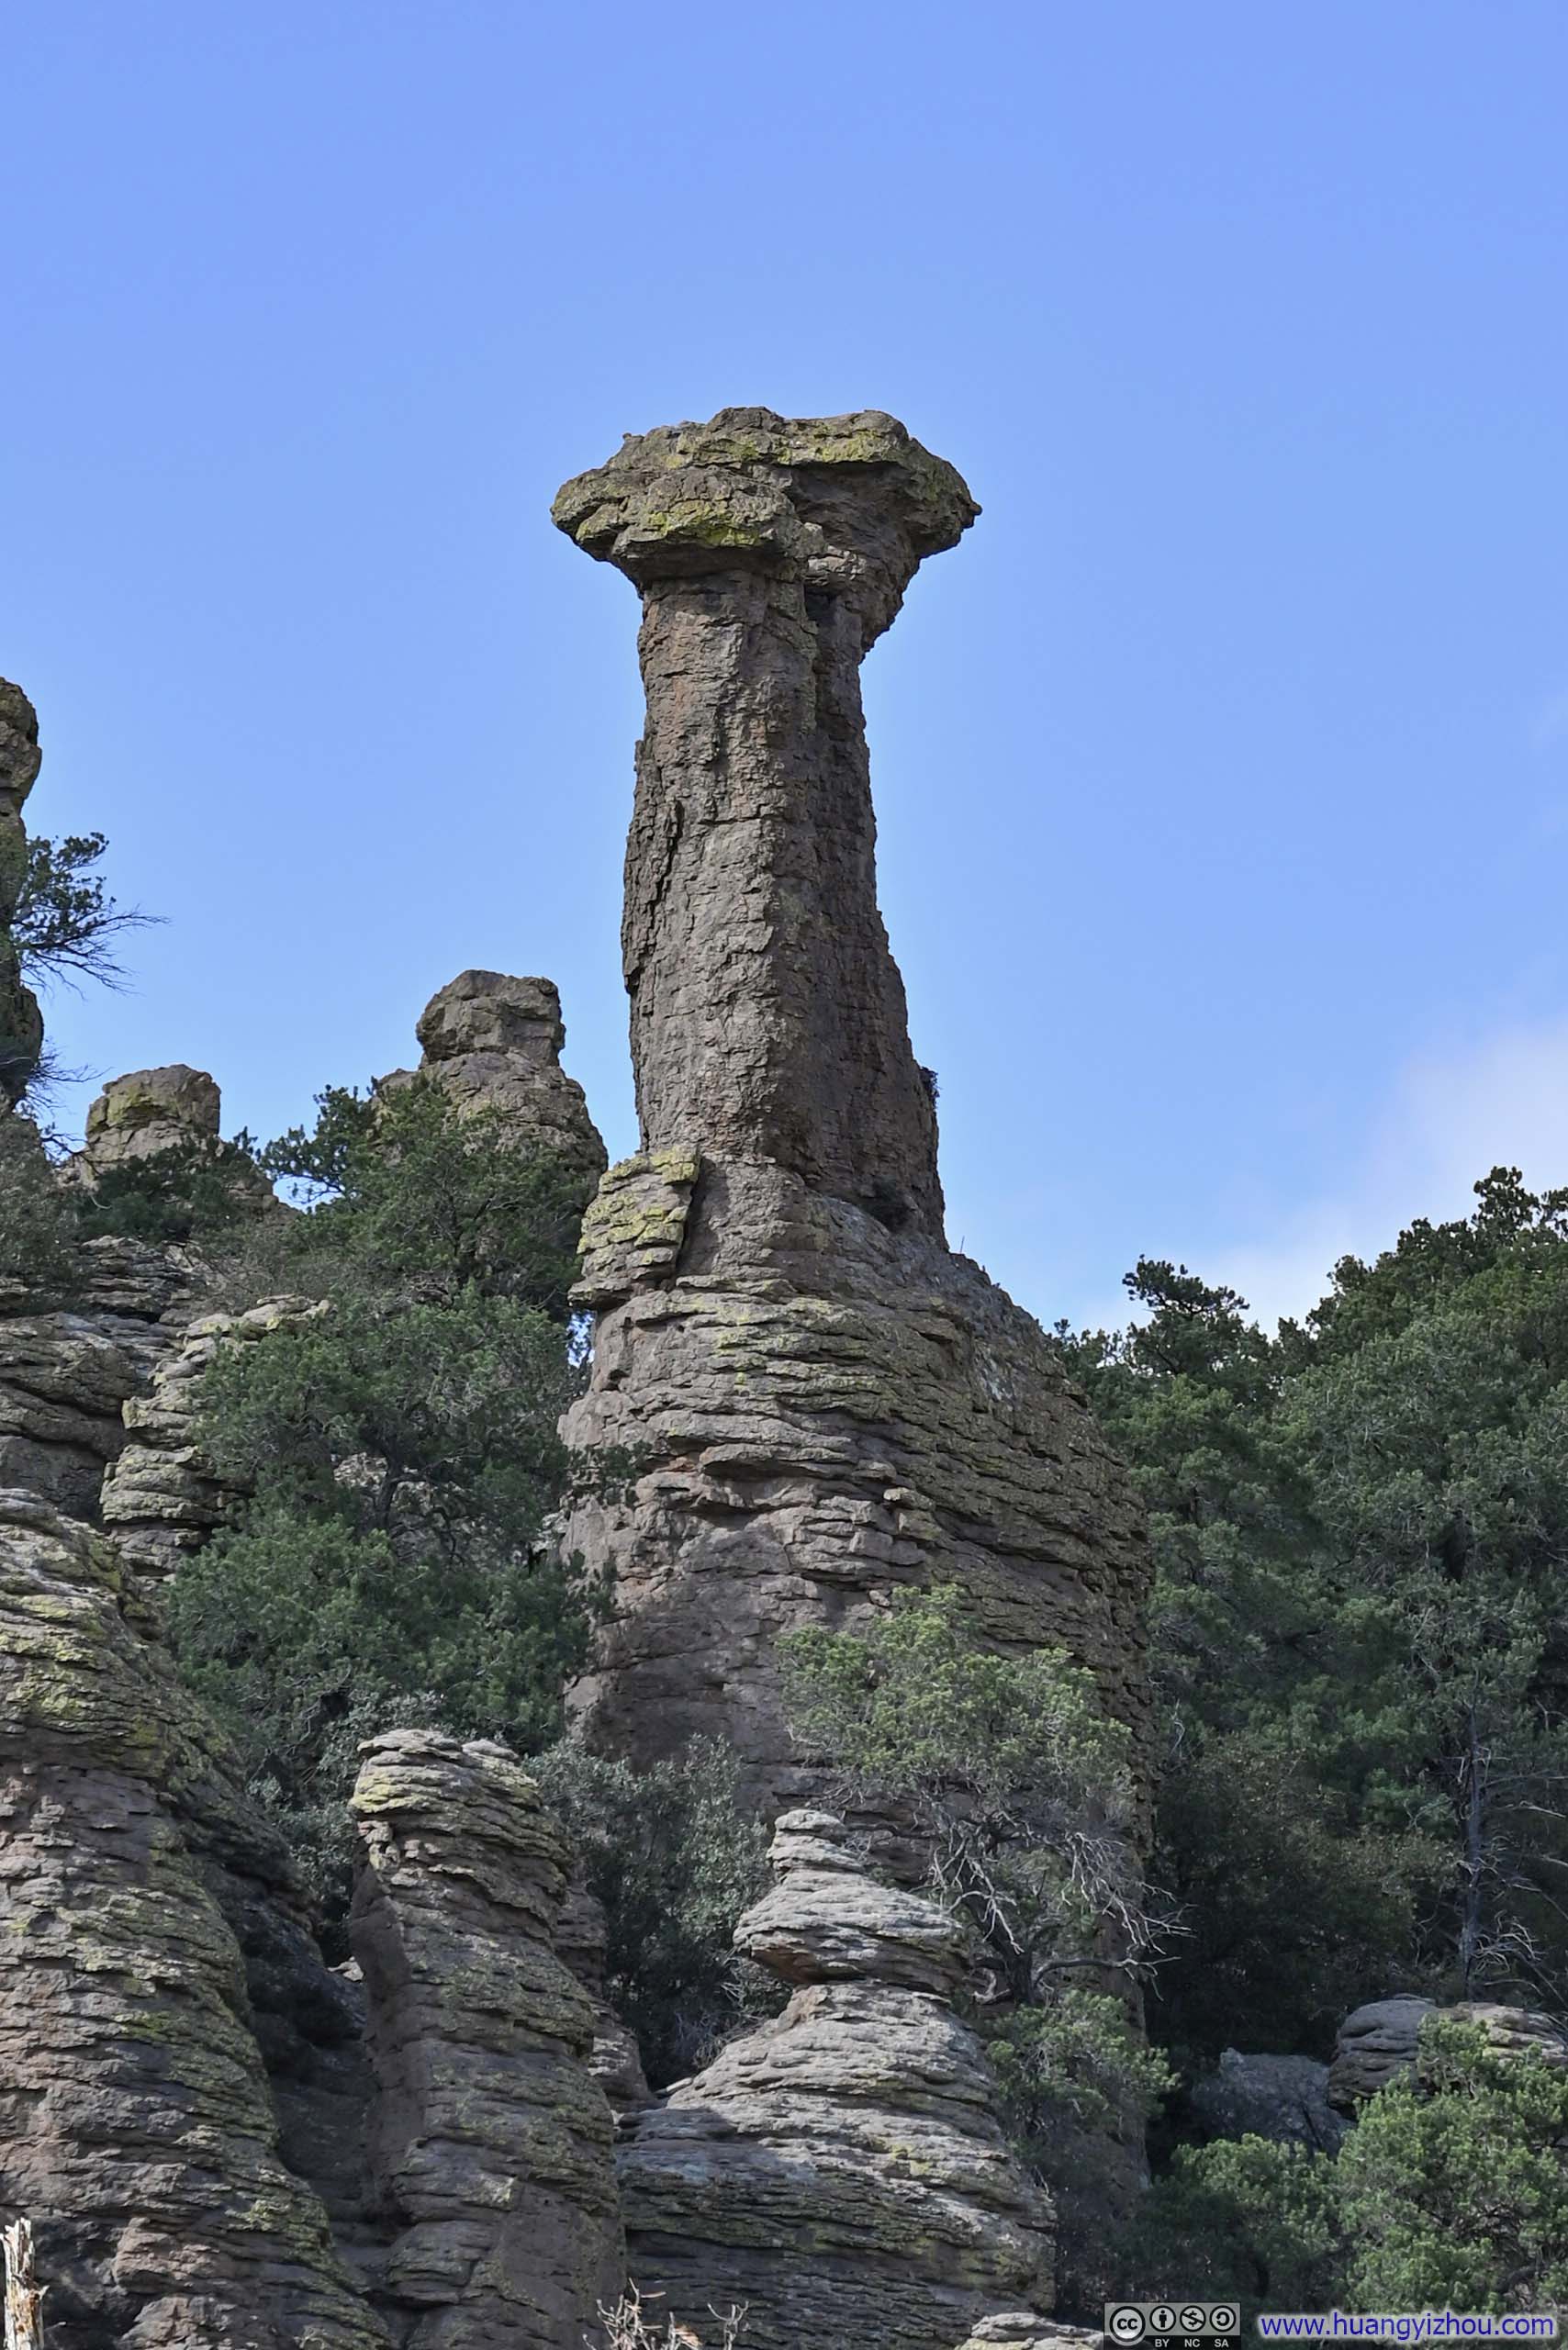
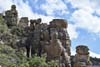
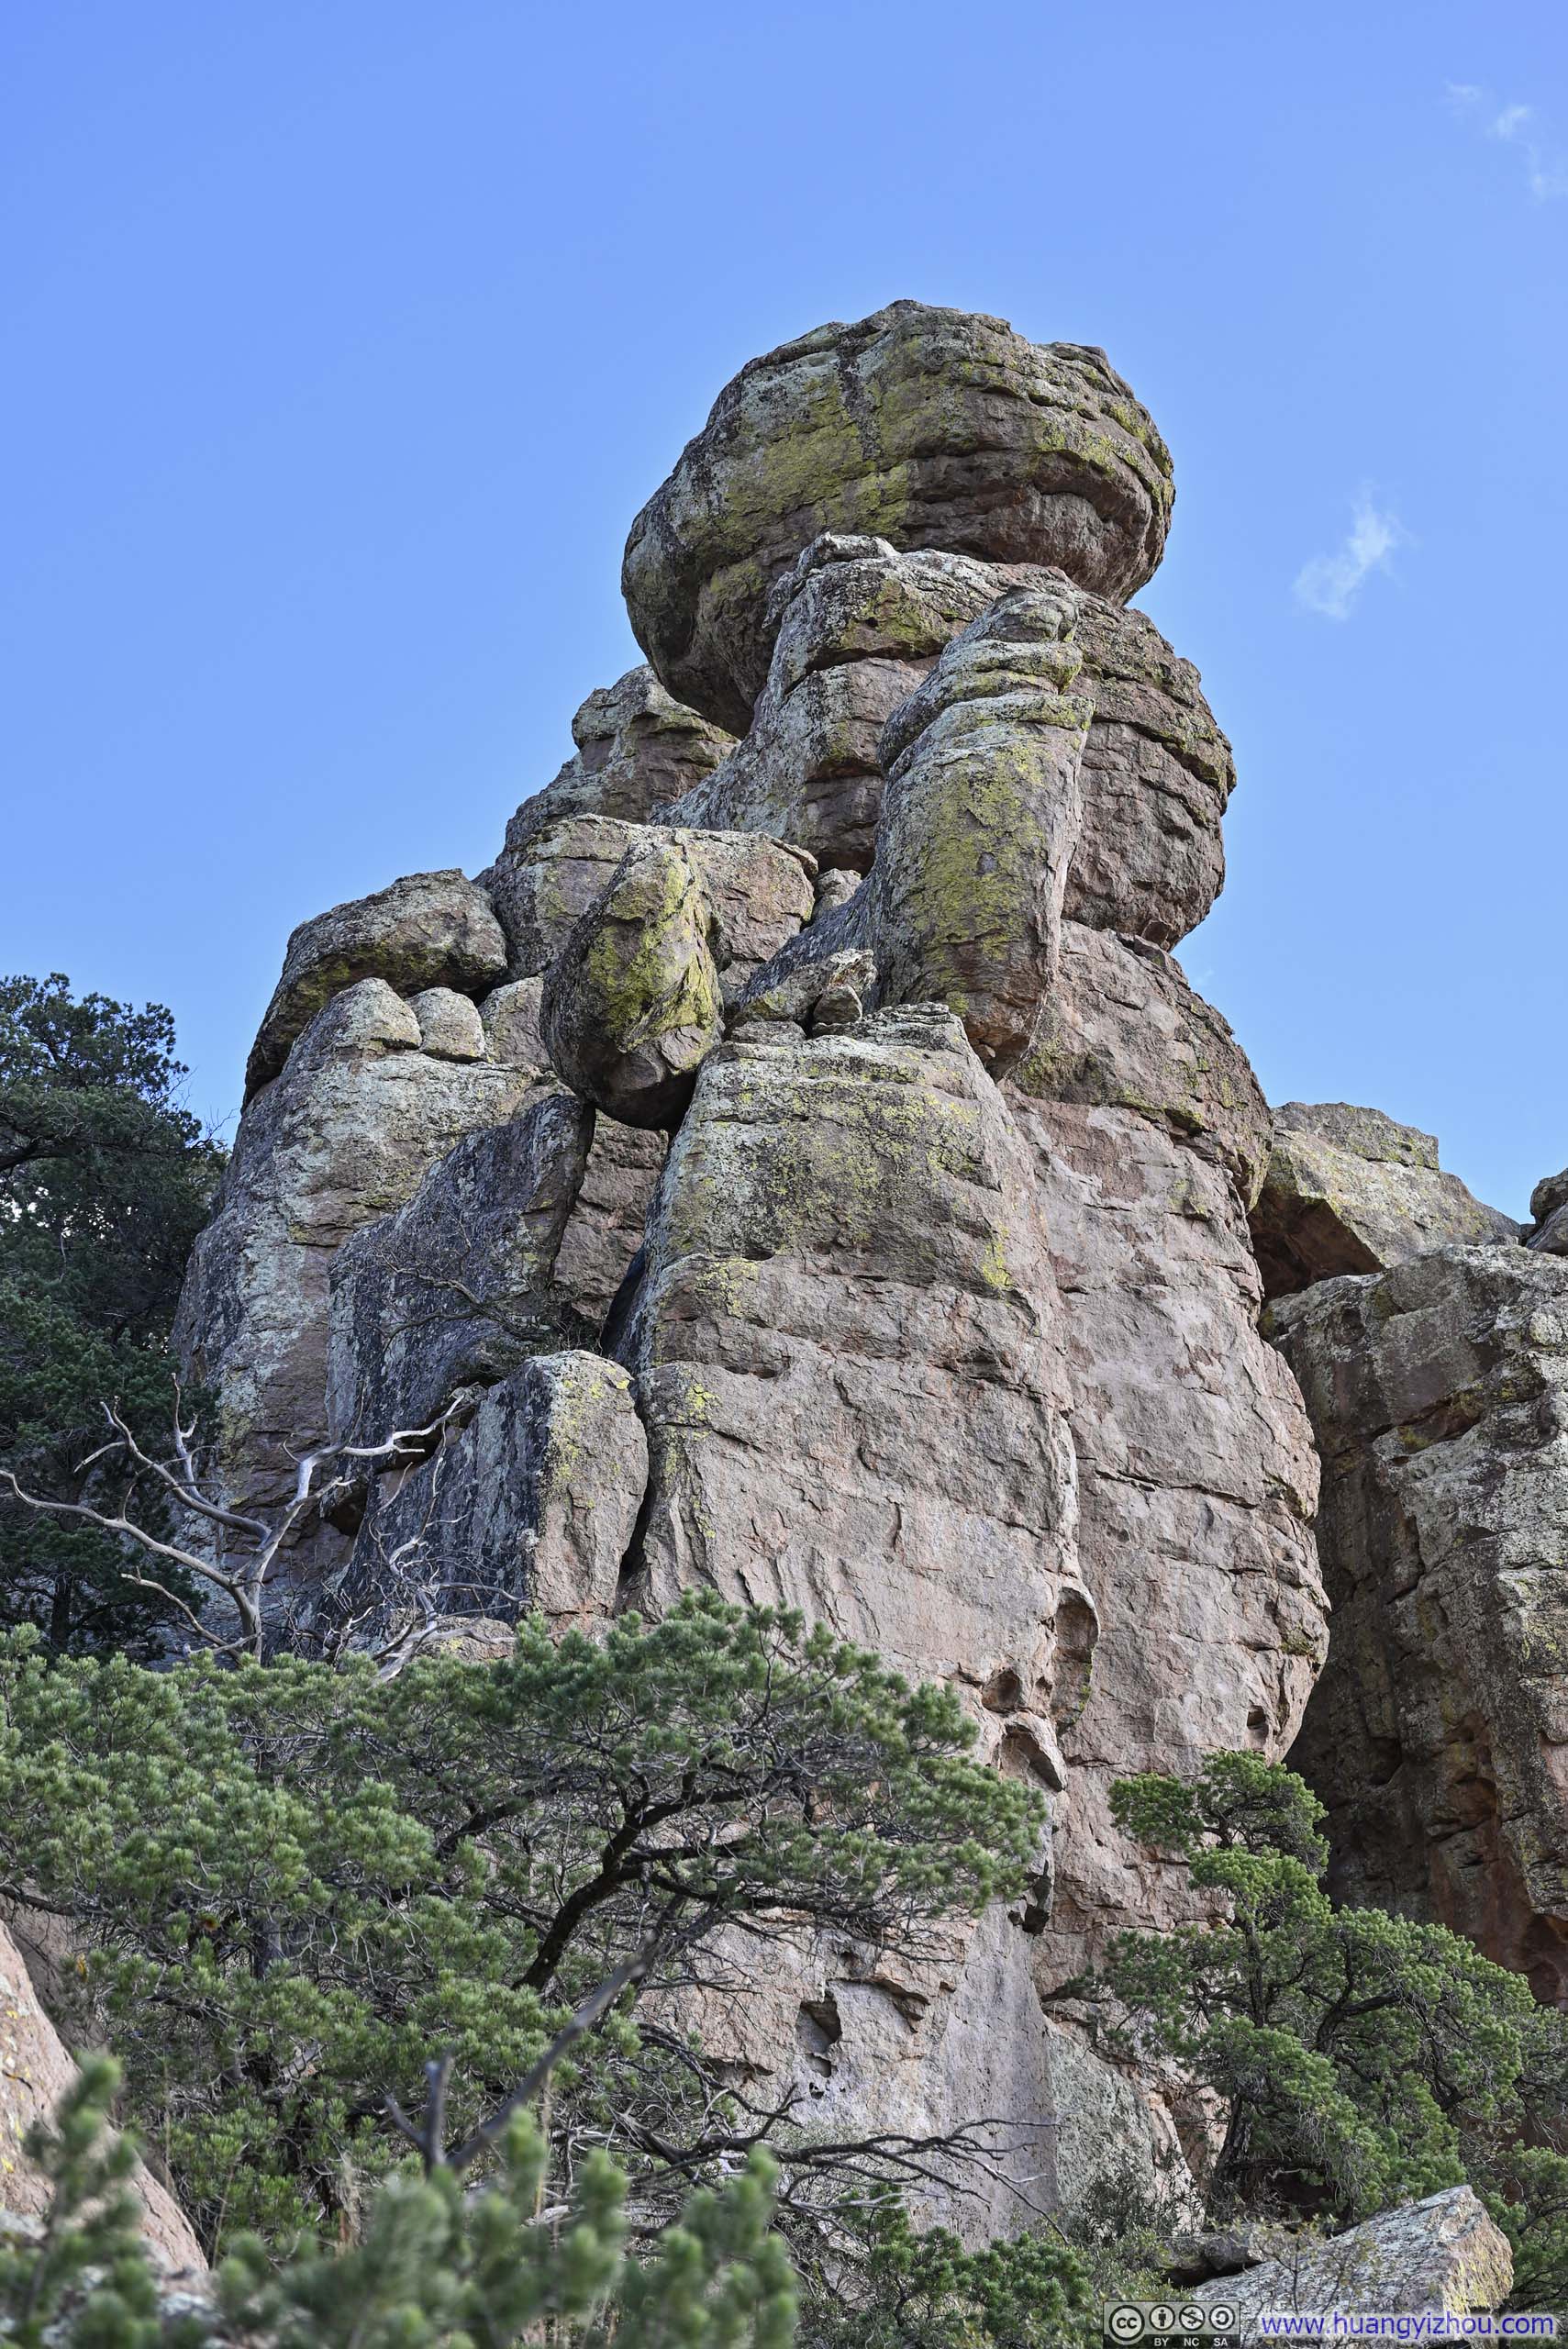
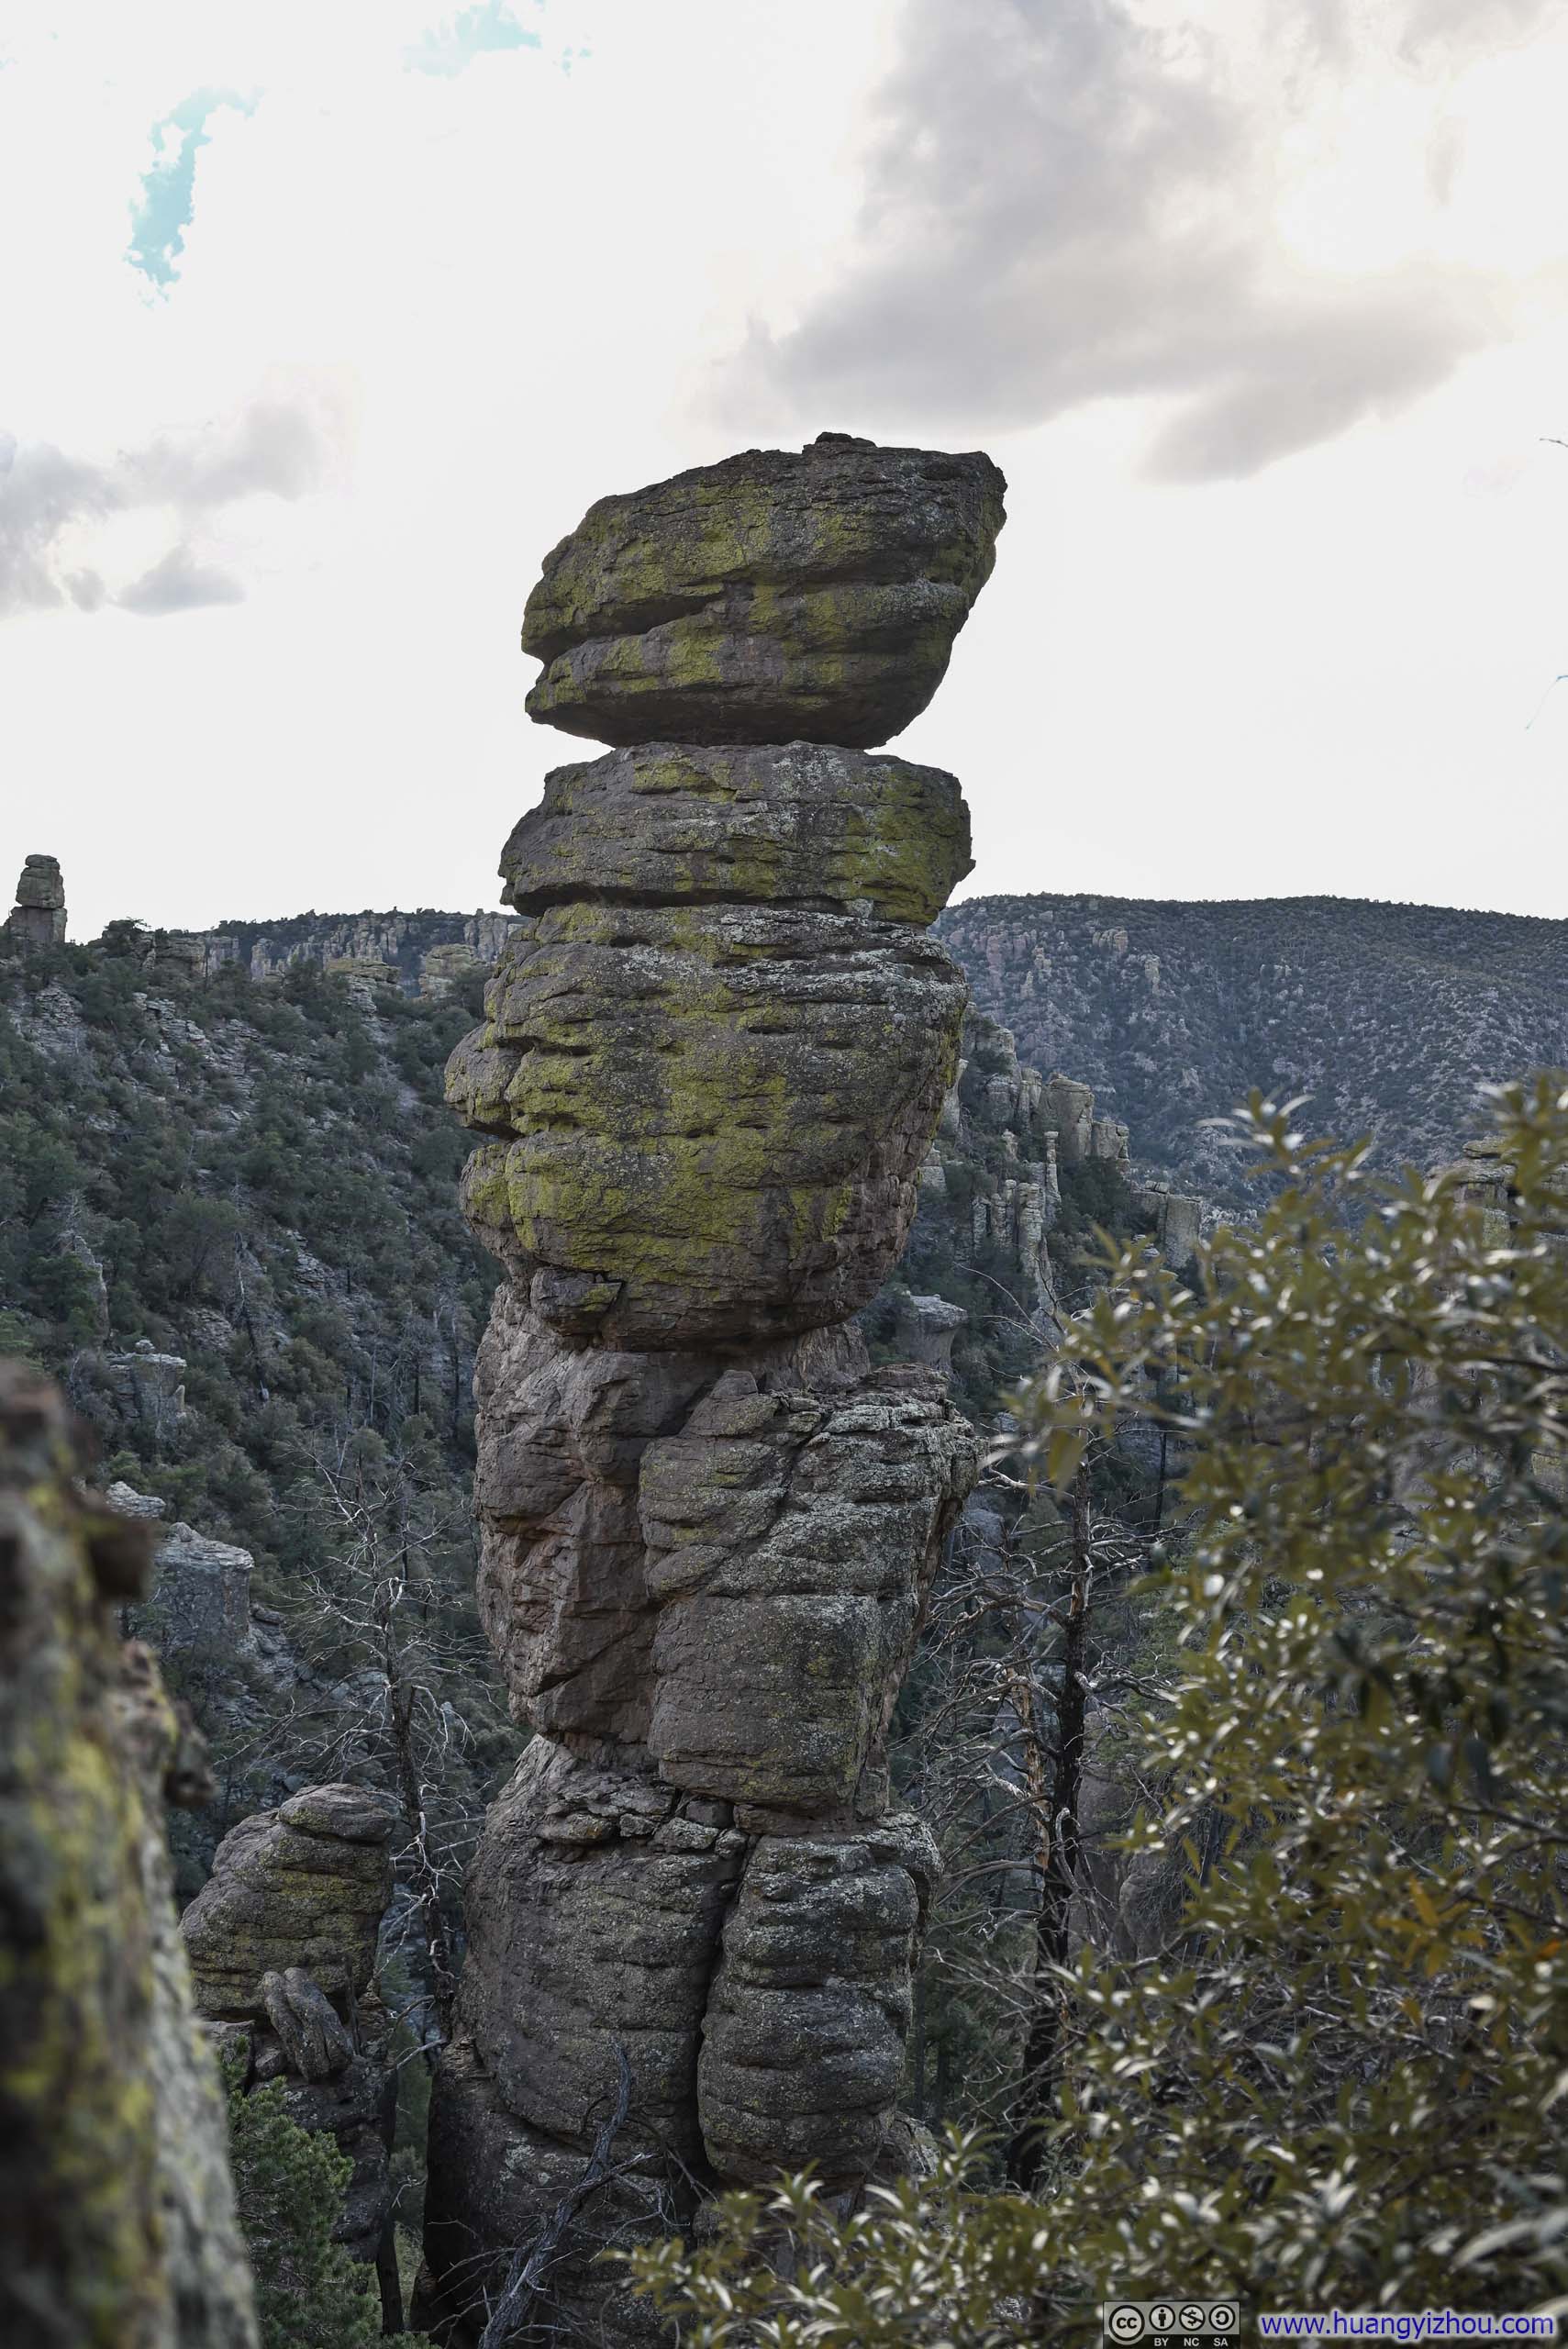
Continuing onward, the trail entered a more wooded section as the hoodoos gradually receded from view. That is, except for “Mushroom Rock”, a top-heavy formation that was intricately balanced.
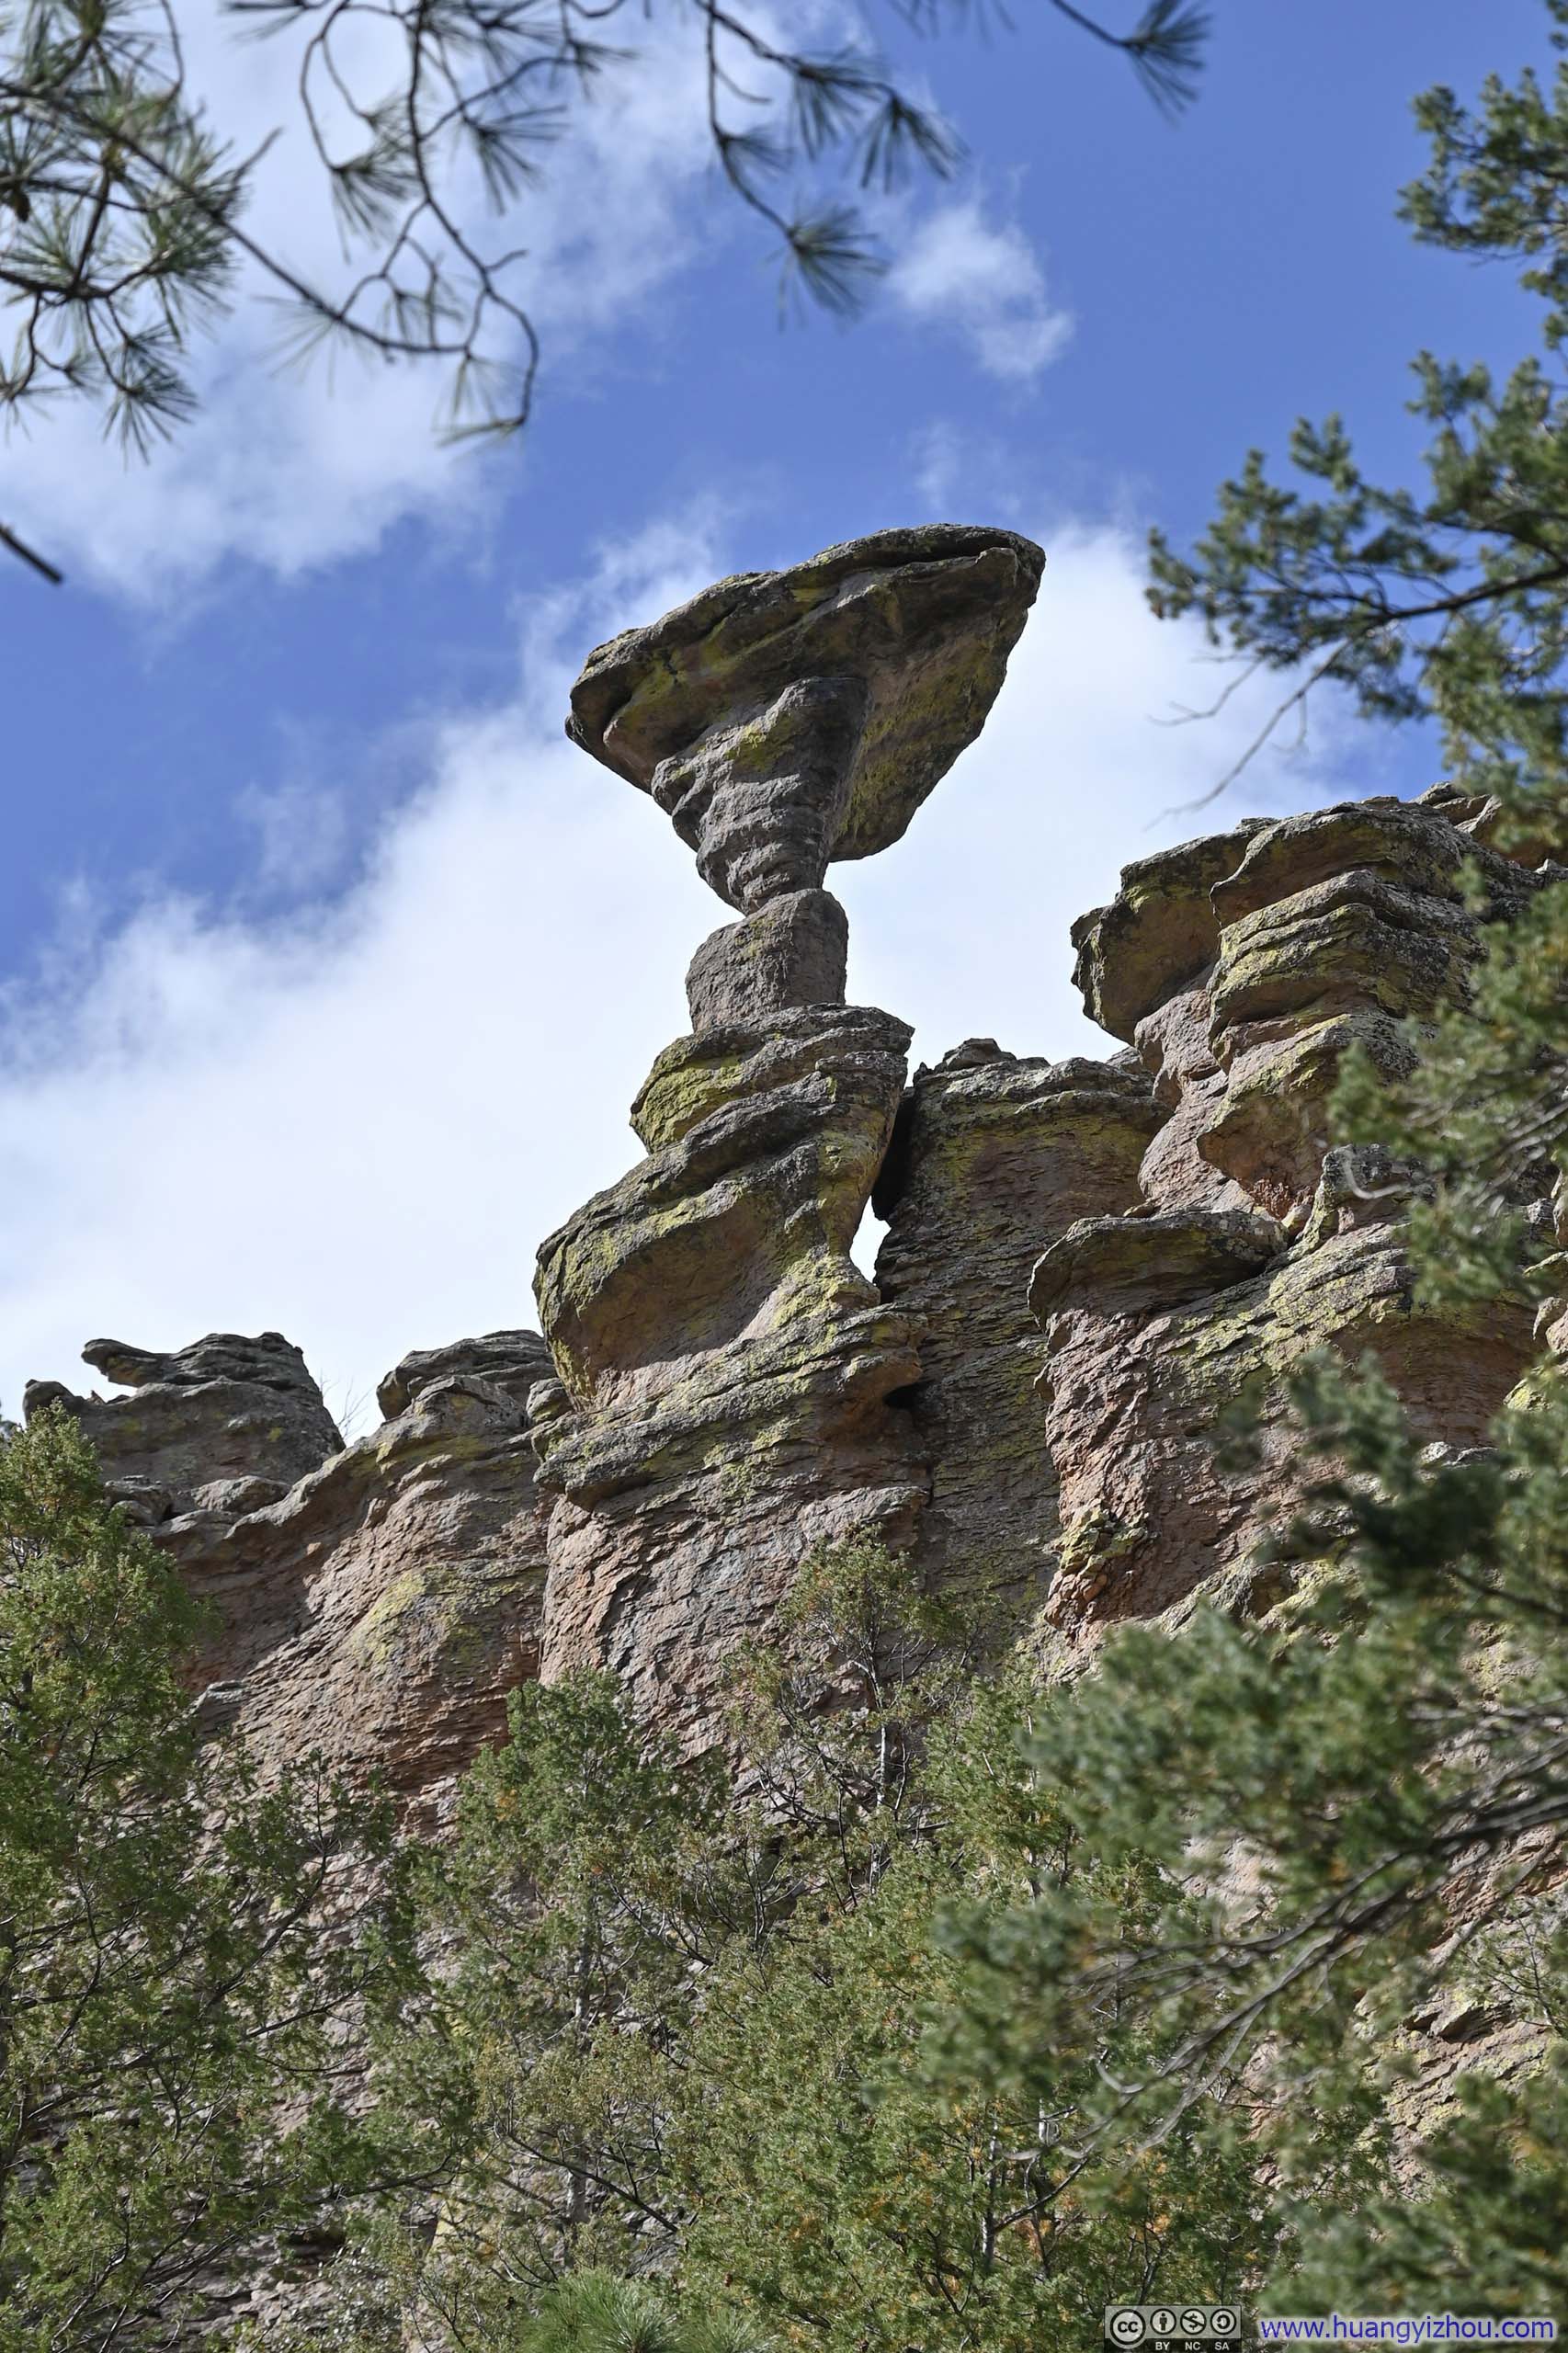
 Mushroom Rock
Inspiration Point
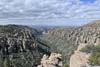
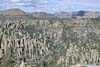
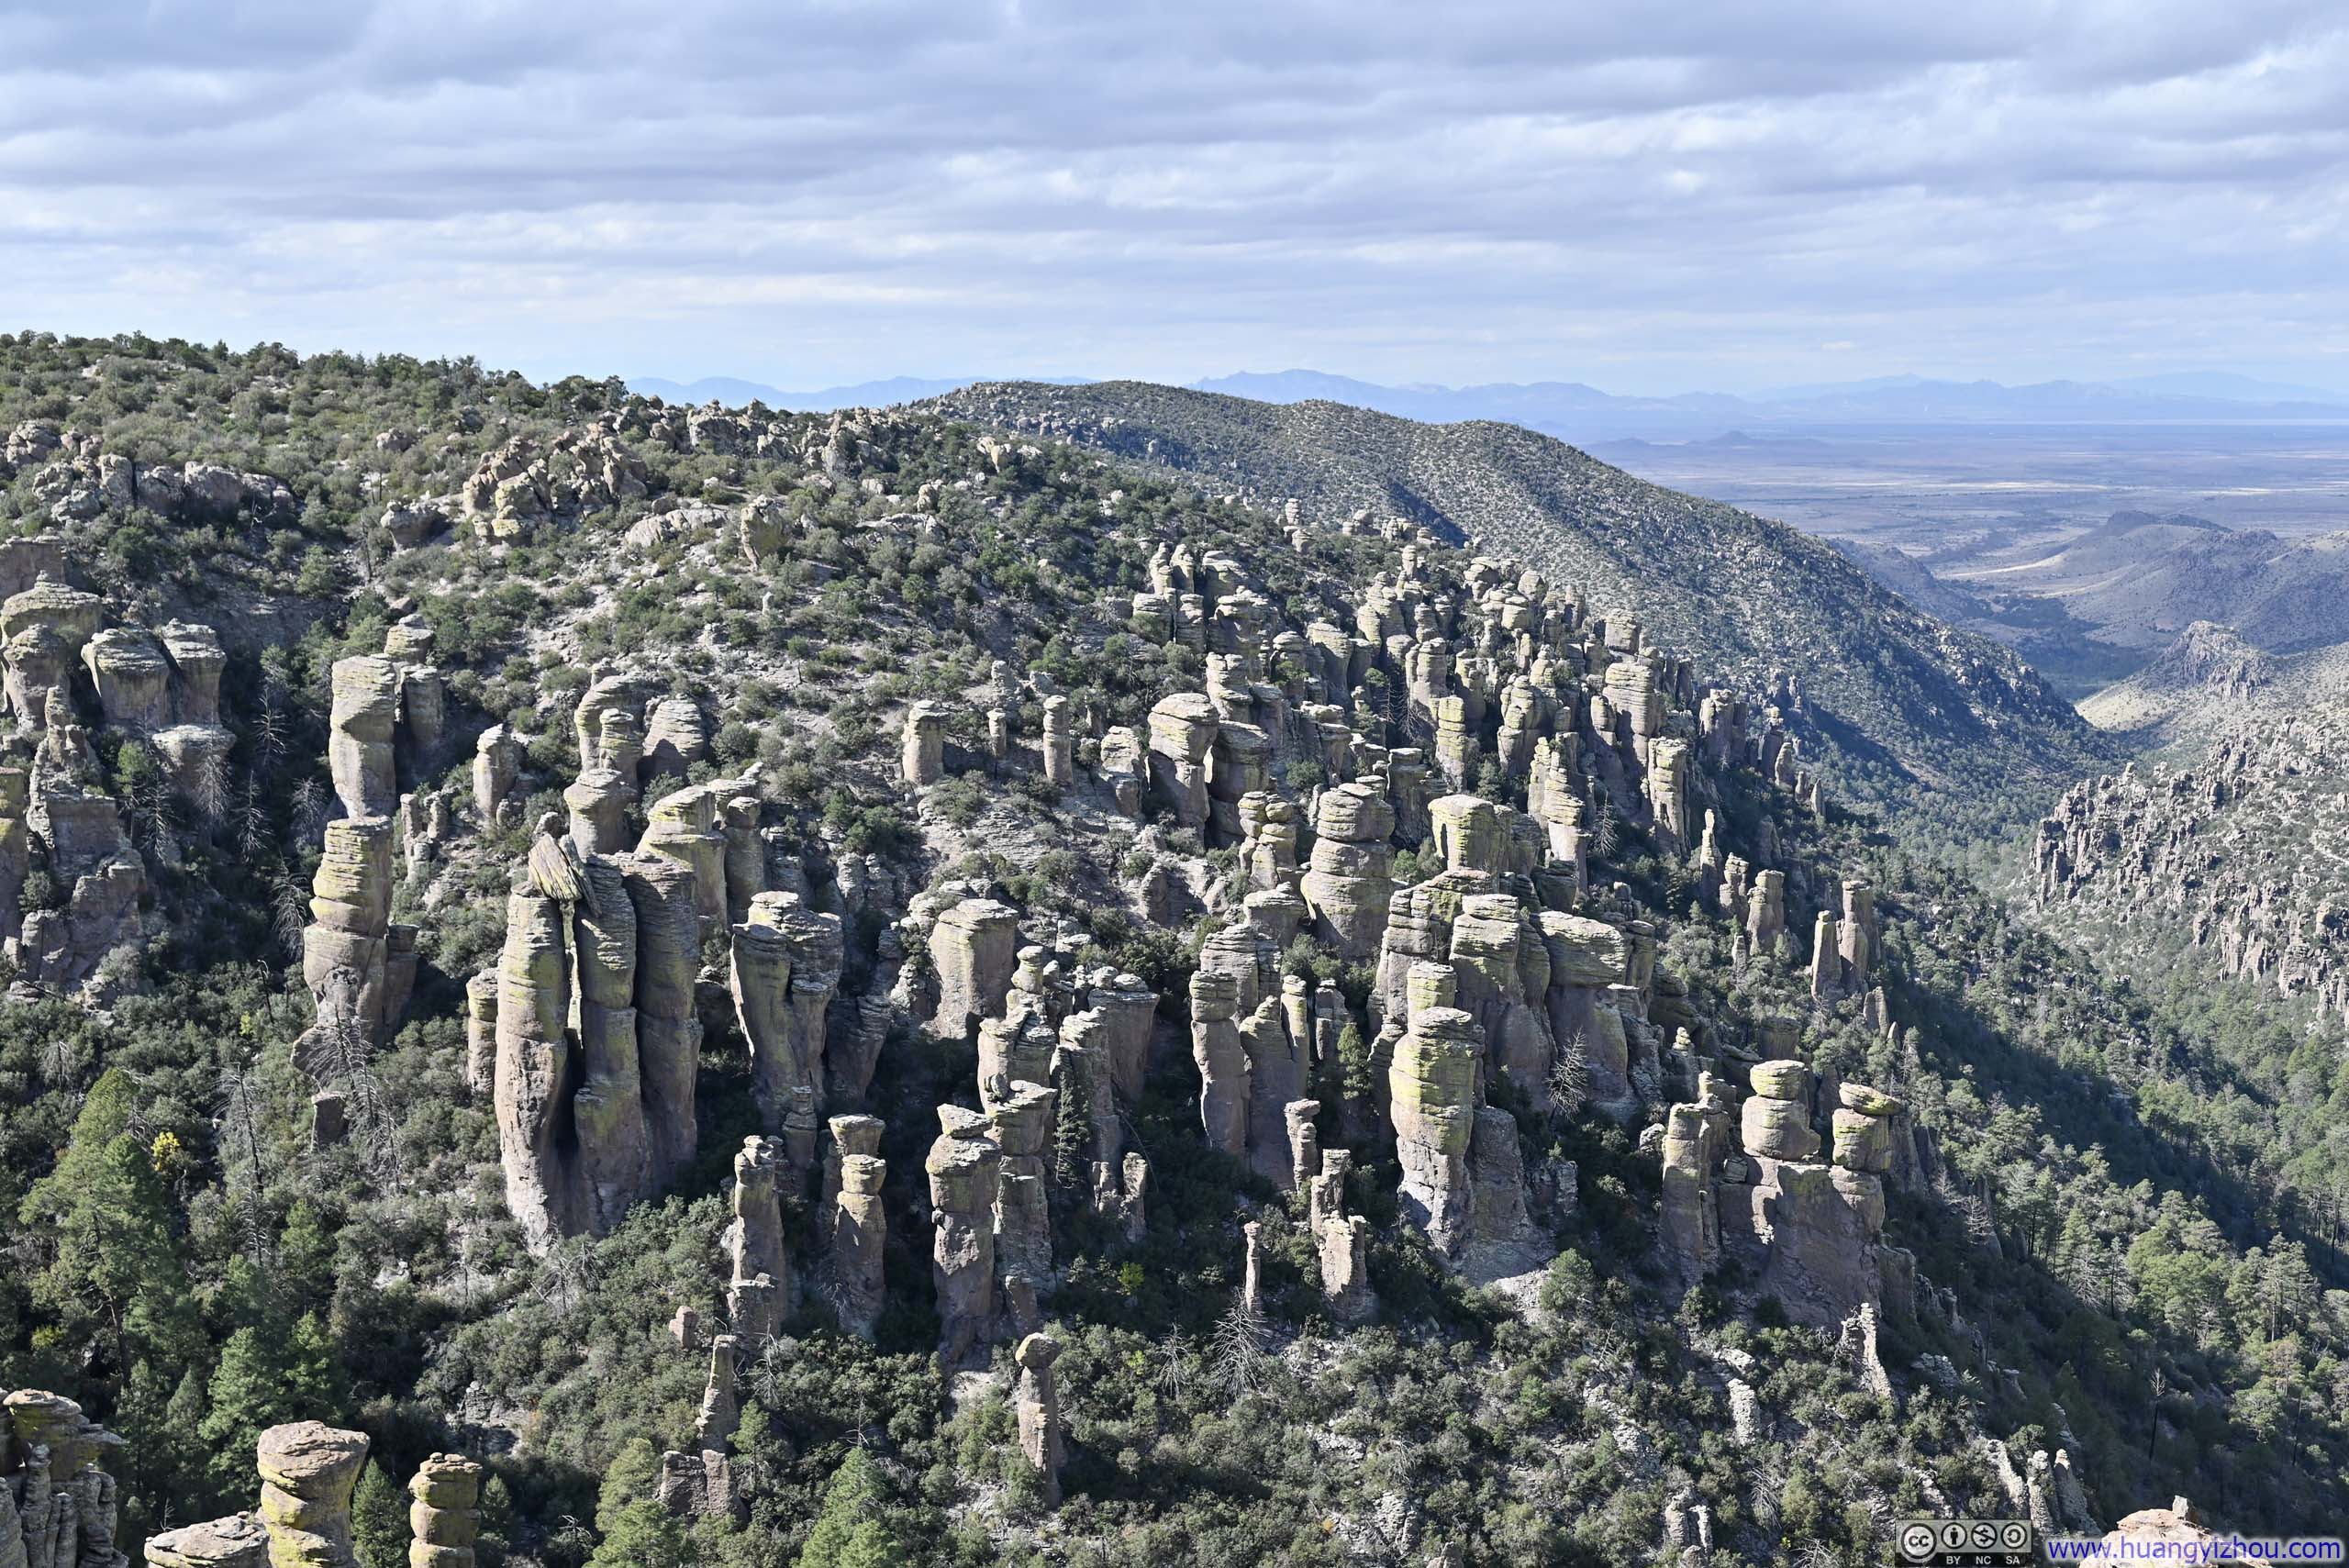
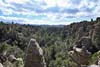
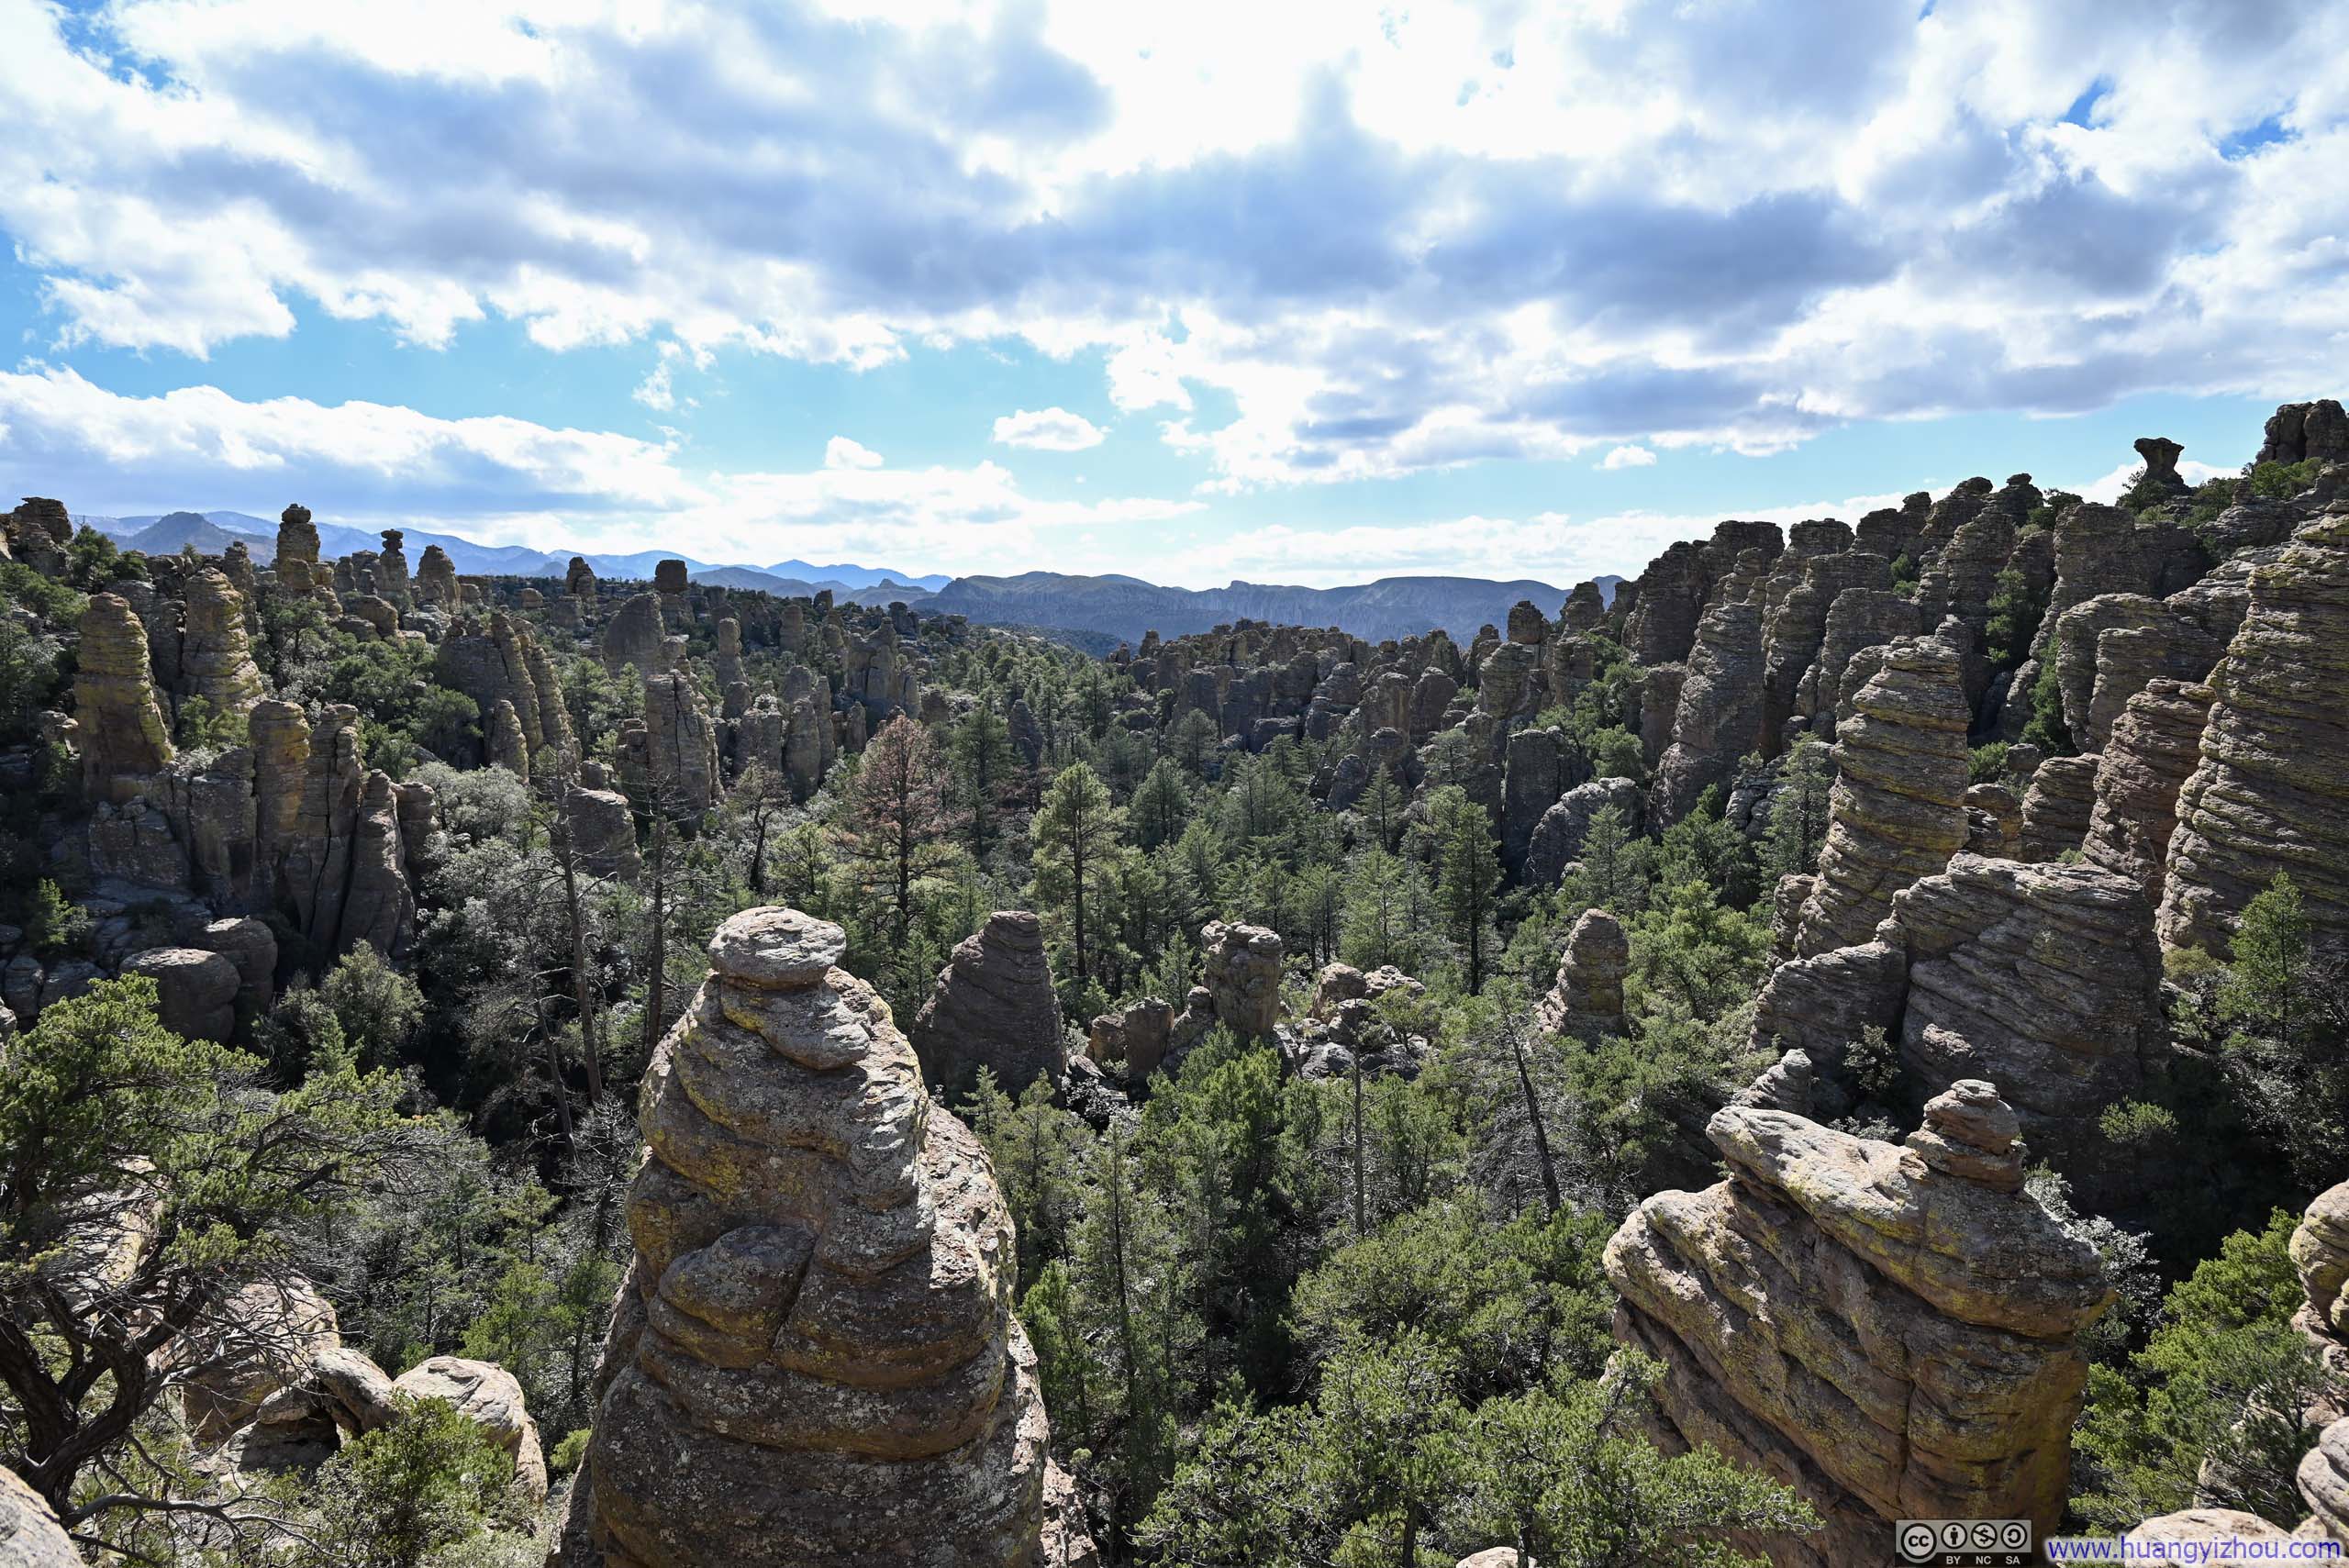
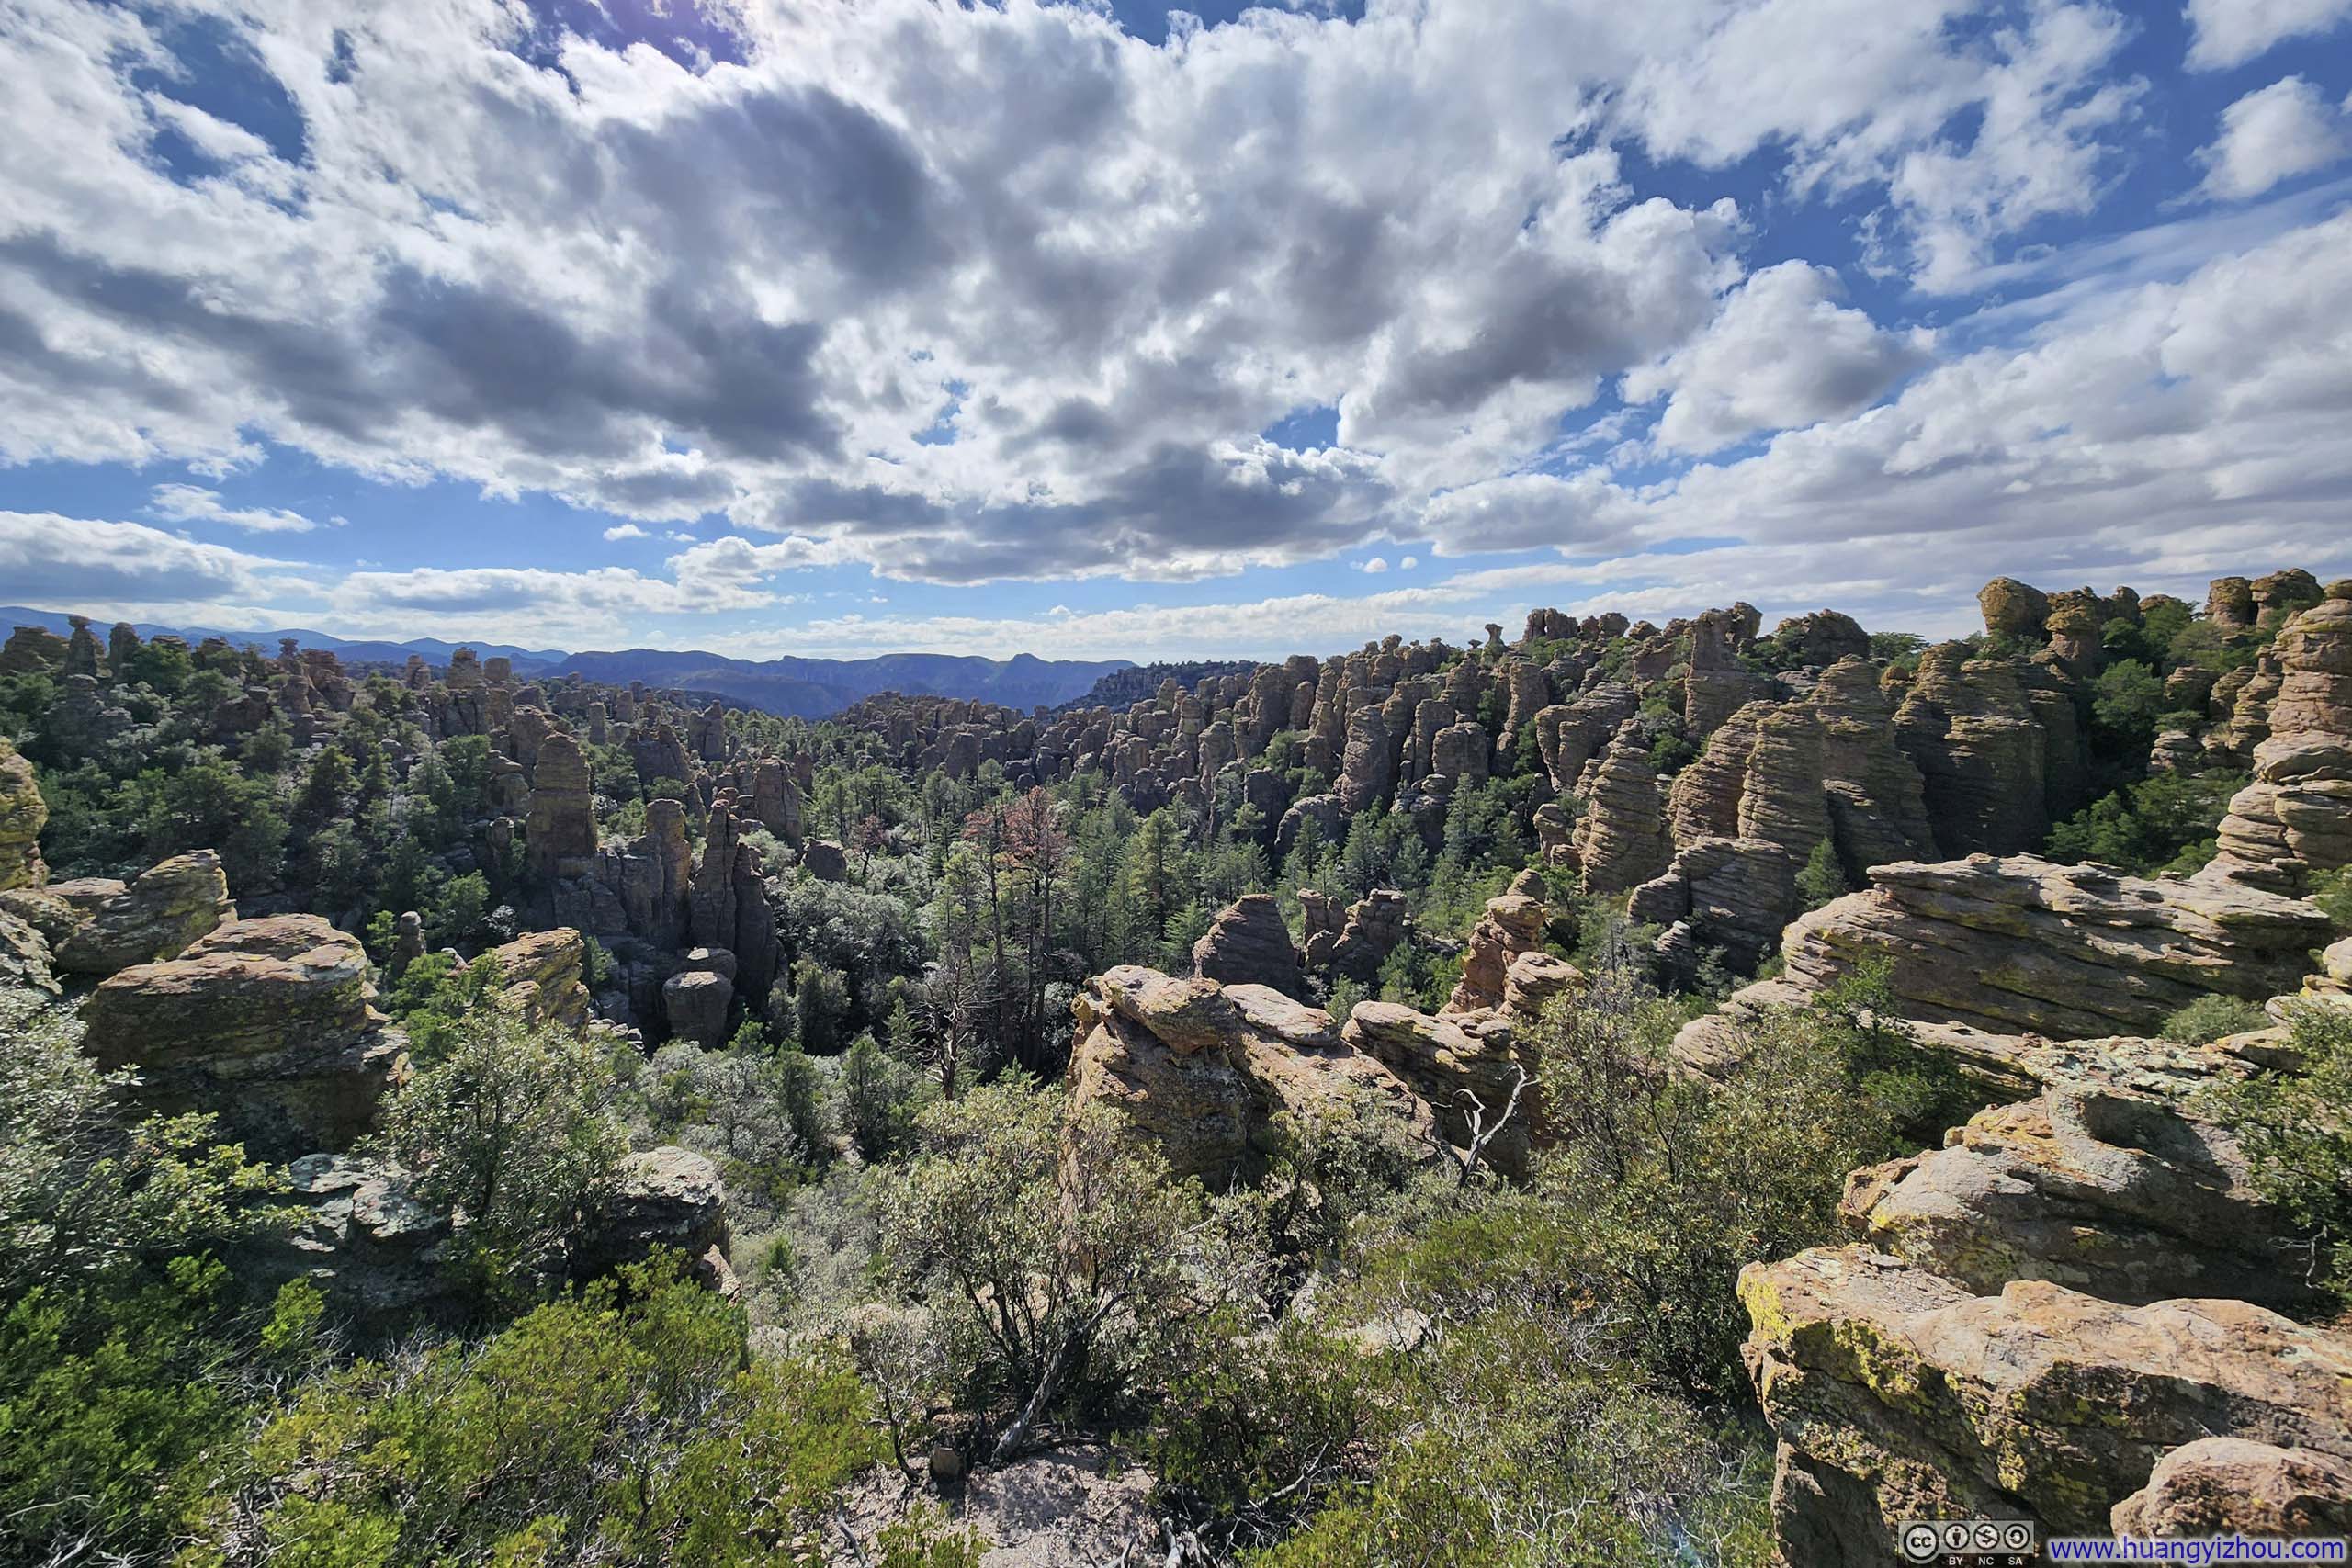
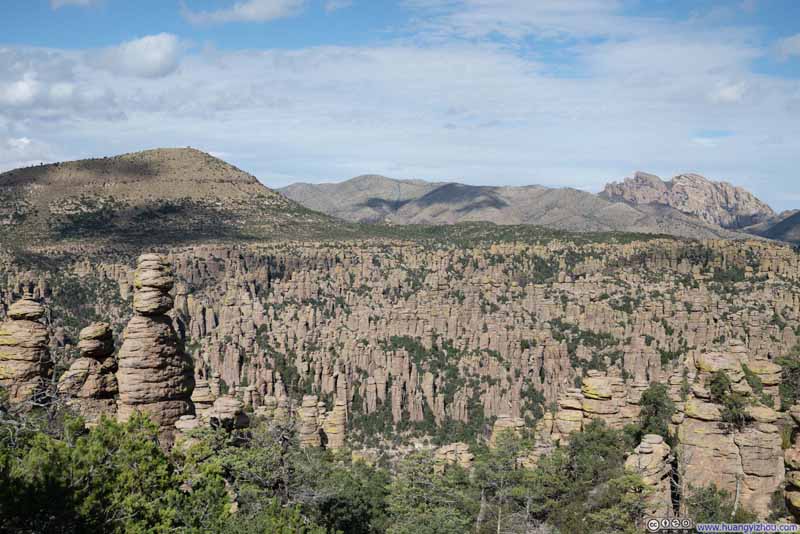
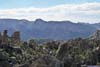
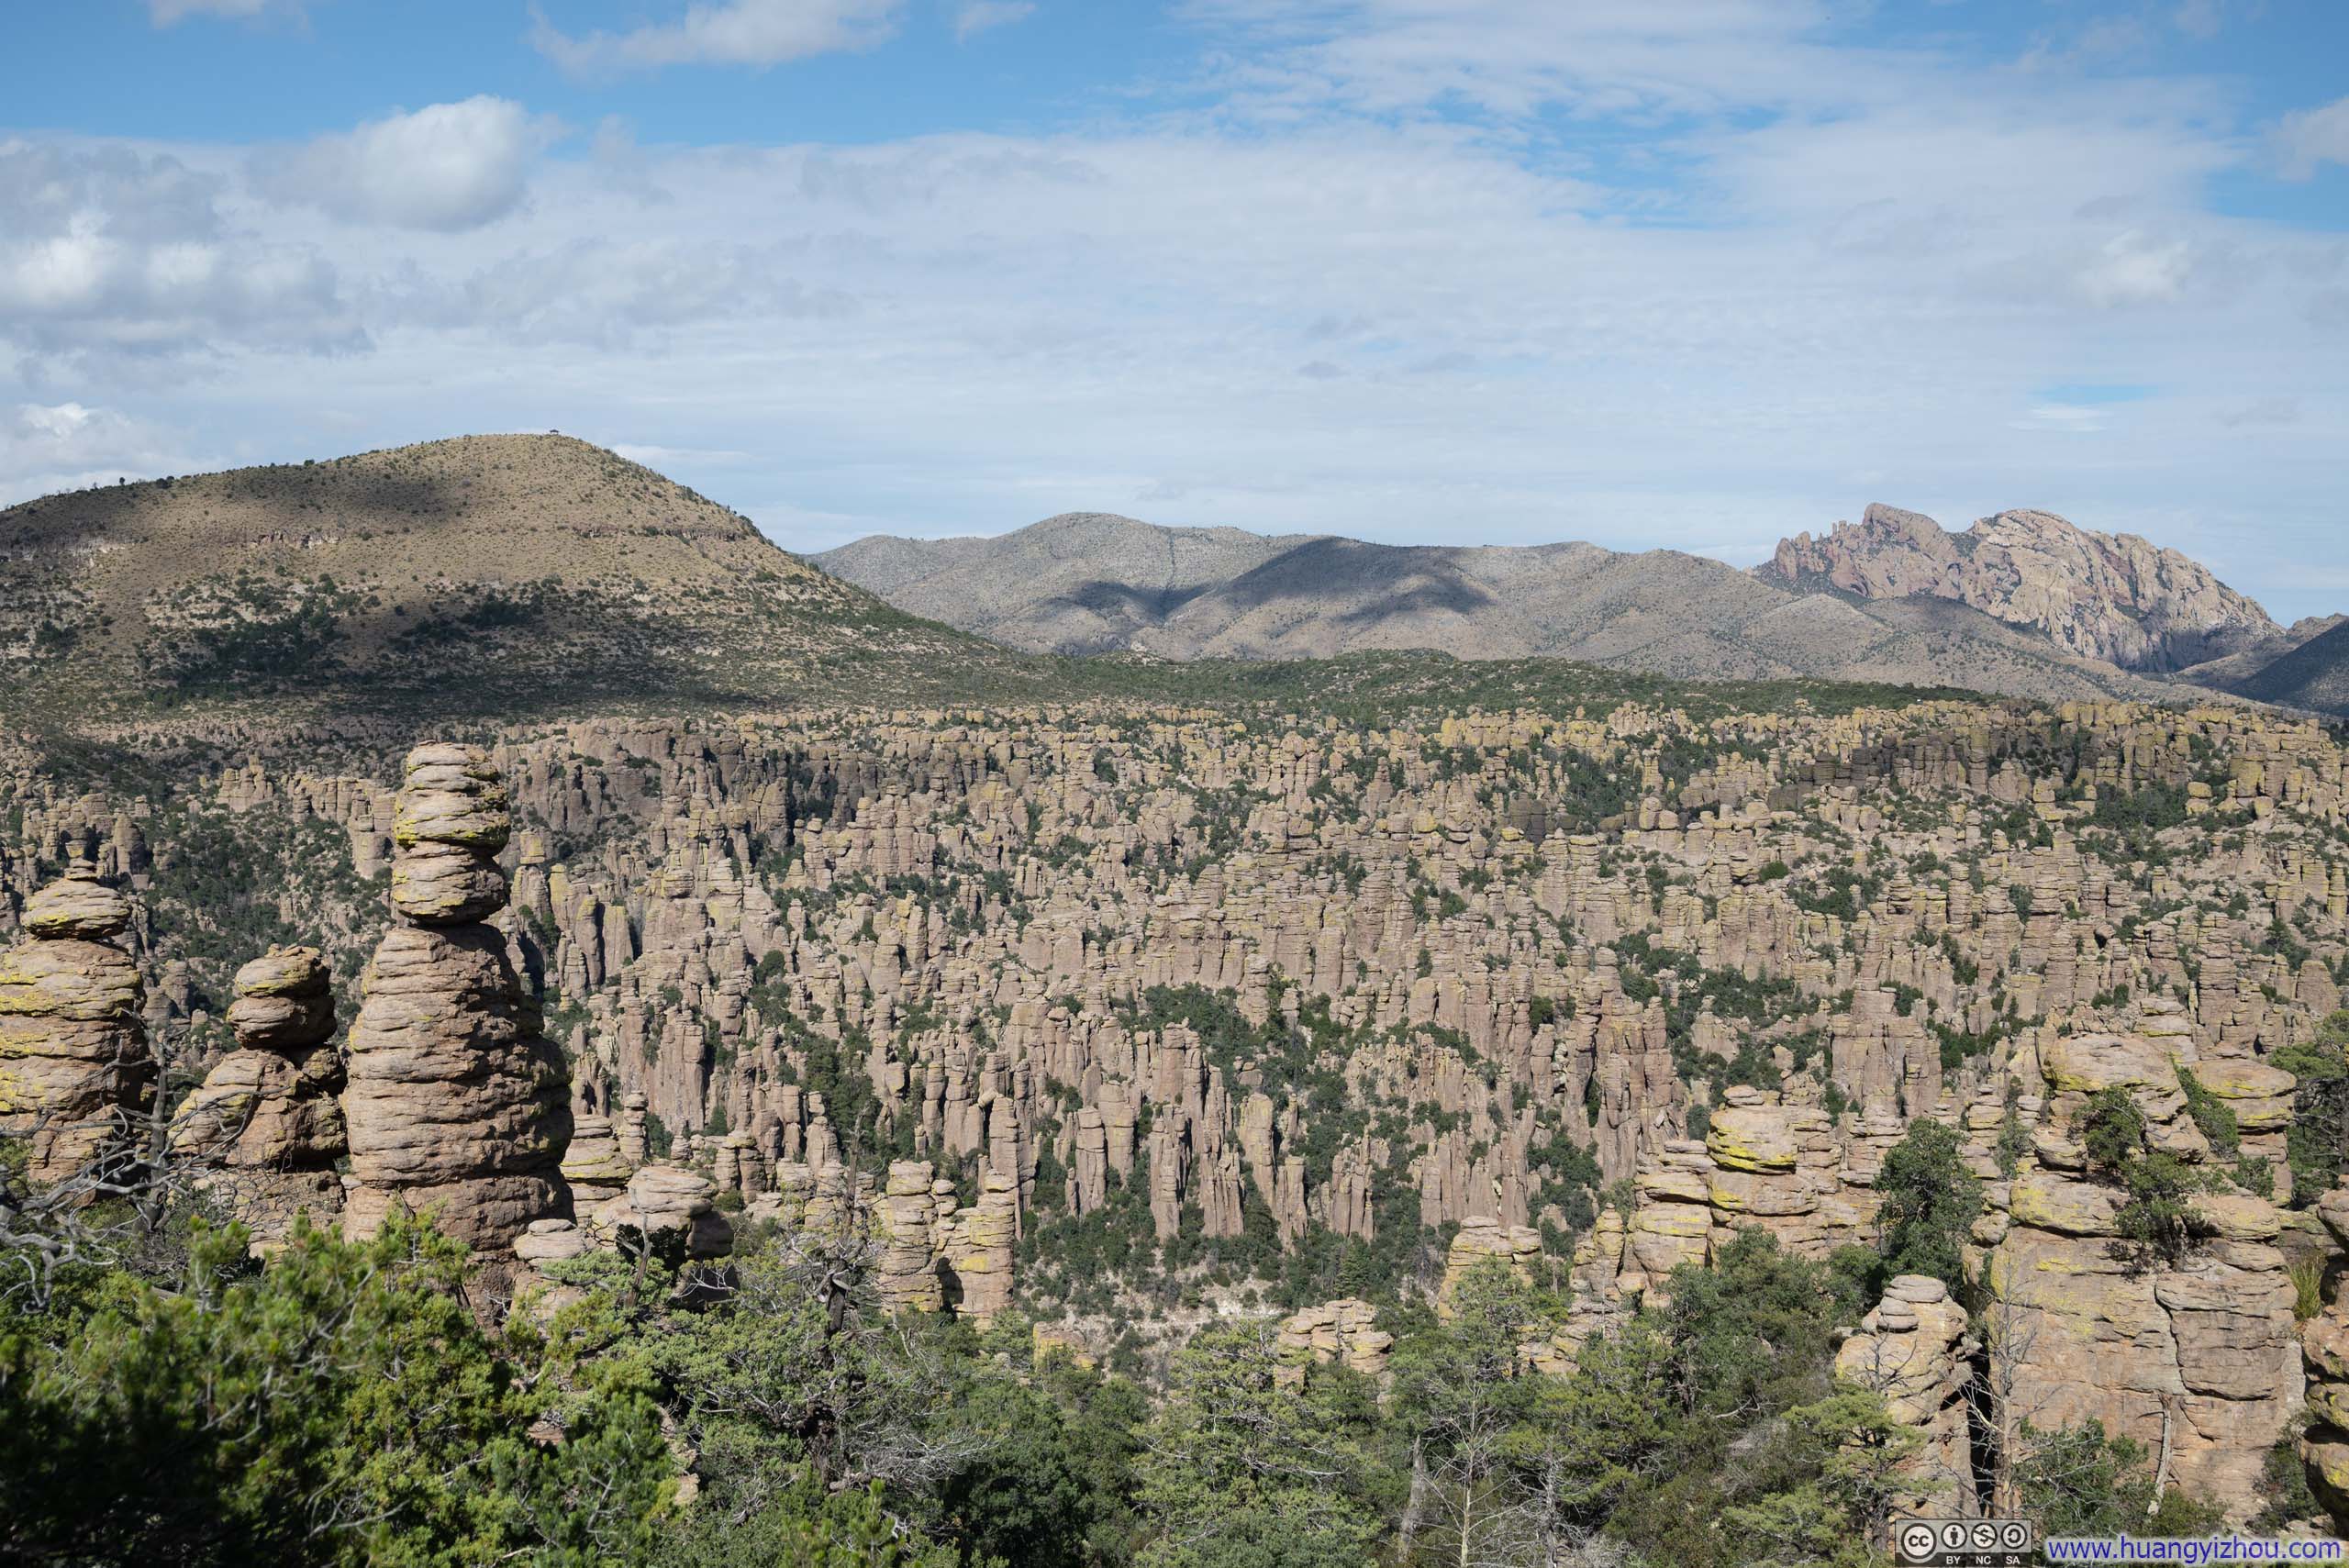
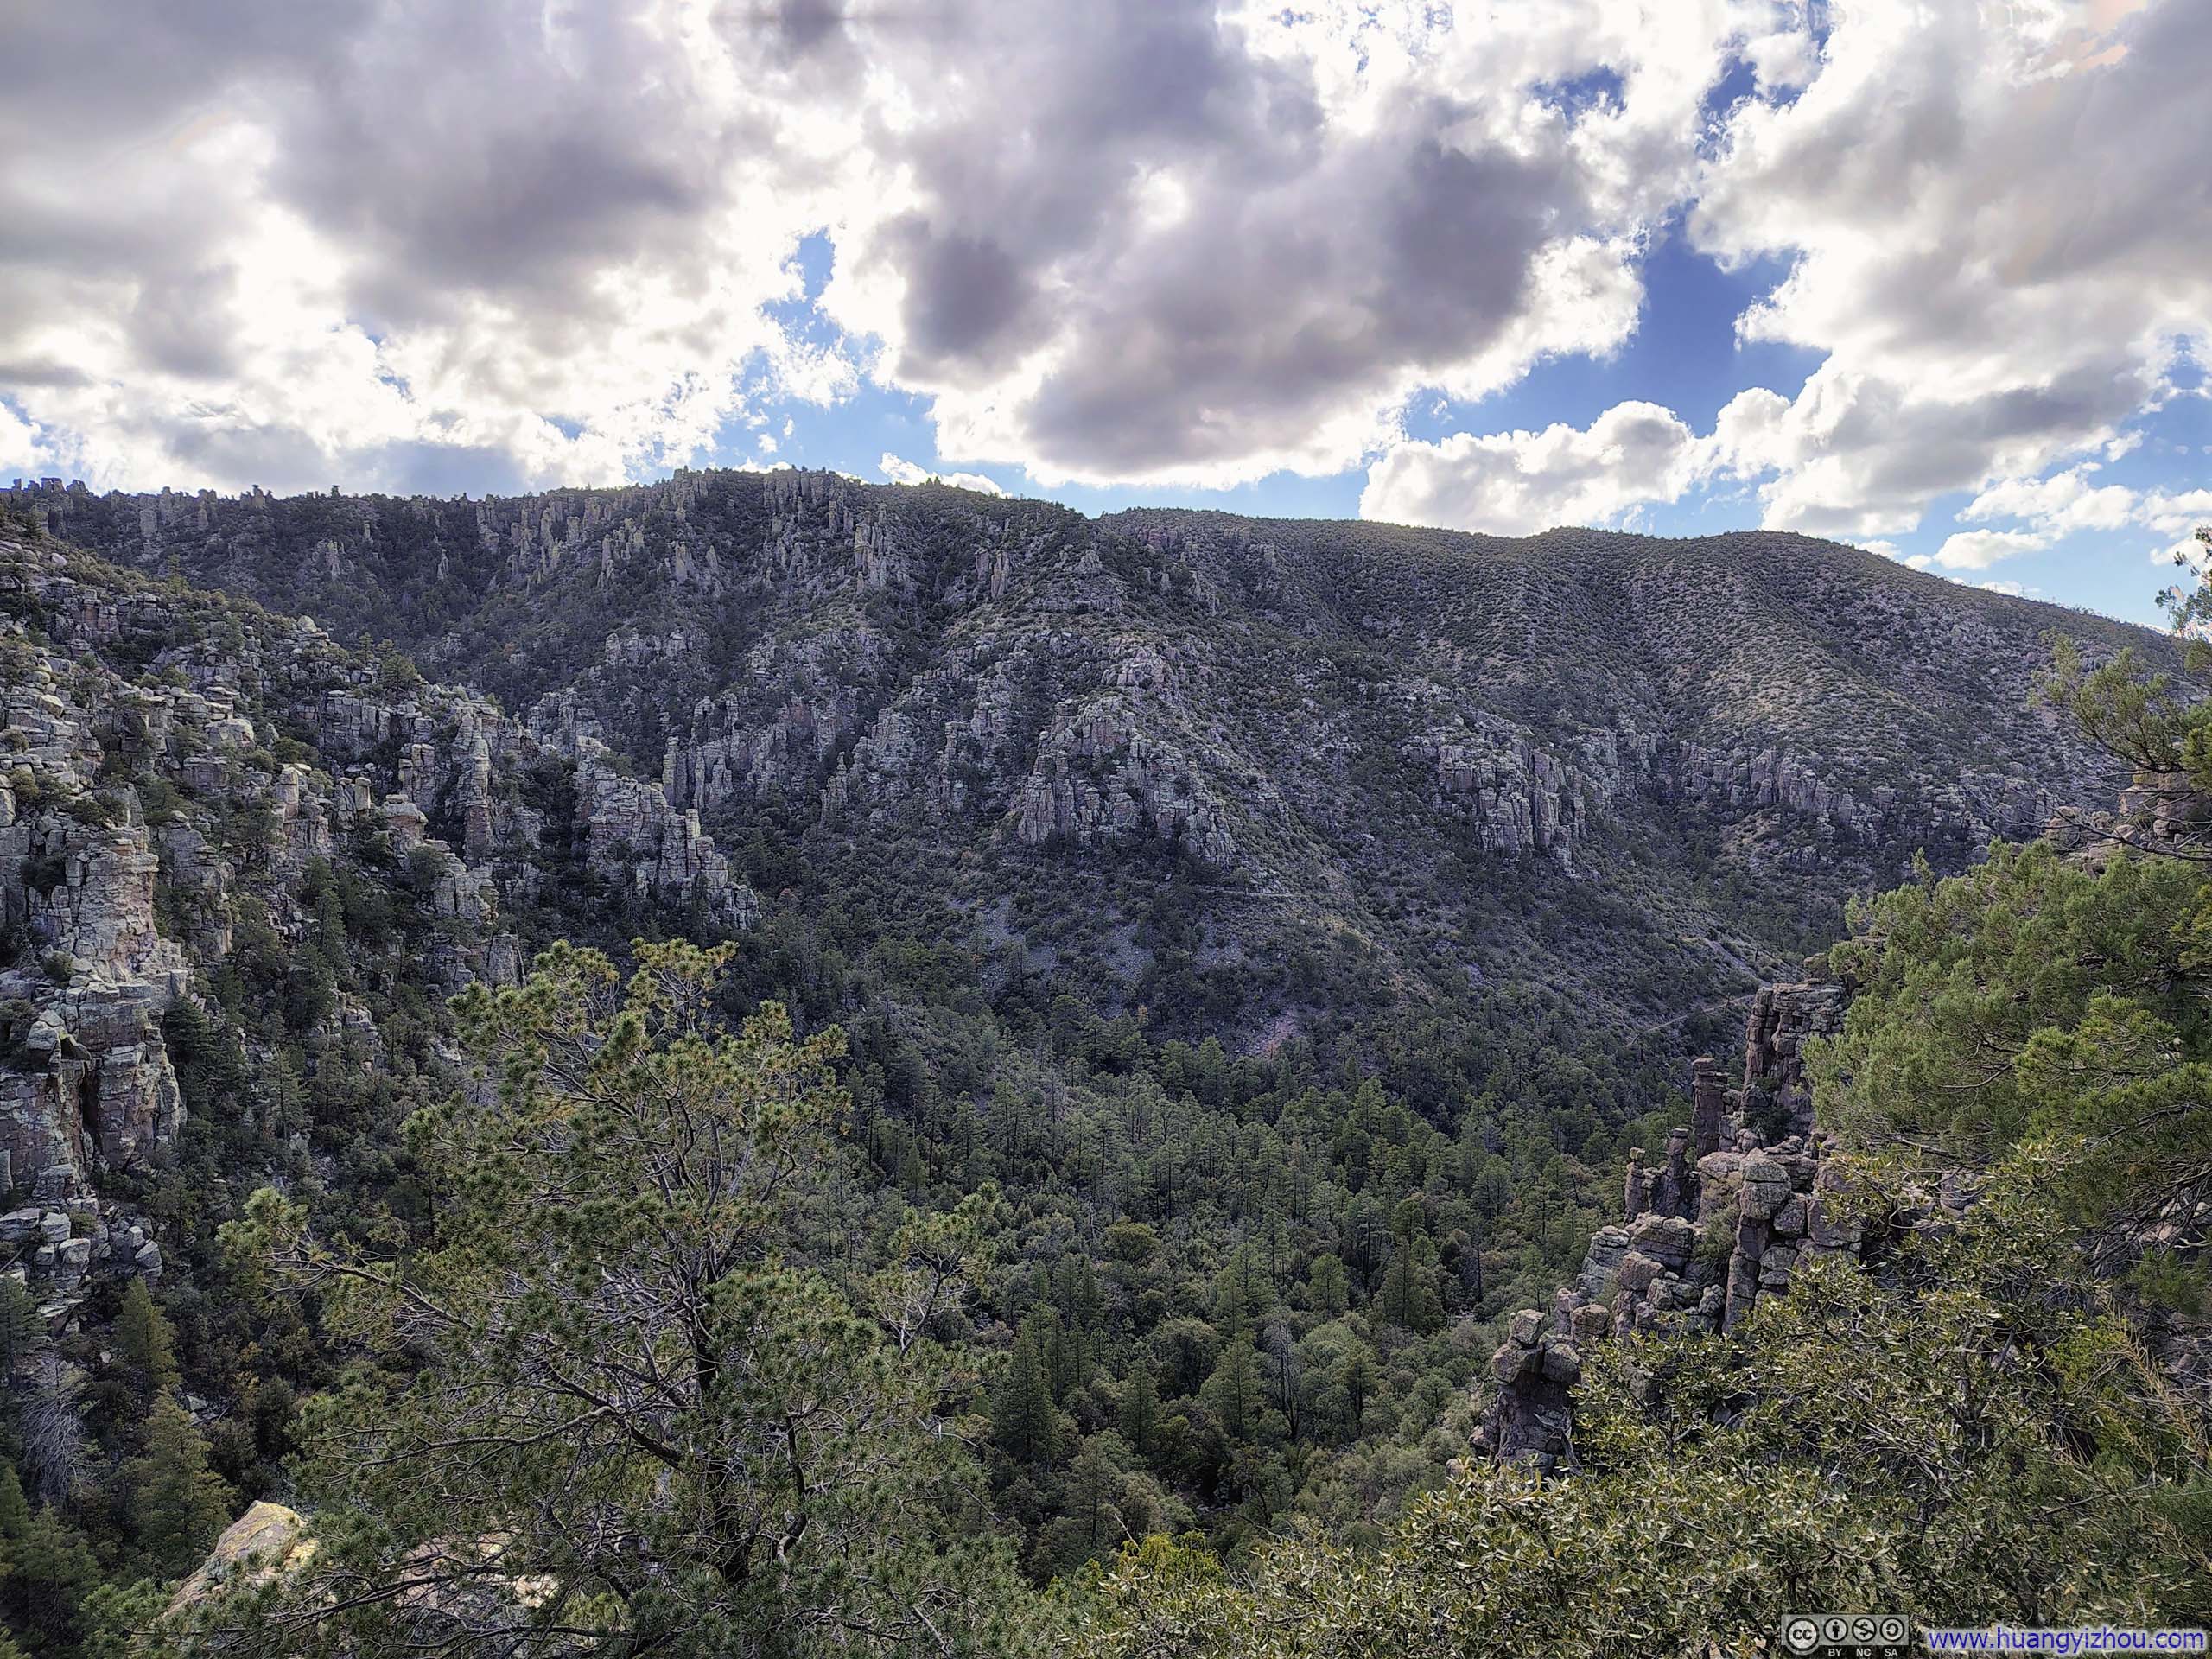
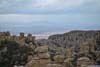
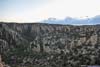
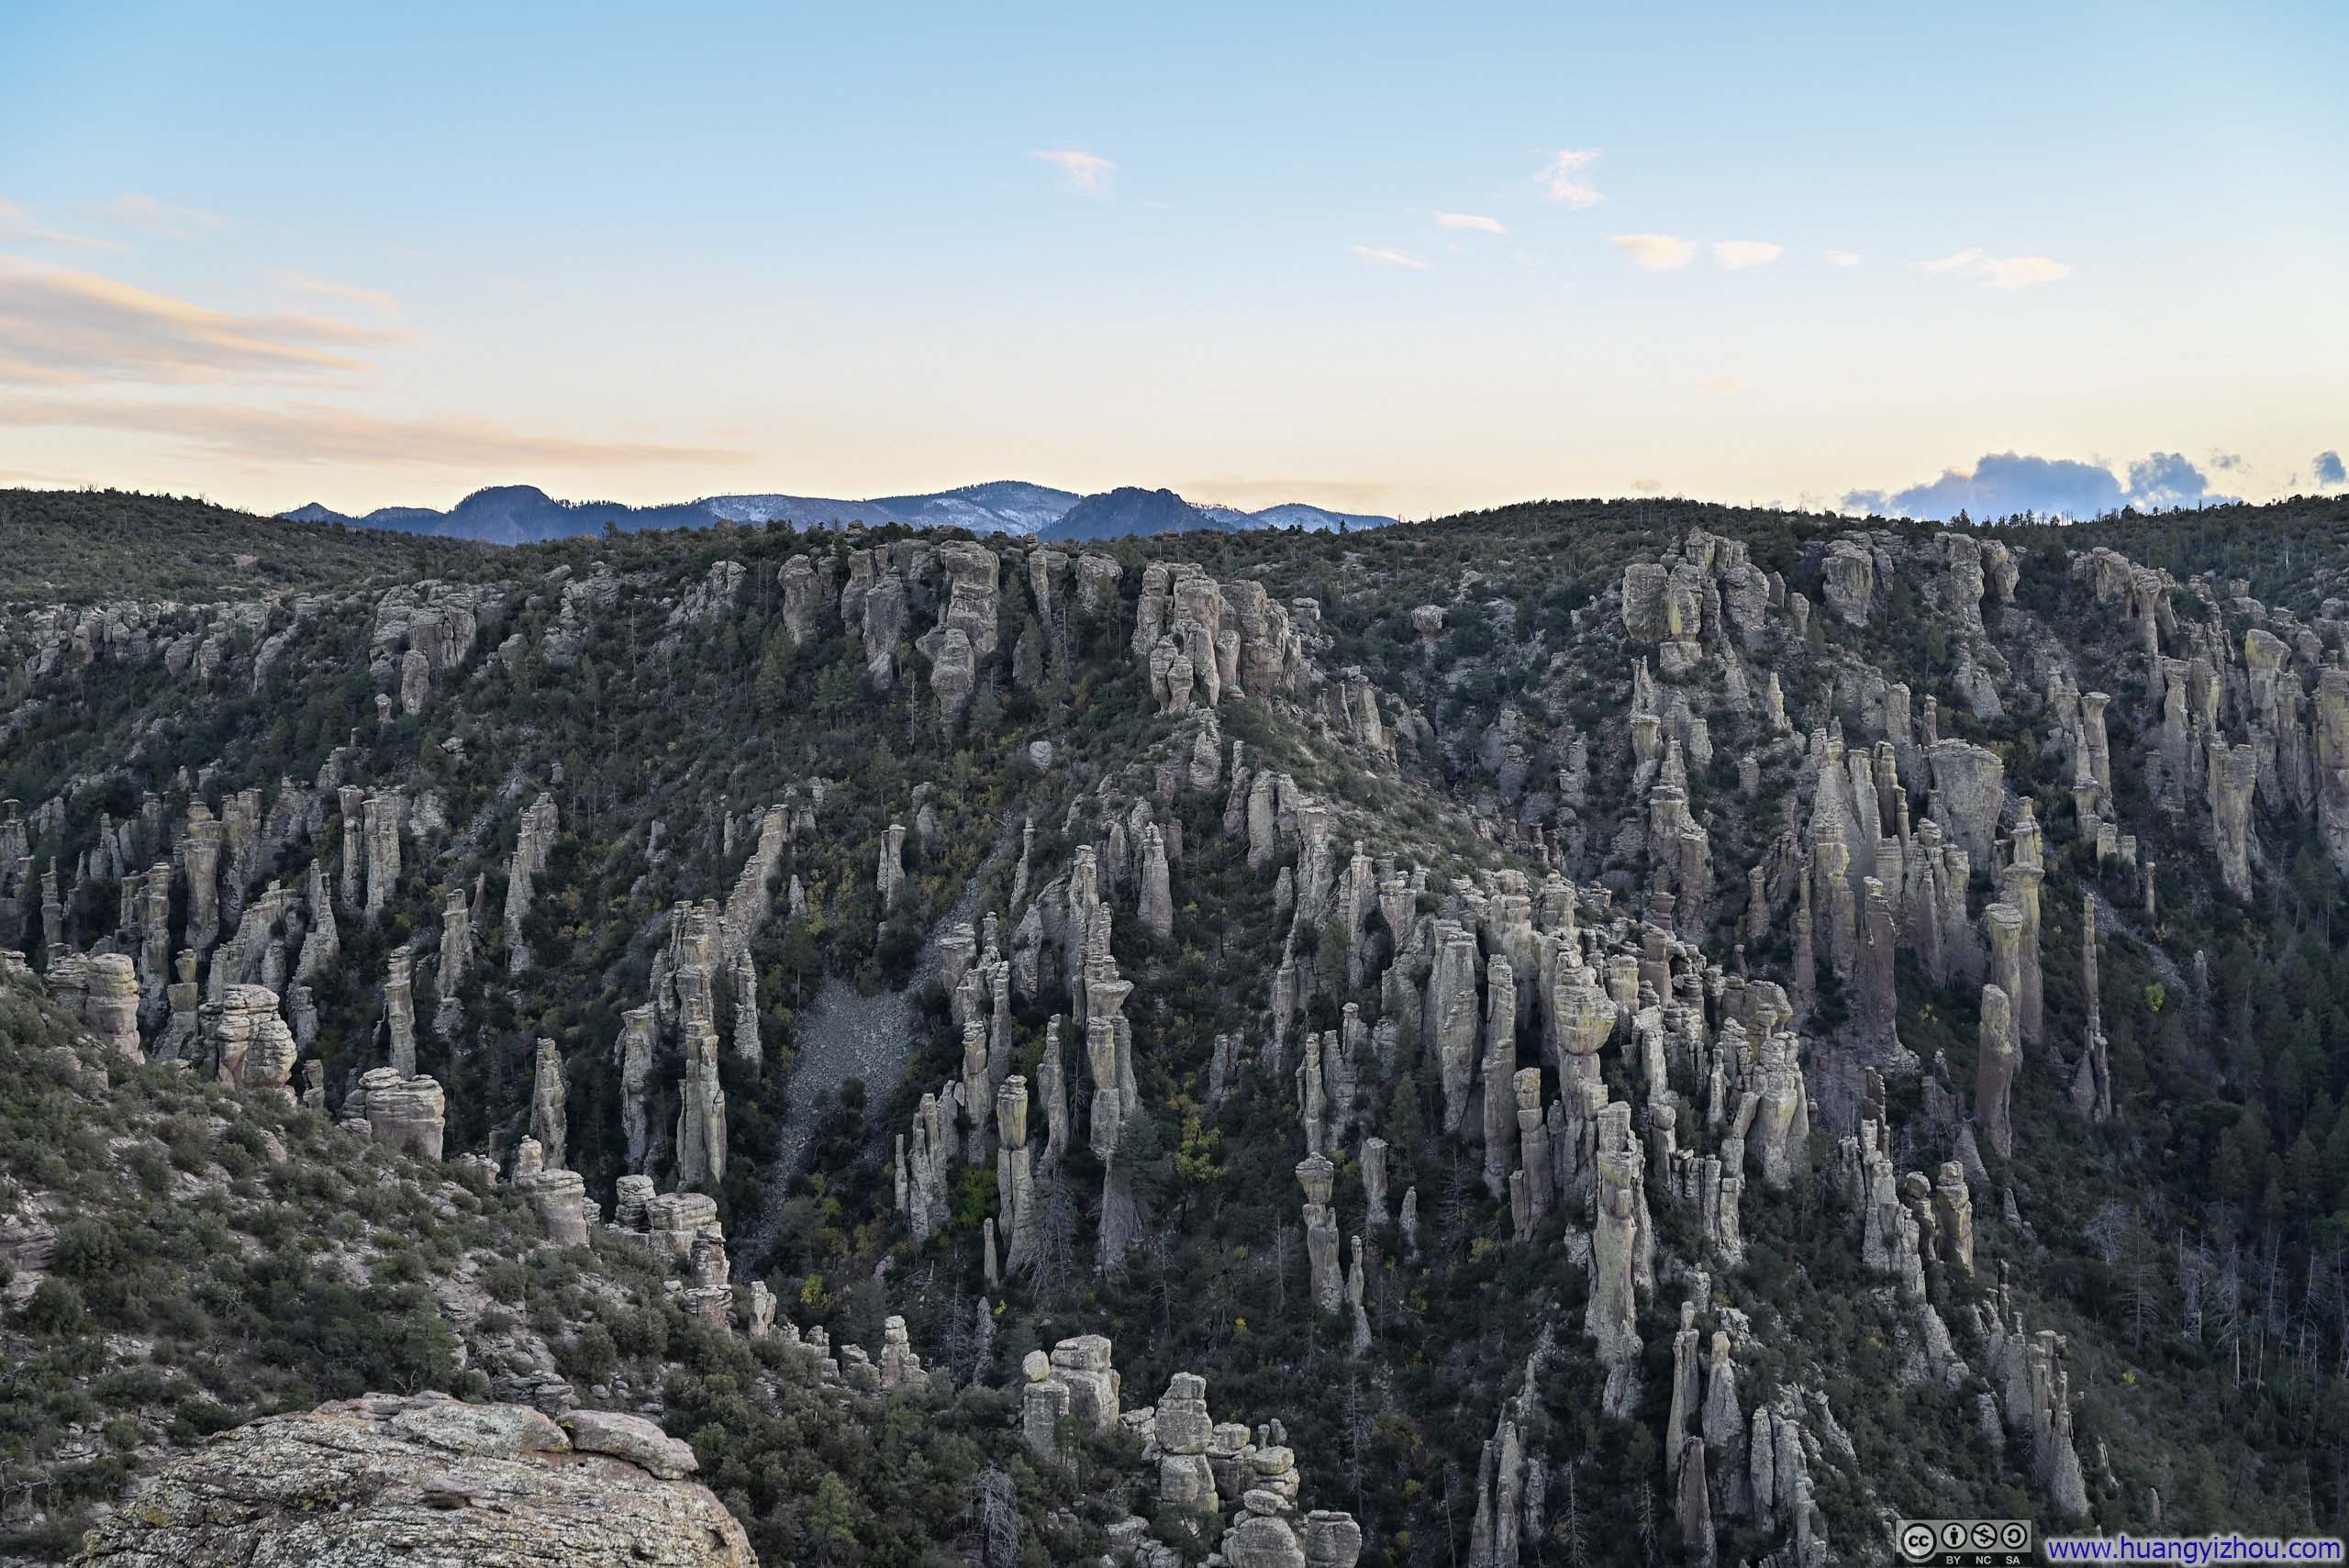
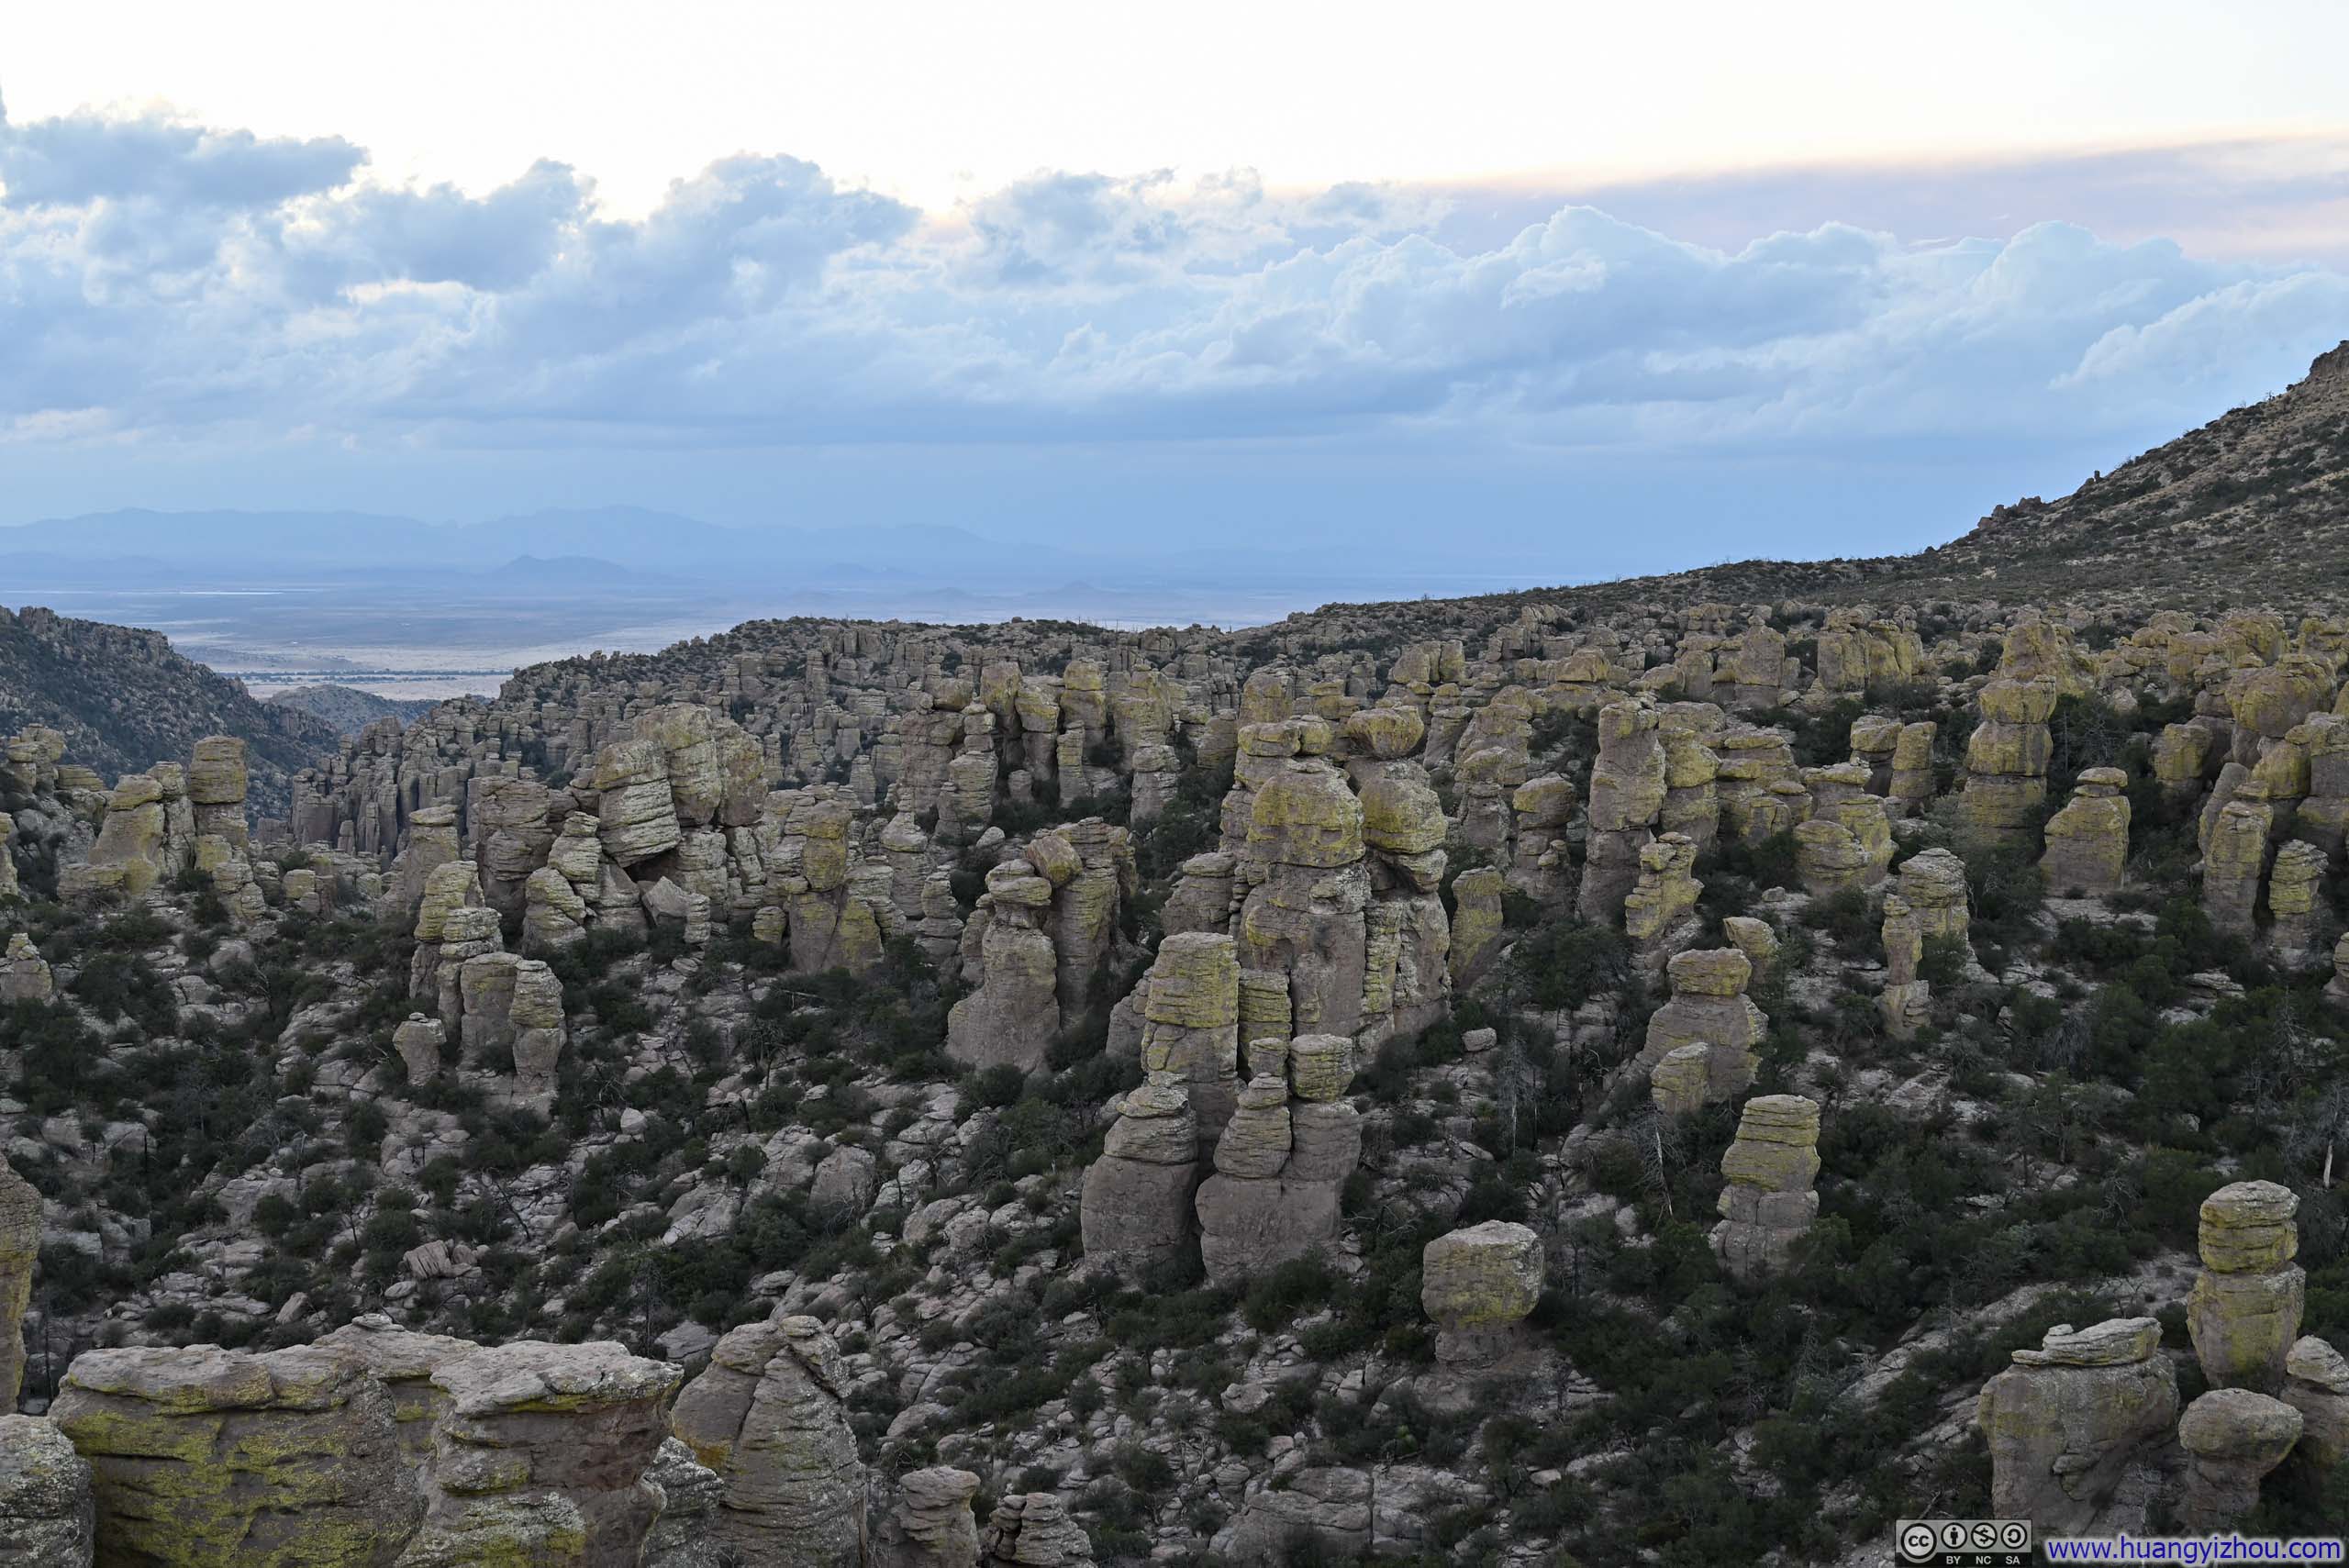
Not long after that, I went on the spur trail to Inspiration Point. Though this part of the trail itself offered little in the way of scenery, the destination proved well worth the effort. There, a series of boulders perched above Rhyolite Canyon, providing a spectacular panorama of the extensive hoodoo fields of Chiricahua National Monument, constituting what was likely the most expansive vista this monument had to offer. The light conditions were ideal as well, with the midday sun brilliantly illuminating the remarkable formations spread before me.
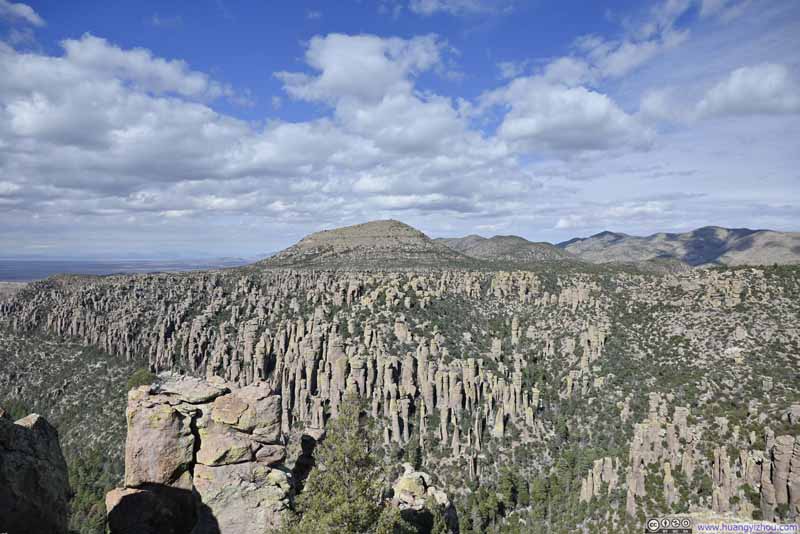 Hoodoos across Rhyolite Canyon
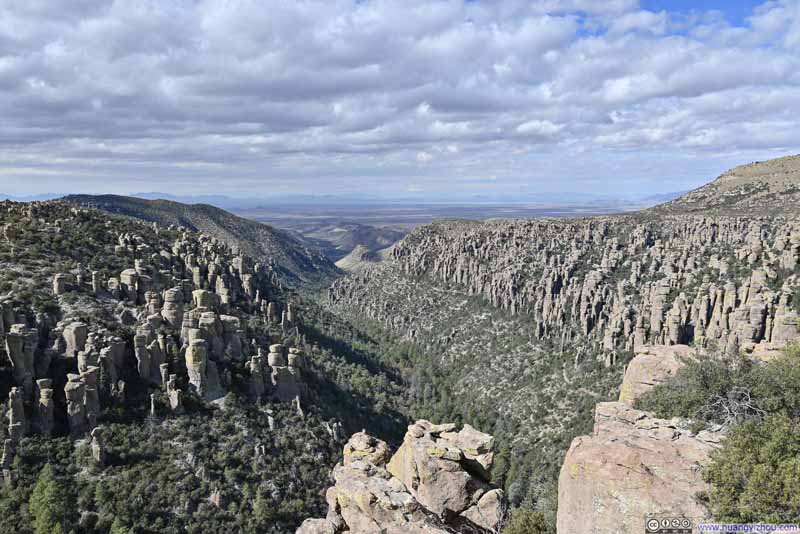 Rhyolite Canyon
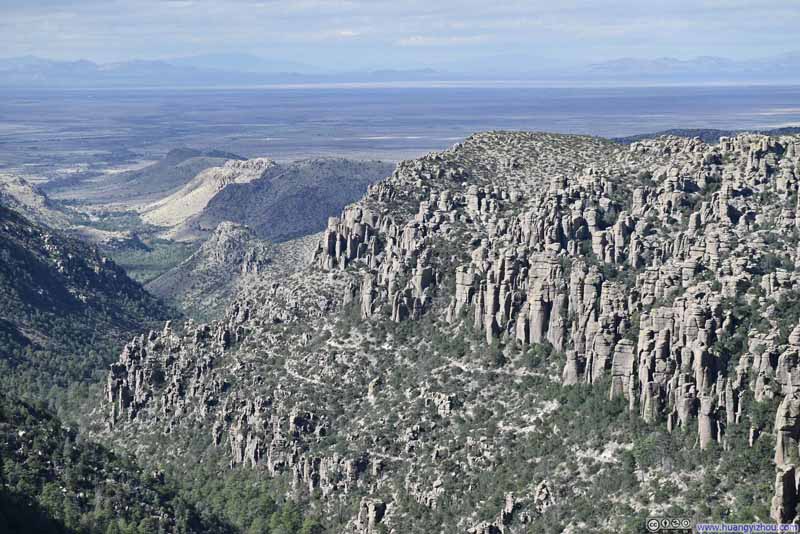 Rhyolite CanyonI can see the trail to Echo Canyon for the latter part of the loop trail.
 Hoodoos
 Hoodoos
 HoodoosThe direction where I came from.
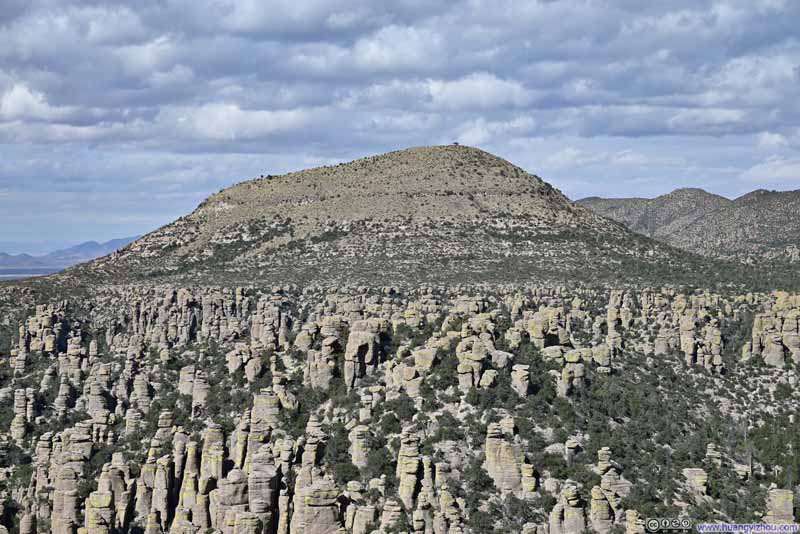 Sugarloaf Mountain
 Cochise Head
 Hoodoos


Click here to display photos taken at Inspiration Point of Chiricahua National Monument.

Hoodoos across Rhyolite Canyon
Rhyolite Canyon

Rhyolite CanyonI can see the trail to Echo Canyon for the latter part of the loop trail.
Hoodoos

Hoodoos
HoodoosThe direction where I came from.

Sugarloaf Mountain
Cochise Head
Hoodoos
View from Inspiration Point
And here’s a video from Inspiration Point:
8 seconds, 2160p60fps, H265 only, 20Mbps/21MB file size.
I spent about 25 minutes at Inspiration Point before continuing onward. Leaving Inspiration Point, the trail started out as an unremarkable passage among fields of shrubs, before hoodoos gradually densified.
 Chiricahua Mountains to the South
 Hoodoo
 Mushroom-Shaped Hoodoo
 Unnamed Balanced Rock
 Hoodoos


Click here to display photos of the slideshow
Chiricahua Mountains to the South
Hoodoo

Mushroom-Shaped Hoodoo
Unnamed Balanced Rock
Hoodoos
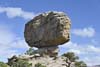
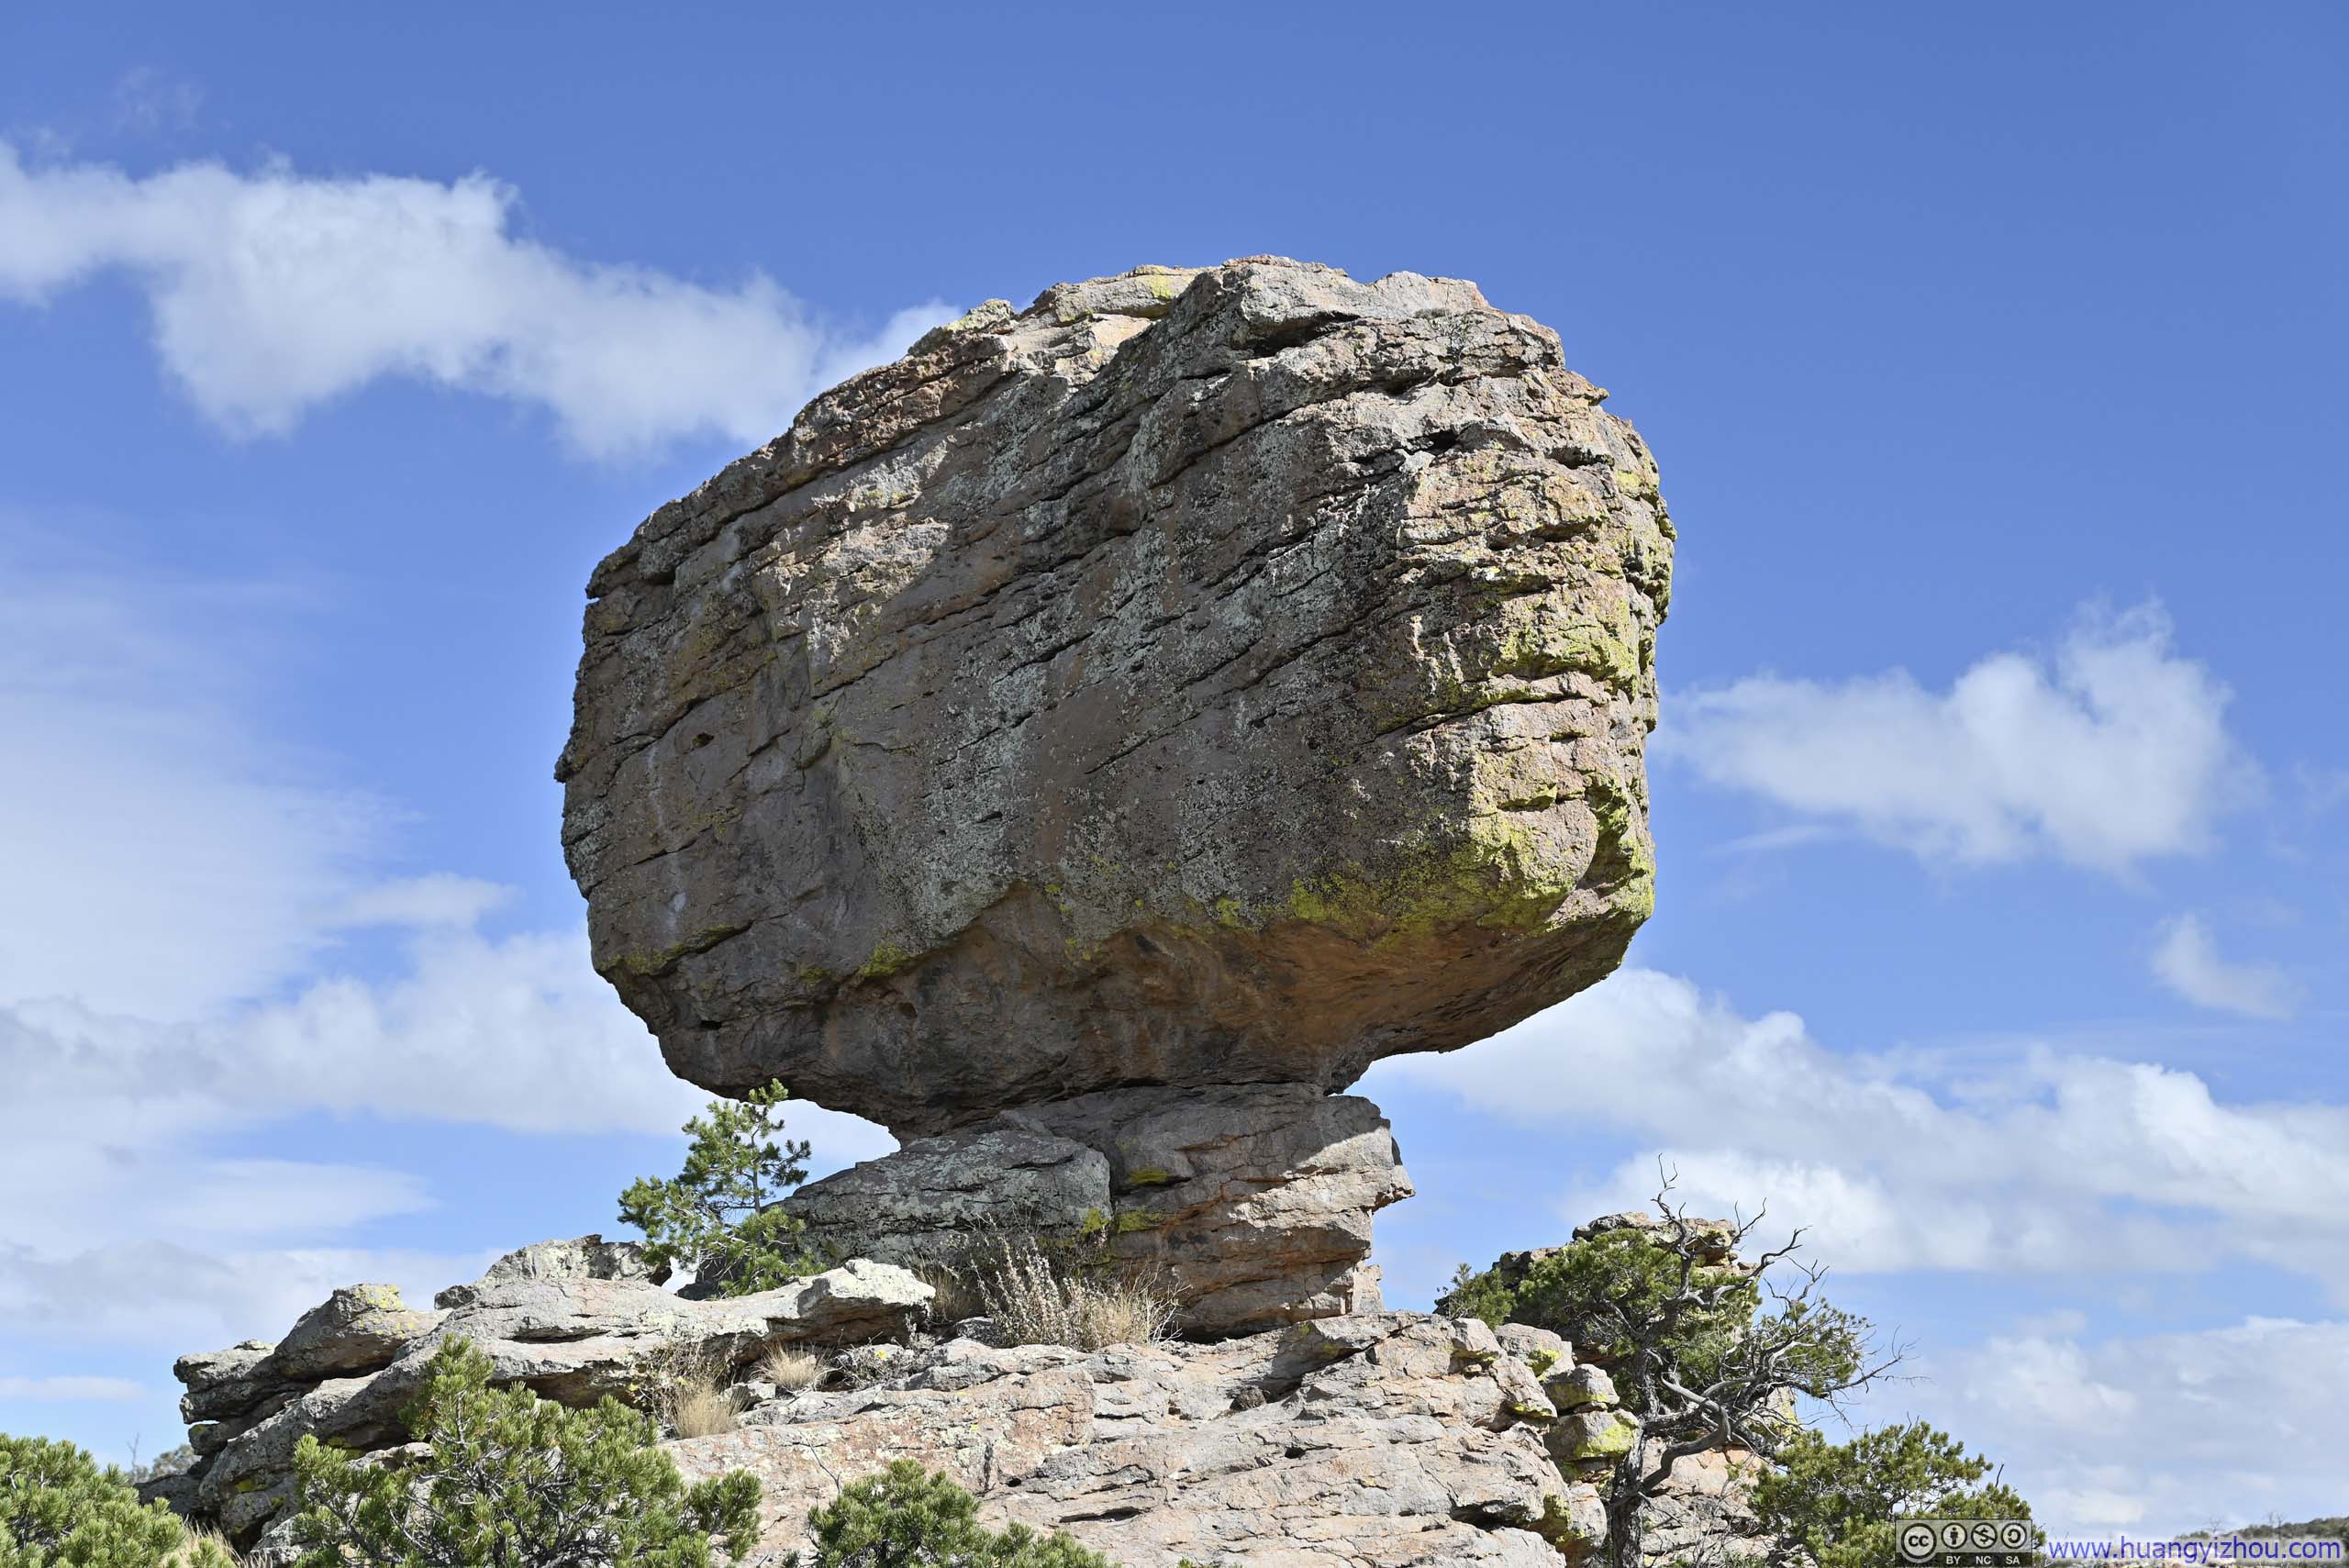
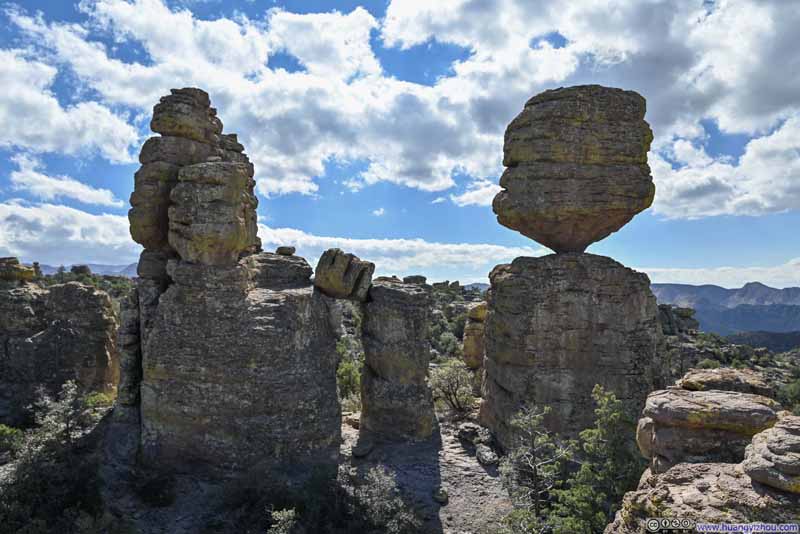
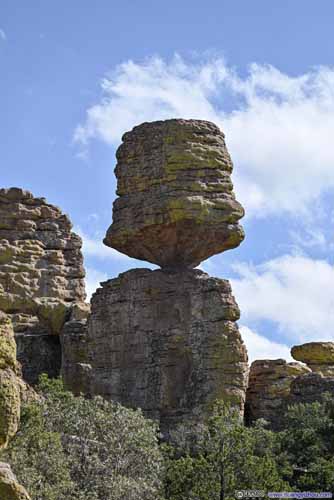
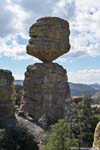
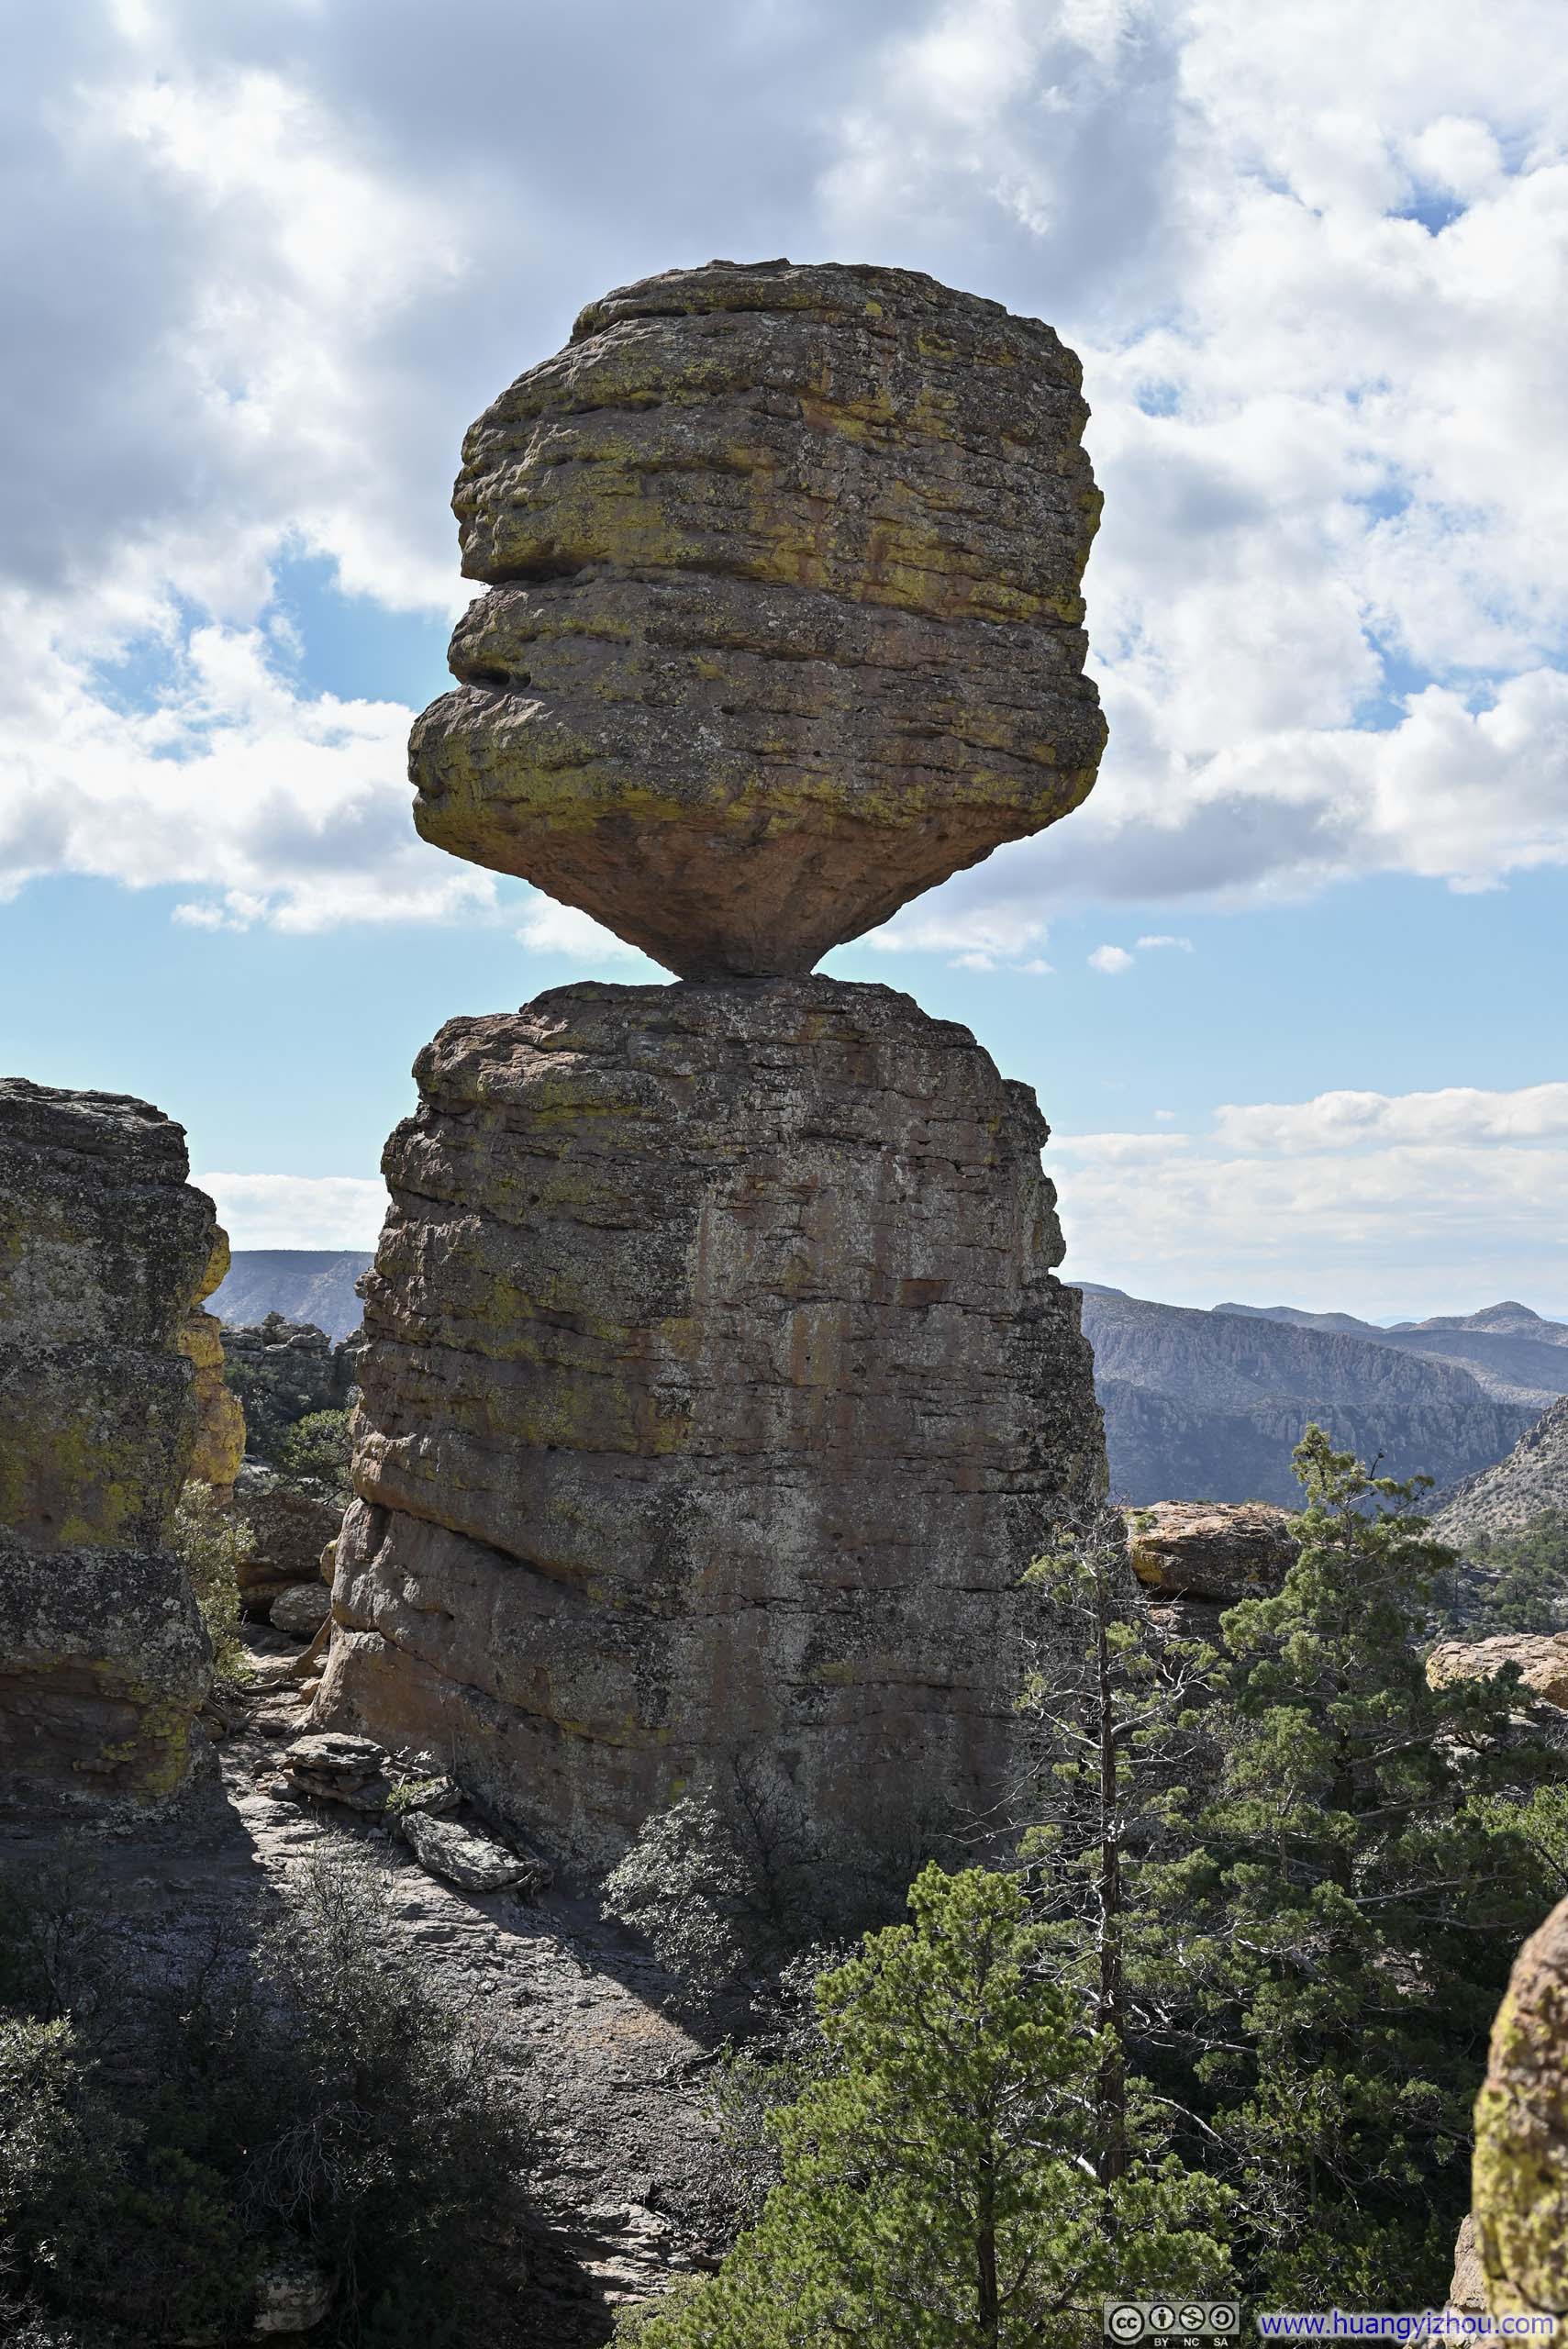
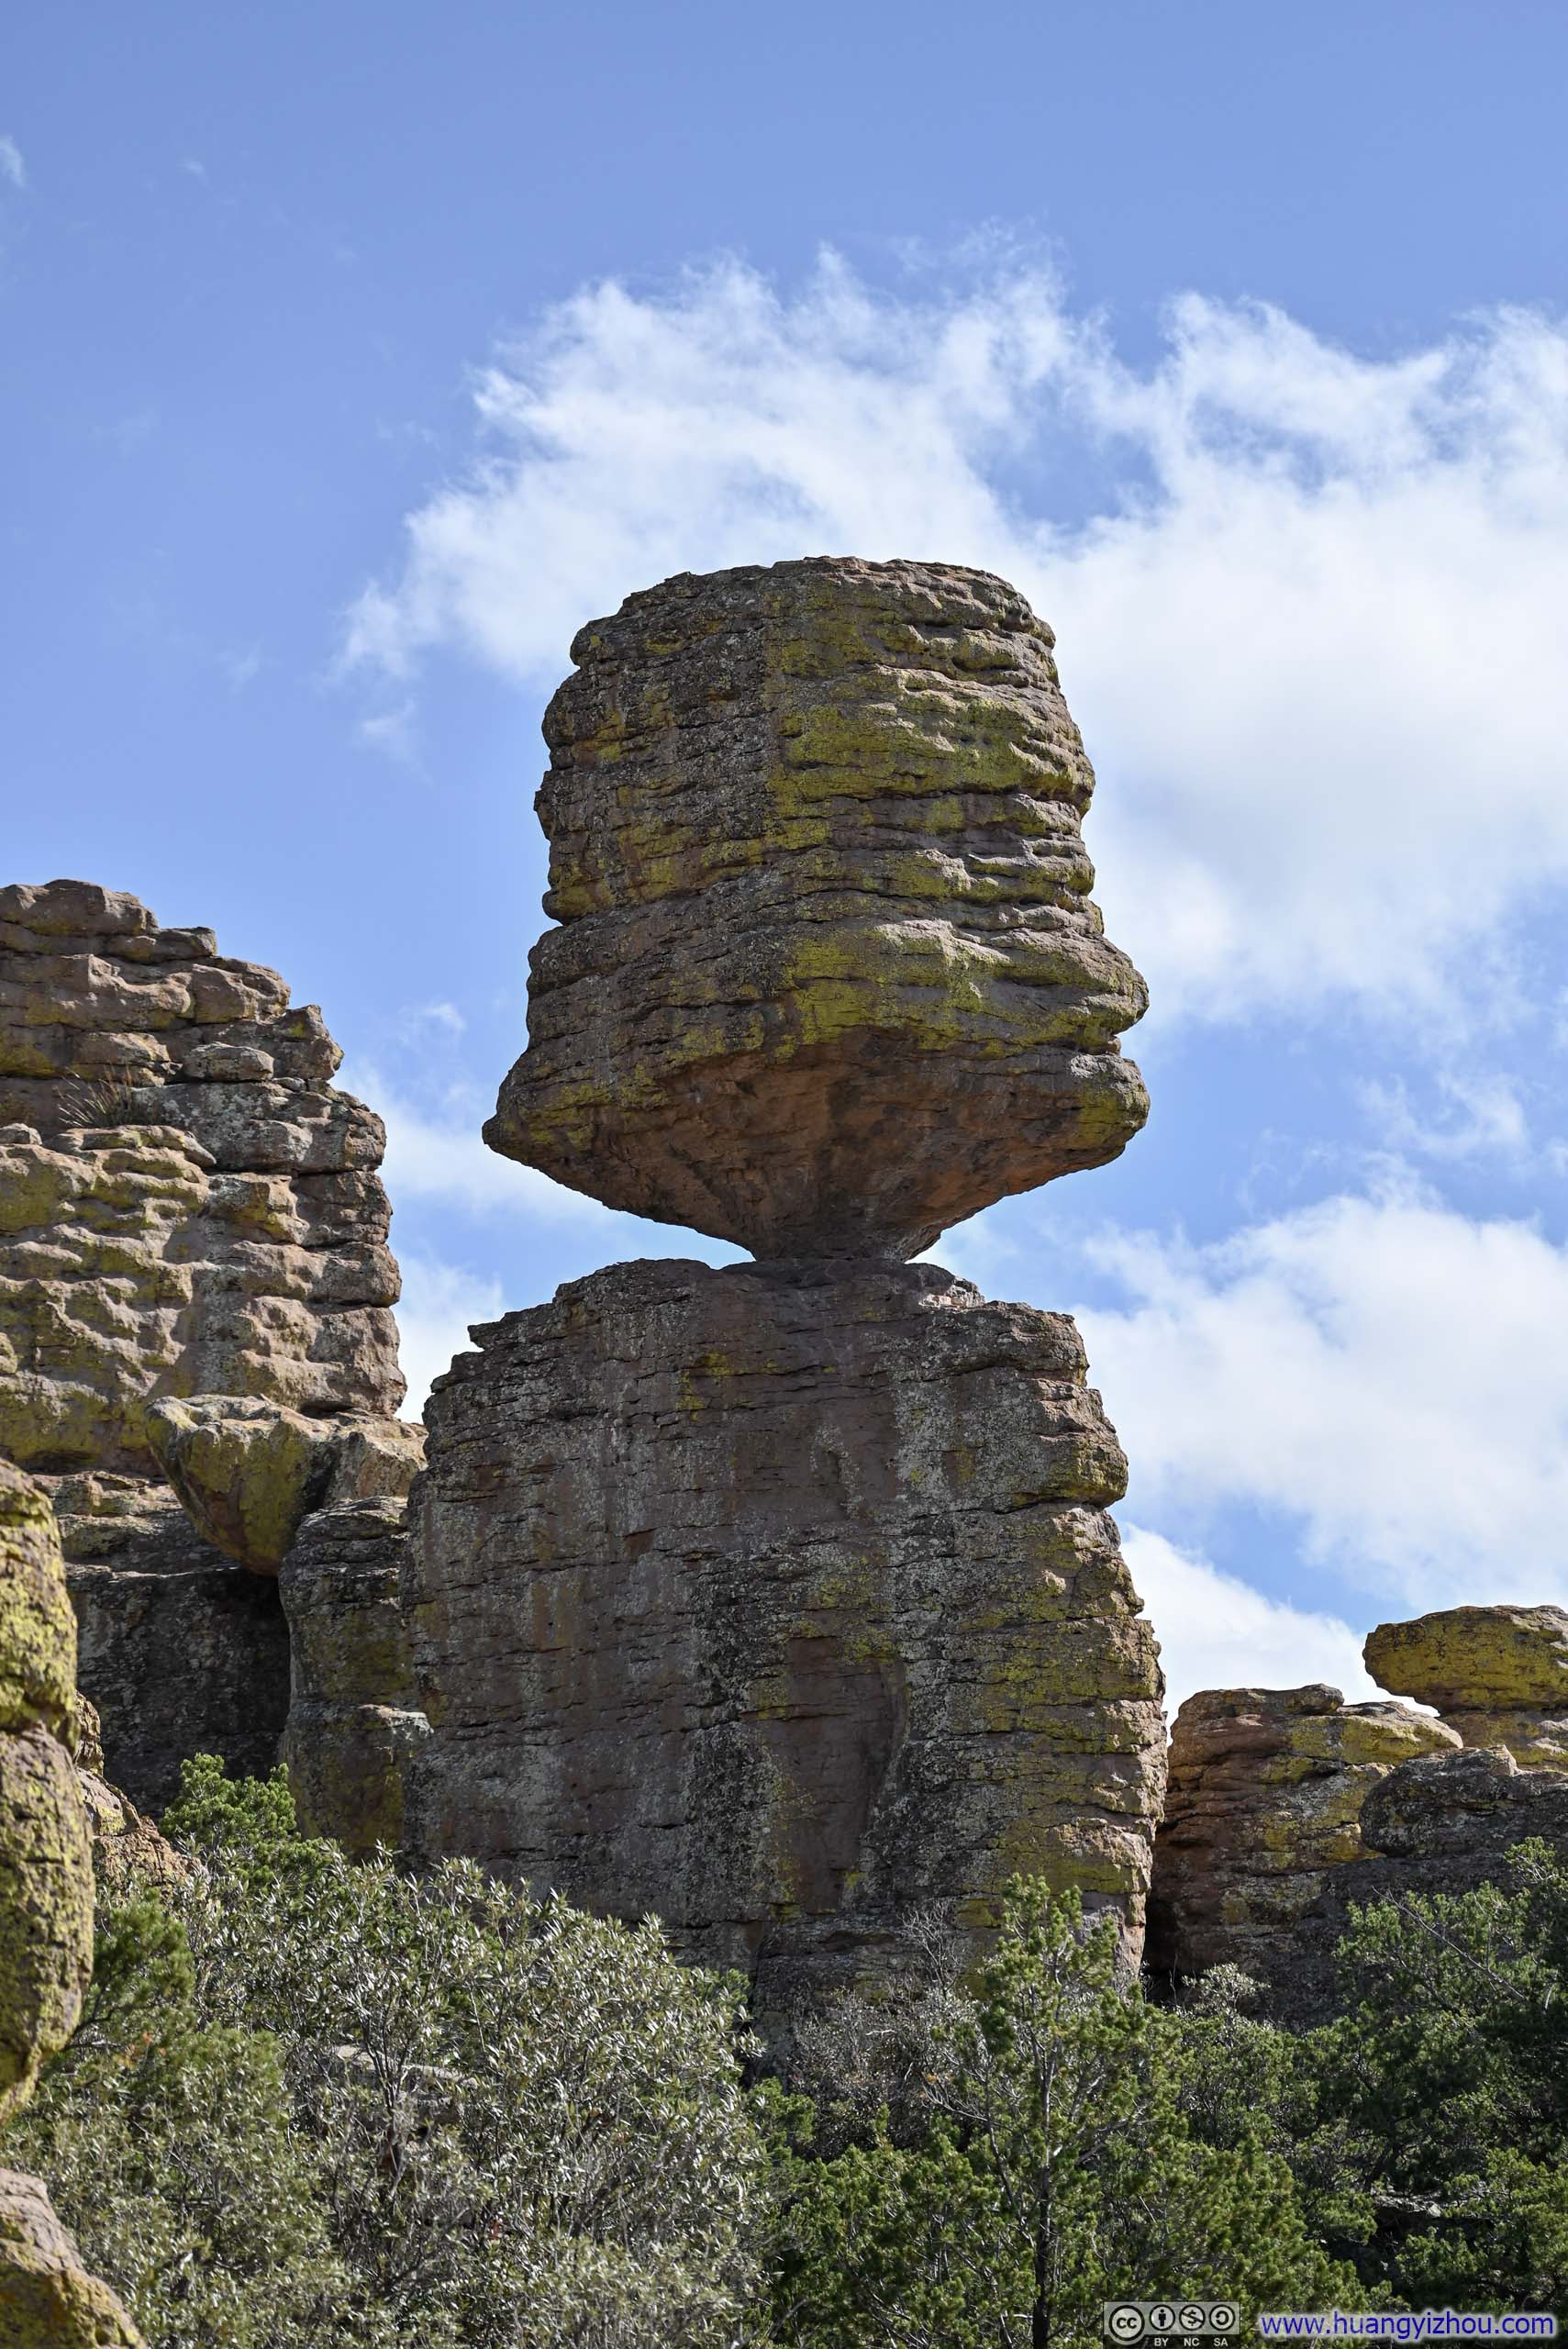
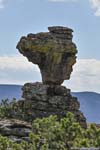
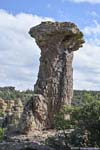
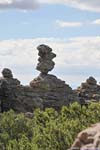
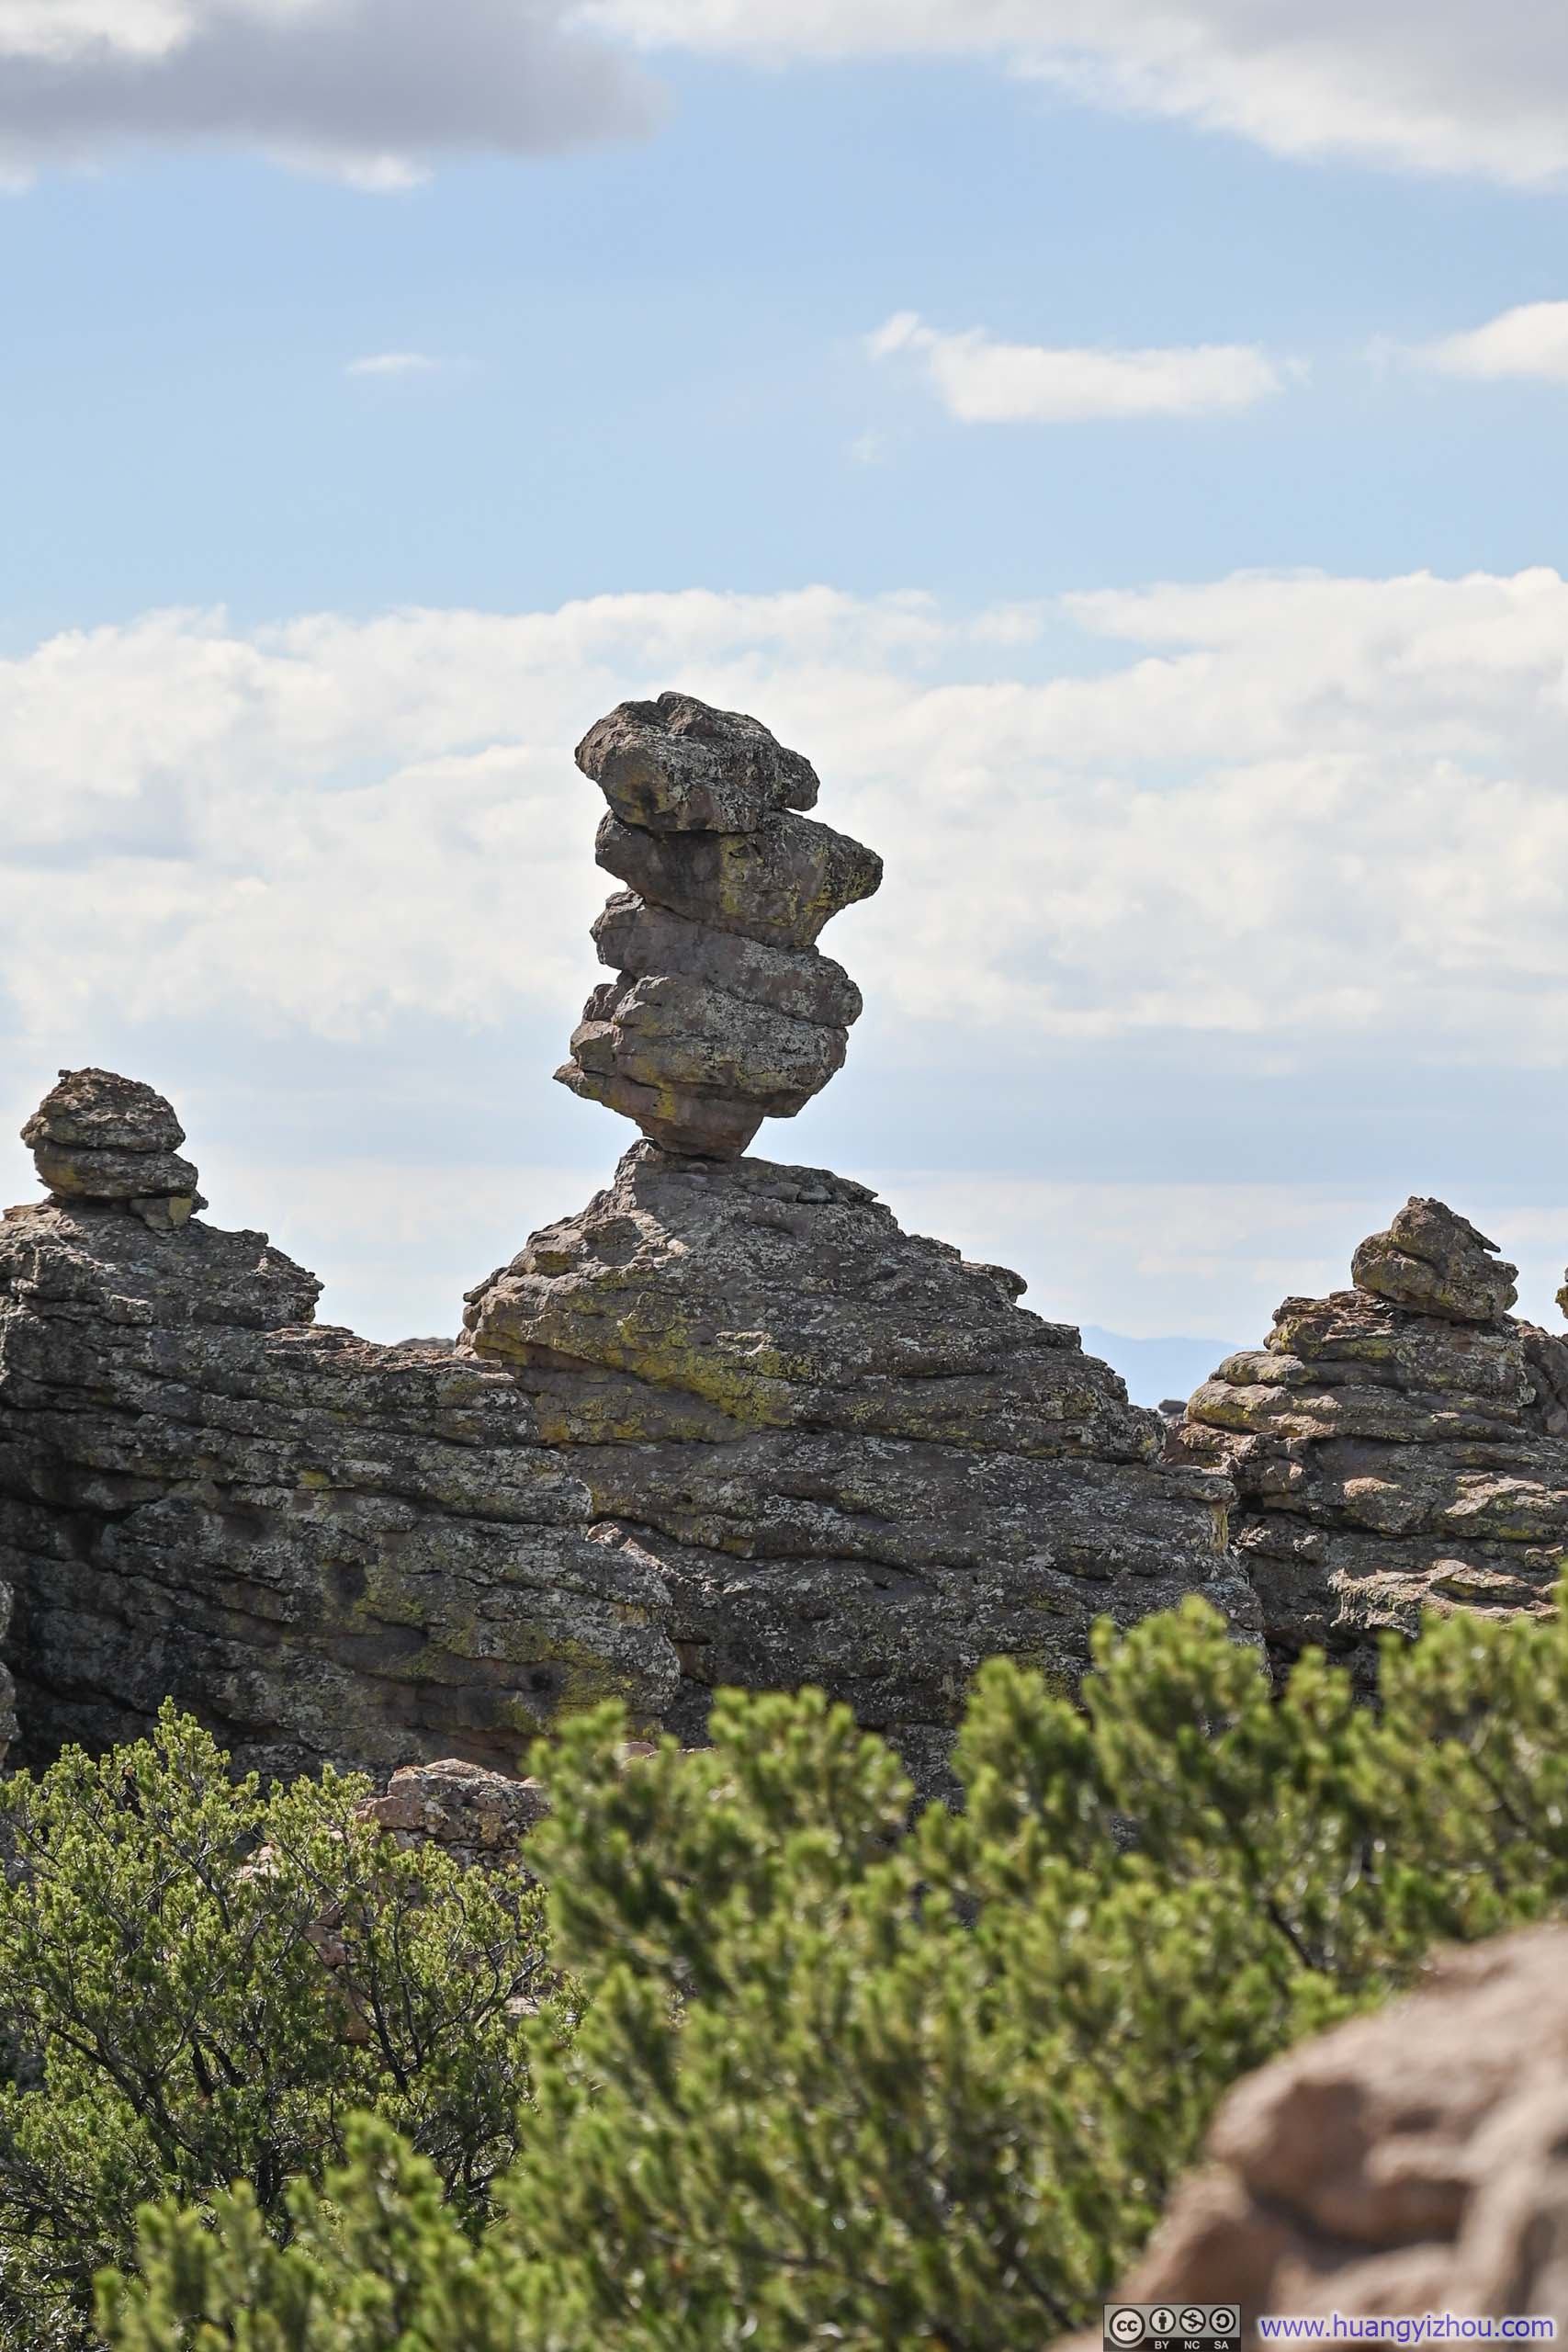
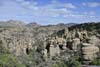
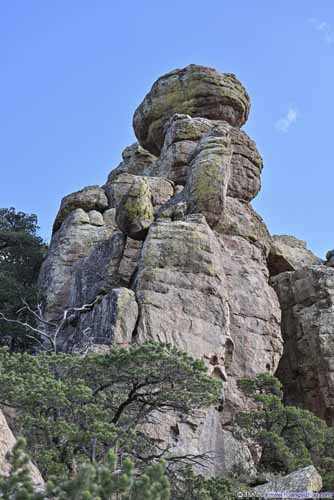
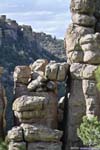
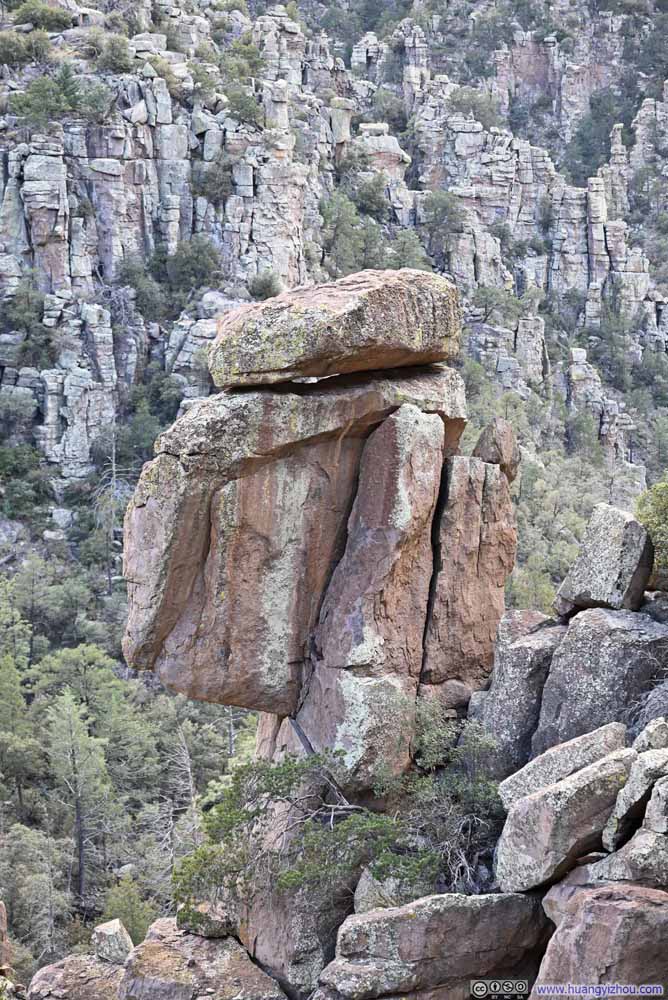
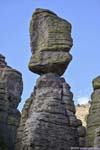
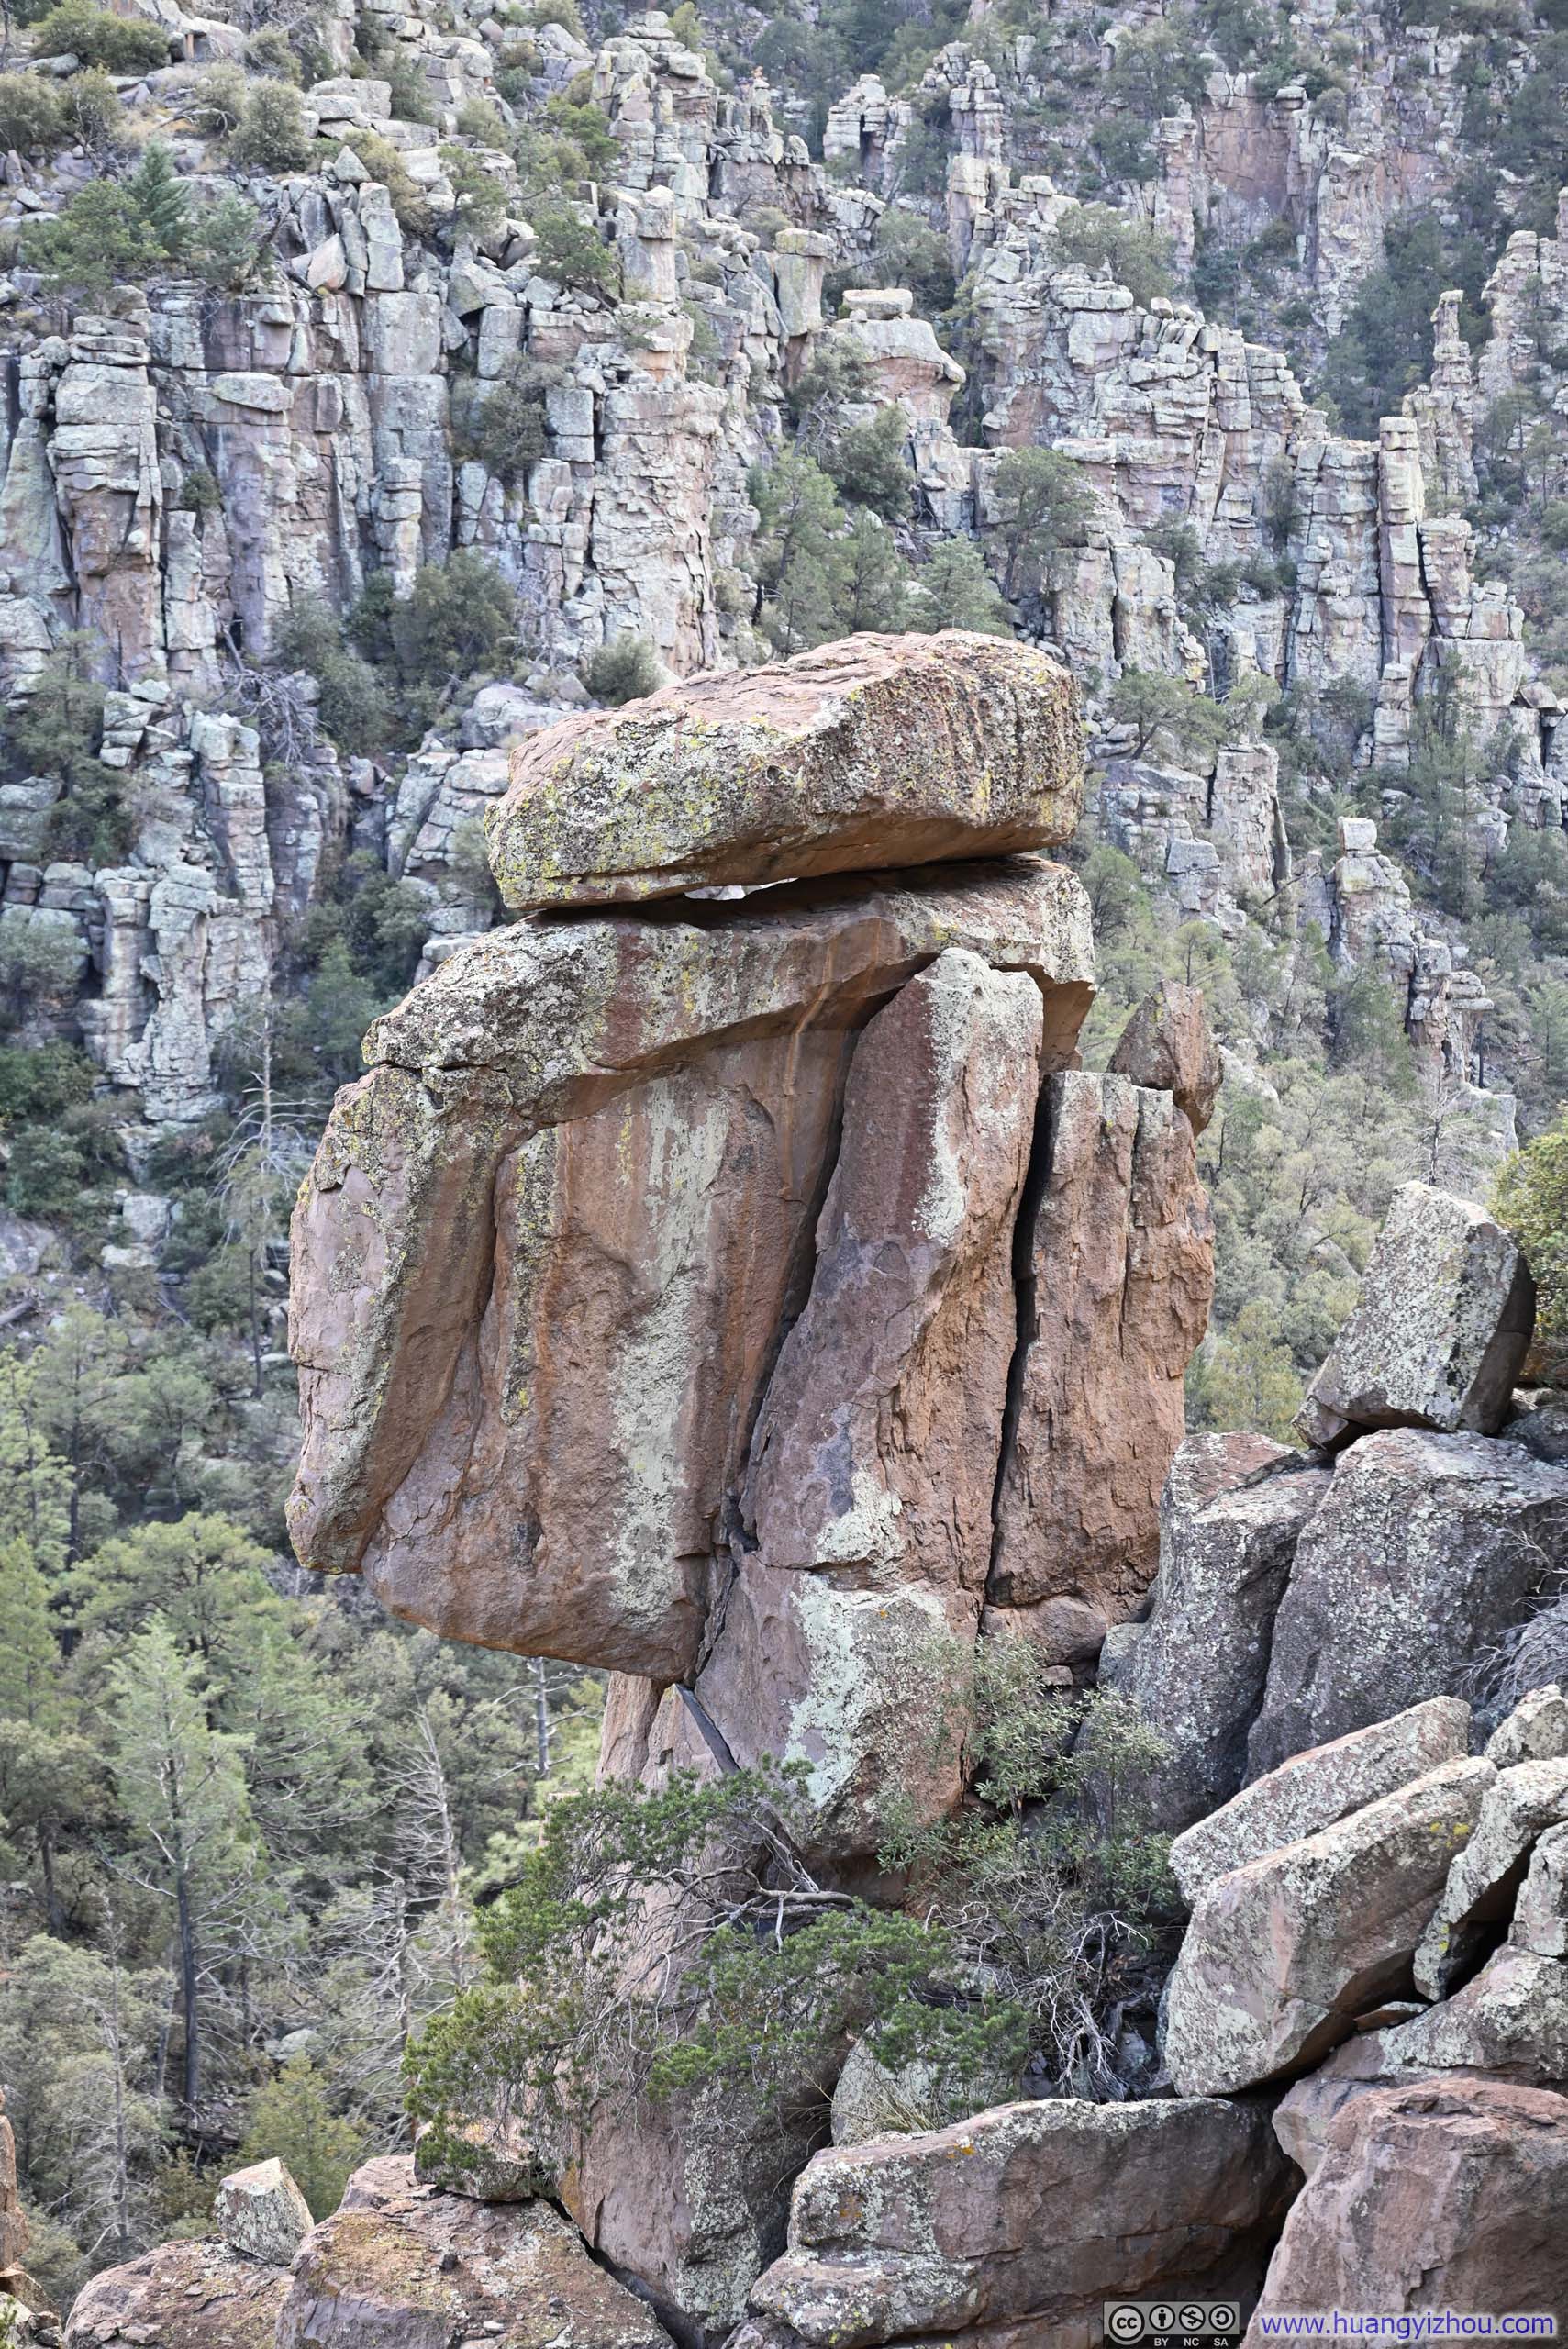
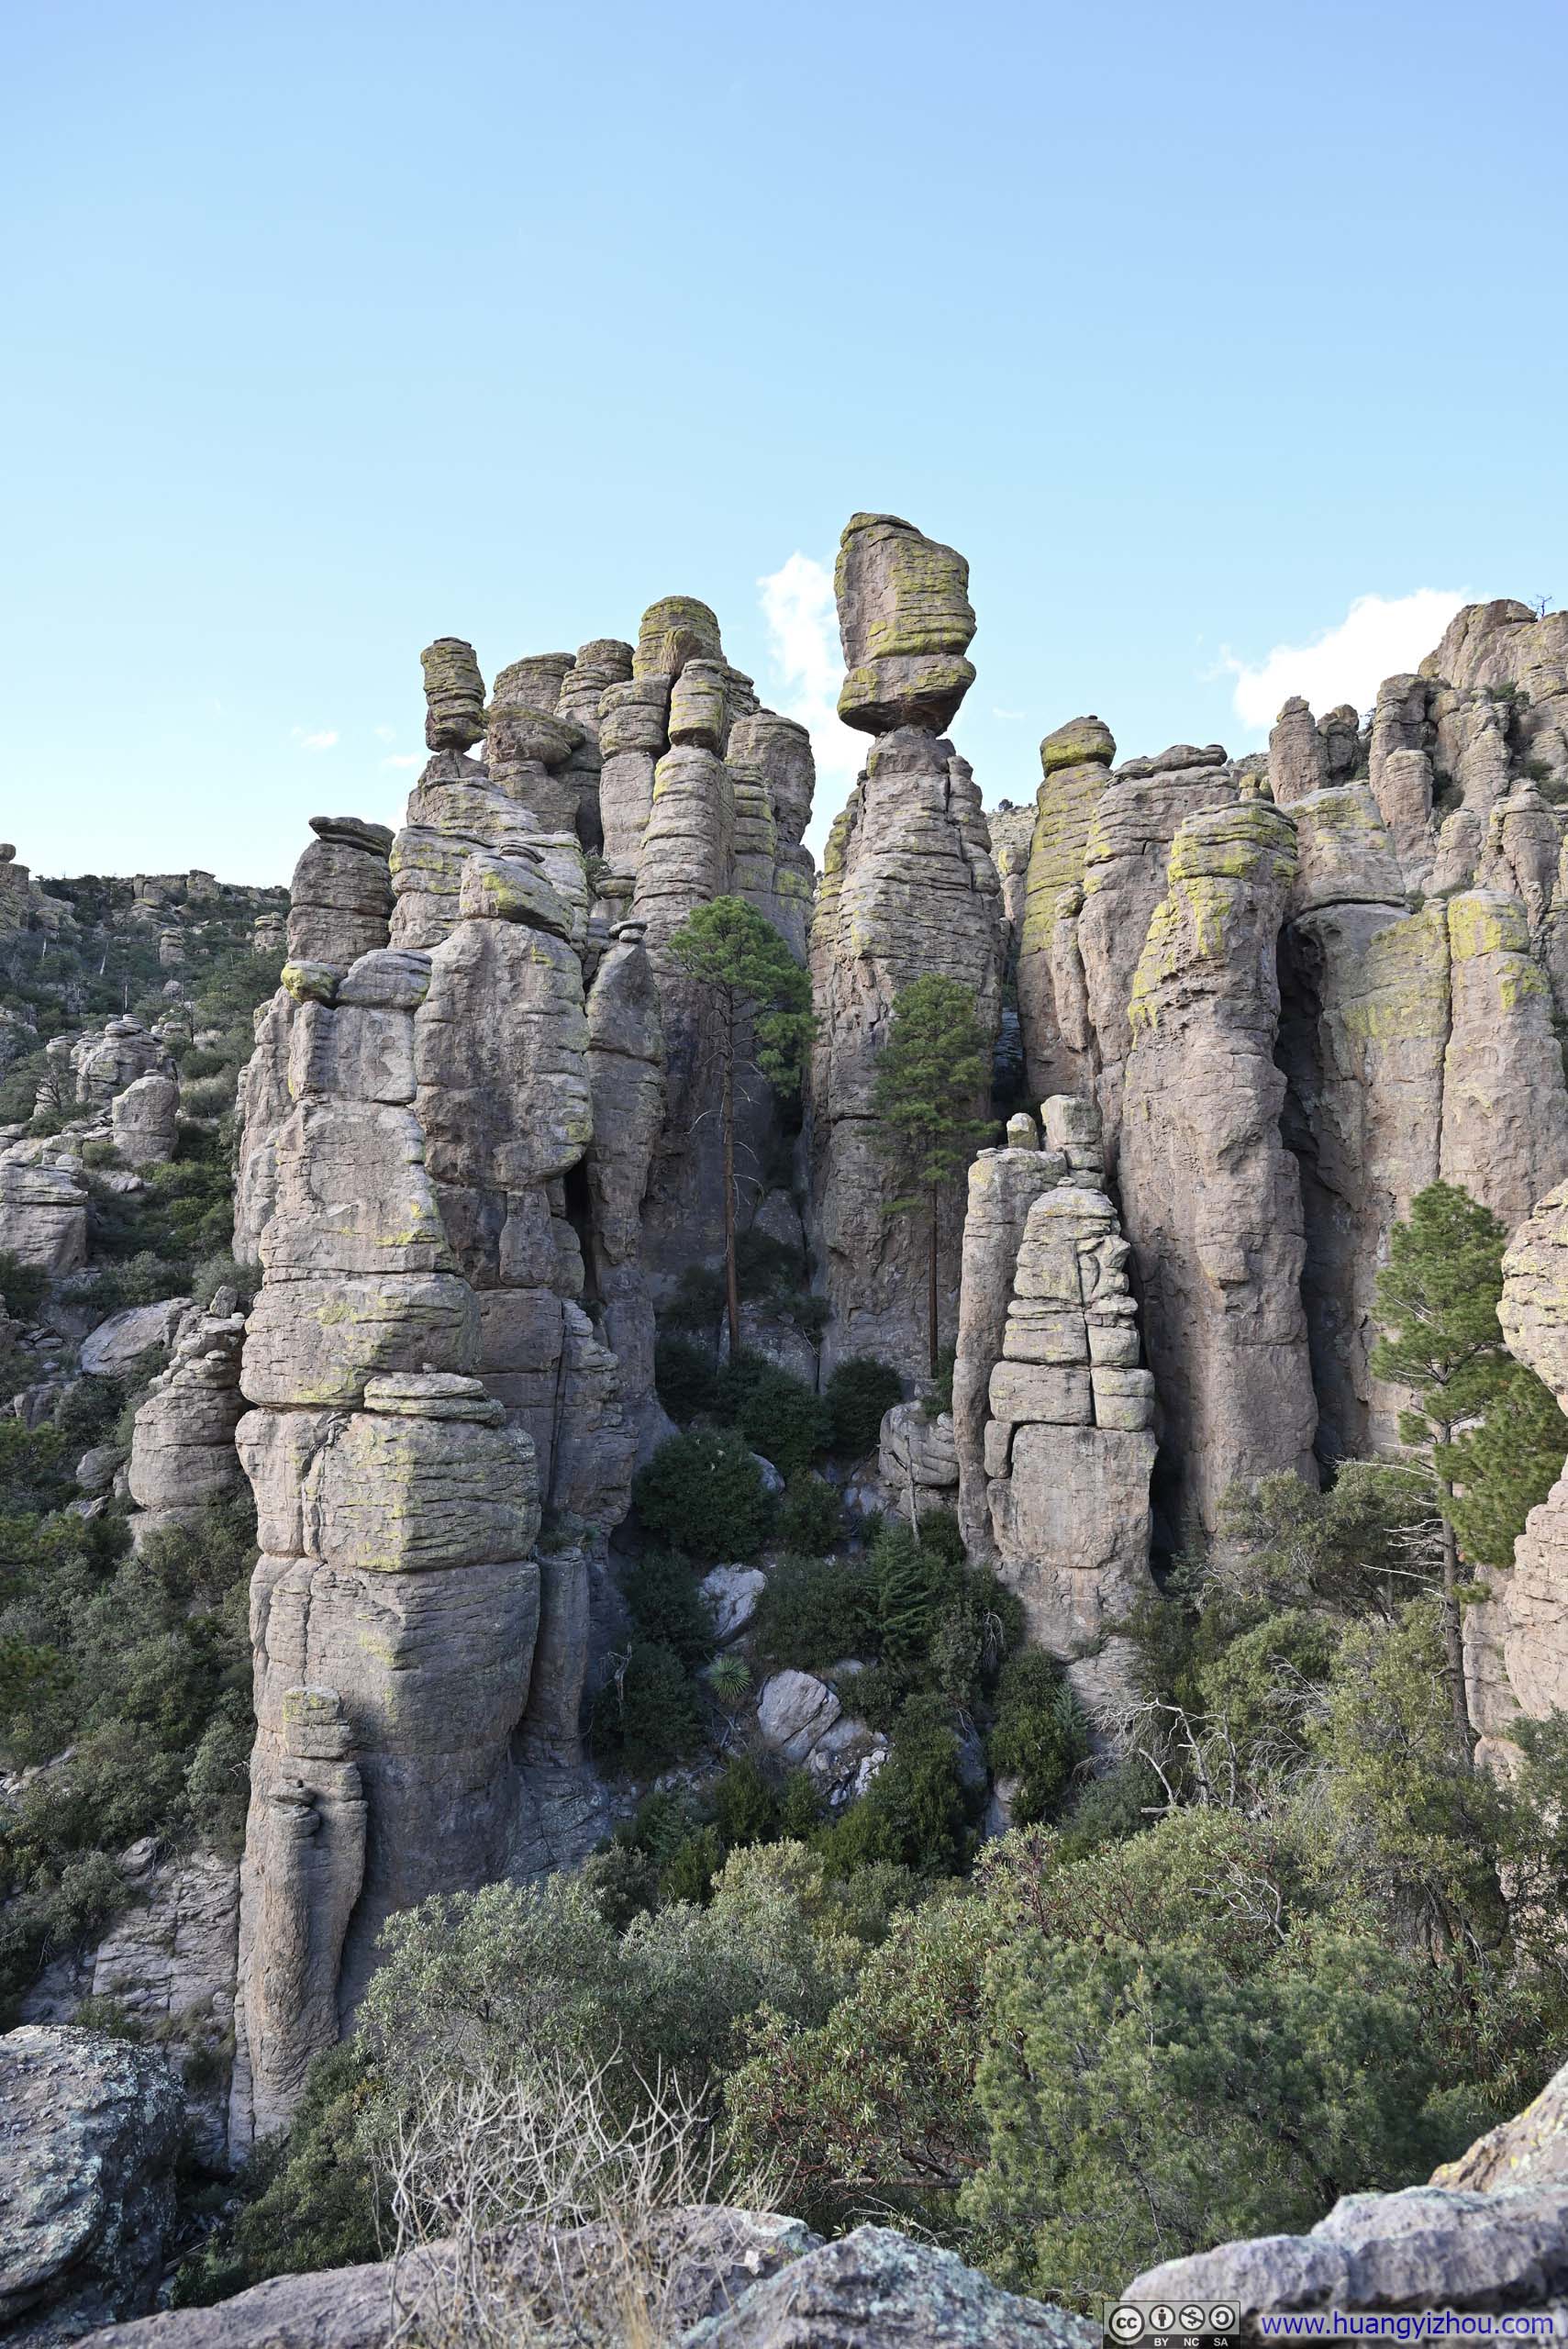
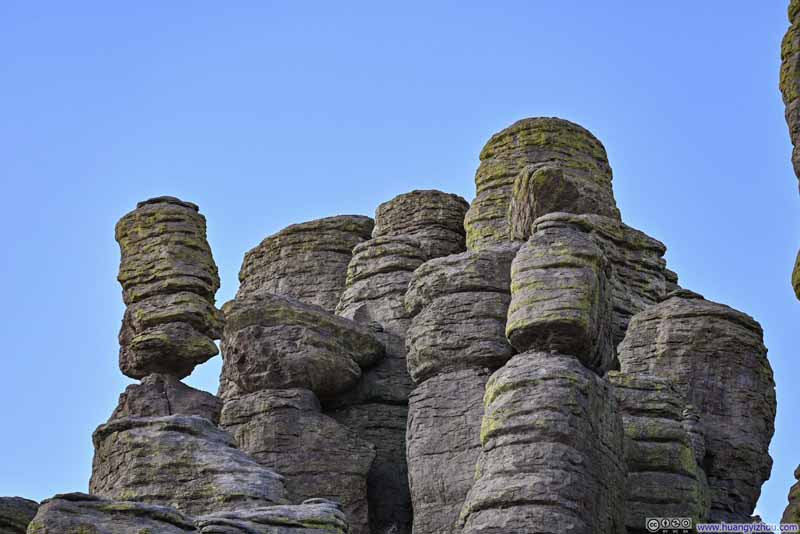
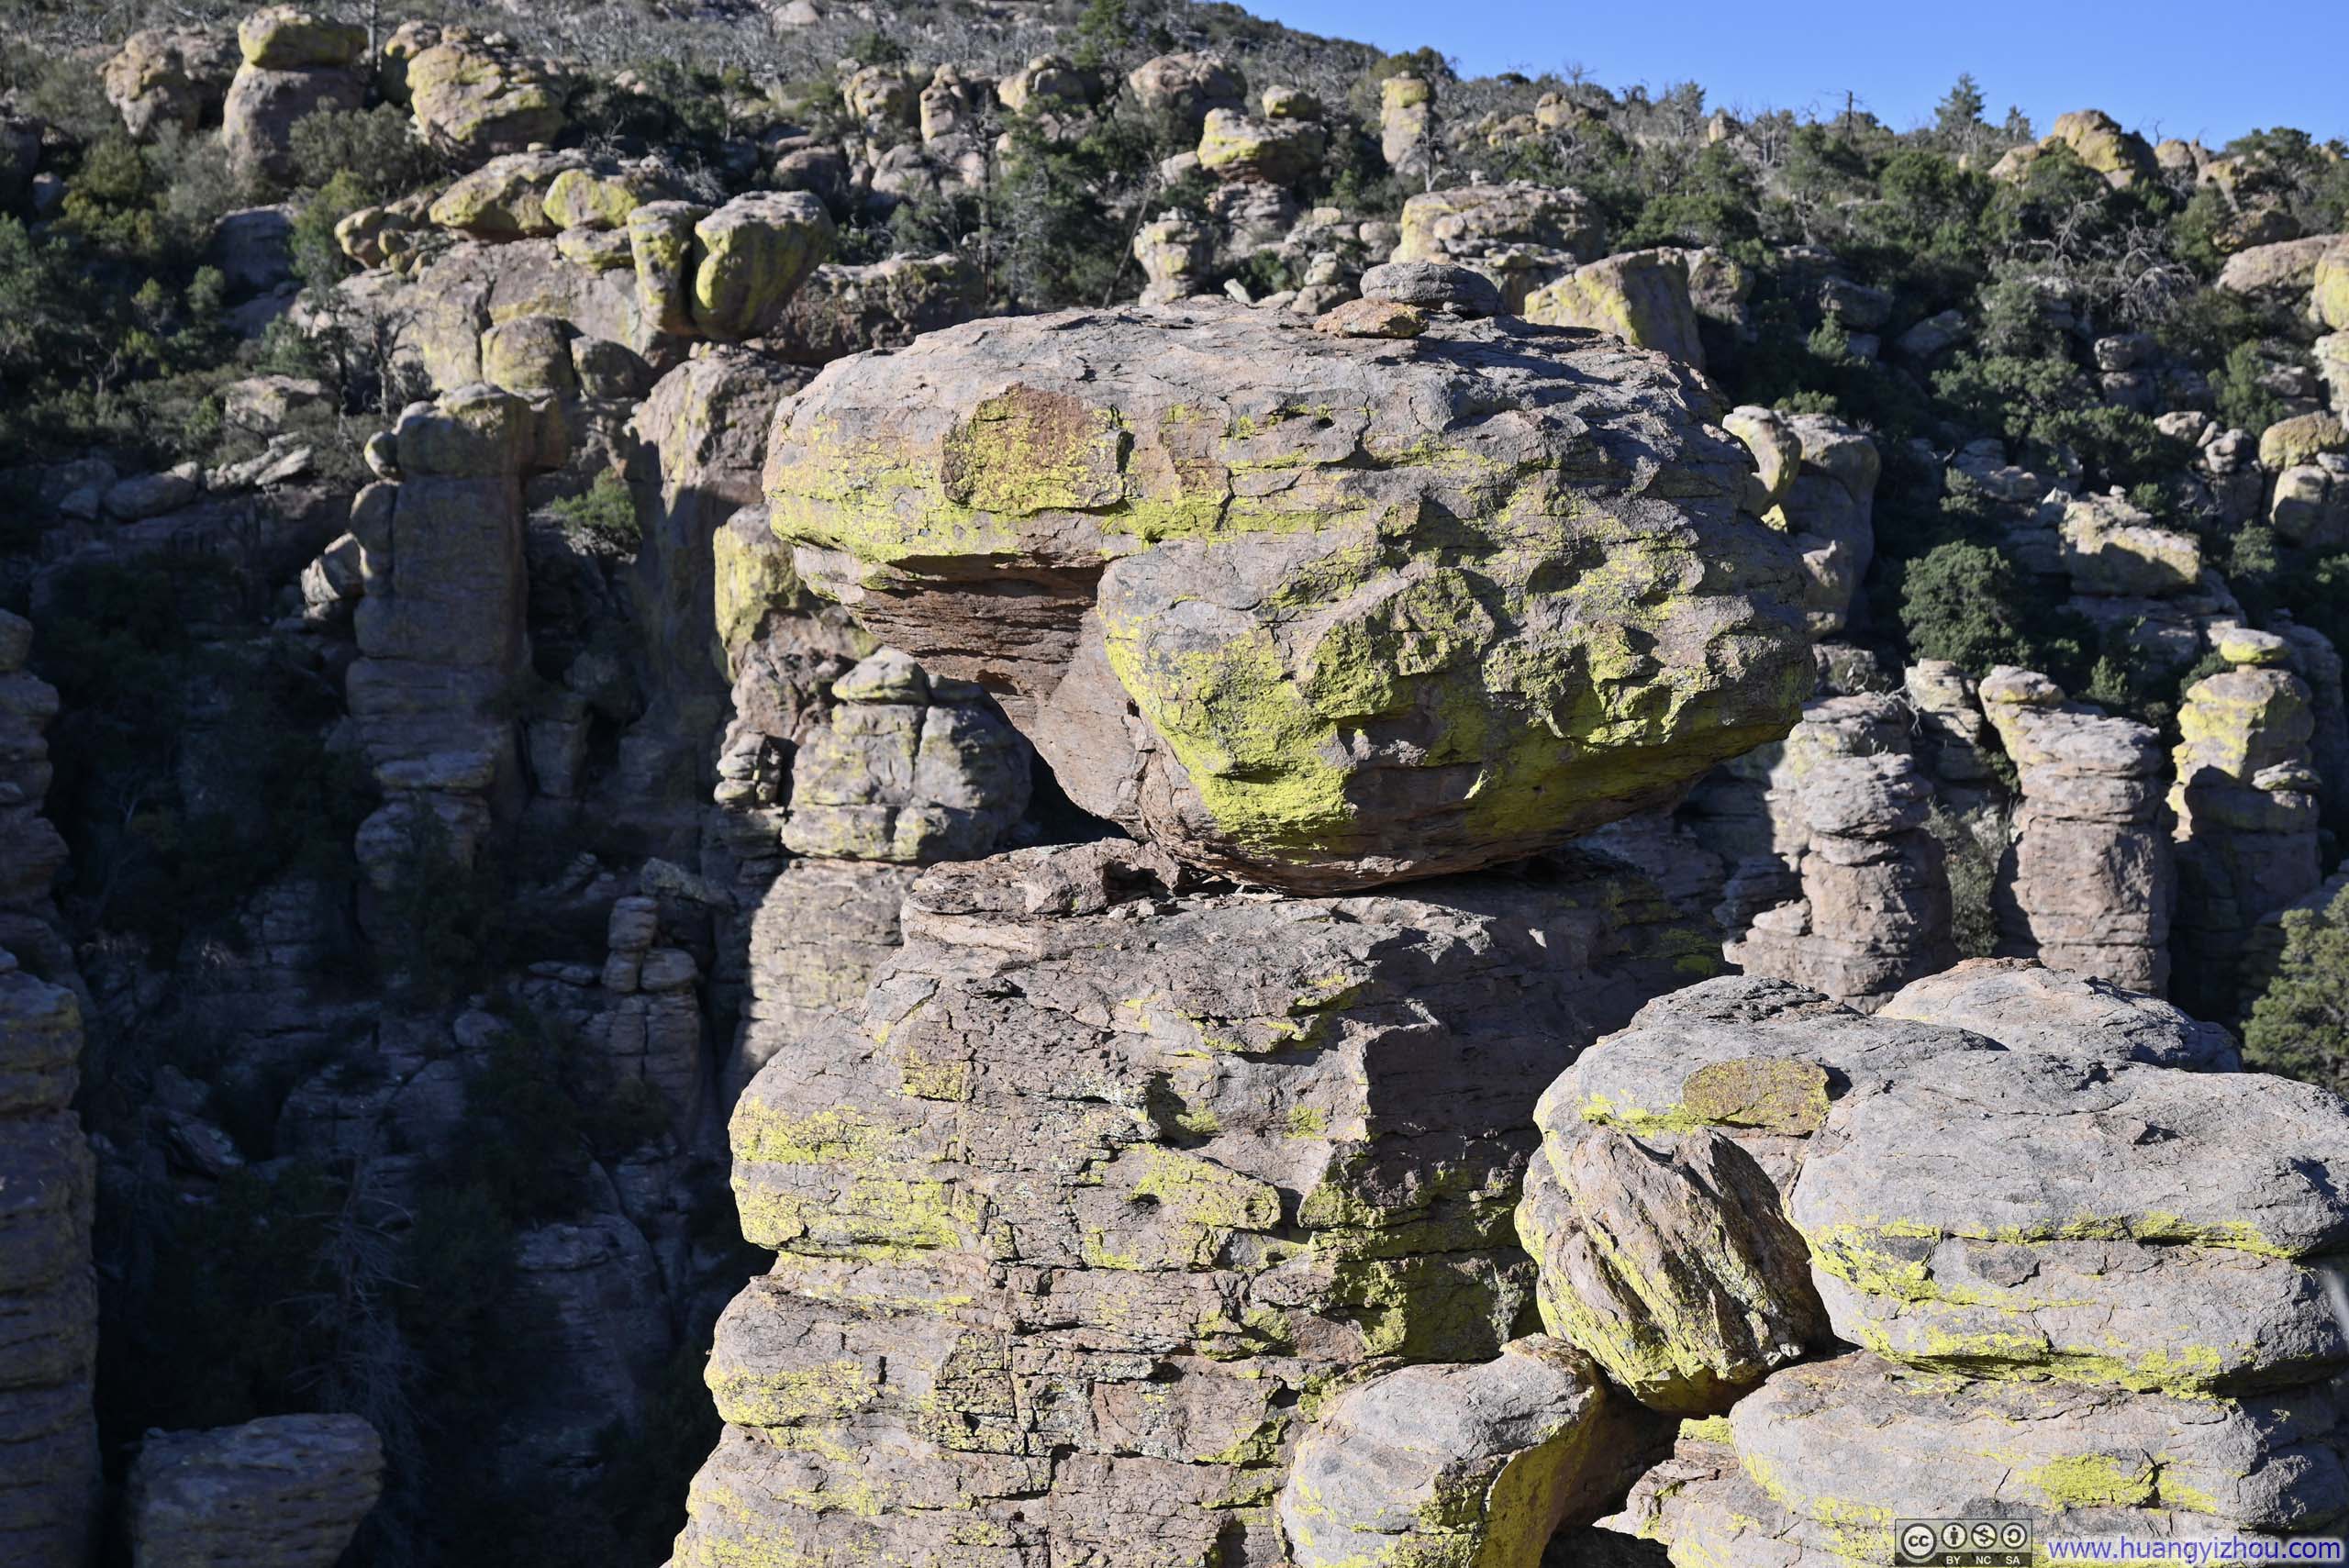
The next attraction along the trail was a named “Balanced Rock”. While there were many other (unnamed) balanced rocks scattered around the monument, this particular formation featured what was arguably the largest and most perfectly balanced specimen of them all. Interestingly, right next to it there was another boulder that was toppled over and wedged between two other rocks, a formation I dubbed “Unbalanced Rock.” The comparison only served to heighten the remarkable equilibrium of its neighbor.
 Hoodoos around Balanced Rock
 Balanced Rock
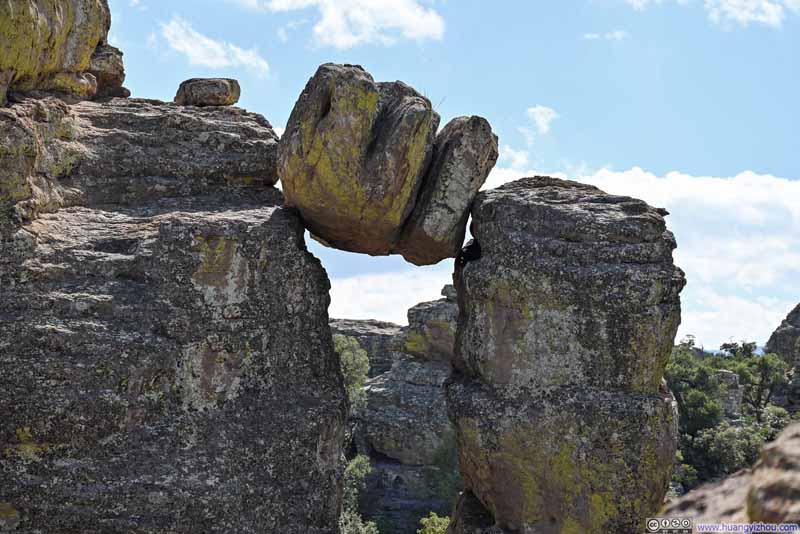 Unbalanced Rock
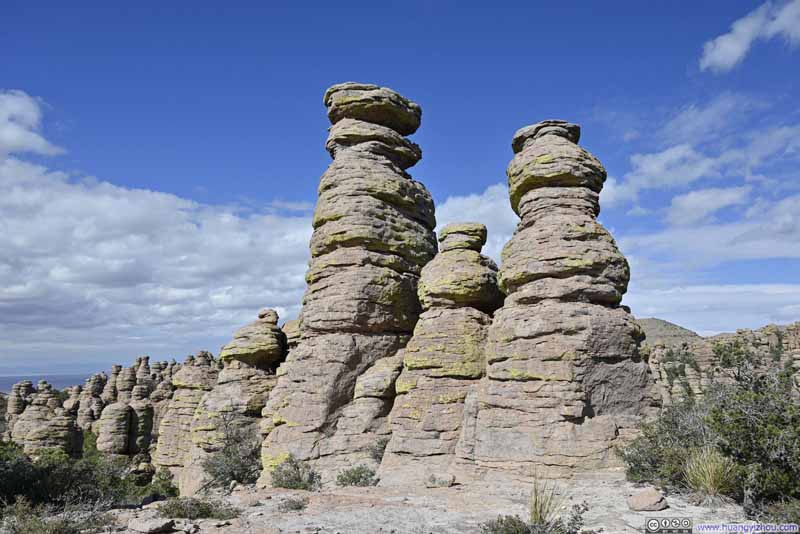 HoodoosThese three rocks looked like a family.
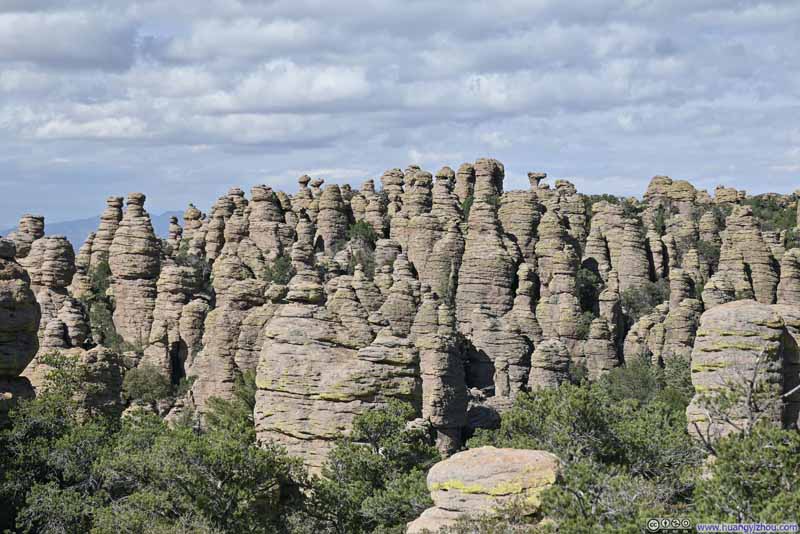 Hoodoos towards Heart of Rocks Loop
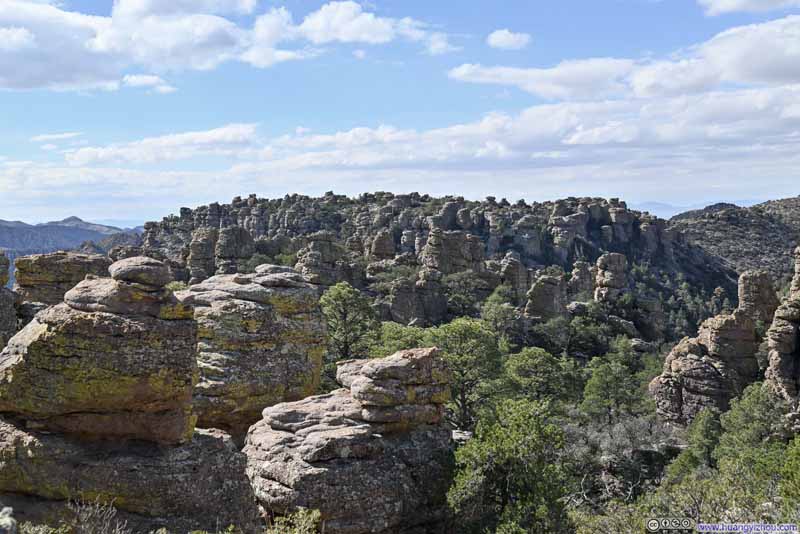 Hoodoos


Click here to display photos of “Balanced Rock” and its surroundings.
Hoodoos around Balanced Rock
 Balanced Rock

Unbalanced Rock

HoodoosThese three rocks looked like a family.
Hoodoos towards Heart of Rocks Loop

Hoodoos
Heart of Rocks Loop
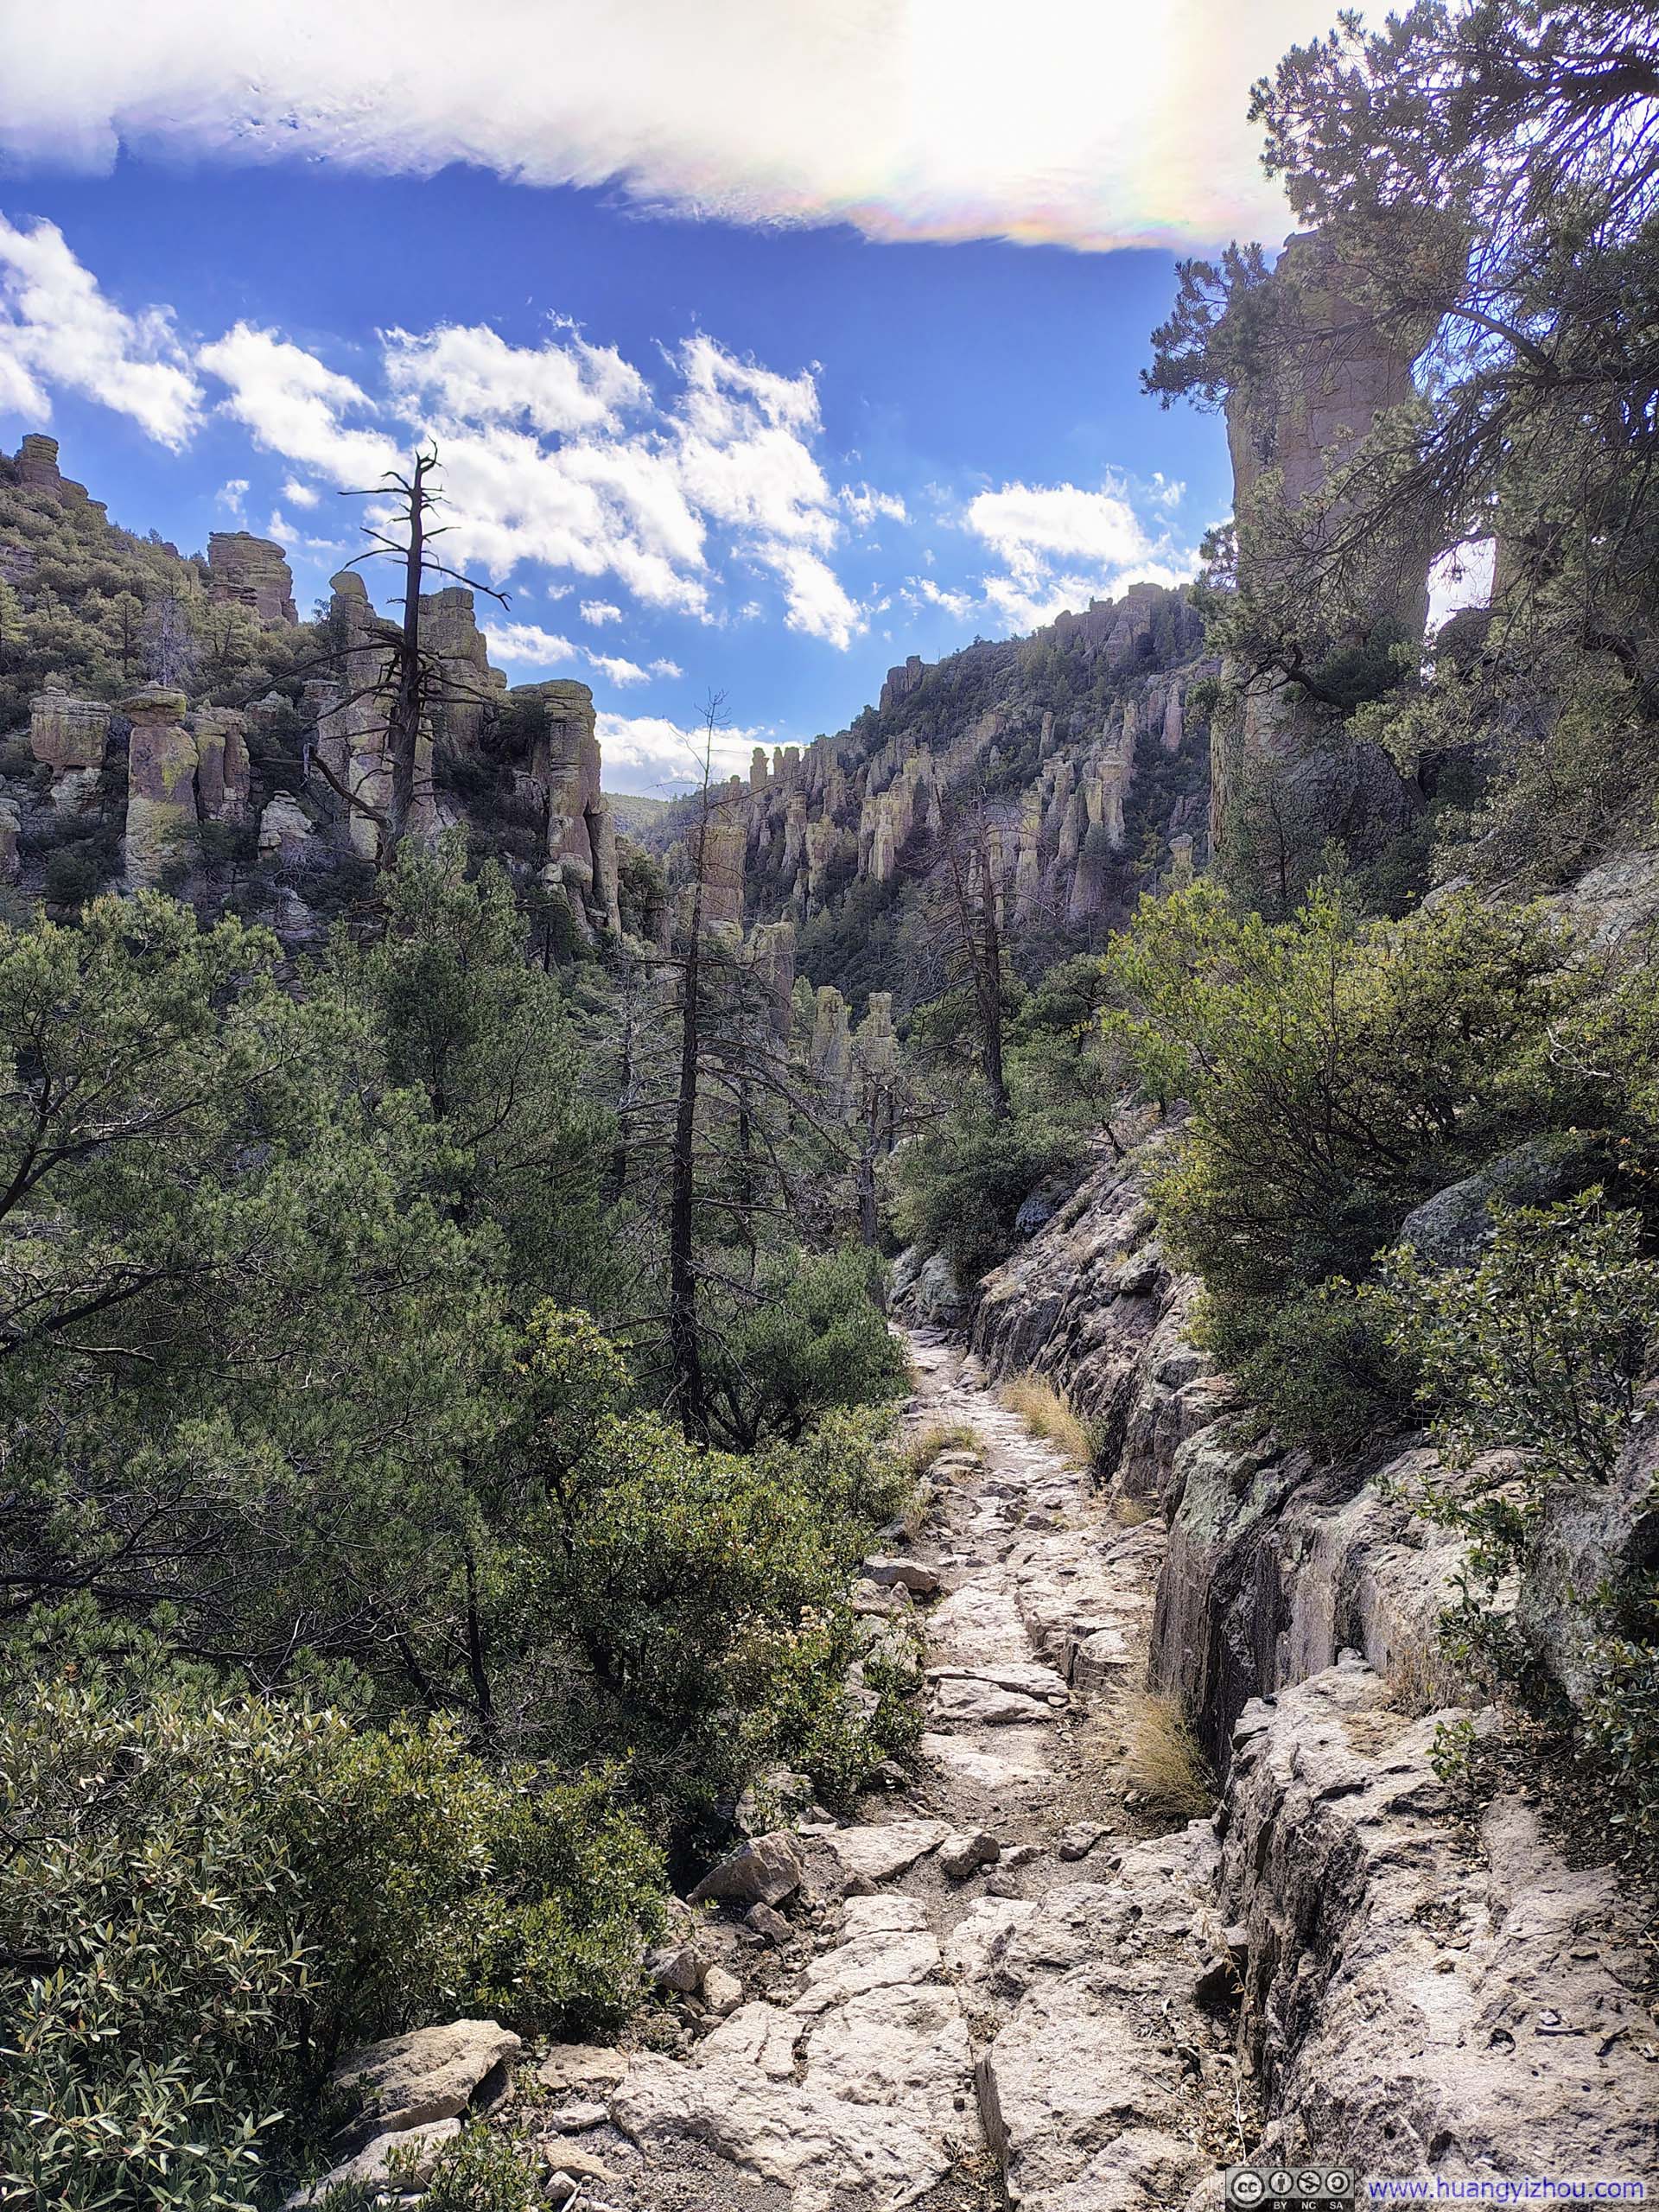
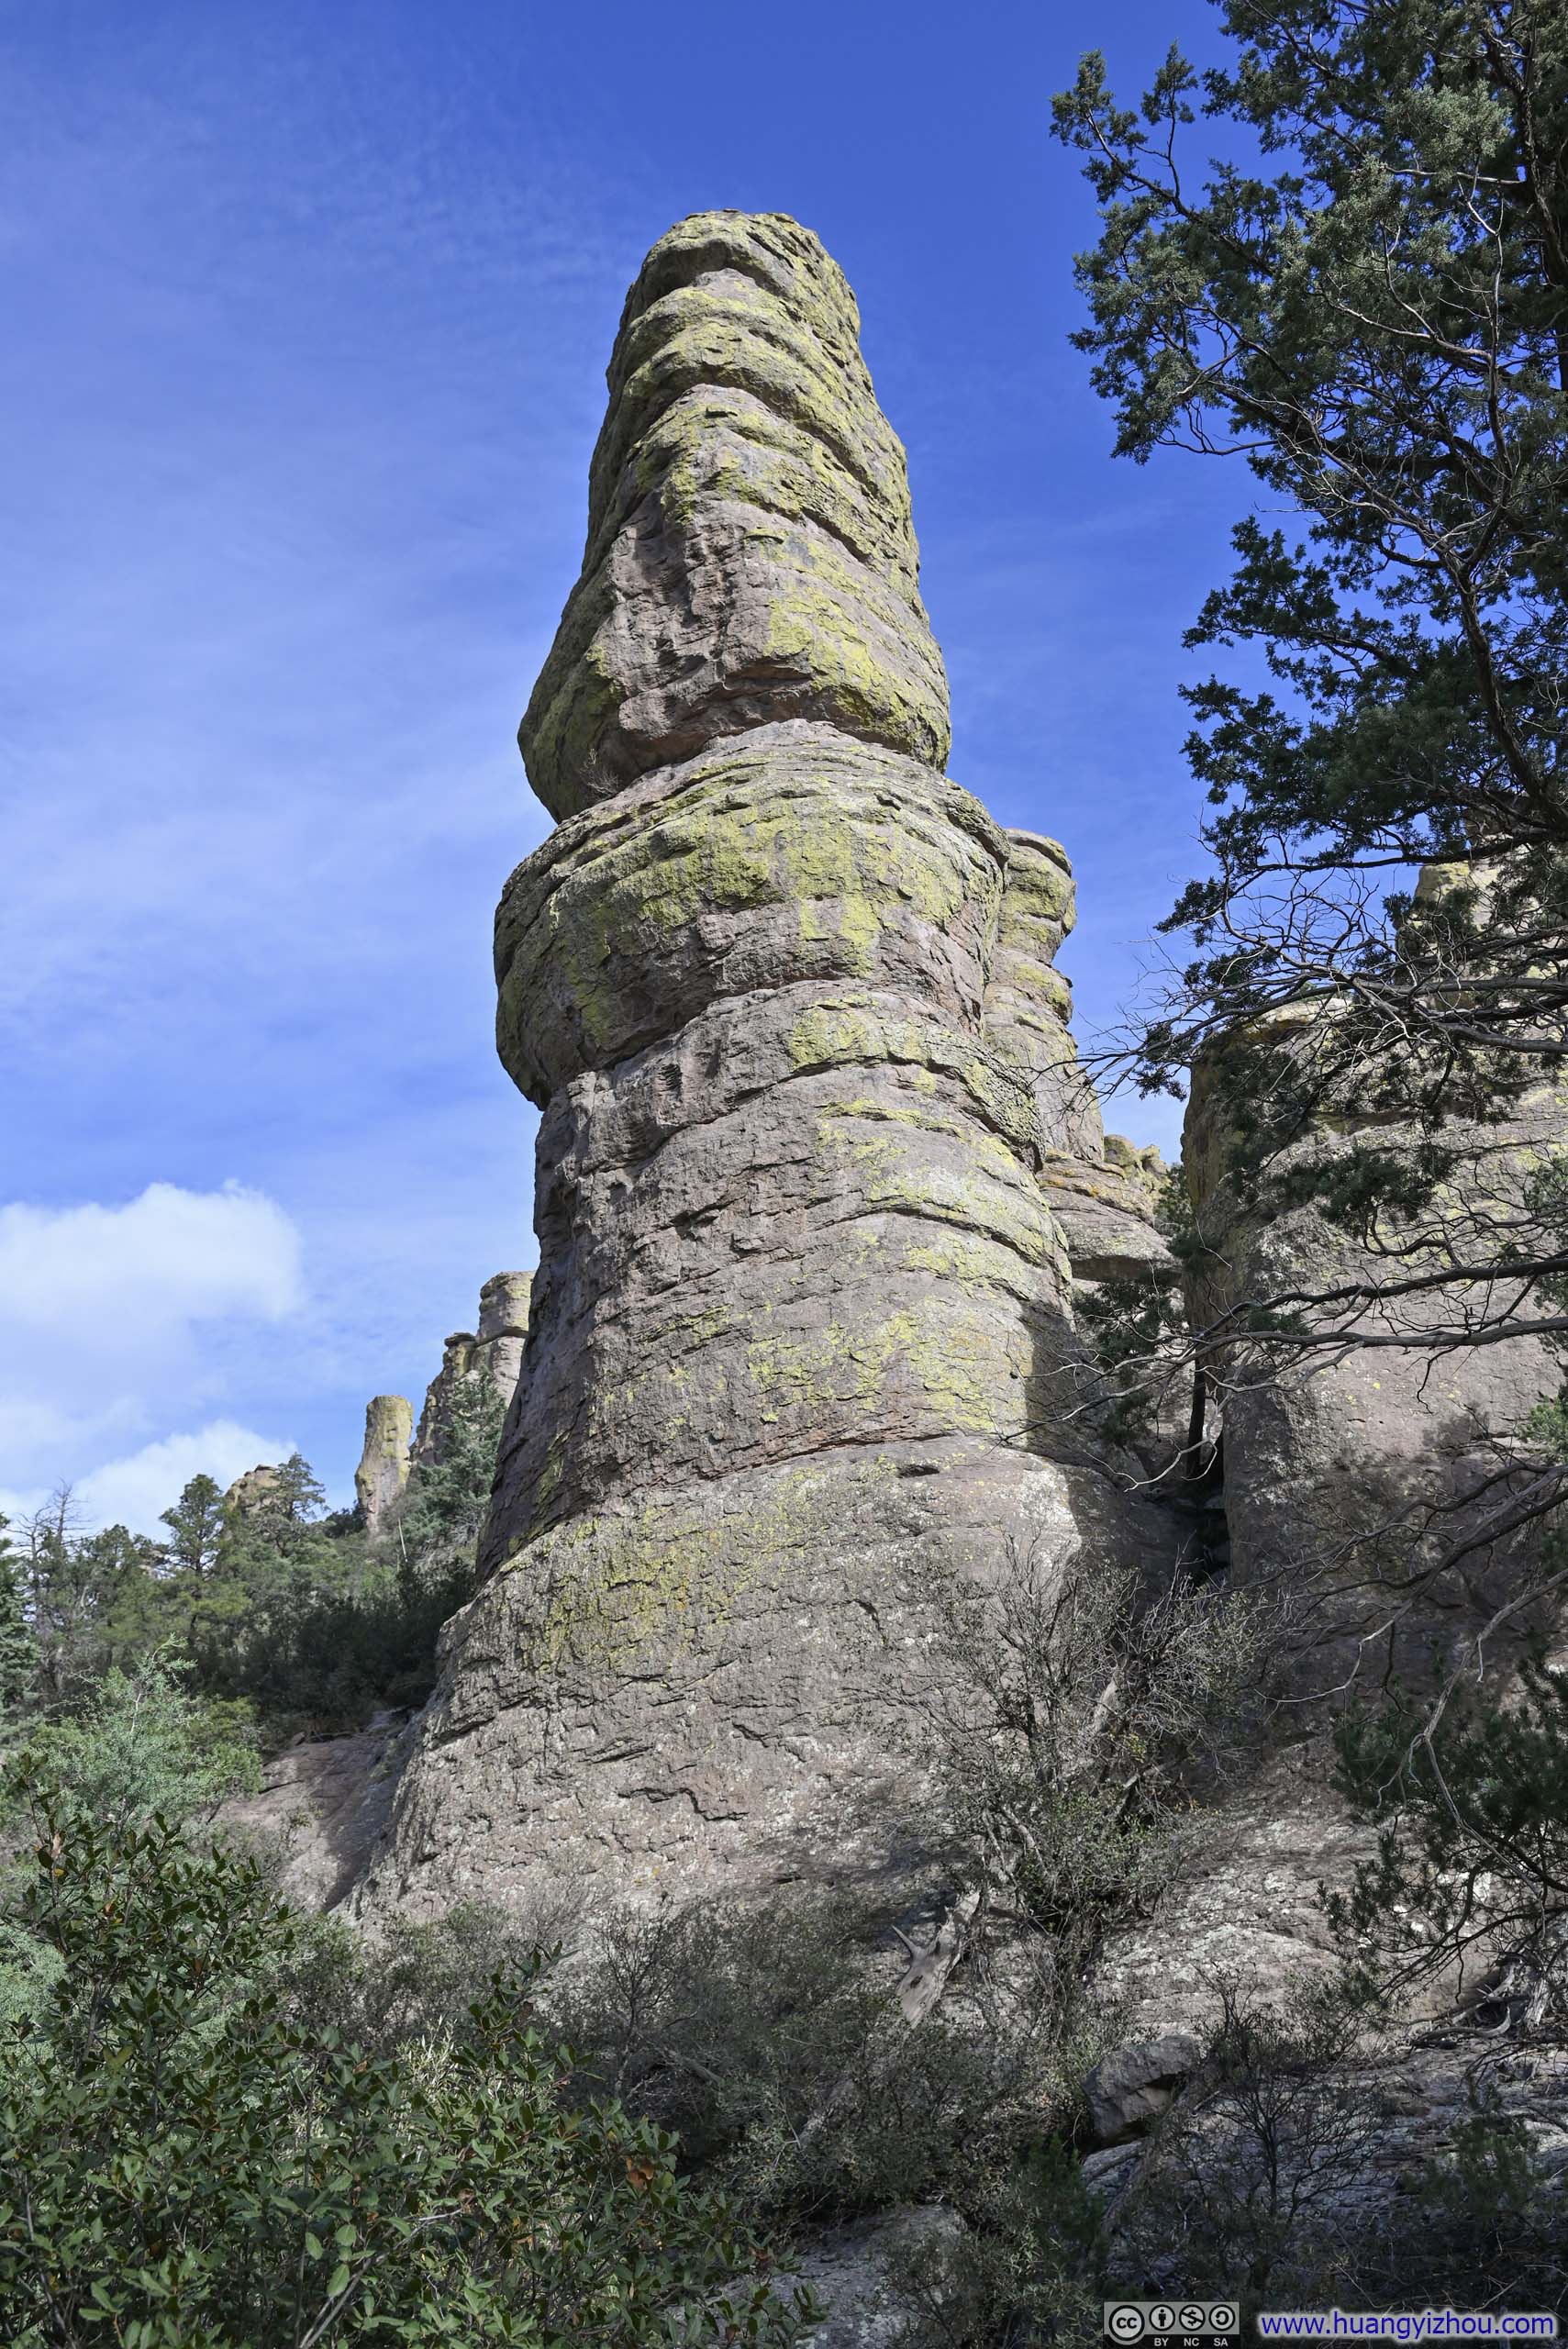
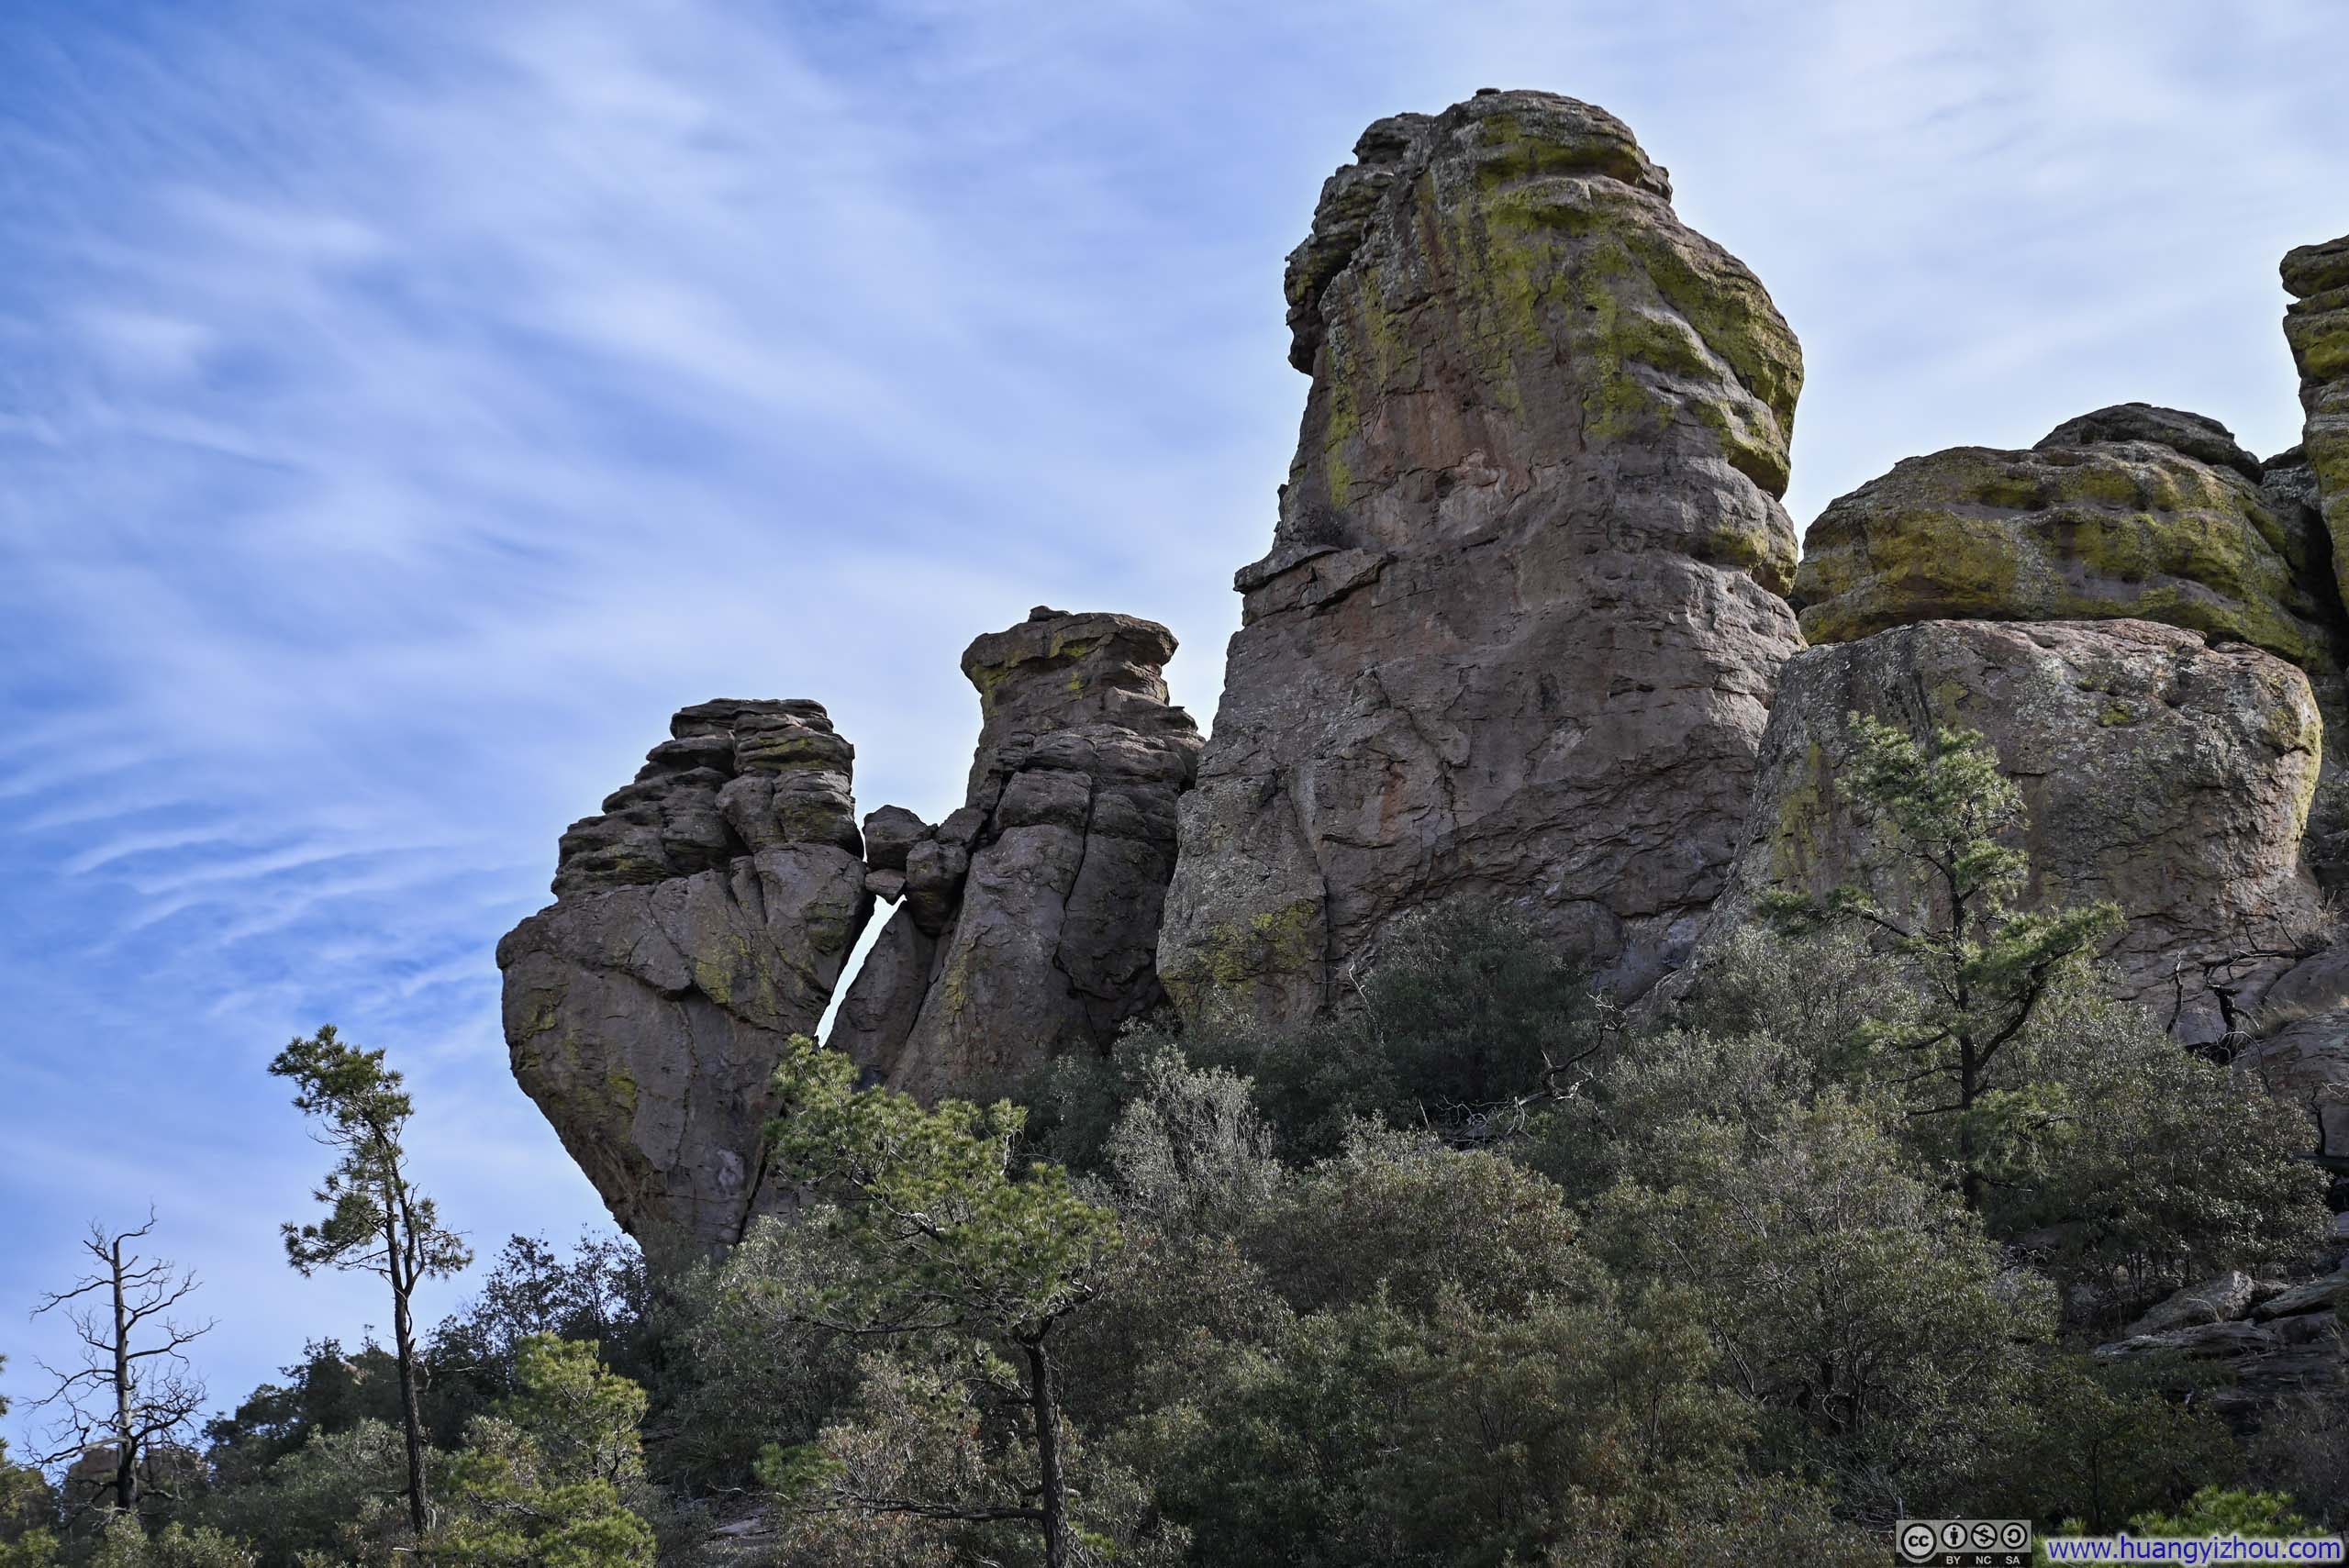
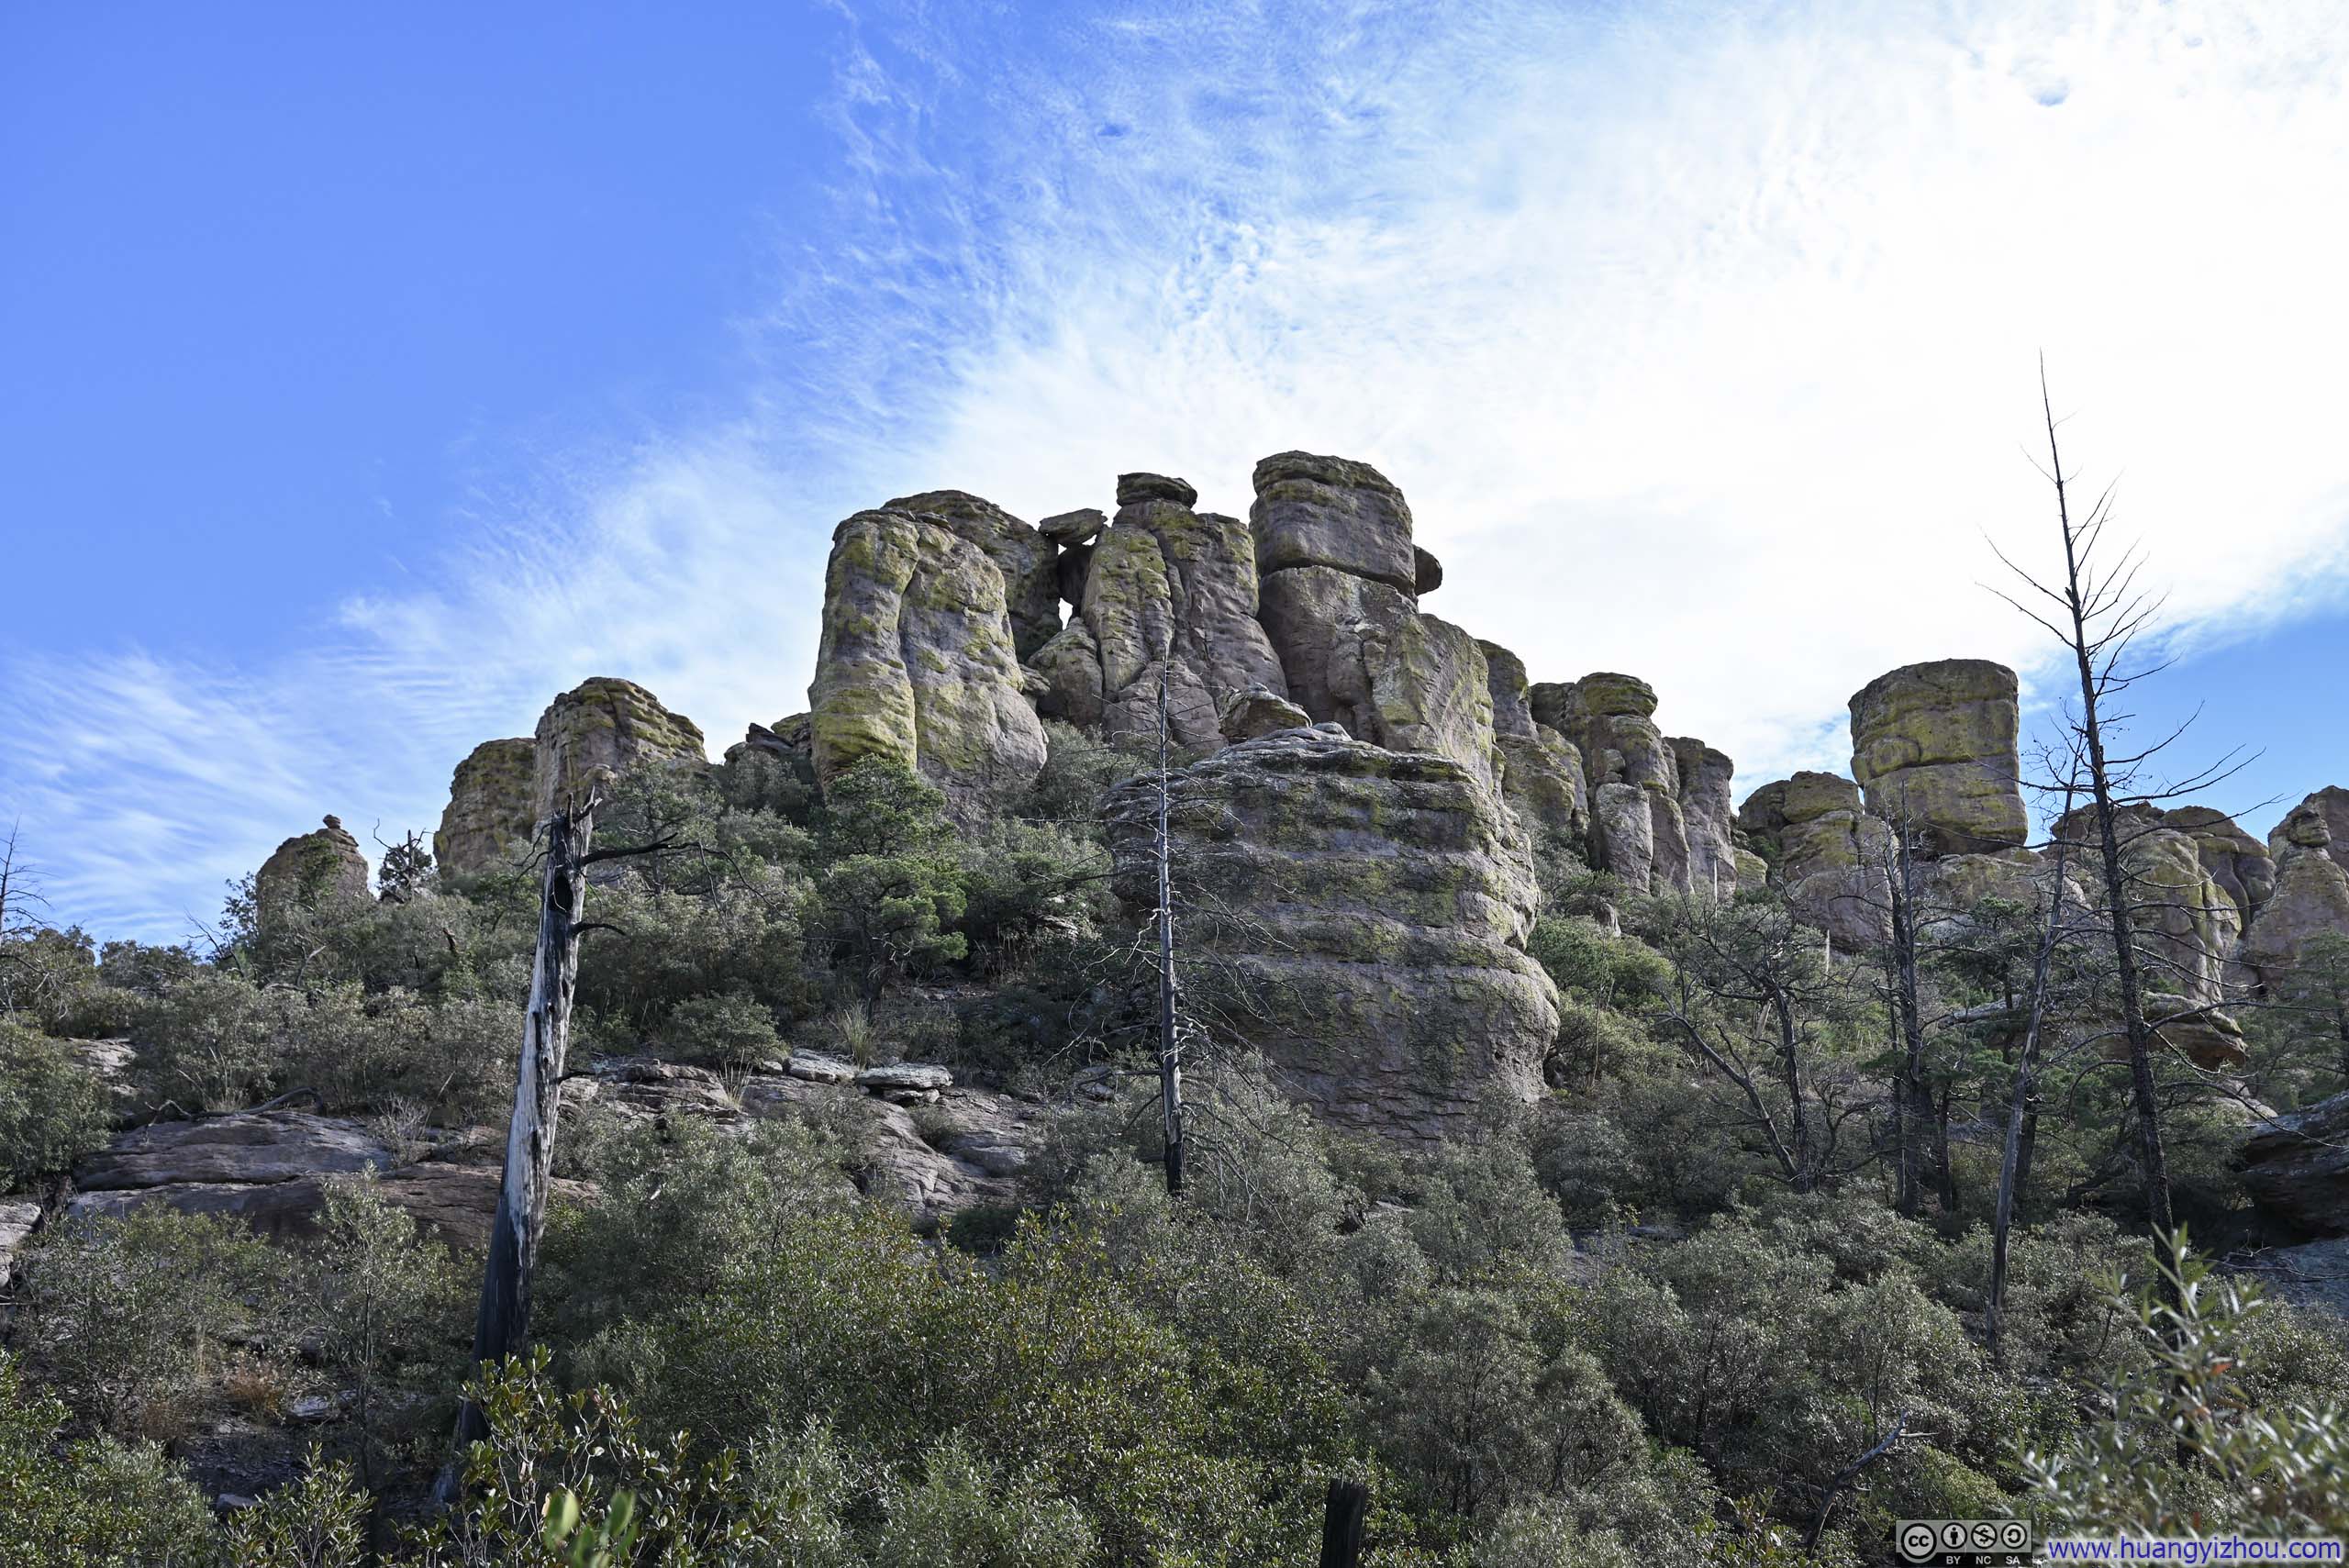
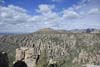
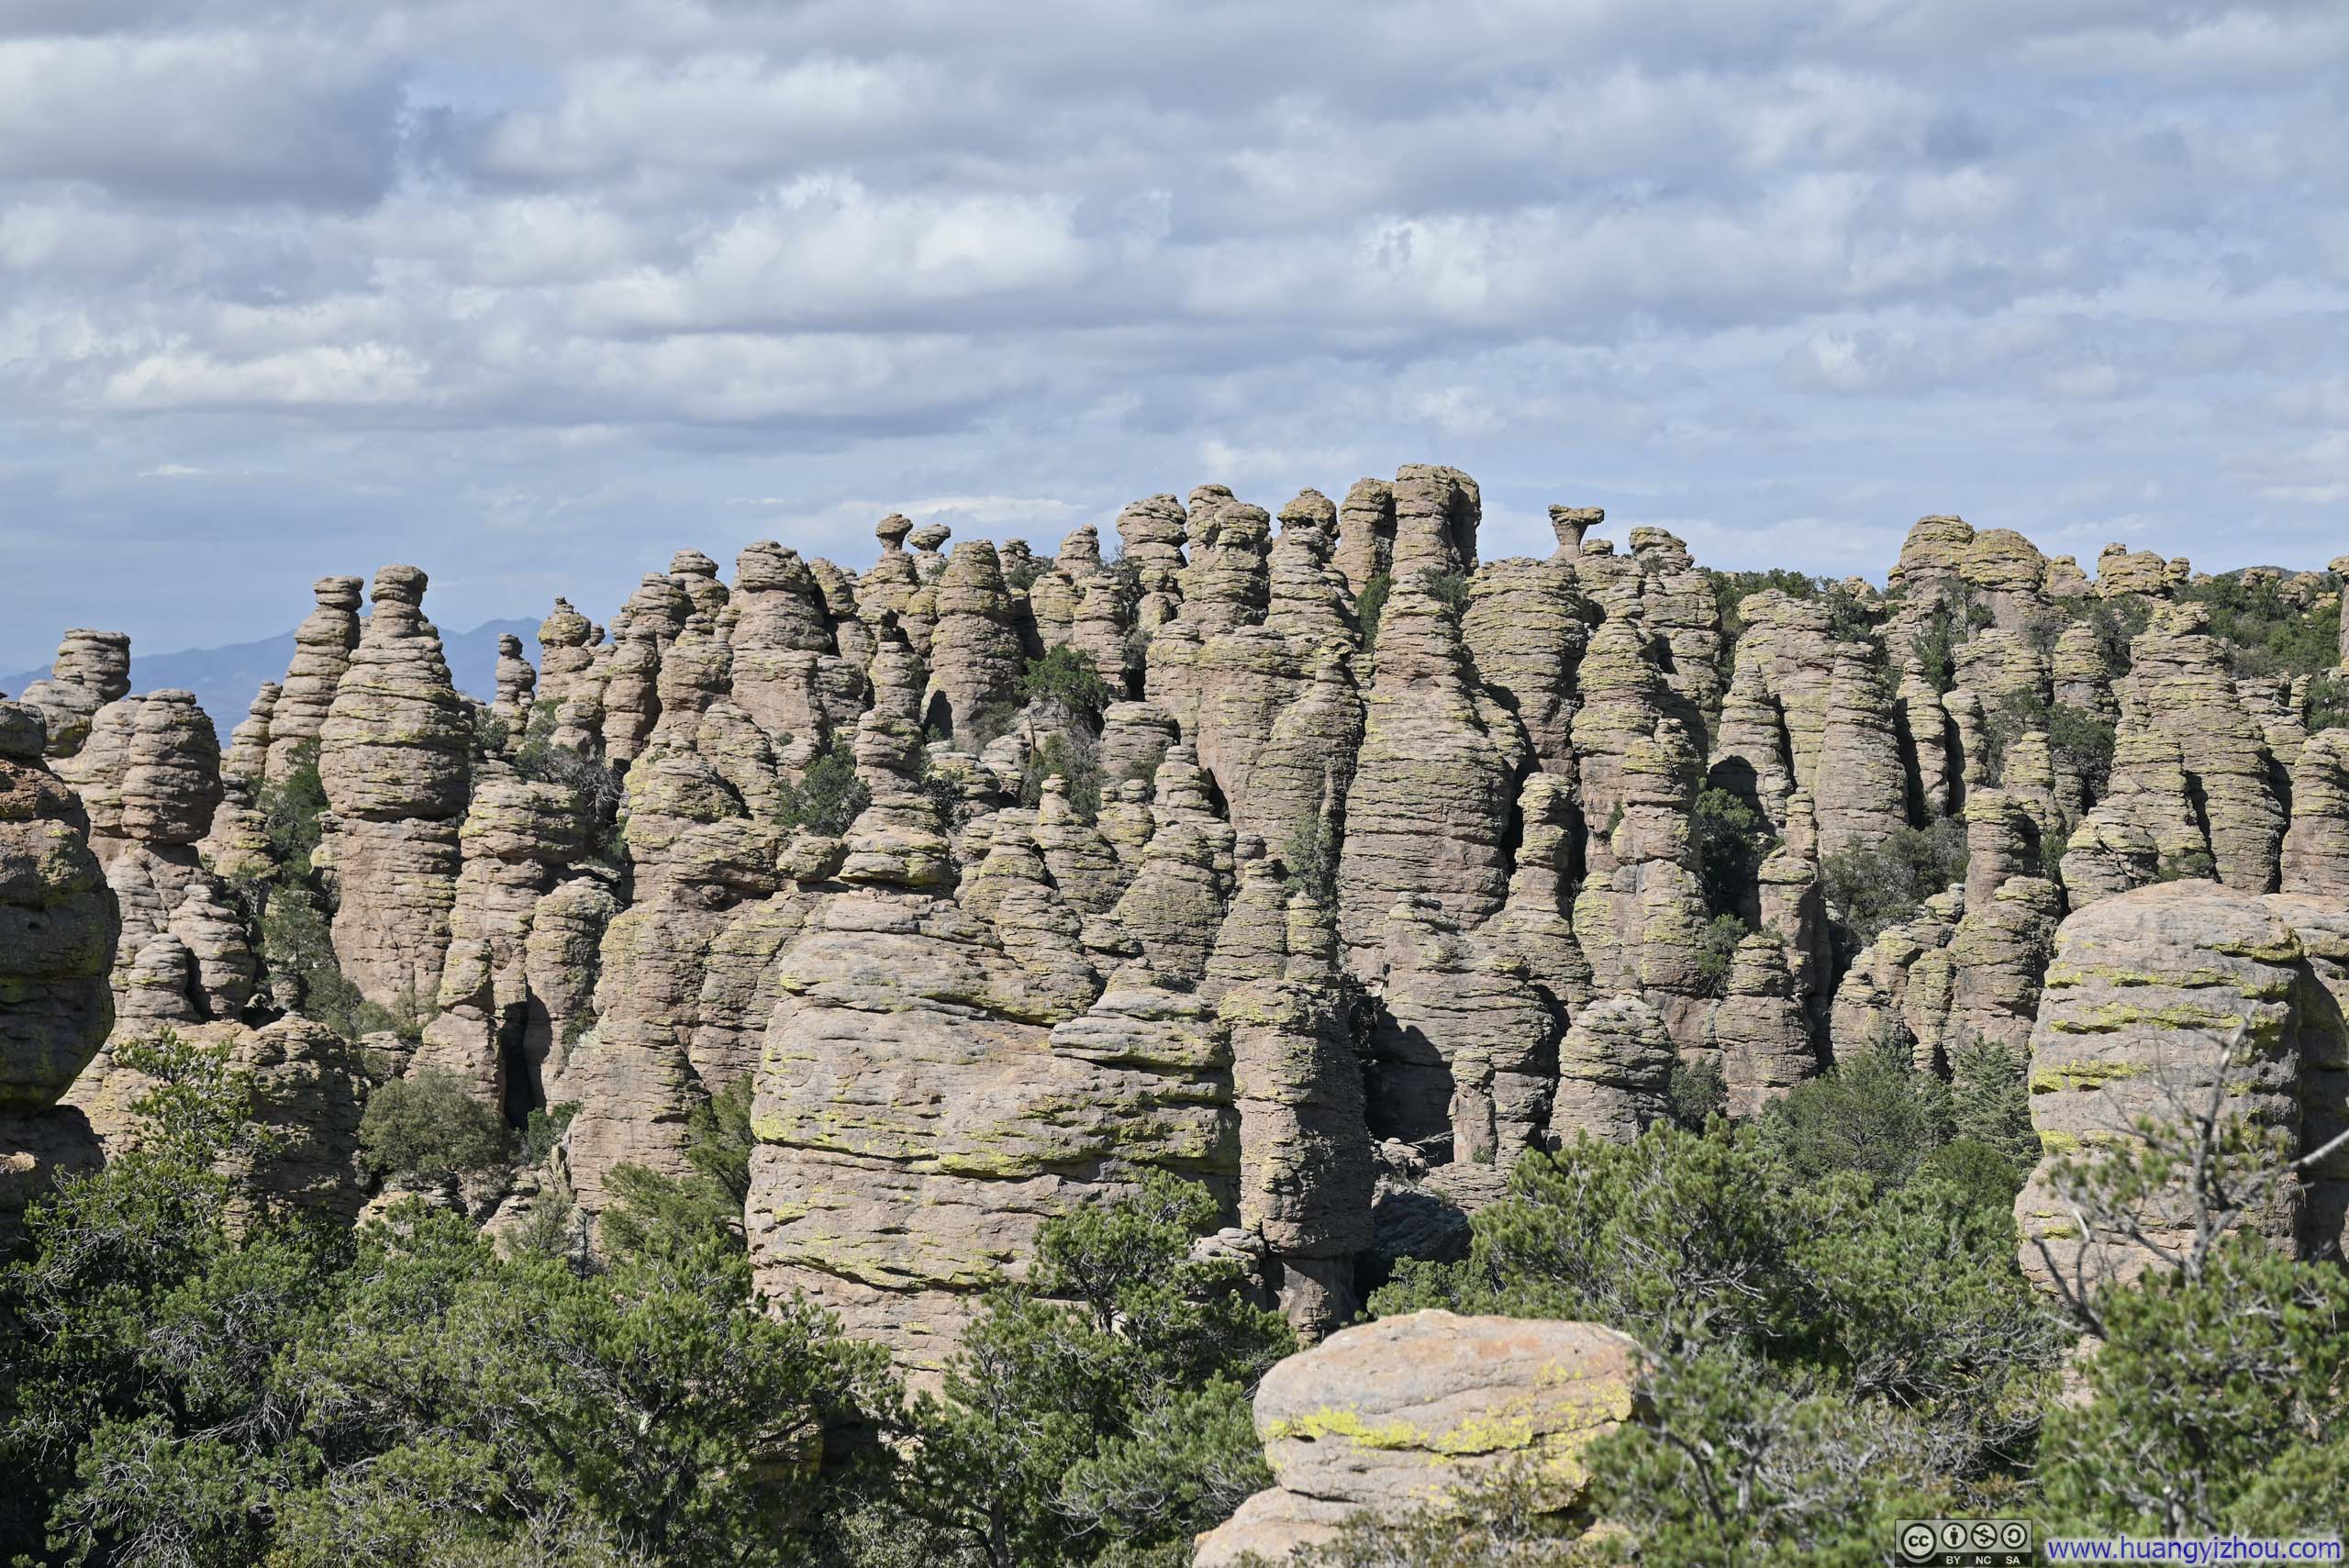
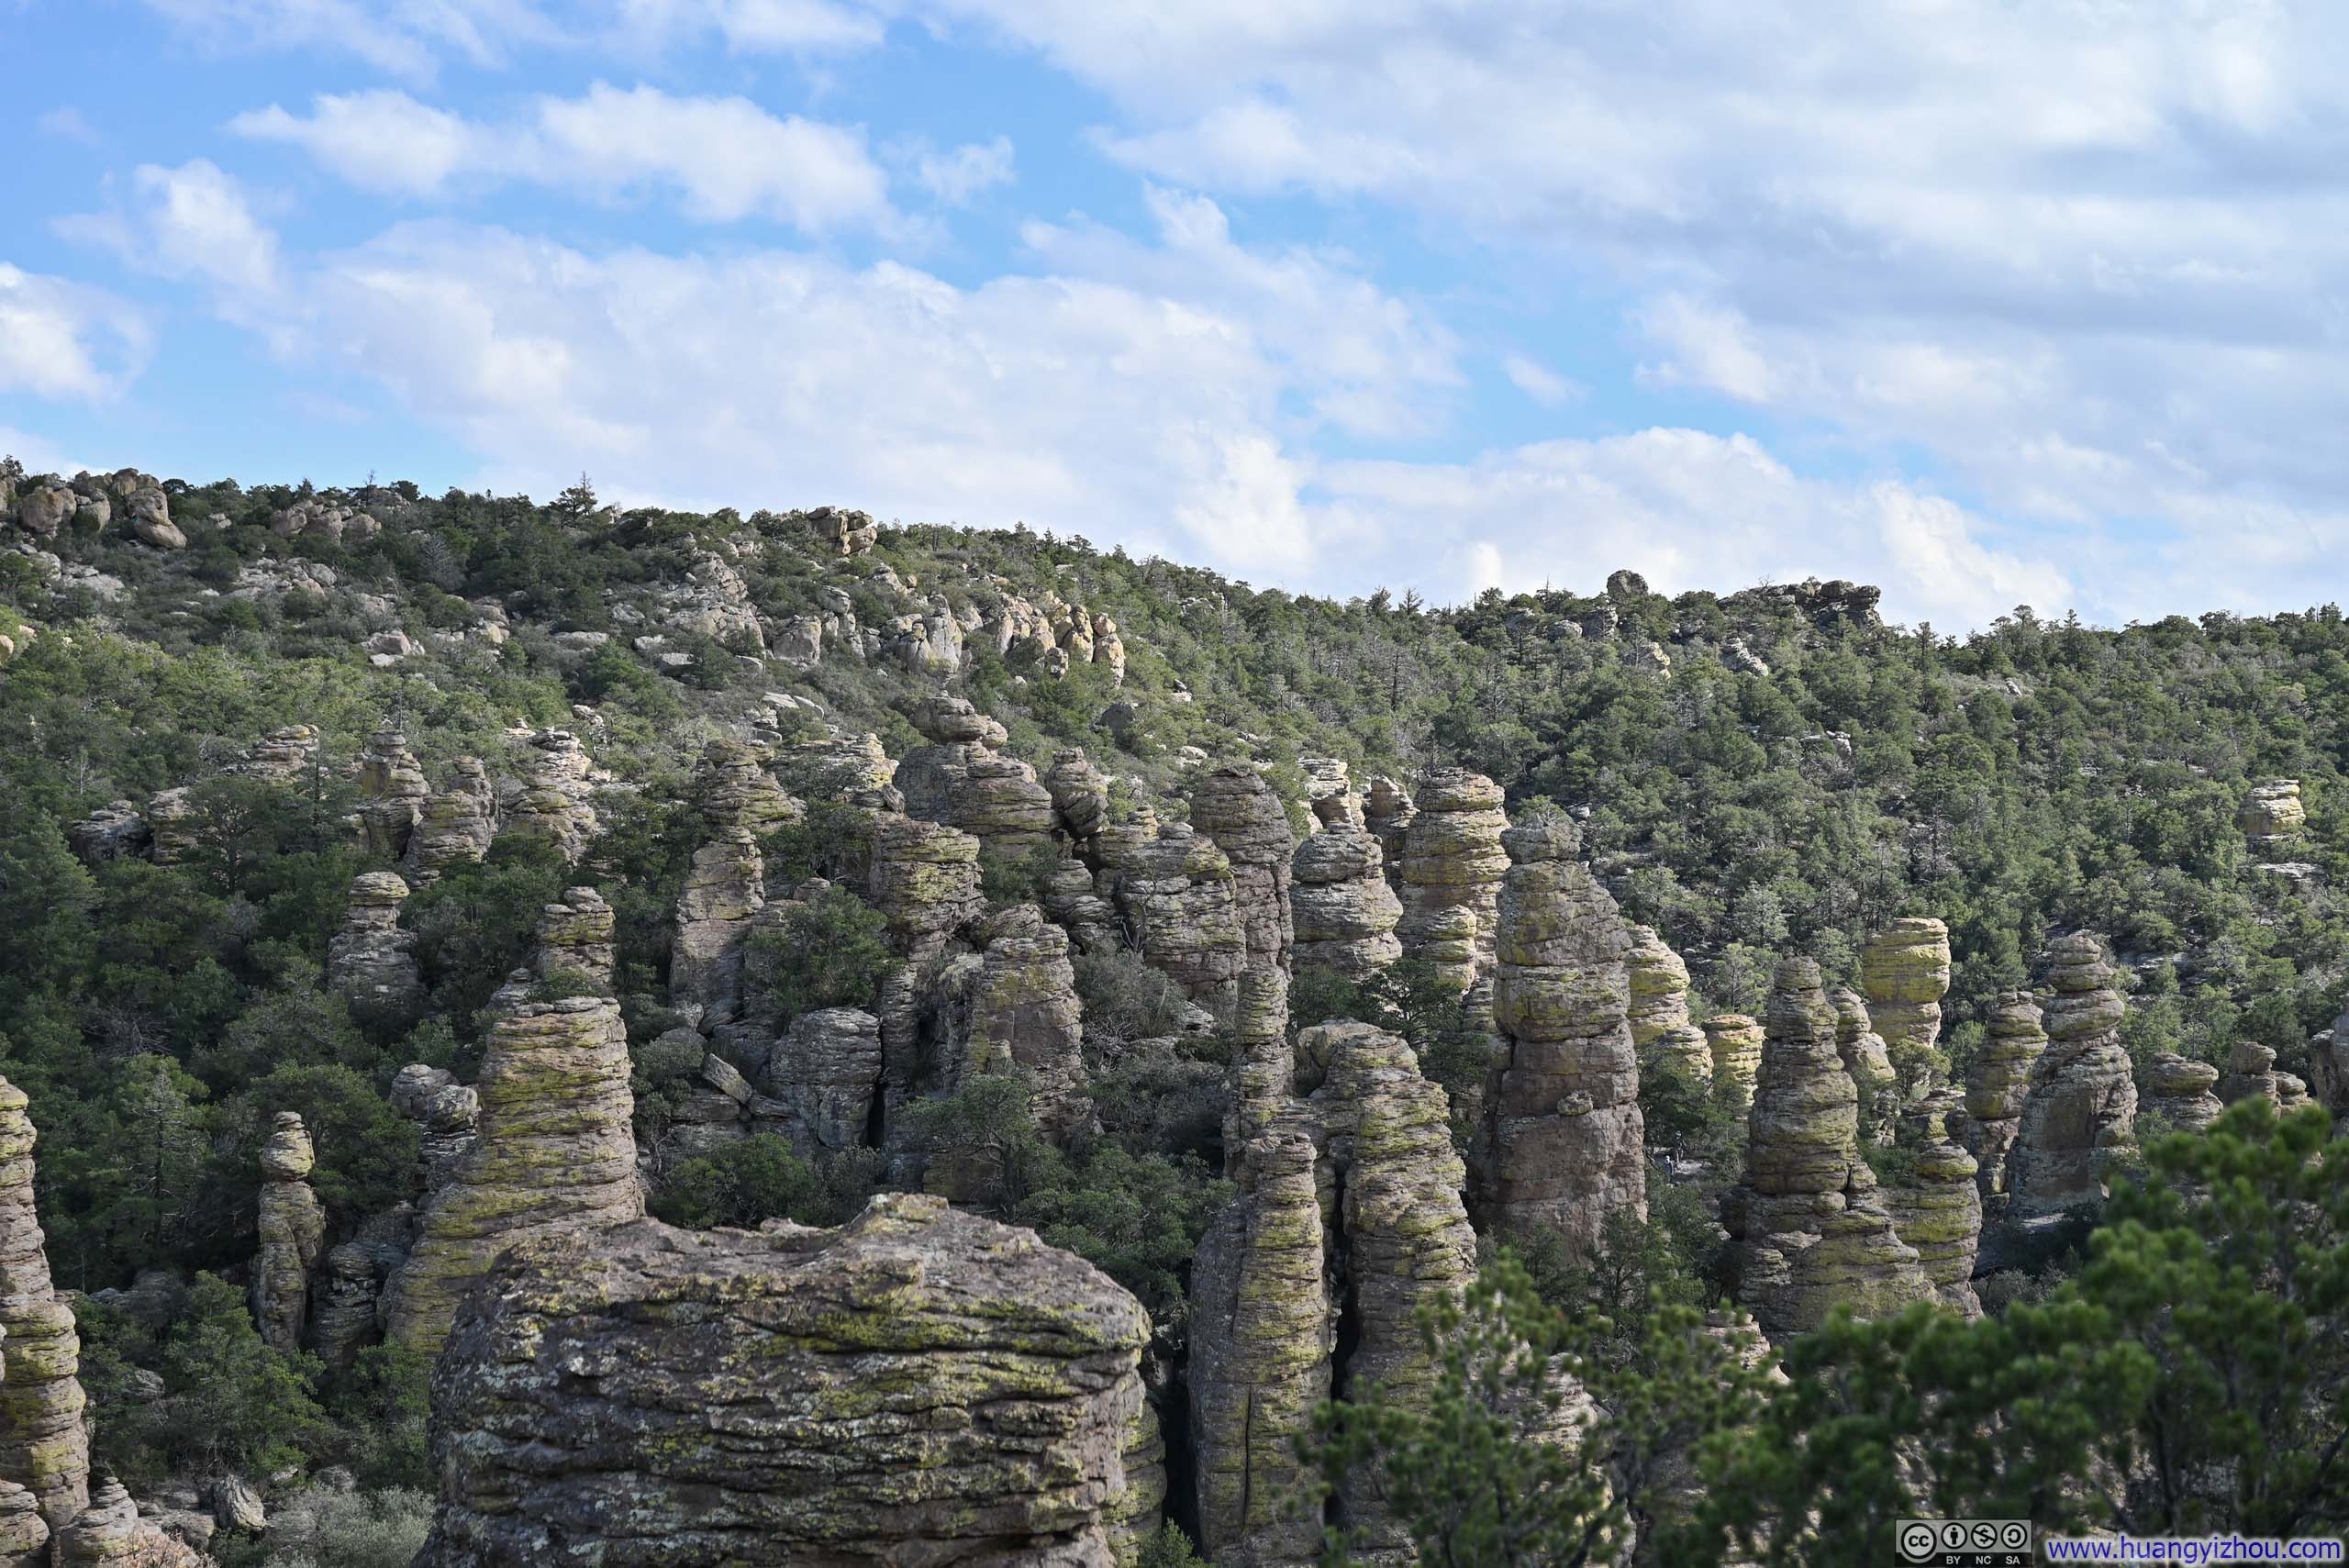
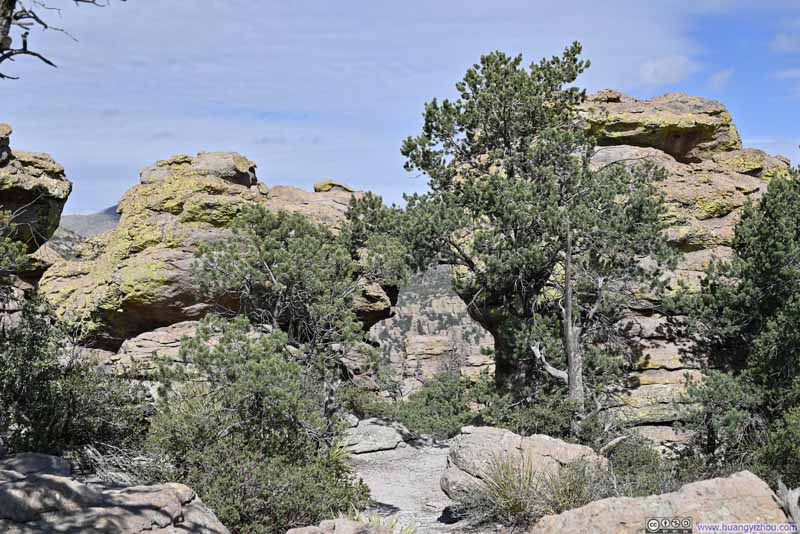
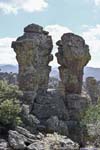
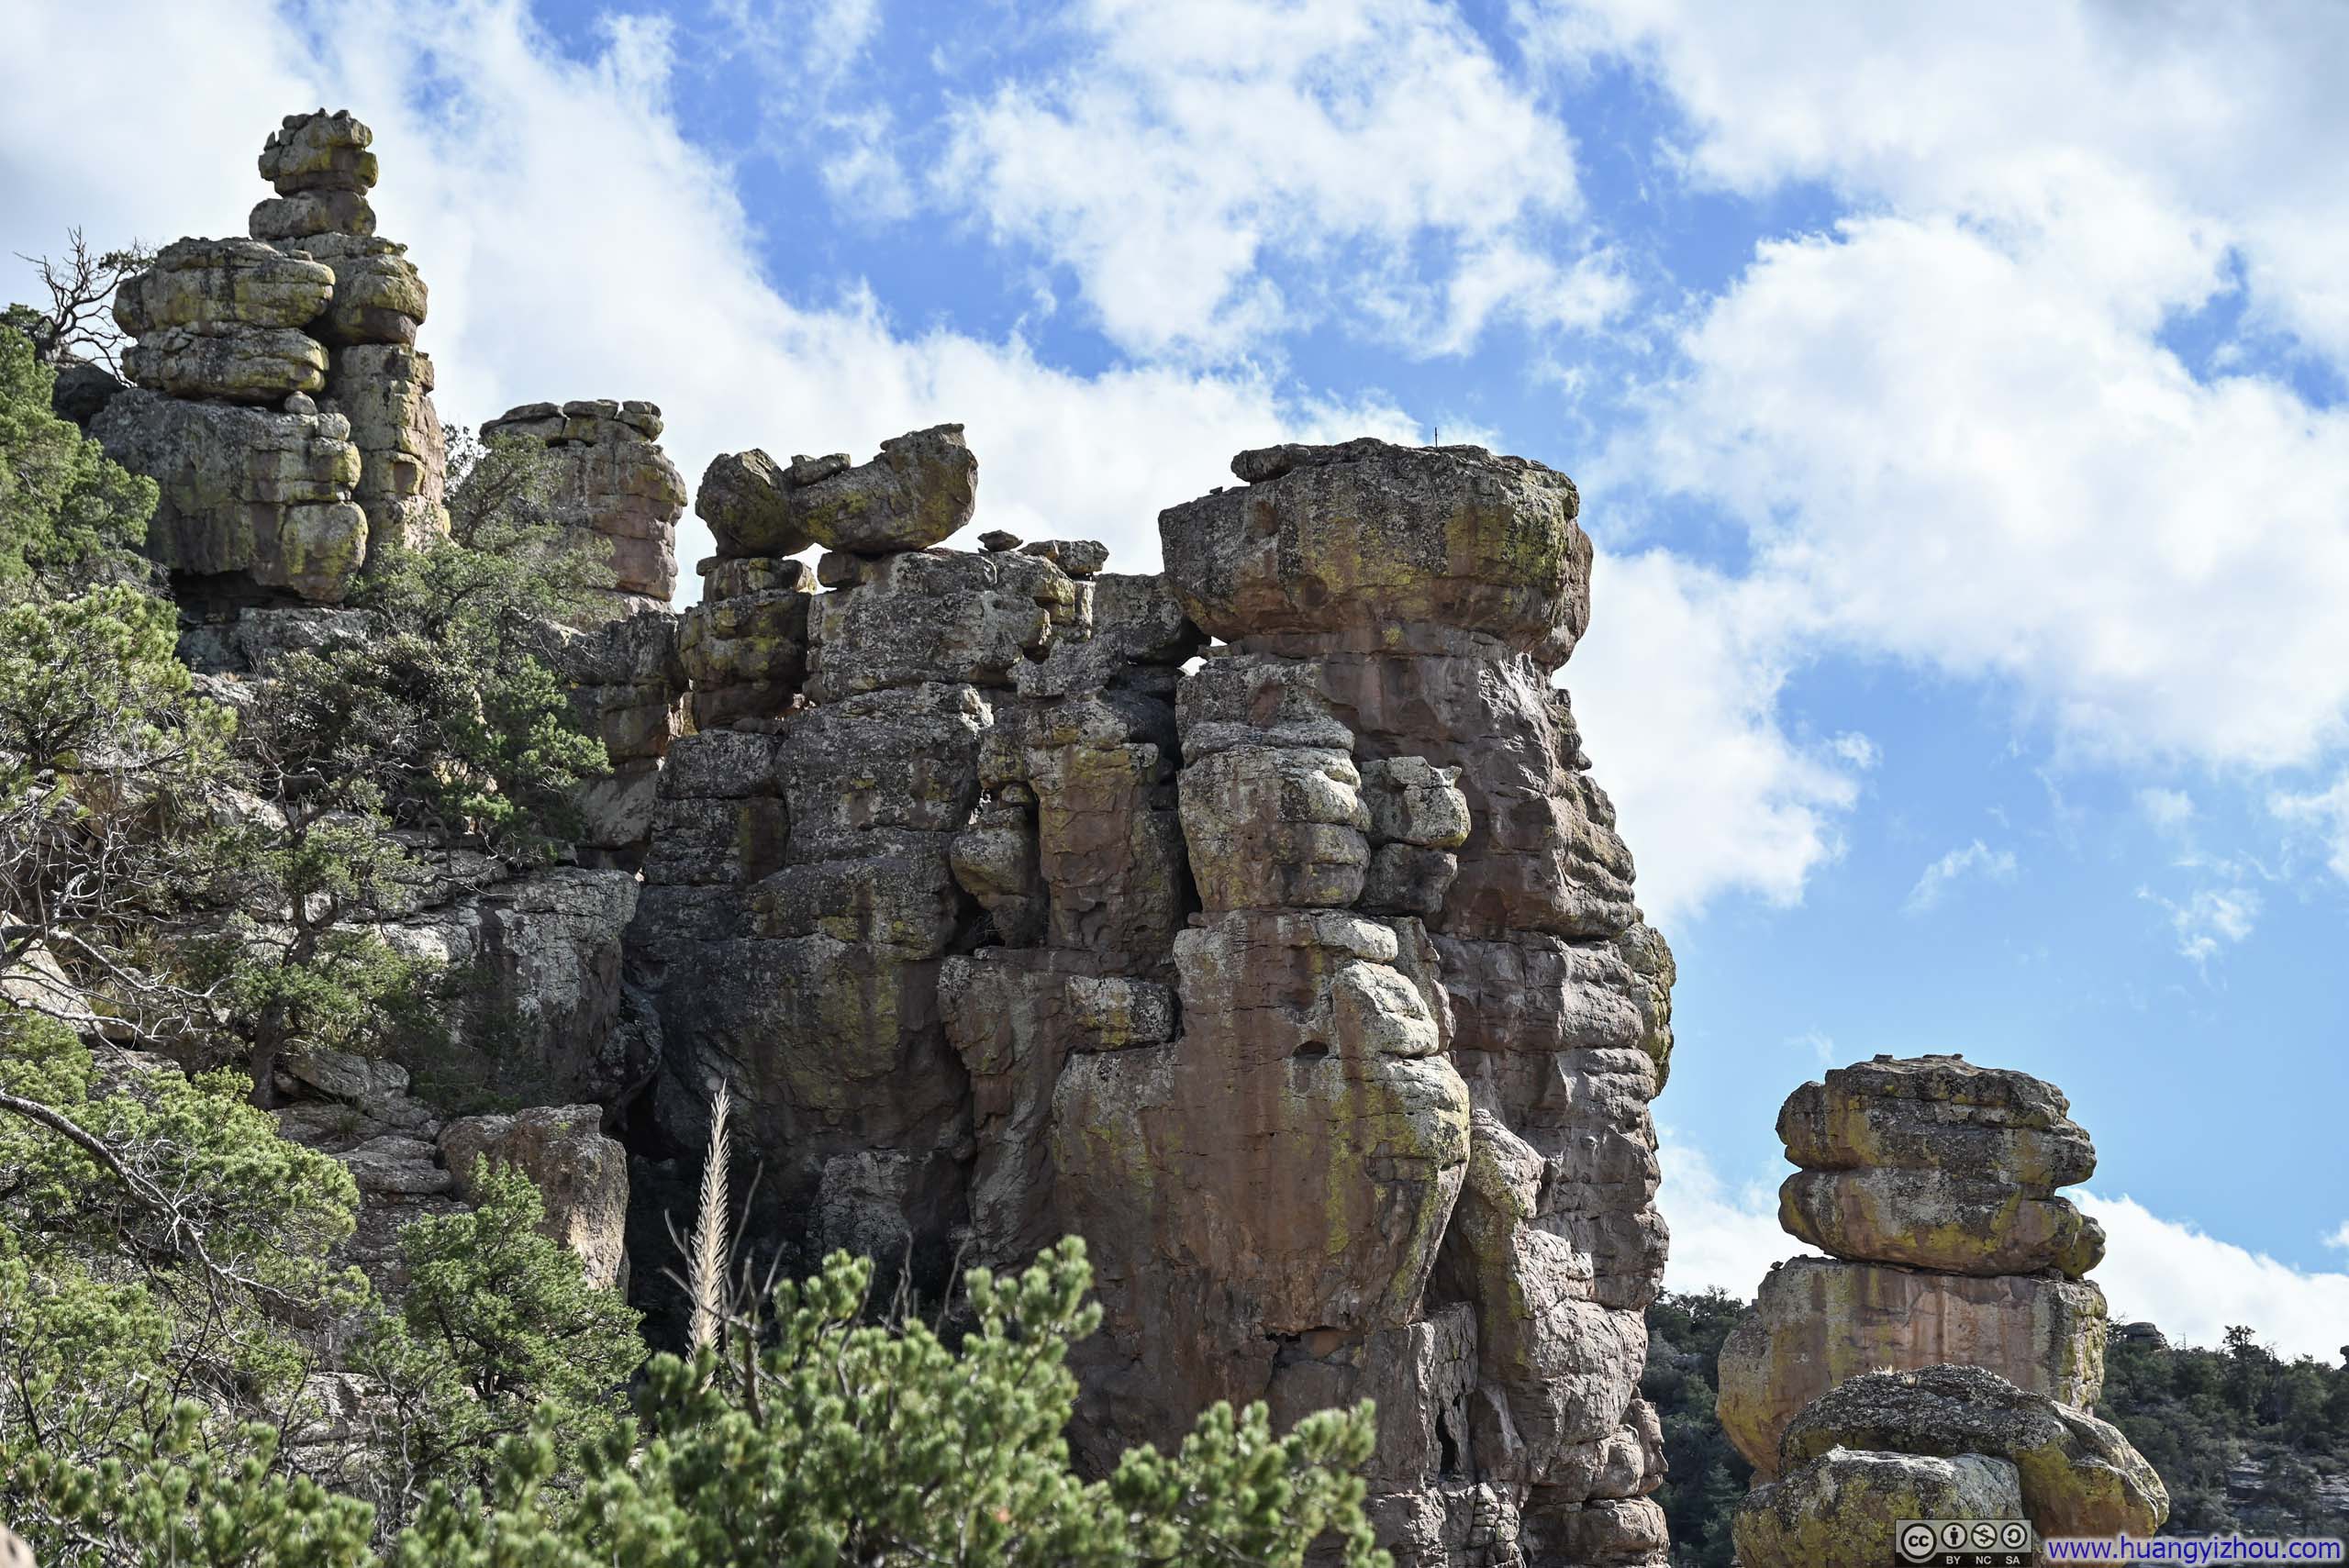
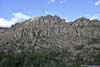
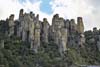
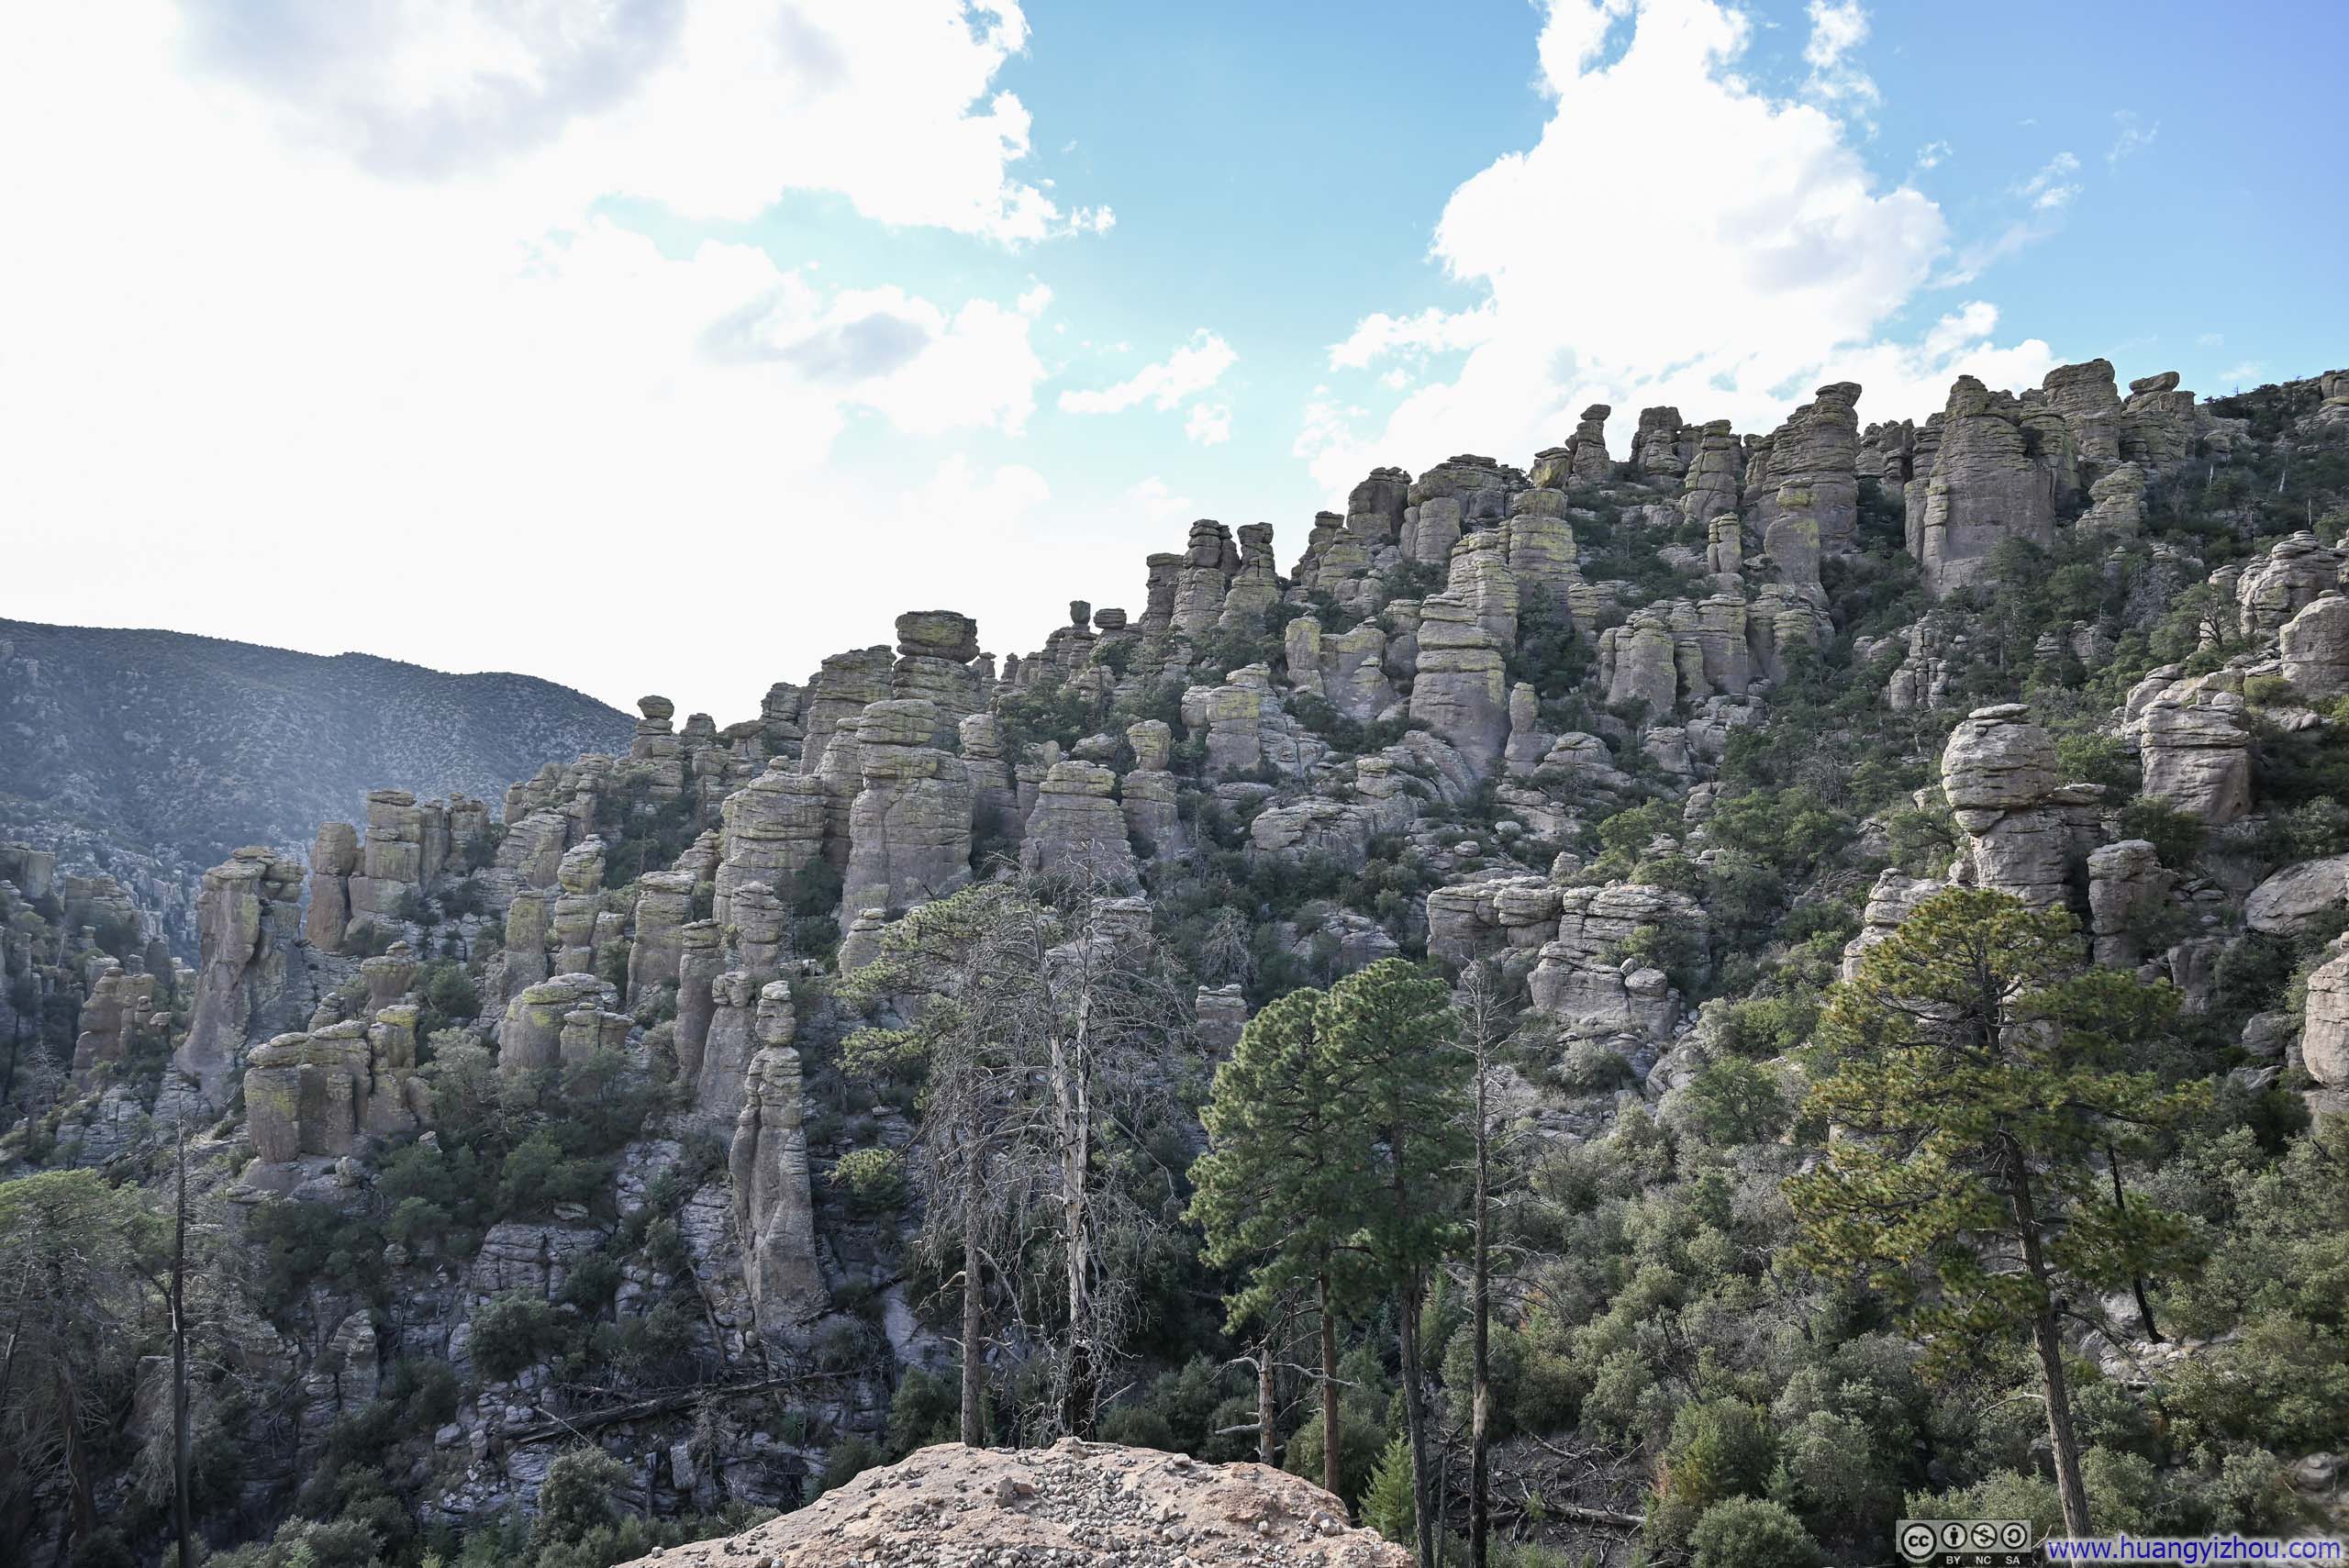
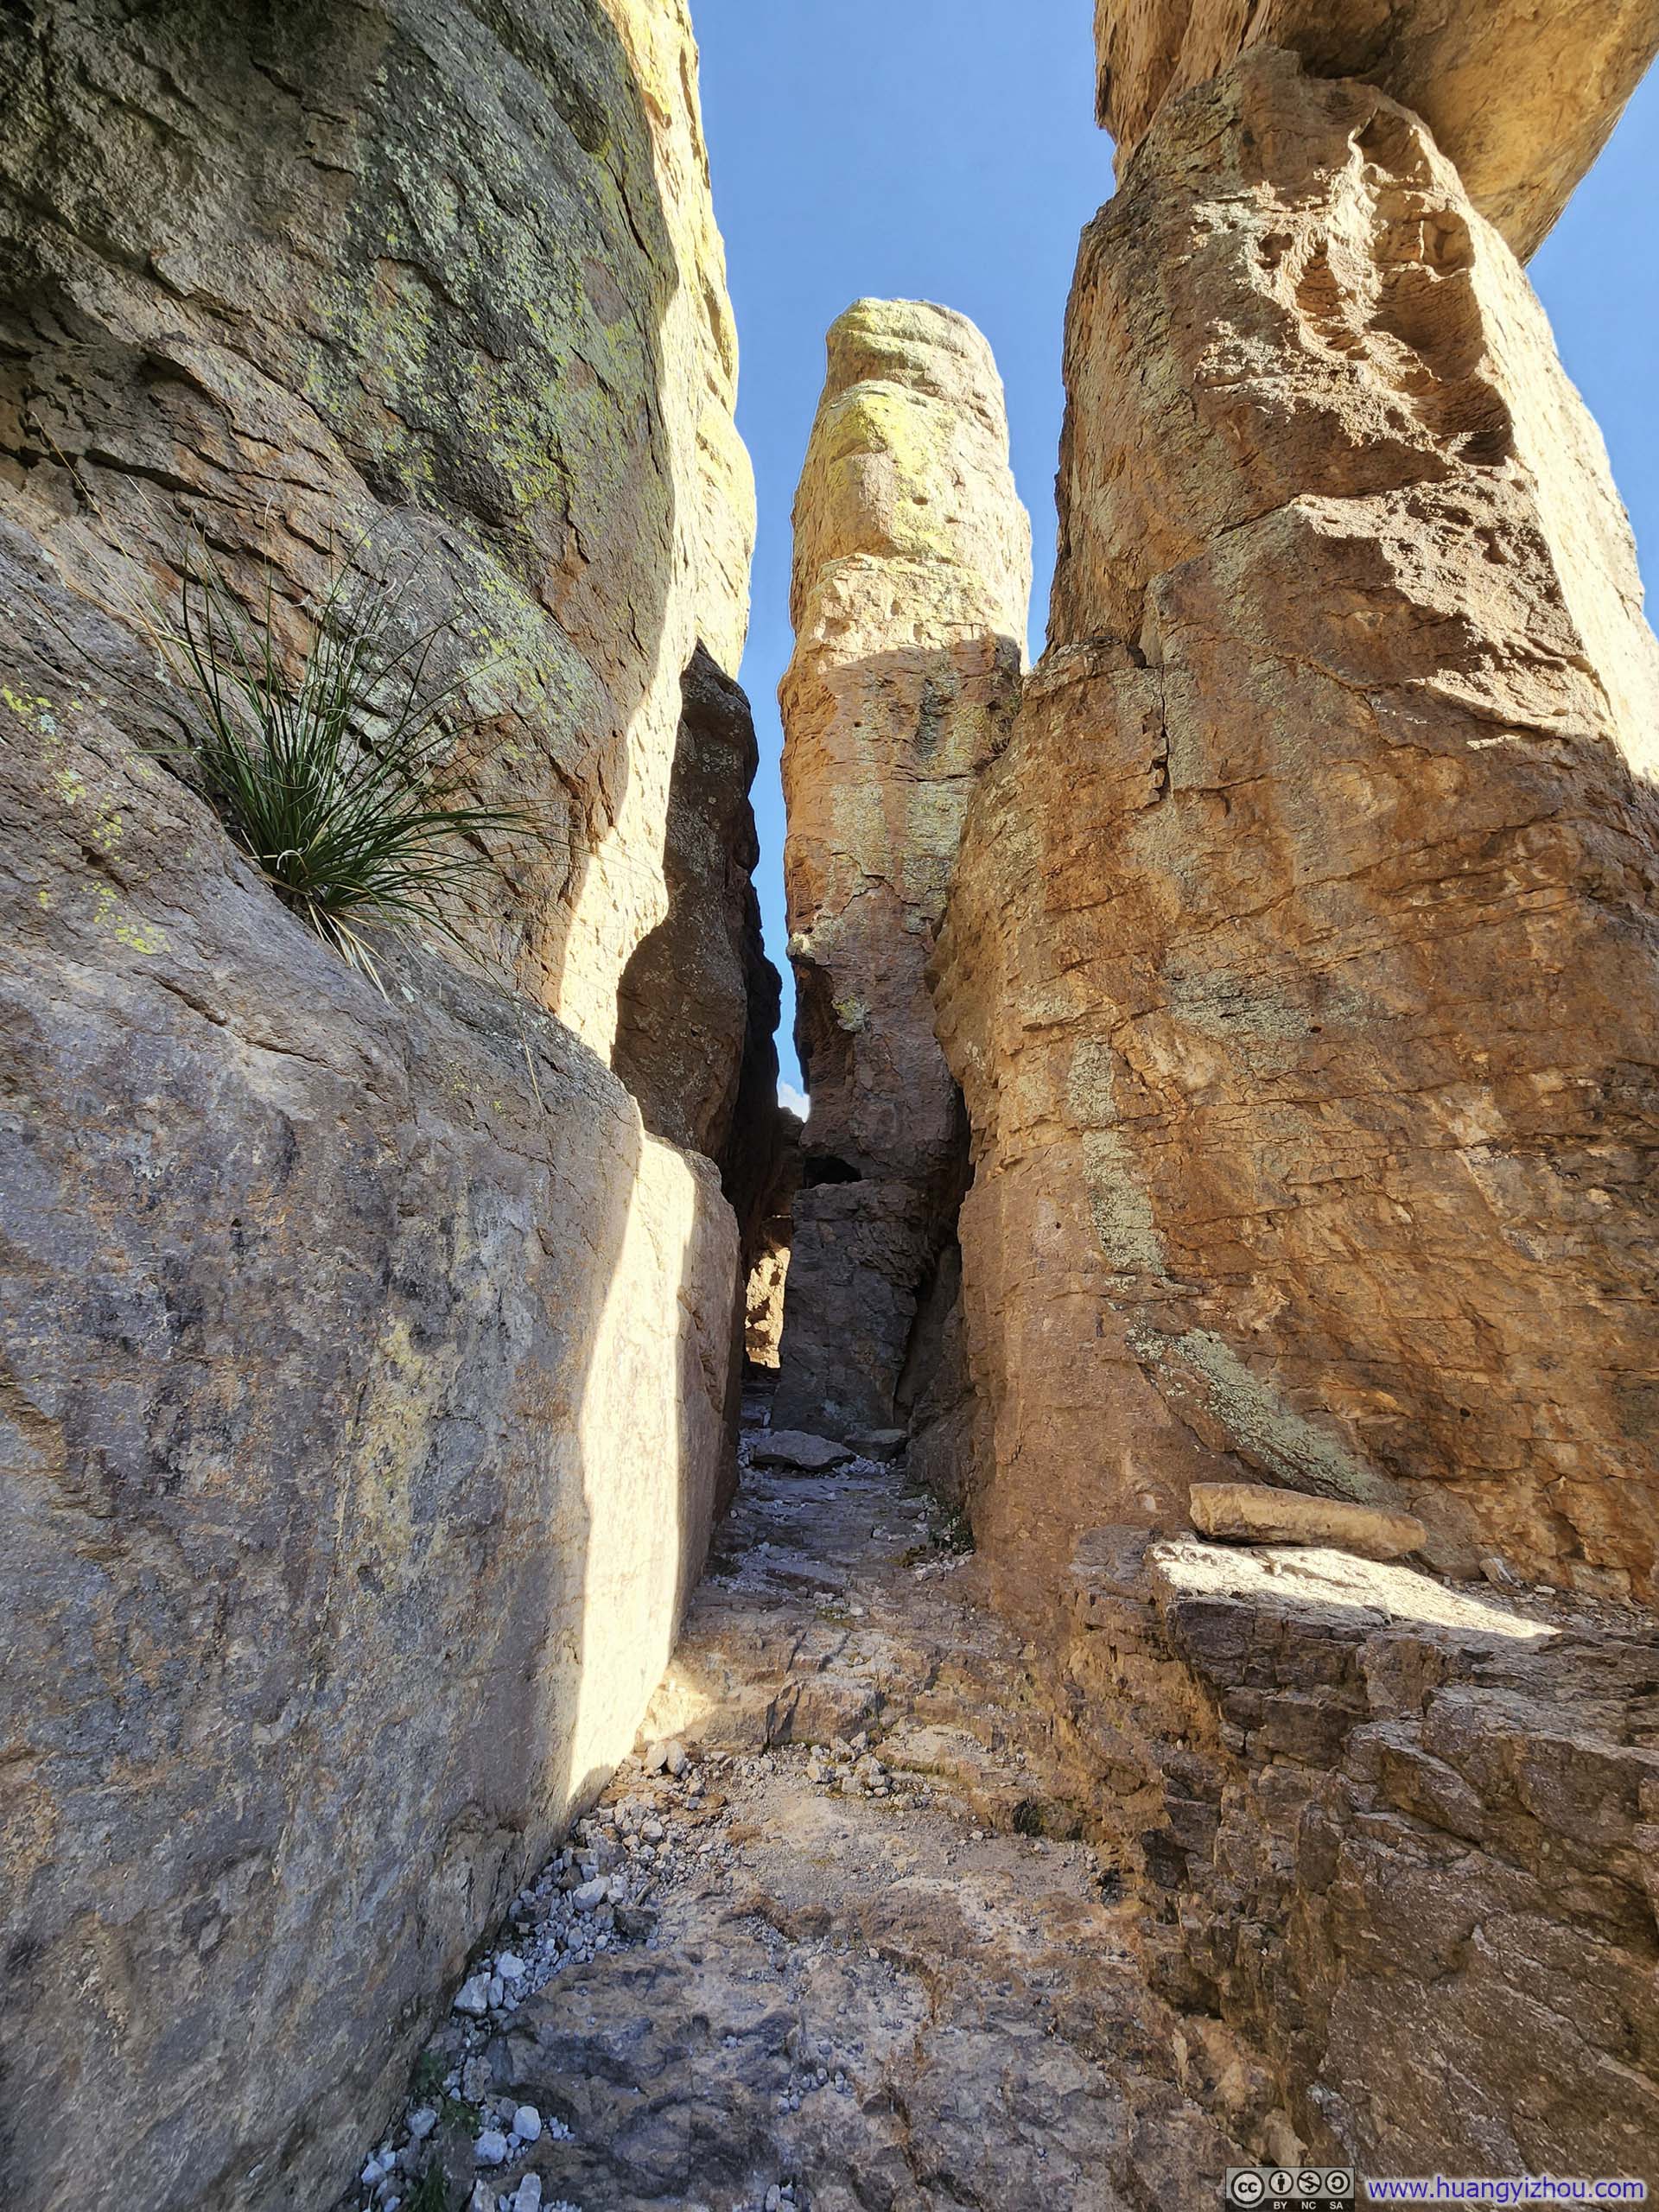
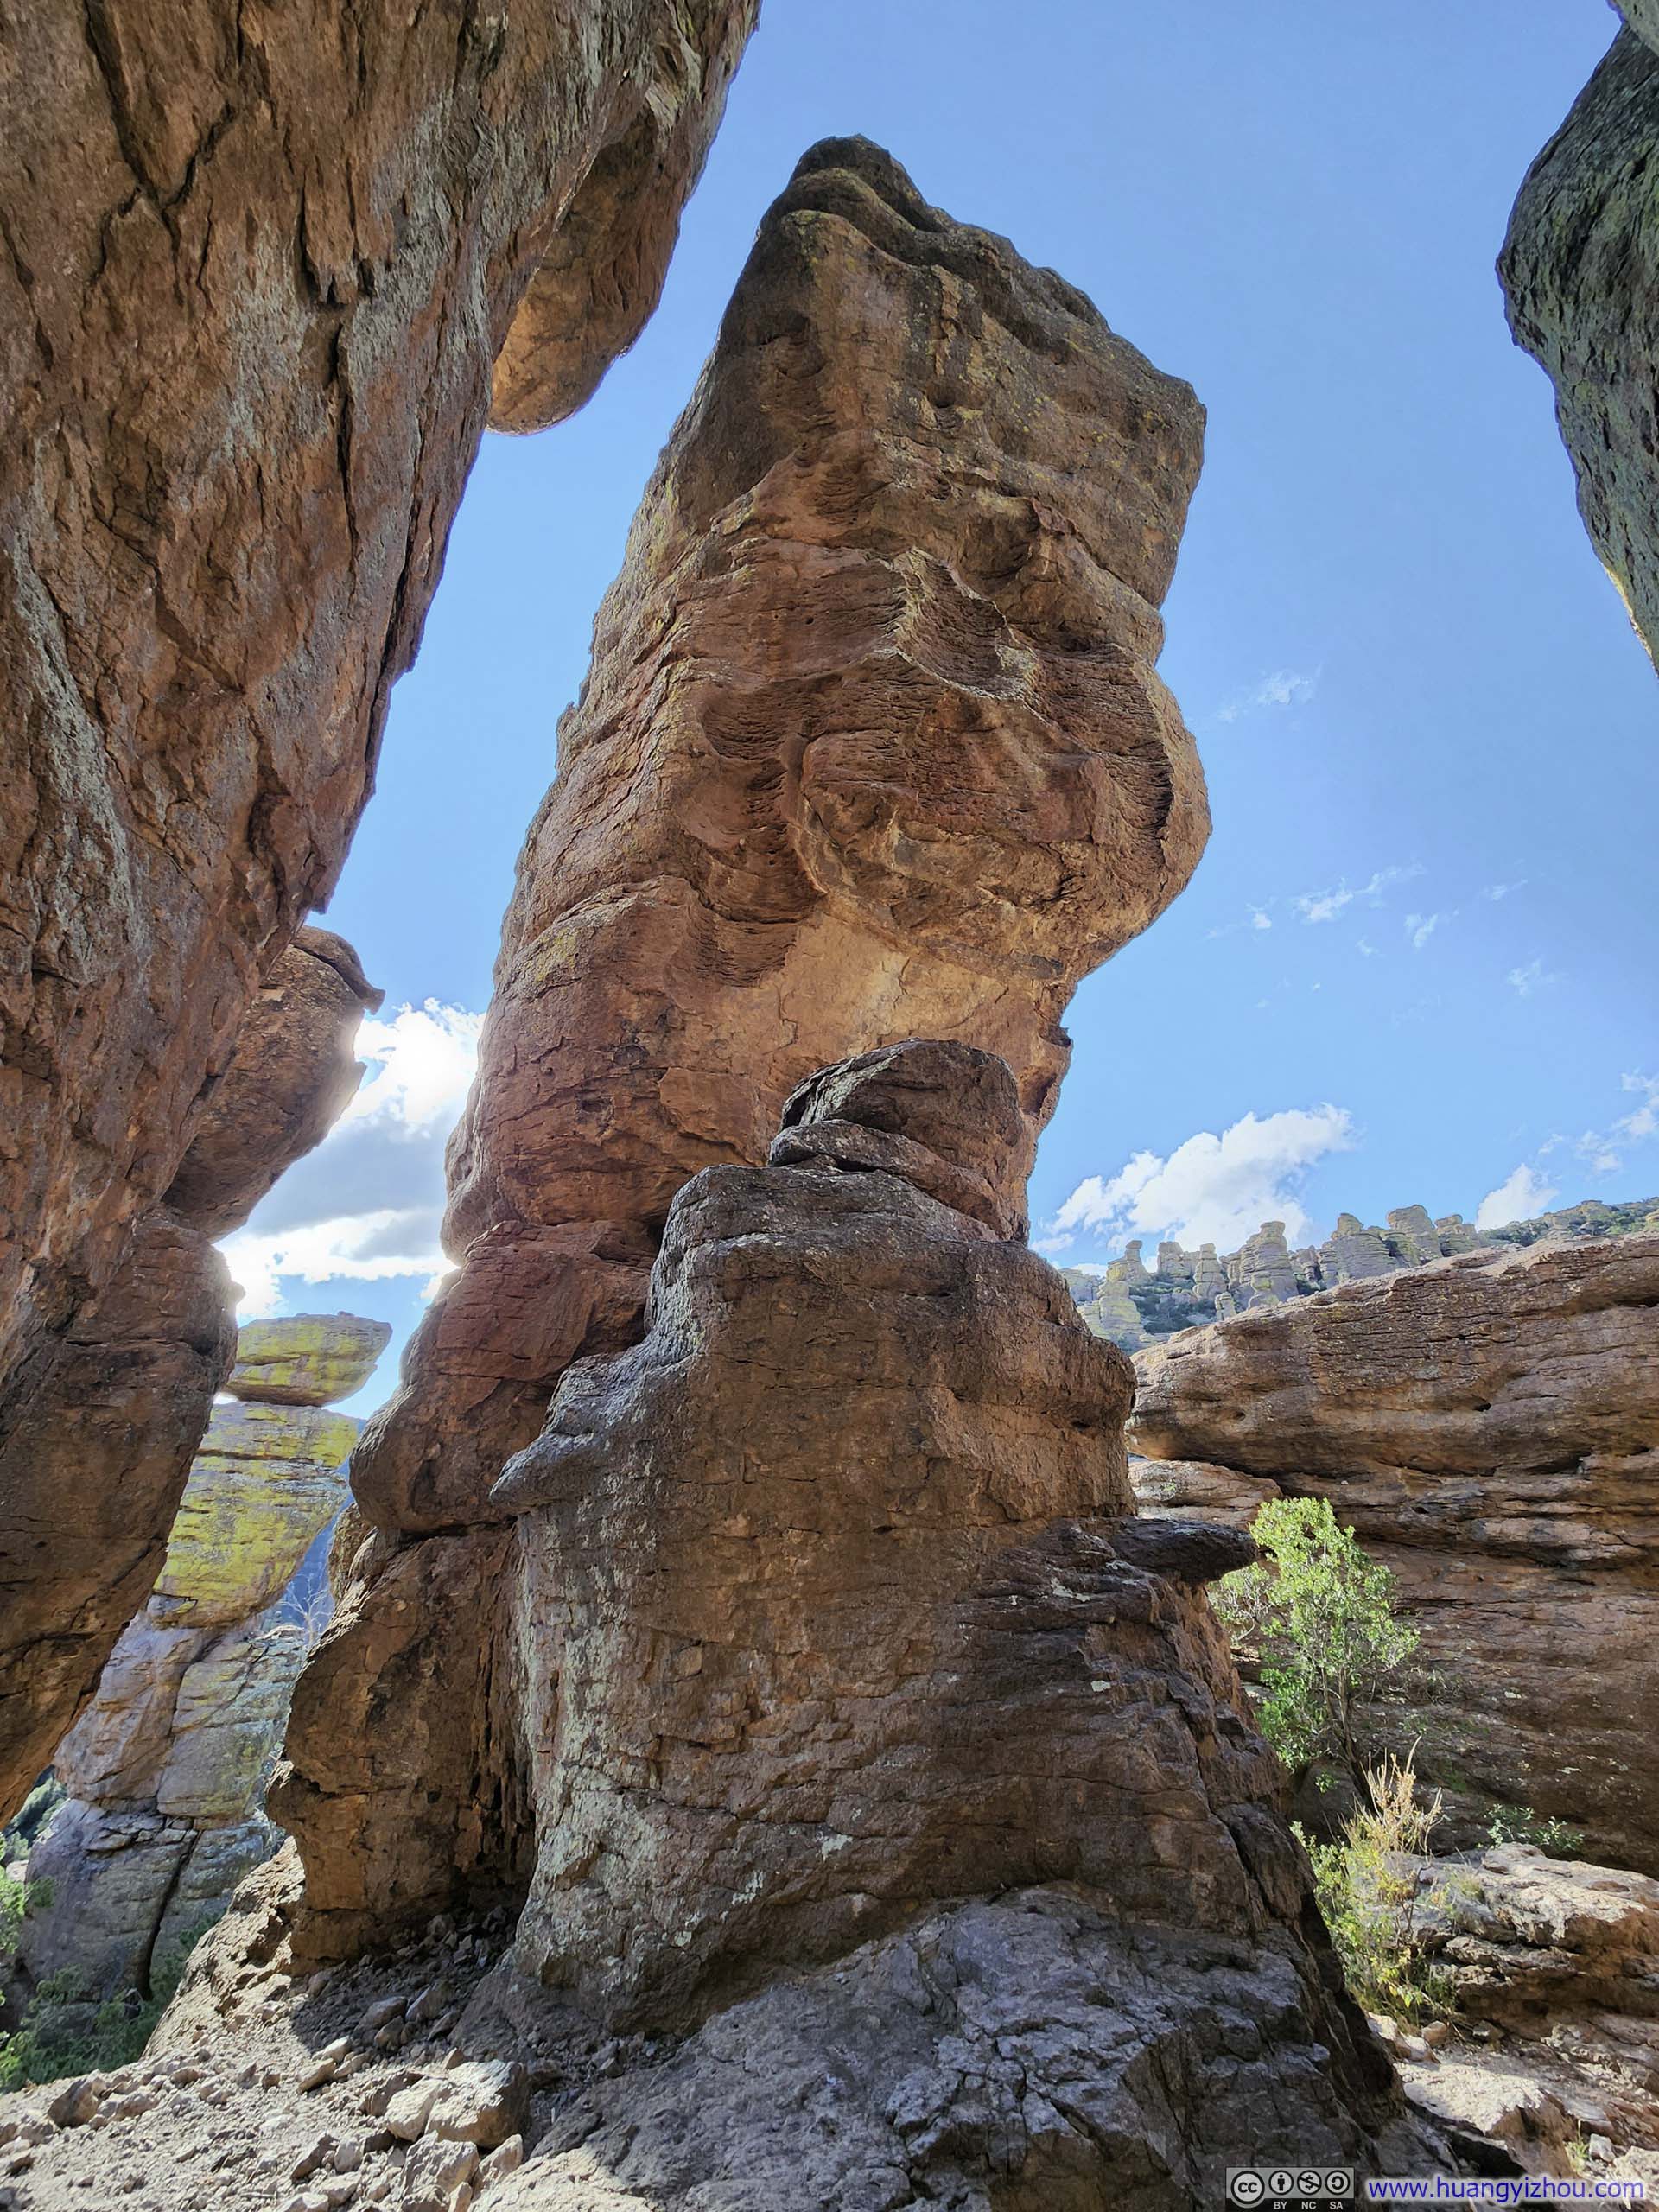
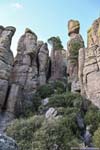
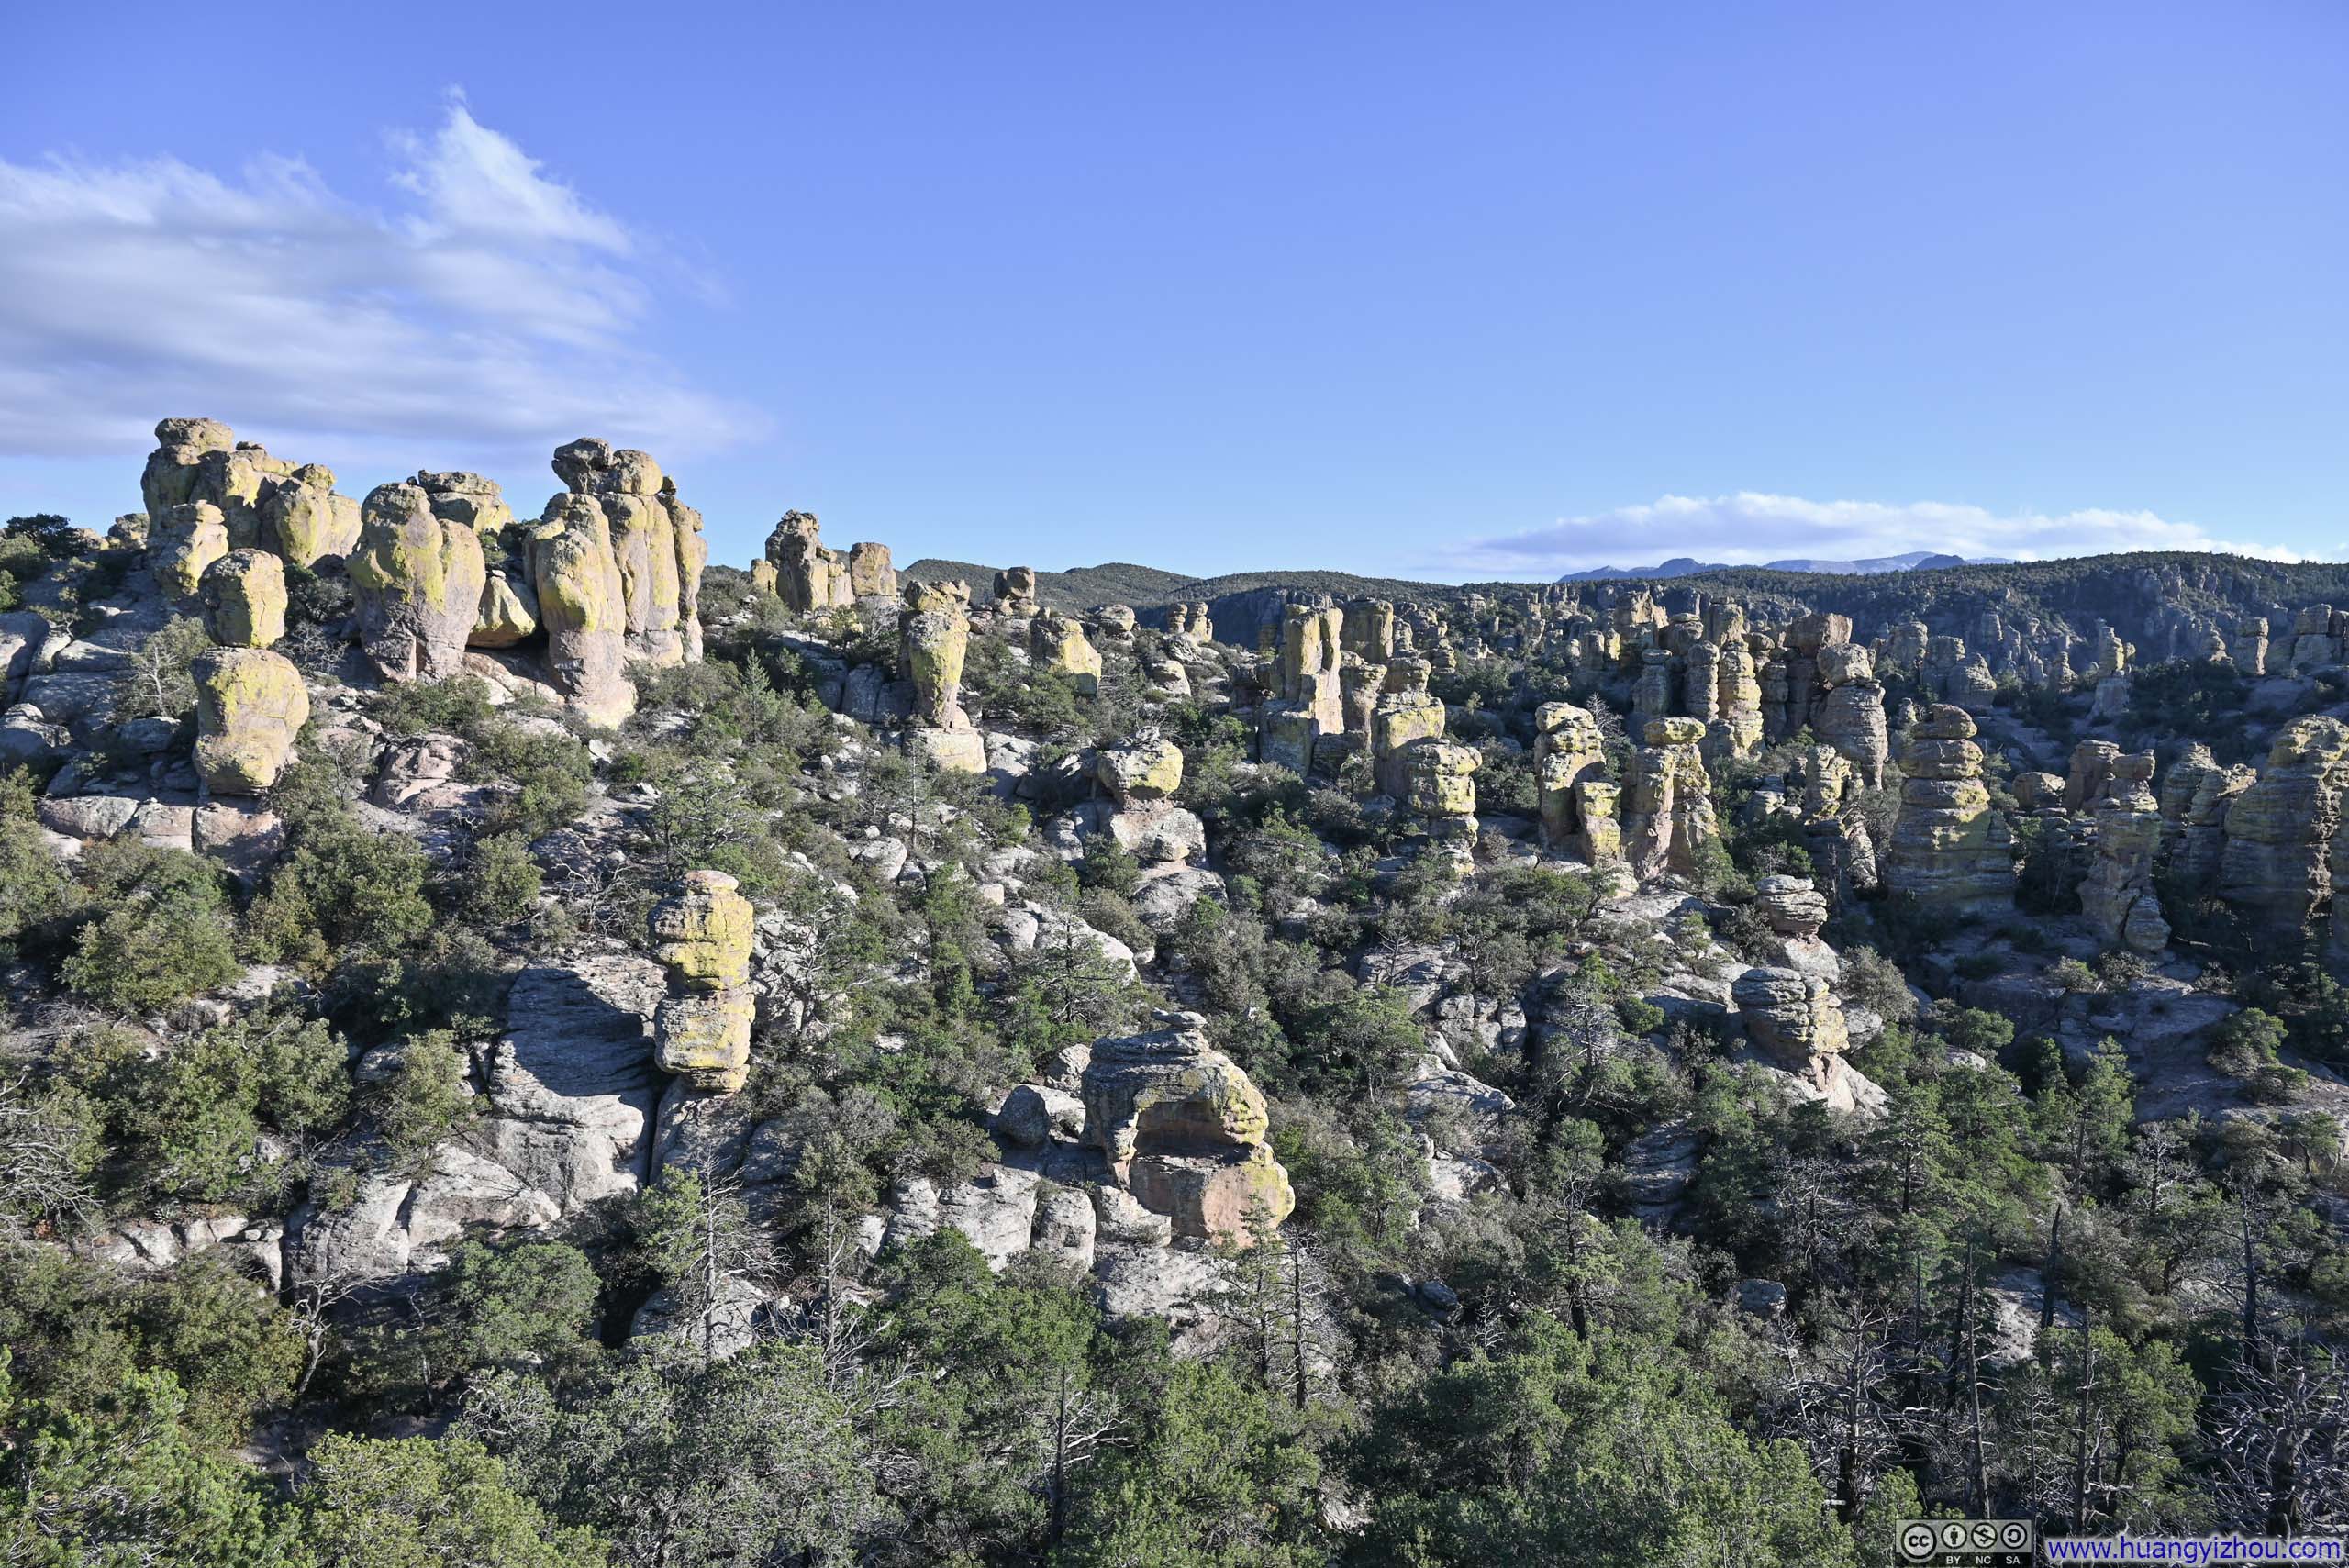
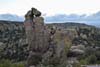
“Balanced Rock” was right next to the entrance to Heart of Rocks Loop, which was no doubt the highlight of the entire hike. Here, the rocks presented themselves in the most bewildering array of shapes, many so distinctive that they had earned individual names. This marked the first of two sections along the trail where the path wound intimately among the hoodoos, bringing visitors tantalizingly close to these geological marvels. Something new and exciting seemed to await around every corner, inviting exploration and sparking imagination.
 Path along Heart of Rocks Loop
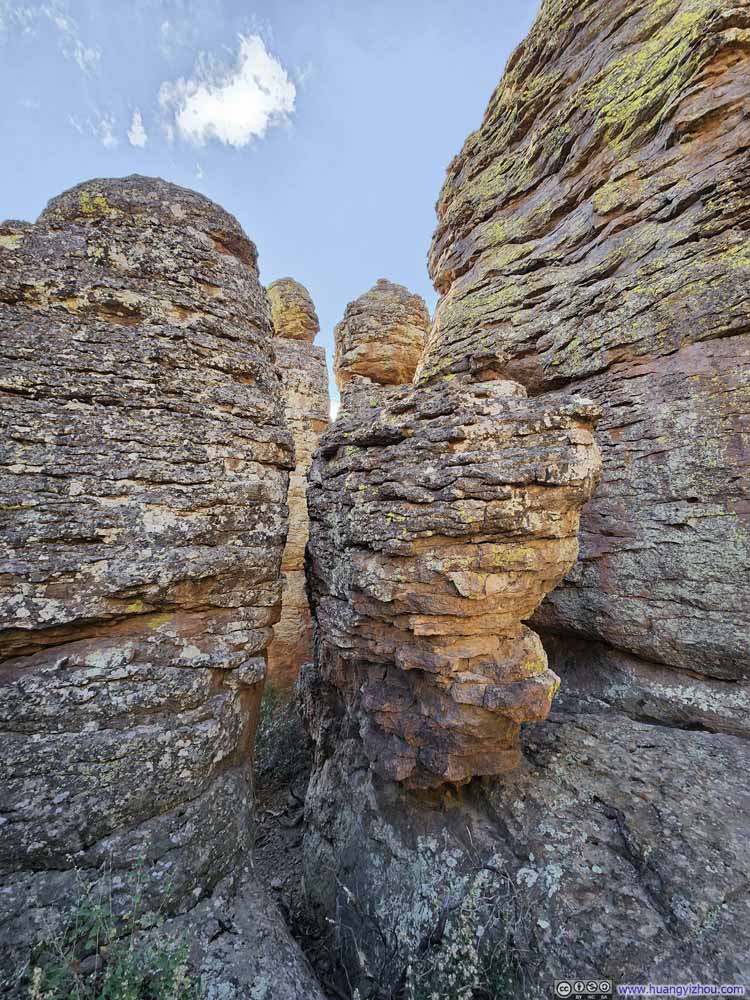 Rock with Textures
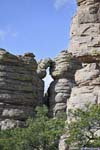
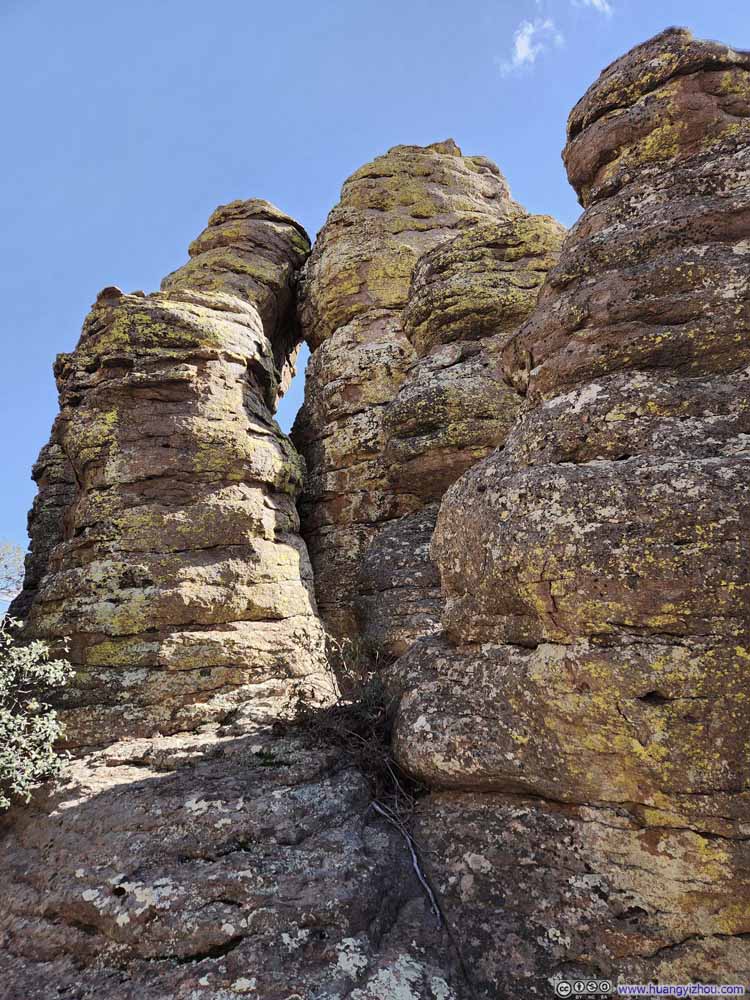 Opening between Hoodoos
 Path along Heart of Rocks Loop
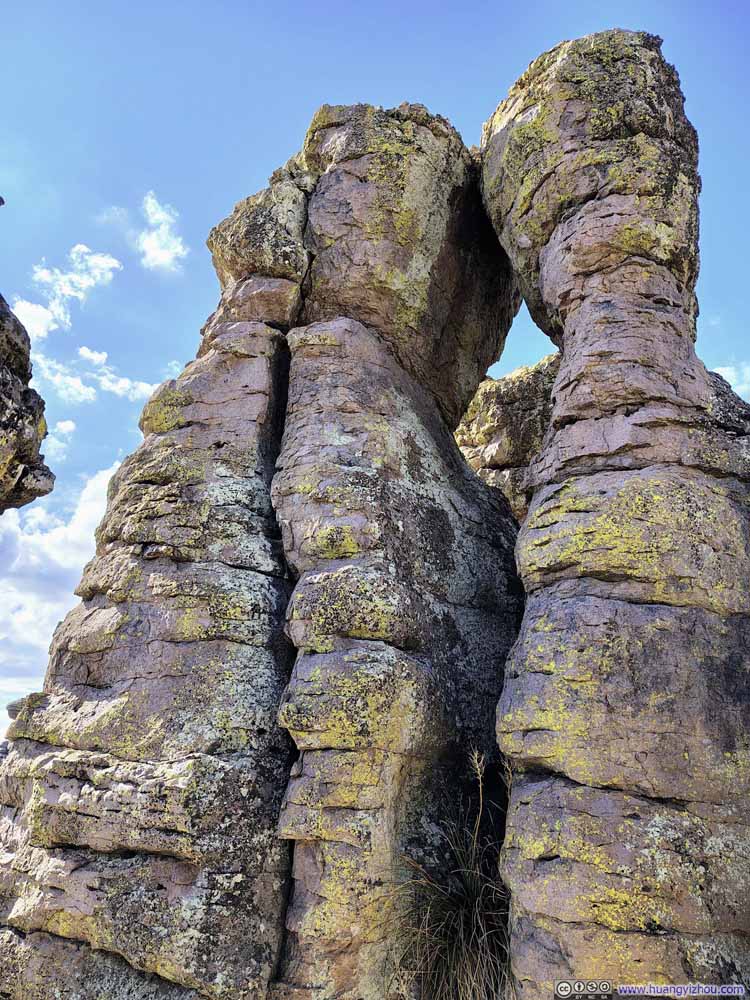 Opening between Hoodoos


Click here to display photos of the slideshow
Path along Heart of Rocks Loop

Rock with Textures

Opening between Hoodoos

Path along Heart of Rocks Loop
Opening between Hoodoos
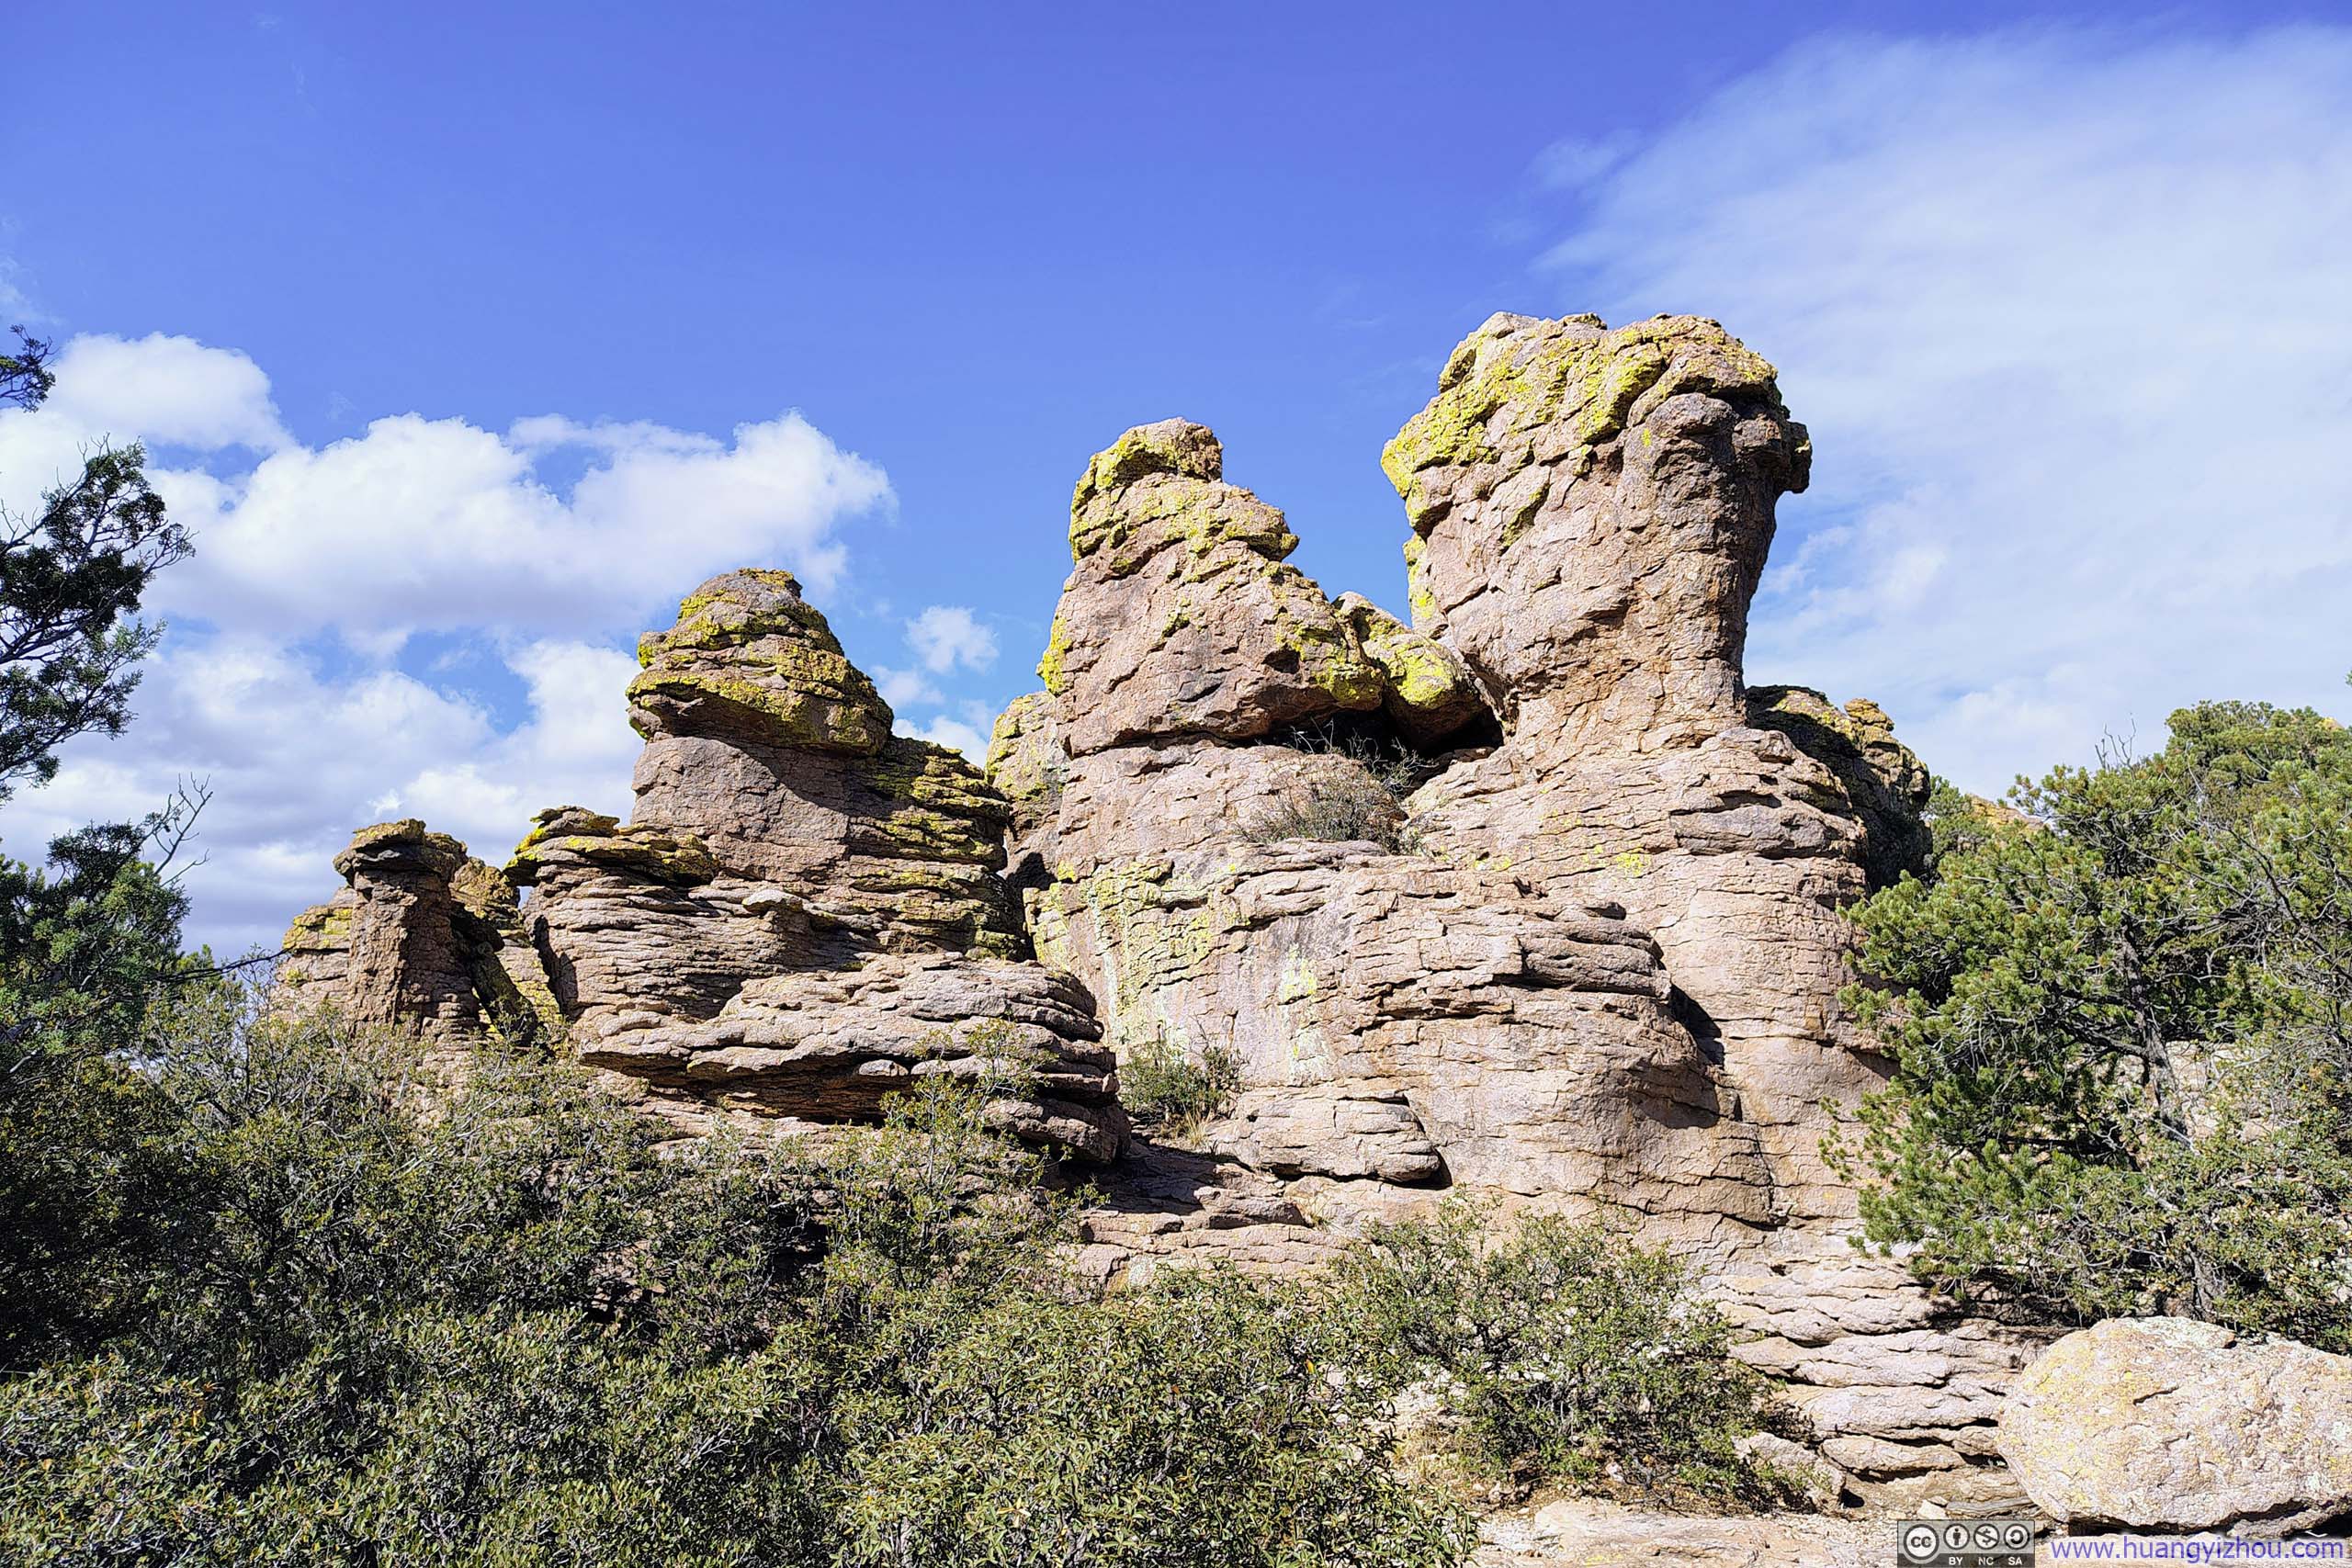
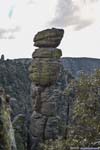
 Pinnacle Balanced Rock
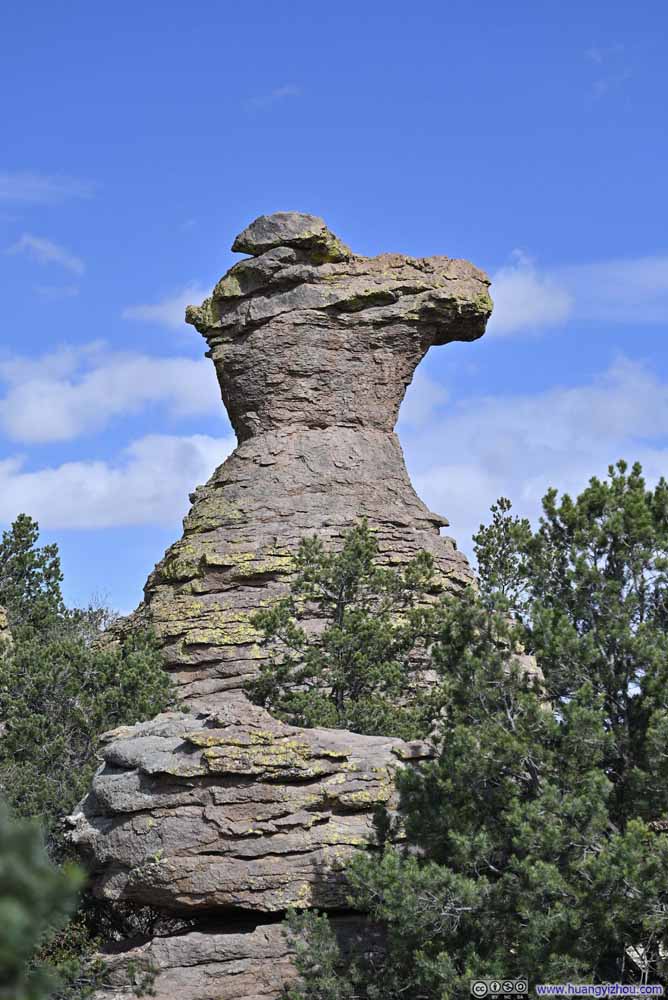 Camel’s Head
 The Old Maid
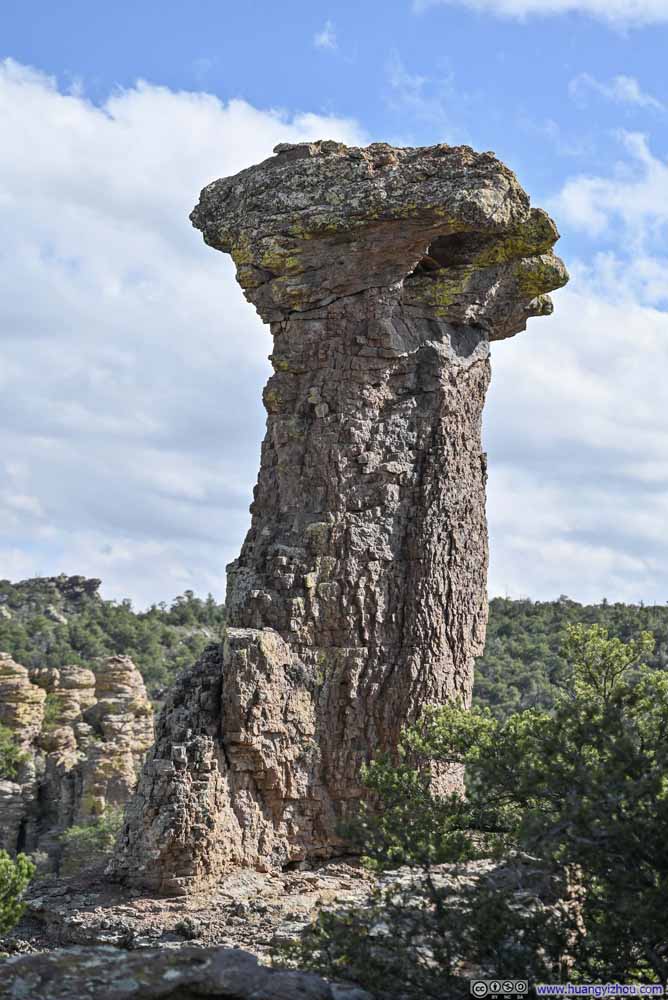 Thors HammerVery rugged, but didn’t look that much like a hammer to me.
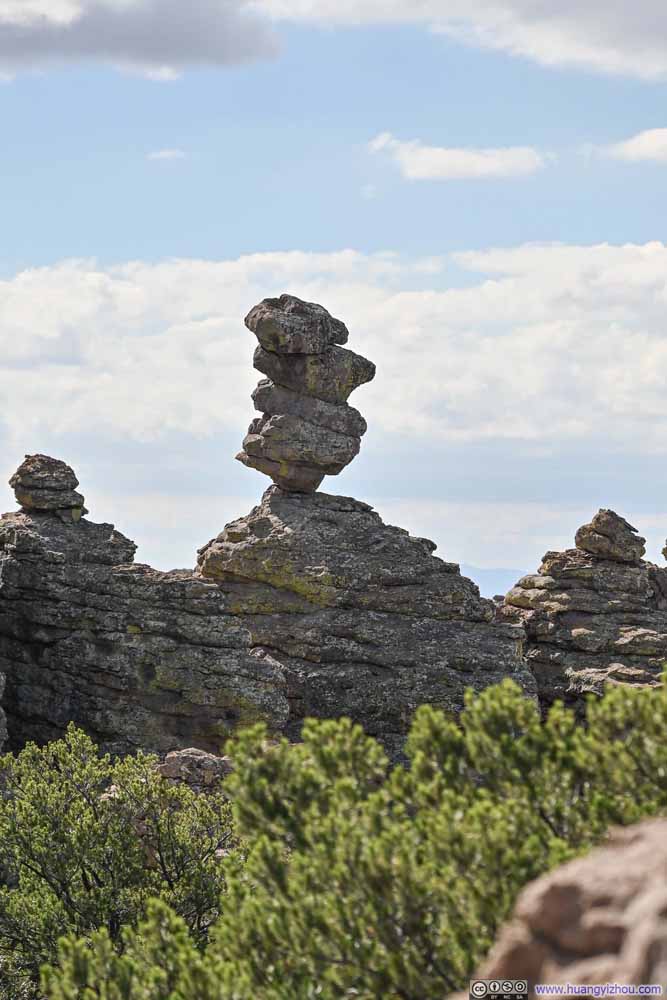 Unnamed Balanced Rock


Click here to display photos of the slideshow

Pinnacle Balanced Rock
Camel’s Head

The Old Maid
Thors HammerVery rugged, but didn’t look that much like a hammer to me.
Unnamed Balanced Rock
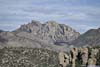
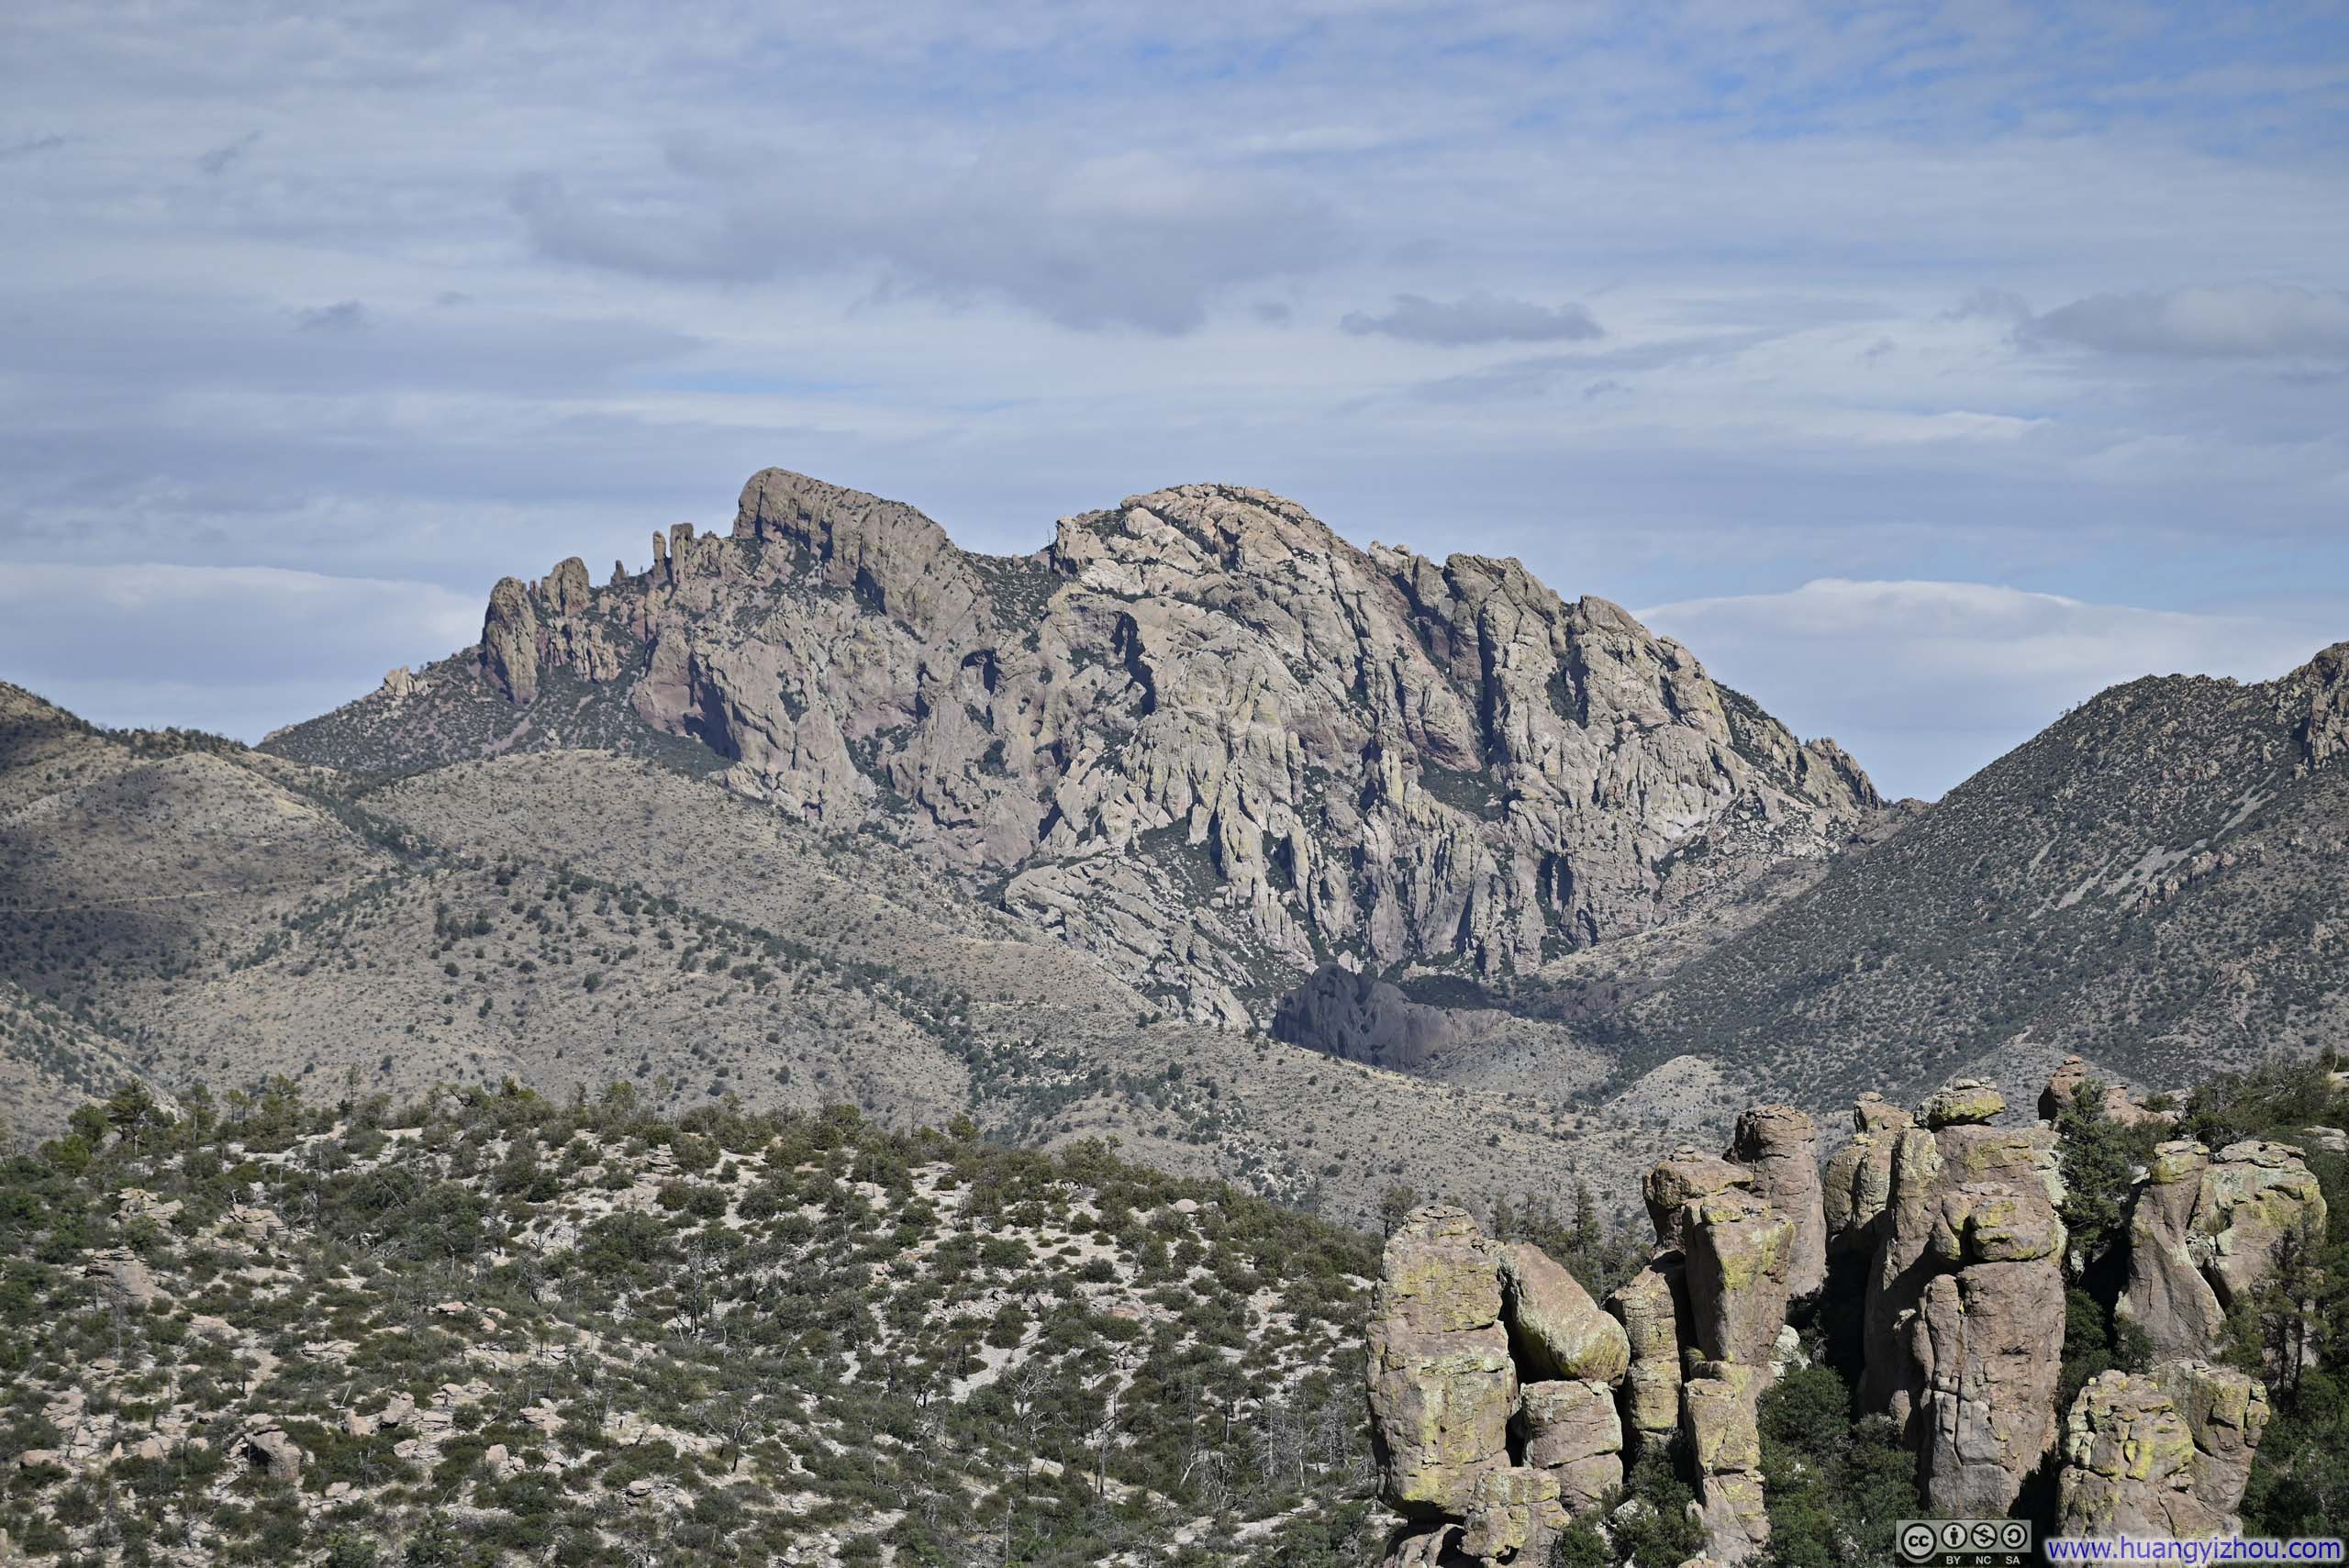
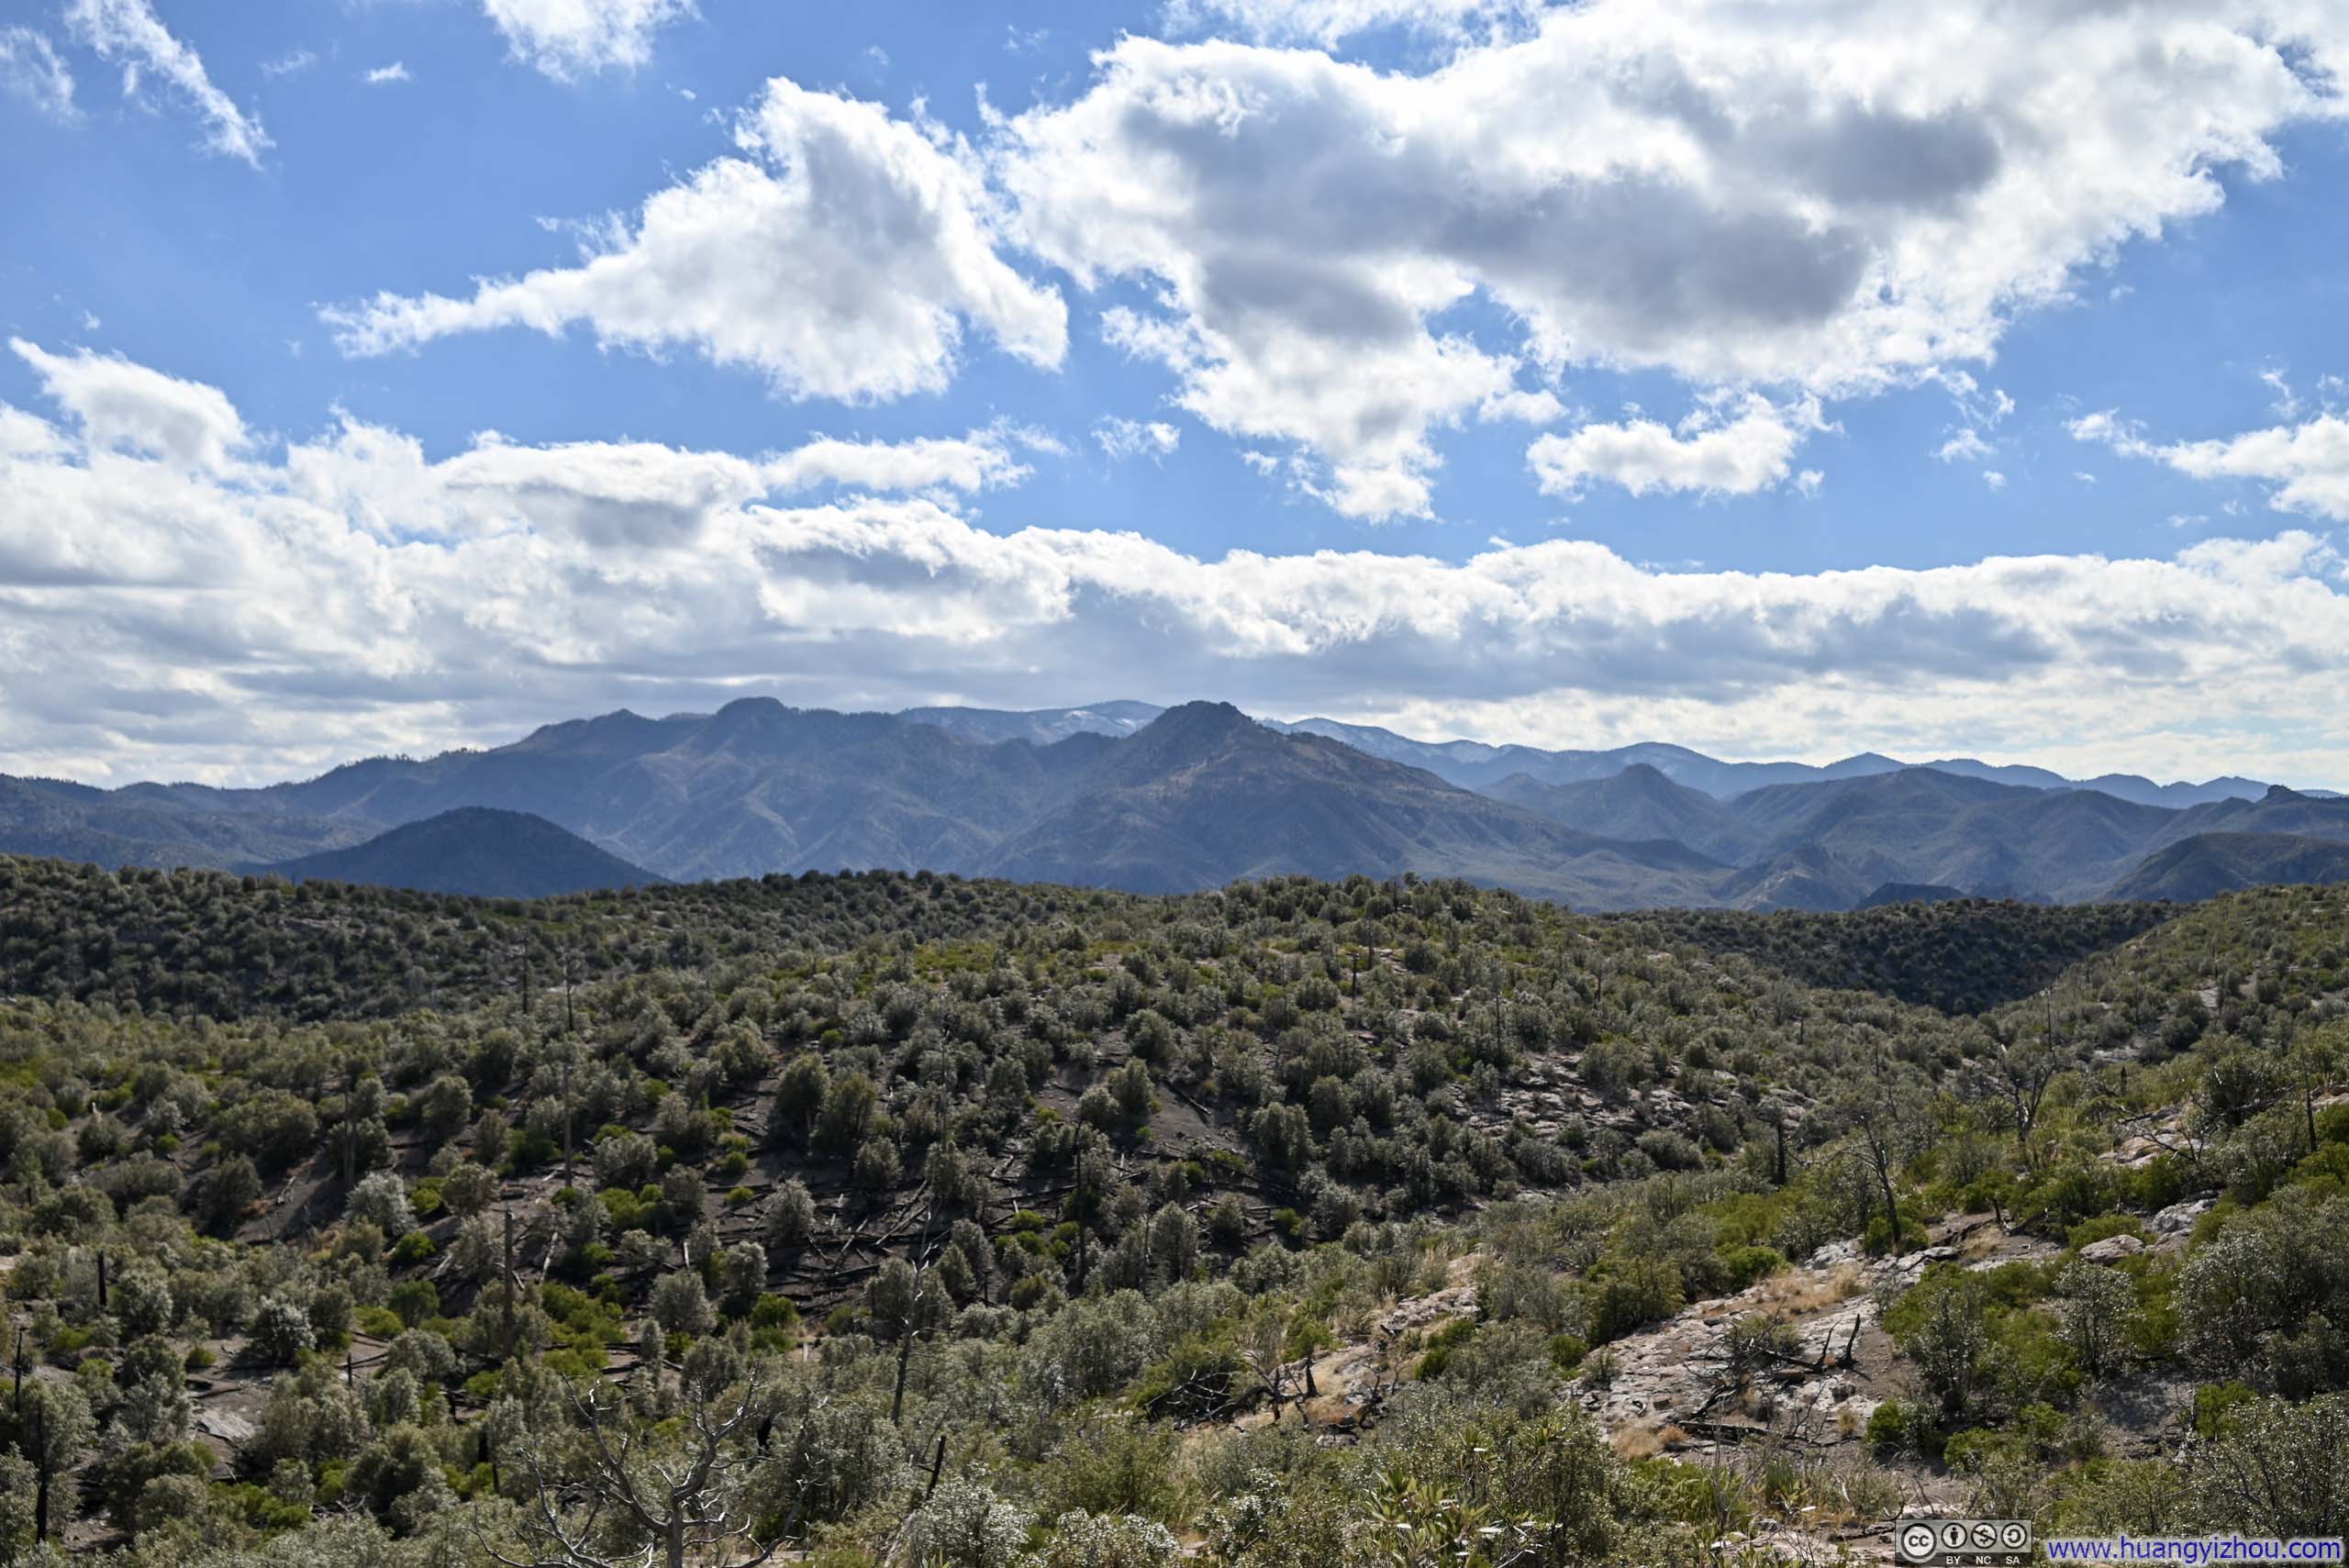
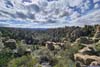
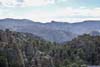
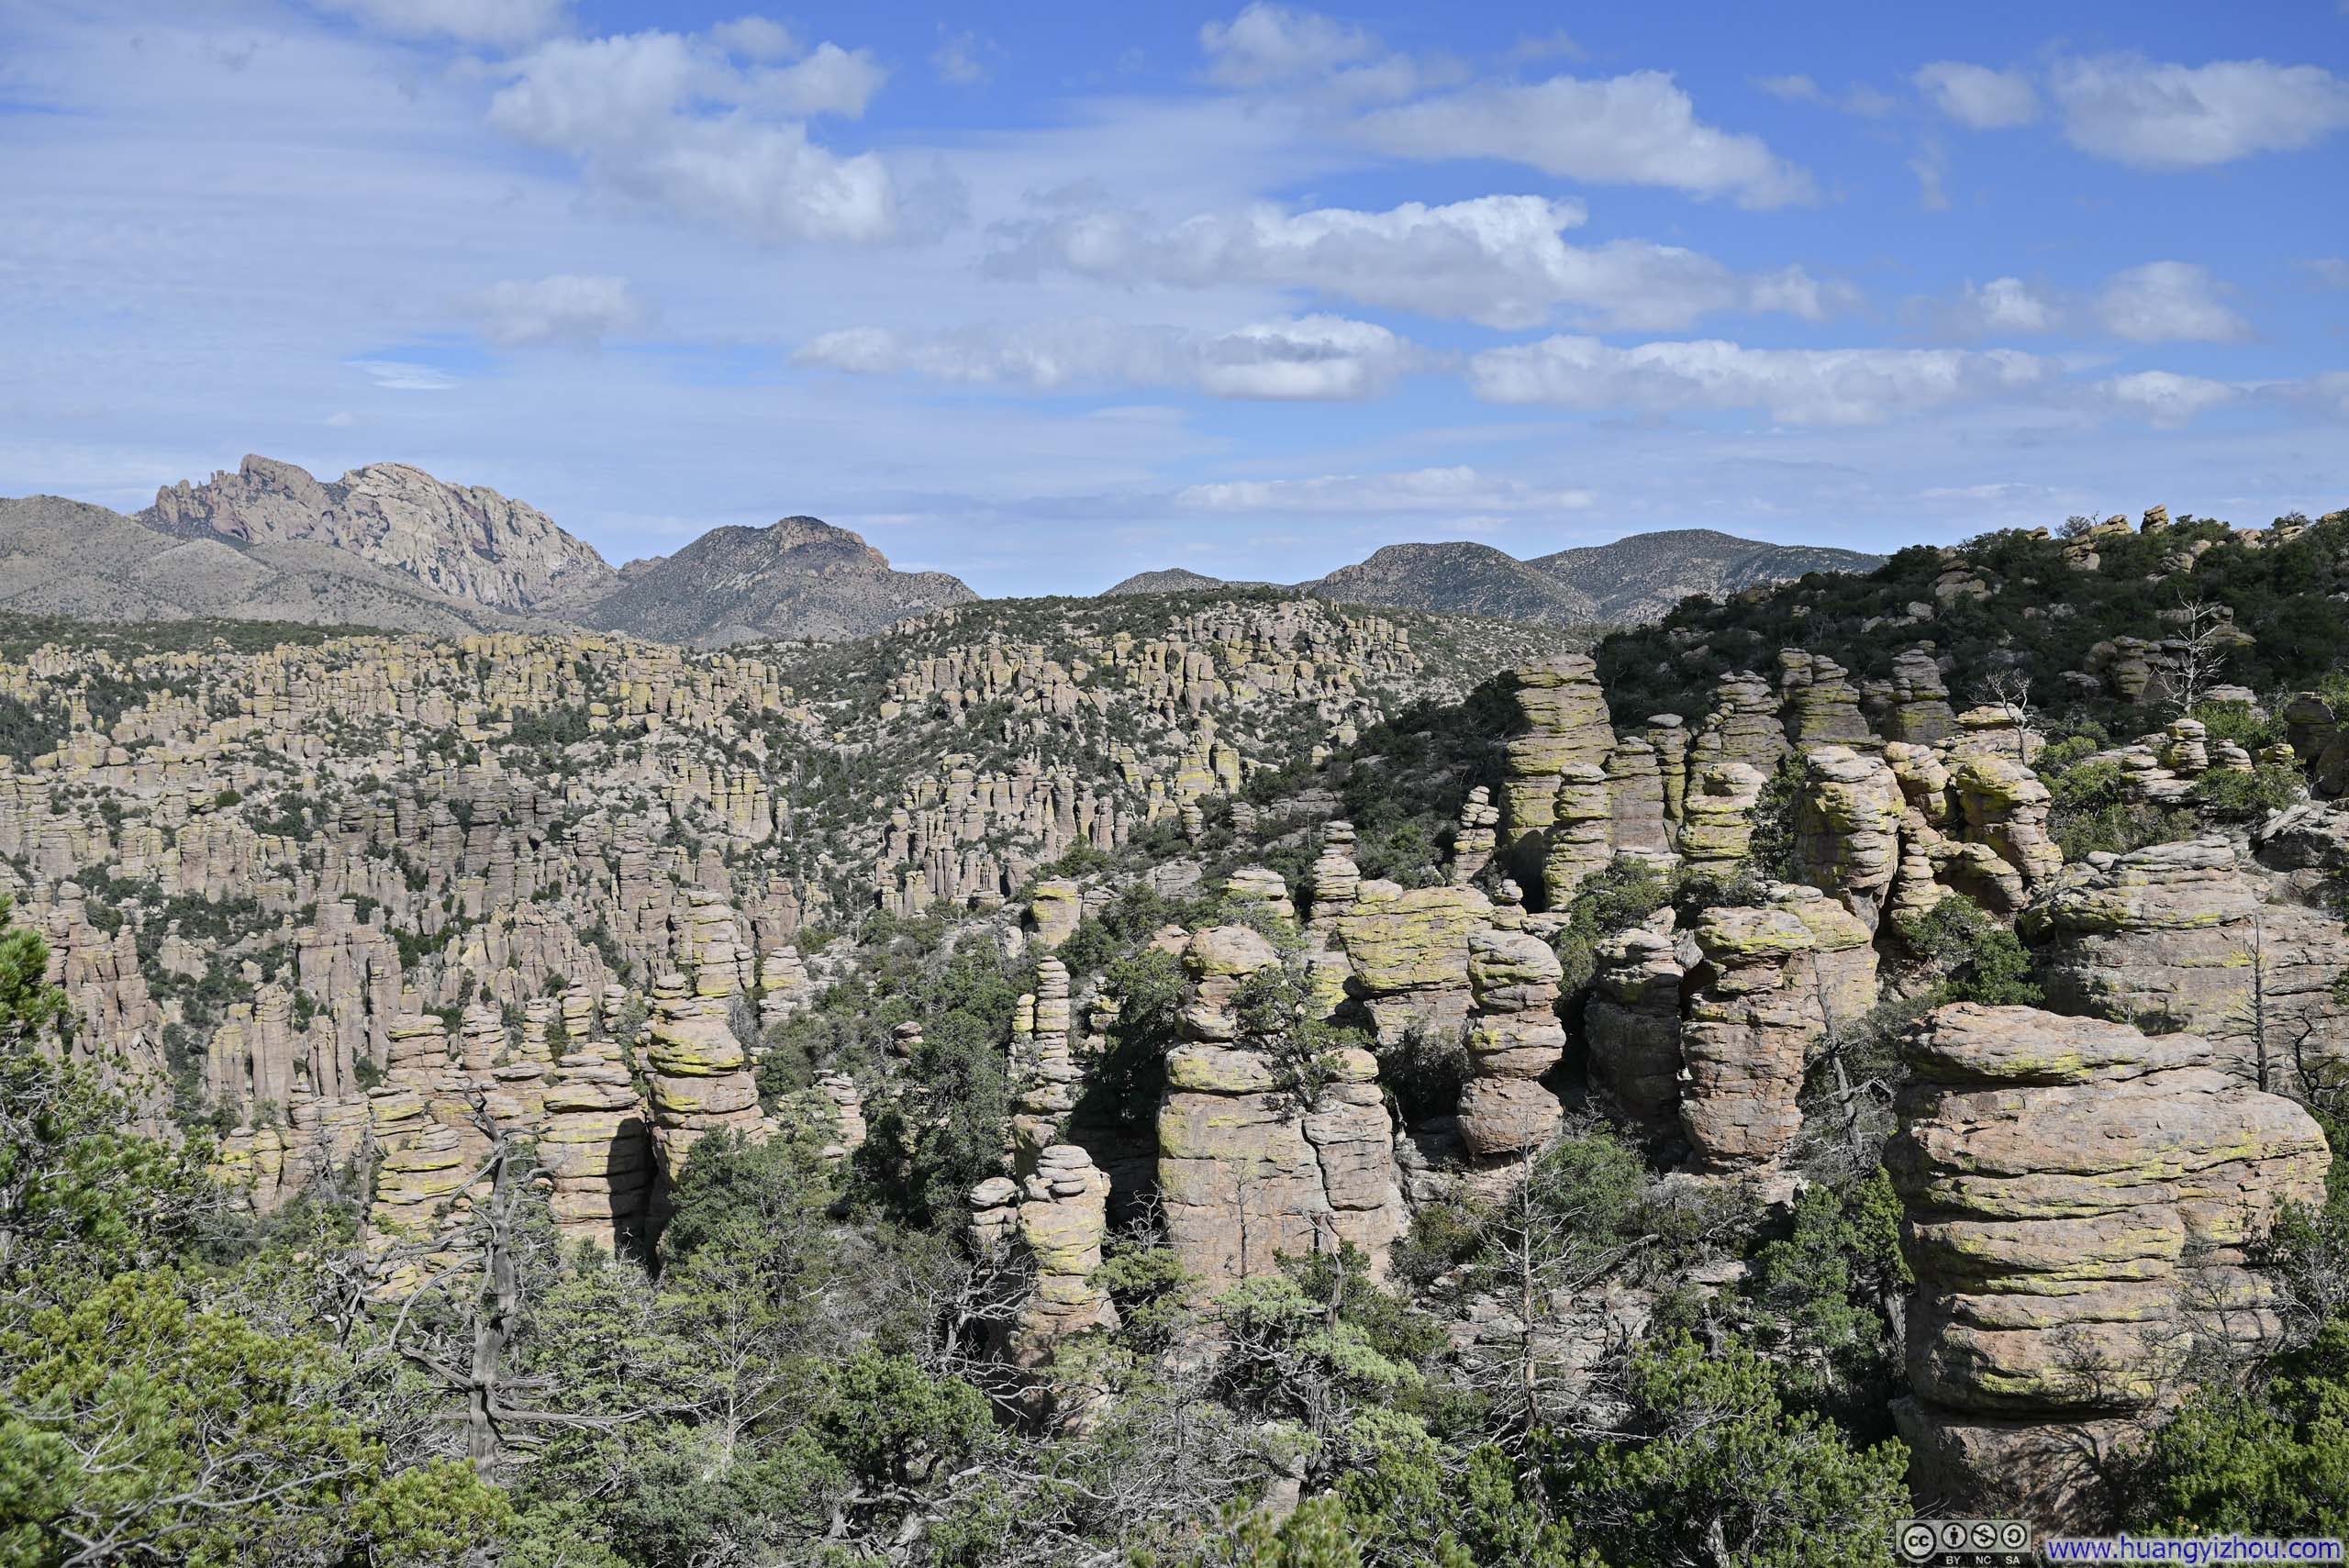
About halfway into Heart of Rocks loop, a few vistas offered an overview of this forest of hoodoos to the south, with Chiricahua Mountains lining the horizon.
 Path along Heart of Rocks Loop
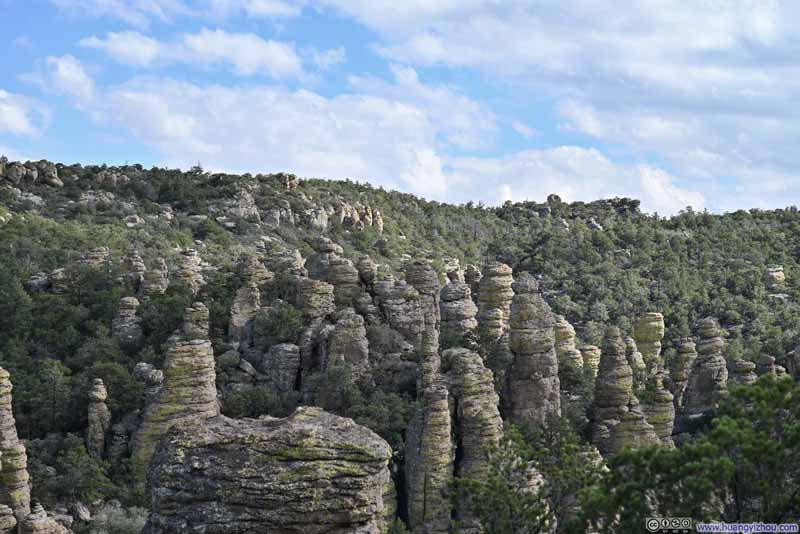 Hoodoos in Heart of Rocks Area
 Hoodoos in Heart of Rocks Area
 Hoodoos in Heart of Rocks Area
 Hoodoos in Heart of Rocks Area

Click here to display photos of the slideshow
Path along Heart of Rocks Loop
Hoodoos in Heart of Rocks Area
Hoodoos in Heart of Rocks Area
Hoodoos in Heart of Rocks Area

Hoodoos in Heart of Rocks Area
In addition, a few openings among the rocks offered glimpses of views to the north, reminiscent of those earlier from Inspiration Point.
 Hoodoos across Rhyolite Canyon
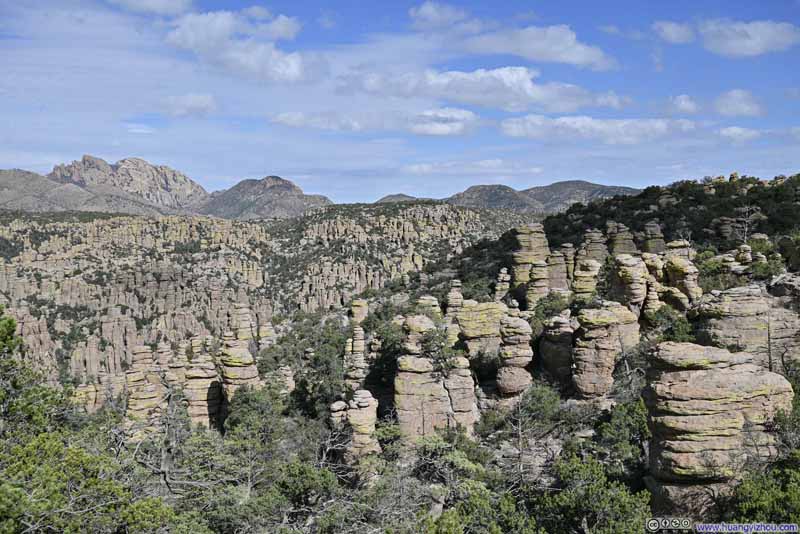 Hoodoos
 Distant Dos Cabezas Peaks
 Hoodoos across Rhyolite Canyon
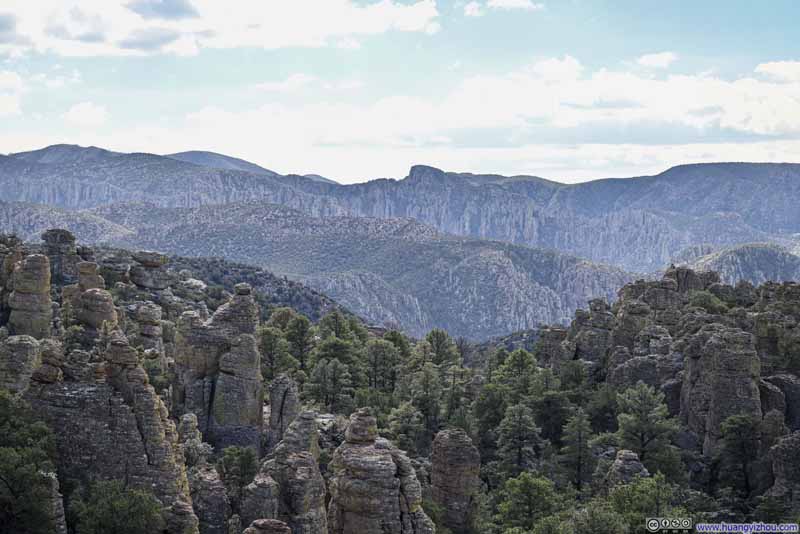 Hoodoos in Southern Chiricahua Mountains
 Hoodoos in Southern Chiricahua Mountains

Click here to display photos of the slideshow
Hoodoos across Rhyolite Canyon
Hoodoos
Distant Dos Cabezas Peaks

Hoodoos across Rhyolite Canyon
Hoodoos in Southern Chiricahua Mountains
Hoodoos in Southern Chiricahua Mountains
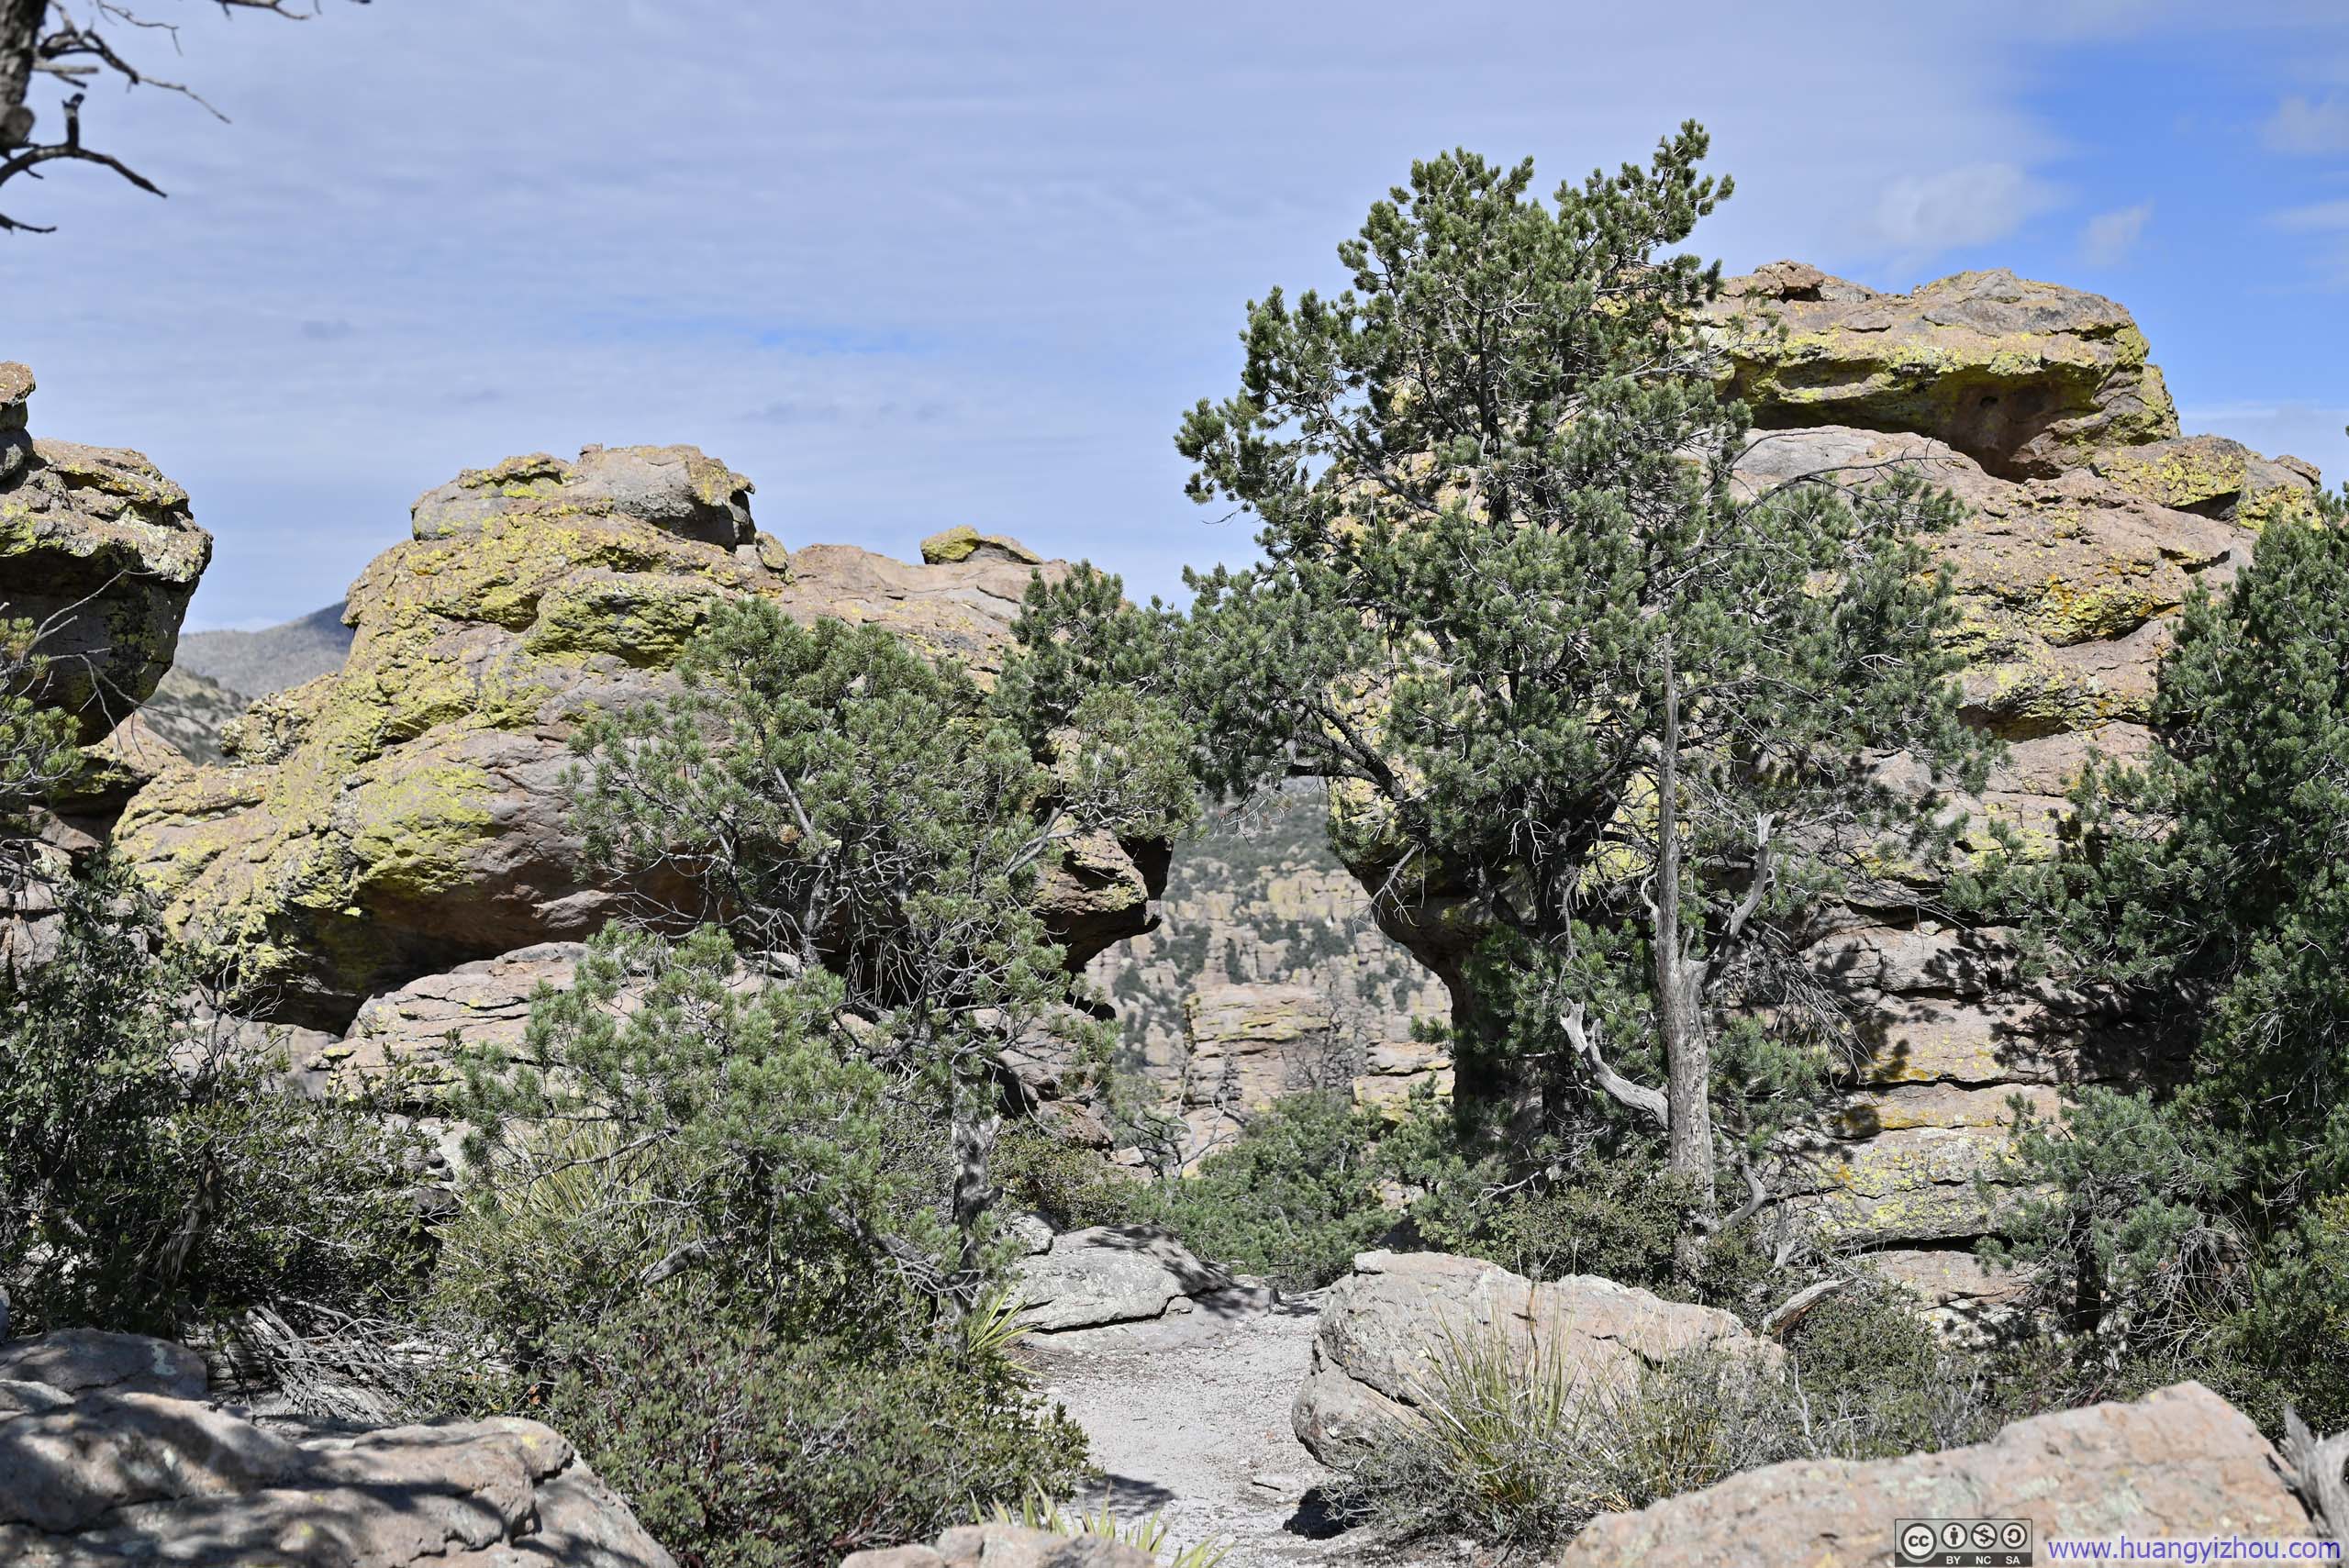
Continuing on, there were more named rocks along the path, including the famous “Duck-on-a-Rock”.
 PortalAn opening between both trees and hoodoos, revealing vistas across Rhyolite Canyon.
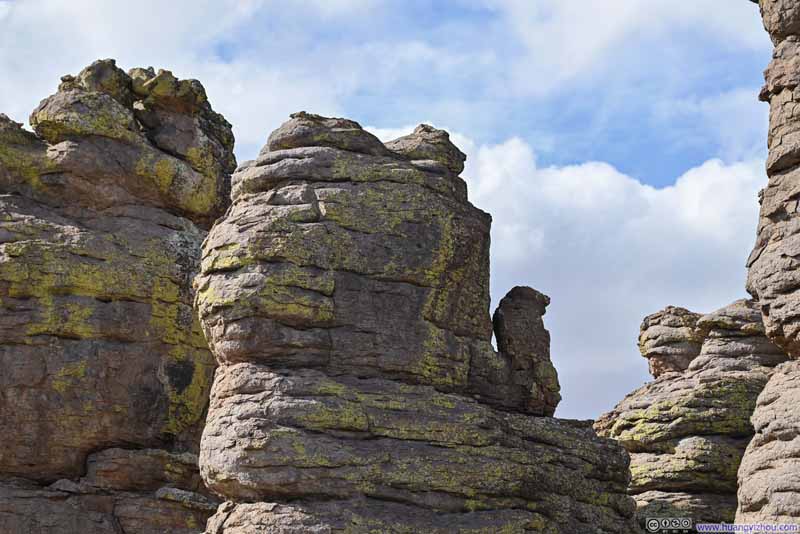 Camel-Shaped RockAs if resting on the ground.
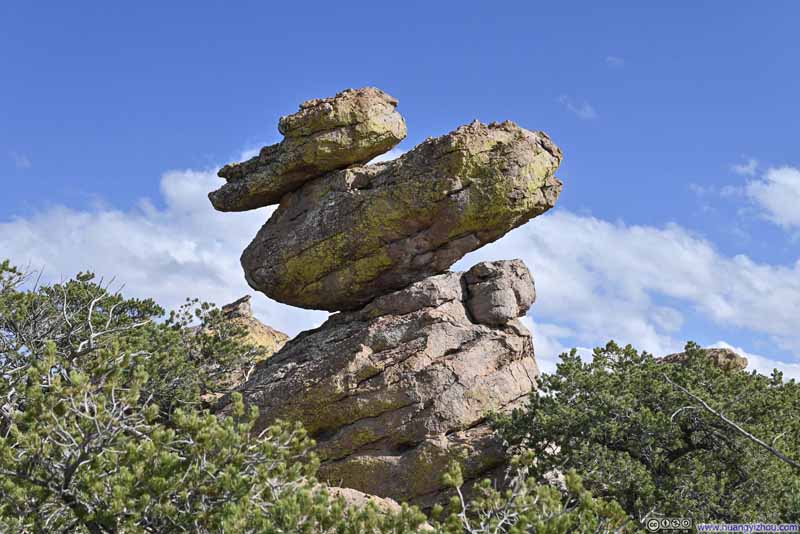 Duck-on-a-Rock
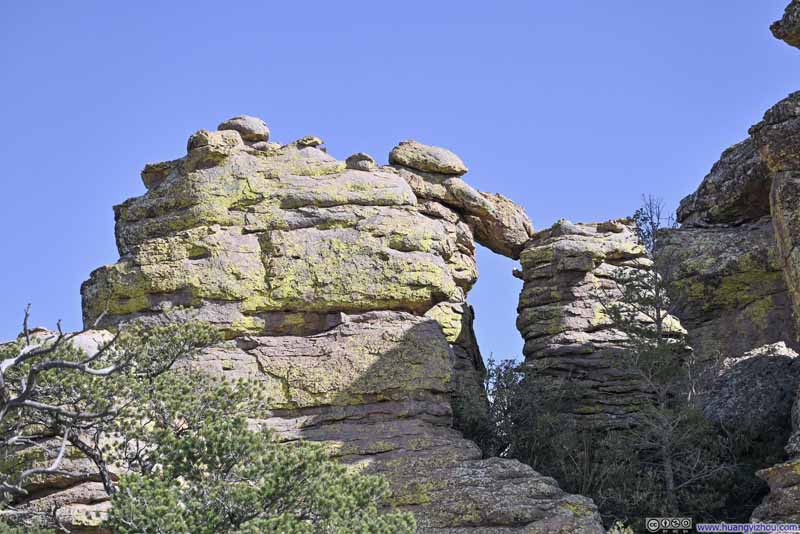 Opening between Hoodoos
 Hoodoos
Click here to display photos of the slideshow
PortalAn opening between both trees and hoodoos, revealing vistas across Rhyolite Canyon.

Camel-Shaped RockAs if resting on the ground.

Duck-on-a-Rock

Opening between Hoodoos
Hoodoos
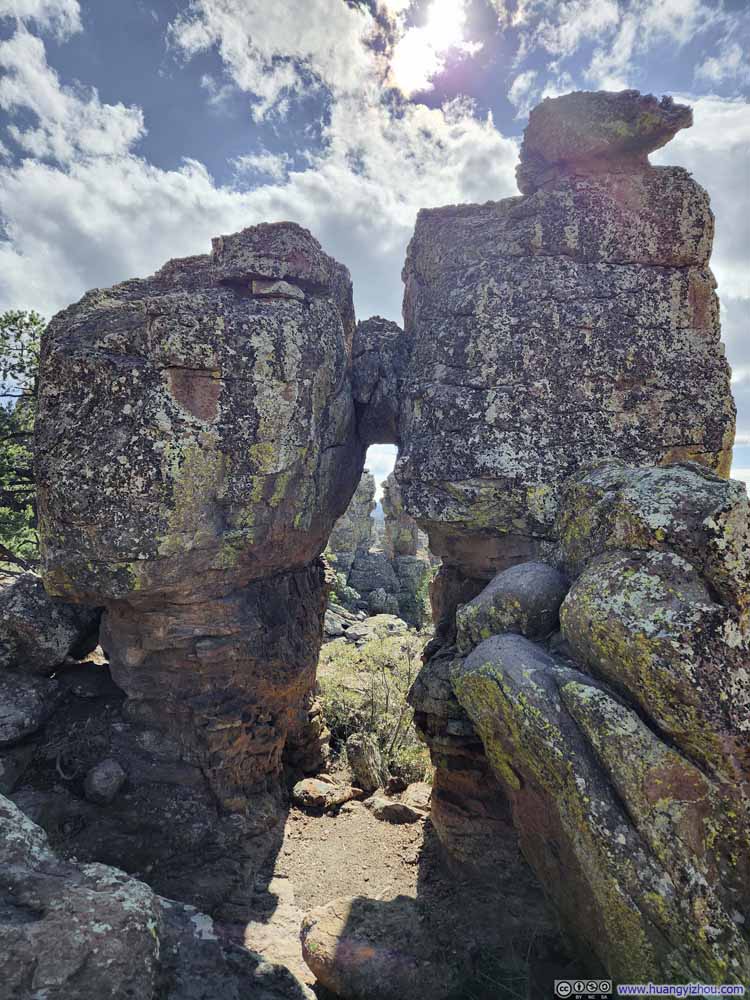 Punch and Judy behind Rock Arch
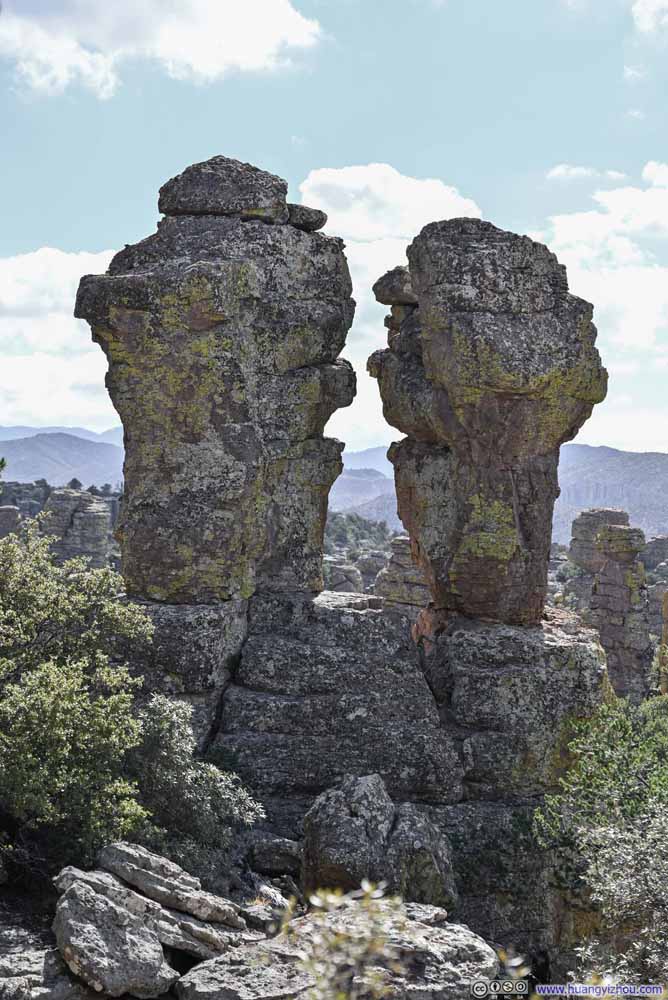 Punch and Judy
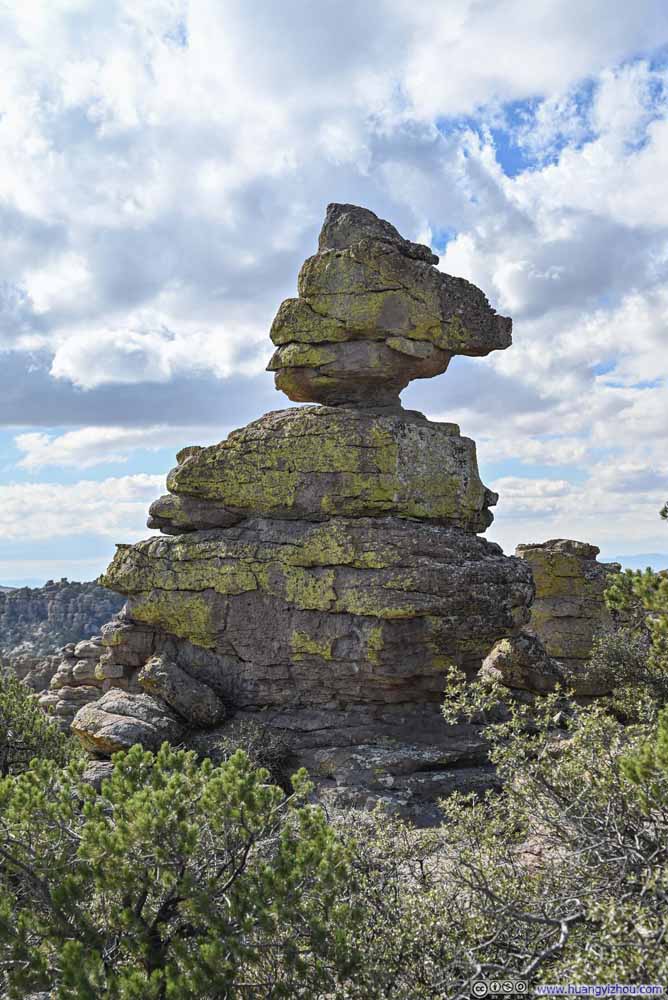 The Fire Chief
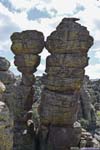
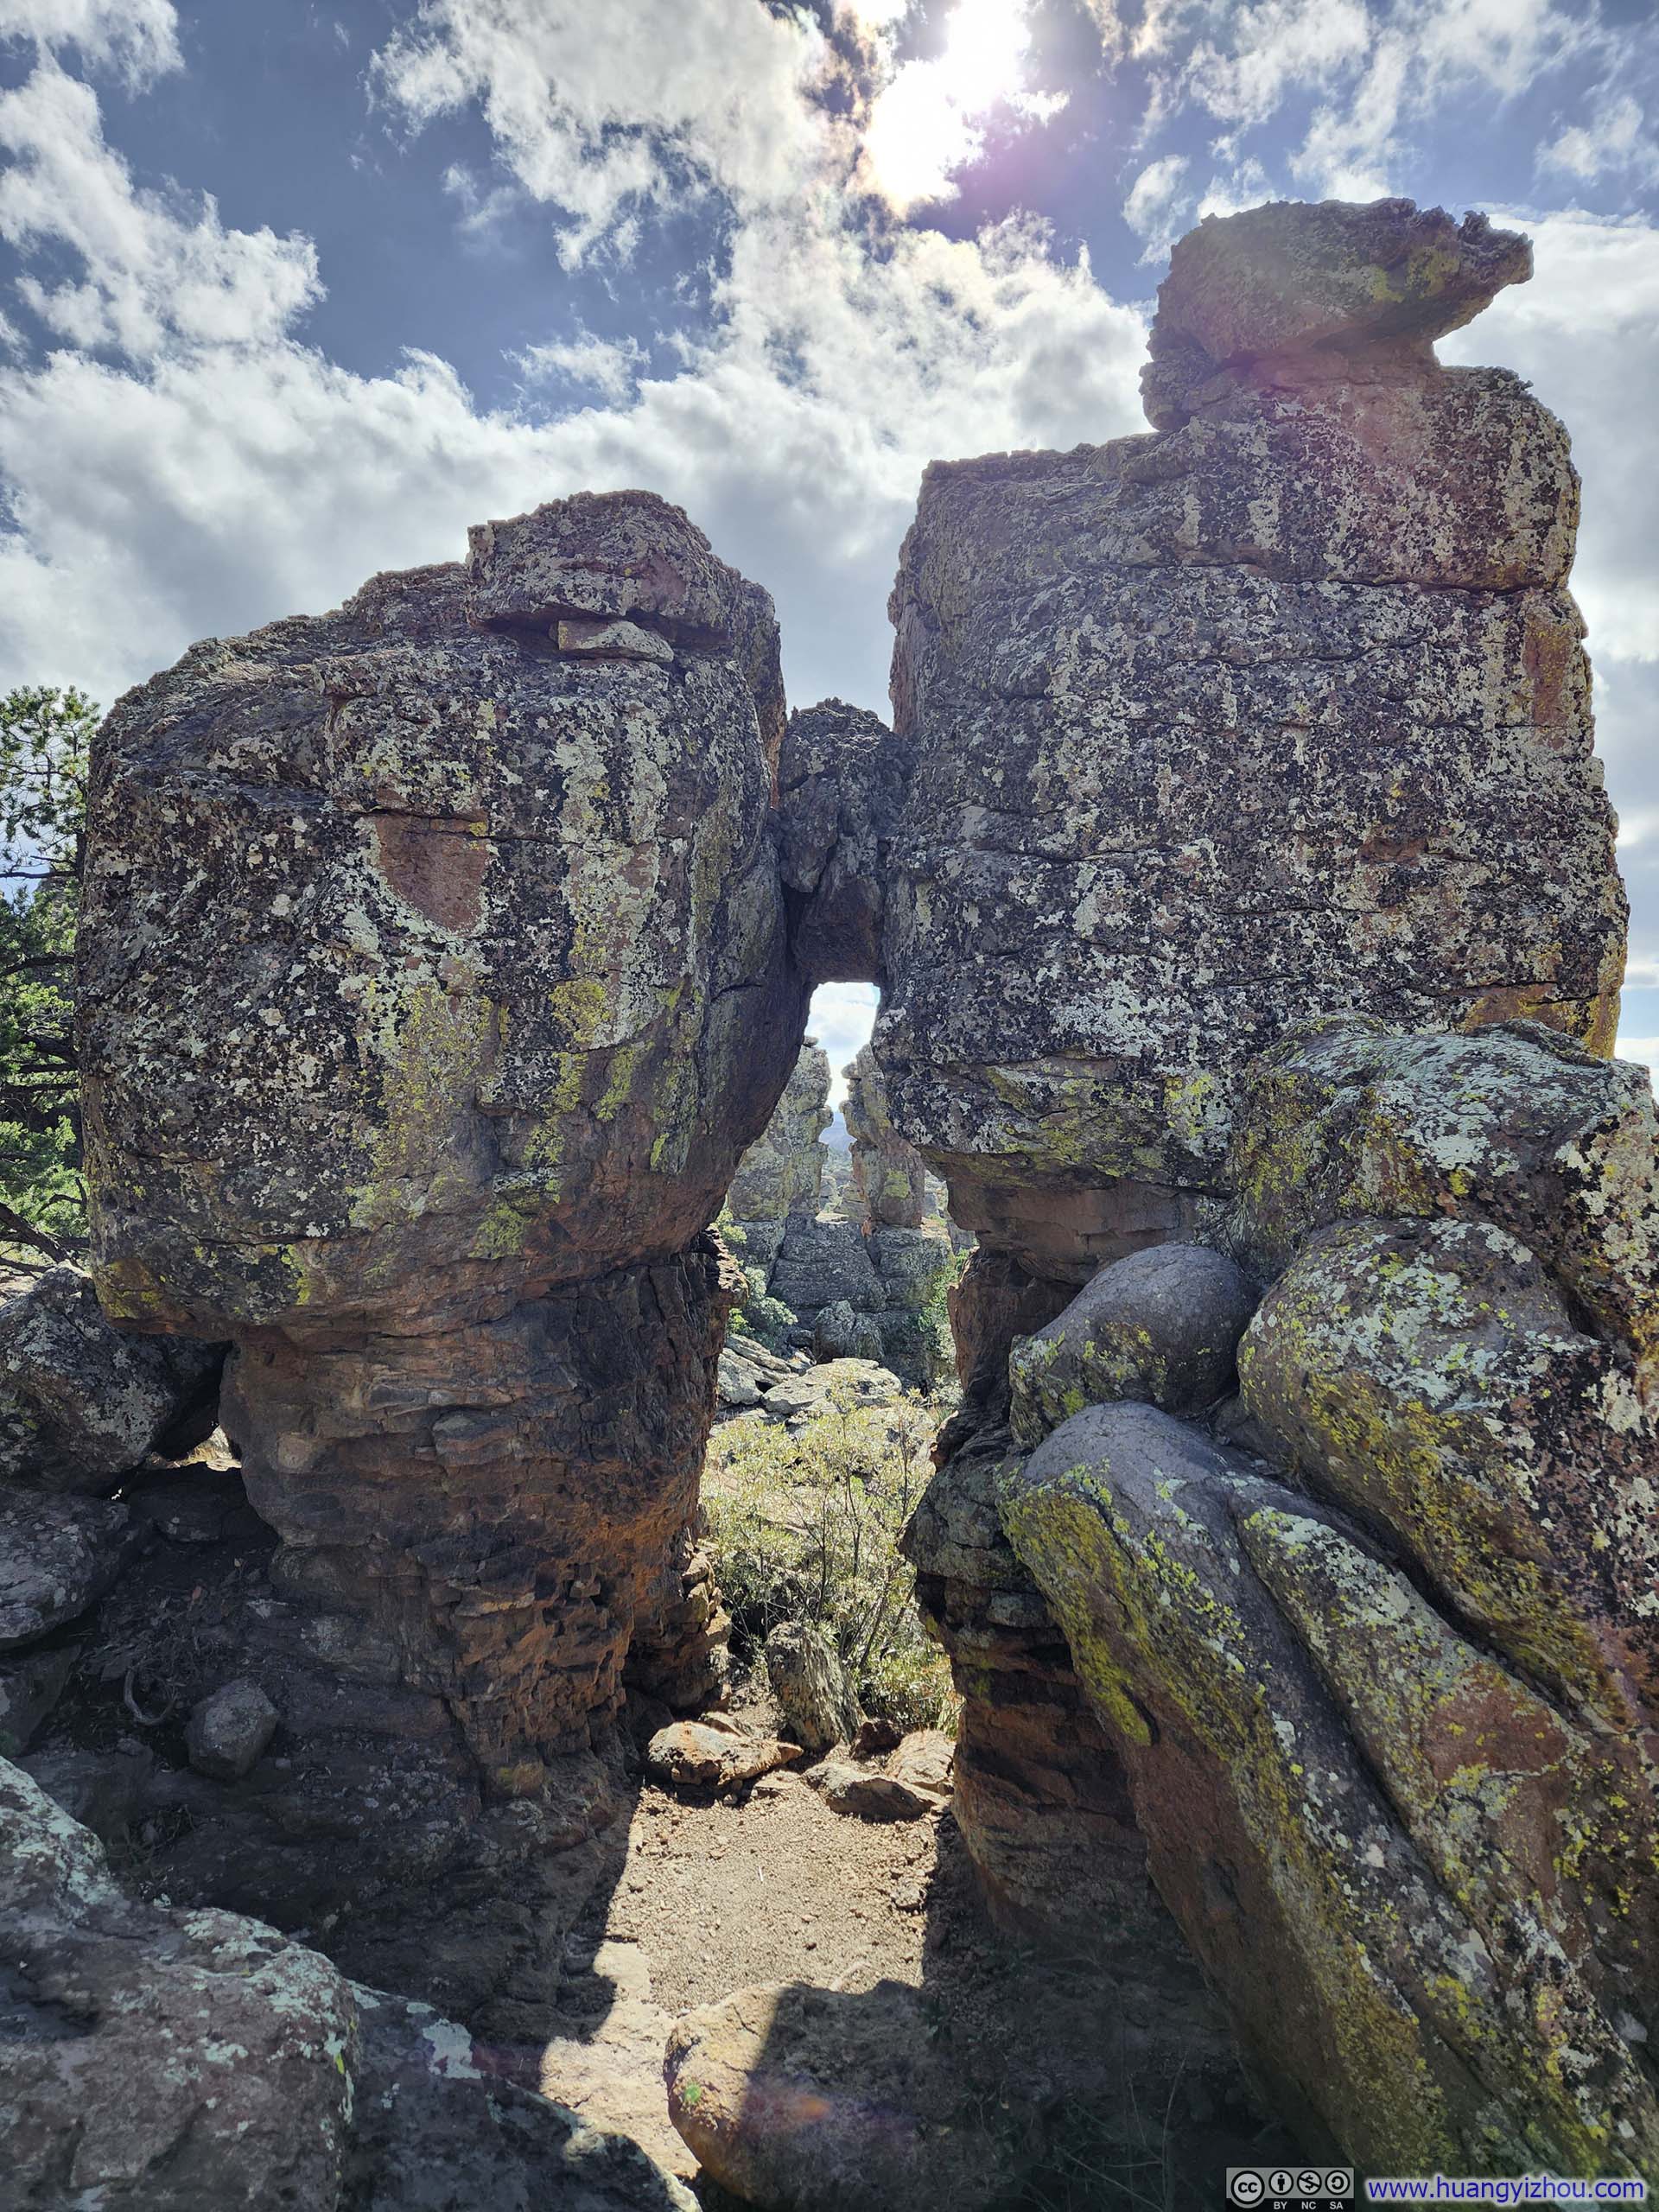
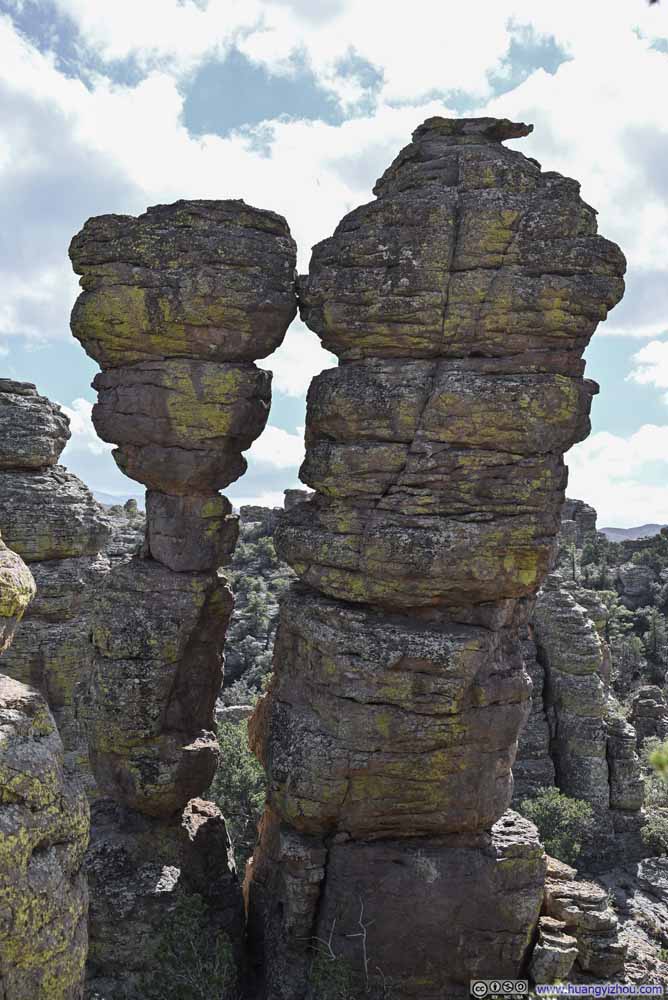 Kissing Rocks
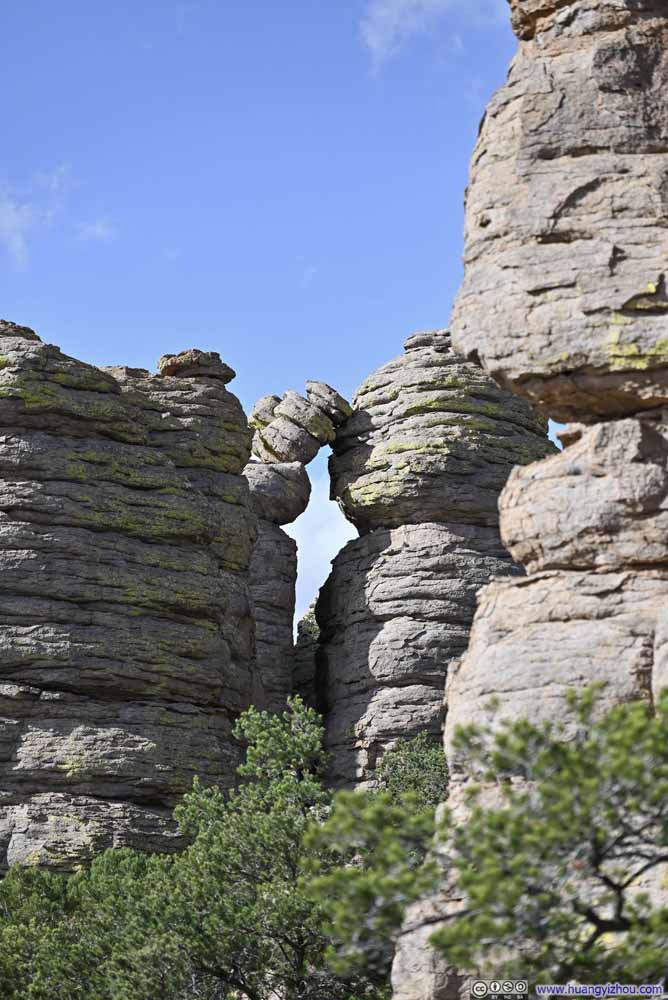 Leaning Hoodoo
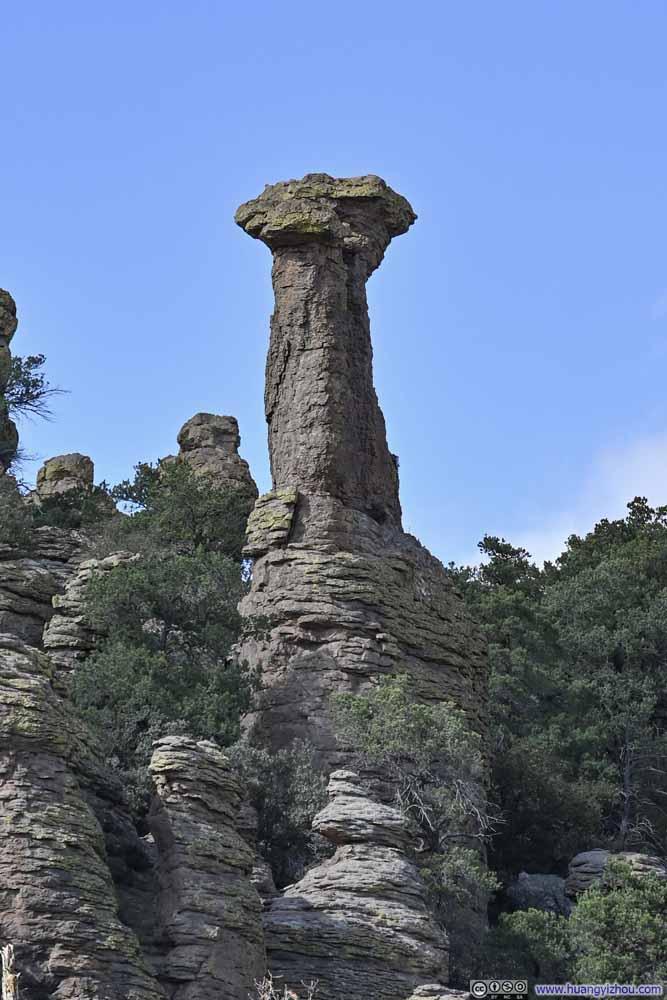 Thors Hammer

Click here to display photos of the slideshow
Punch and Judy behind Rock Arch

Punch and Judy
The Fire Chief

Kissing Rocks

Leaning Hoodoo
Thors Hammer
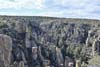
Leaving Heart of Rocks Loop, the trail embarked on a long descent through Sarah Deming Canyon to the floor of Rhyolite Canyon. Near the beginning of this descent, likely as an overflow from Heart of Rocks, several interestingly shaped hoodoos made their appearance—a parting gift from that extraordinary landscape above.
 Hoodoos
 HoodoosVarious rocks wedged between others.
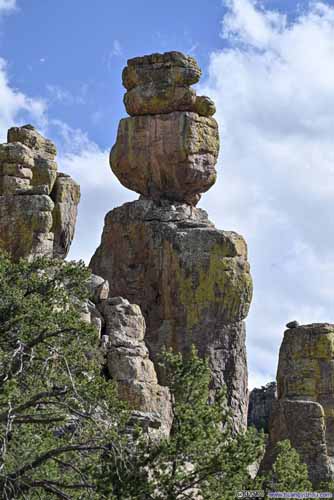
 Unnamed Balanced Rock and Gap between Hoodoos
 Hoodoos
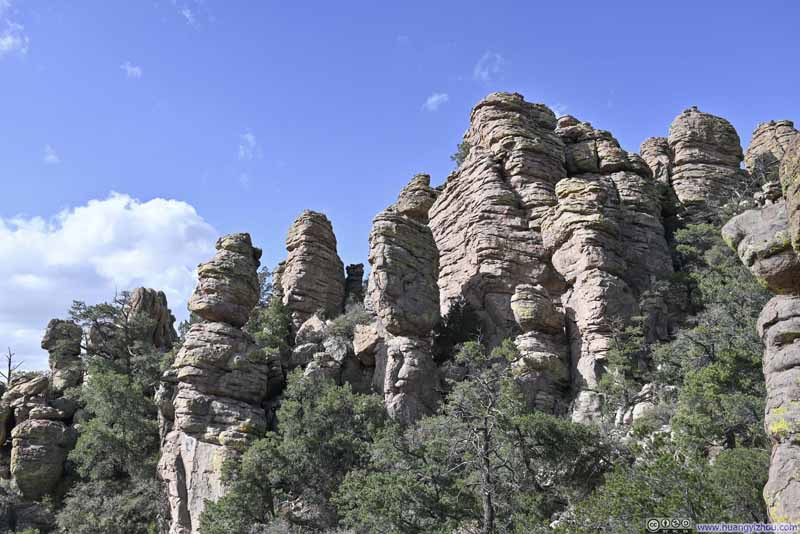 Hoodoos
Click here to display photos of the slideshow
Hoodoos
 HoodoosVarious rocks wedged between others.

 Unnamed Balanced Rock and Gap between Hoodoos
Hoodoos

Hoodoos
While traversing Sarah Deming Canyon, clusters of hoodoos adorning the hilltops served as pleasing companions along the way, their distinctive silhouettes keeping watch over my descent.
 Hoodoos
 Hoodoos
 Hoodoos
 Hoodoos
 Hoodoos
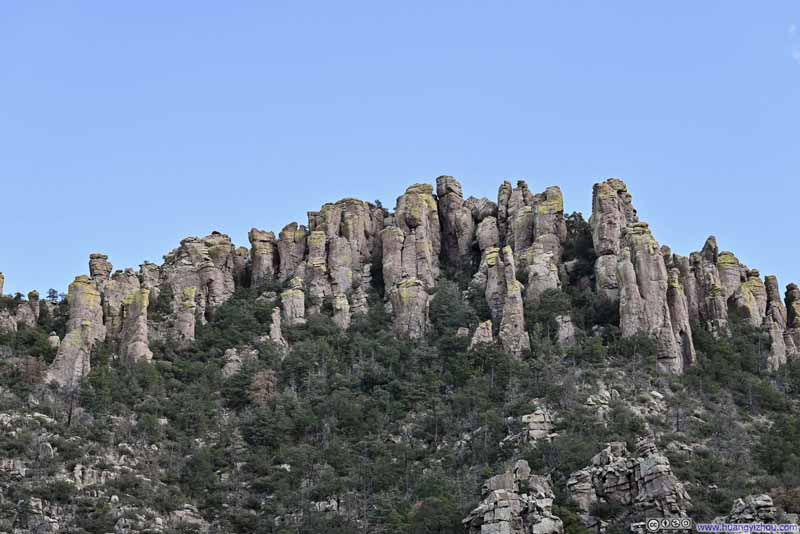 Hoodoos
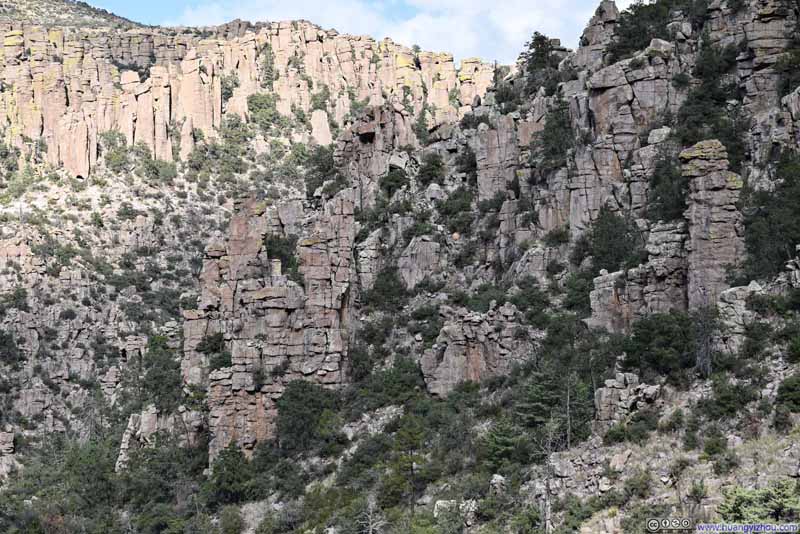 HoodoosThe ones in the foreground were more eroded.


Click here to display photos of the slideshow
Hoodoos
Hoodoos

Hoodoos
Hoodoos
Hoodoos
Hoodoos
HoodoosThe ones in the foreground were more eroded.
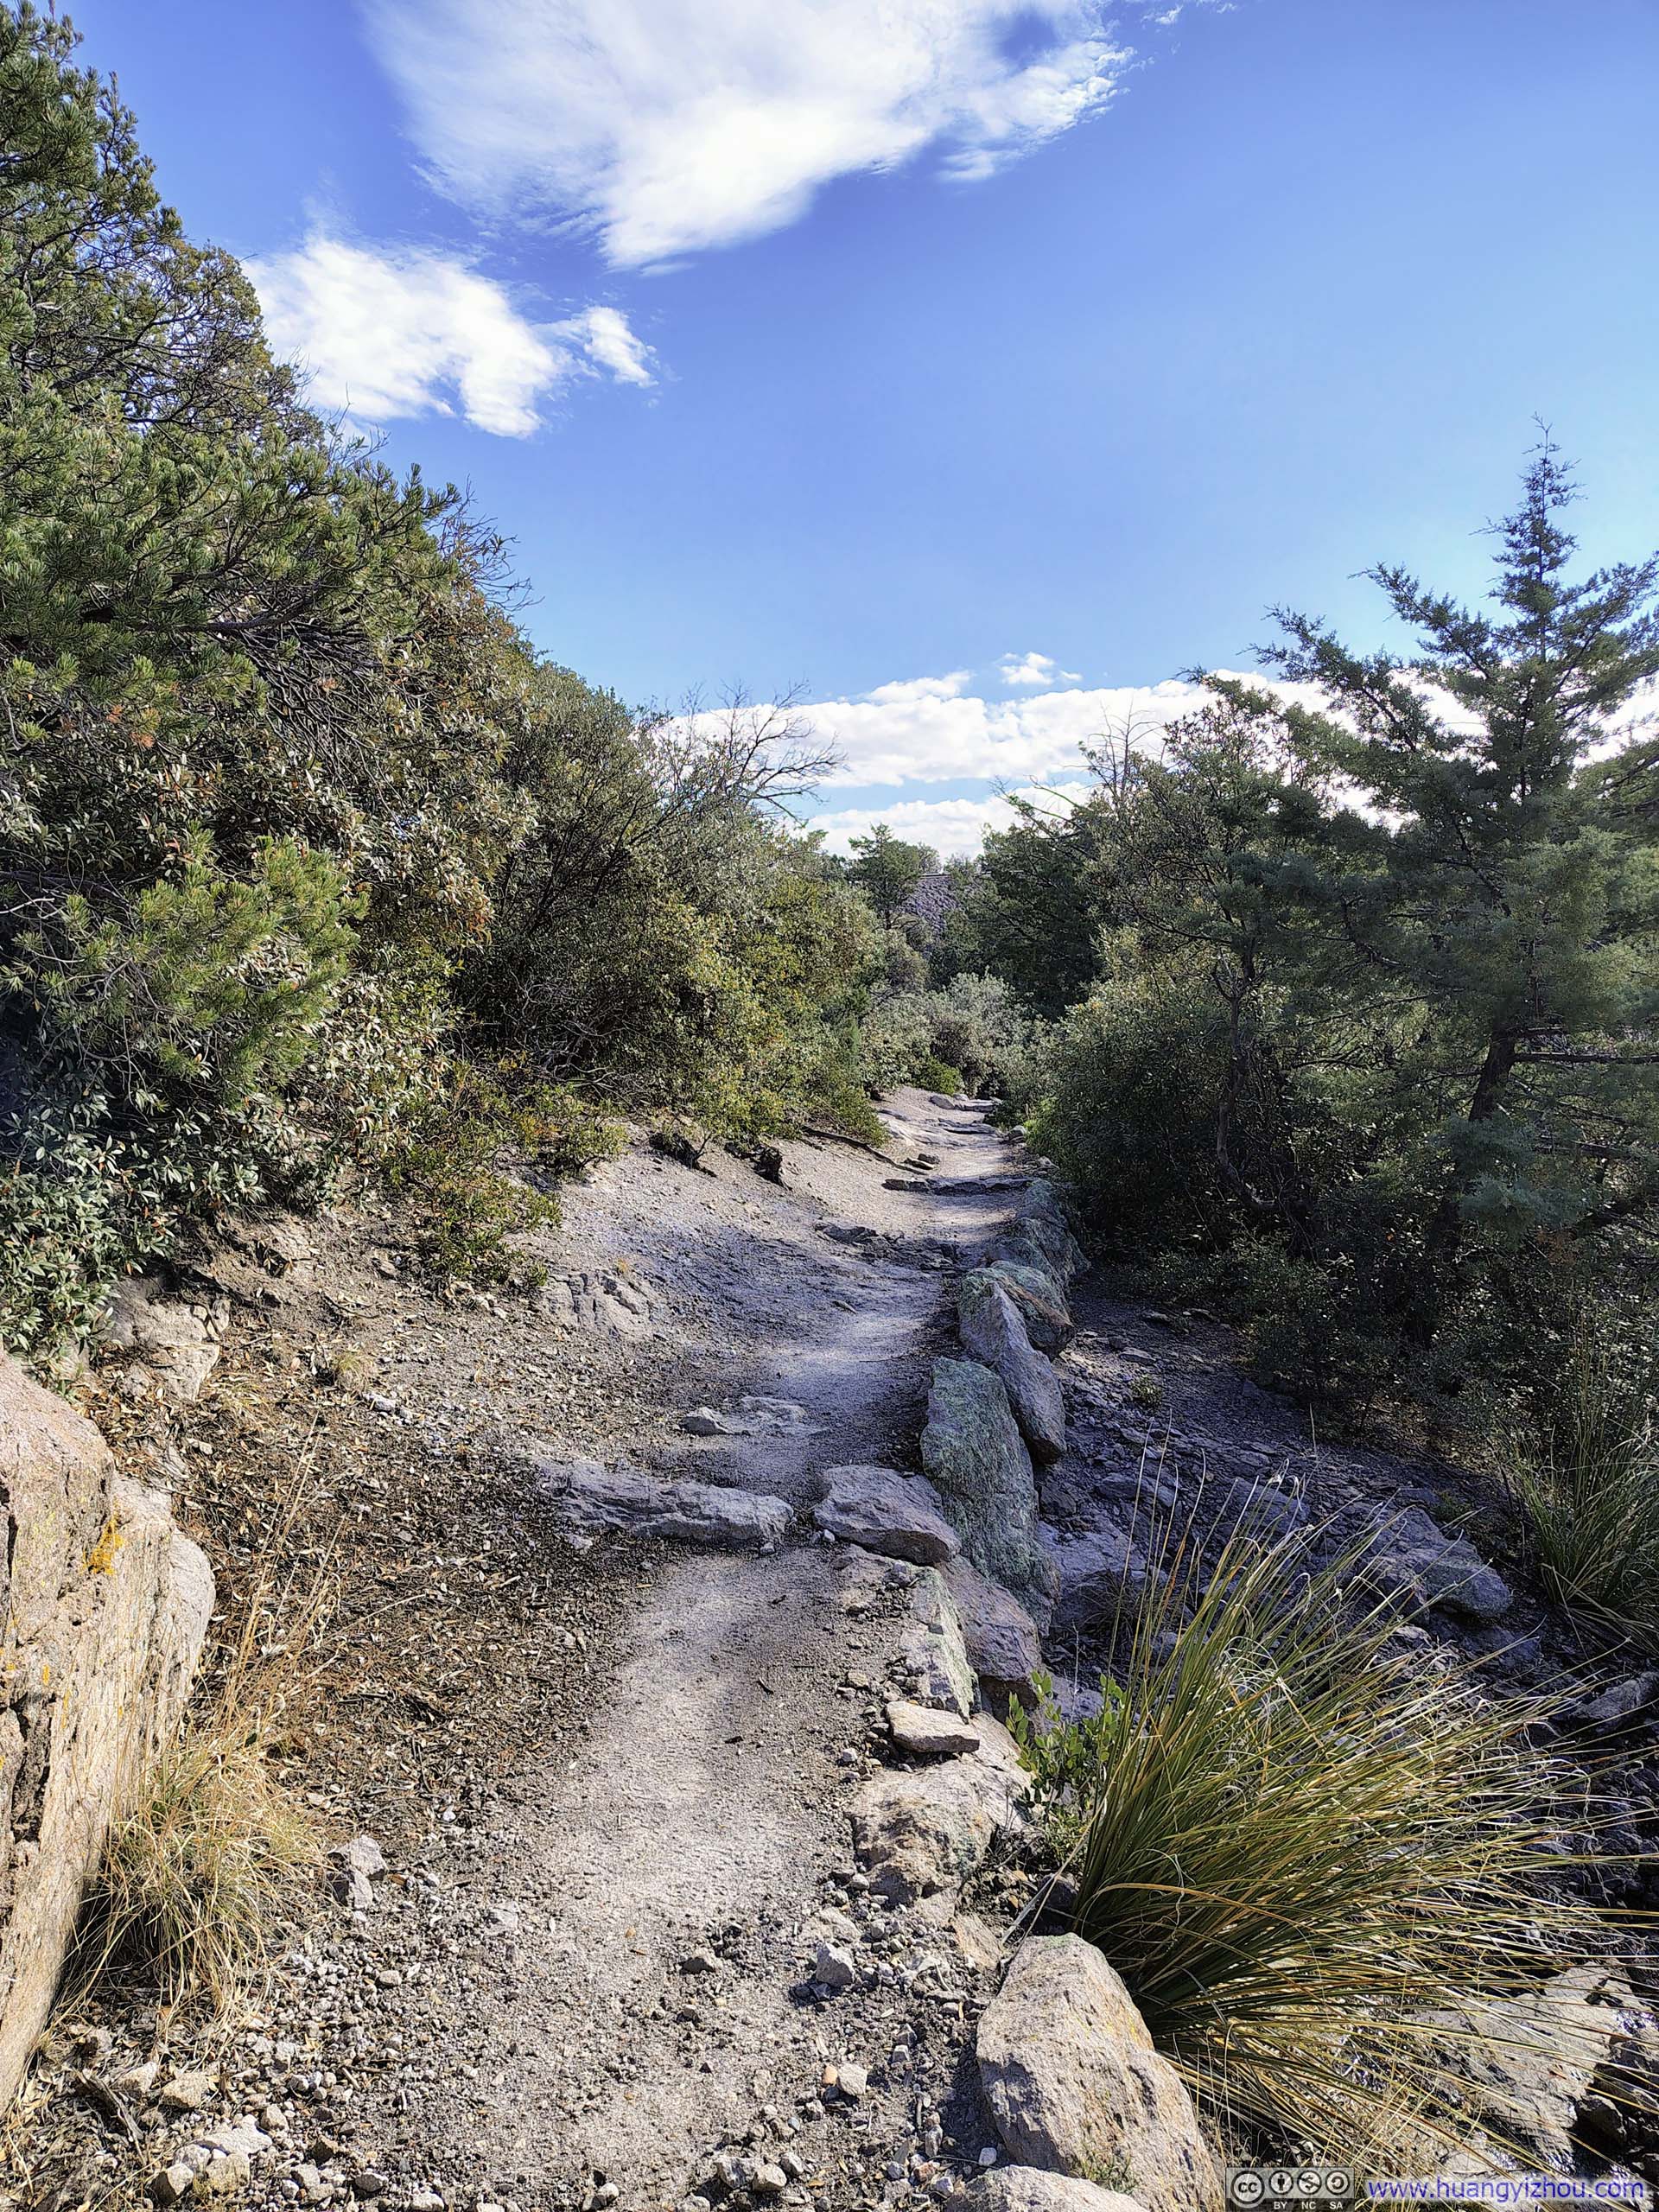
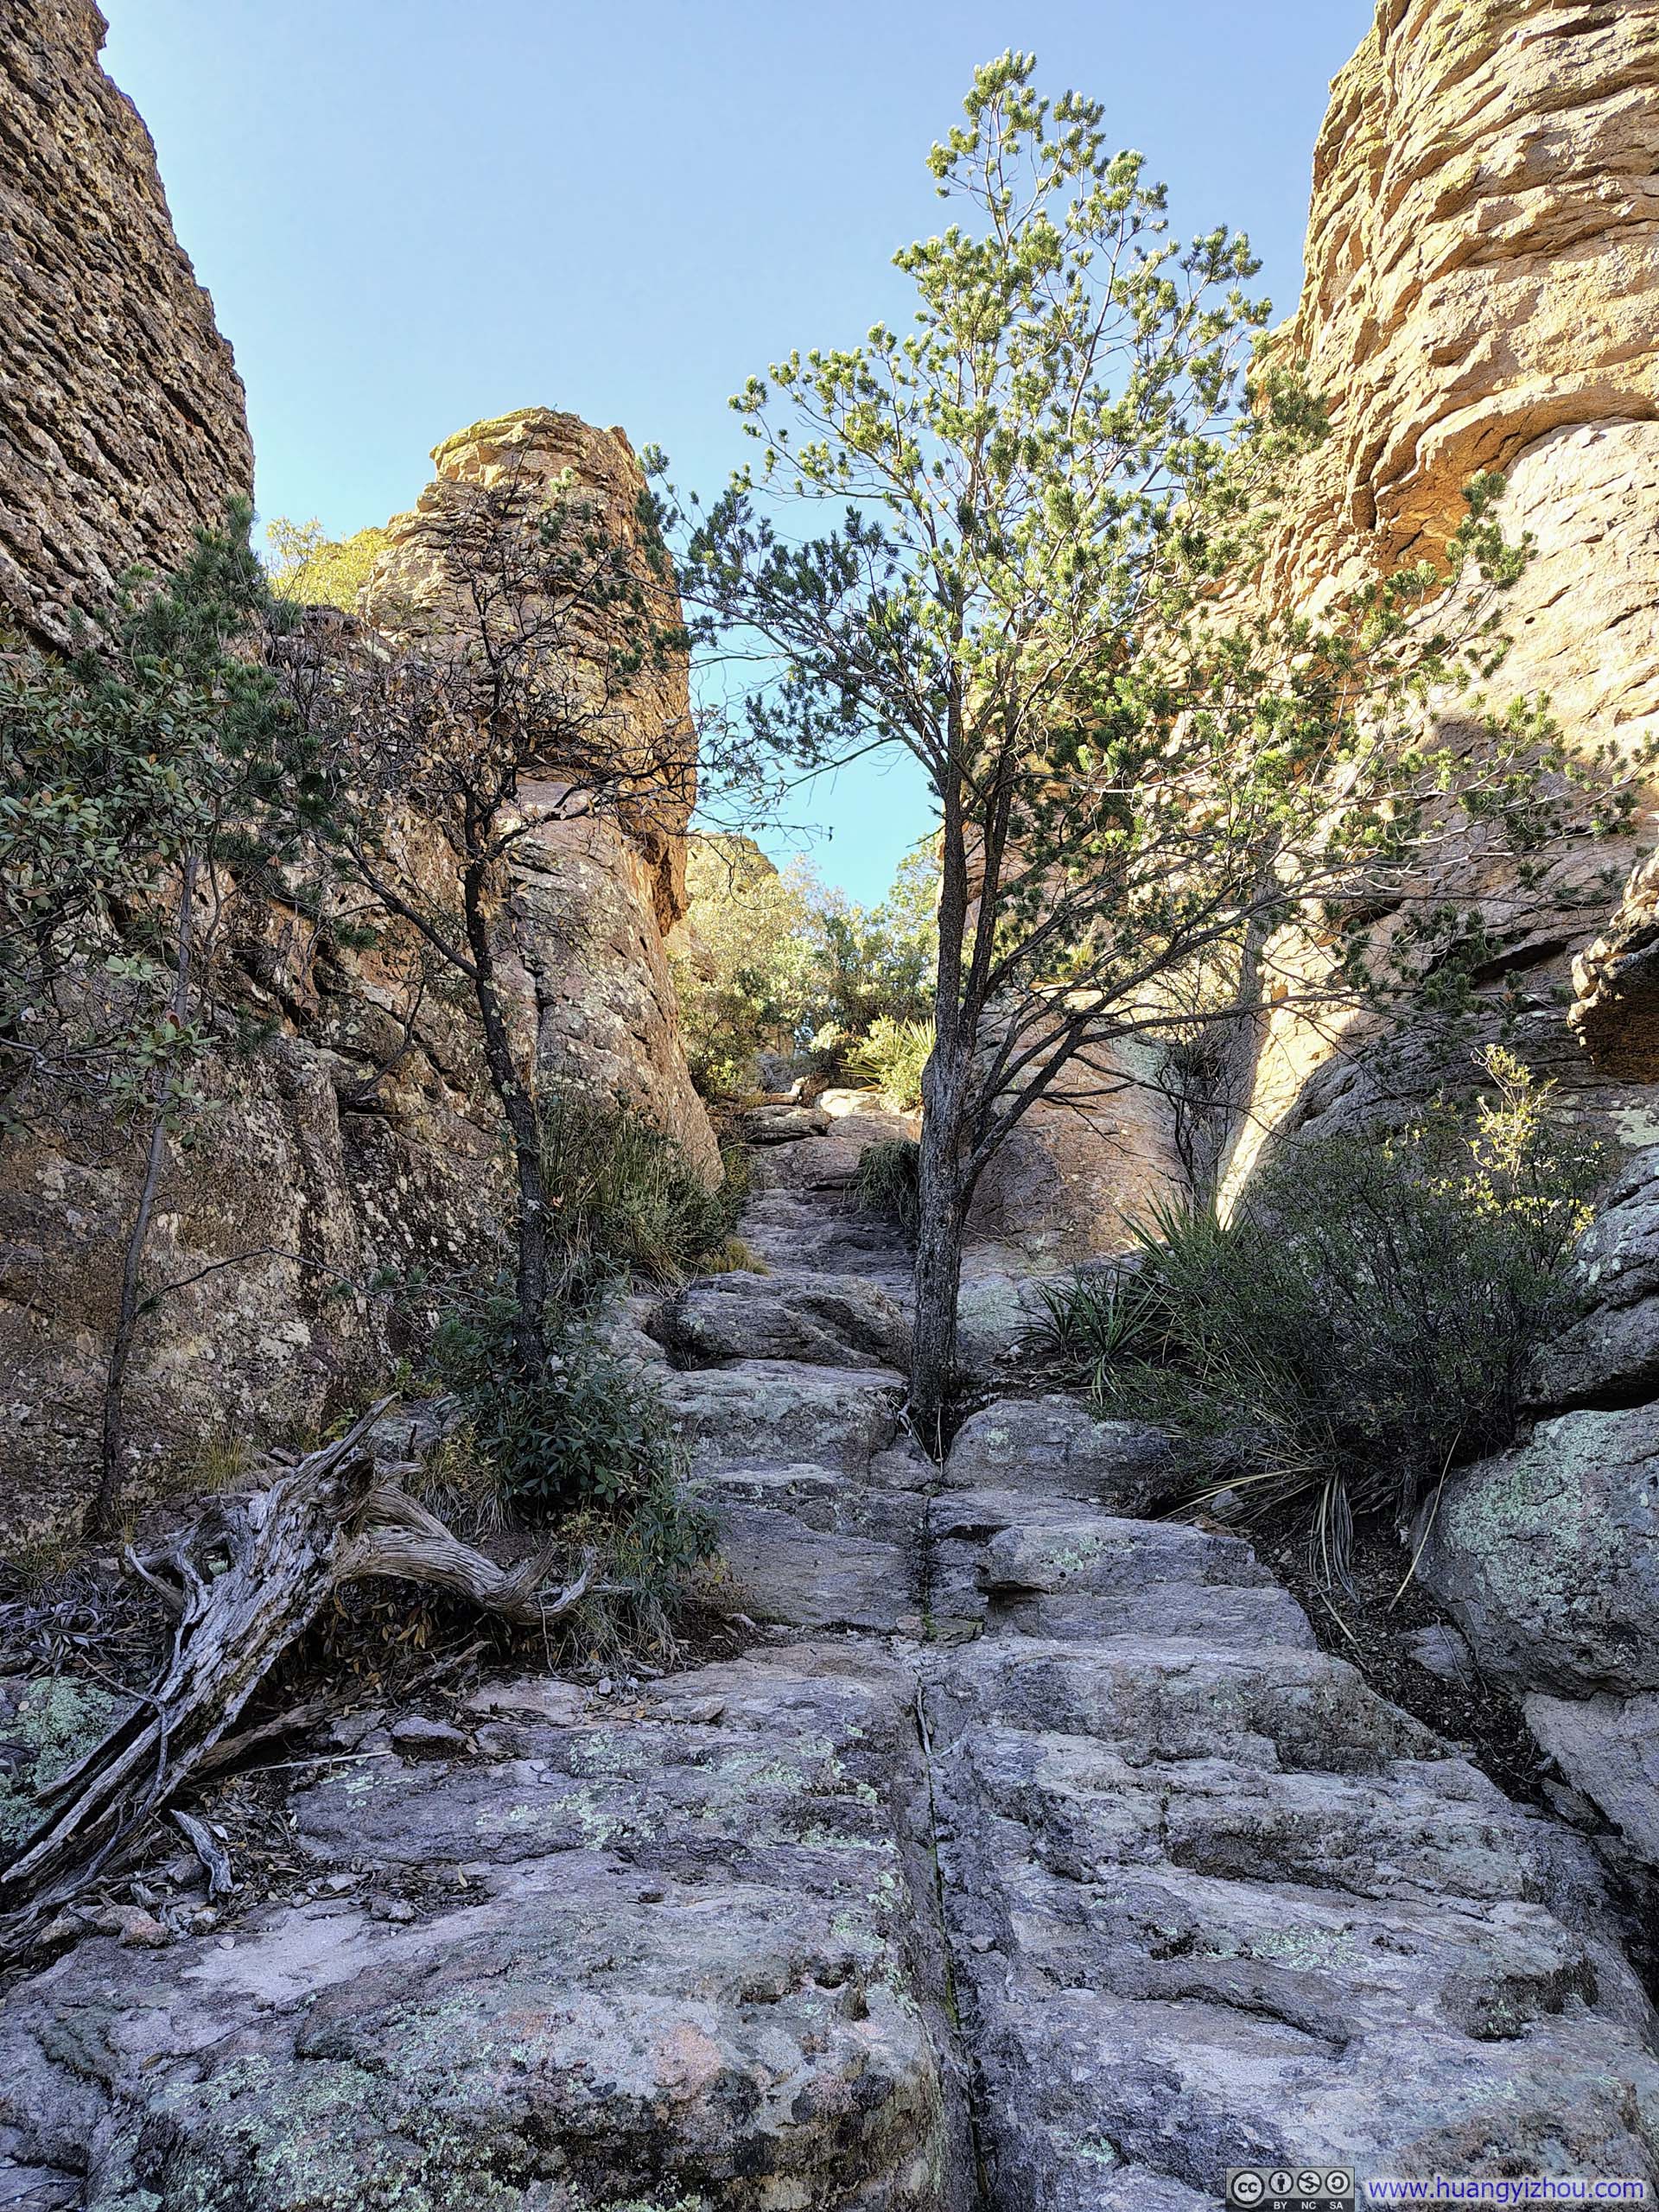
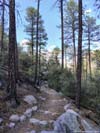
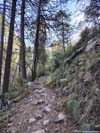
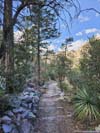
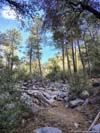
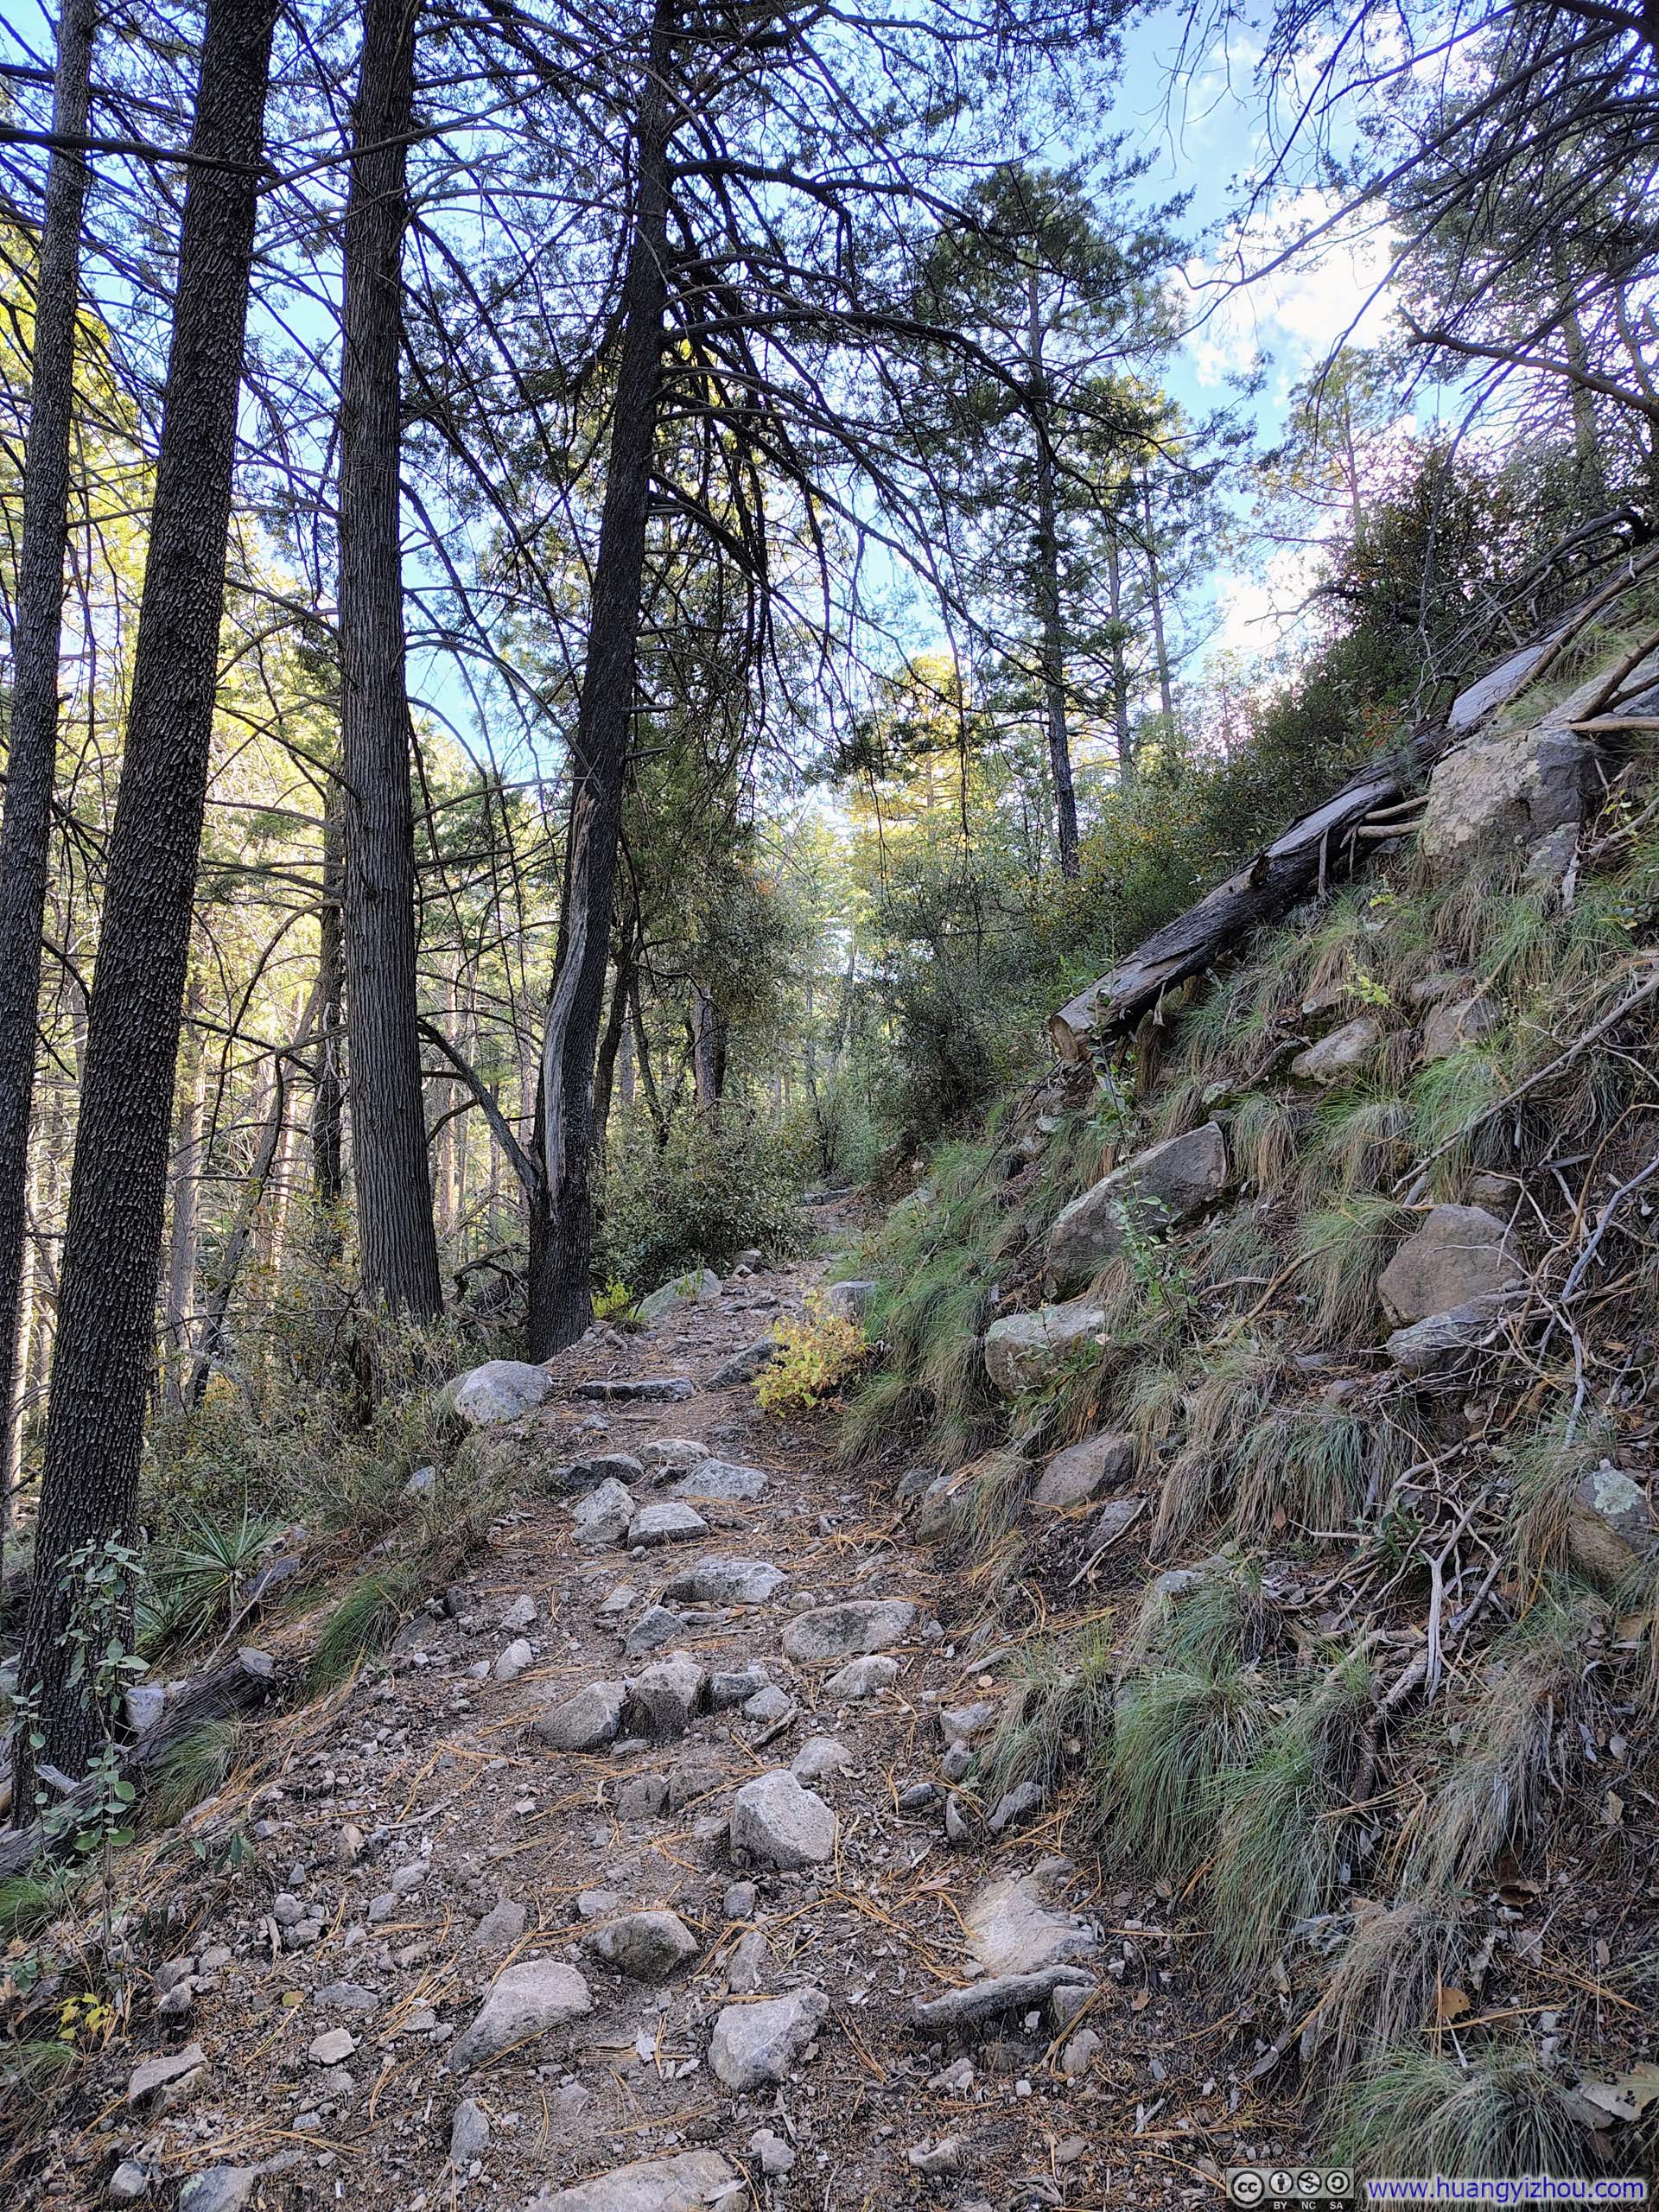
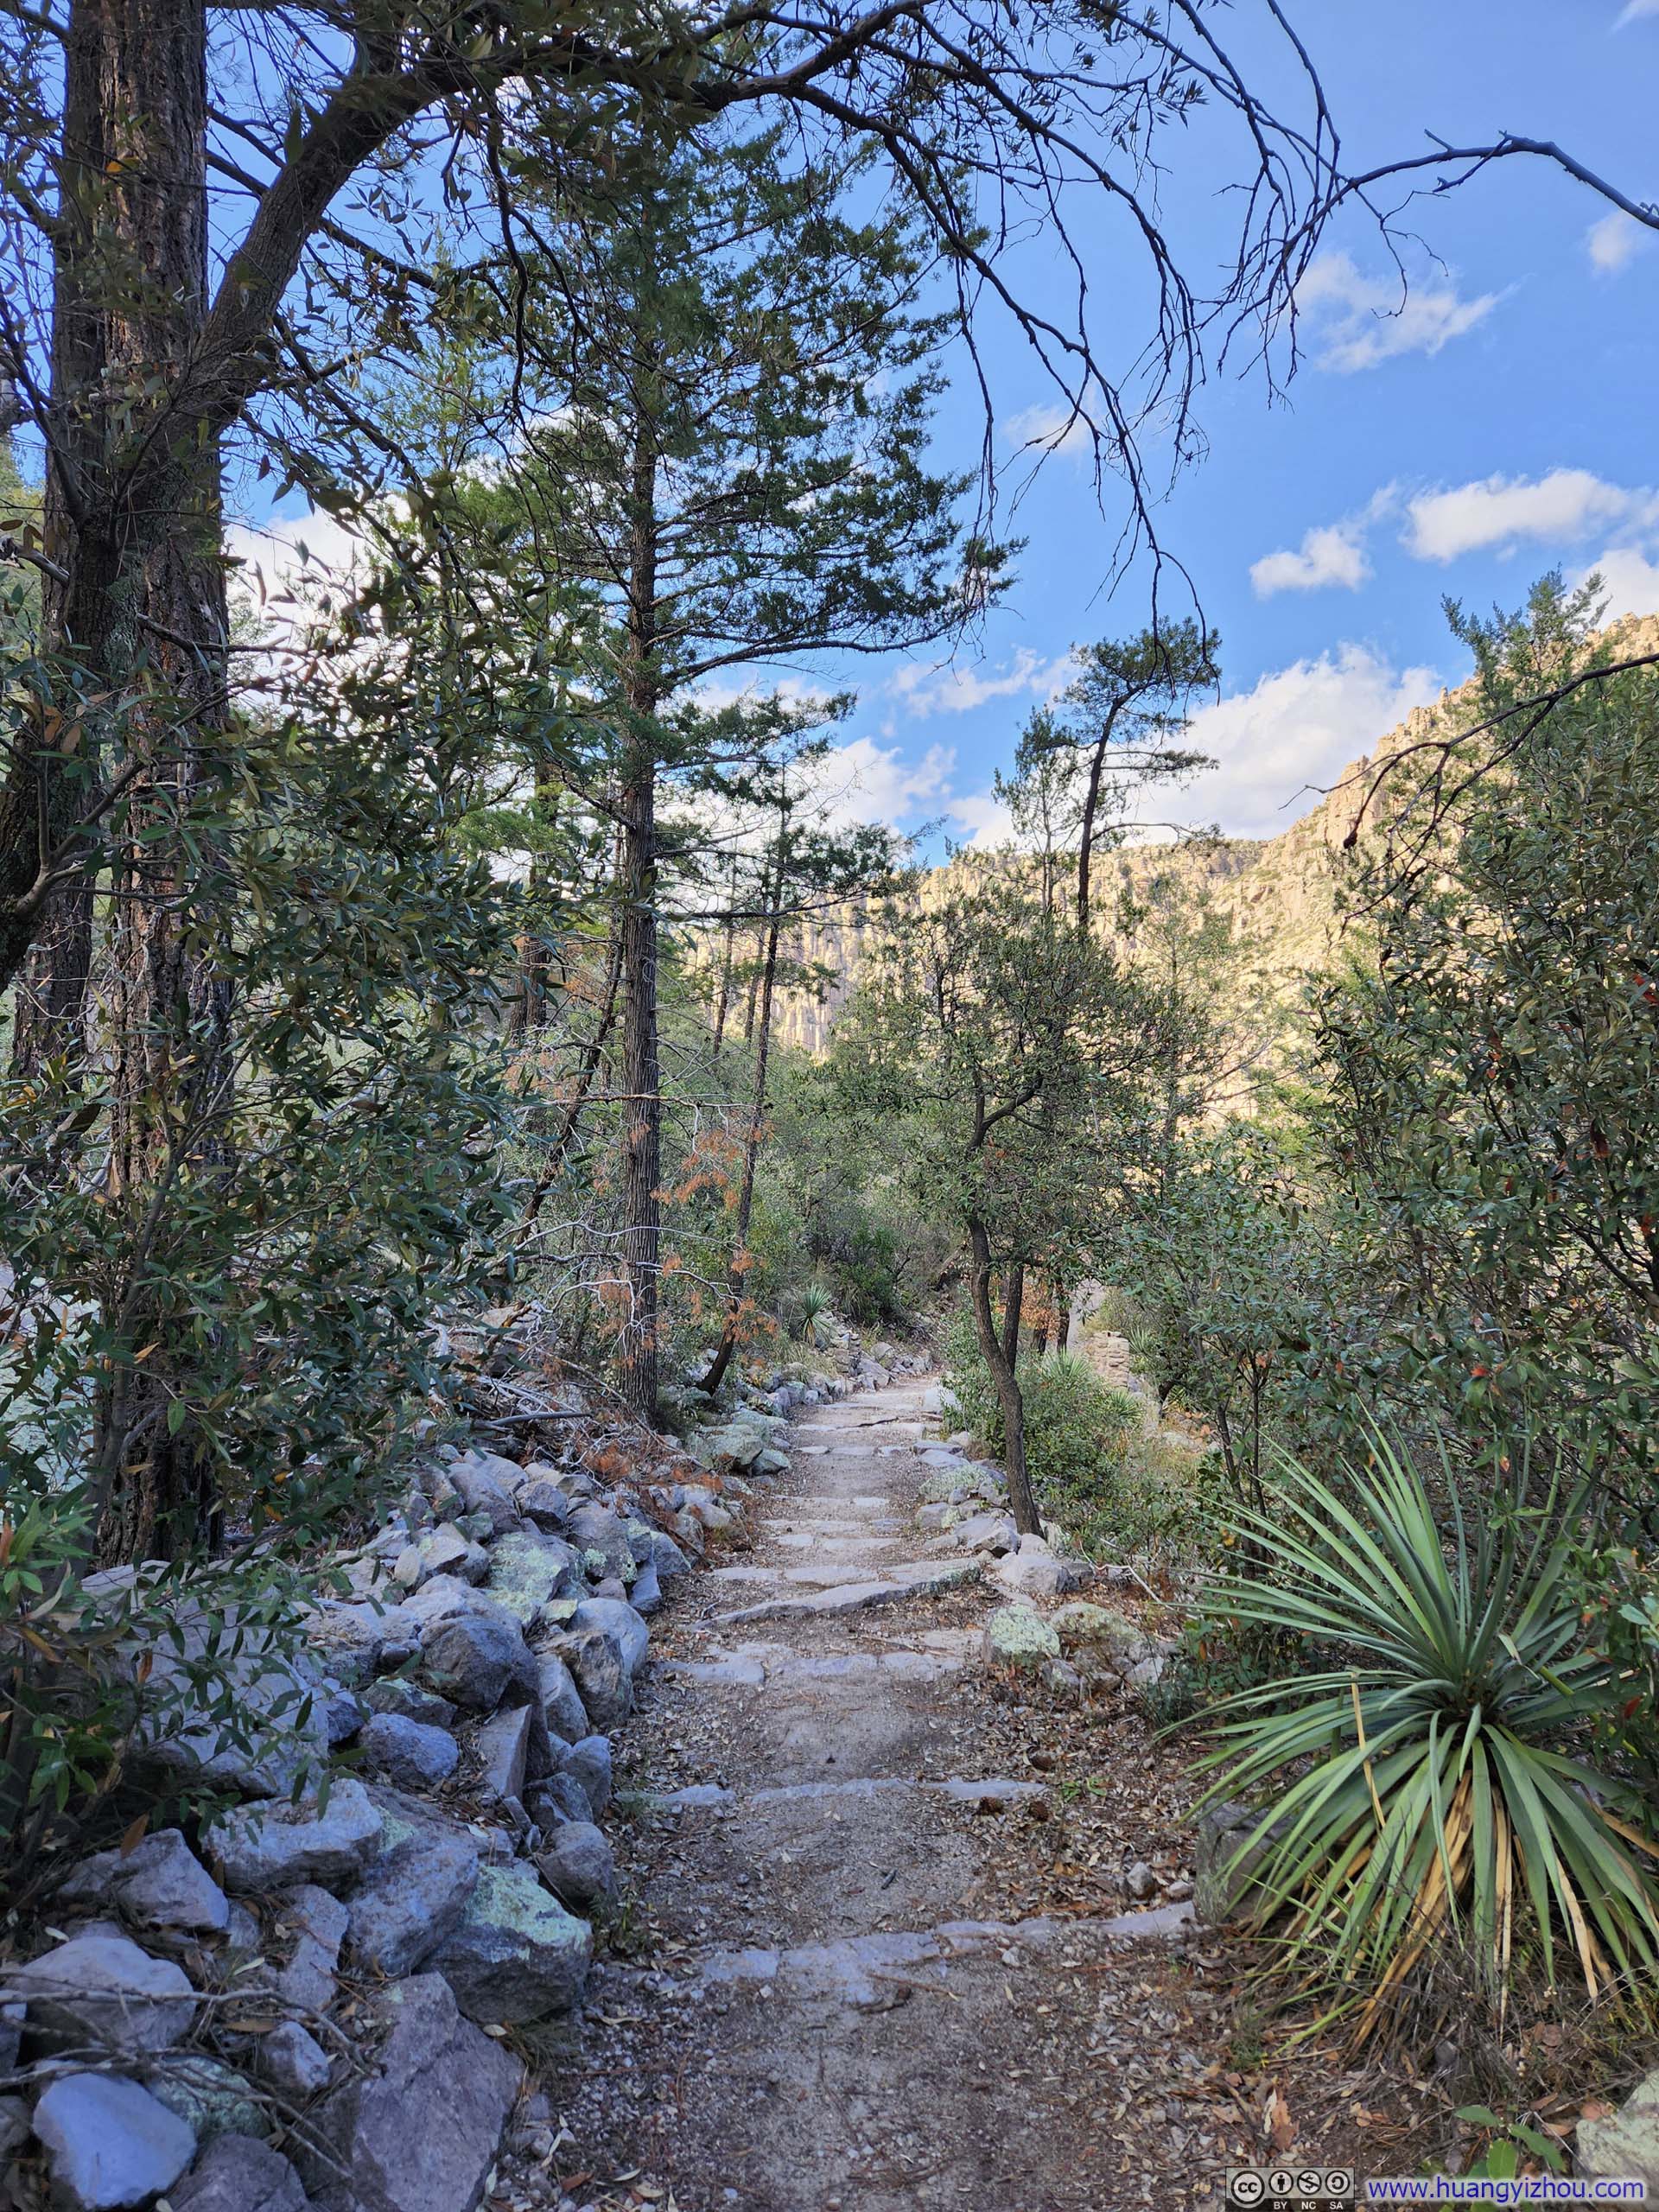
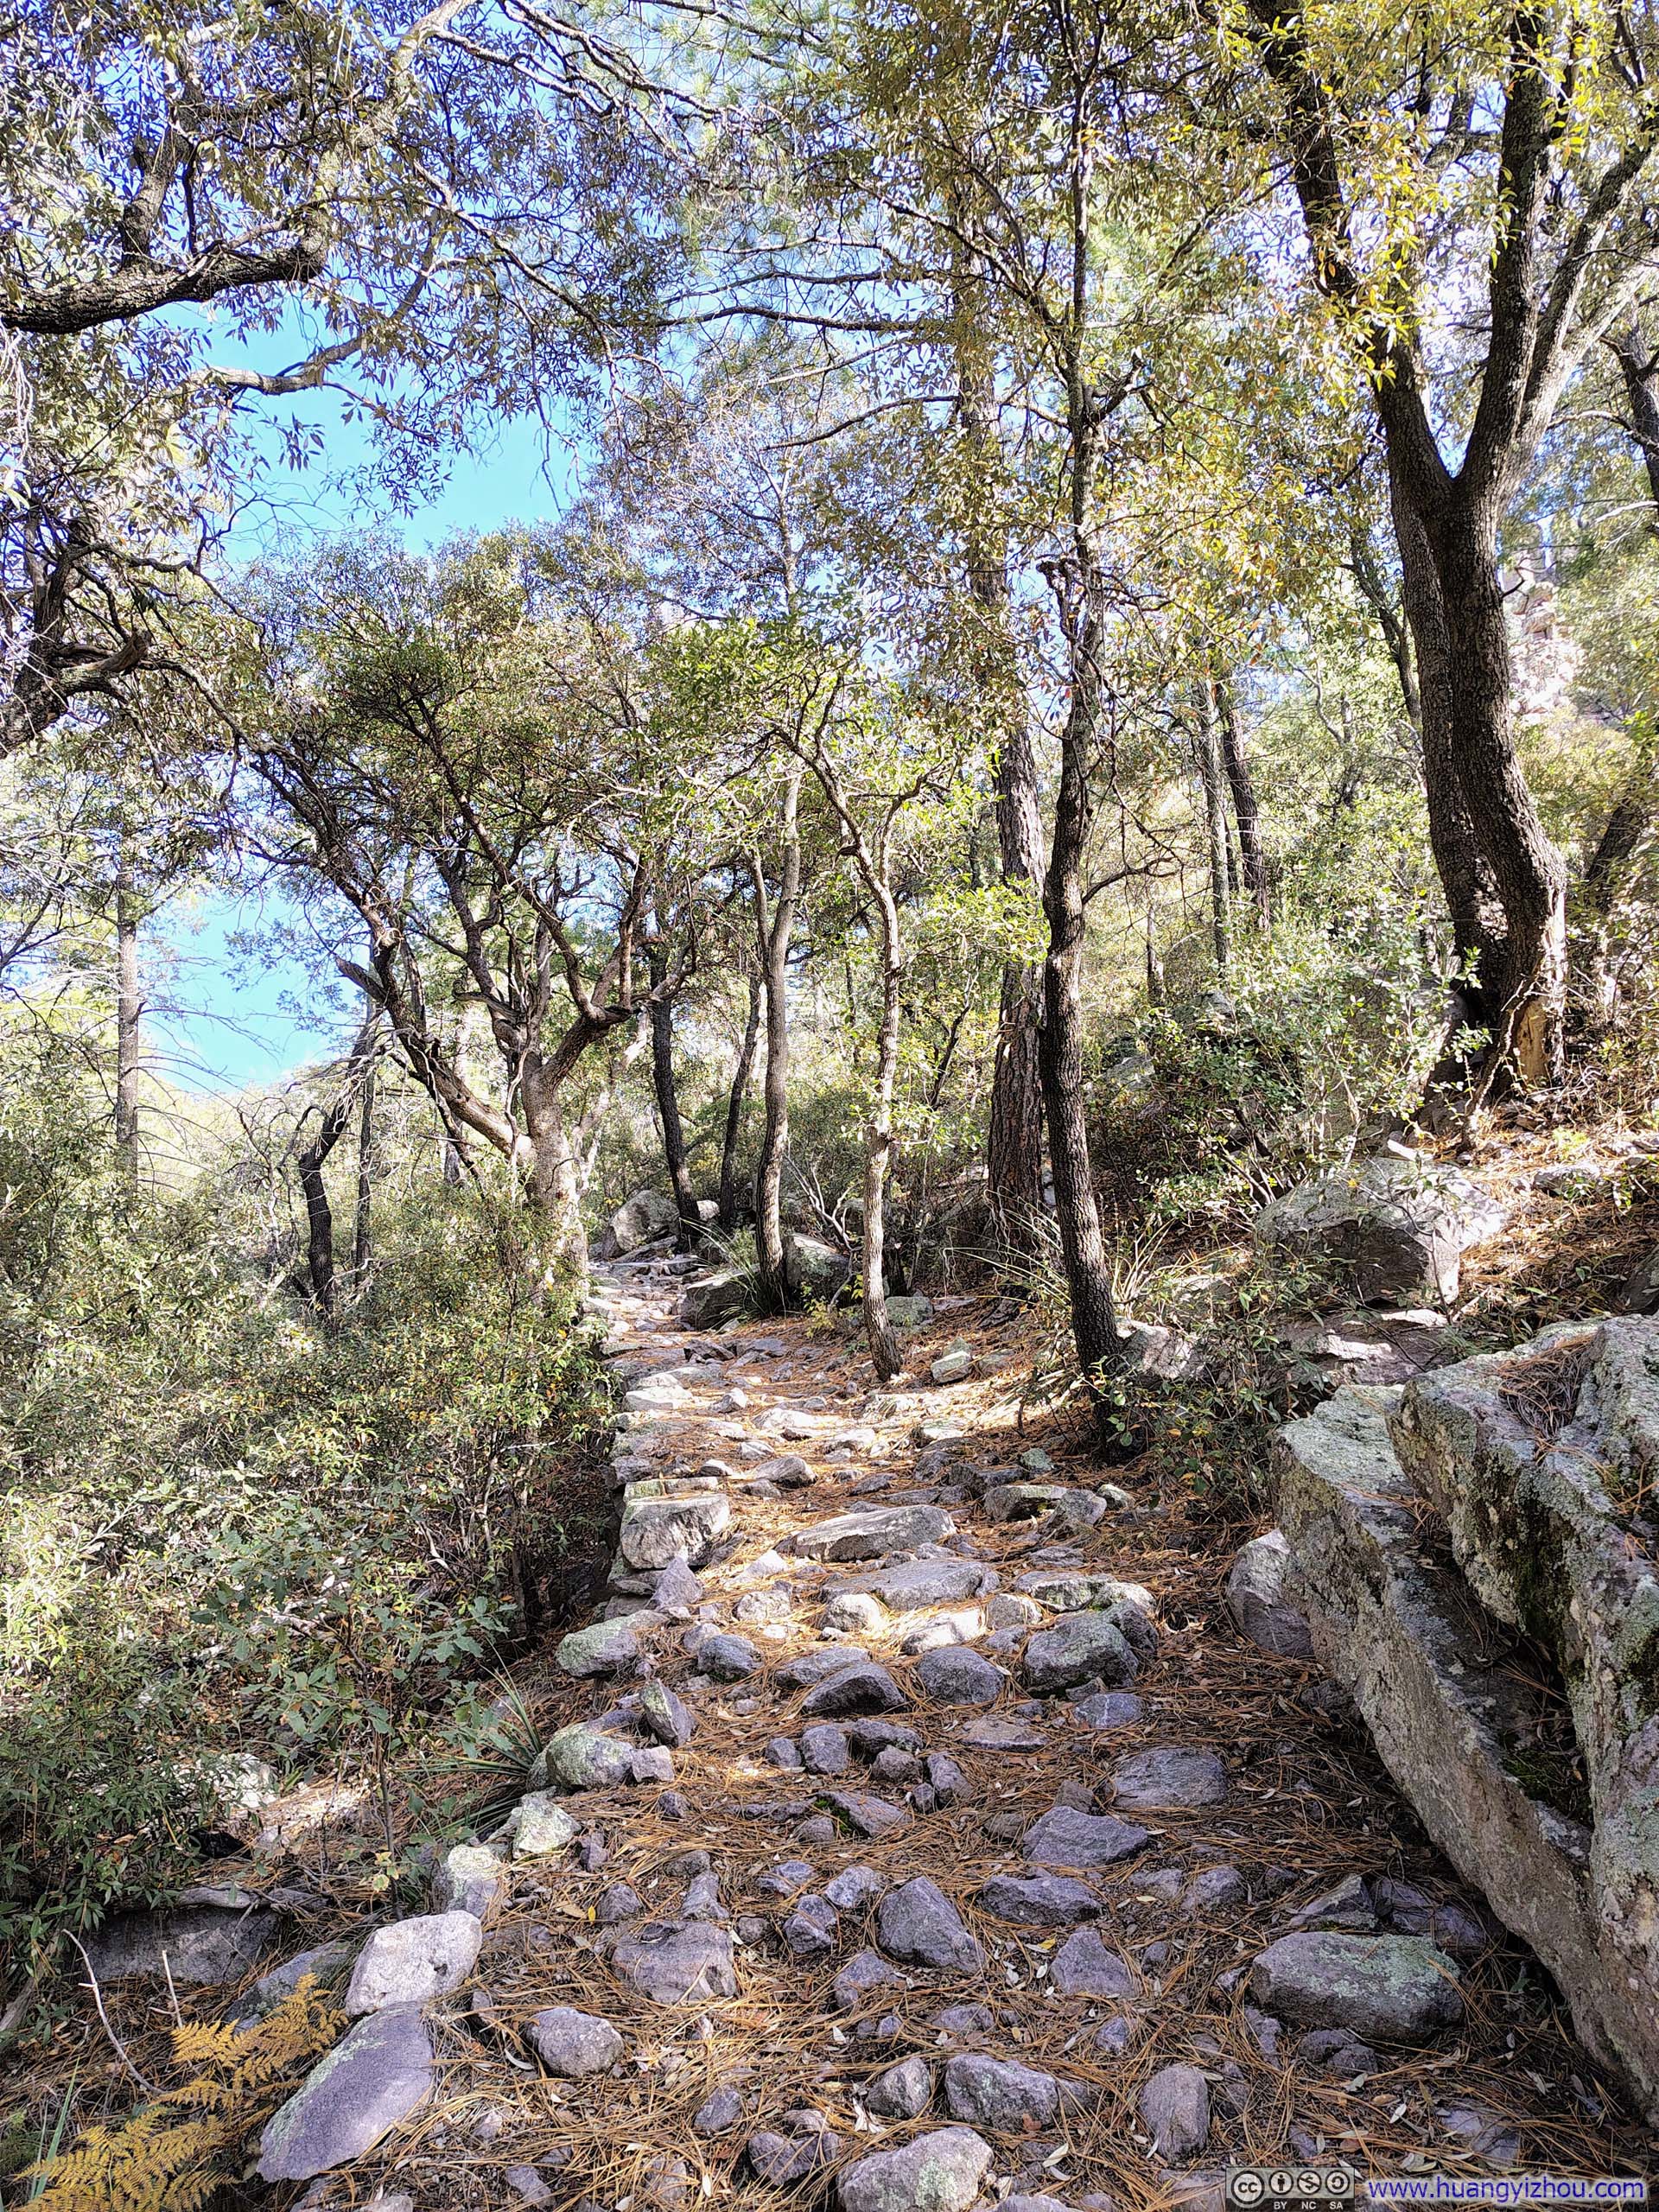
Much of the trail through Sarah Deming Canyon was enveloped by tall trees, a feature that persisted after reaching the floor of Rhyolite Canyon and turning back toward the trailhead.
 Trail
Trail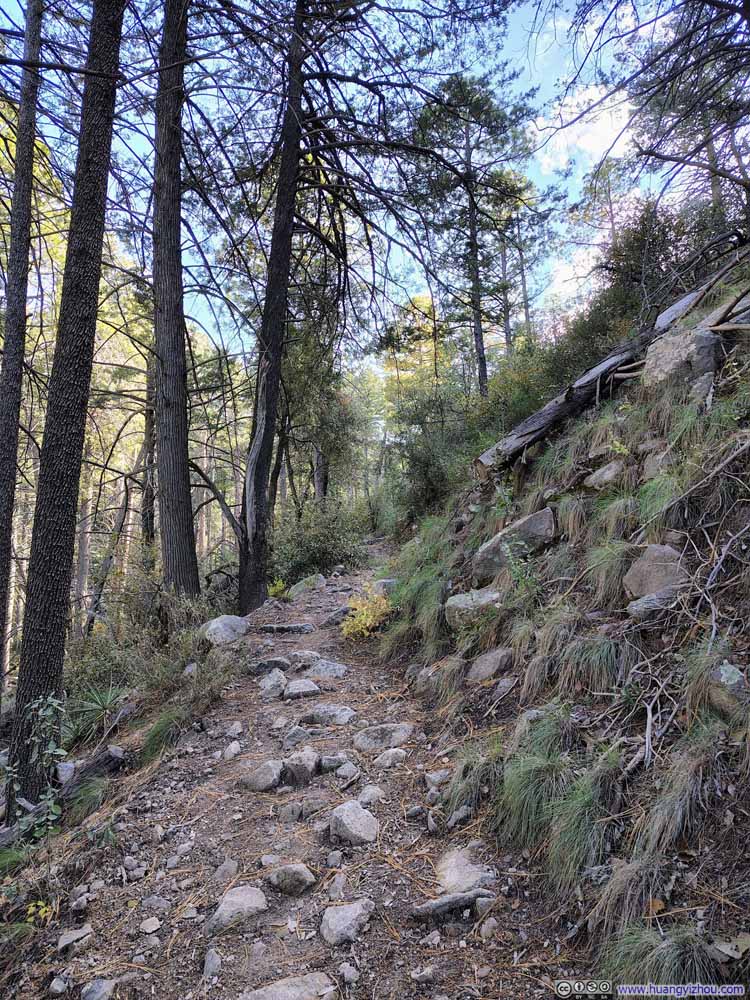 Trail
Trail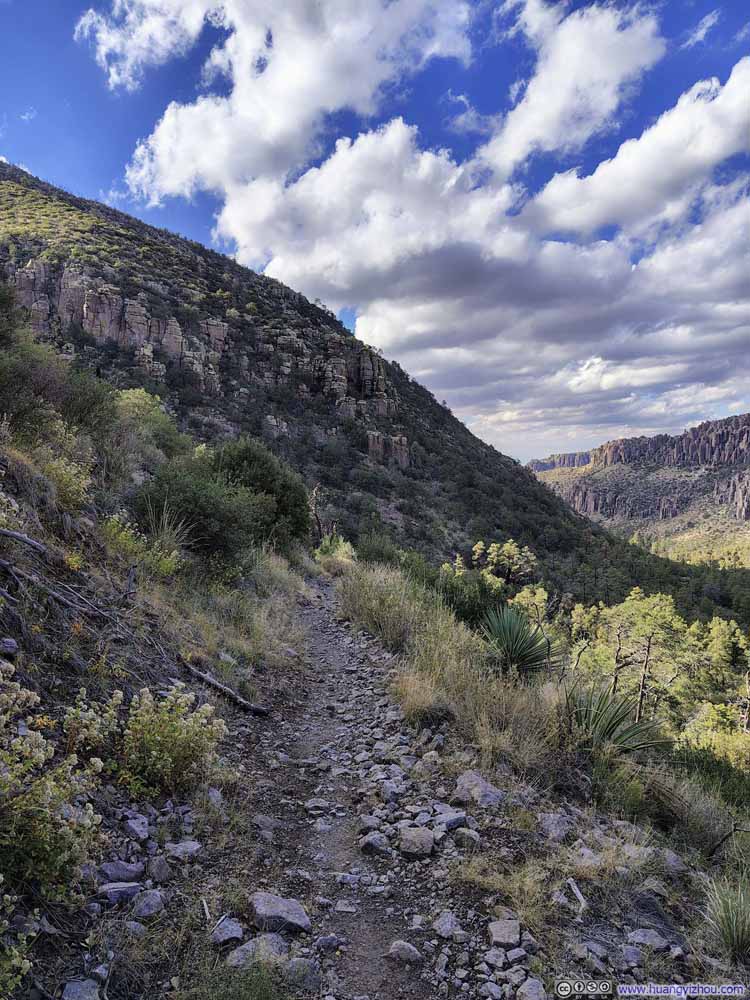 Trail
Trail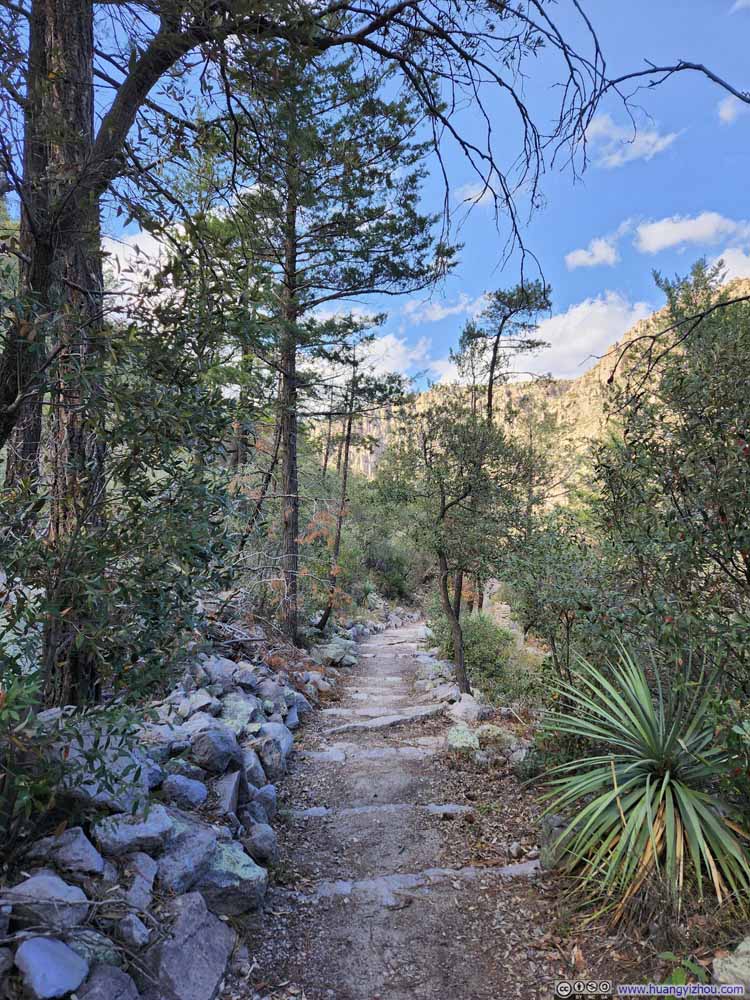 Trail
Trail Trail
Trail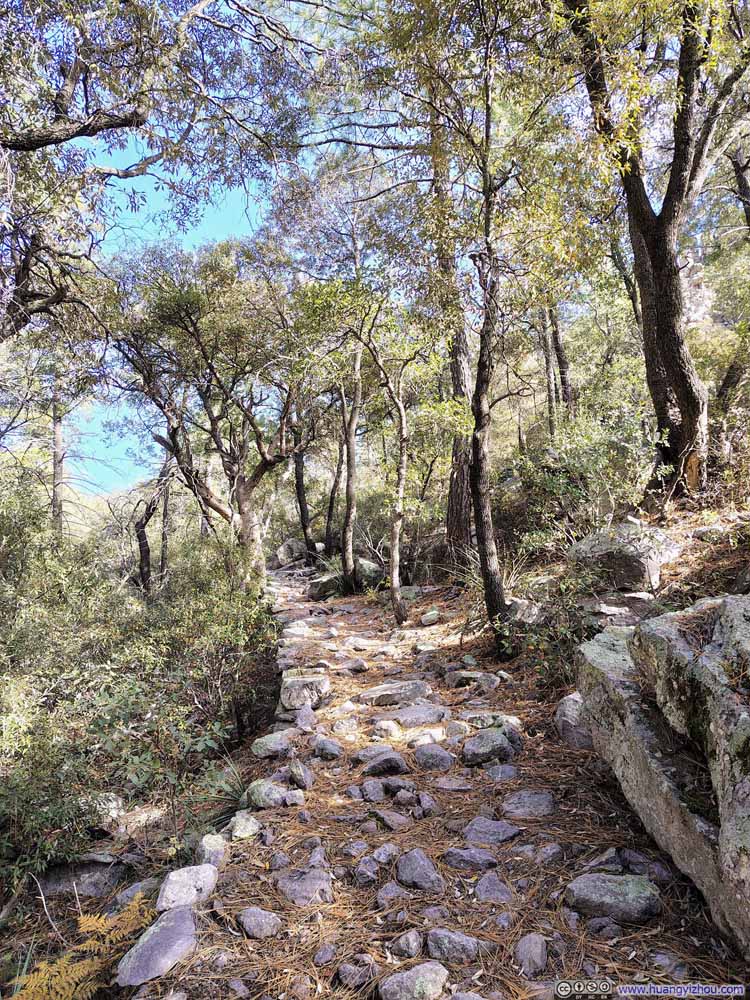 Trail
Trail
Click here to display photos of the slideshow

Trail
Trail
Trail
Trail

Trail
Trail
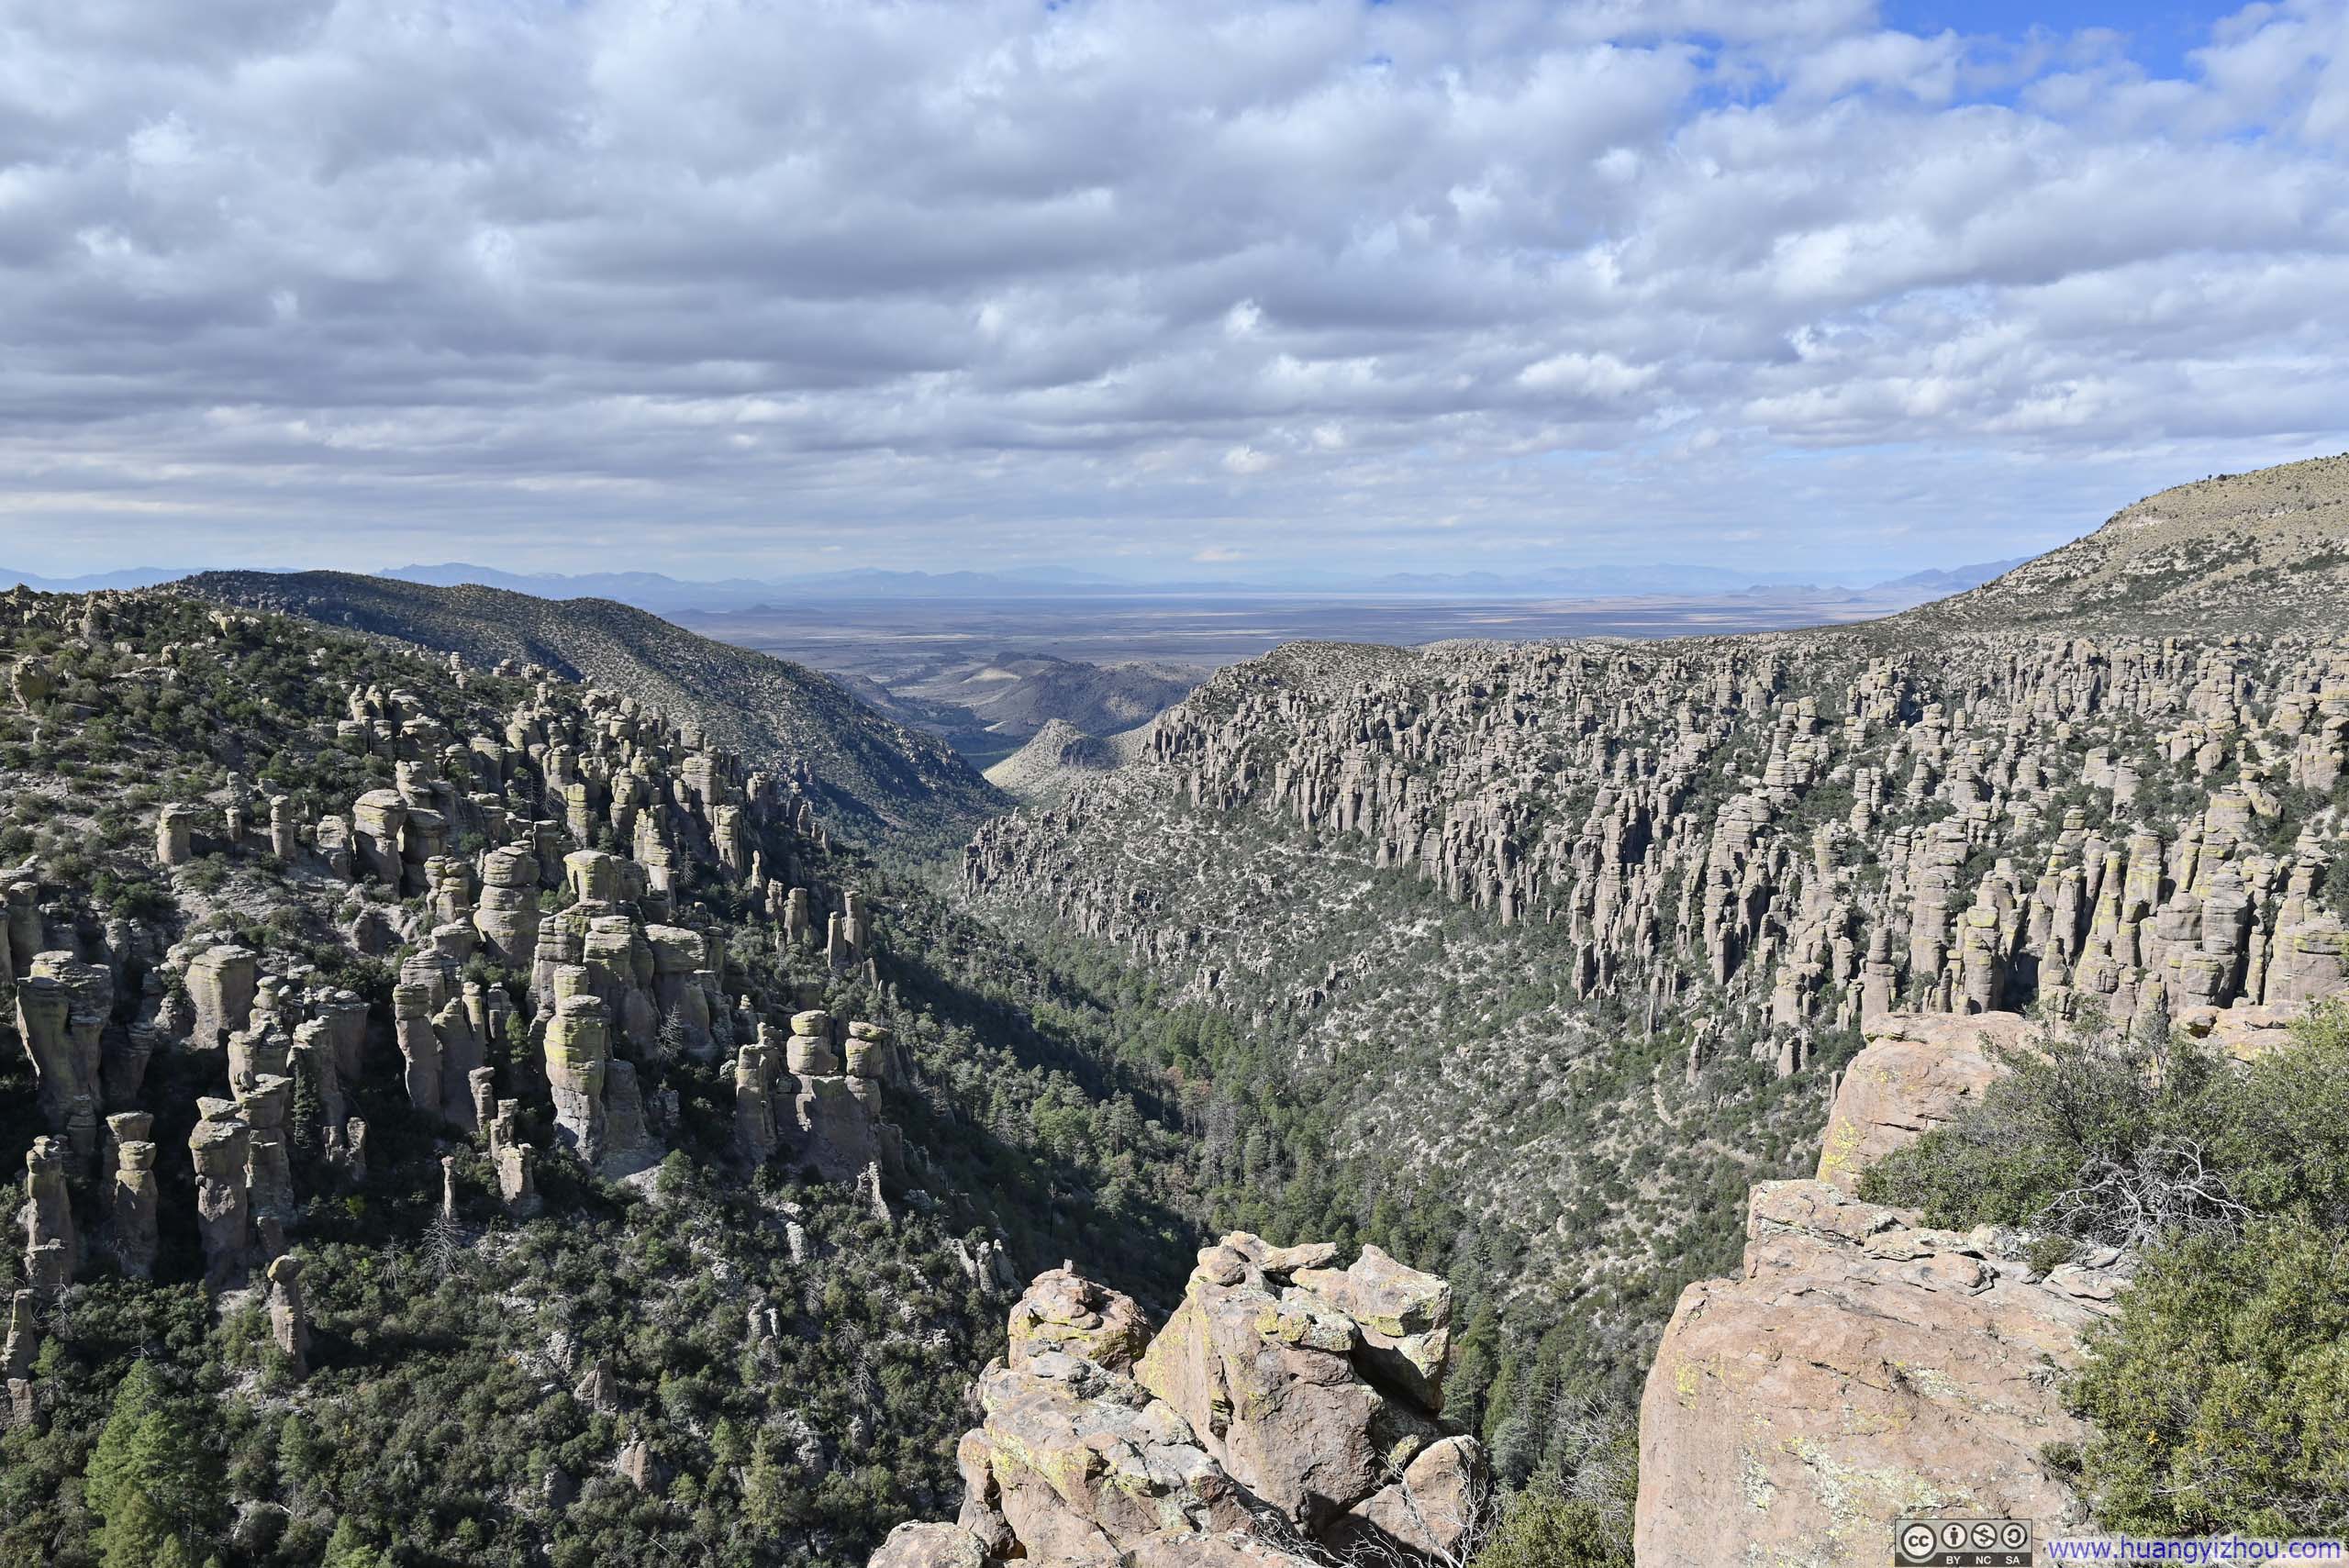
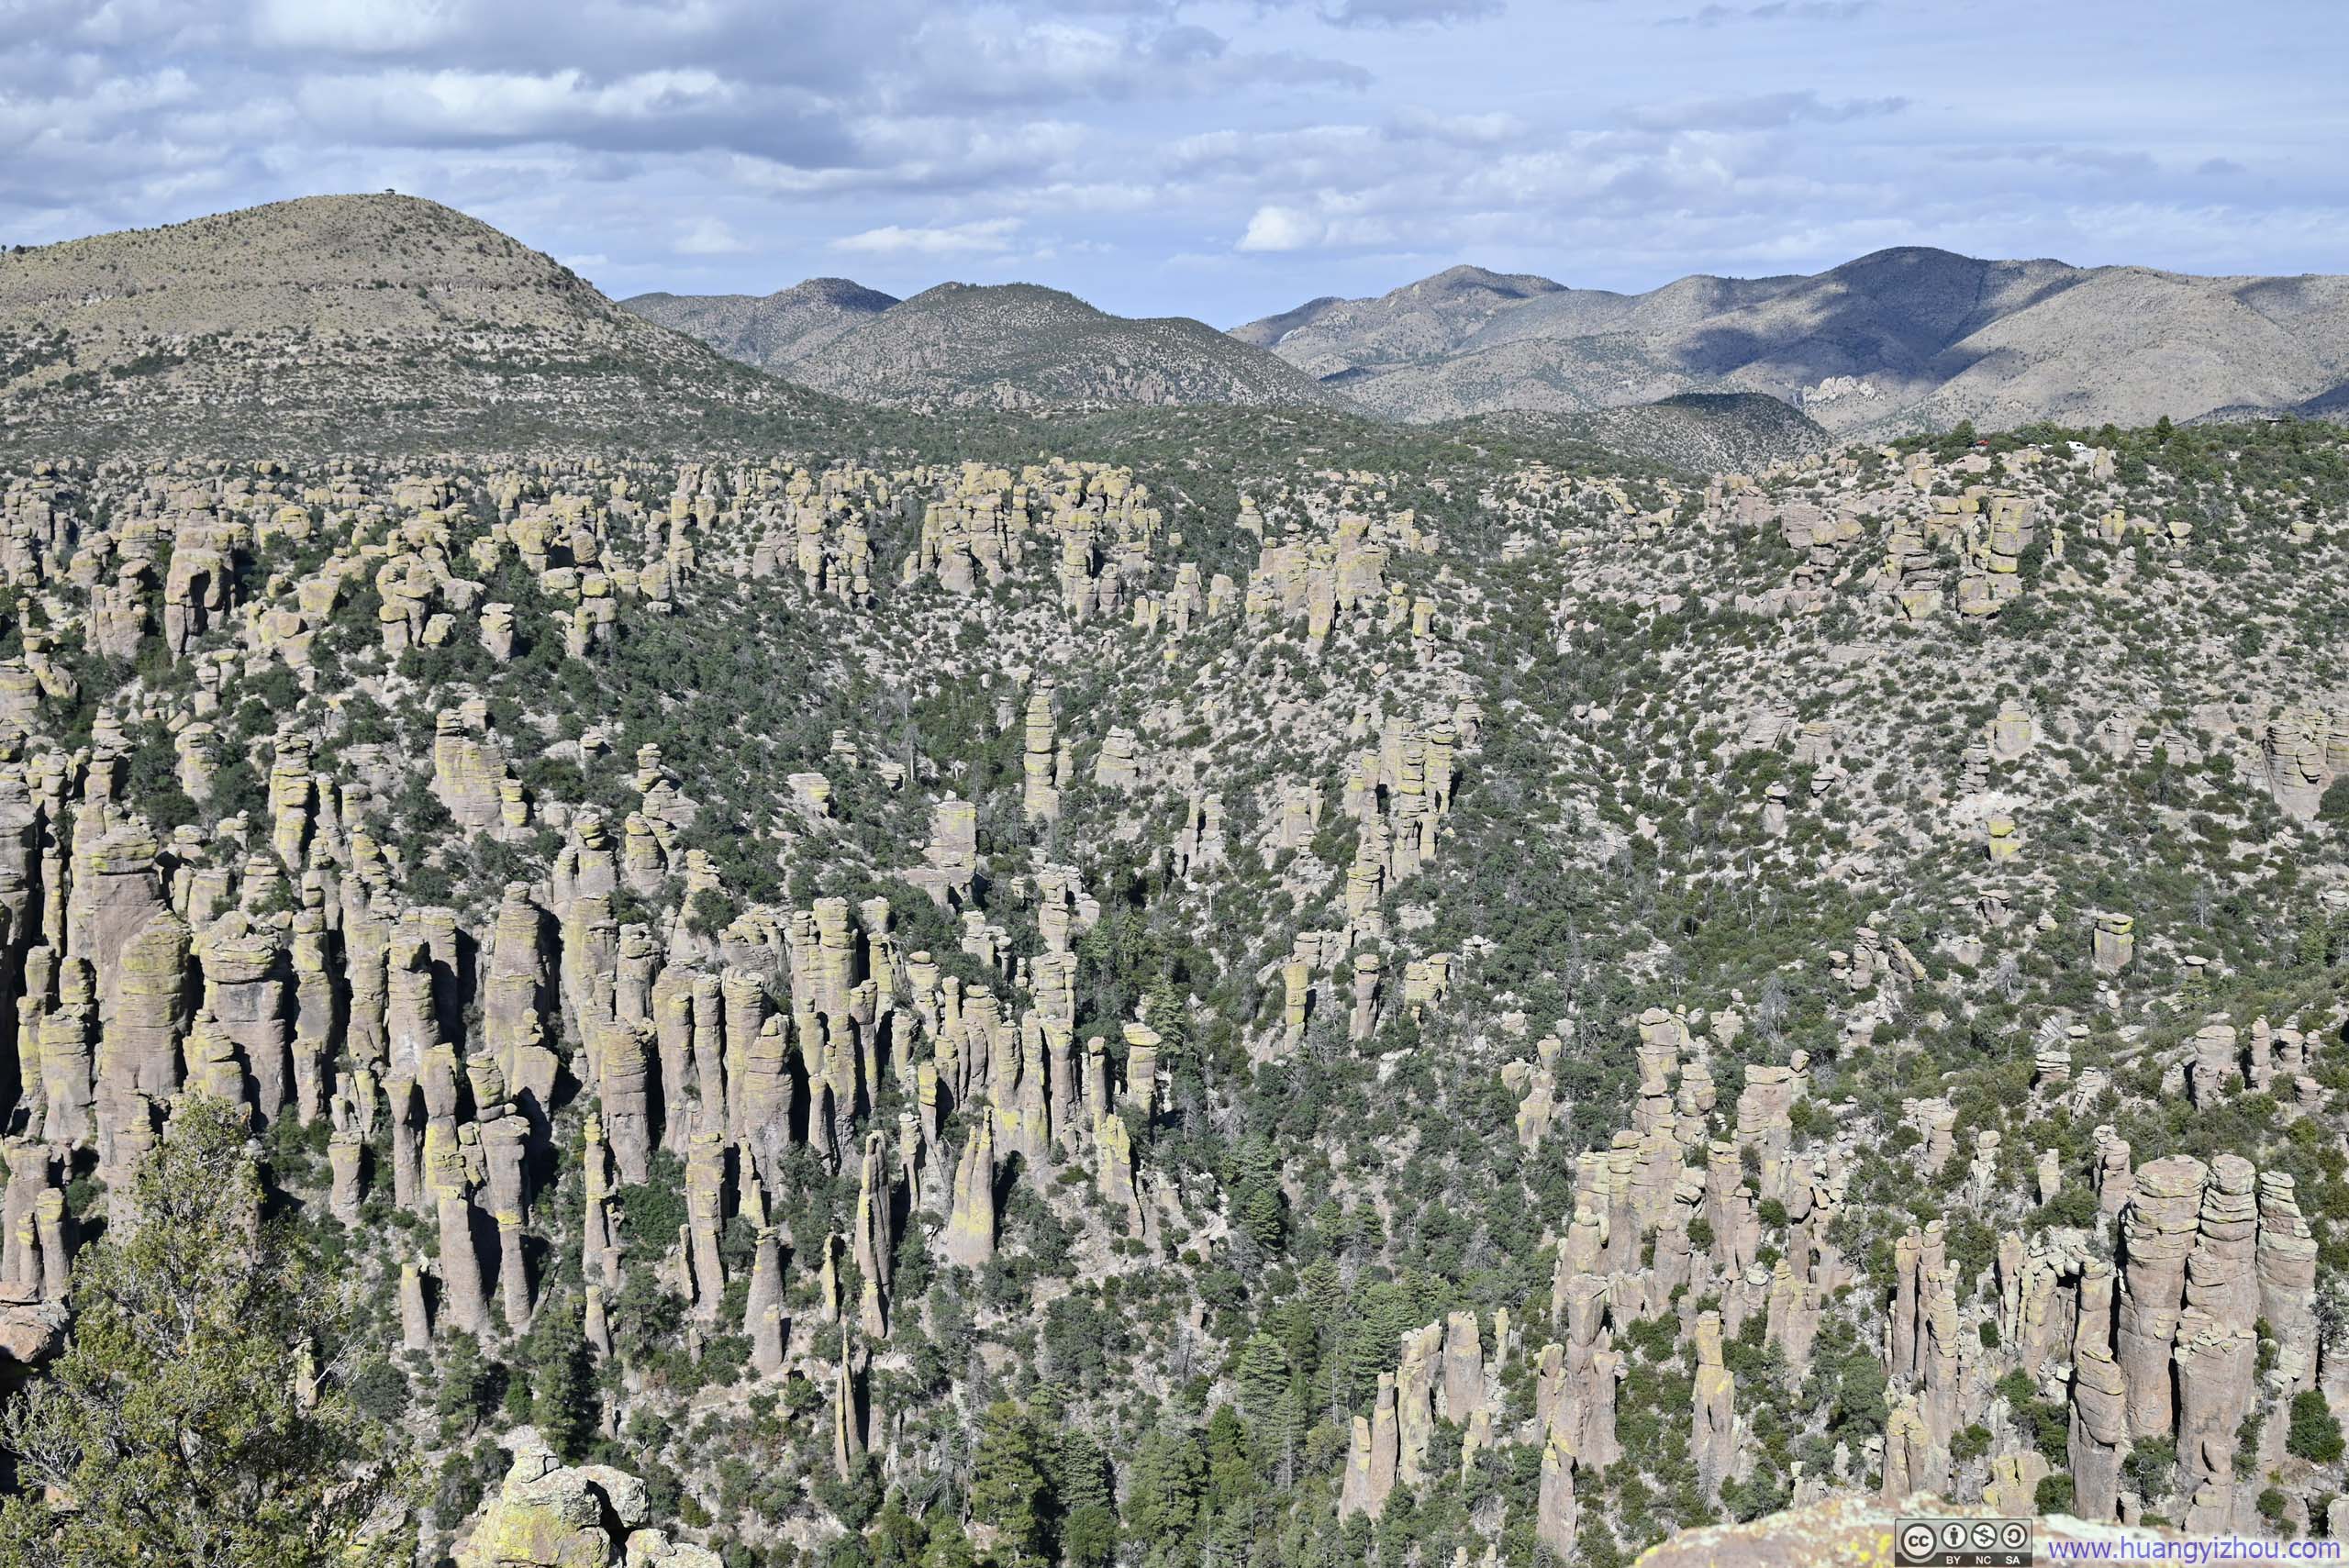
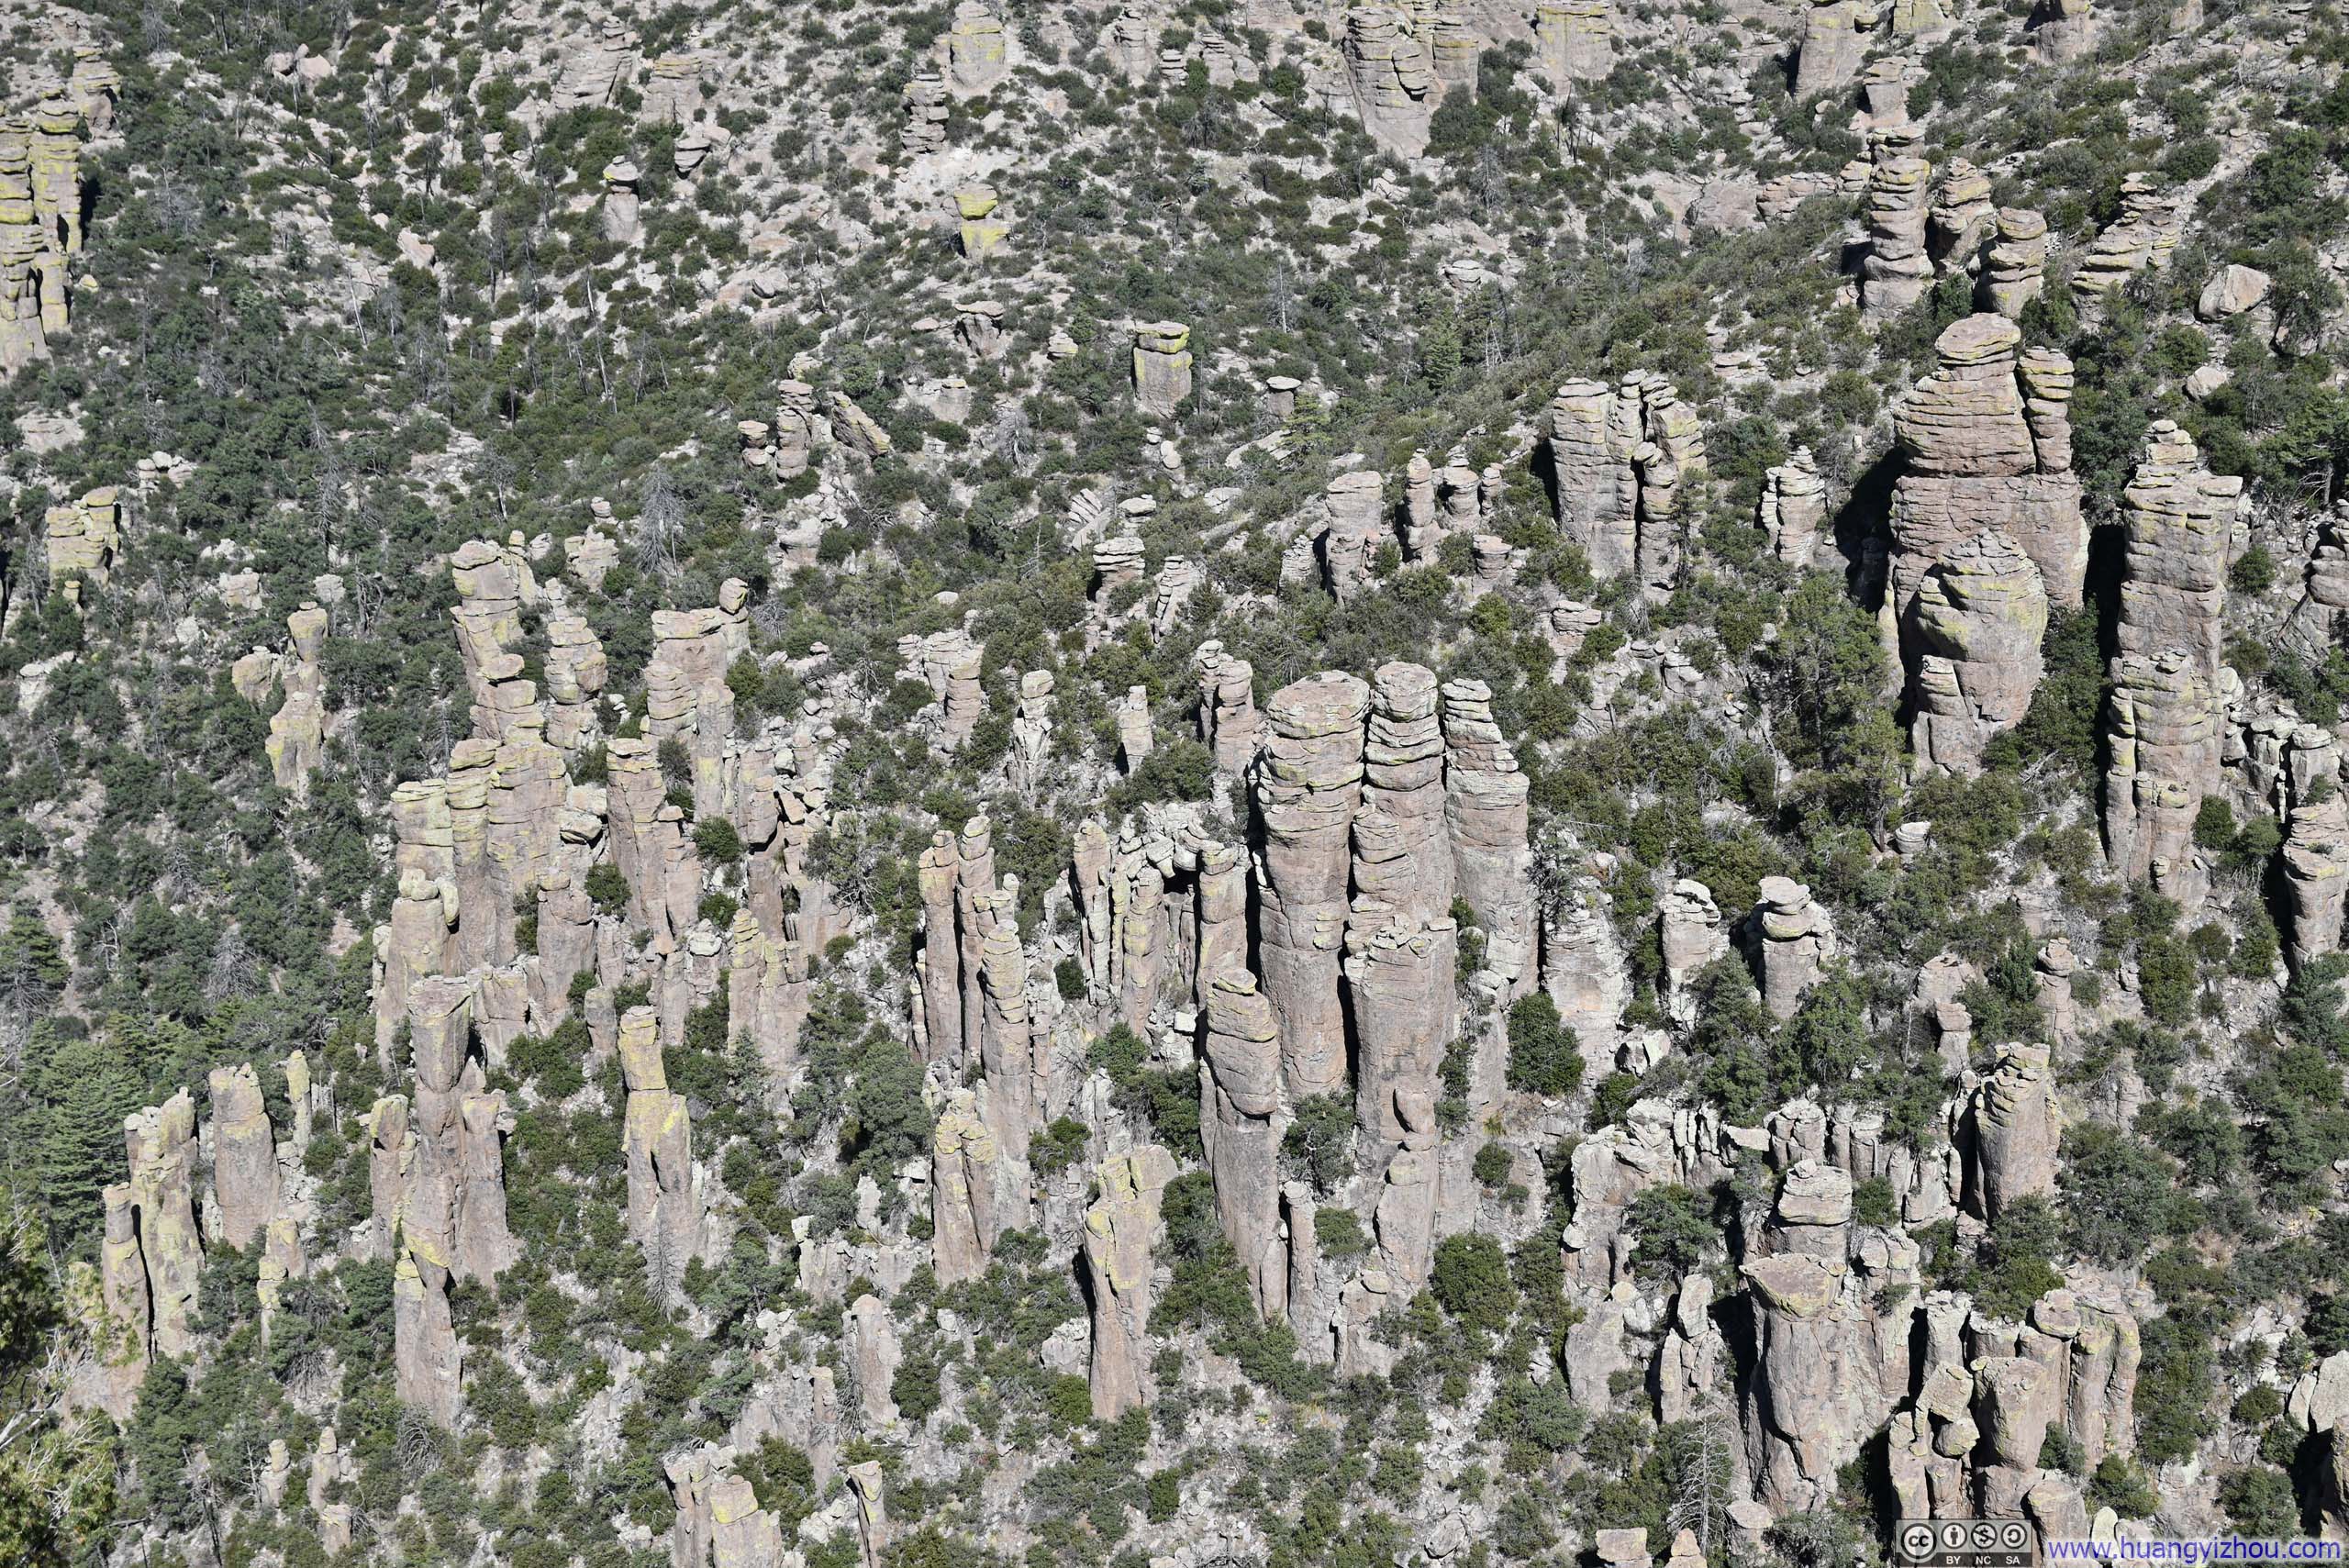
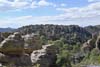
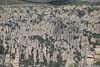
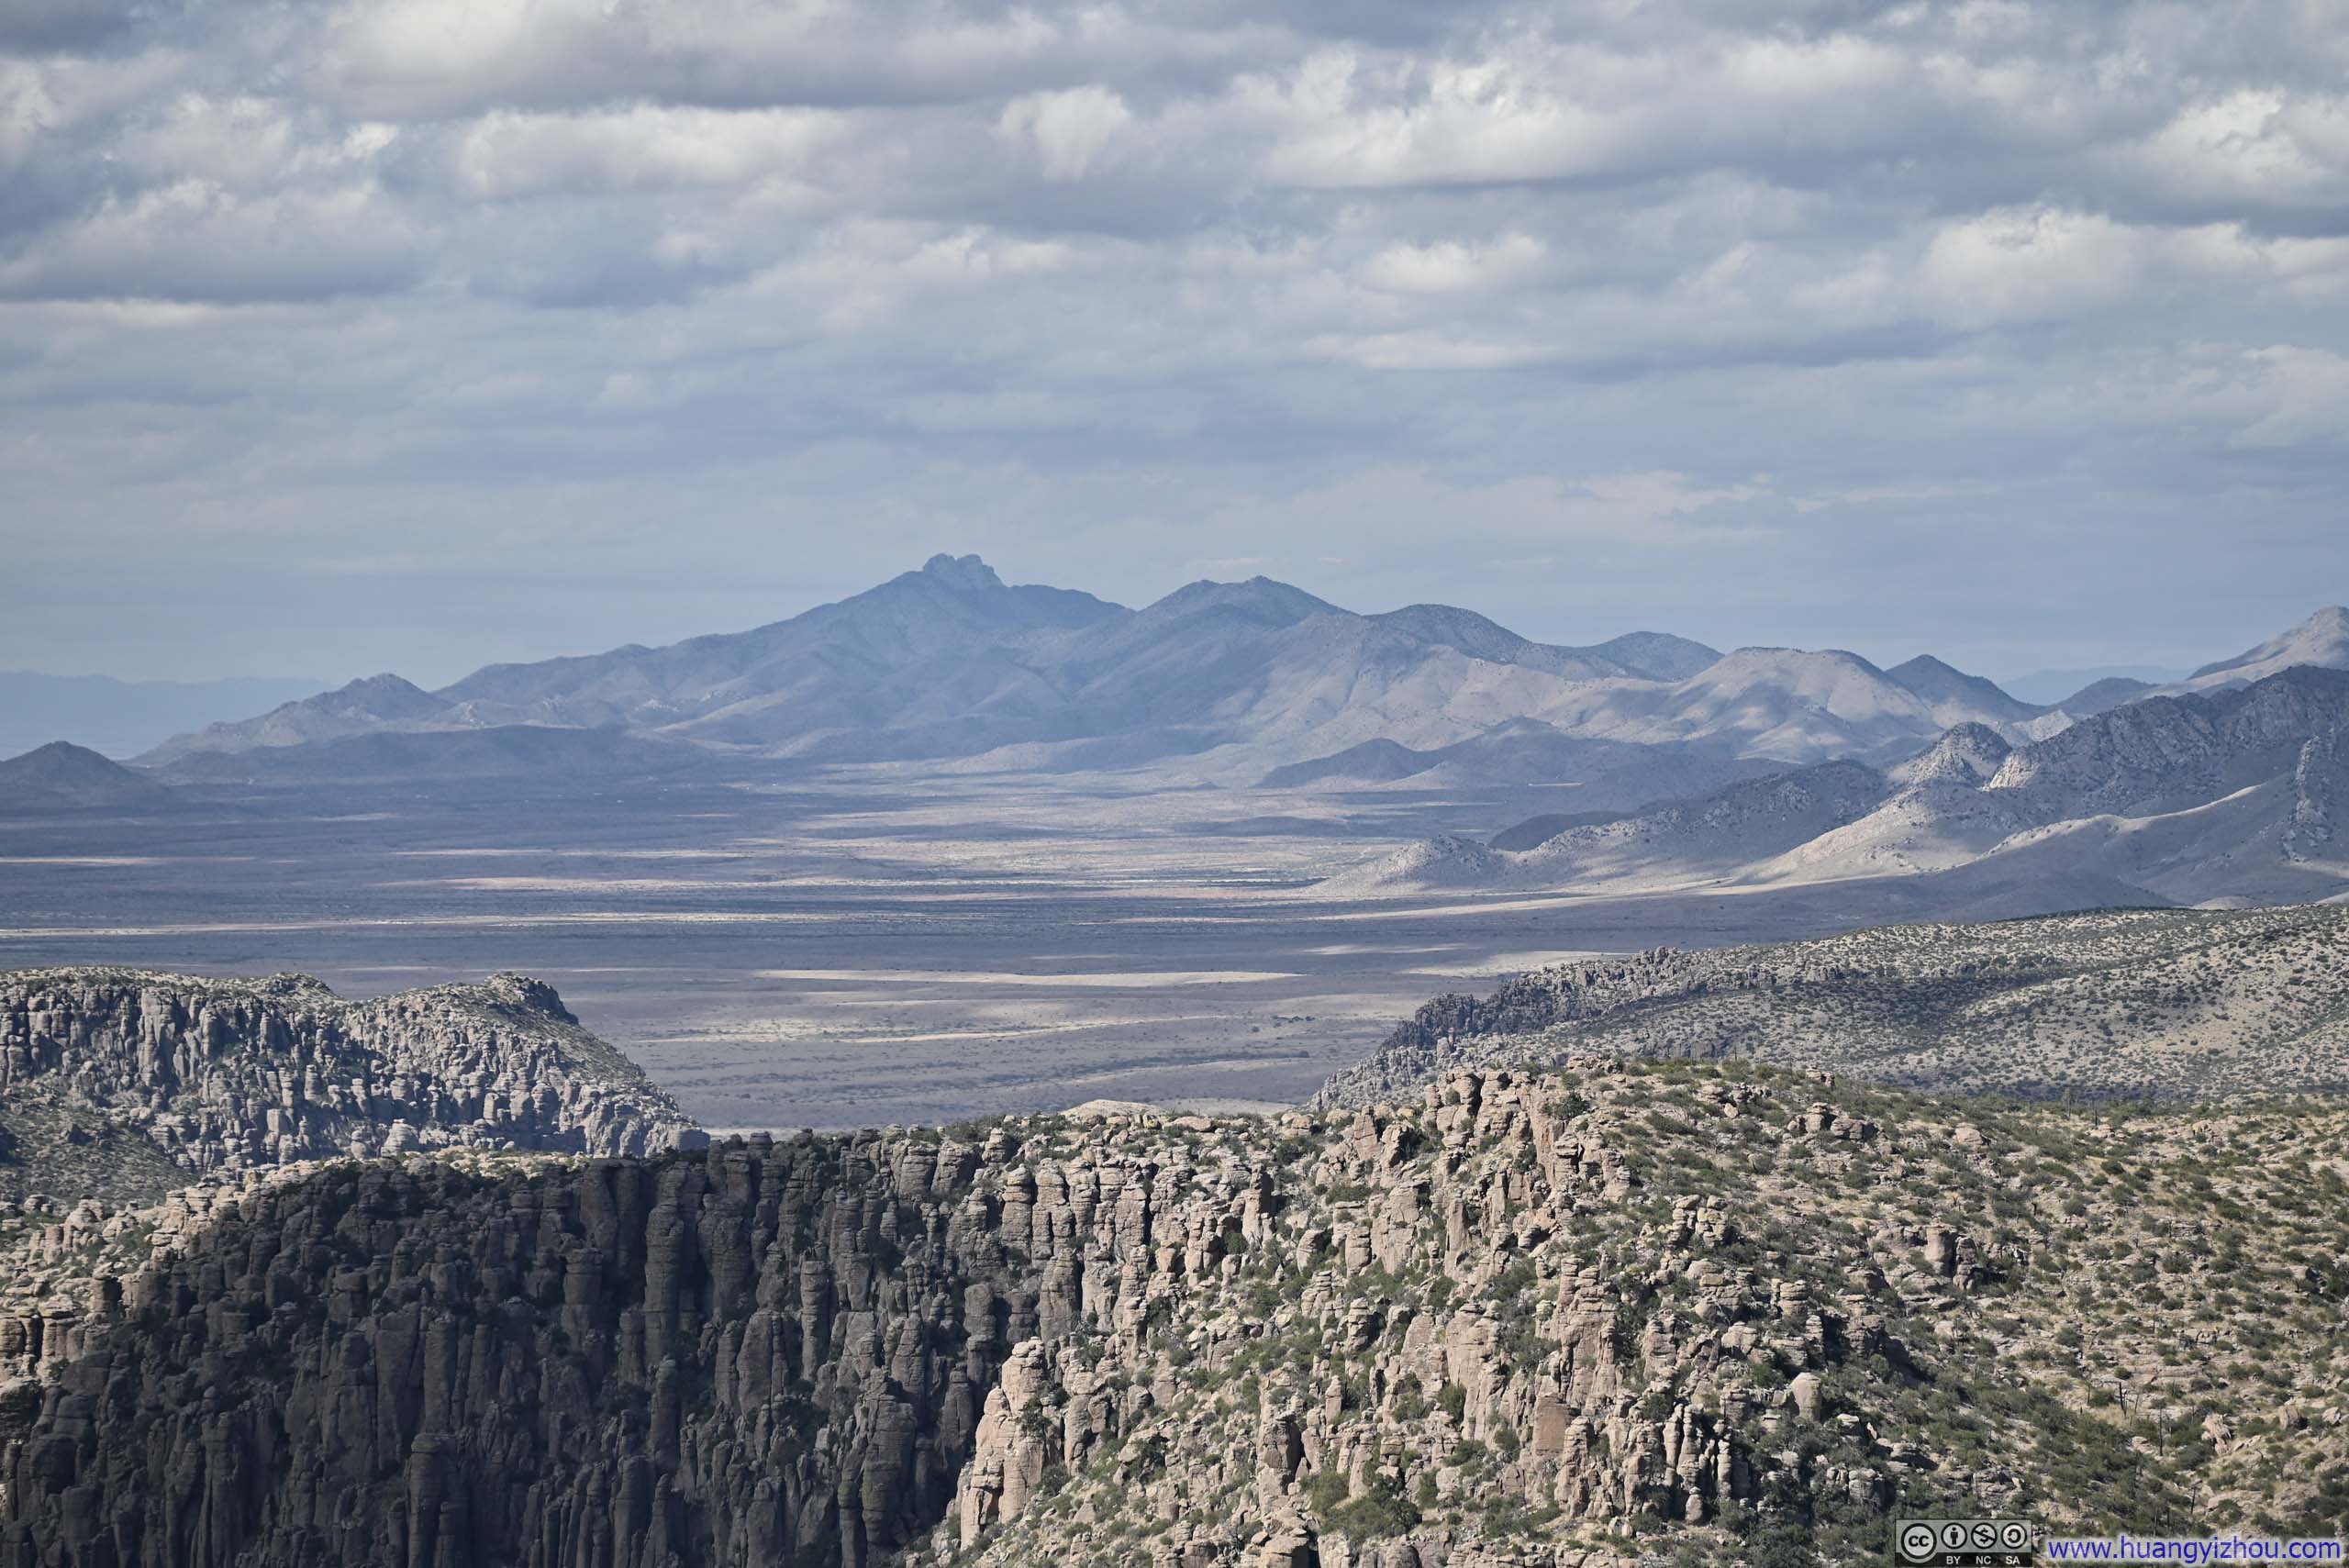
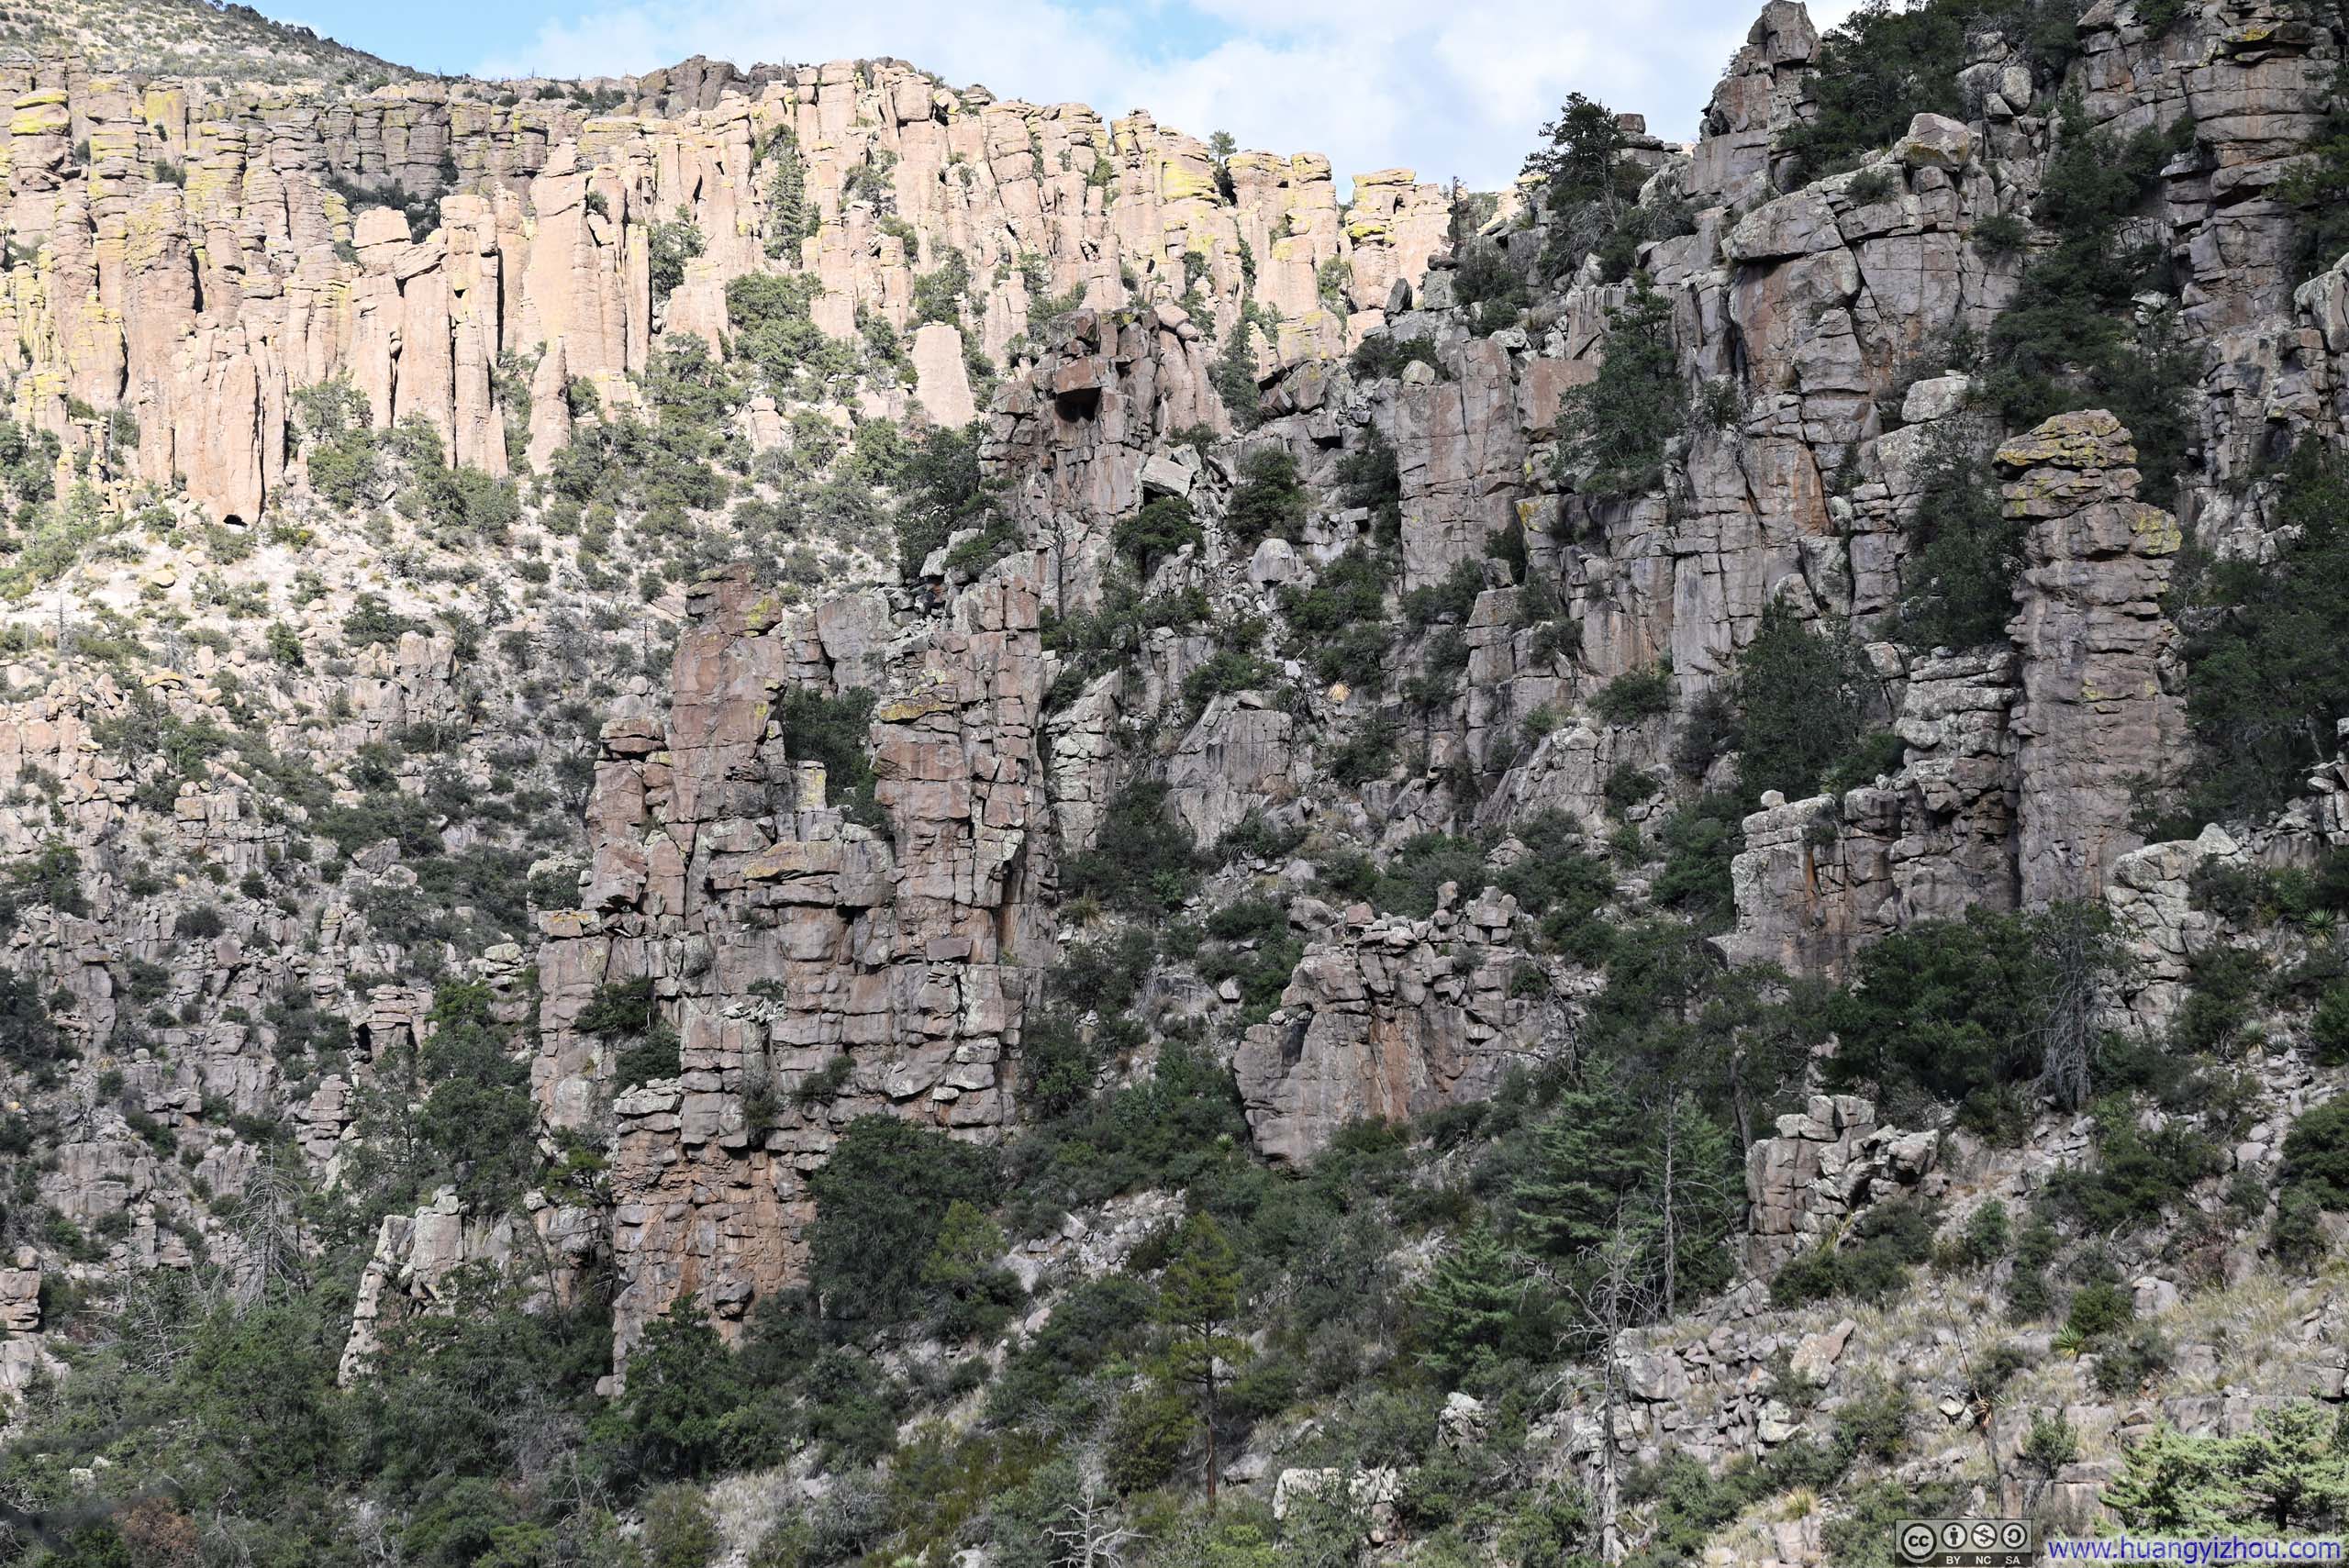
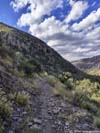
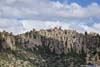
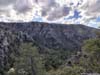
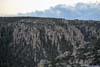
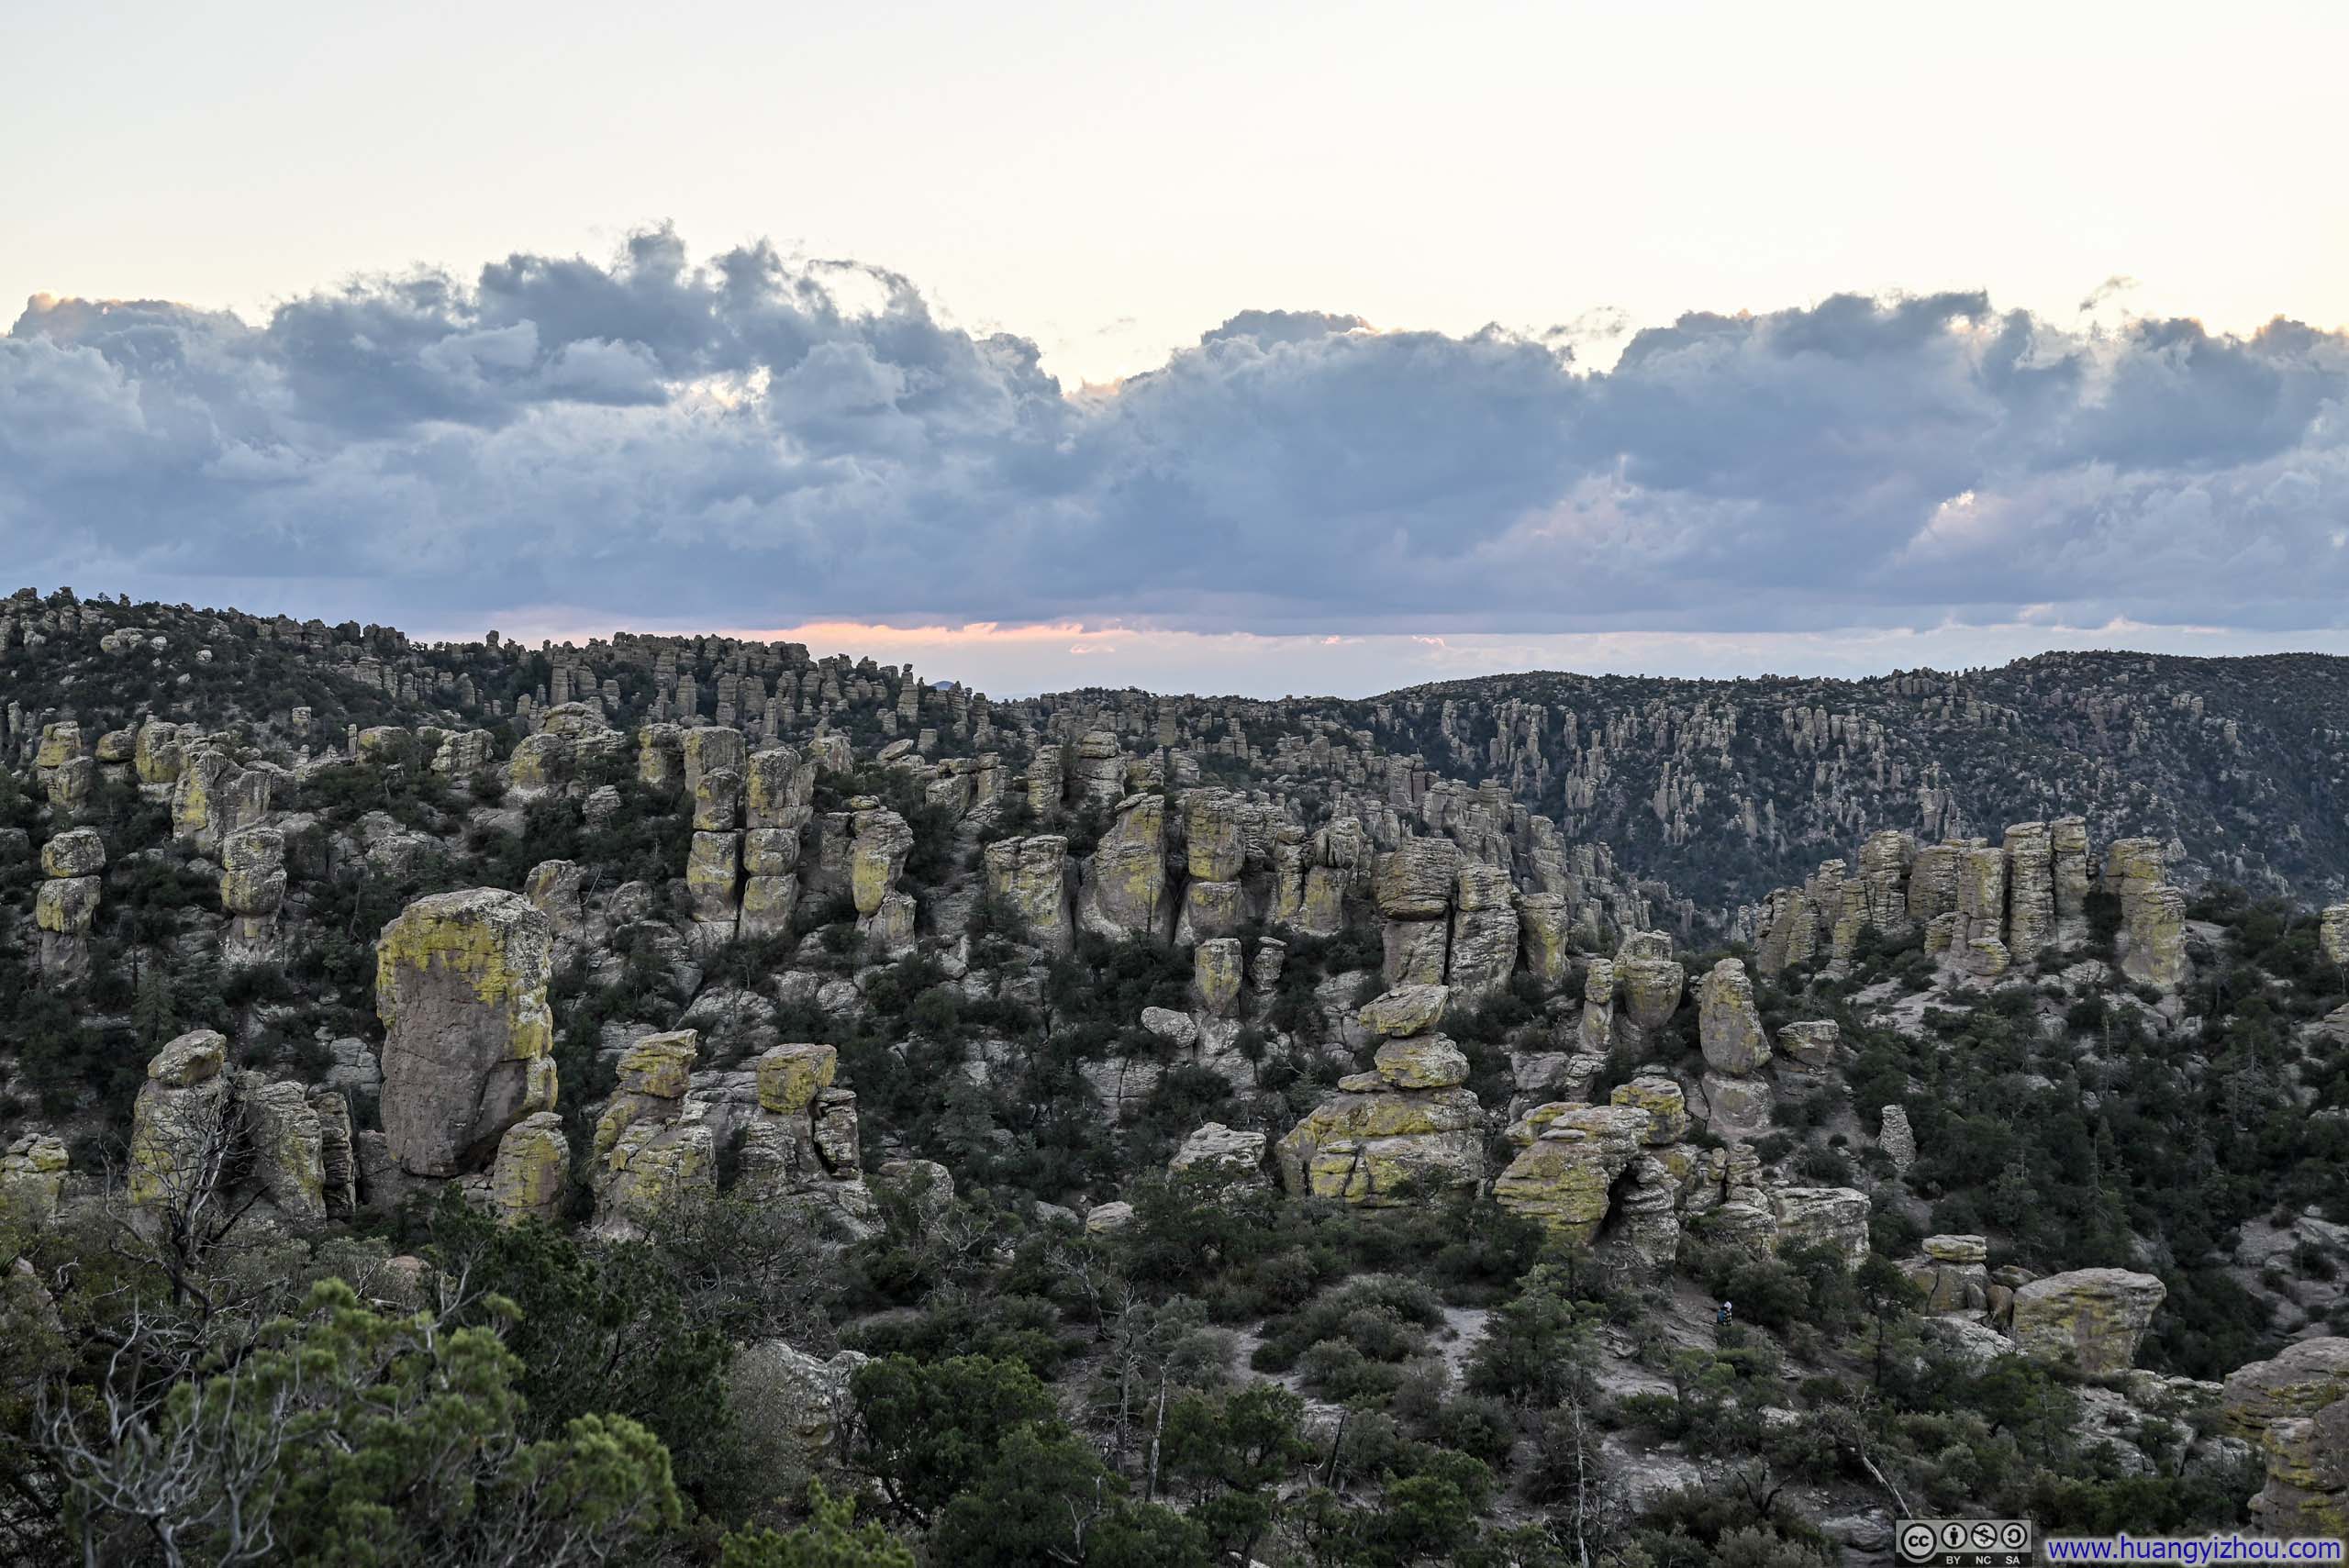
Yet when views along the trail weren’t obscured by trees, they proved quite spectacular. The entire length of Rhyolite Canyon was lined with endless arrays of hoodoos, and the trail, running roughly through the middle, offered the broadest of vistas. It was like watching an army from the most epic chronicles parading past, stretching as far as the eye could see. Taking a closer look, one could observe the hoodoos closer to the canyon floor showed greater erosion, while those positioned higher up appeared more polished, a distinction that lent this stone army even more character.
 Hoodoos across Rhyolite Canyon
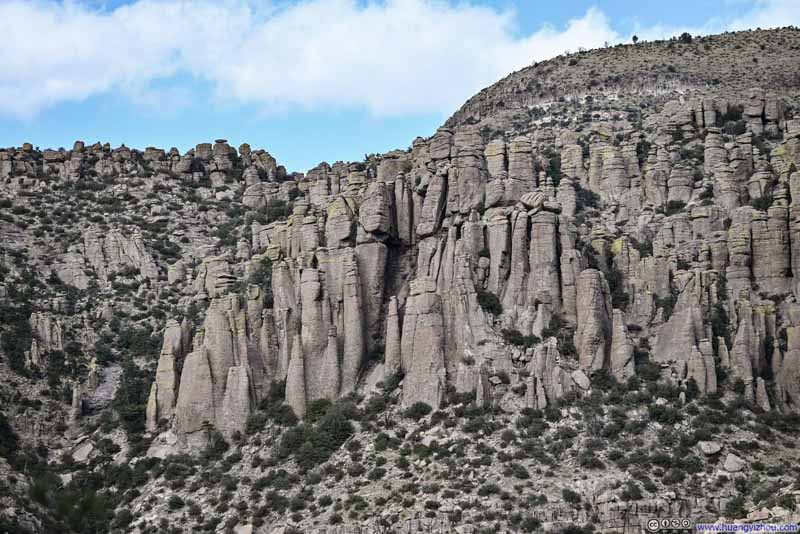 Hoodoos across Rhyolite Canyon
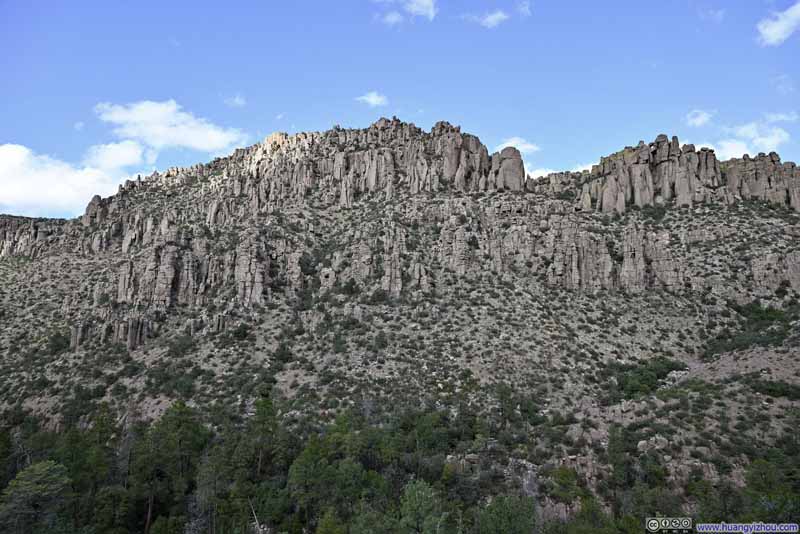 Hoodoos
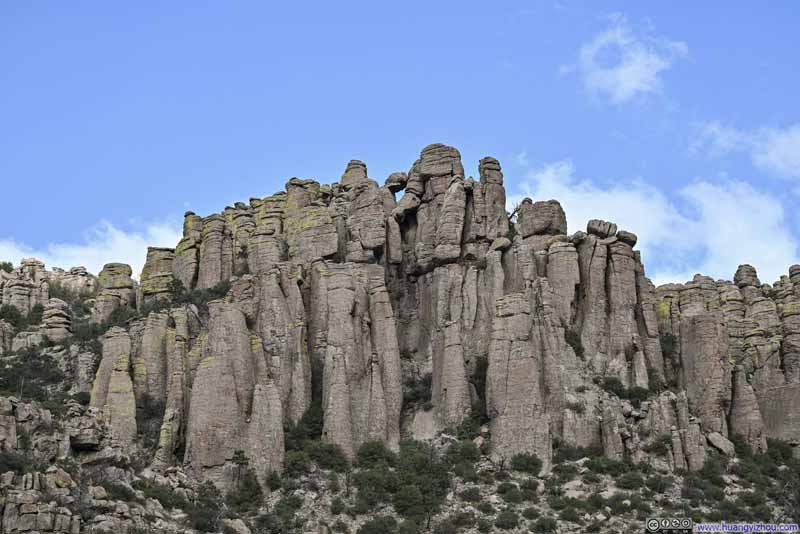 Balanced Hoodoos
 Hoodoos across Rhyolite Canyon
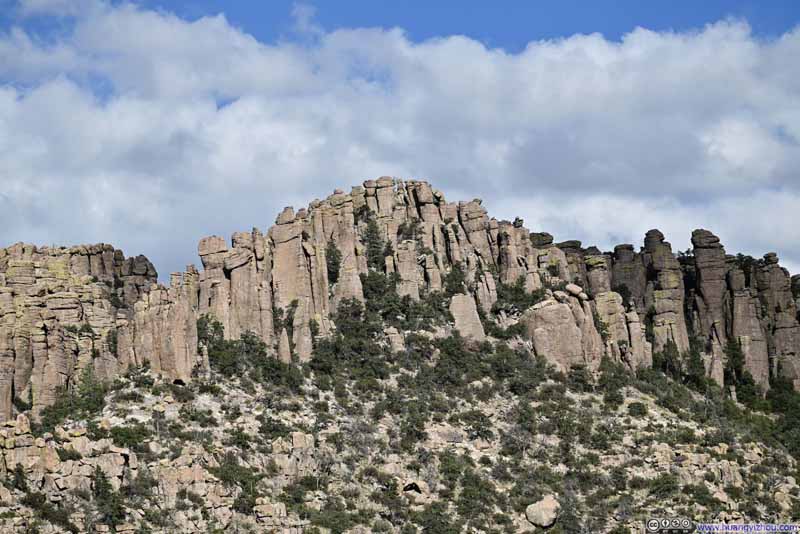 Hoodoos across Rhyolite Canyon
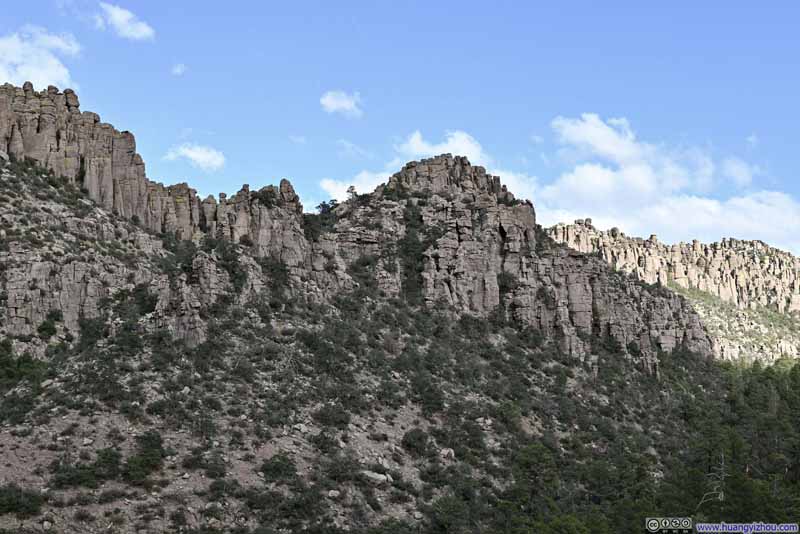 Hoodoos
Click here to display photos of the slideshow
Hoodoos across Rhyolite Canyon
Hoodoos across Rhyolite Canyon

Hoodoos
Balanced Hoodoos
Hoodoos across Rhyolite Canyon
Hoodoos across Rhyolite Canyon

Hoodoos
 Hoodoos around Upper Rhyolite Canyon
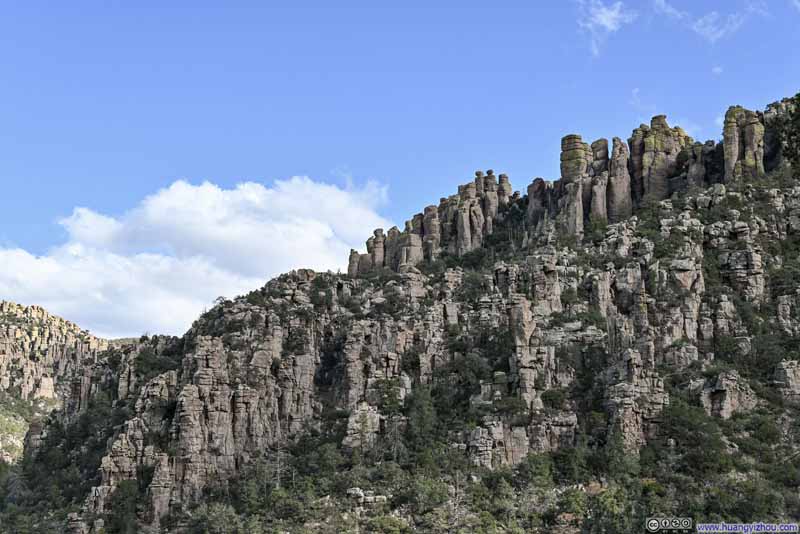 Hoodoos
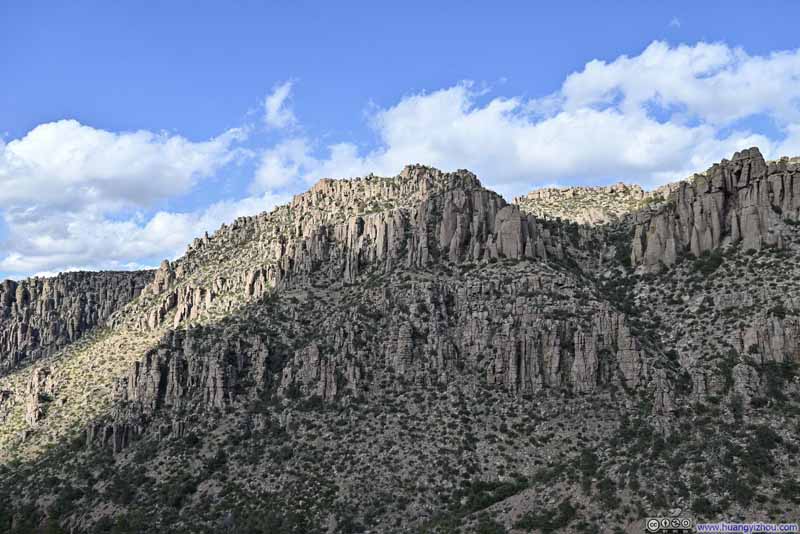 Hoodoos across Rhyolite Canyon
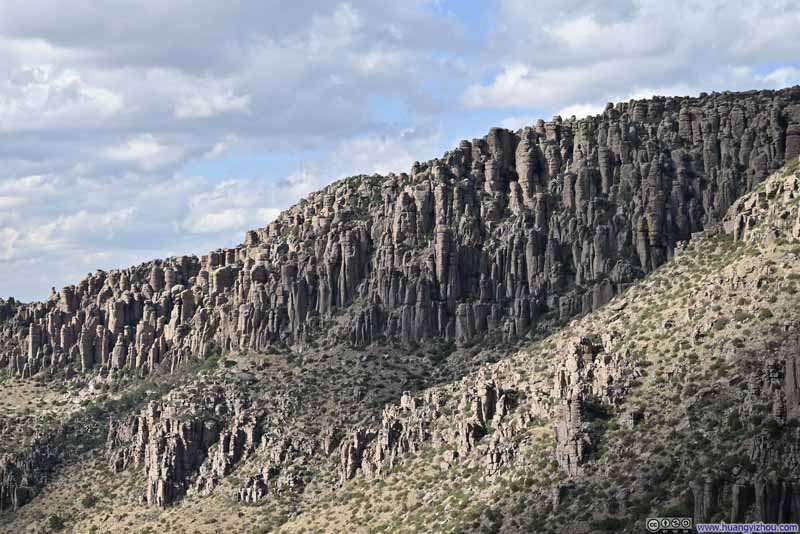 Hoodoos toward Lower Rhyolite Canyon
 Hoodoos toward Lower Rhyolite Canyon
Click here to display photos of the slideshow

Hoodoos around Upper Rhyolite Canyon

Hoodoos
Hoodoos across Rhyolite Canyon

Hoodoos toward Lower Rhyolite Canyon
Hoodoos toward Lower Rhyolite Canyon
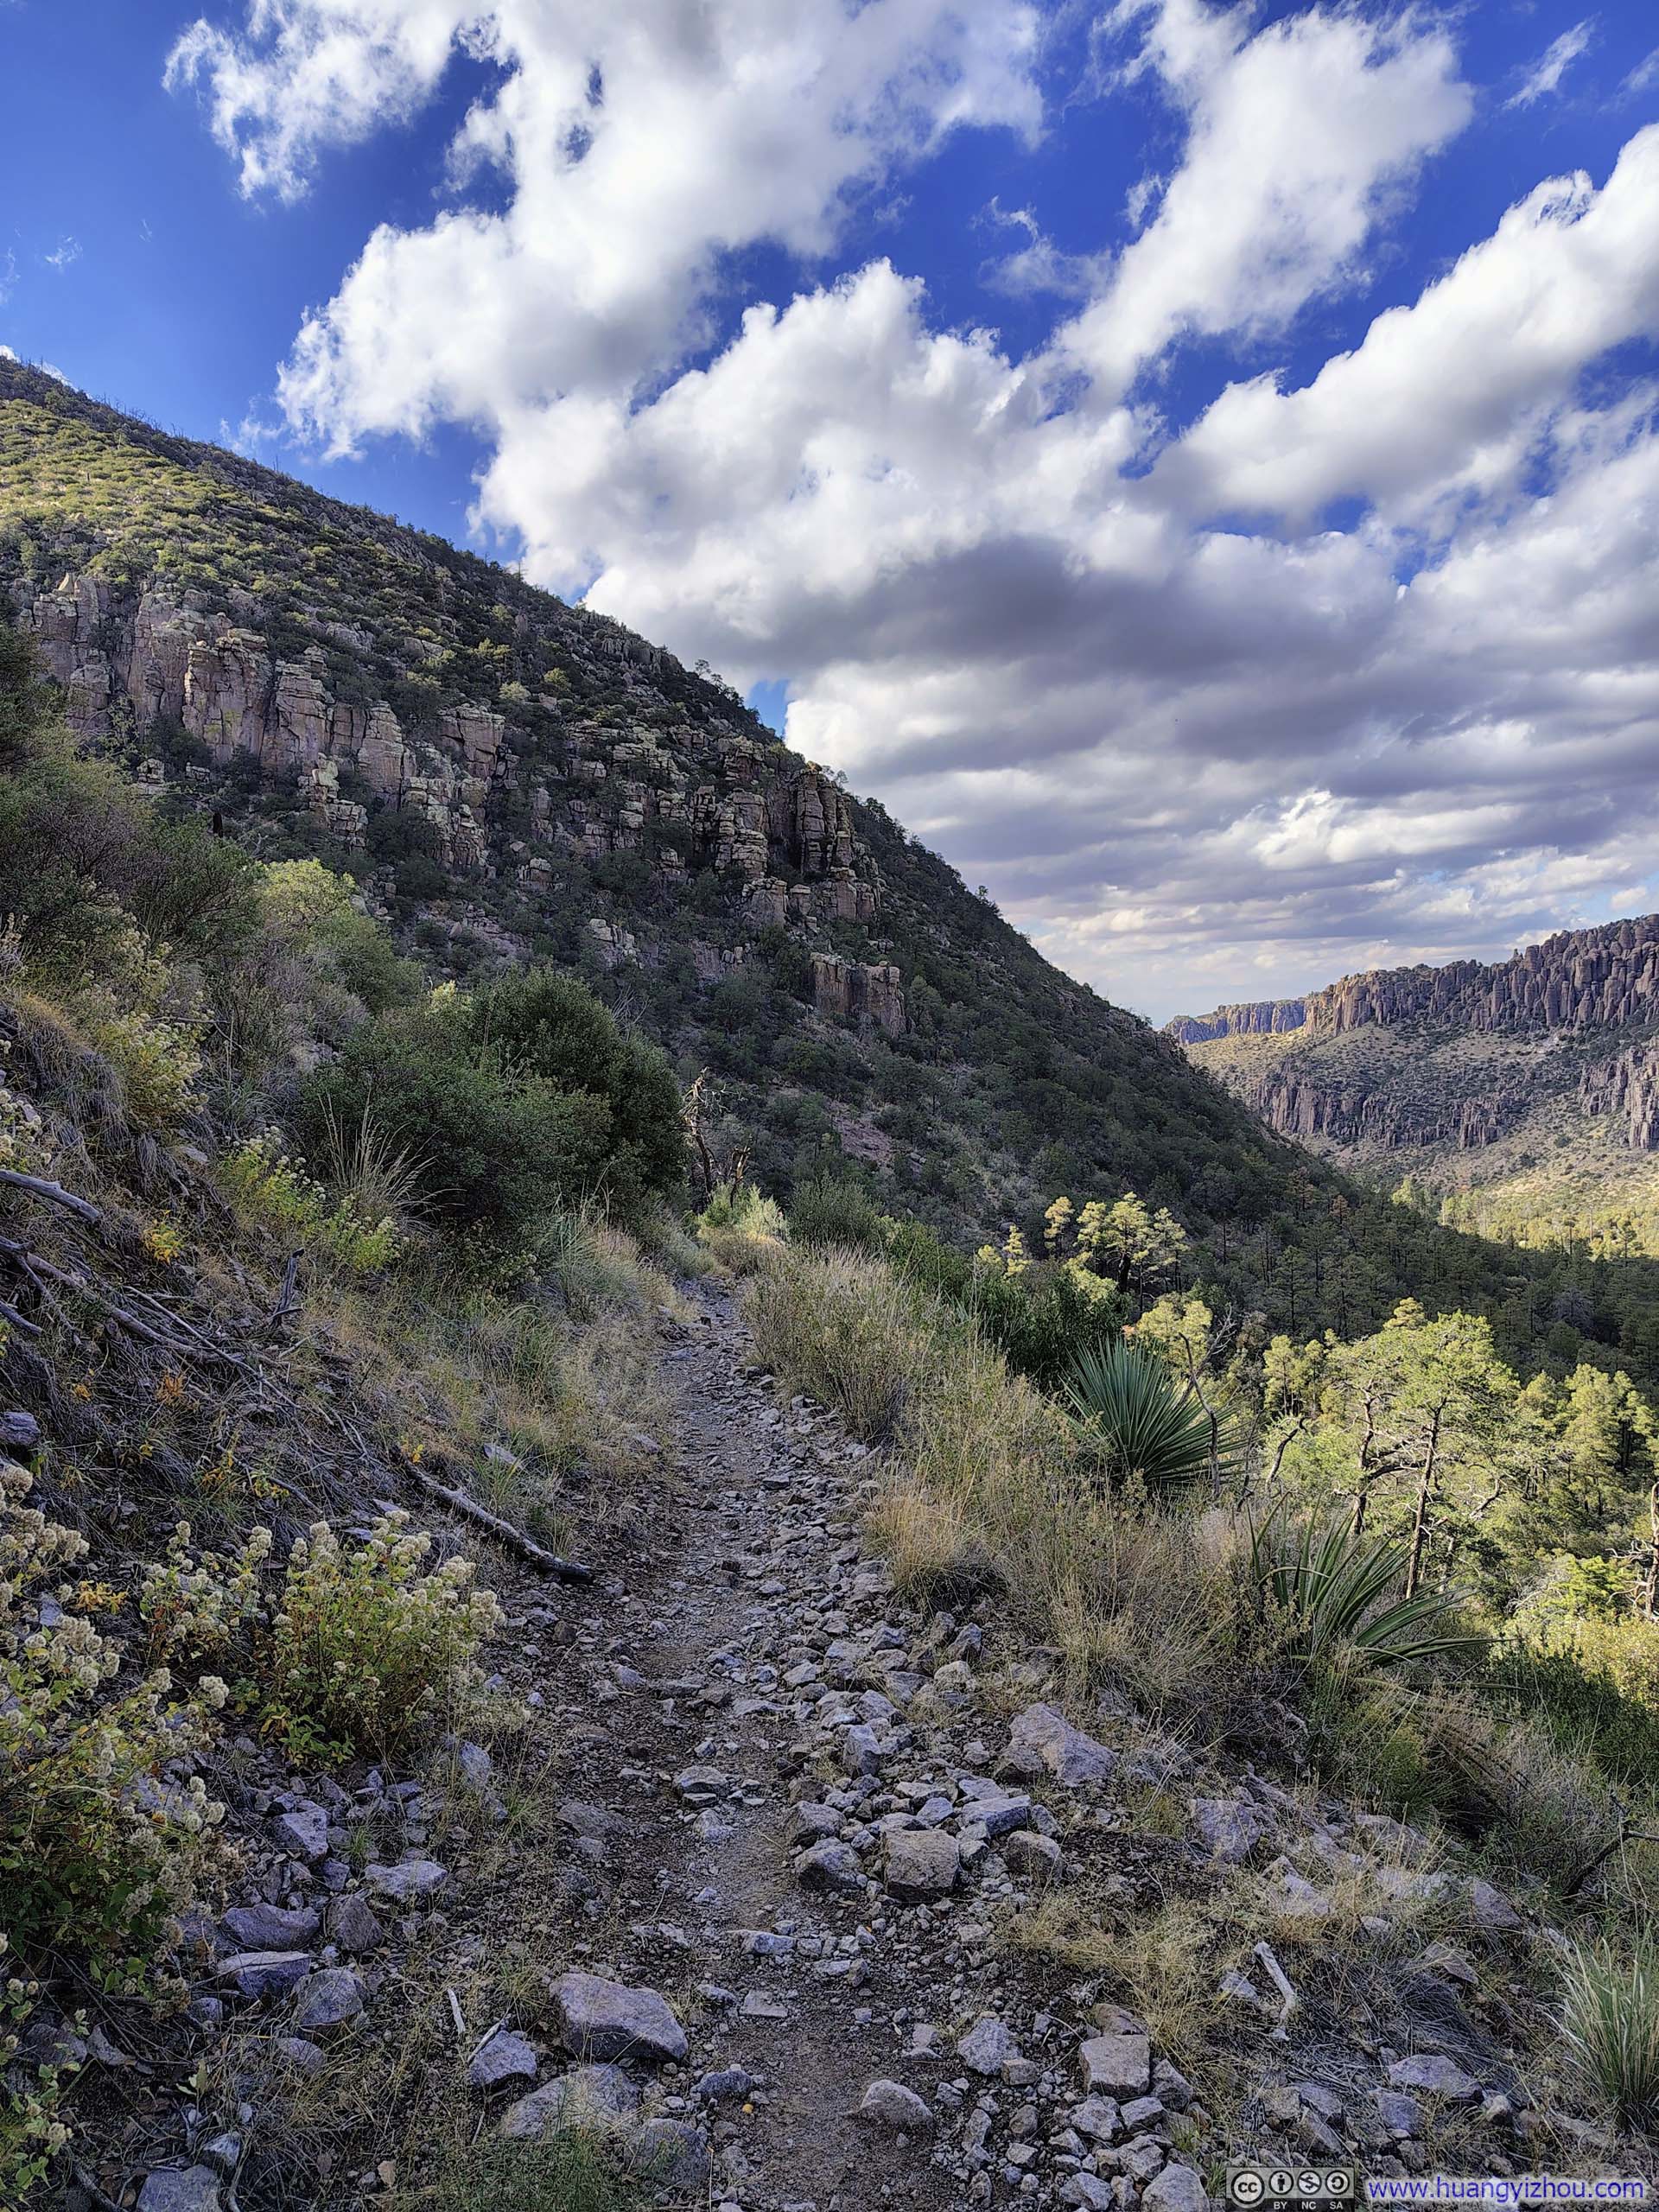
Leaving the floor of Rhyolite Canyon, the loop trail continued towards Echo Canyon, still surrounded by endless hoodoo views.
 Hoodoos
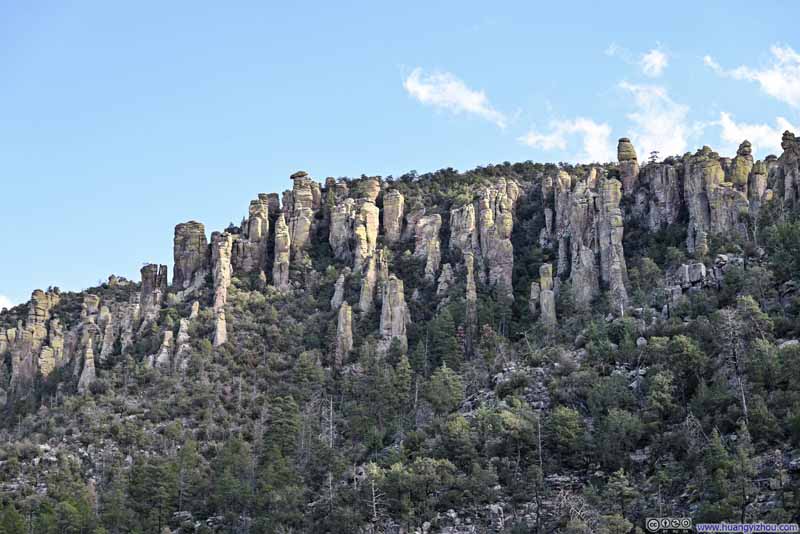 Hoodoos
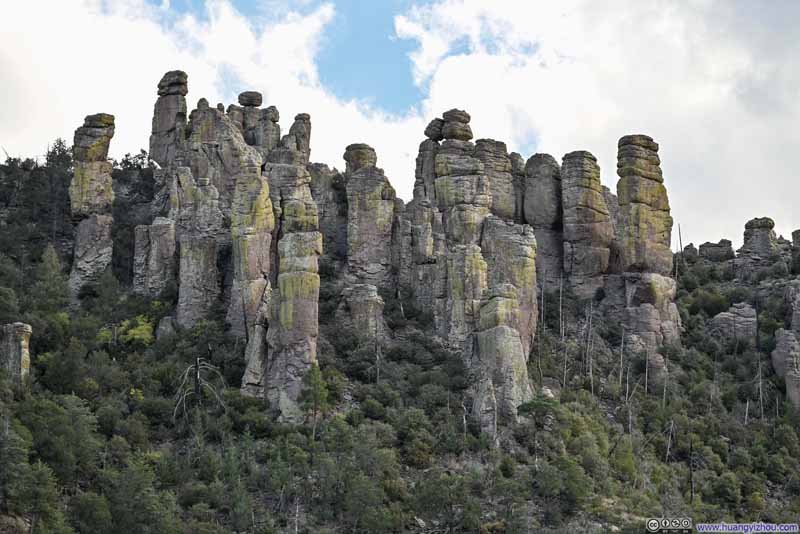 Hoodoos
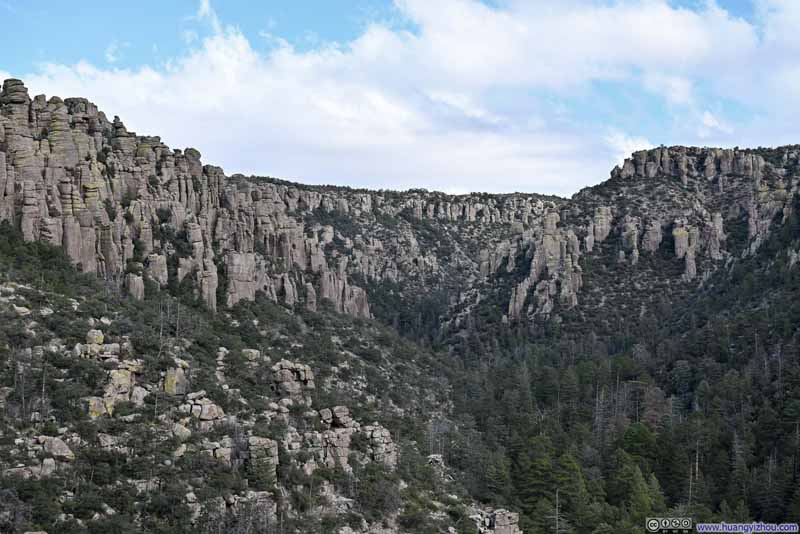 Hoodoos around Upper Rhyolite Canyon
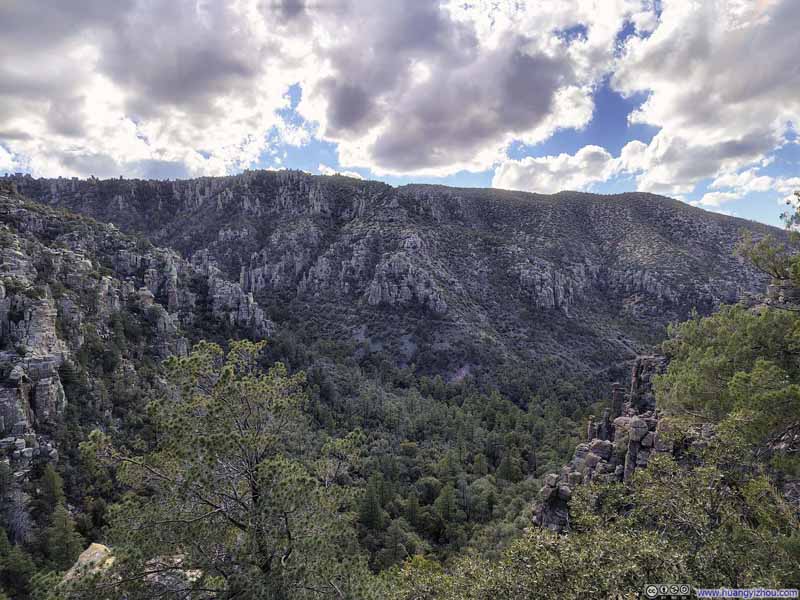 Hoodoos across Rhyolite CanyonA faint trace of the trail that I just took.
 Hoodoos
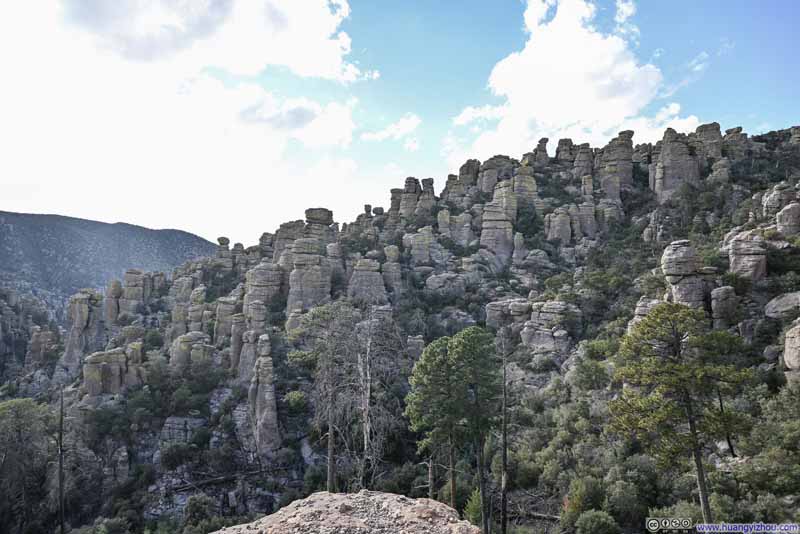 Hoodoos


Click here to display photos of the slideshow

Hoodoos

Hoodoos

Hoodoos
Hoodoos around Upper Rhyolite Canyon
Hoodoos across Rhyolite CanyonA faint trace of the trail that I just took.

Hoodoos
Hoodoos
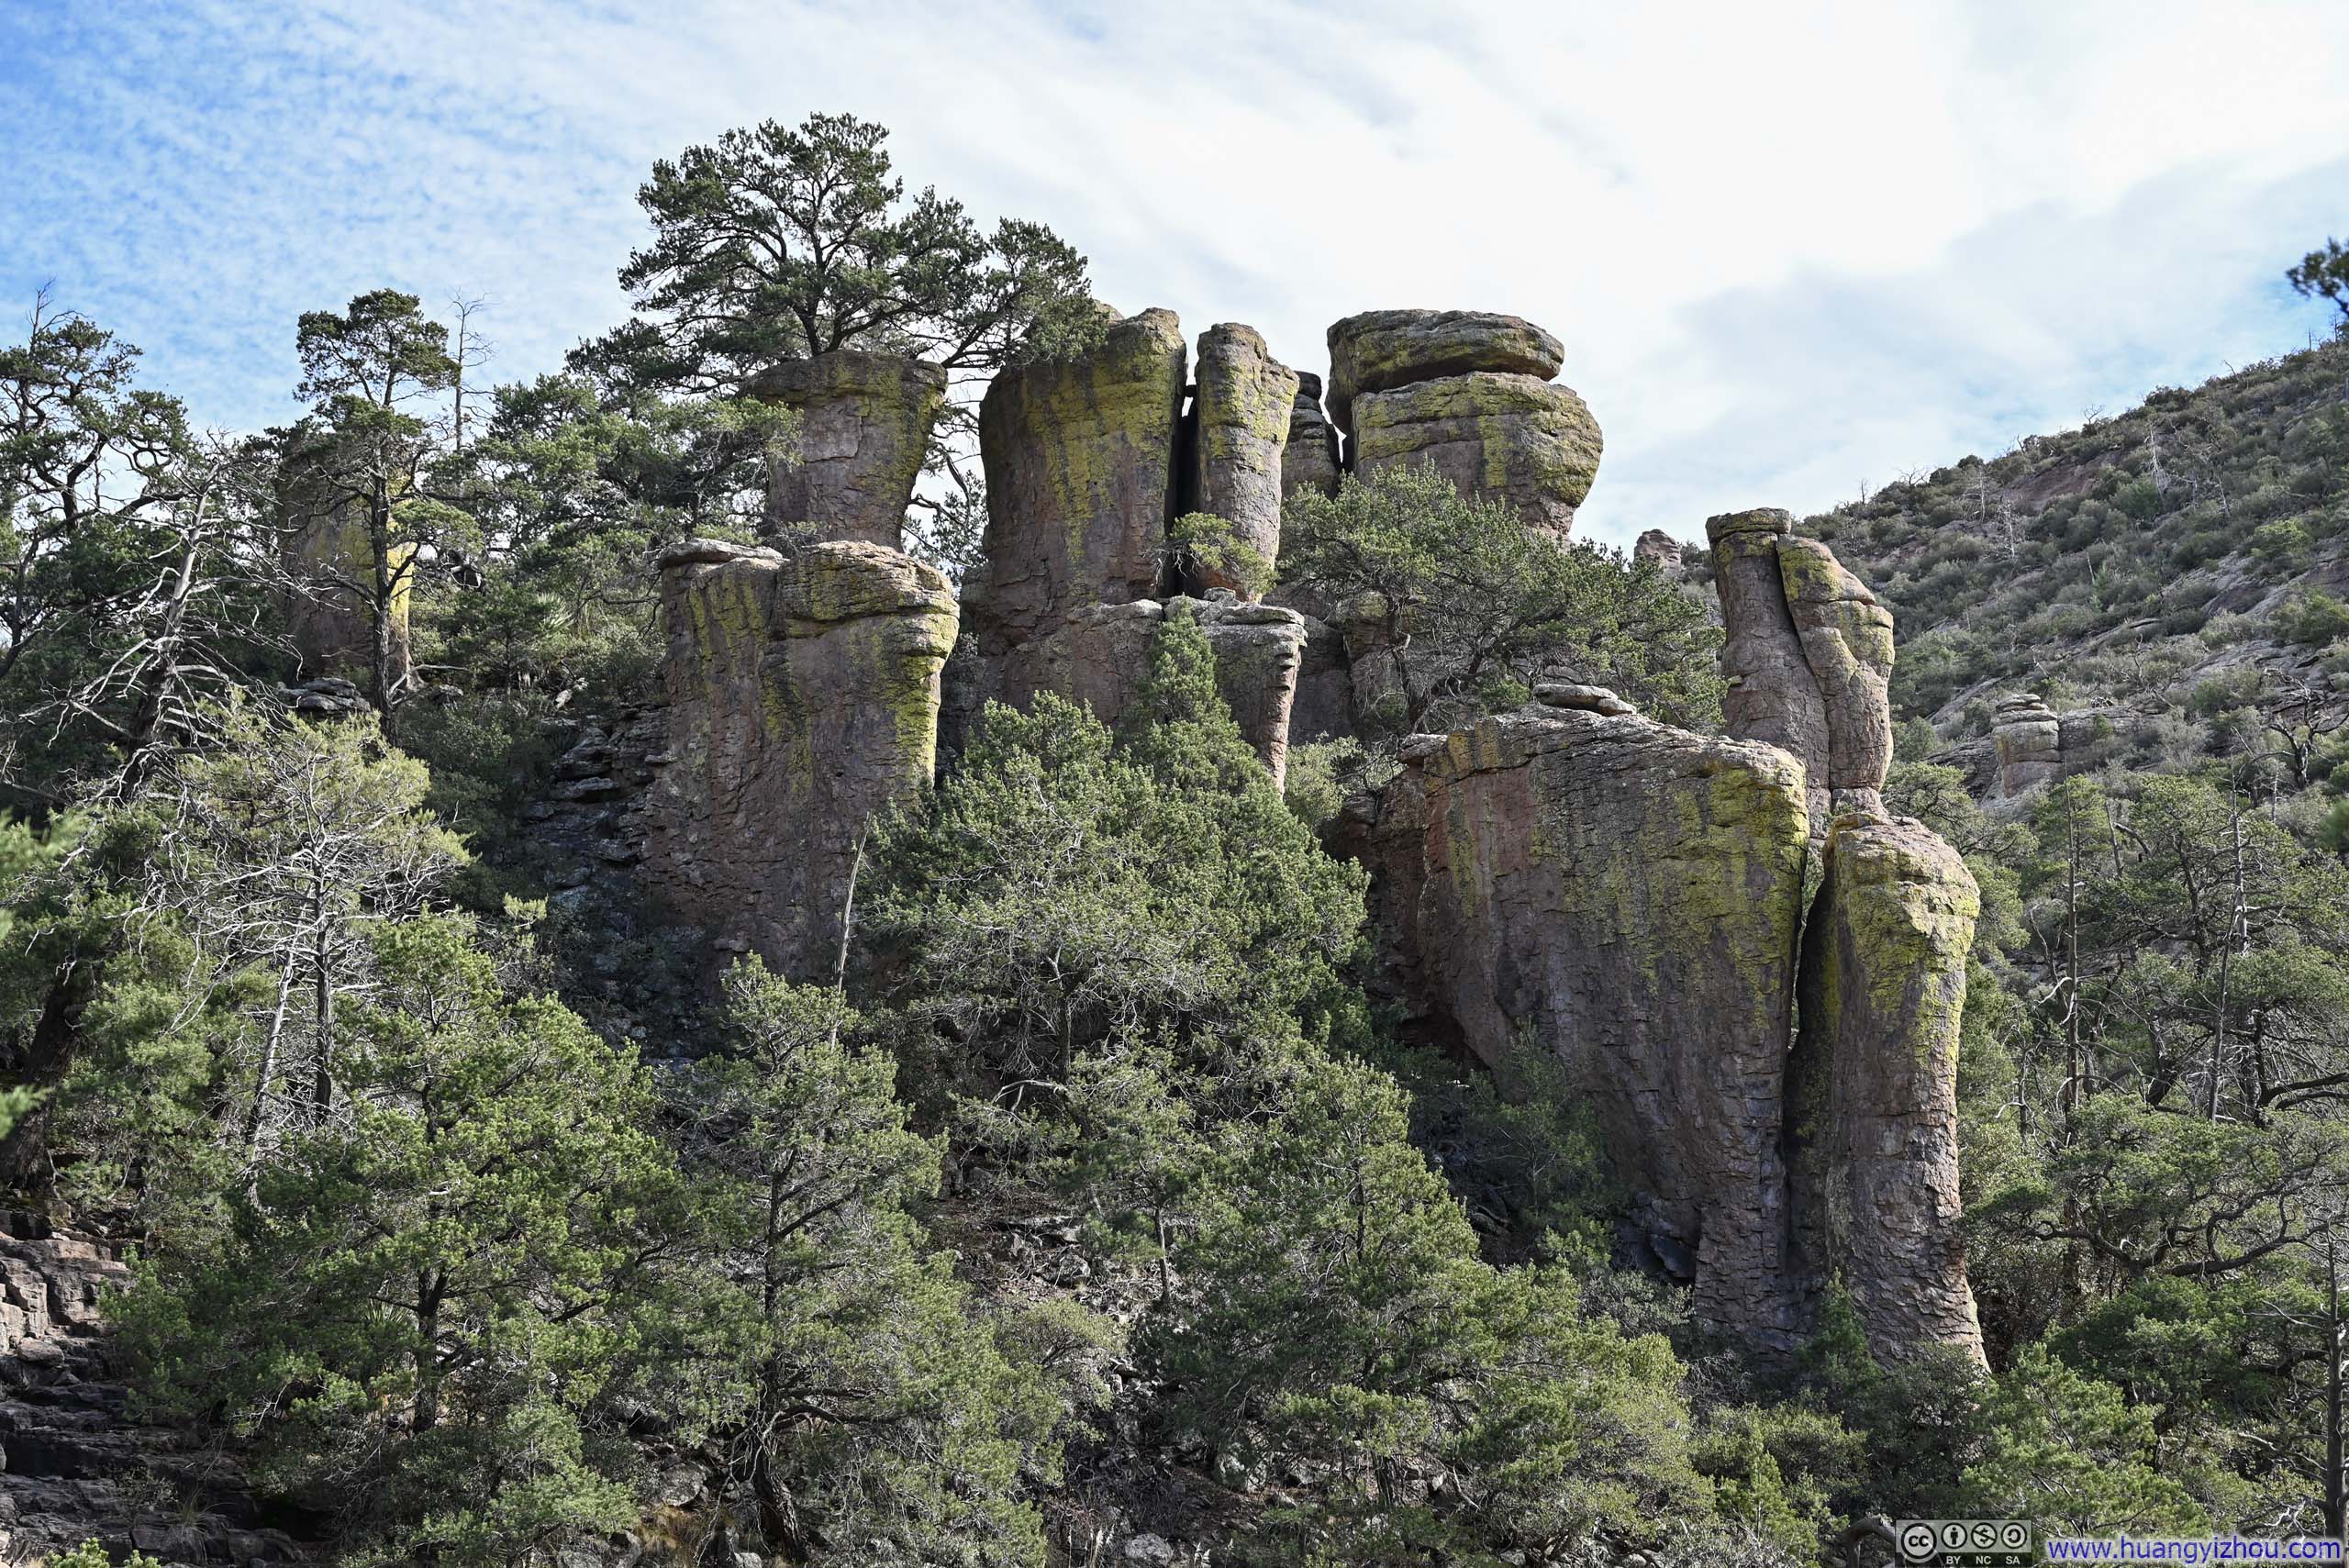
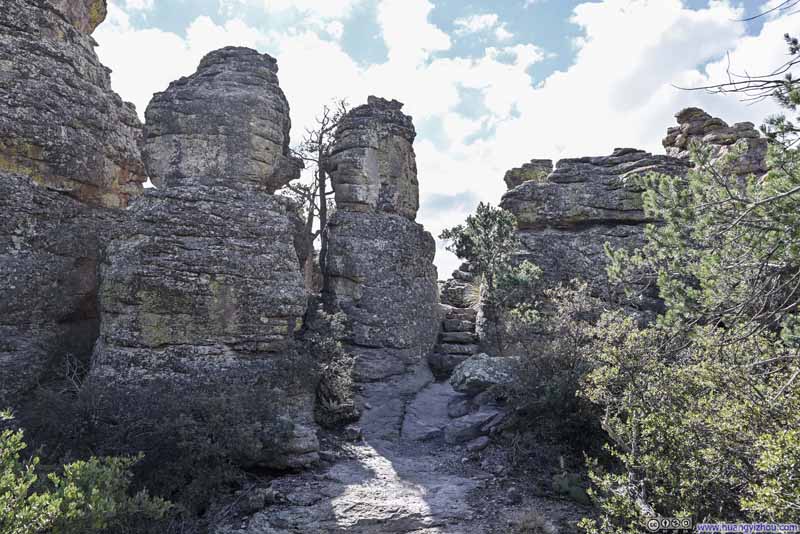
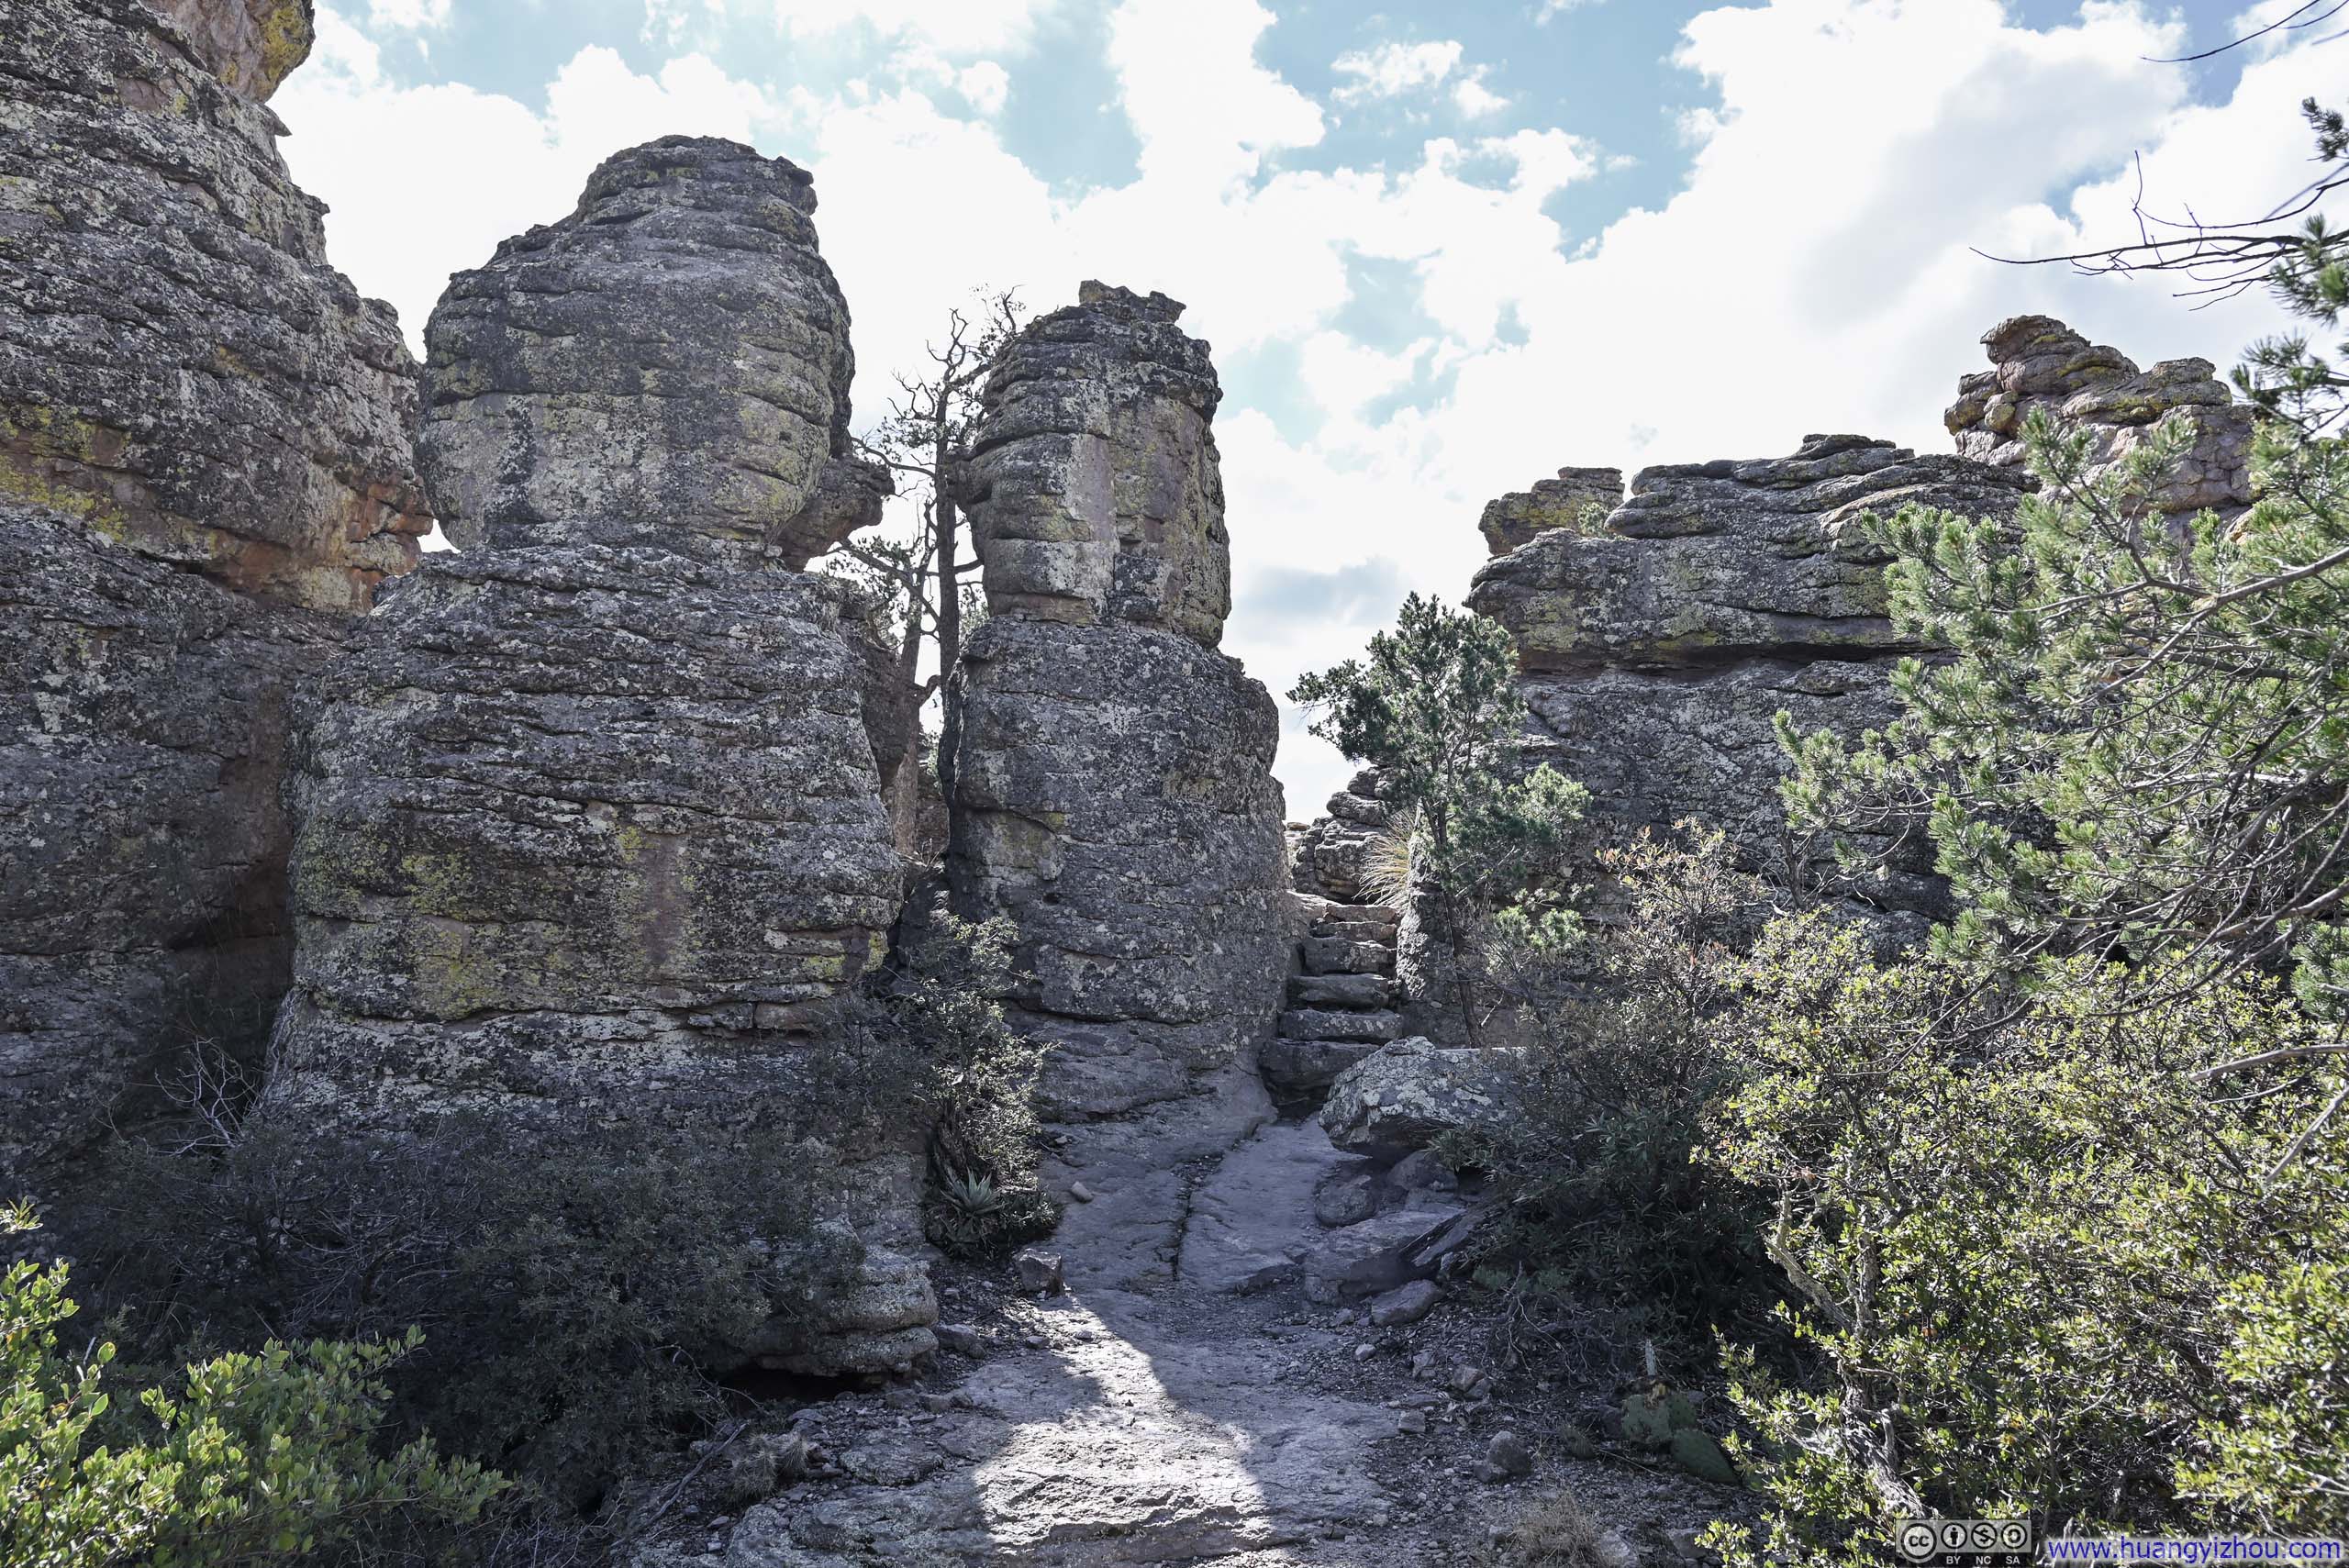
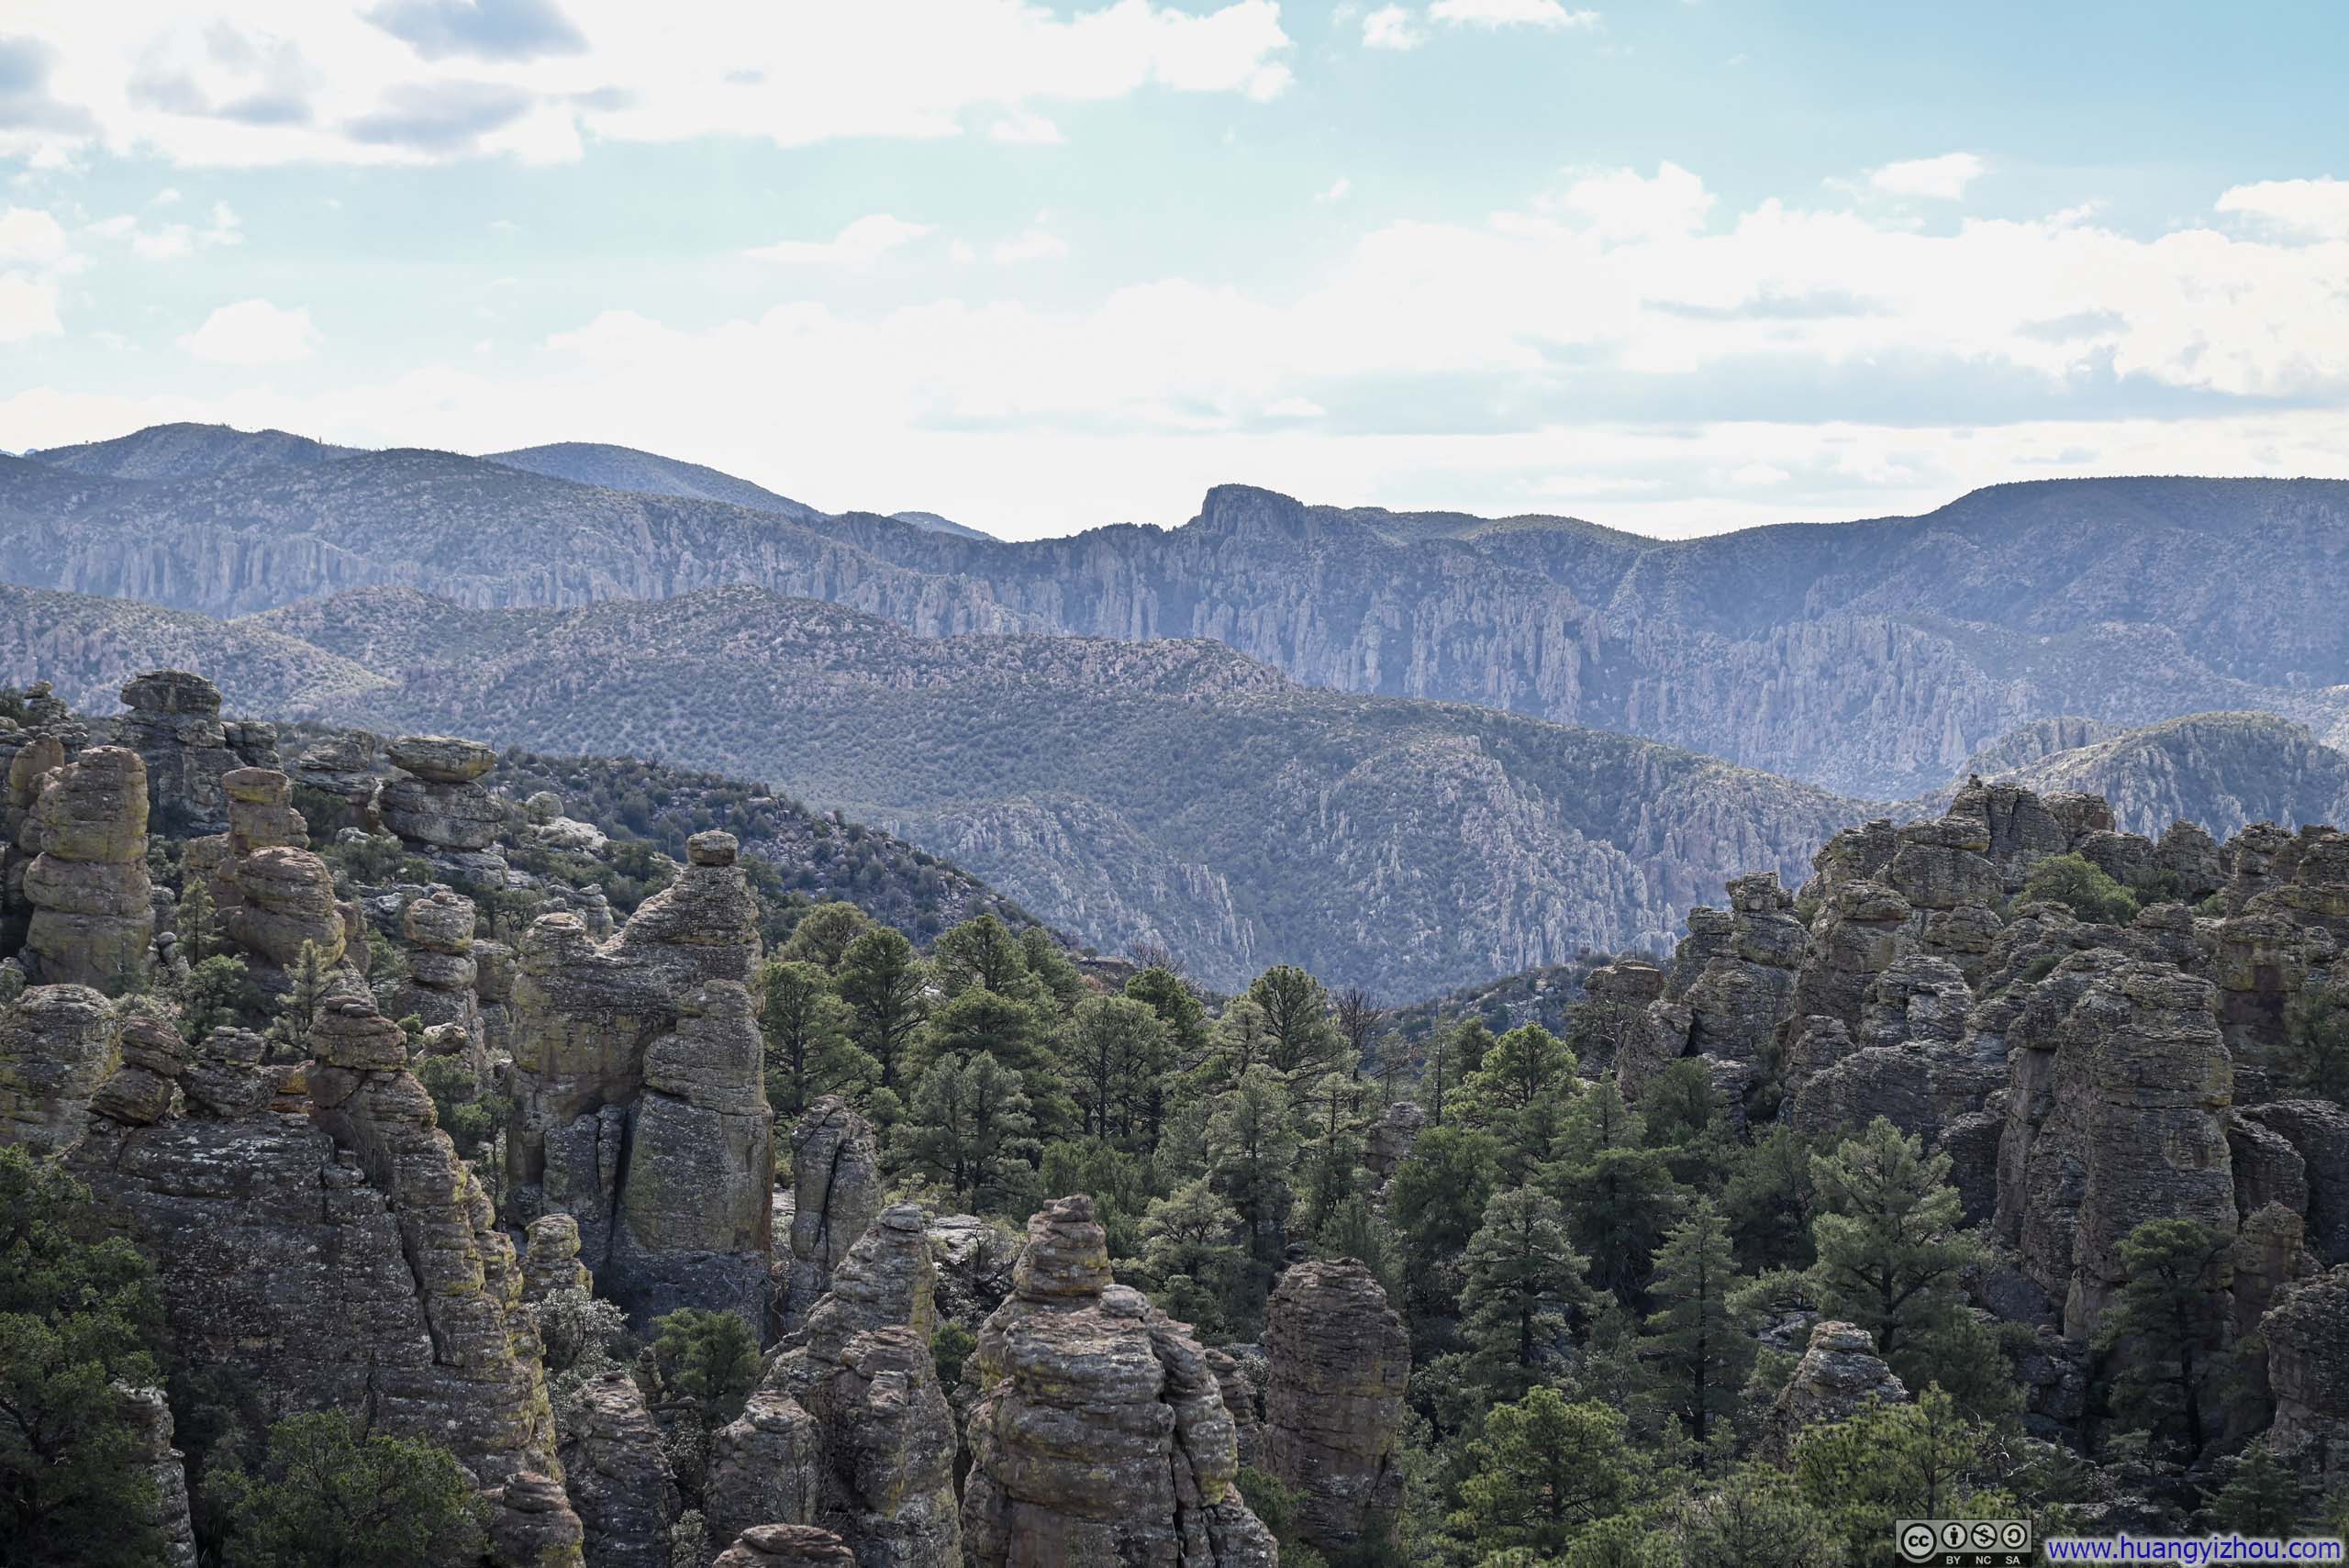
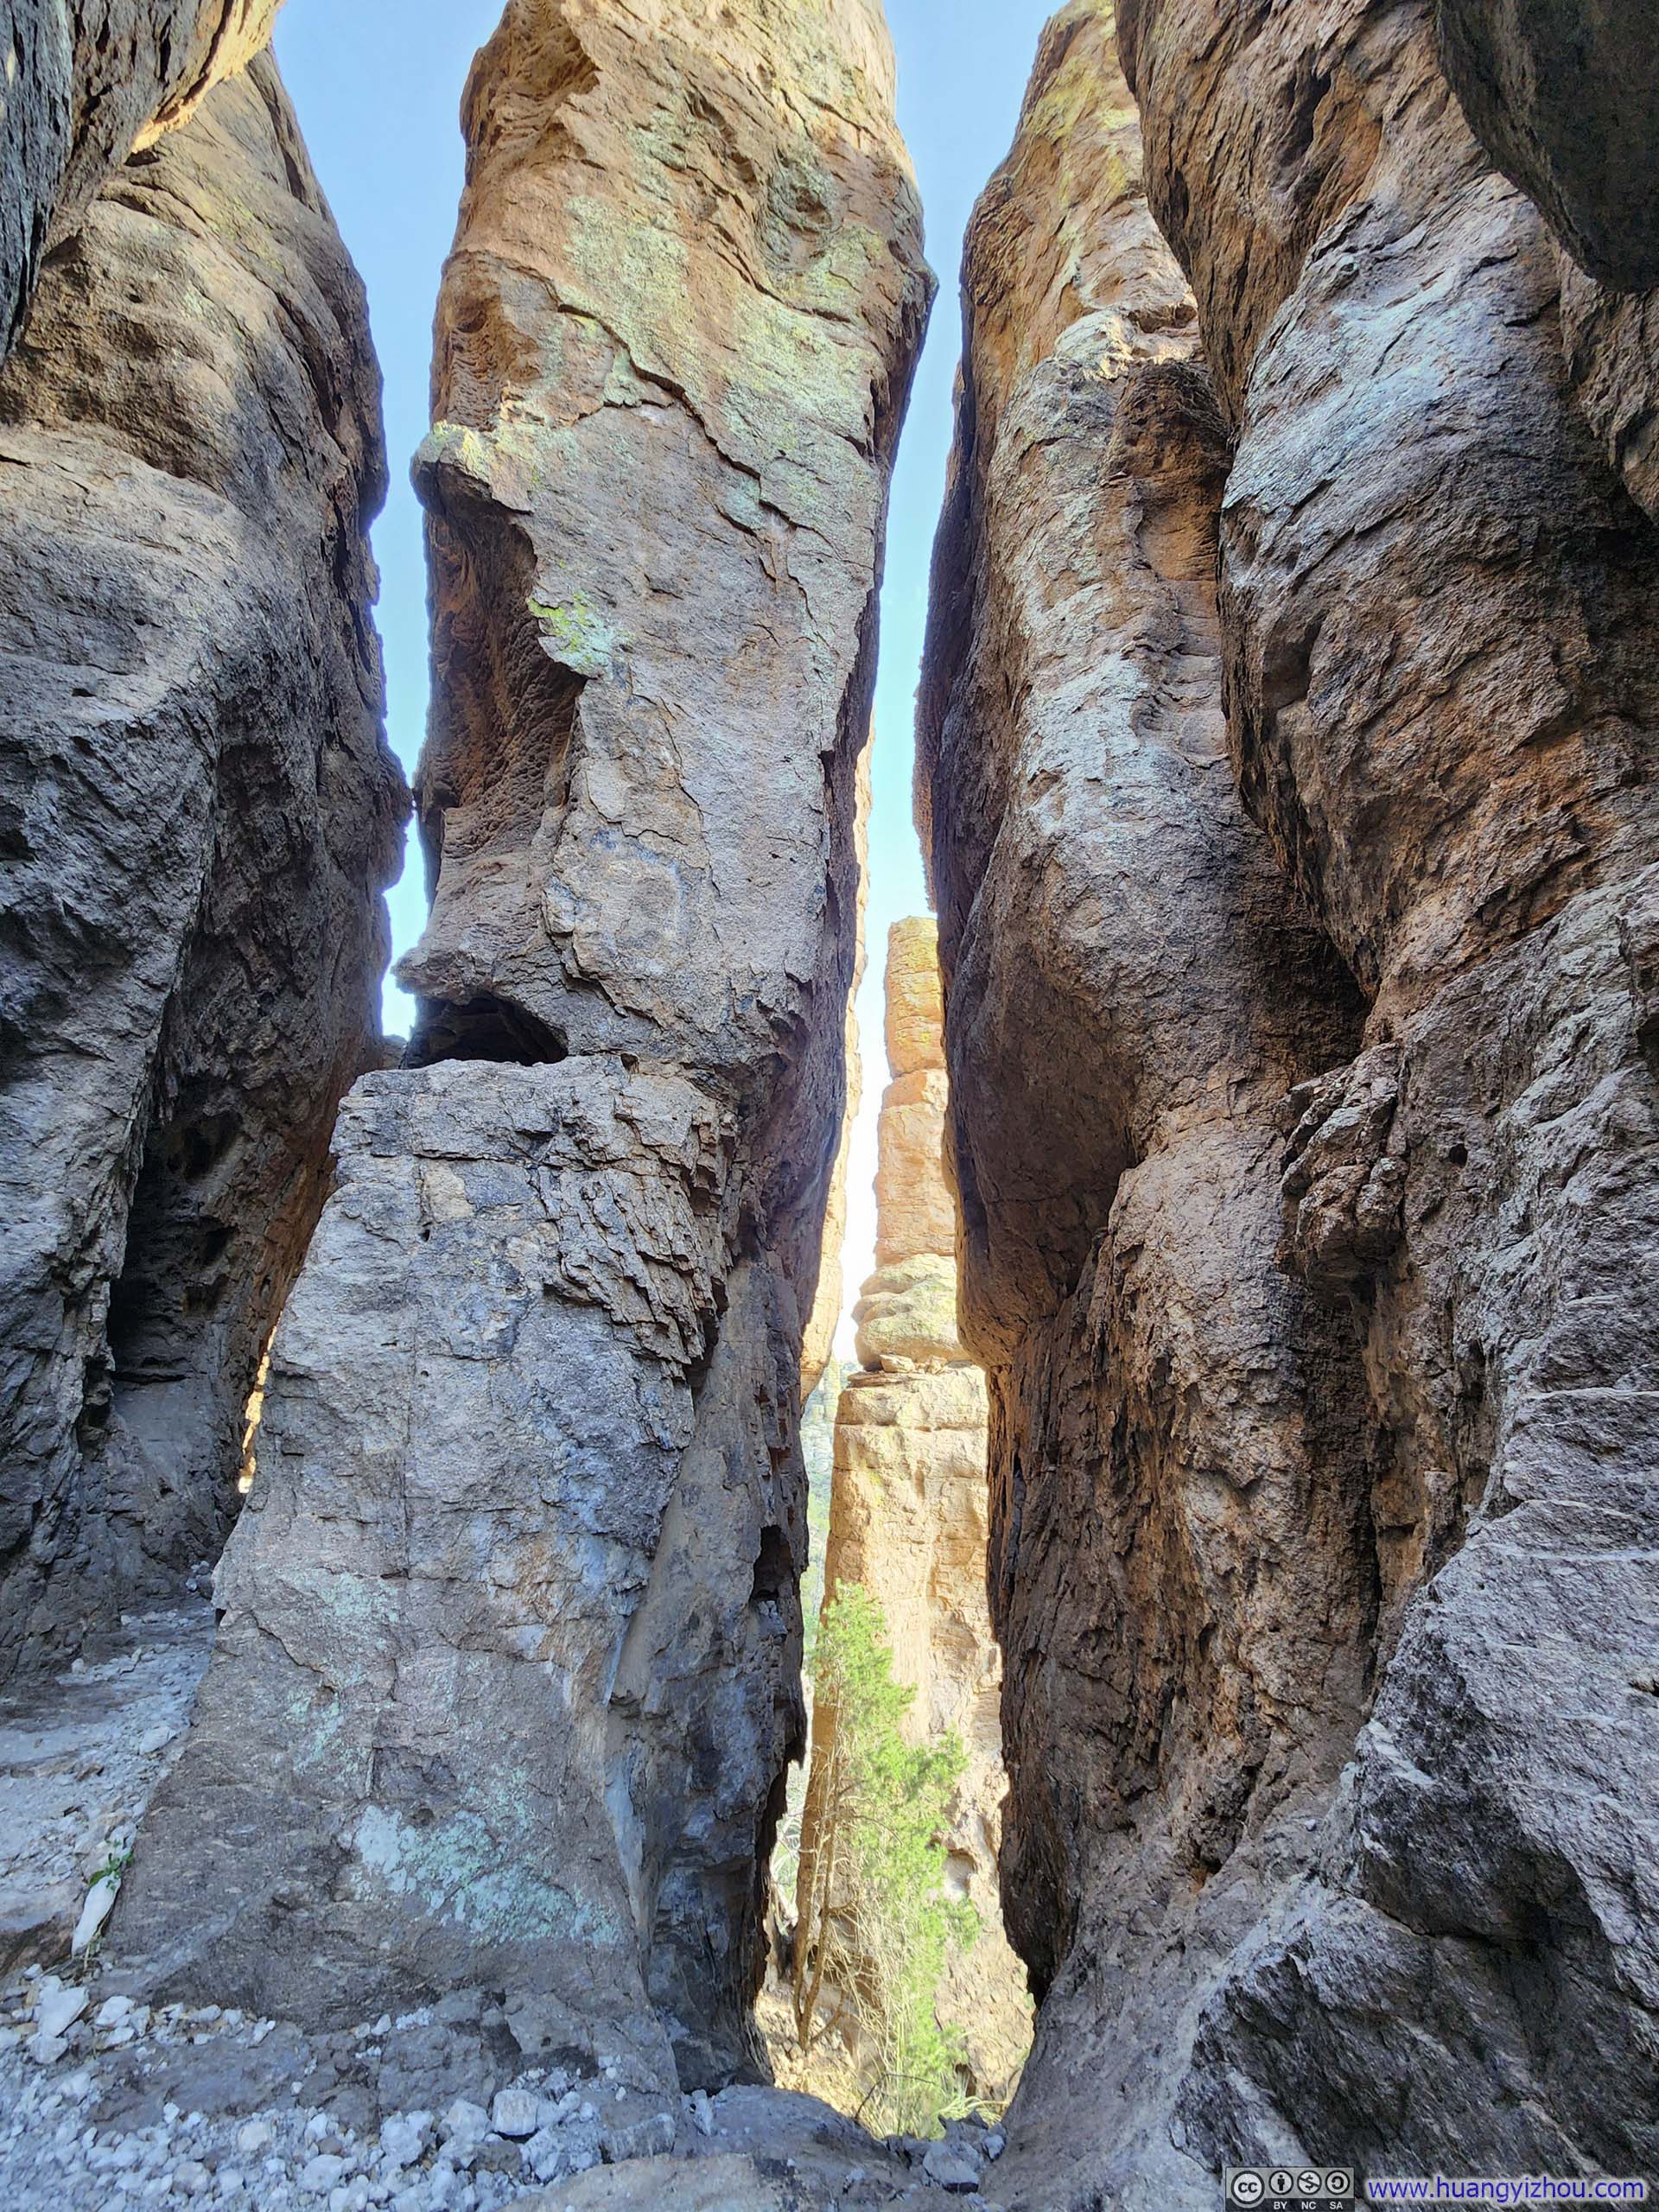
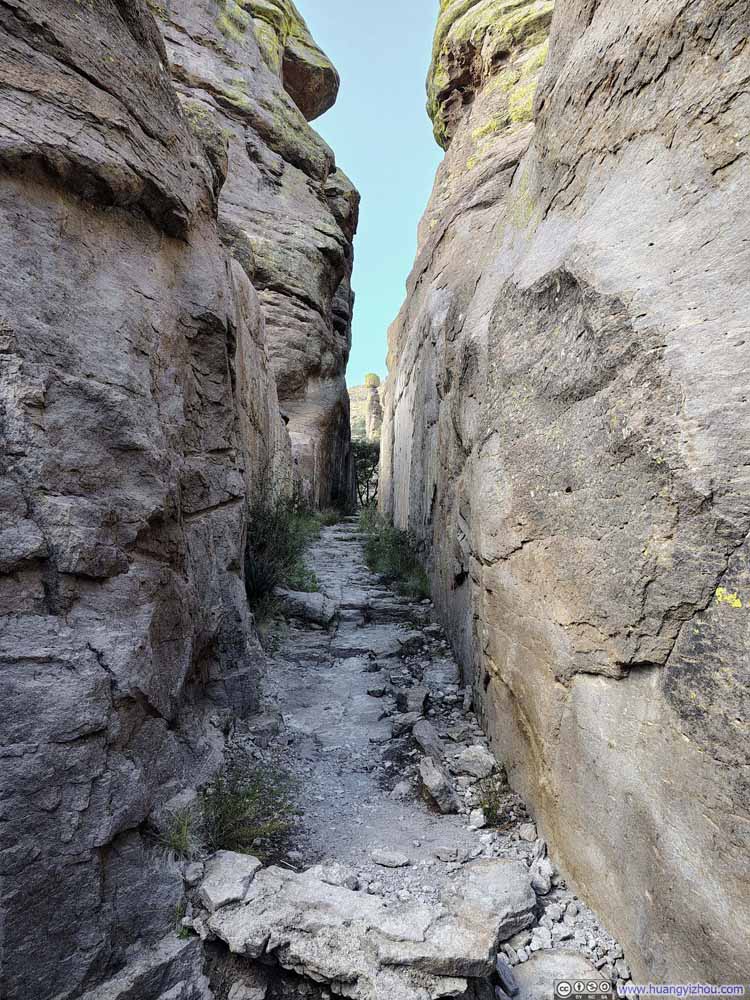
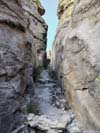
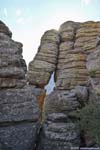
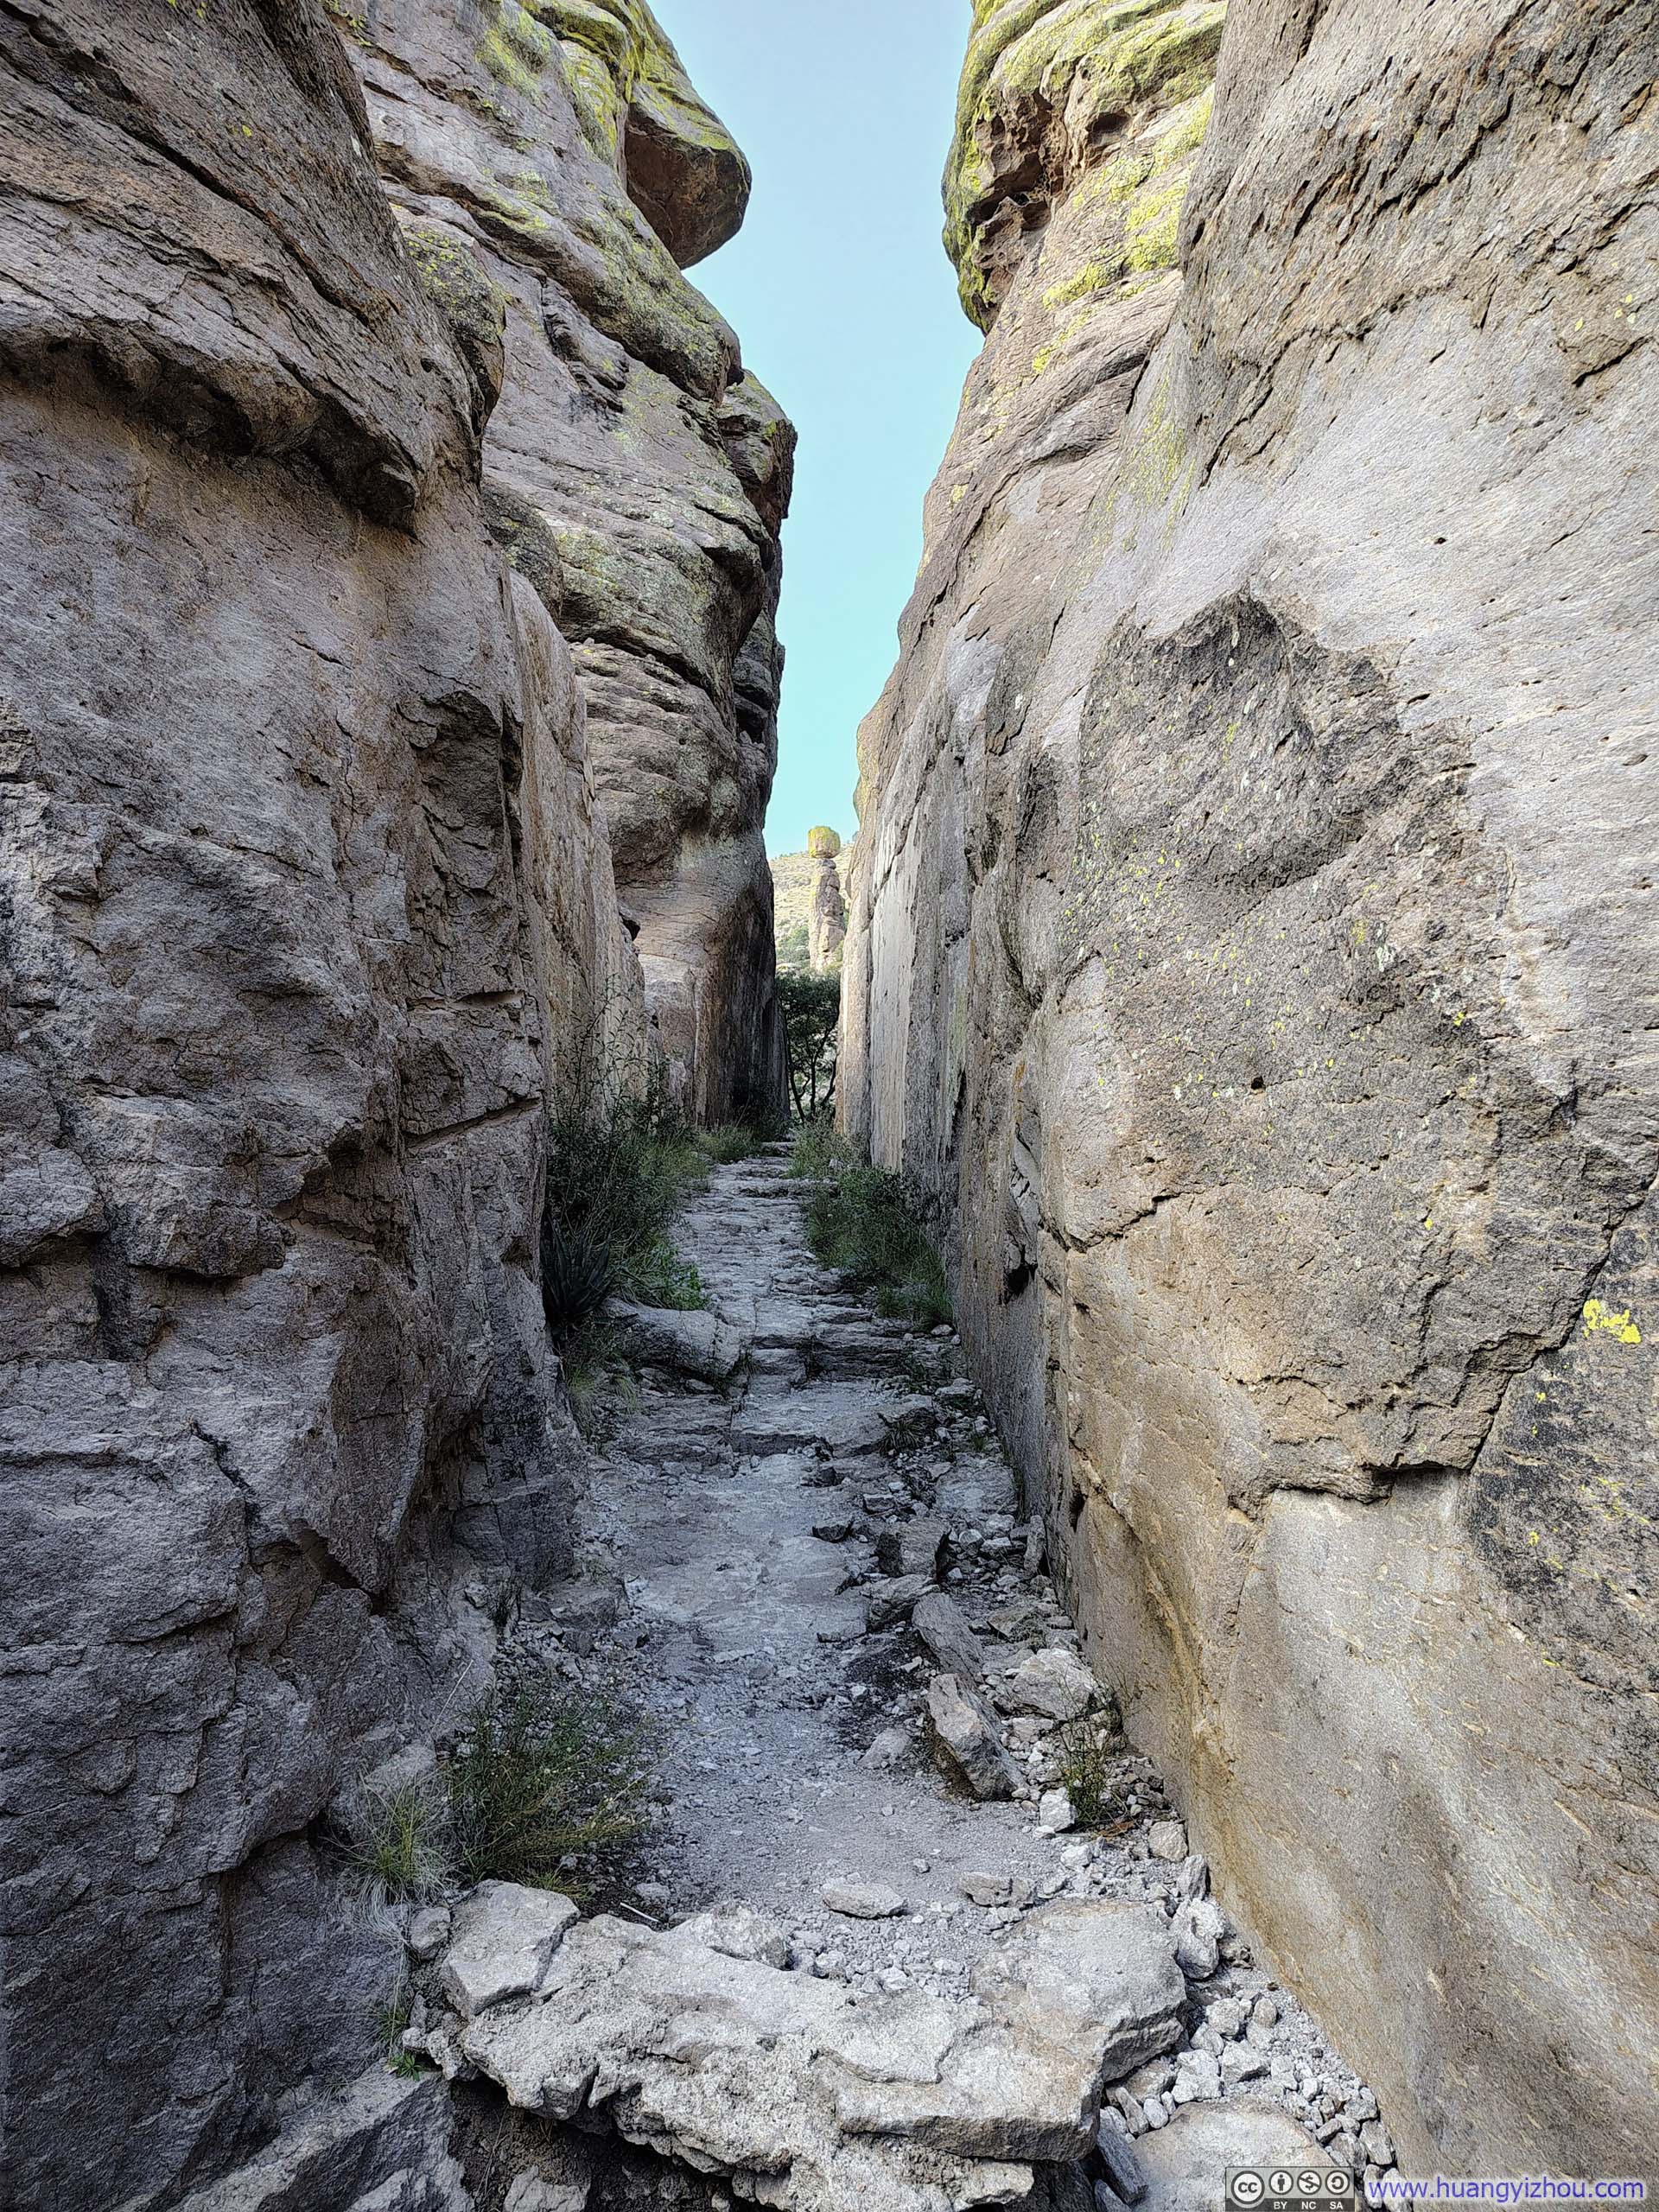
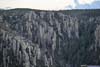
Then the trail entered Echo Canyon. Besides Heart of Rocks, this was the second section along the entire trail where the hoodoos stood tantalizingly within reach. I was particularly captivated by one segment where the path threaded through narrow gaps between soaring rock formations, winding through what felt like a veritable labyrinth of stone before emerging out of it. (Fortunately, this labyrinth offered no branching paths, so there was no danger of losing one’s way.)
 Narrow Passage in between Hoodoos
 Hoodoos
 Narrow Gaps in between Hoodoos
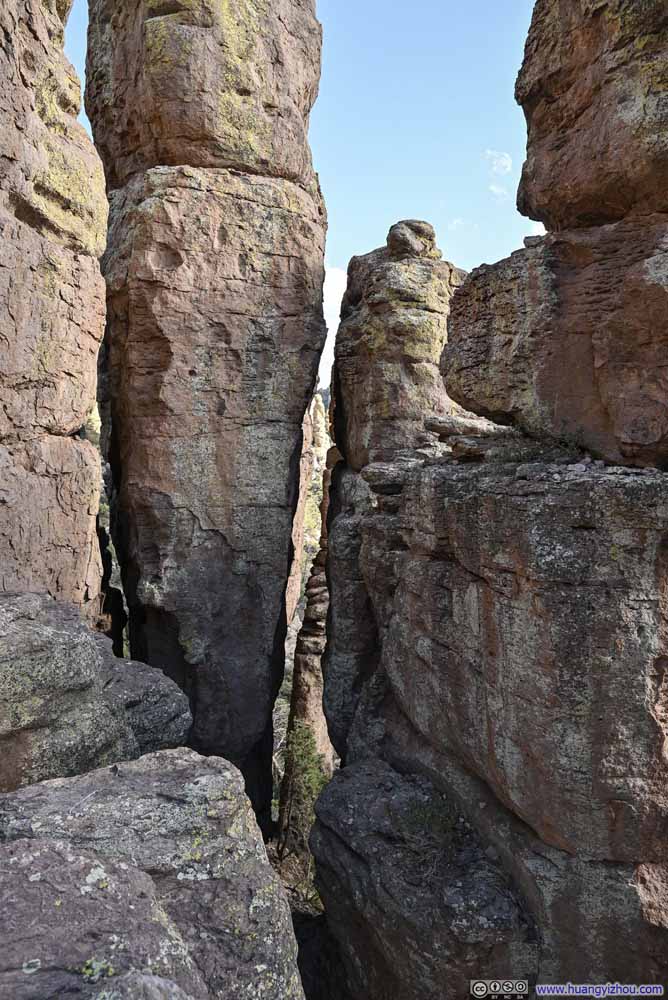 Narrow Gaps in between Hoodoos
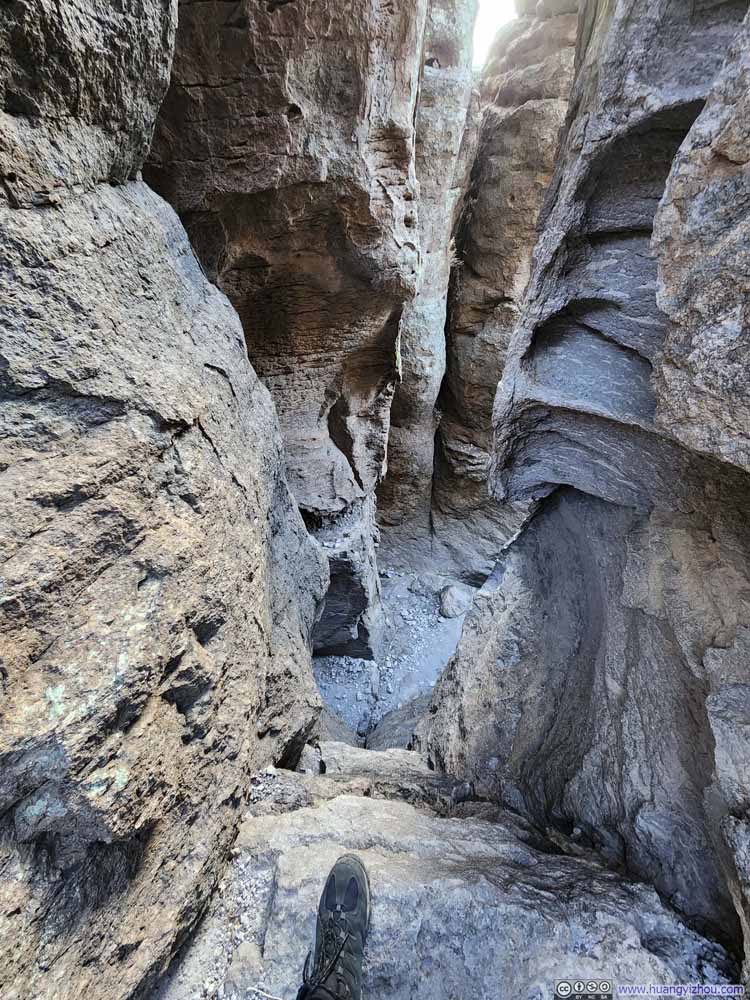 Narrow Gaps in between HoodoosLooking back at the trail lower down.


Click here to display photos of the slideshow
Narrow Passage in between Hoodoos
Hoodoos
Narrow Gaps in between Hoodoos
Narrow Gaps in between Hoodoos
Narrow Gaps in between HoodoosLooking back at the trail lower down.
And here’s a video of me walking through the soaring rocks:
34 seconds, 2160p60fps, H265 only, 19Mbps/88MB file size.
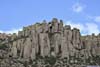
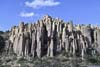
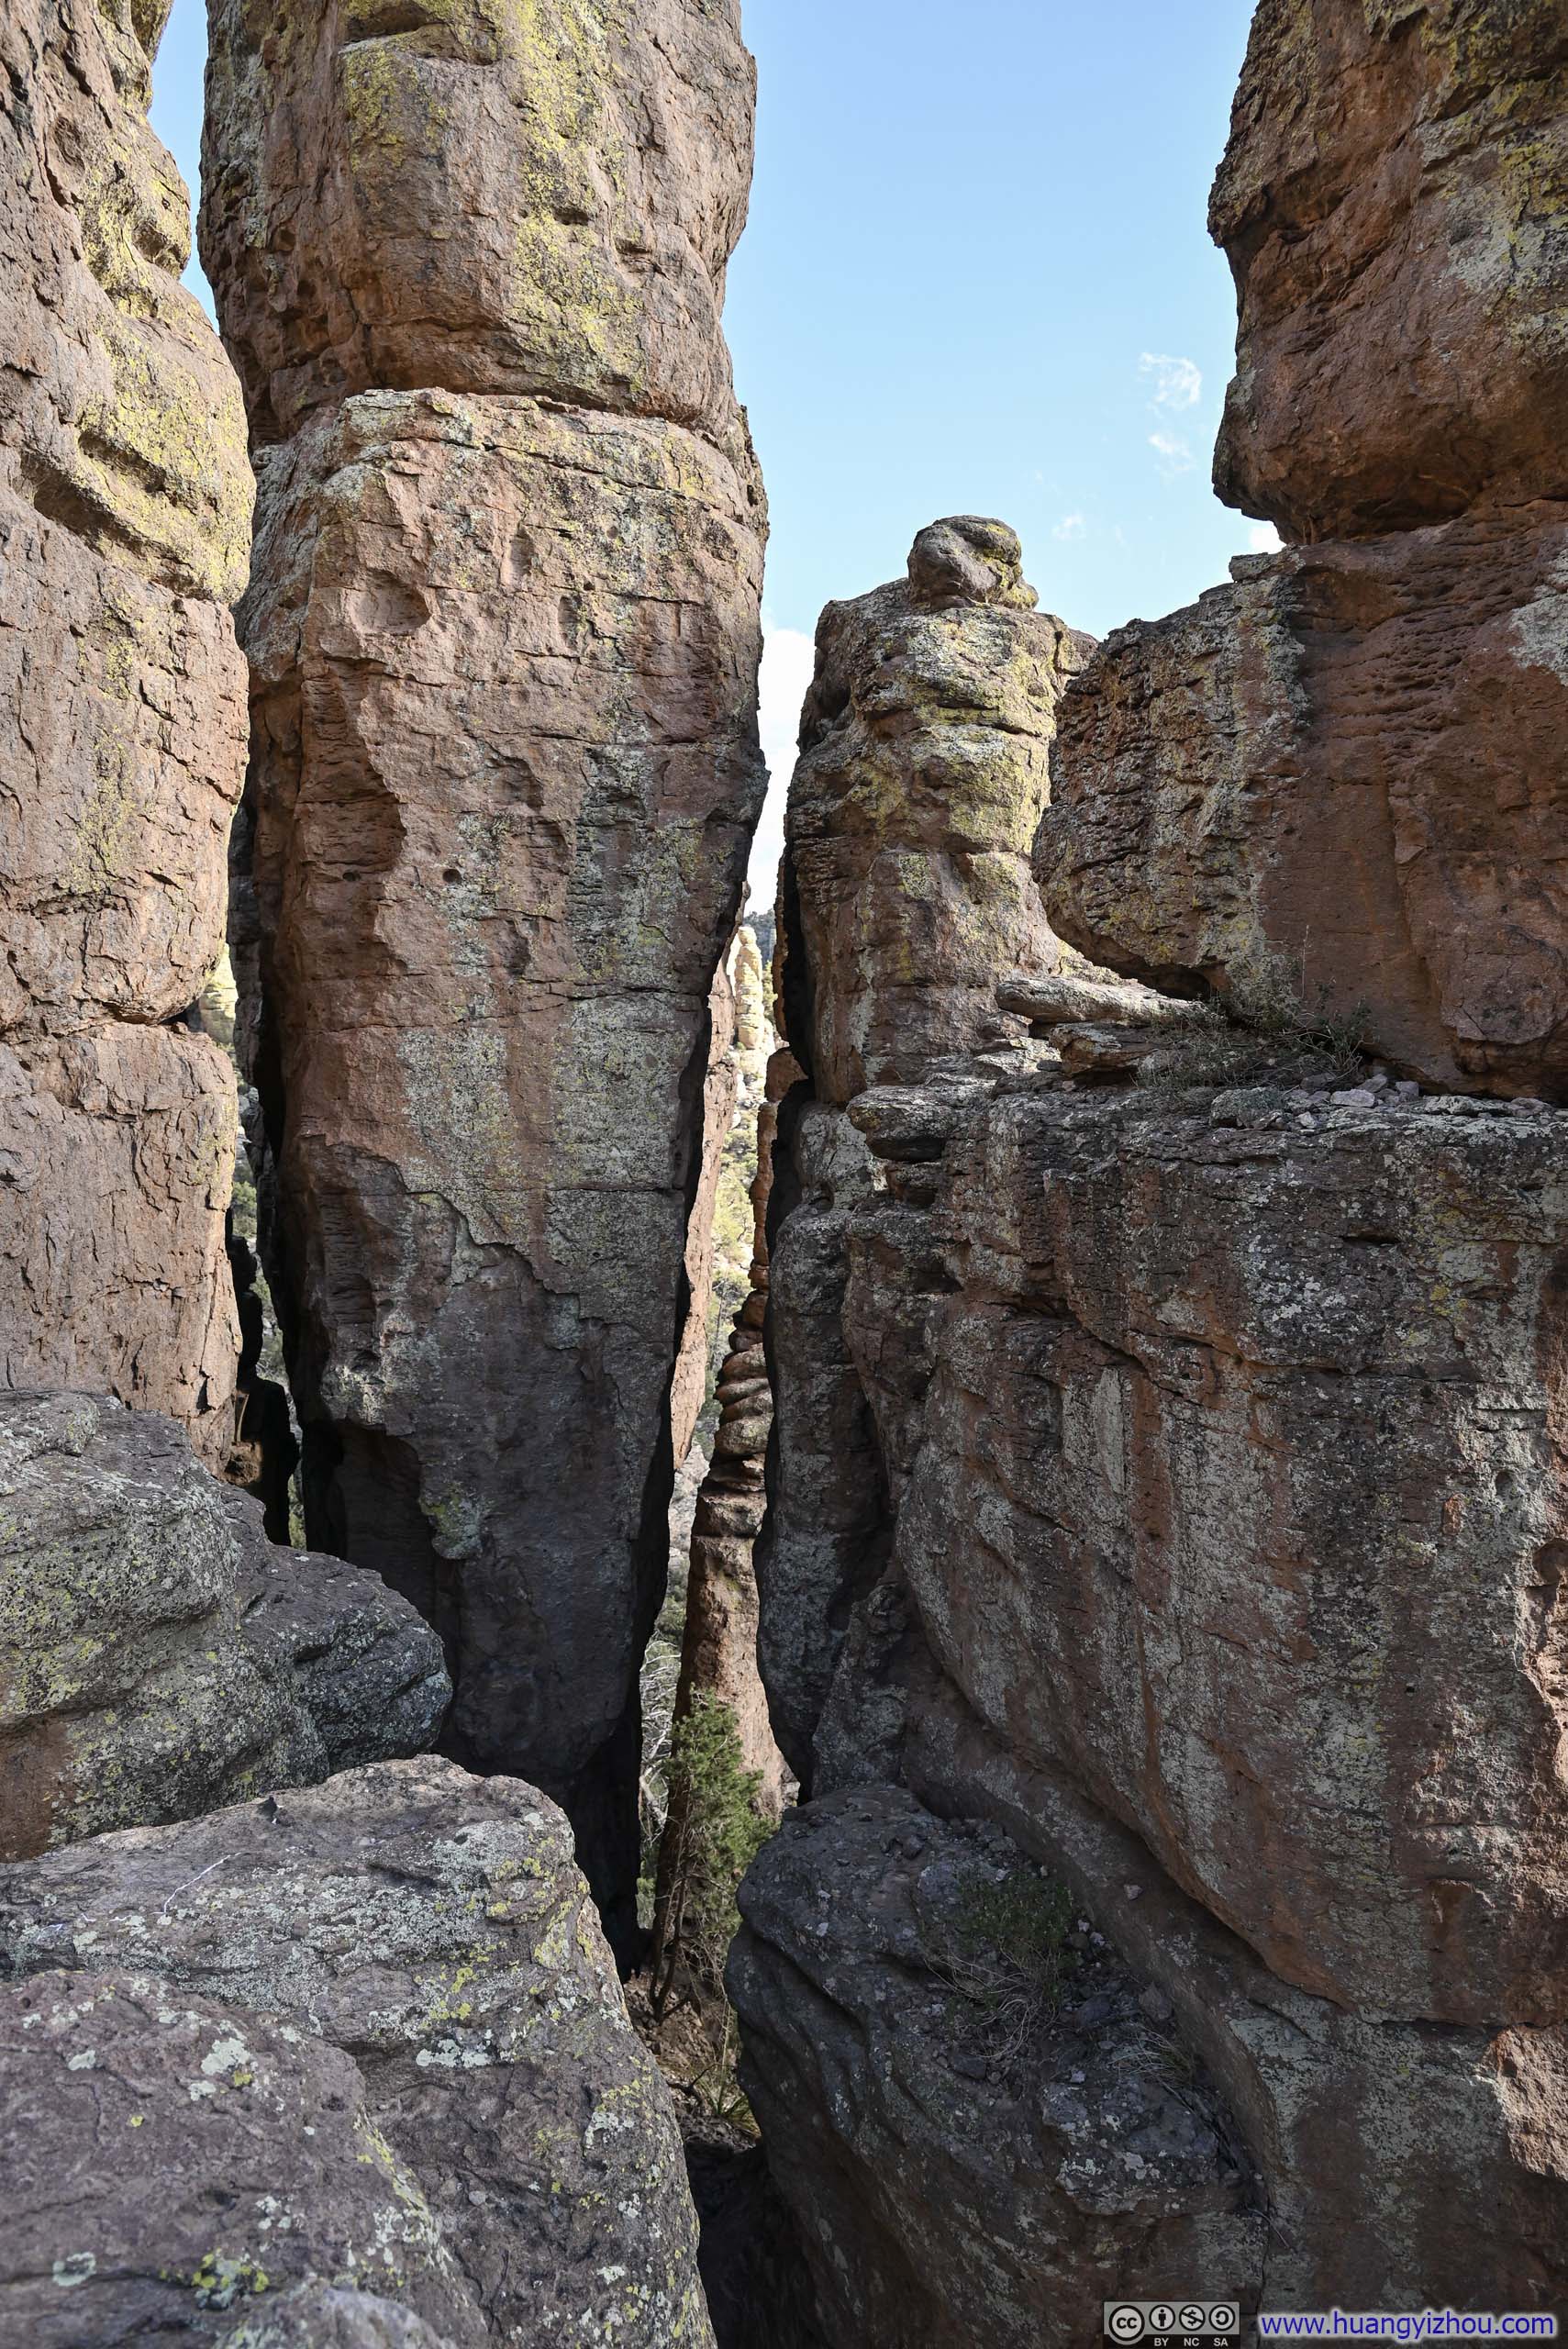
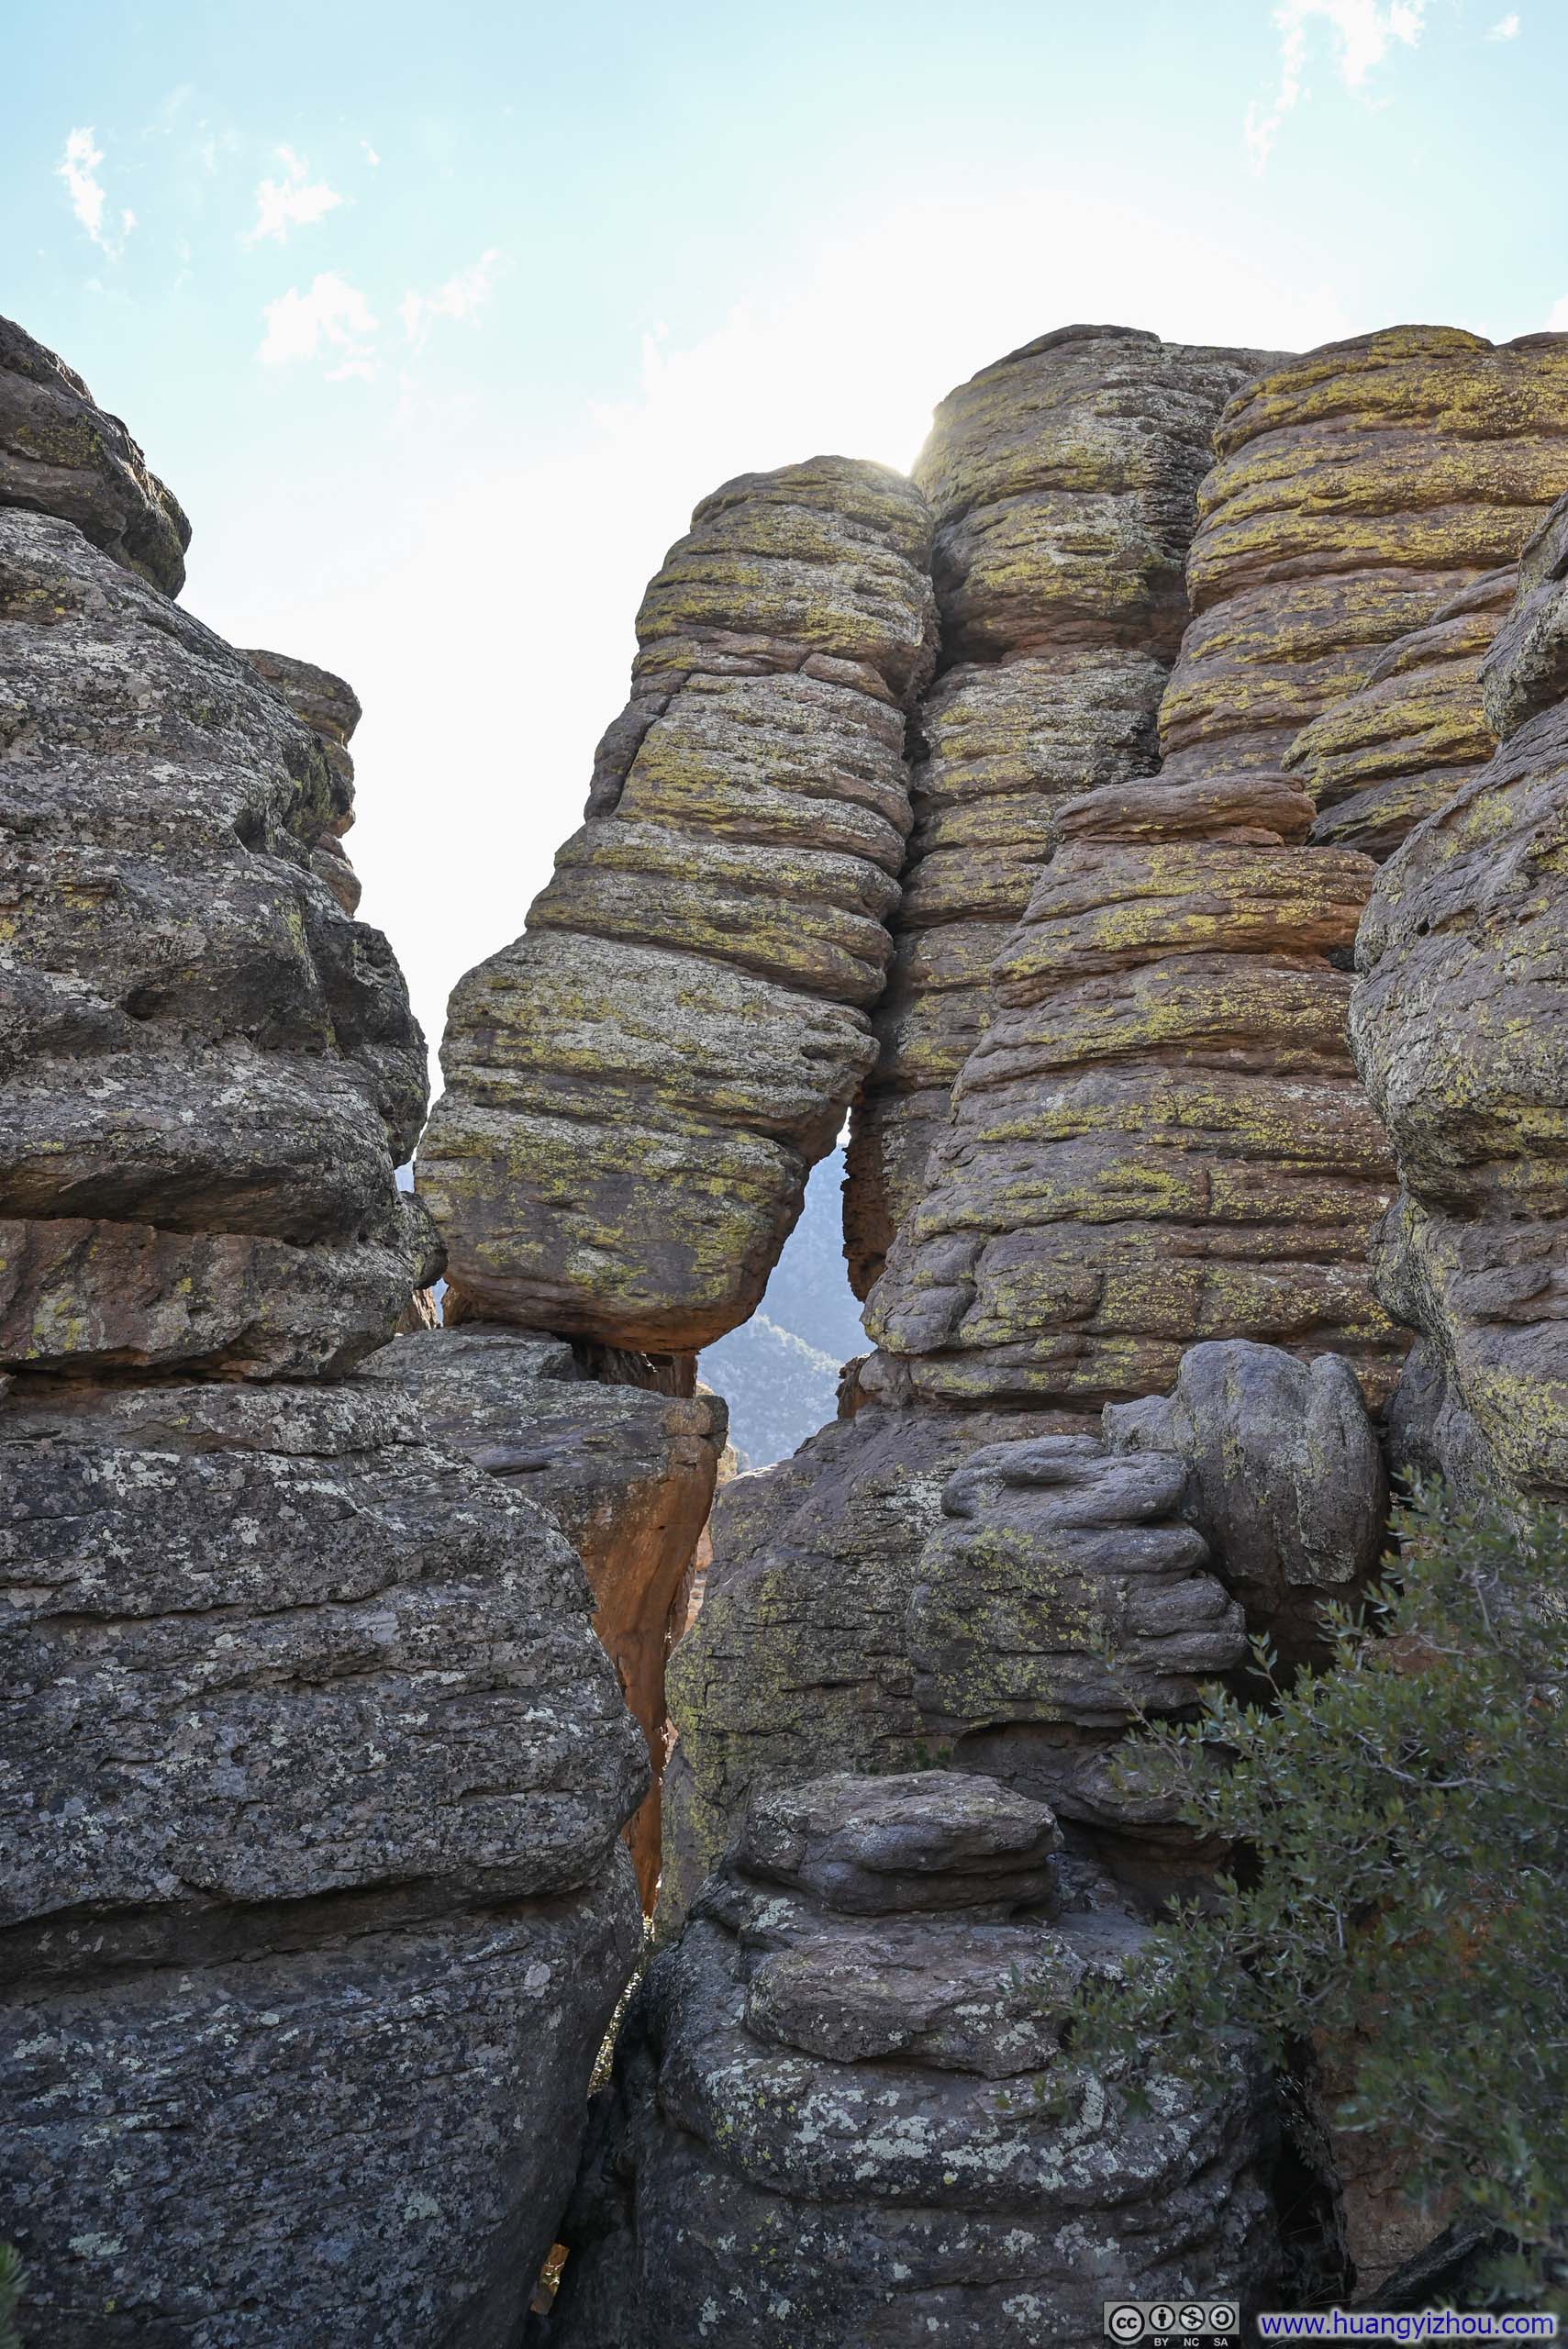
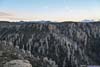
Moreover, Echo Canyon presented an seemingly endless procession of hoodoos. Compared to those encountered earlier in the hike, these formations were notably larger and more imposing, displaying their grandeur with striking effect. (And naturally, there was no shortage of unnamed balanced rocks to admire along the way.)
 HoodoosLike a 3d jigsaw puzzle put together.
 Hole in Hoodoos
 Hoodoo
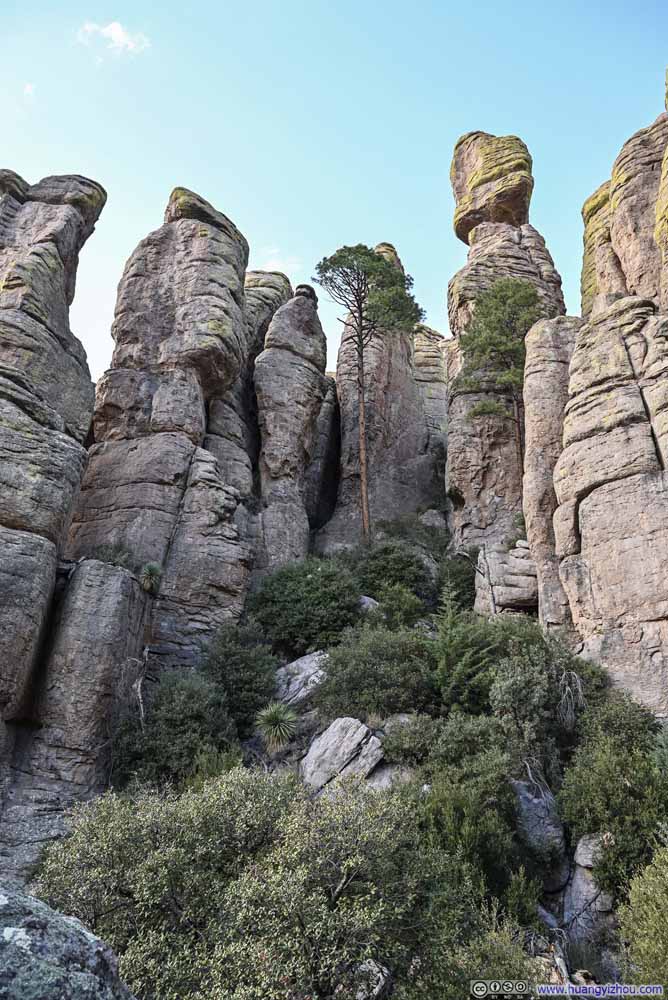 Hoodoos
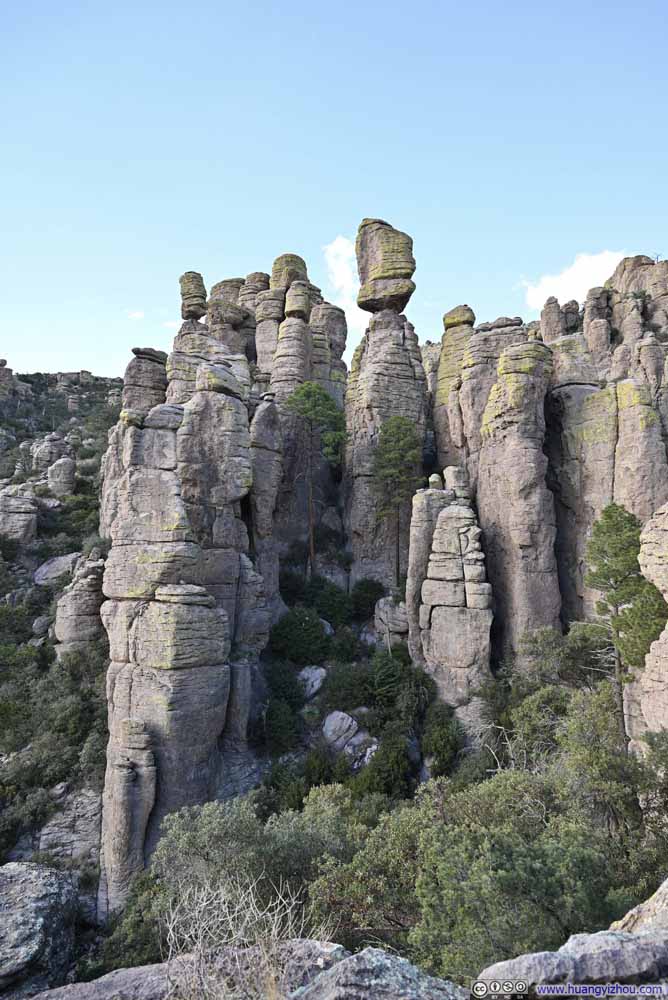 Hoodoos
 HoodooAn unnamed balanced rock.
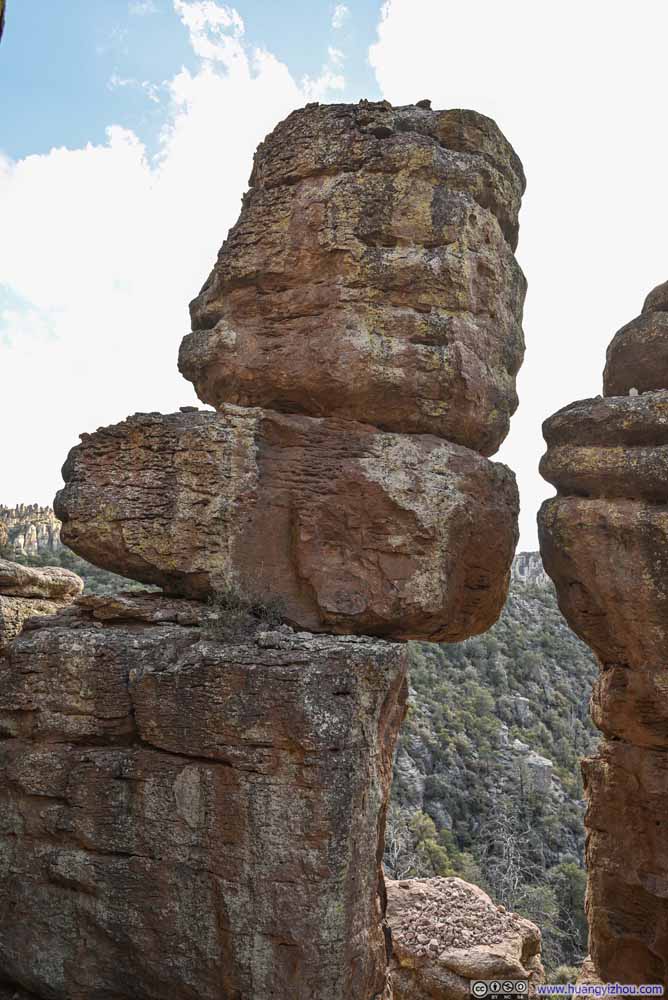 Top of Hoodoo


Click here to display photos of the slideshow
HoodoosLike a 3d jigsaw puzzle put together.
Hole in Hoodoos
Hoodoo
Hoodoos
Hoodoos

HoodooAn unnamed balanced rock.

Top of Hoodoo
 Top of HoodoosAnother unnamed balanced rock in the left.
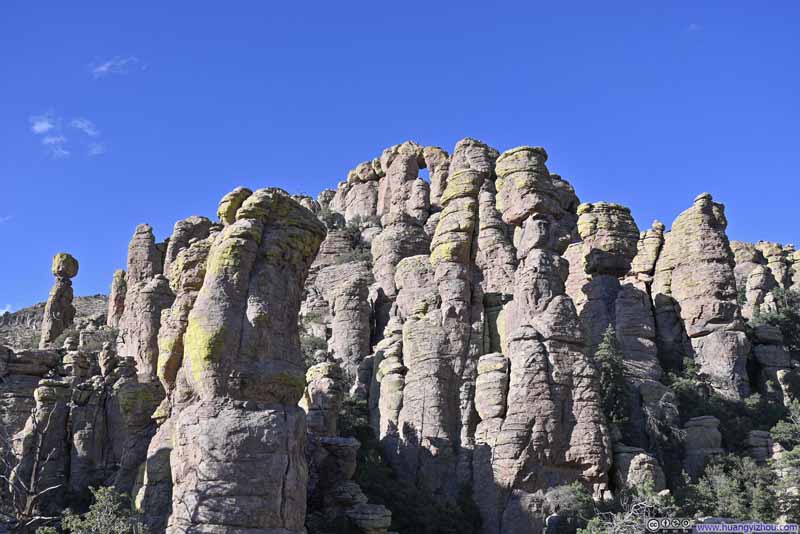 HoodoosA rock arch in the back.
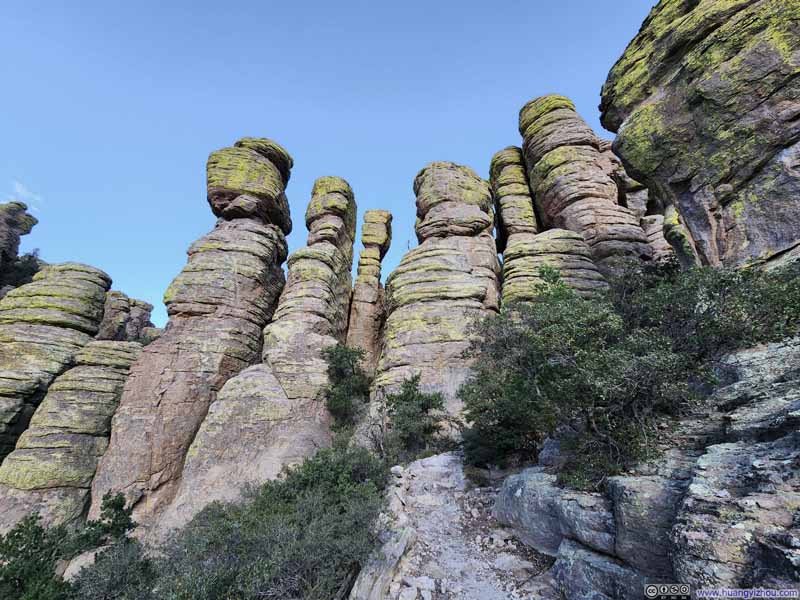 Hoodoos
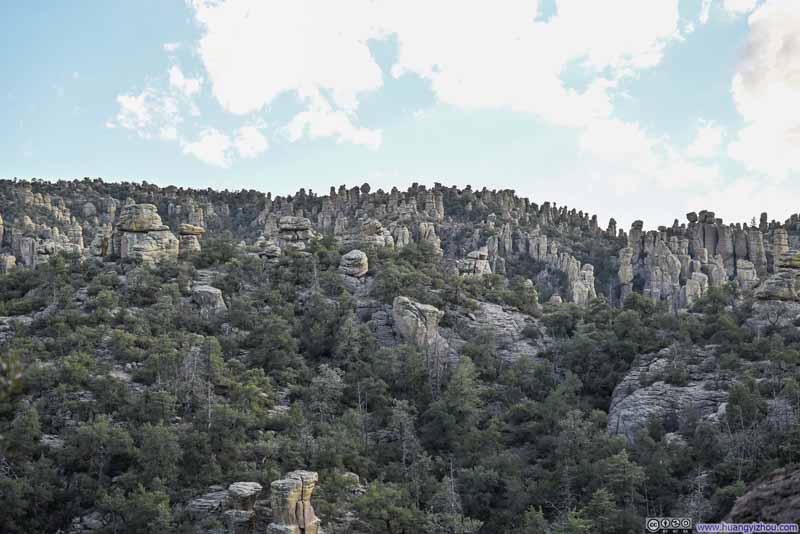 Hoodoos
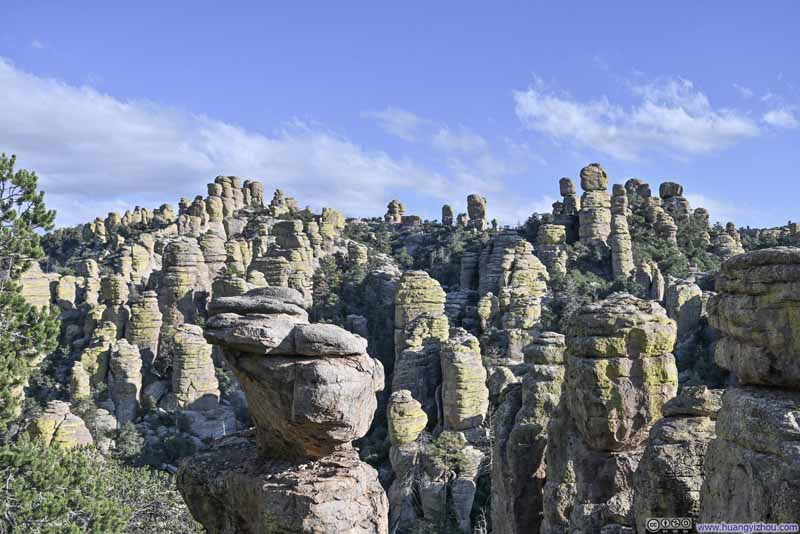 Hoodoos
Click here to display photos of the slideshow
Top of HoodoosAnother unnamed balanced rock in the left.

HoodoosA rock arch in the back.

Hoodoos

Hoodoos
Hoodoos
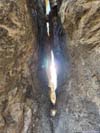
 Passage between Rocks
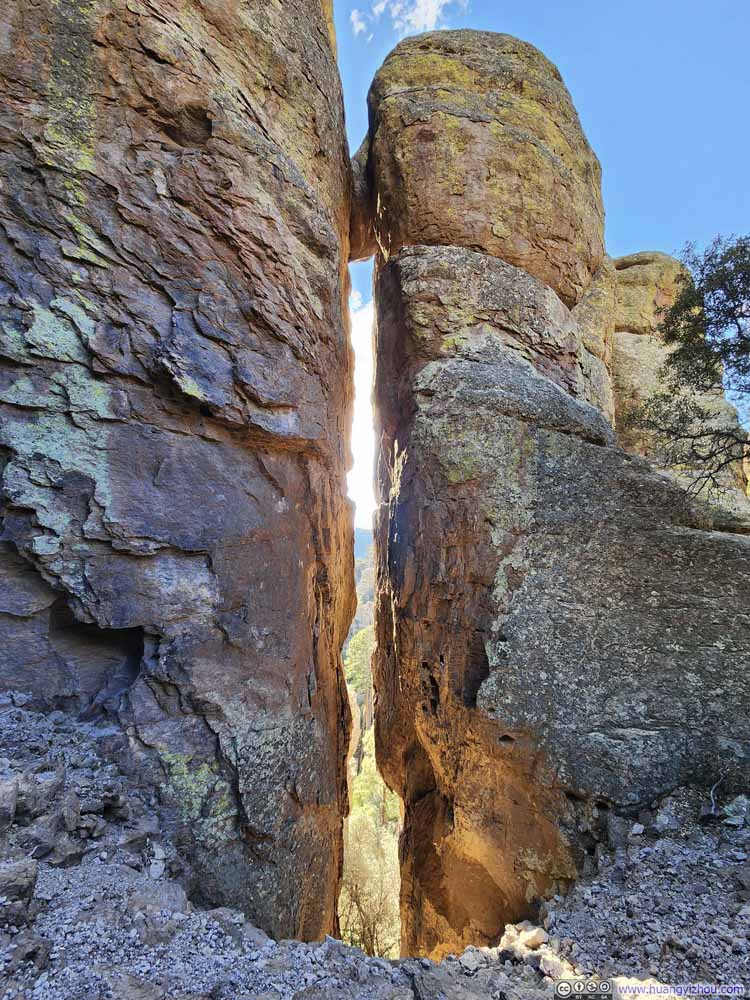 Narrow Gap between HoodoosLight from the afternoon sun flowing through.
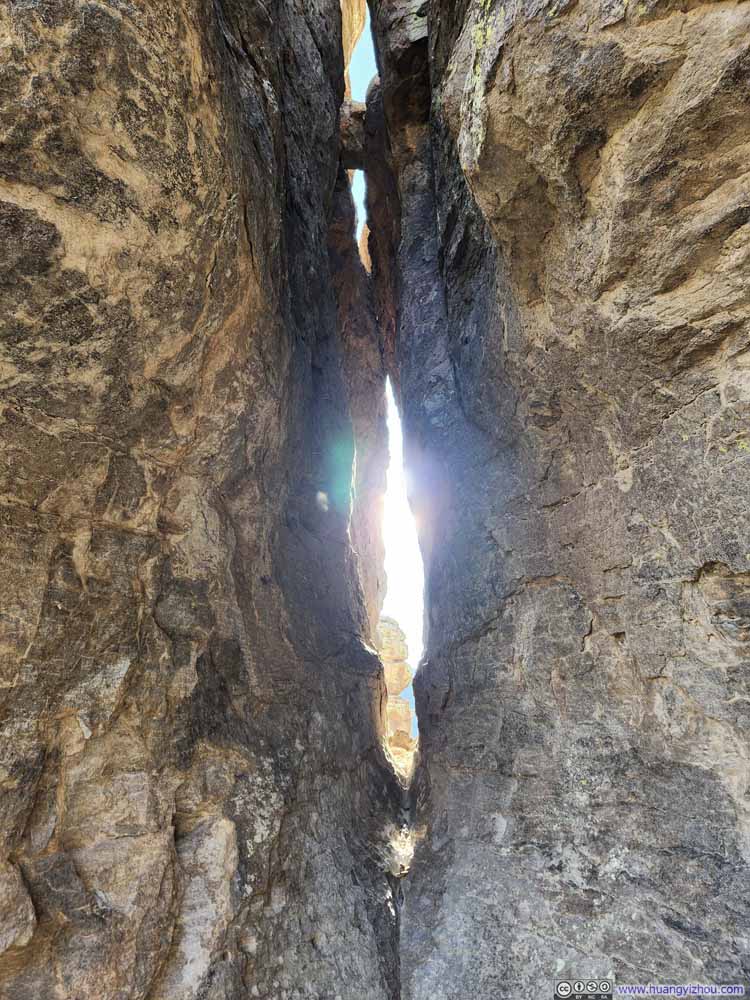 Narrow Gap between HoodoosLight from the afternoon sun flowing through.
 Opening between Hoodoos
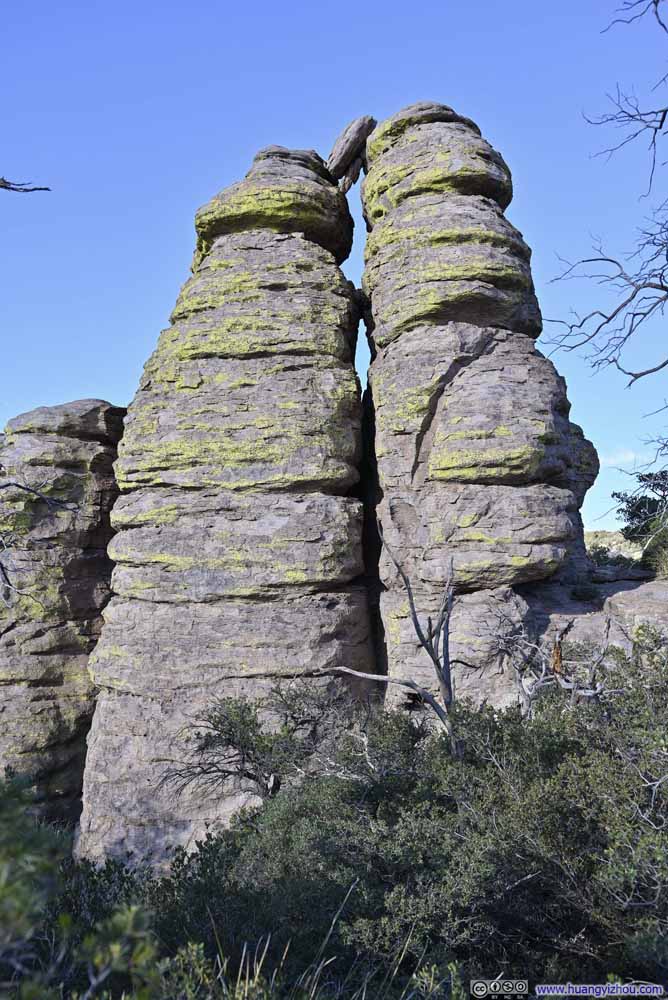 Rock Balanced between Hoodoos
Click here to display photos of the slideshow
Passage between Rocks

Narrow Gap between HoodoosLight from the afternoon sun flowing through.

Narrow Gap between HoodoosLight from the afternoon sun flowing through.
Opening between Hoodoos

Rock Balanced between Hoodoos
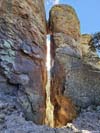
Exiting Echo Canyon, the sun was getting low and hence casting increasingly harsher shadows. This delicate interplay of light and shadow required more consideration of angles when photographing the landscape.
 Hoodoos
 Hoodoos
 Hooodos Leaning on Each Other
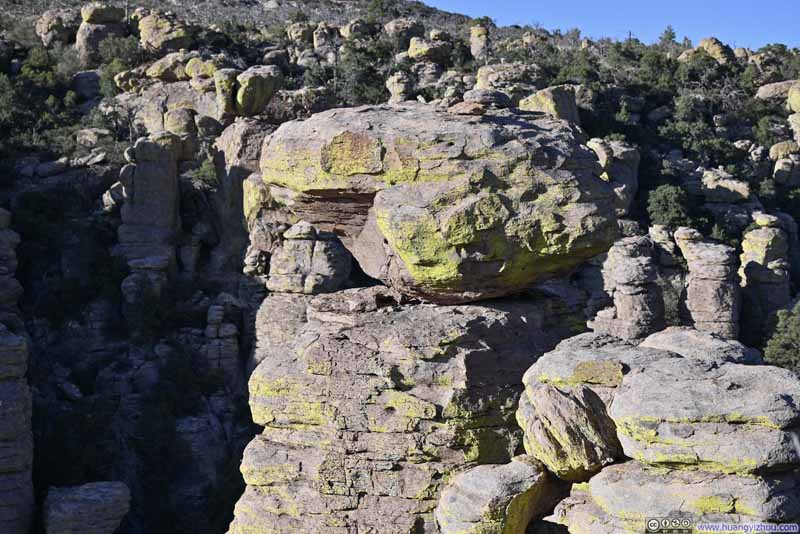 Unnamed Balanced Rock
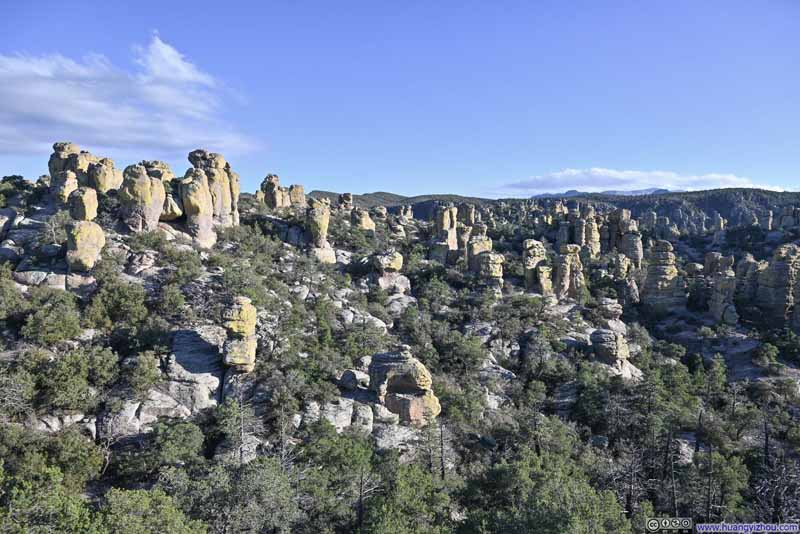 Hoodoos


Click here to display photos of the slideshow

Hoodoos
Hoodoos
Hooodos Leaning on Each Other
Unnamed Balanced Rock
Hoodoos
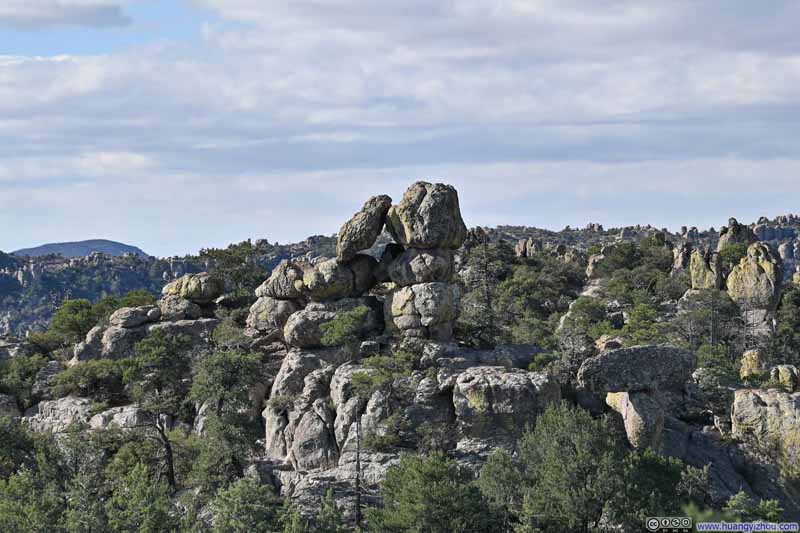
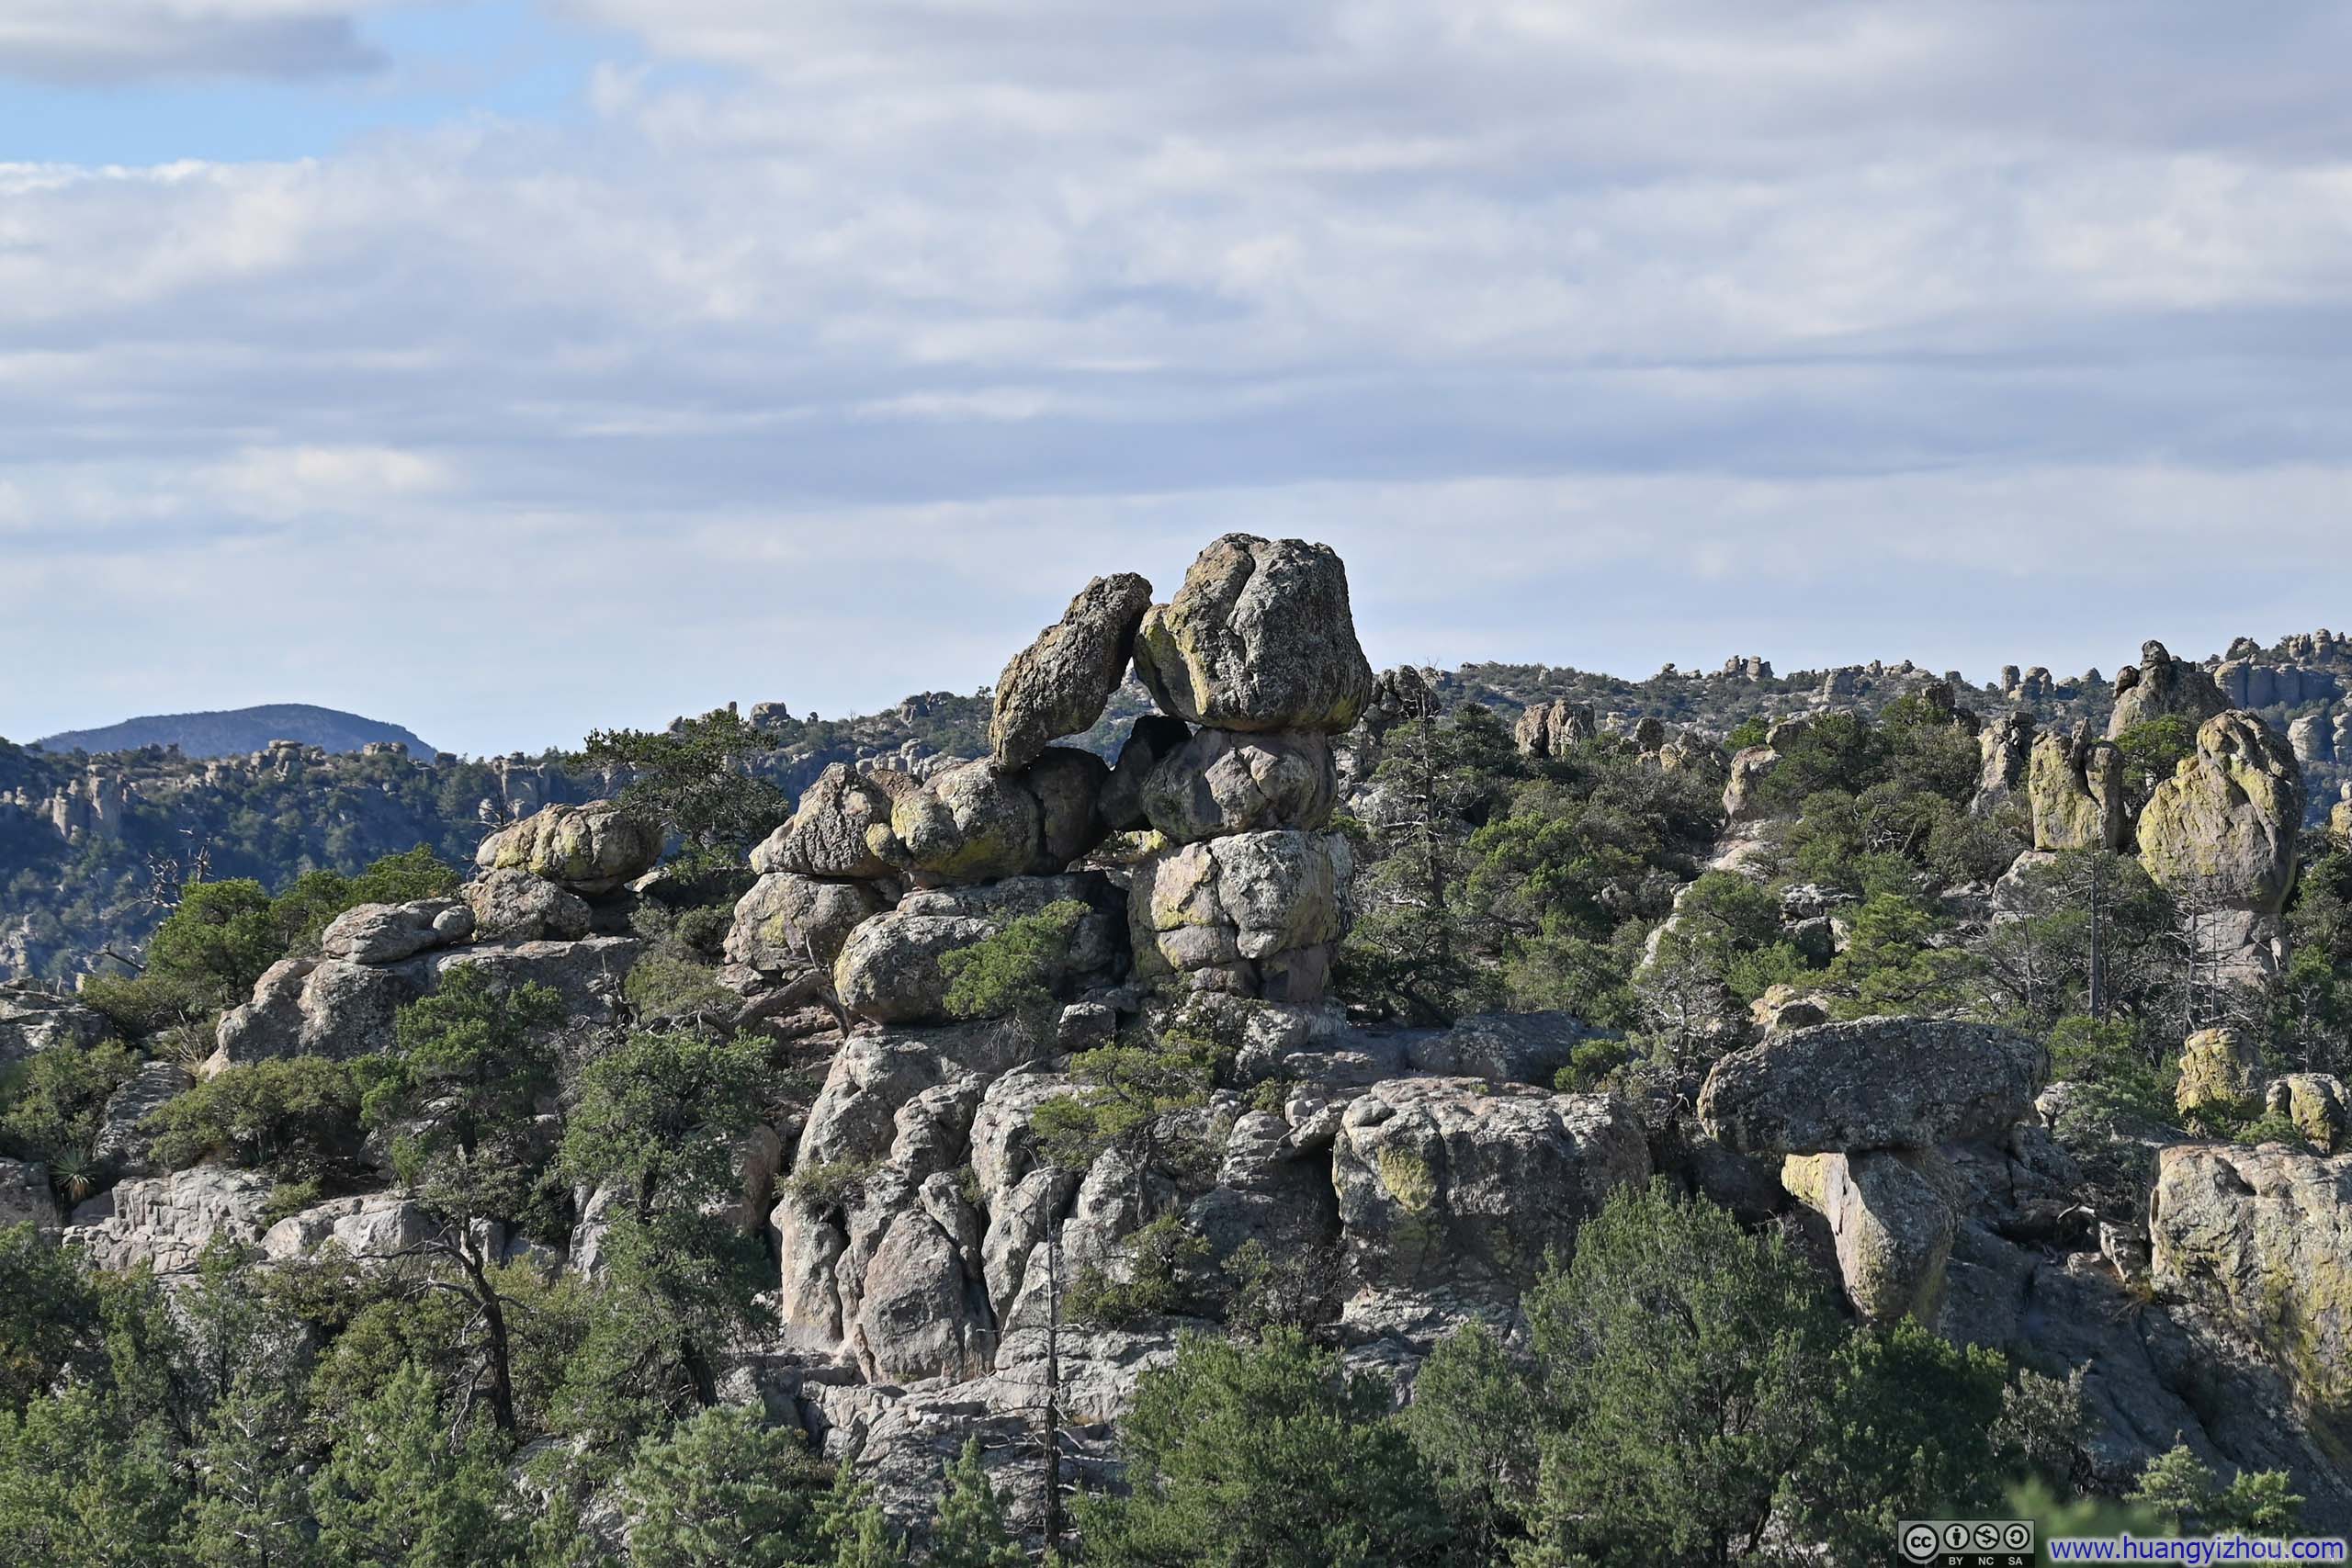
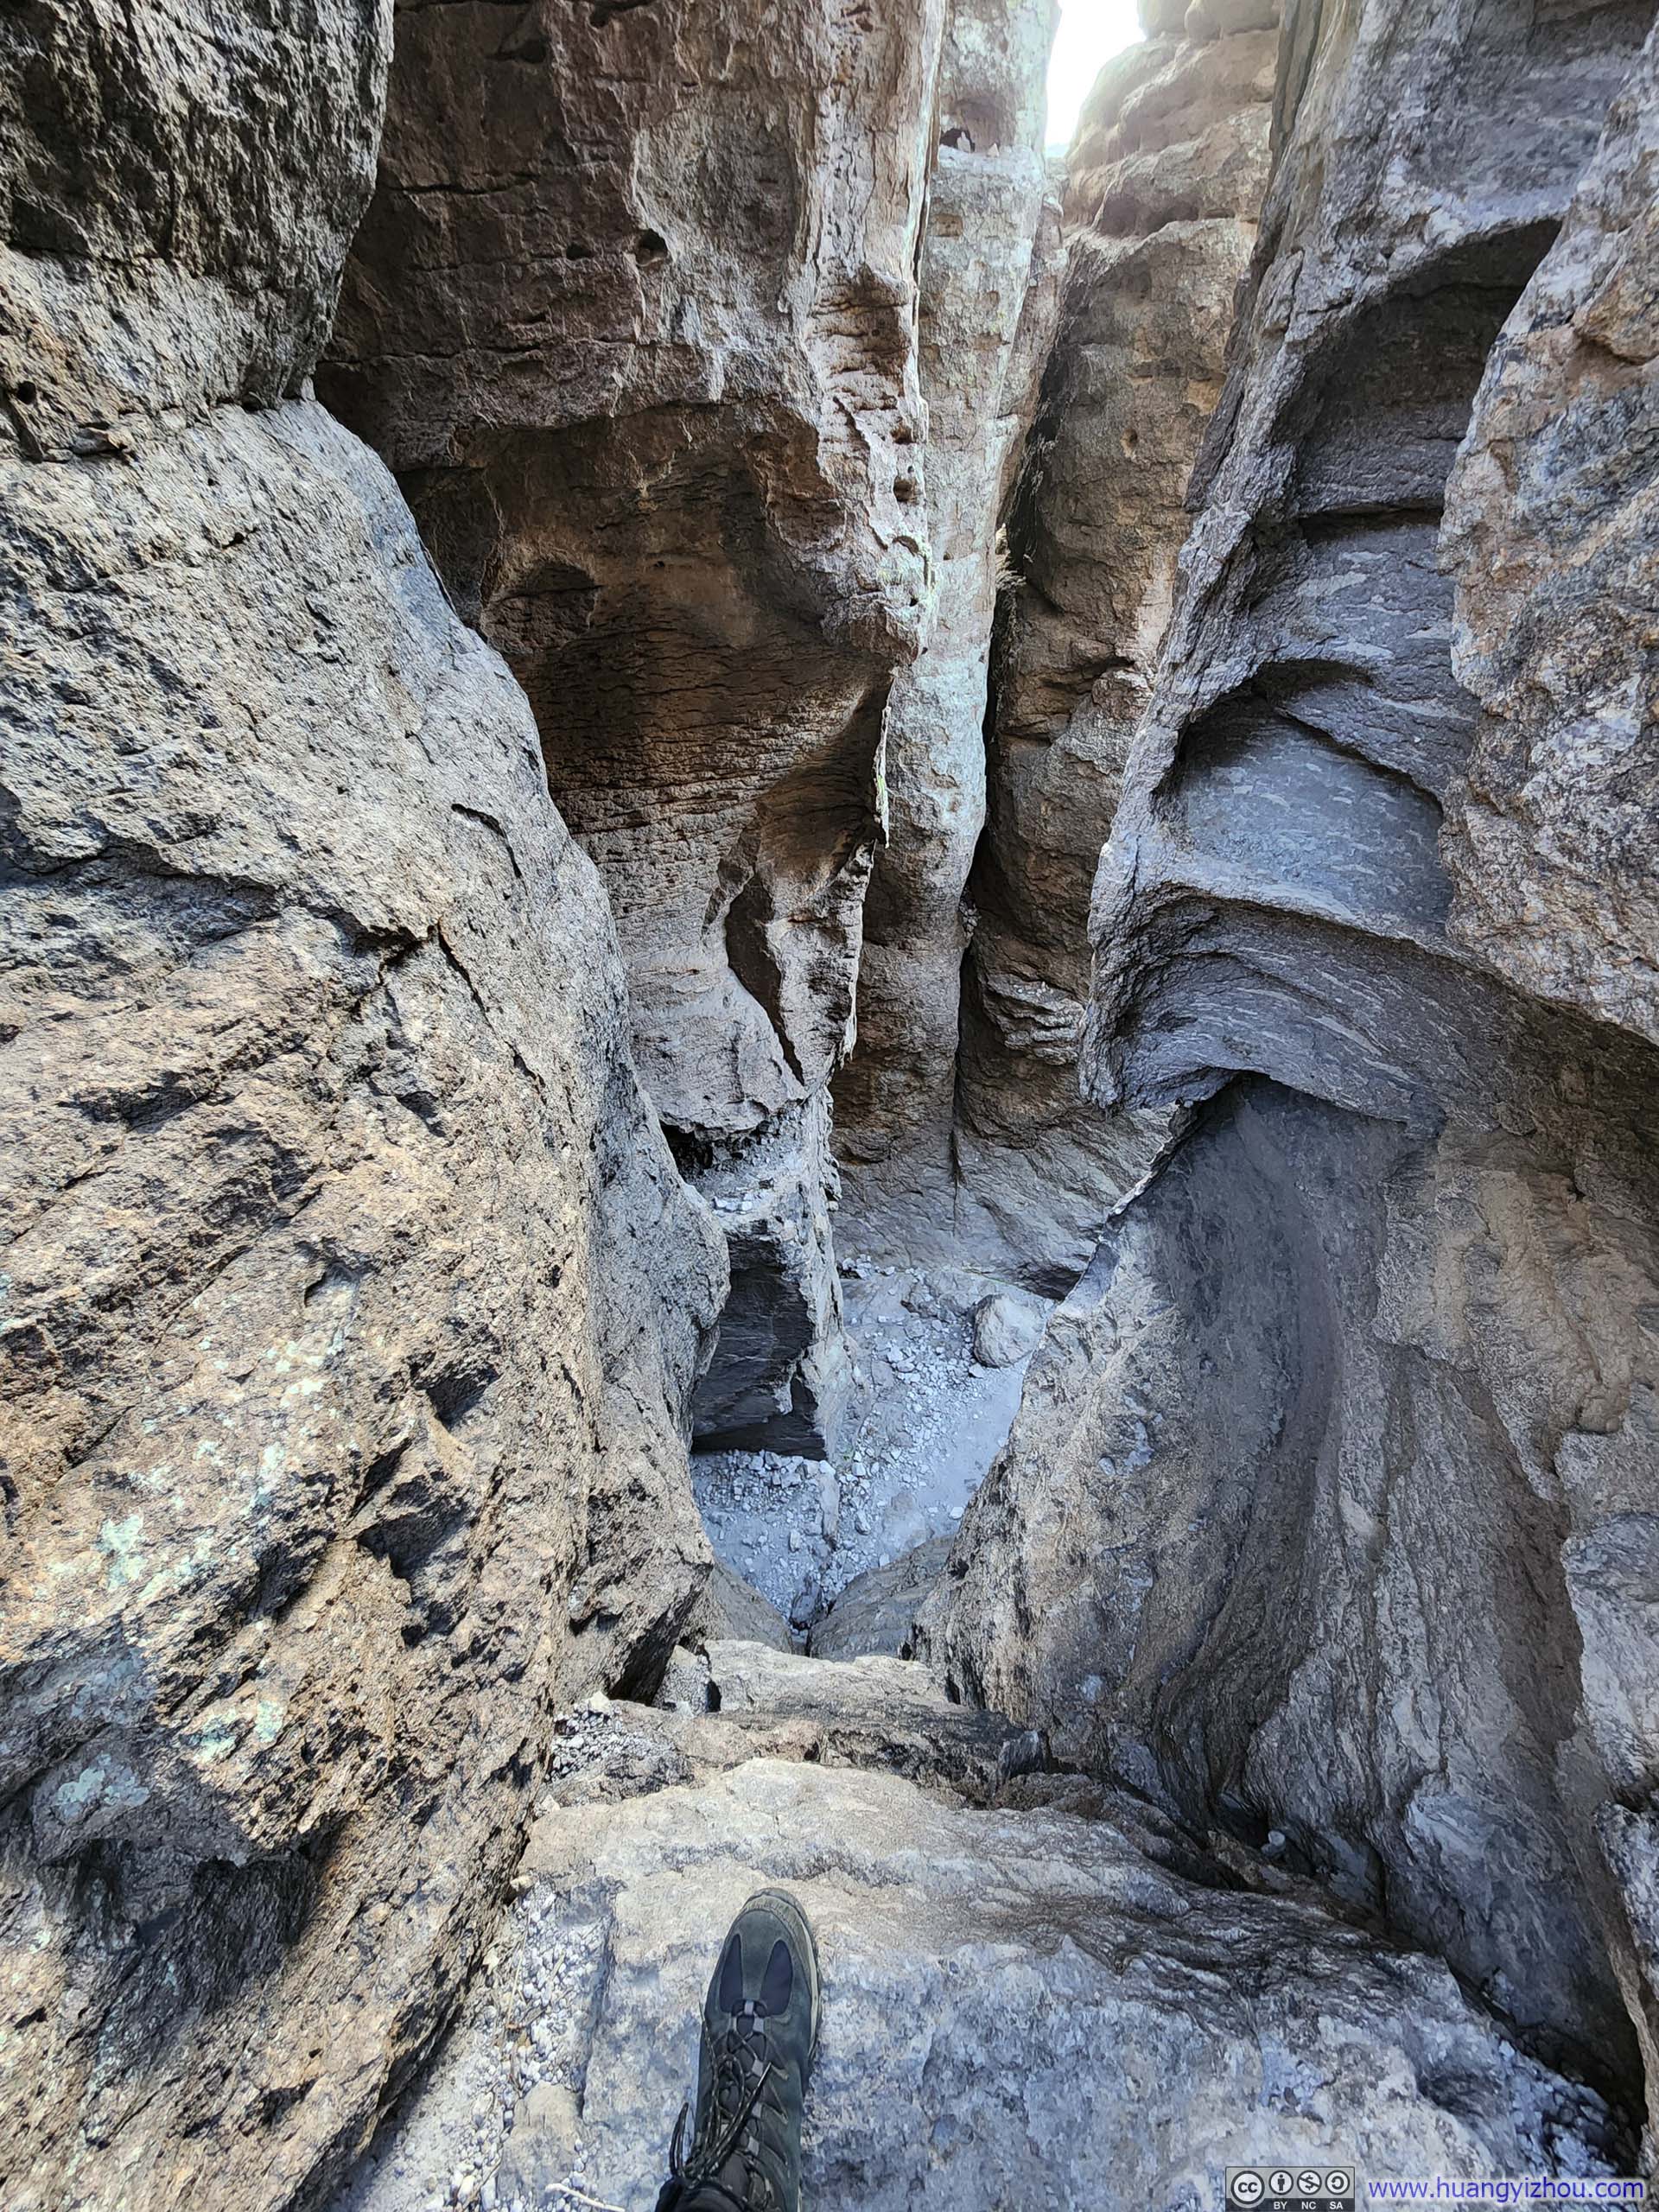
Nearing the trailhead, I discovered several boulders stacked and wedged together in such a remarkably perfect configuration that they had transformed the spaces beneath them into a miniature labyrinth, reminiscent of the Echo Canyon I had walked through earlier but much smaller in scale. Curiosity compelled me to explore further, here’s a video:
57 seconds, 2160p60fps, H265 only, 19Mbps/146MB file size.
 Boulders Stacked Together
 Boulders Stacked Together
 Boulders Stacked Together

Click here to display photos of the slideshow

Boulders Stacked Together

Boulders Stacked Together

Boulders Stacked Together
Eventually, I reached the trailhead at around 4pm, completing the hike in just over 6 hours.
In retrospect, I was struck by the remarkable variety of experiences this loop trail offered, providing multiple perspectives from which to observe the hoodoos: first as a general surveying an army of them from Inspiration Point, then in the prospect of a pawn in that army on the floor of Rhyolite Canyon. The Heart of Rocks Loop brought me their diverse shapes and characters, while Echo Canyon revealed the intricate complexity of its winding passages. It was quite a wealth of experience distilled into a relatively brief span of time.
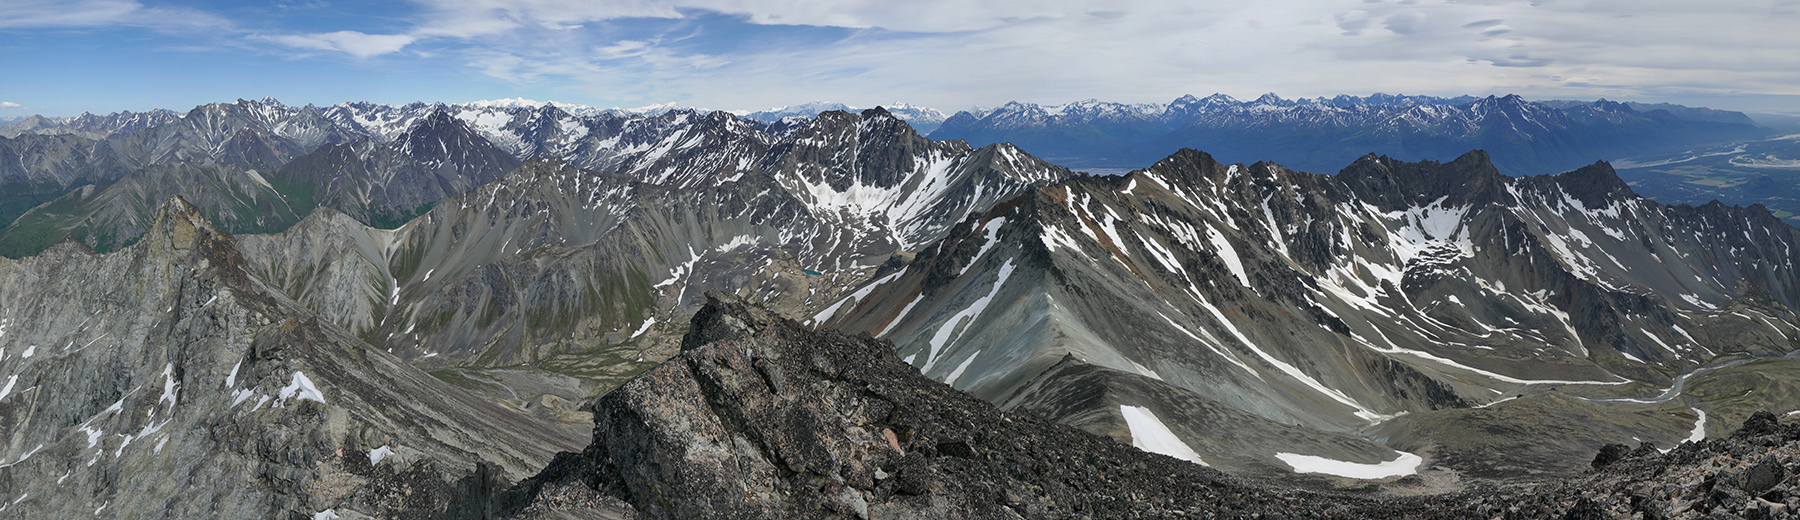
Massai Point
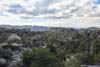
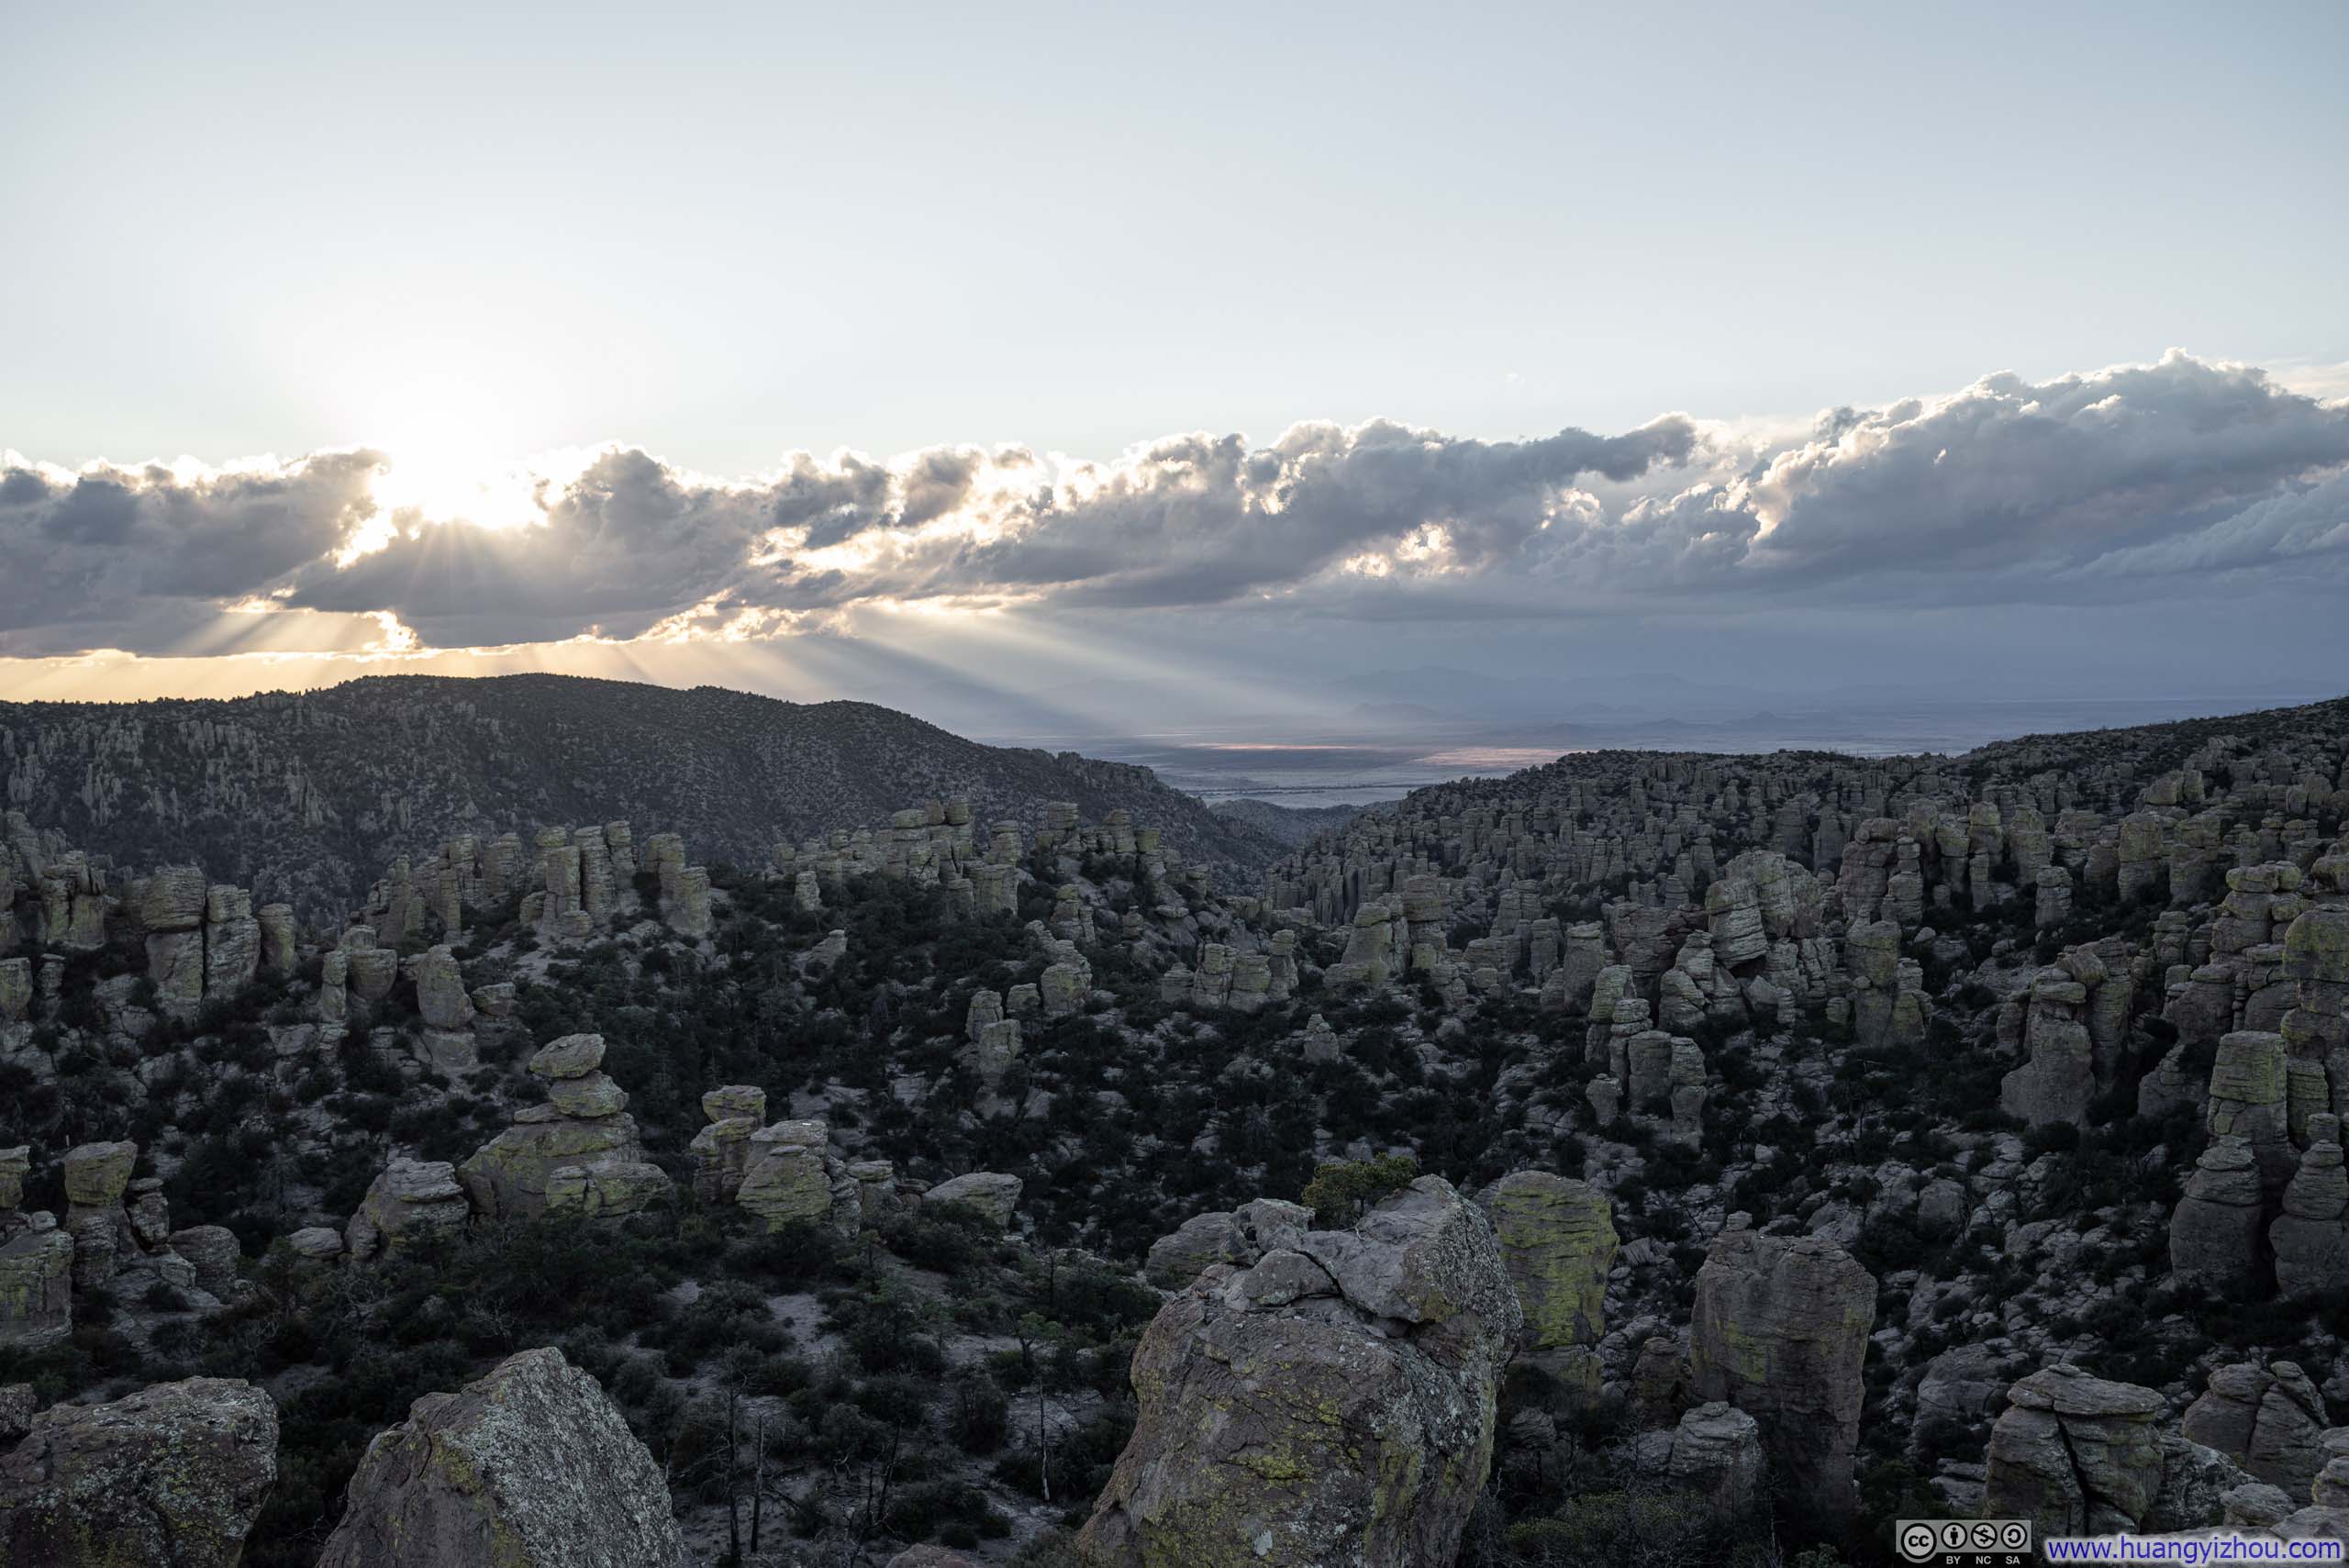
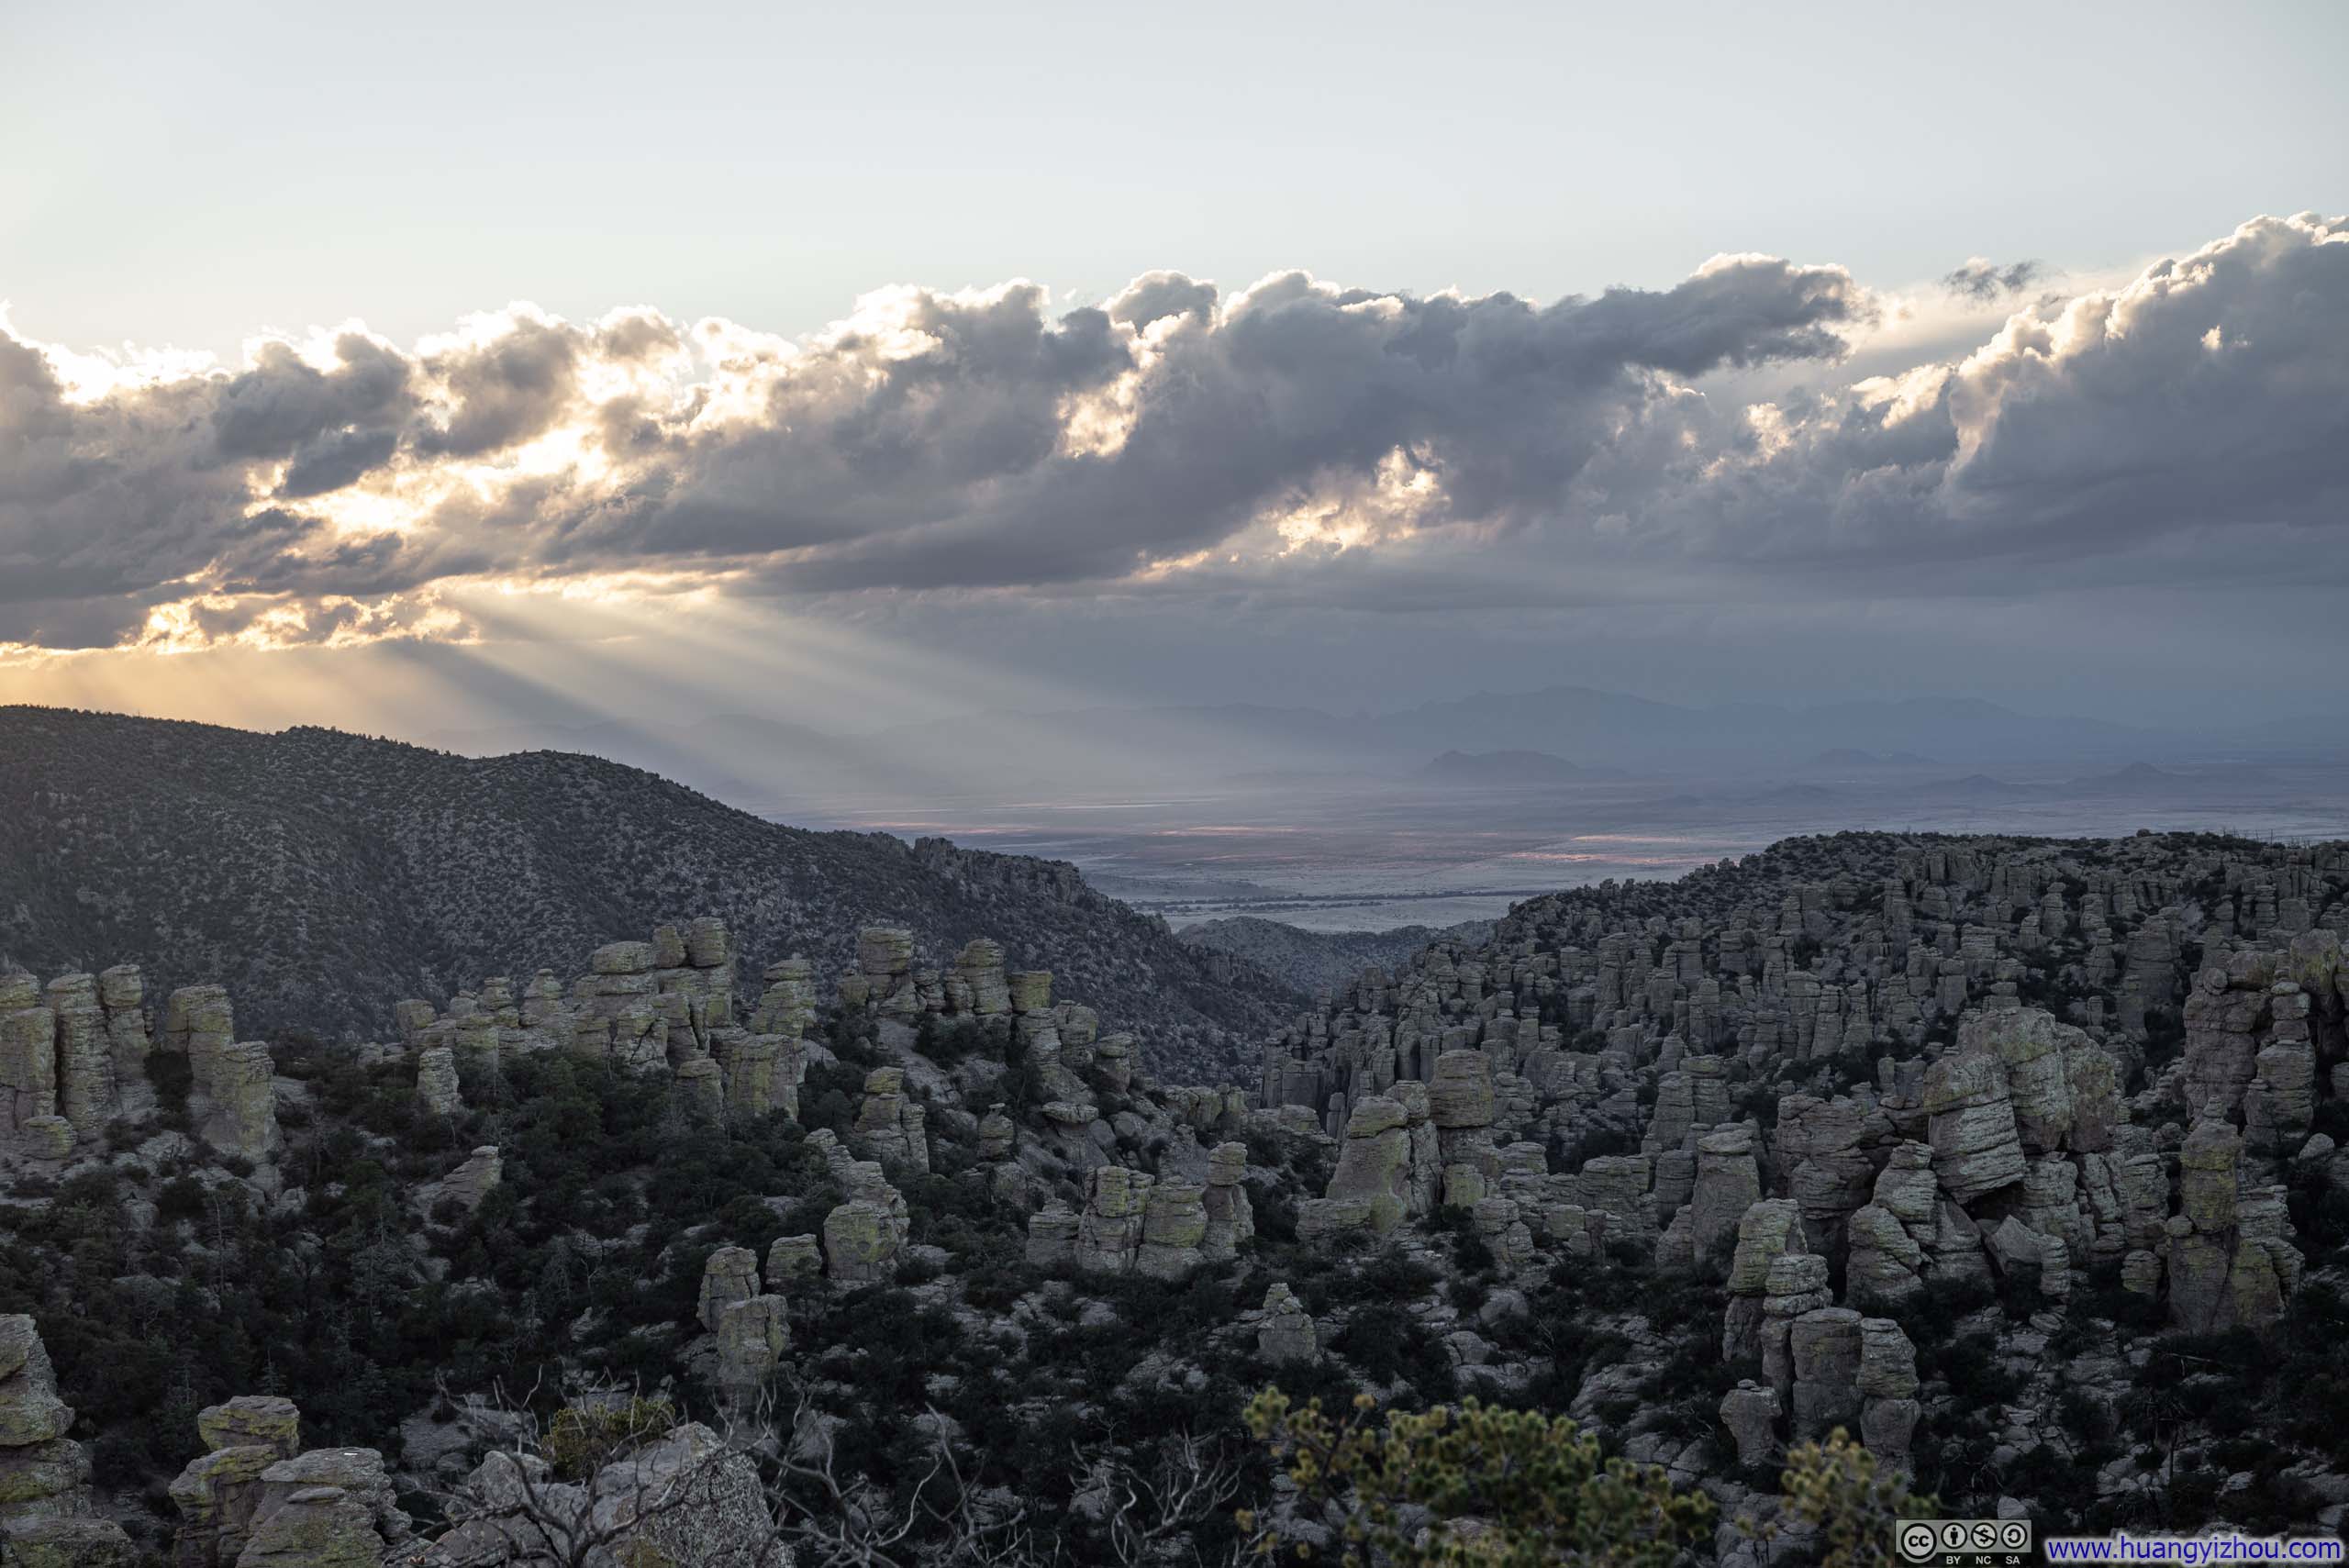
After finishing the loop hike, I drove to the nearby Massai Point, arguably the finest vehicle-accessible overlook in the monument.
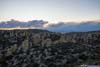
My original plan was to wait for the soft twilight colors of sunset, when sceneries are often at their most vivid, before capturing photographs. Upon arriving at Massai Point with about an hour to spare before sunset, I decided to rest in my car and pass the time with a brief nap.
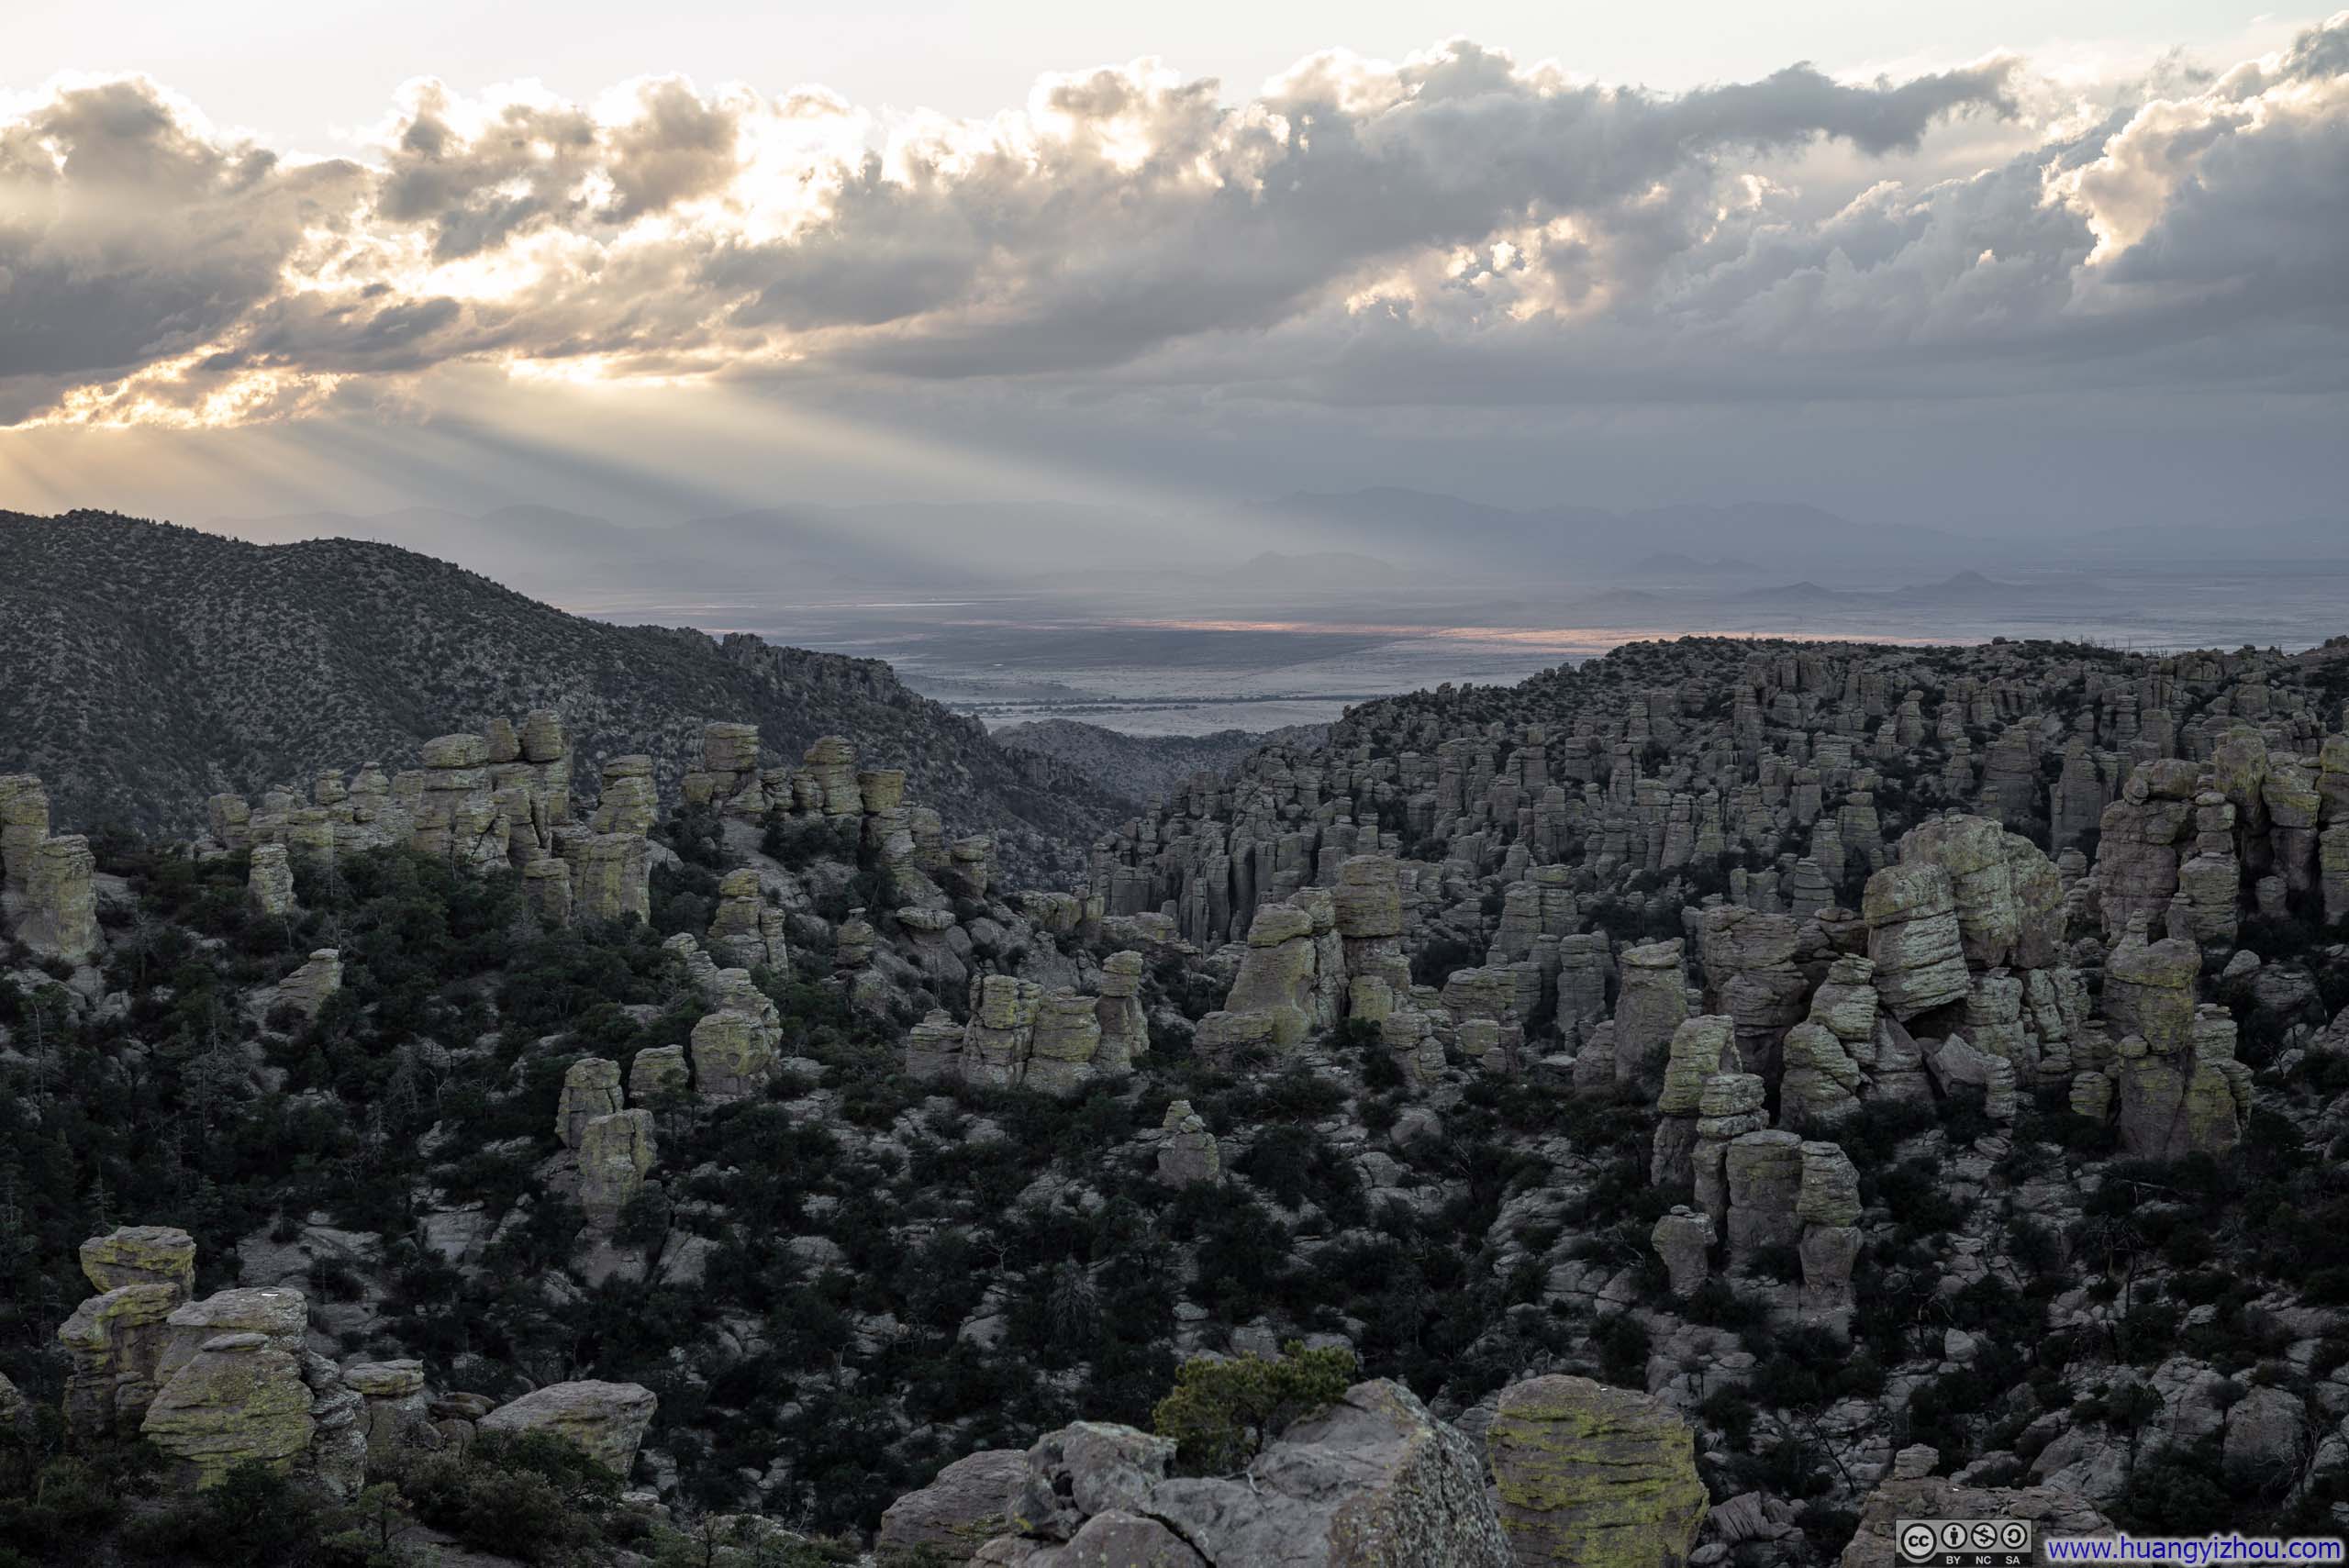
Fortunately, after about 15 minutes of napping, I stepped out to check the views and was immediately captivated by rays of sunlight breaking through distant clouds, casting luminous god rays across the fields below and putting on a most glorious display of colors. As it turned out, the afternoon clouds were quite thick—had I waited until the actual sunset hour, they would have muted the vibrant twilight colors entirely. (The weather forecast had earlier indicated a chance of rain during my hike, though those prospects had diminished as the day of my trip approached.)
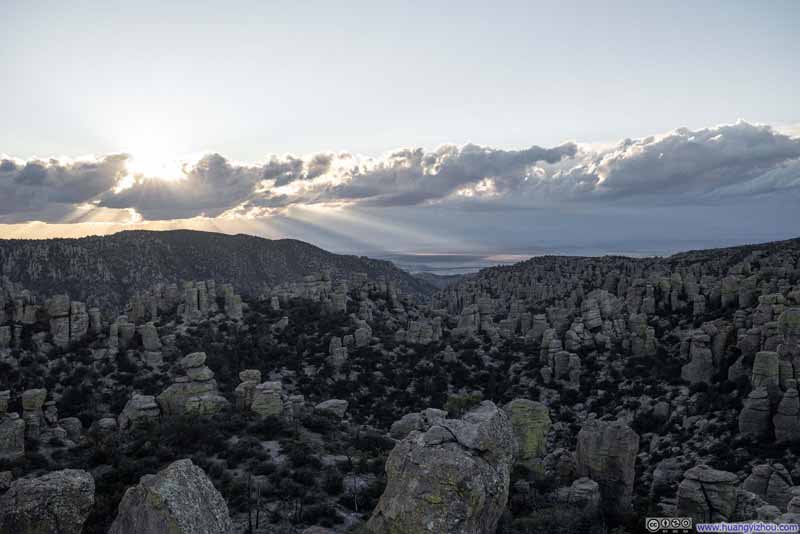 Hoodoos from Massai Point against Setting Sun
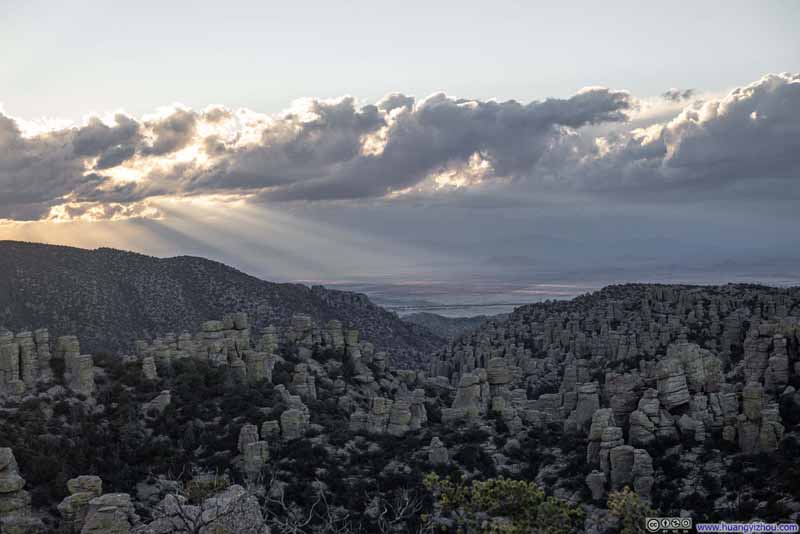 Hoodoos from Massai Point against Setting Sun
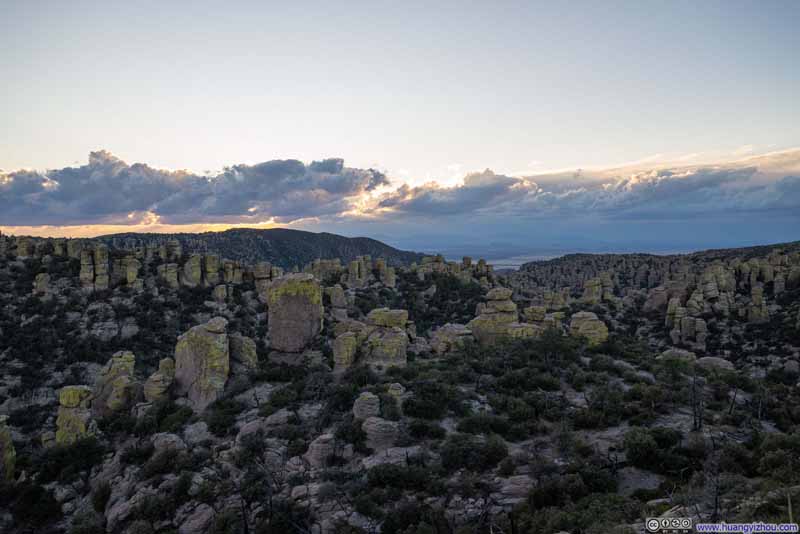 Hoodoos from Massai Point against Setting Sun
 HoodoosHeart of Rocks area in the background.
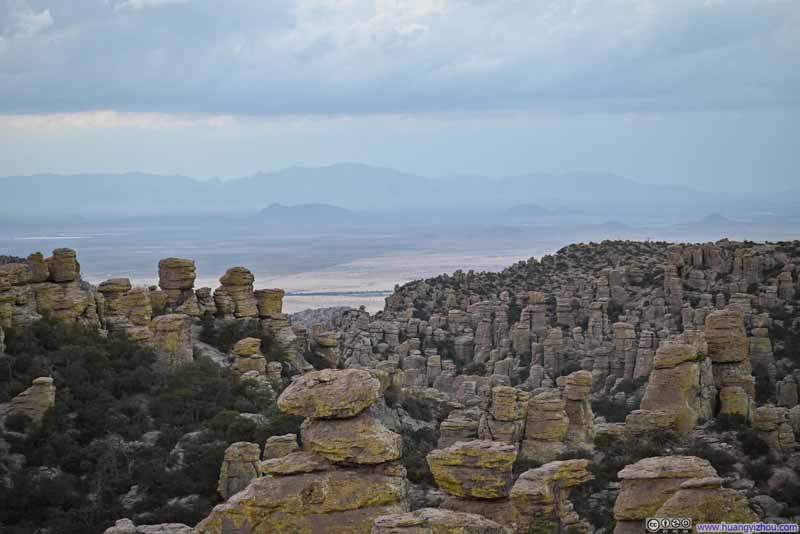 Distant Valley before Dragon MountainsMt Glenn, the highest point of Dragon Mountains, in the background center.
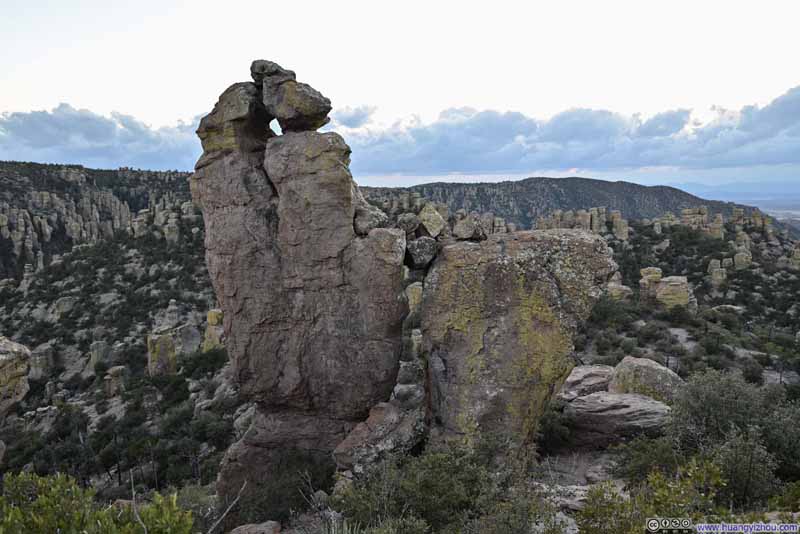 Rocks Balanced Together
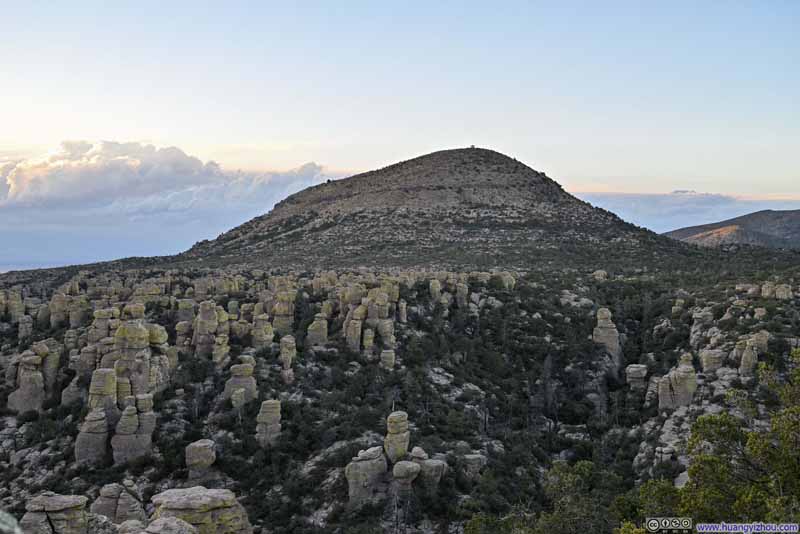 Hoodoos before Sugarloaf Mountain


Click here to display photos from Massai Point.
Hoodoos from Massai Point against Setting Sun
Hoodoos from Massai Point against Setting Sun
Hoodoos from Massai Point against Setting Sun
HoodoosHeart of Rocks area in the background.

Distant Valley before Dragon MountainsMt Glenn, the highest point of Dragon Mountains, in the background center.

Rocks Balanced Together
Hoodoos before Sugarloaf Mountain
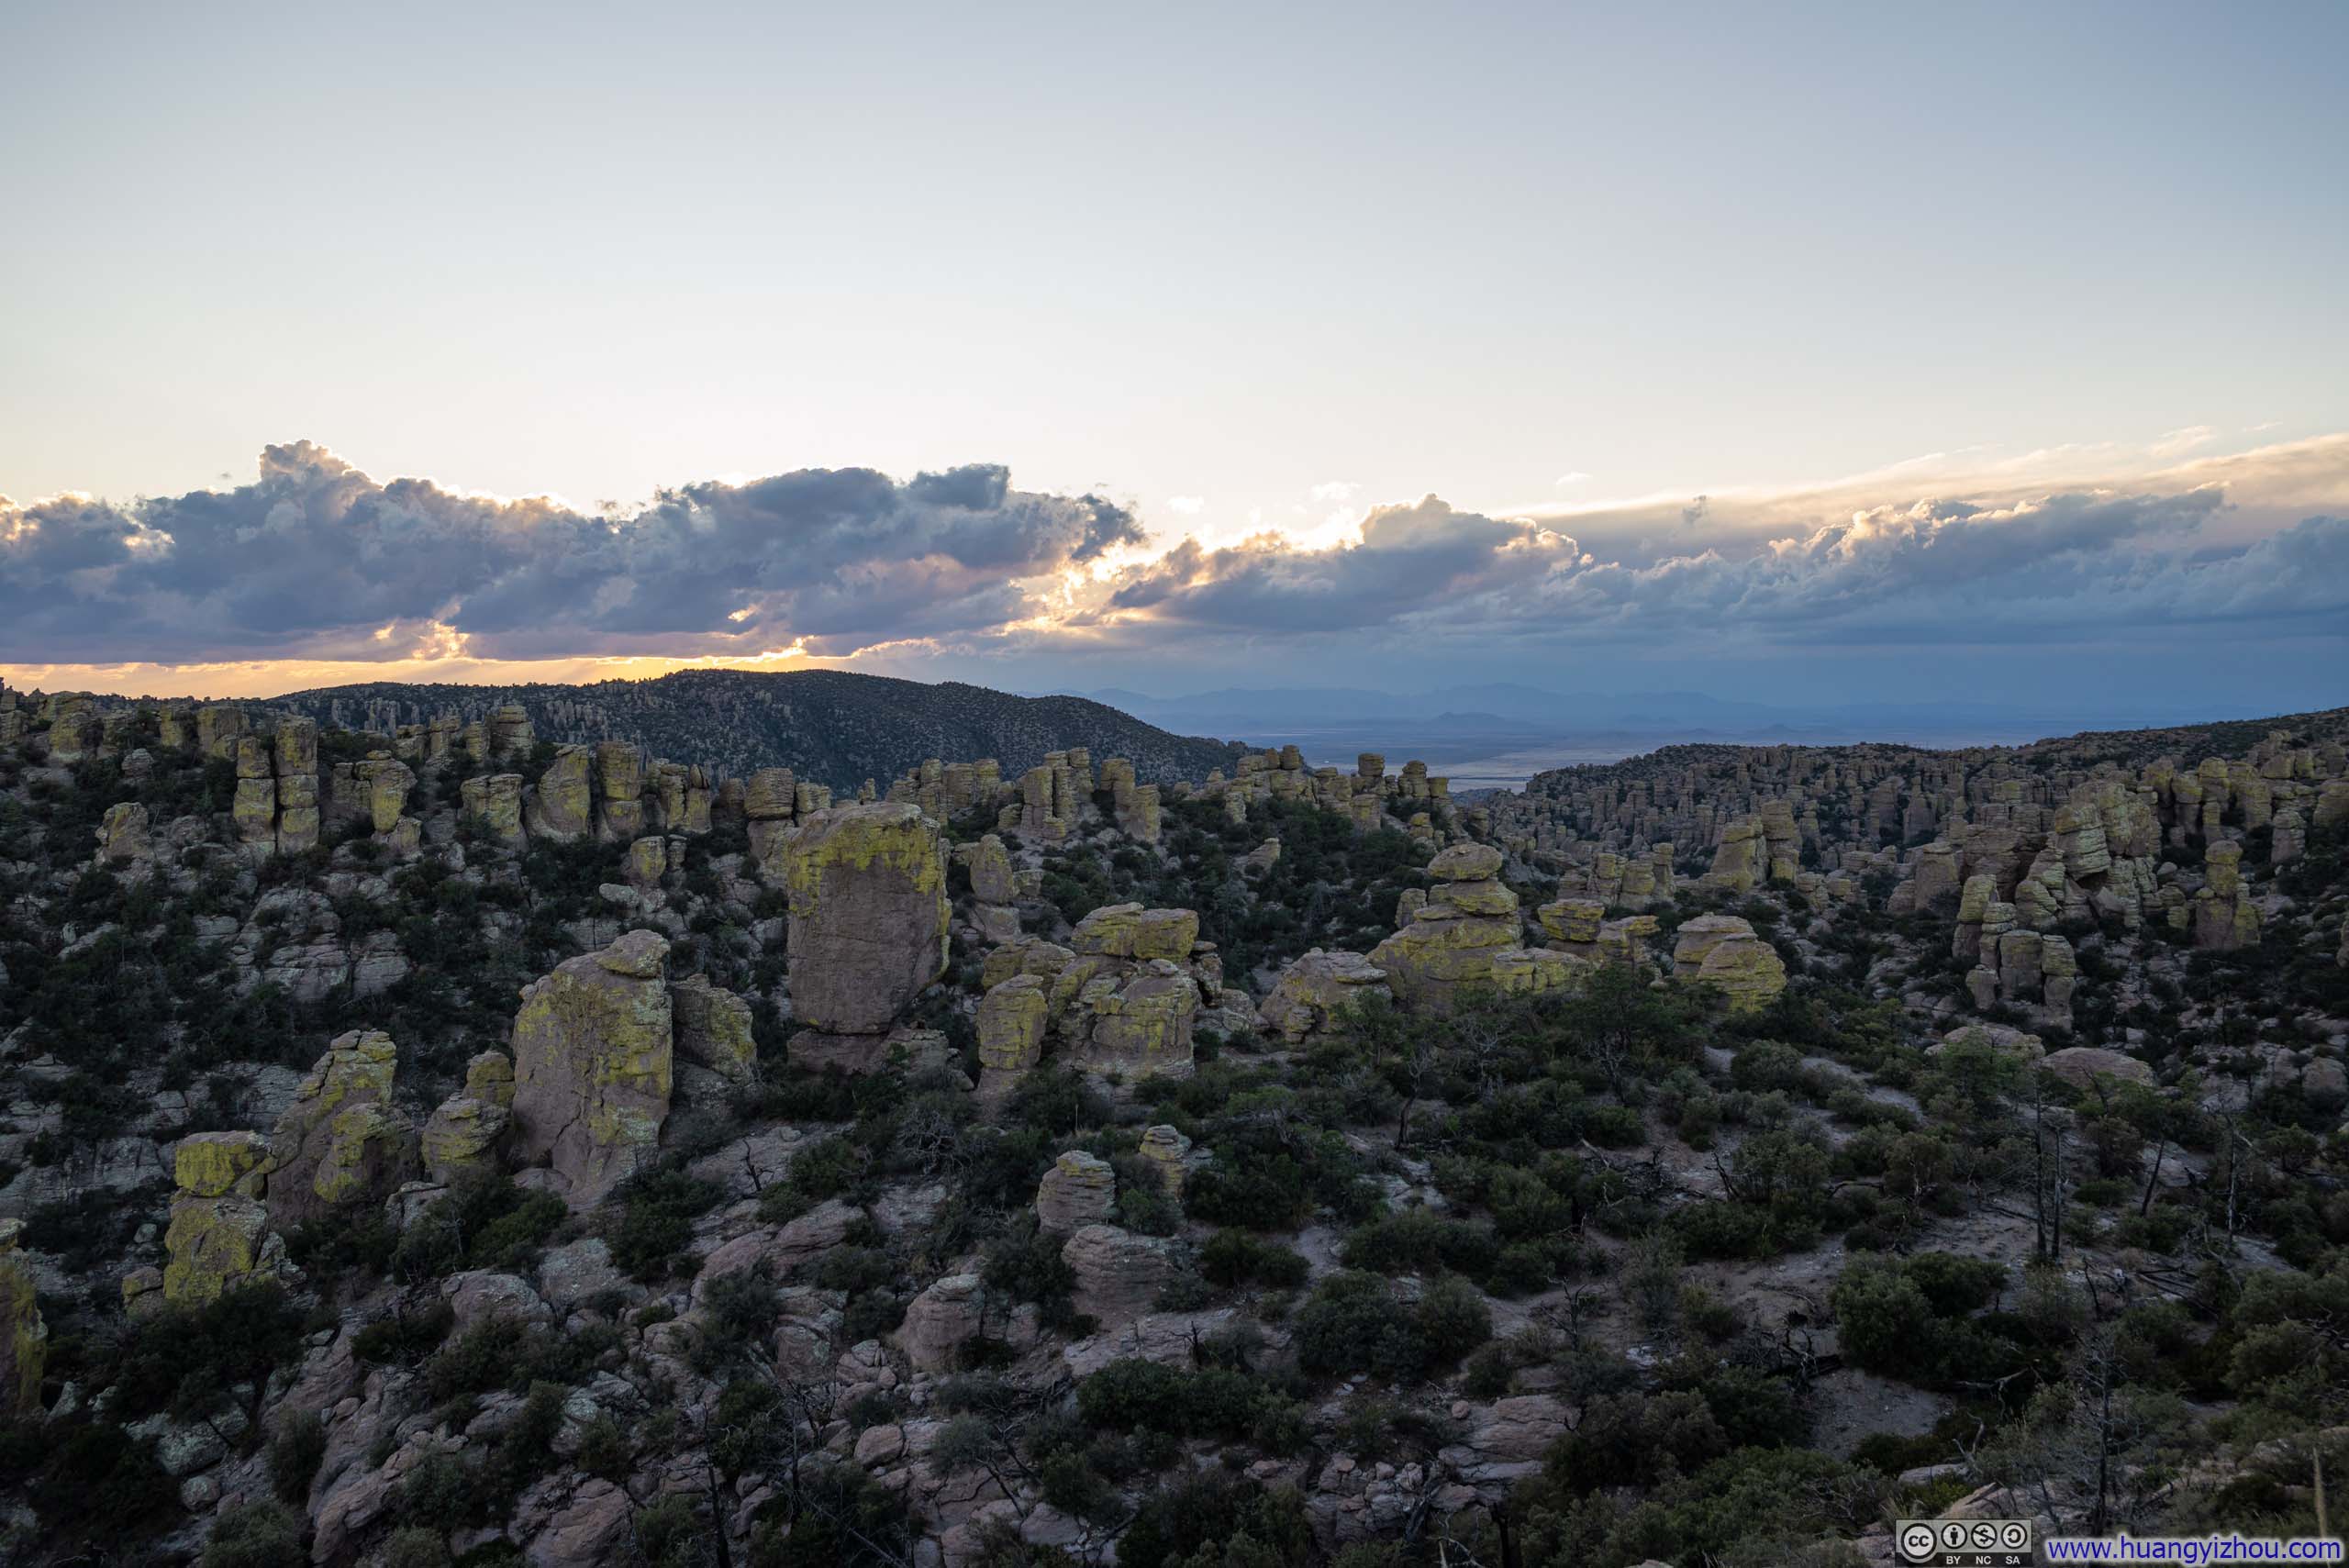
View from Massai Point
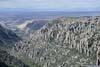
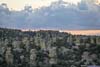
In comparison, the actual clusters of hoodoos, as seen from Massai Point and displaying various shapes and sizes, seemed a bit dull when devoid of the intense interplay with sunlight, as I had grown accustomed to these dramatic rock formations during my earlier hike.
 Hoodoos from Massai Point
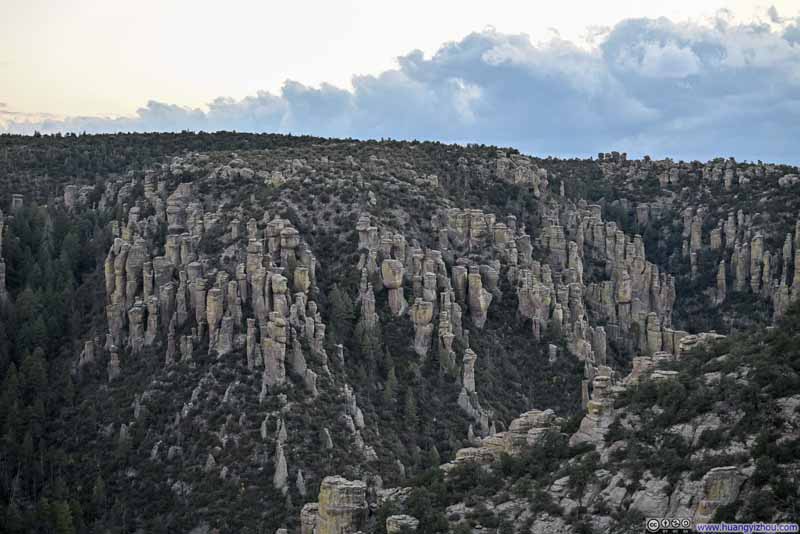 Hoodoos
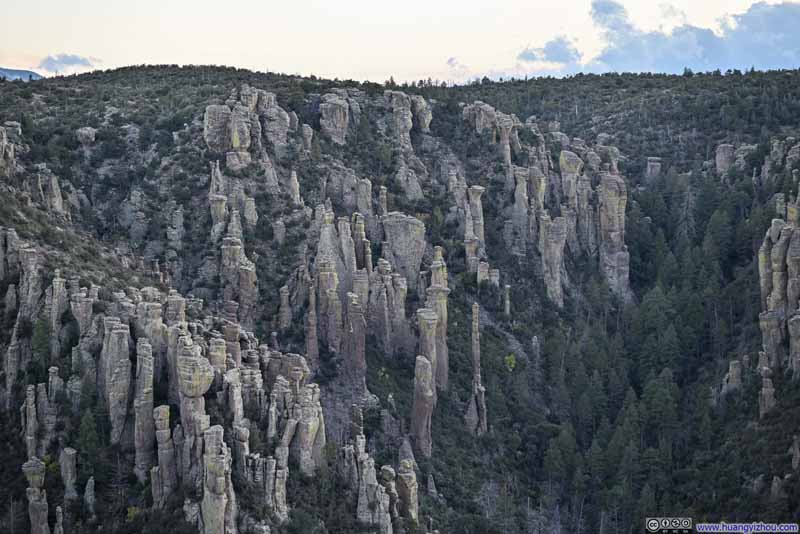 Hoodoos around Totem Canyon
 HoodoosTowards the direction of Inspiration Point.
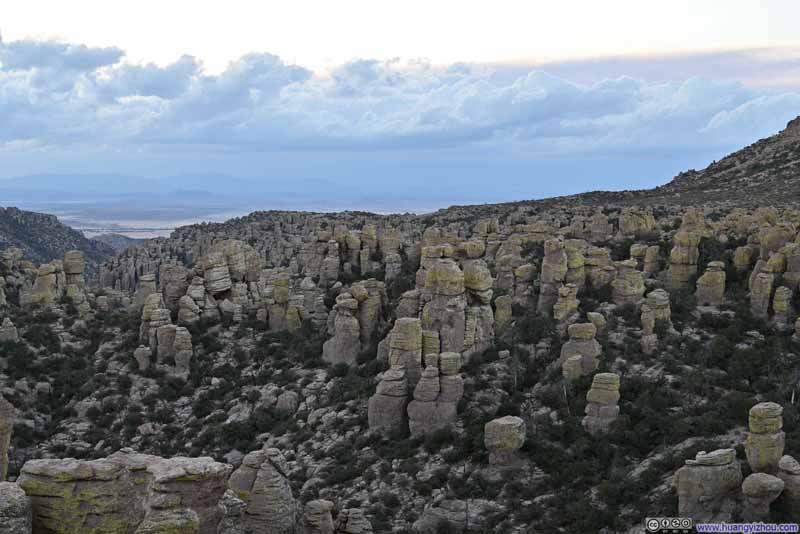 Hoodoos from Massai Point
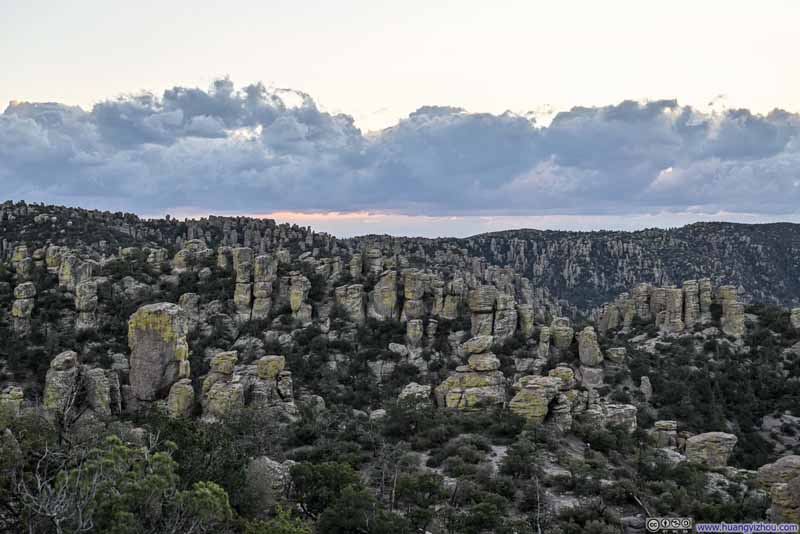 Hoodoos from Massai Point

Click here to display photos of hoodoos from Massai Point.

Hoodoos from Massai Point
Hoodoos
Hoodoos around Totem Canyon
HoodoosTowards the direction of Inspiration Point.
Hoodoos from Massai Point
Hoodoos from Massai Point
After sunset, I didn’t linger long at Massai Point before starting my drive back to Willcox, concluding the day.
END
![]() Day 1 of 2025 Thanksgiving Trip to Tucson, Chiricahua National Monument by Huang's Site is licensed under a Creative Commons Attribution-NonCommercial-ShareAlike 4.0 International License.
Day 1 of 2025 Thanksgiving Trip to Tucson, Chiricahua National Monument by Huang's Site is licensed under a Creative Commons Attribution-NonCommercial-ShareAlike 4.0 International License.