Updated on September 22, 2021
Day 6 of 2020 Idaho Trip, Borah Peak, Crest of Idaho
Sixth day and the climax of my Idaho trip as I would summit Mount Borah, the tallest mountain in the state of Idaho.

Ridge
Finally, the long-awaited day of my Idaho trip as I would summit Mount Borah. It’s a steep 6.6km one-way trail with 1616m elevation gain, to Borah Peak at 3859m. A thrilling YDS class 3 scrambling across “Chicken-out-Ridge” was involved, and the entire trip took me 10.5 hours from start to finish, with about an hour spent at summit.
Despite there was a campground at the trailhead, I was so used to the comfort of a bed, that I decided to stay at an Airbnb in a nearby town. Though I left the Airbnb house at 7am, I realized I forgot to bring my gloves and had to return to the town of Mackay to buy a pair. (I couldn’t hold back the excitement when I found gardening gloves in the only convenience store that’s open at 7:40am.) Combined with the fact that the last 5km to trailhead off US93 was unpaved, my hiking got to a very late start of 8:30am.
It’s generally advised to start the hike of Borah Peak as early as possible, as there’s no shelter along the trail should an afternoon storm roll in. Here’s Jack Carter recalling his experience in a storm:
…We got in a lighten storm and there was a lot of static electricity. The hair on my head stood straight up. Do NOT try and summit if there is overcast or any forecast of rain…
On this aspect, a start time of 8:30am was very late. However, weather report said it would be a sunny and cloudless day, so I started my hike not worried about impending storms.
Here’s GPS tracking:
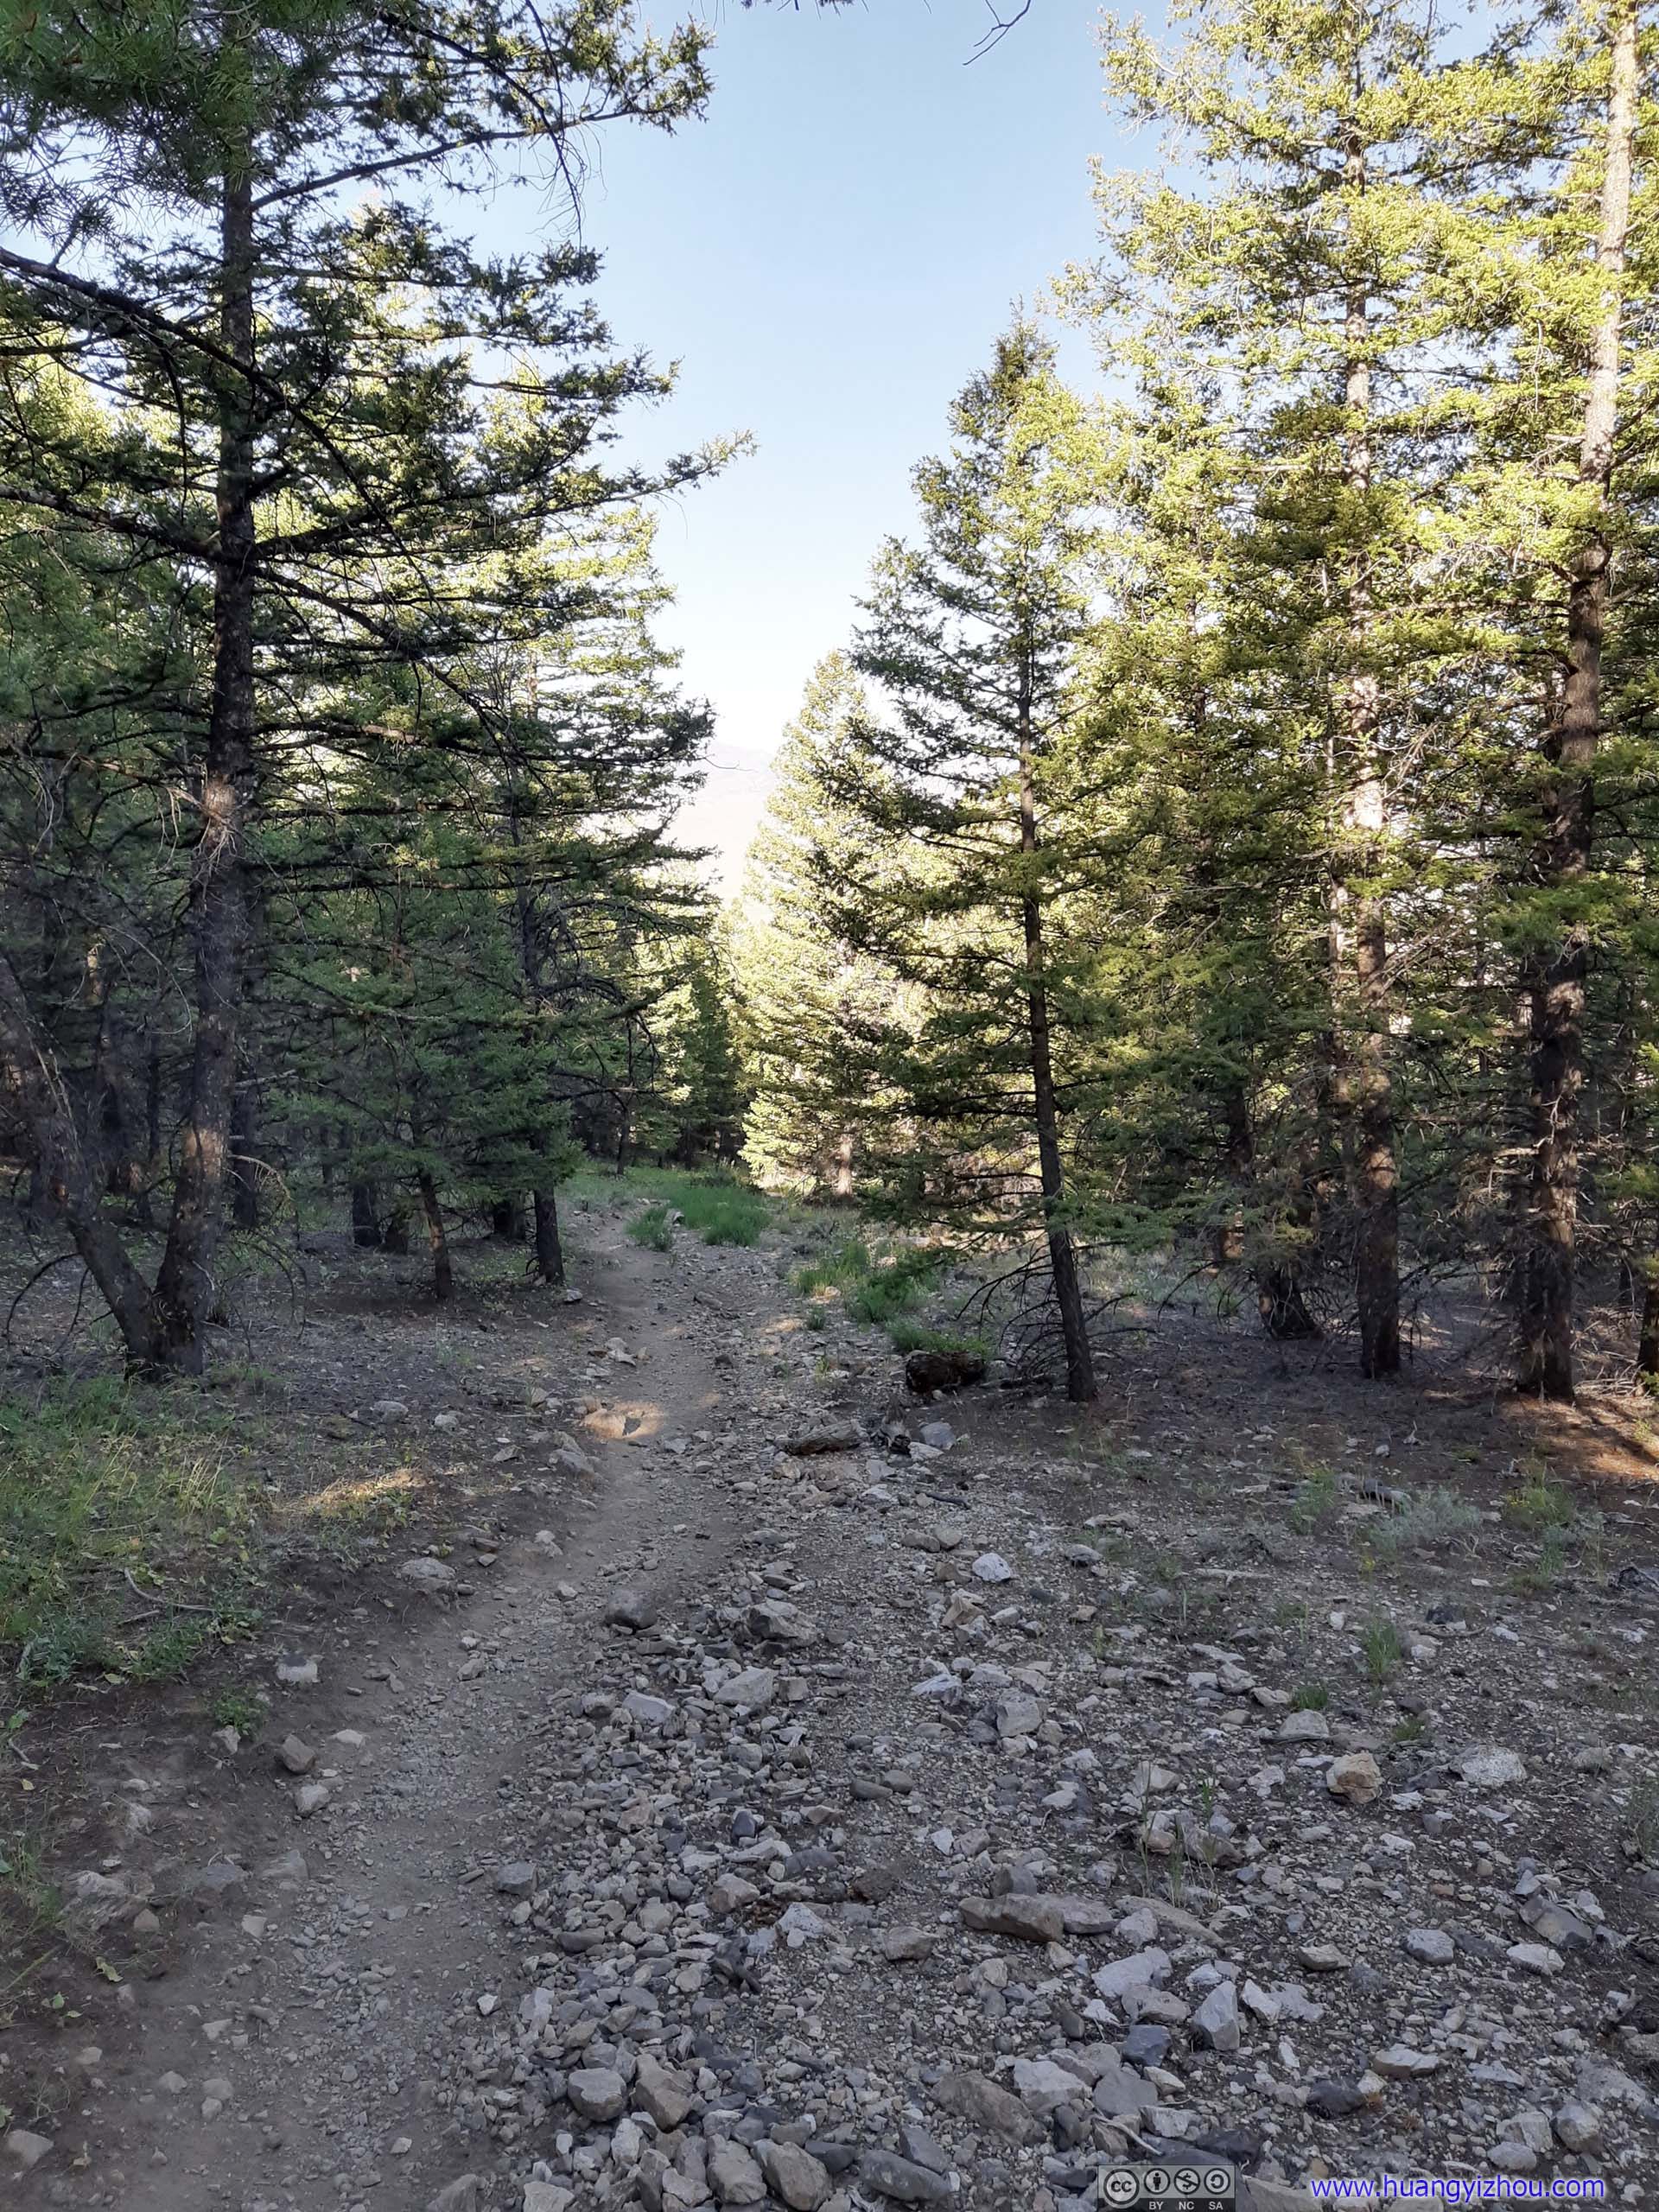

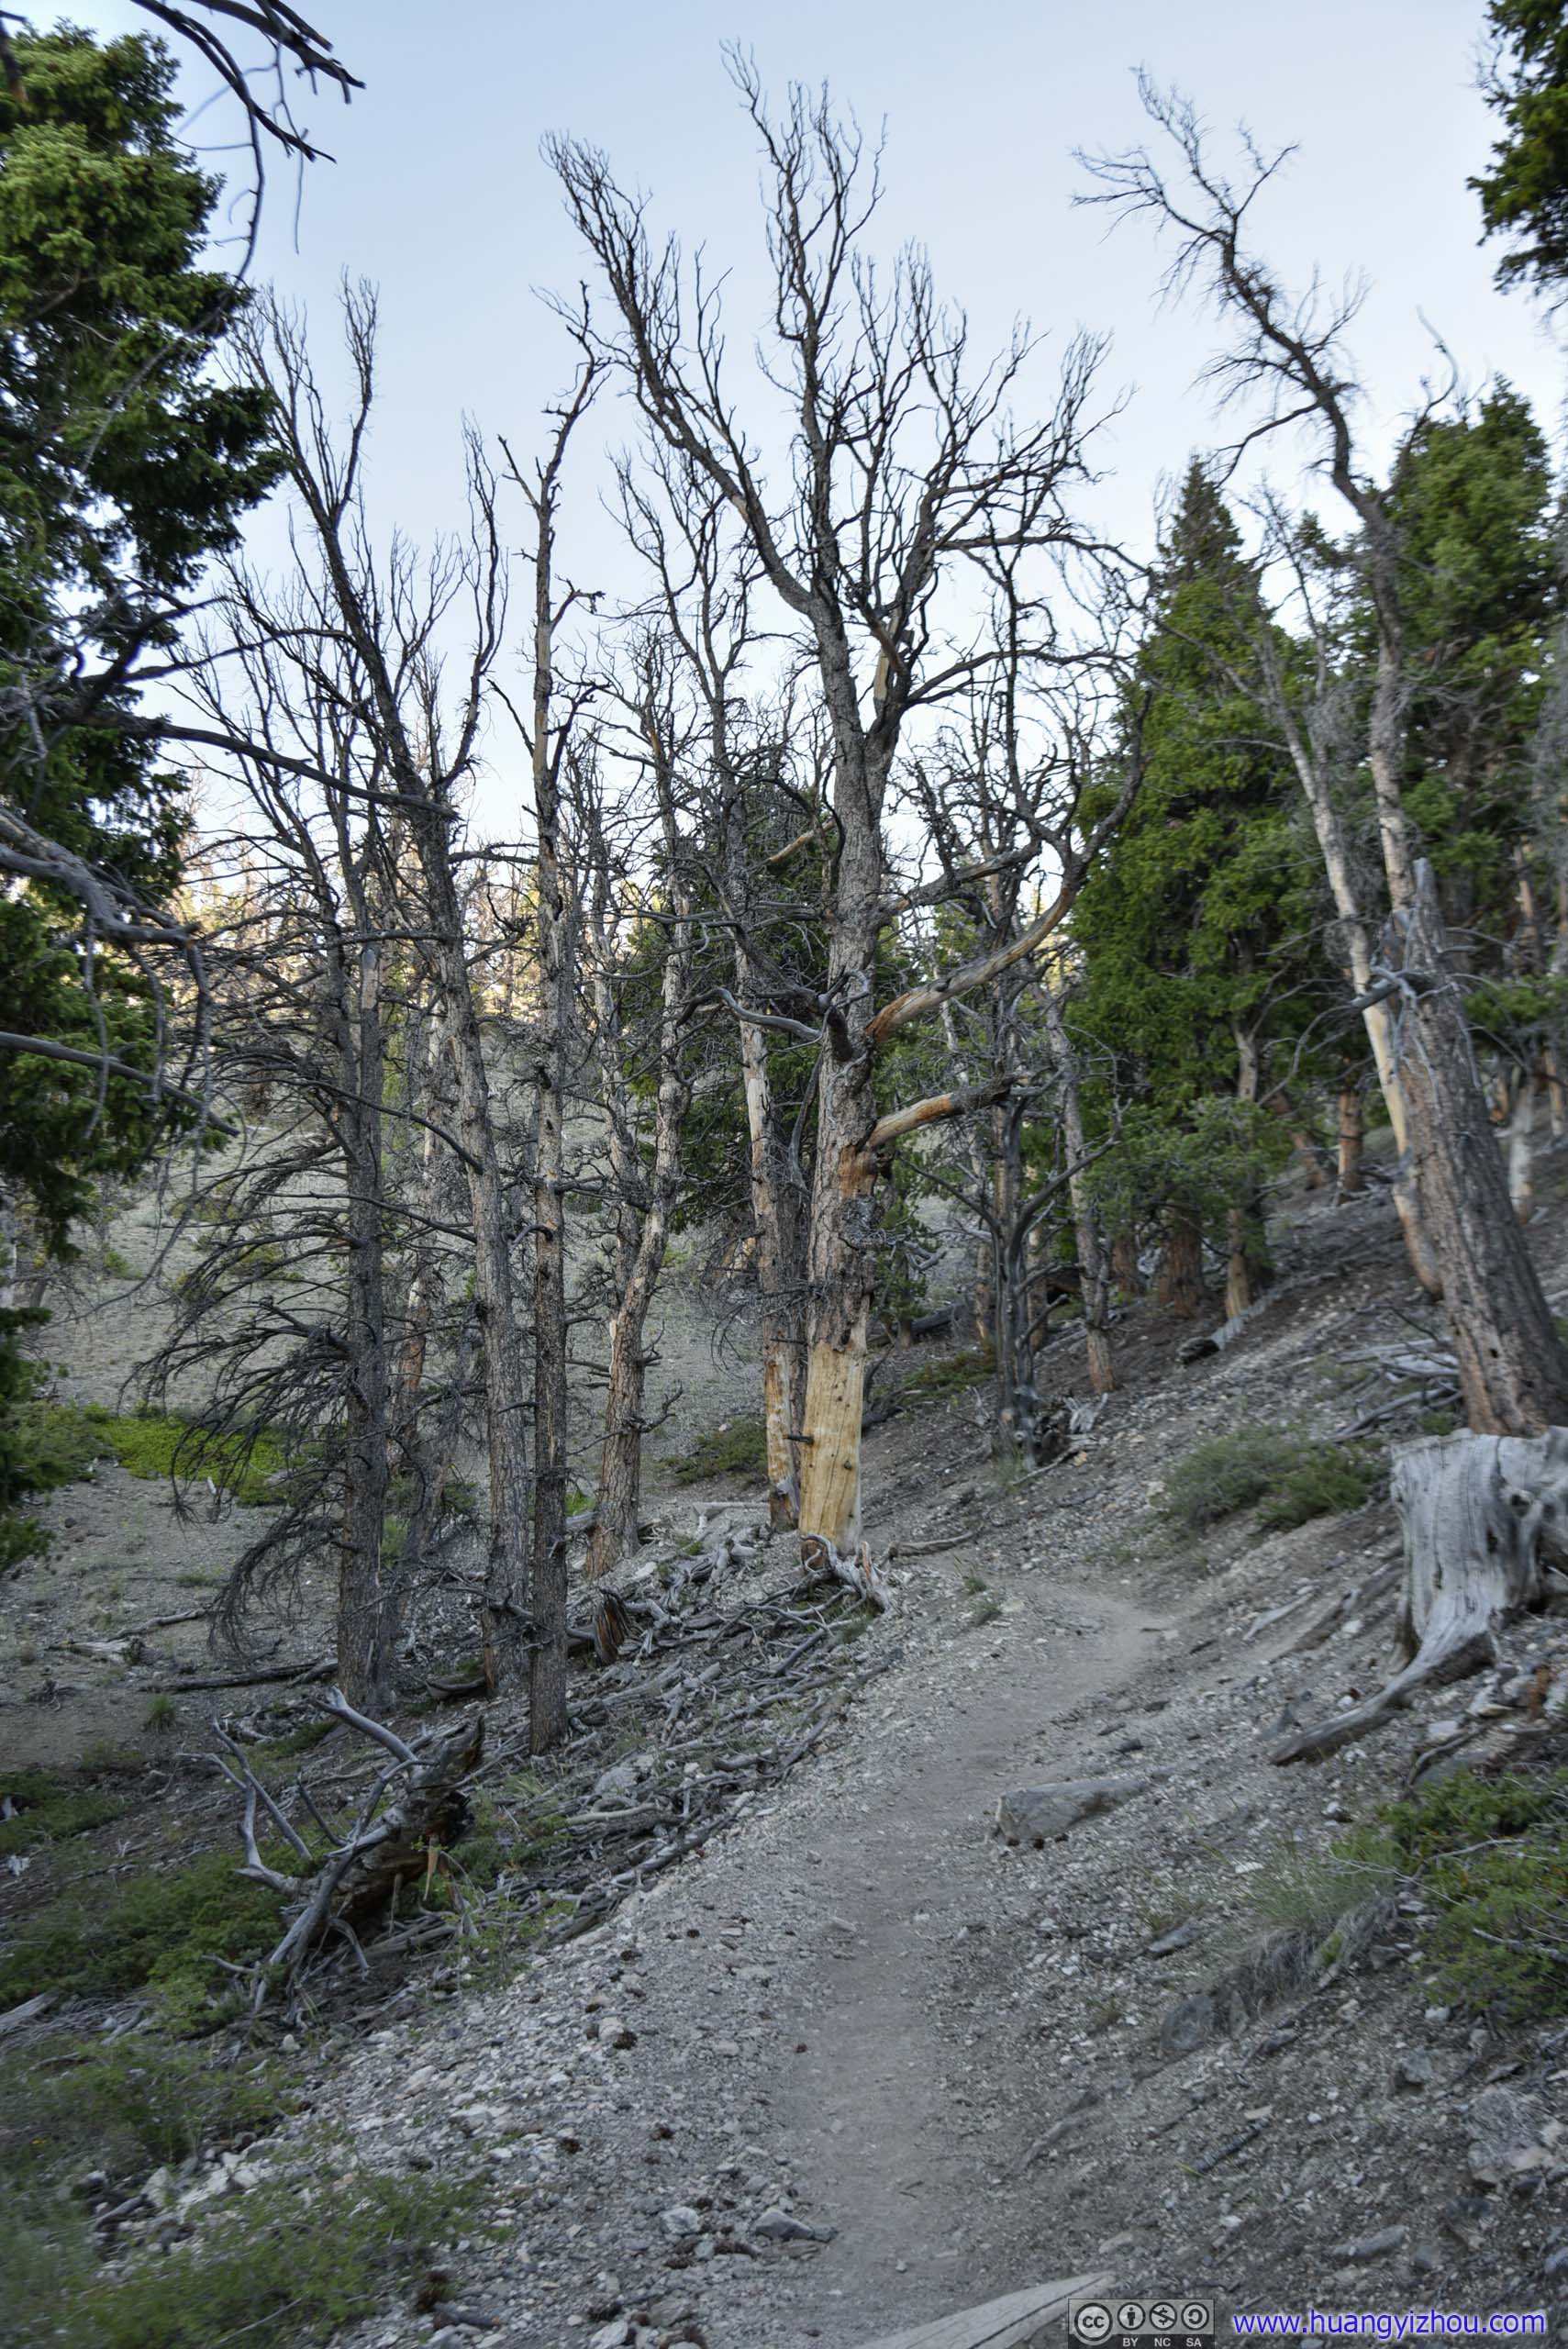
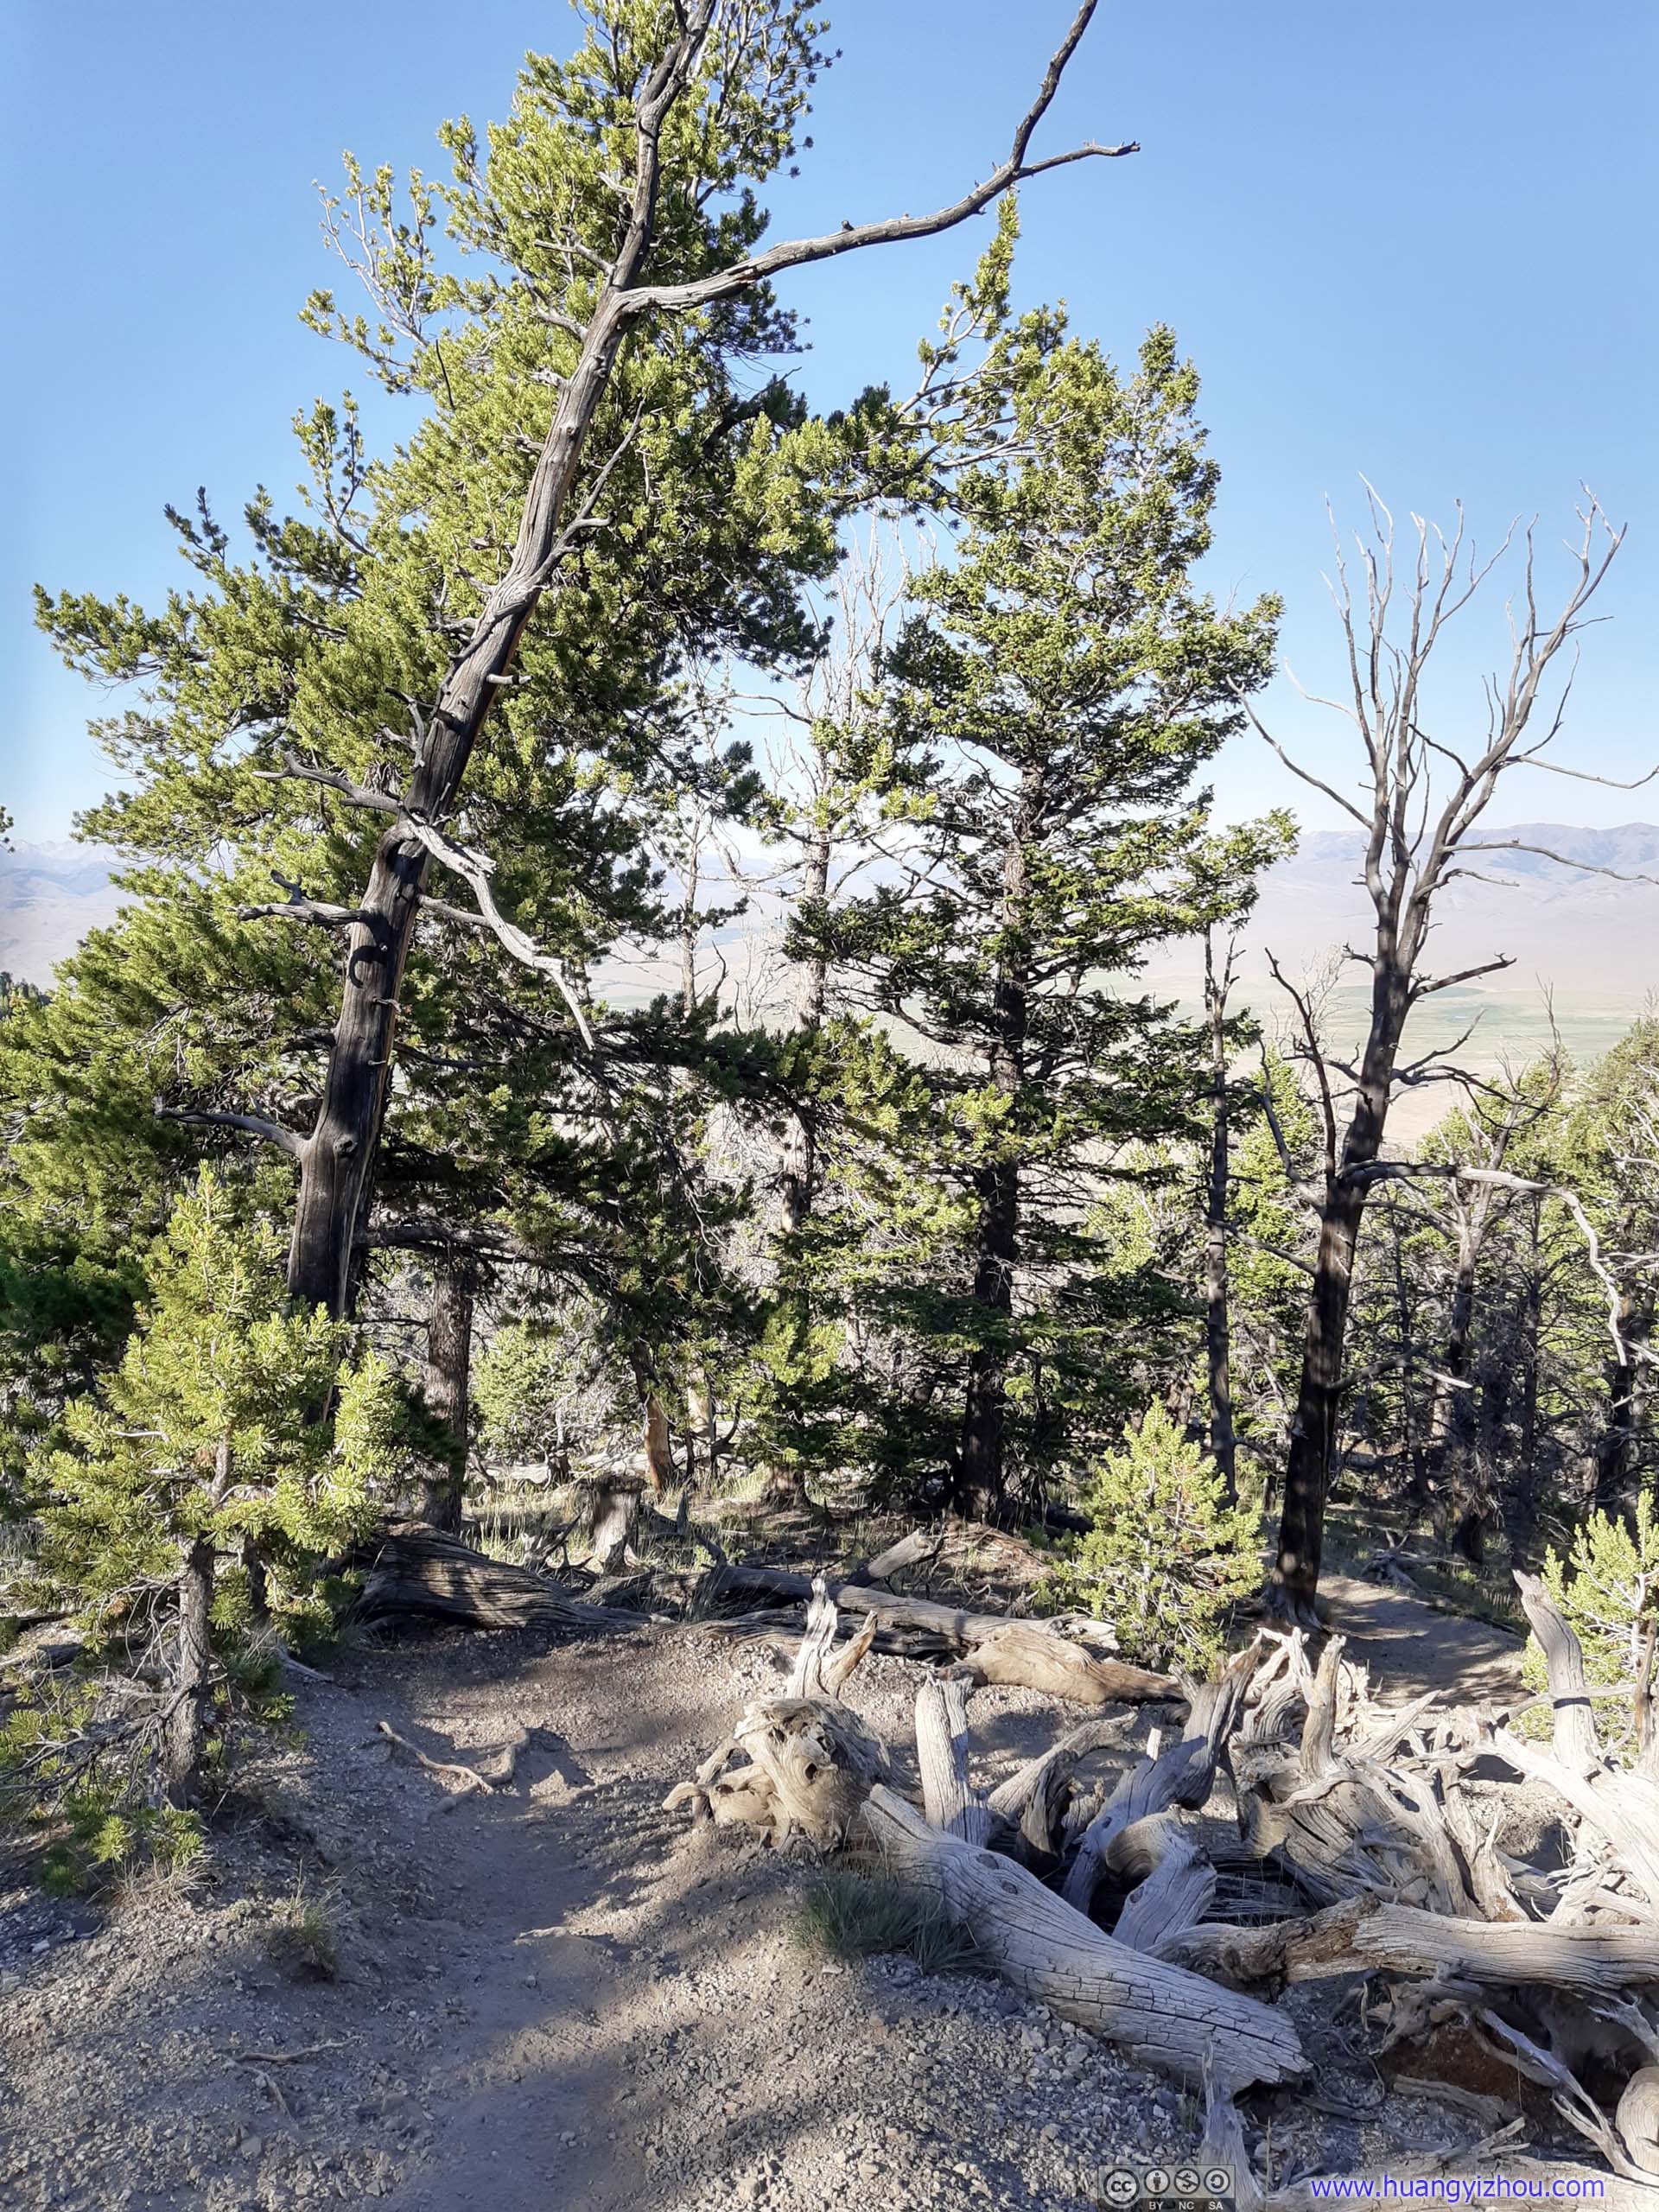
 TrailThe trail started out in forests like this. Immediately after leaving parking lot, one could feel the steep incline of the trail.

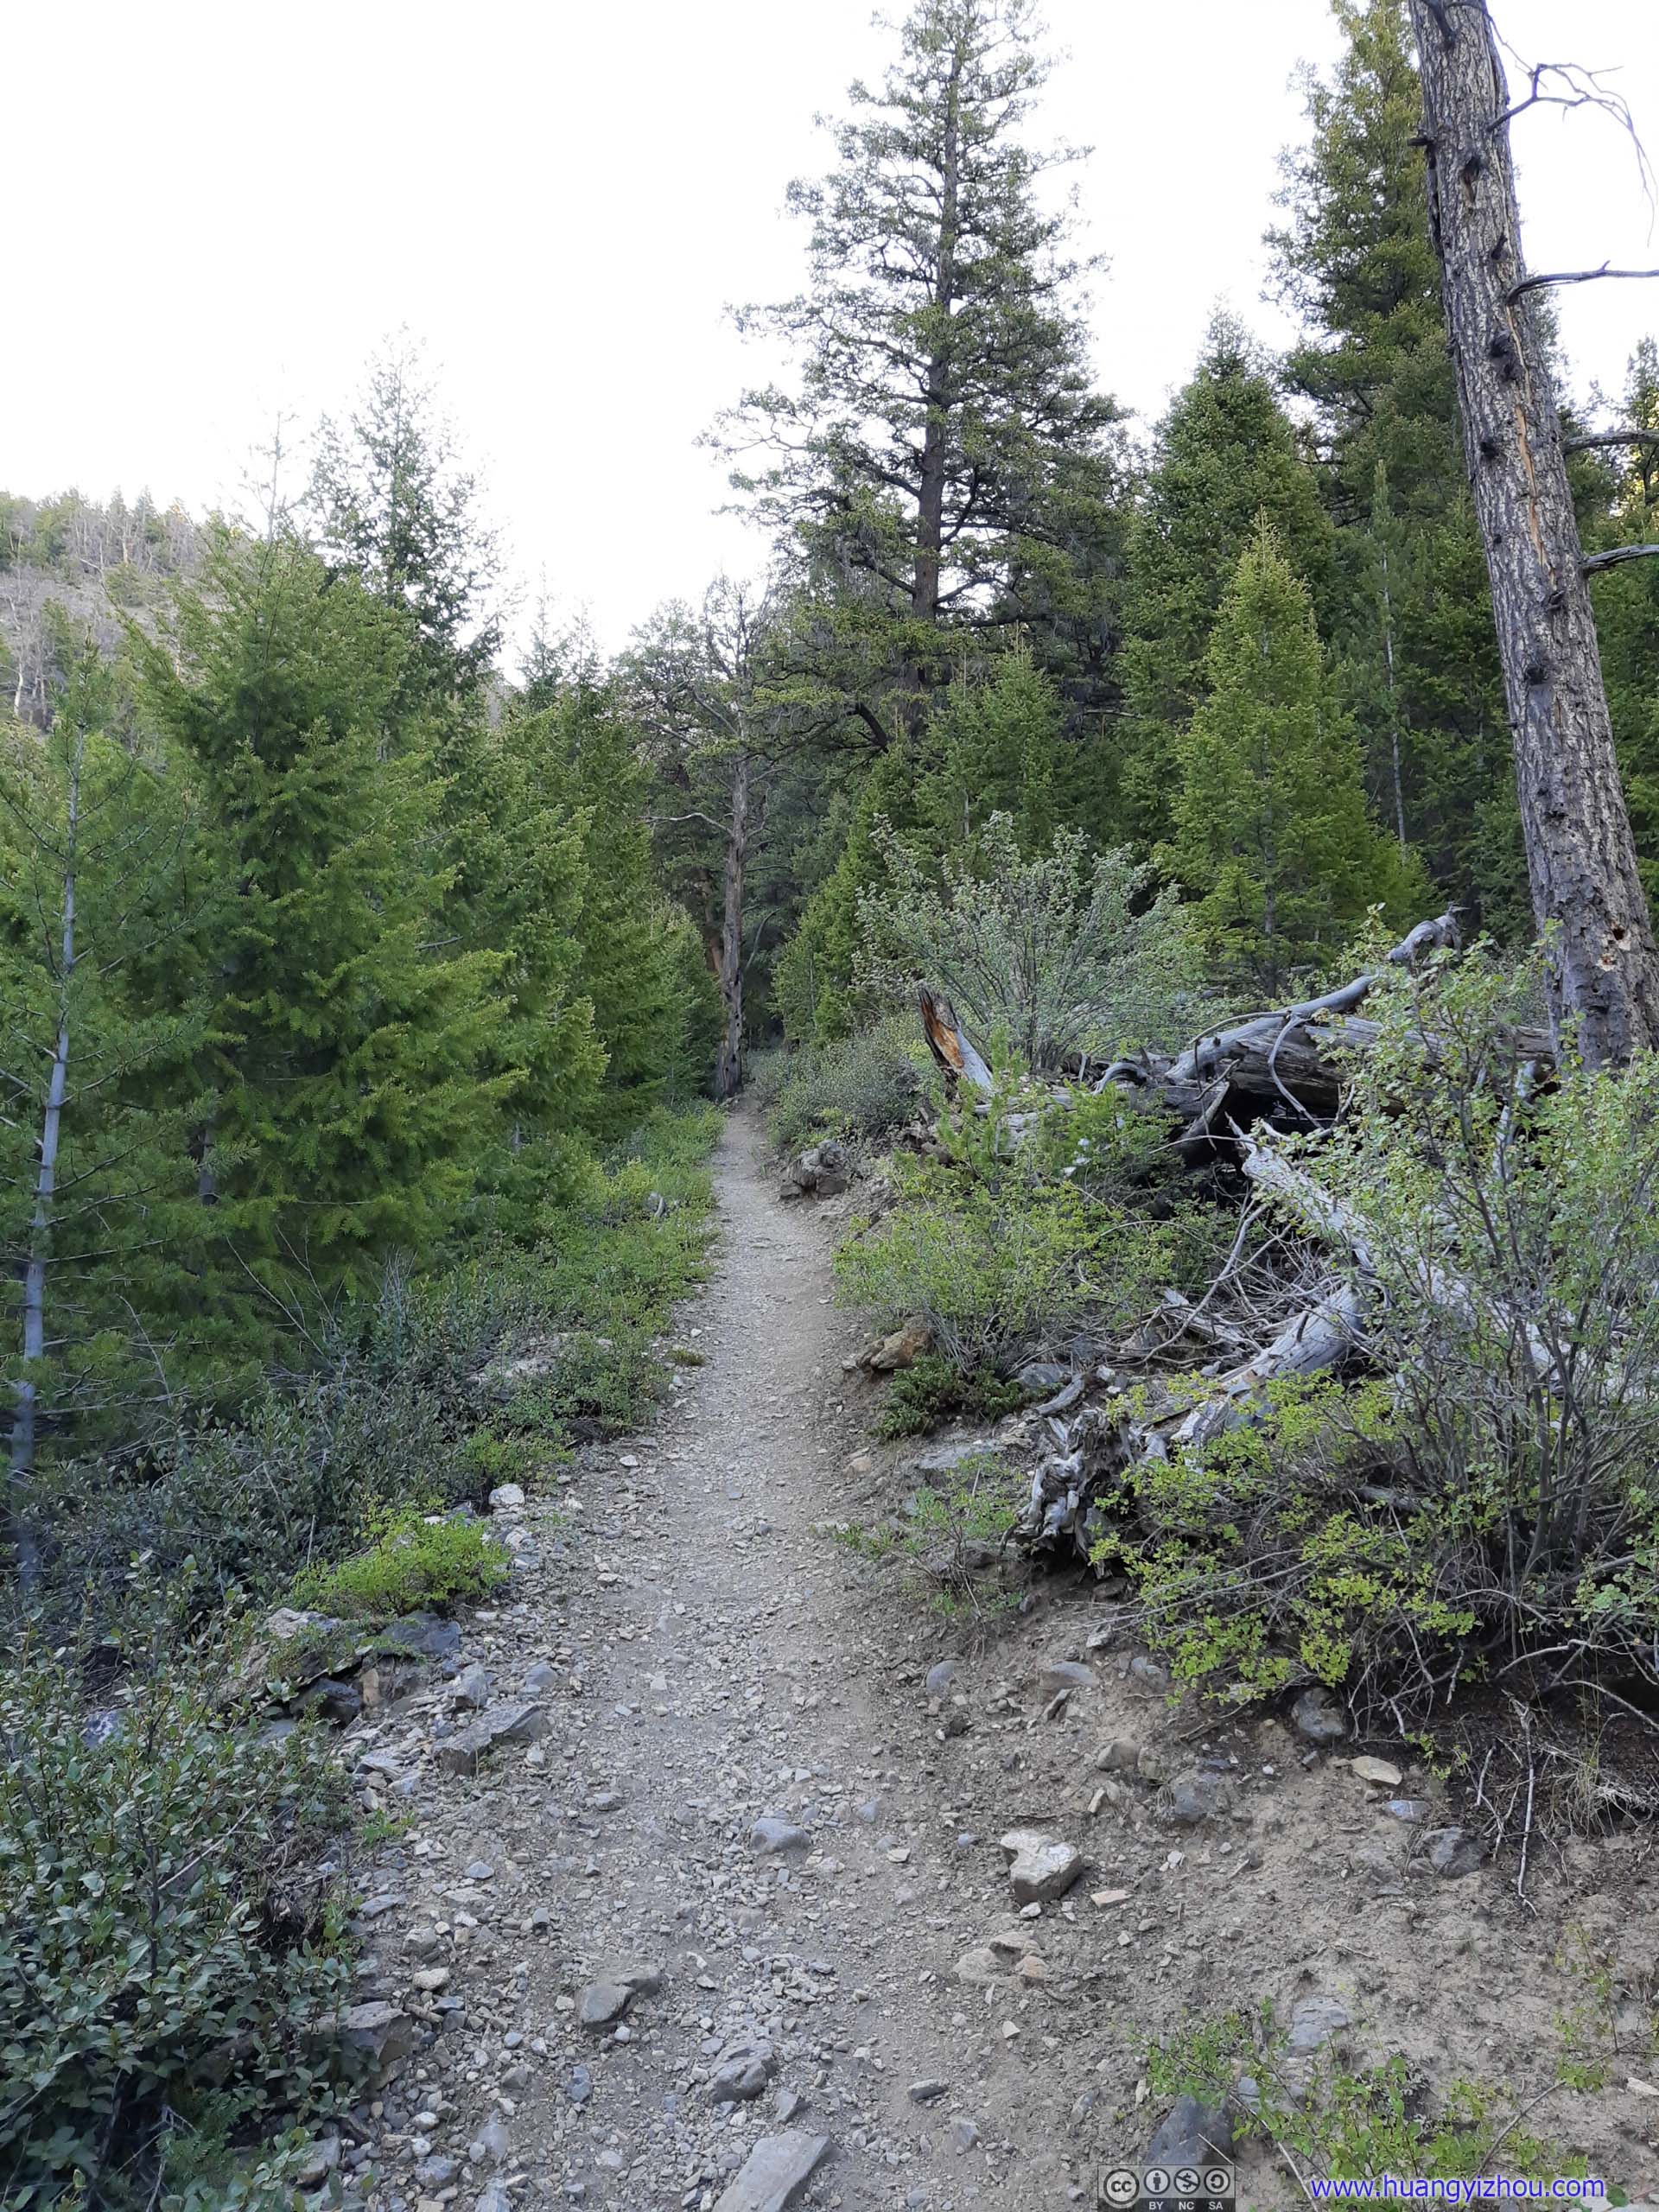
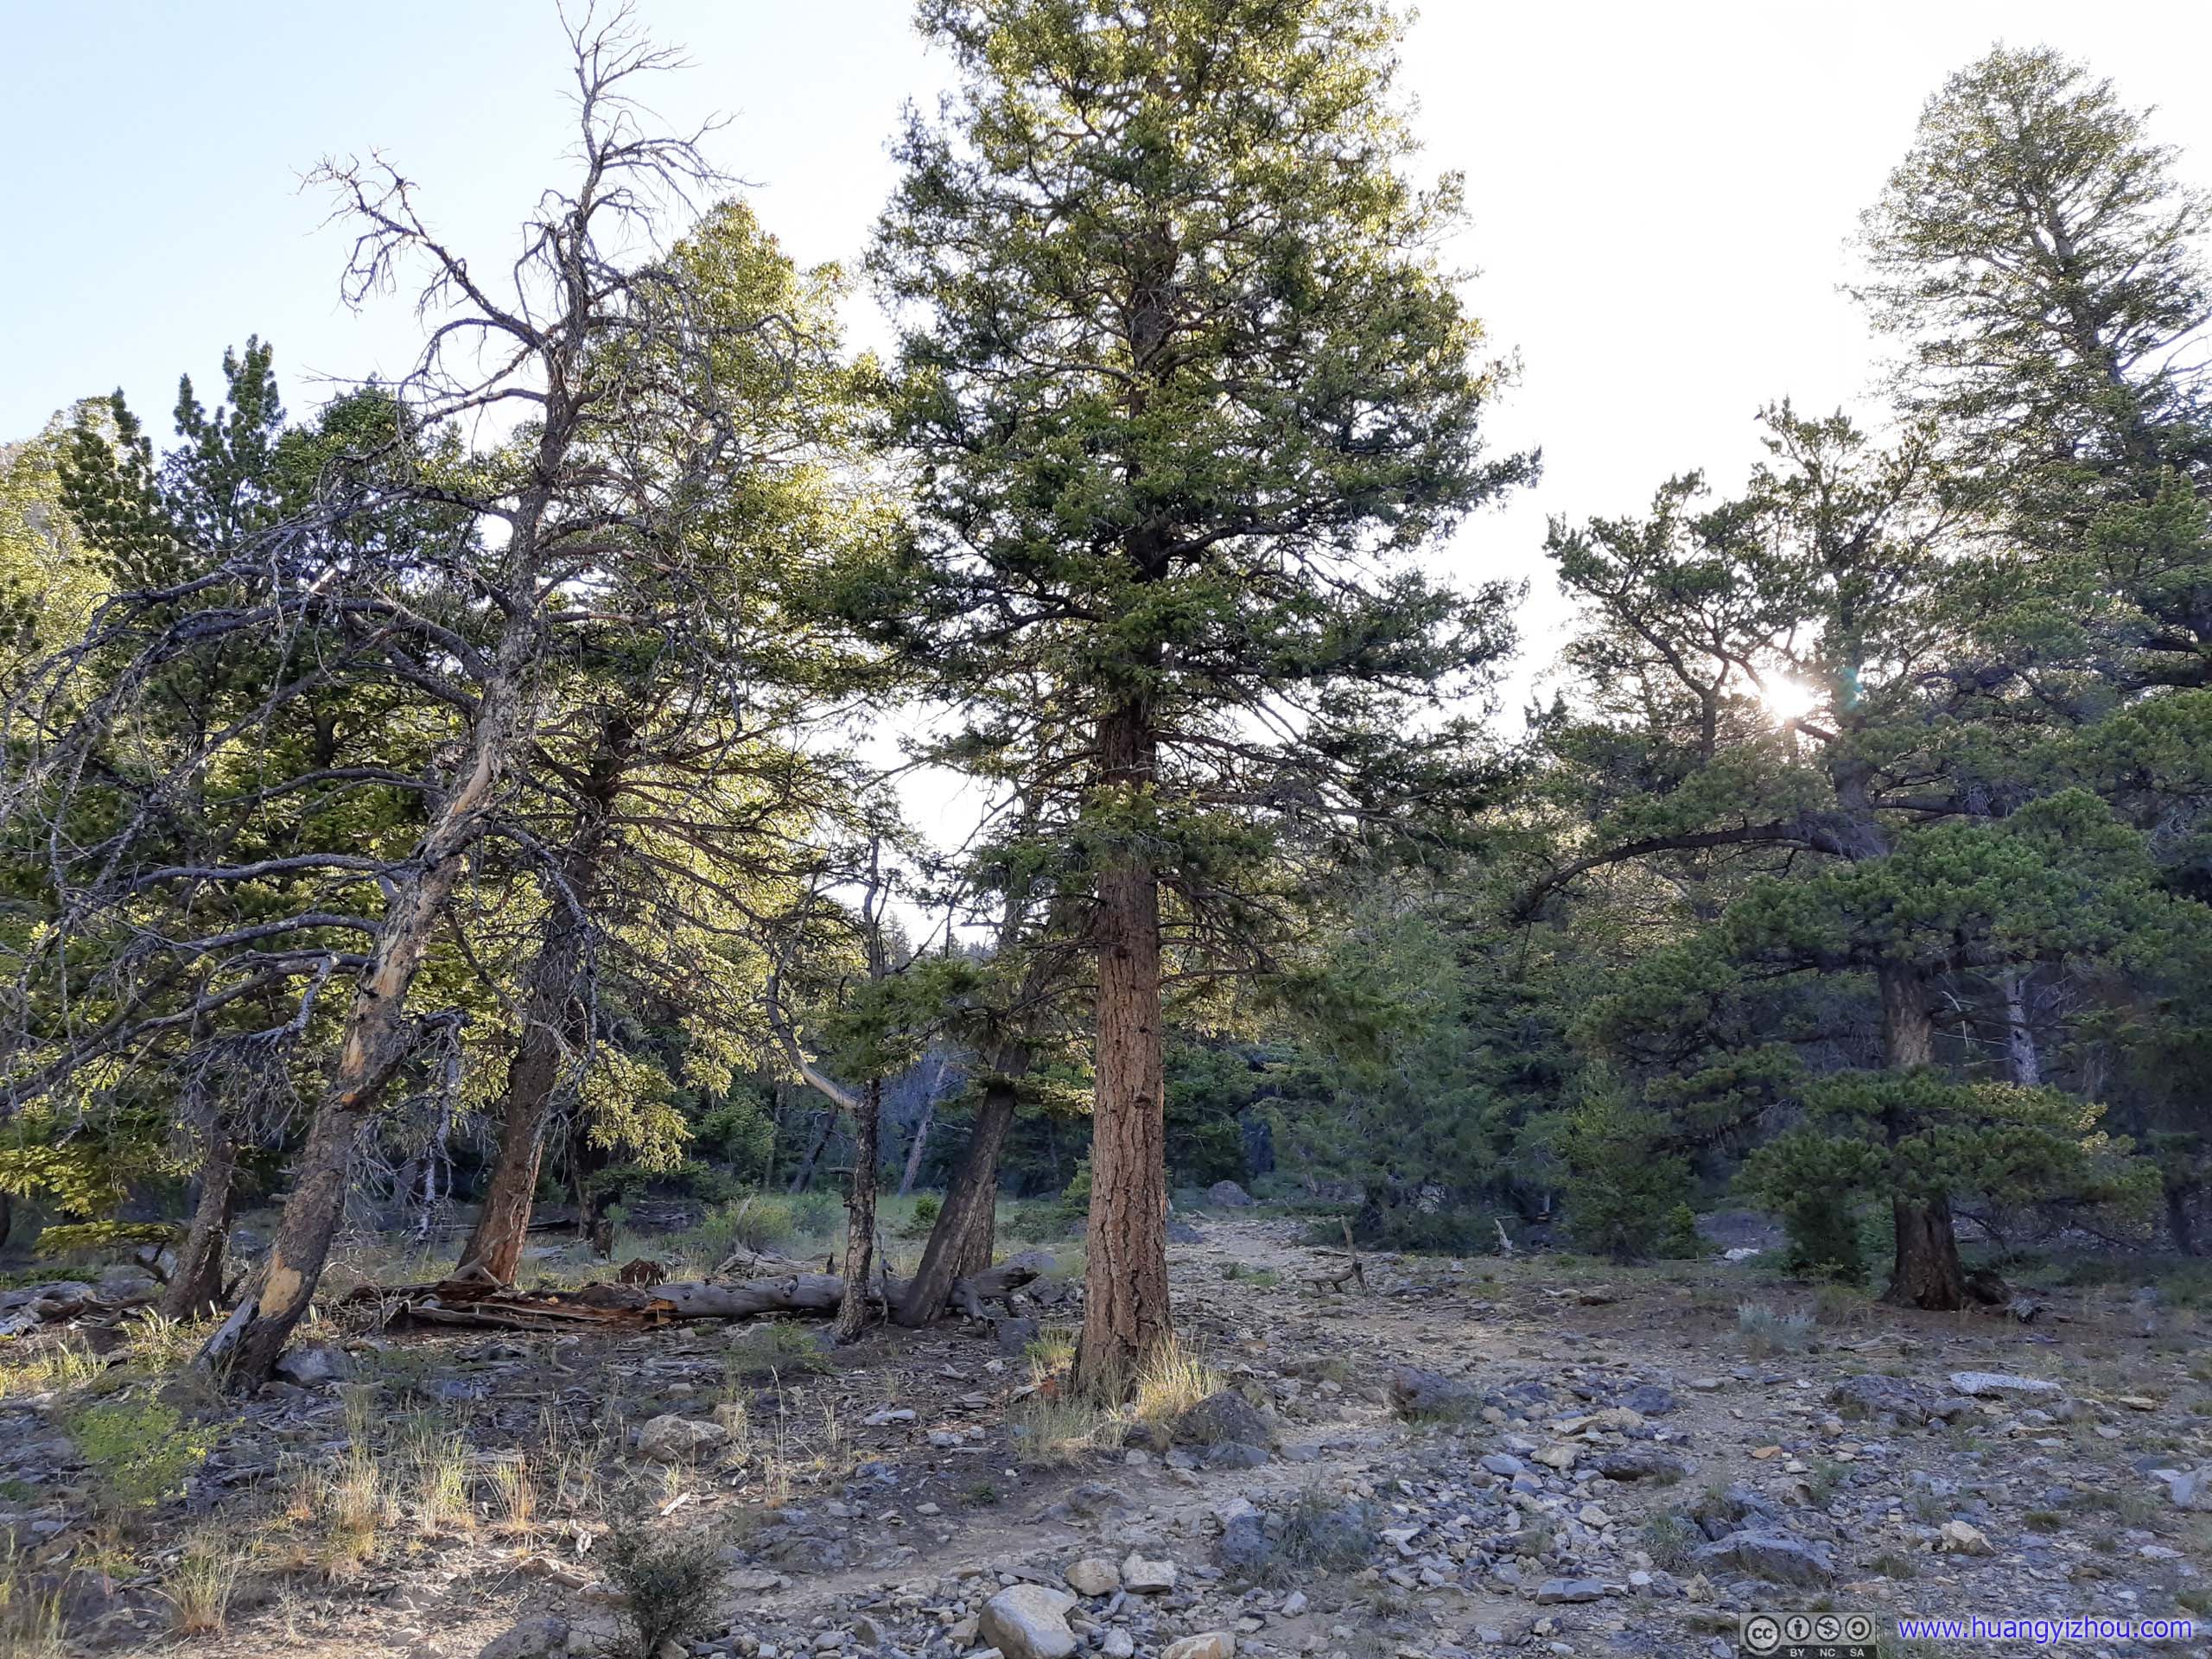
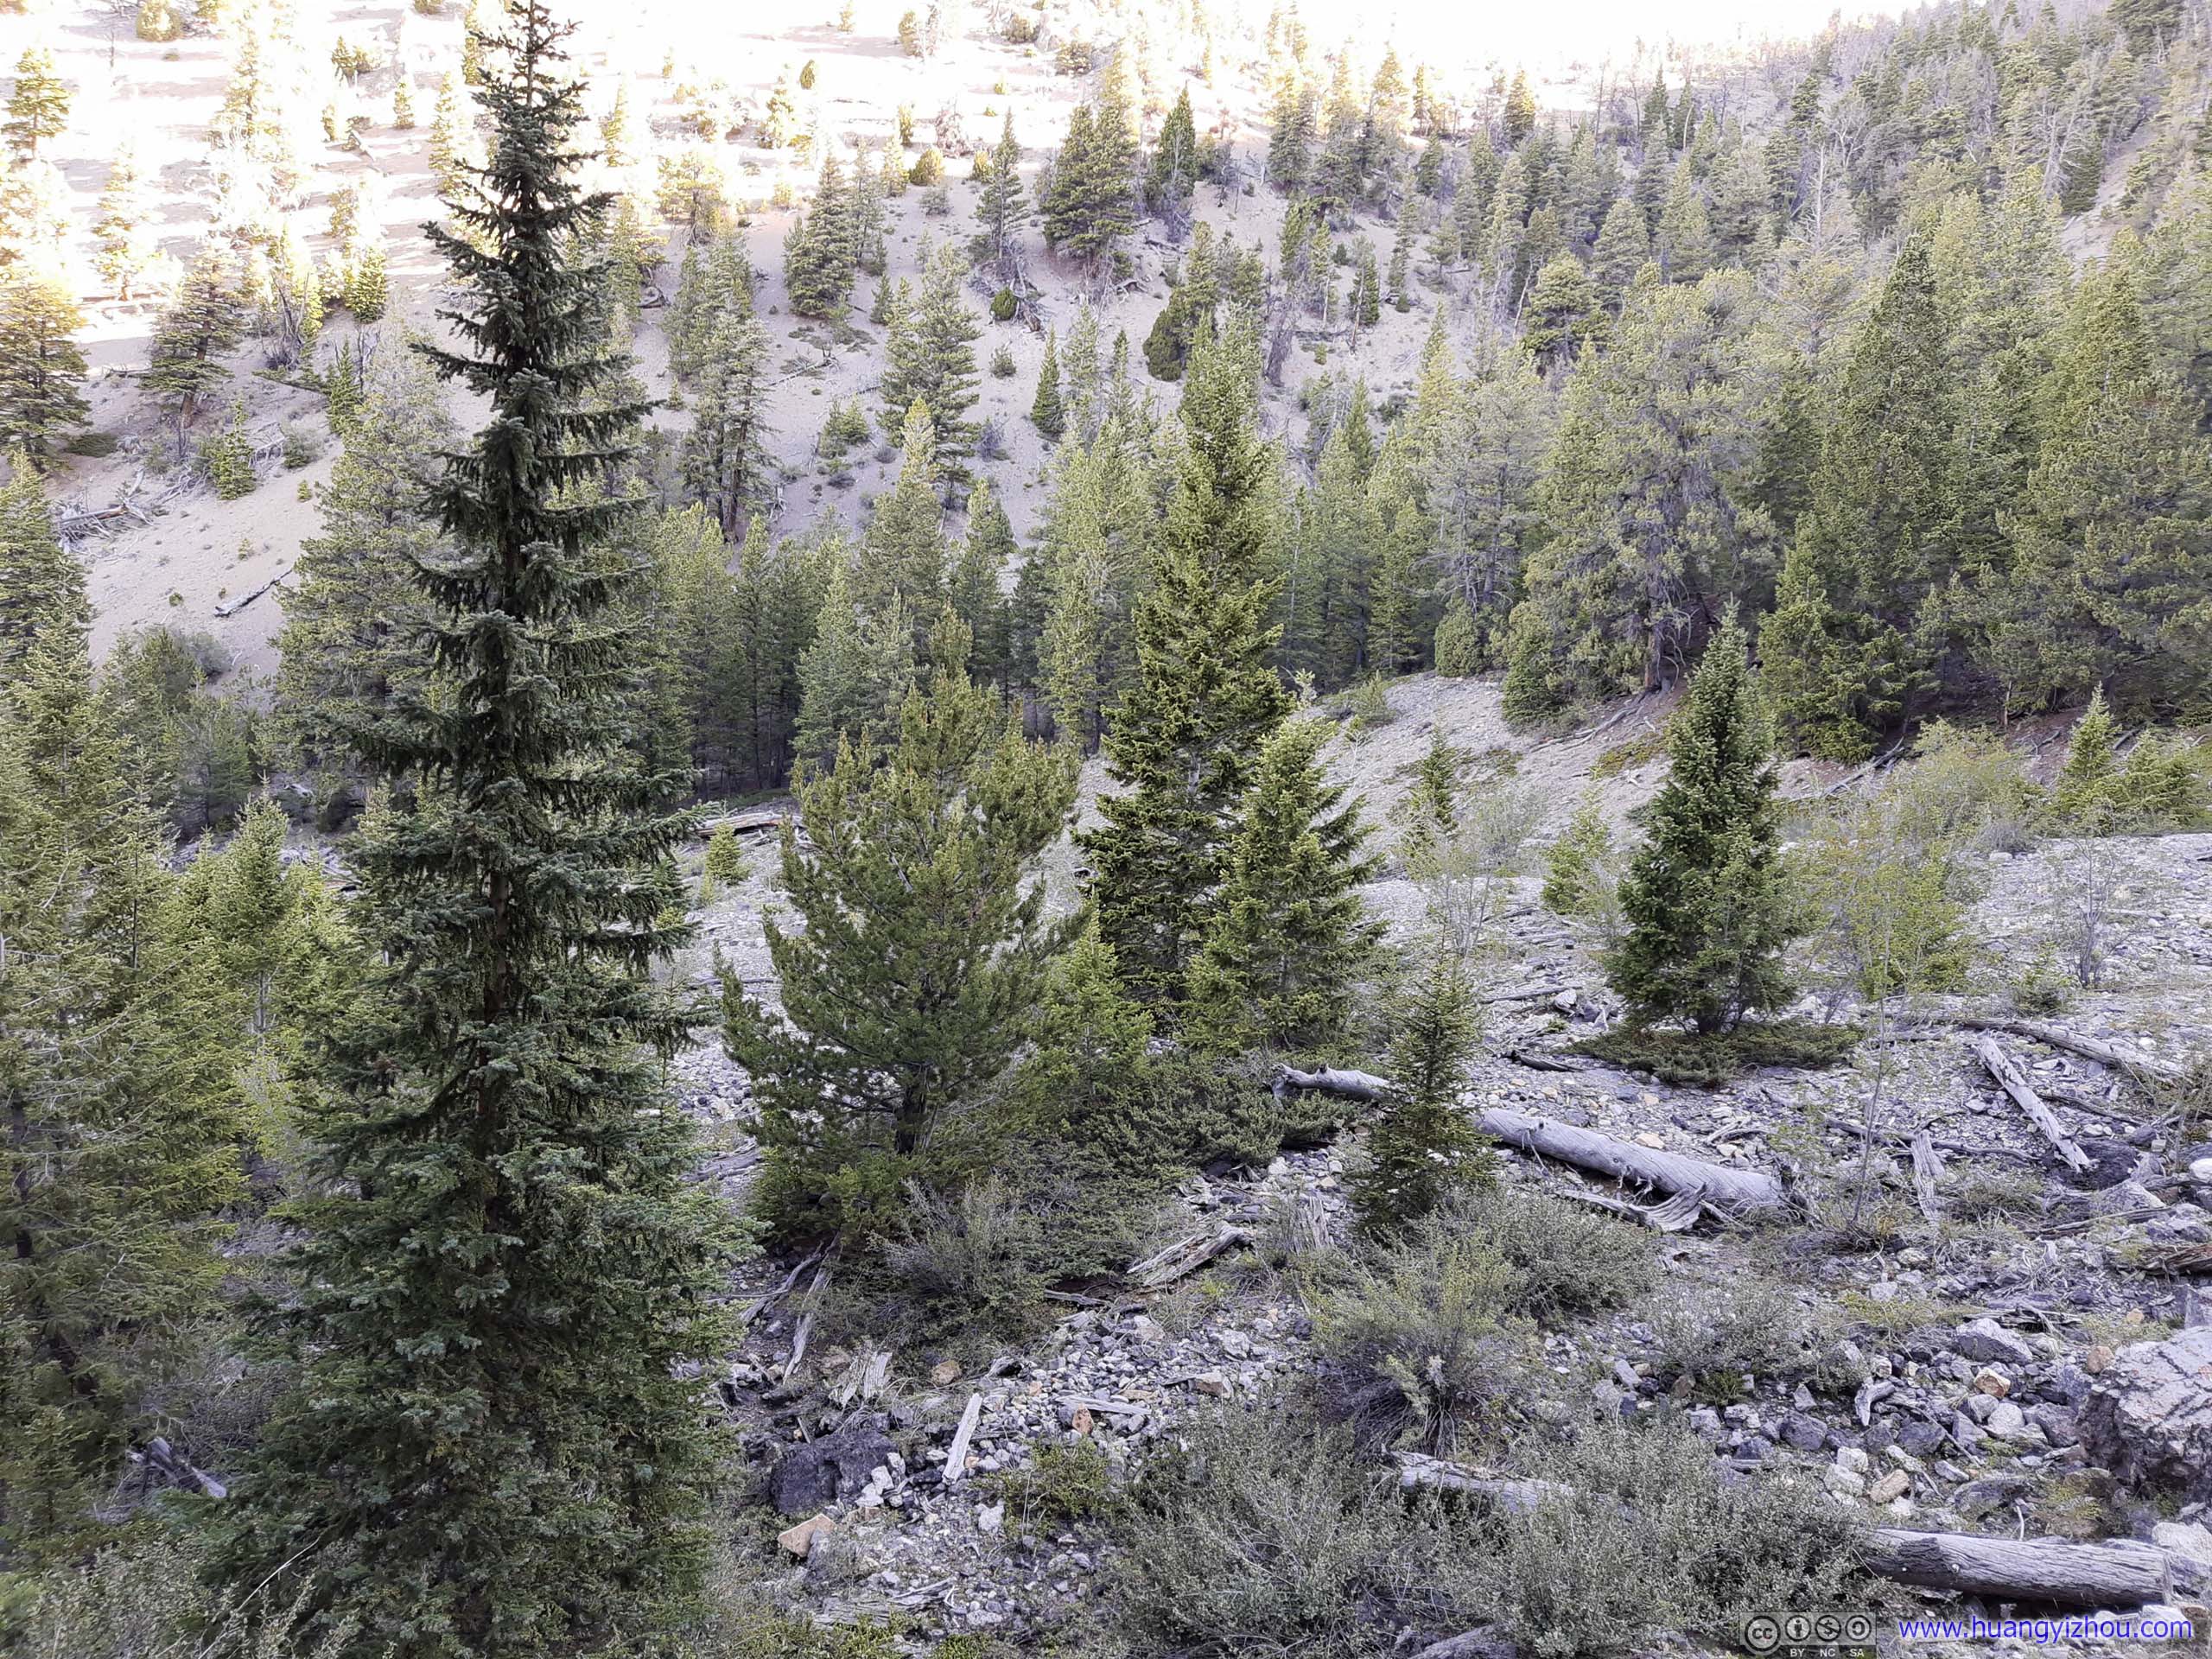 Forest
CreekFlowing from Lost River Mountains to the valley.
 Trail
Trail
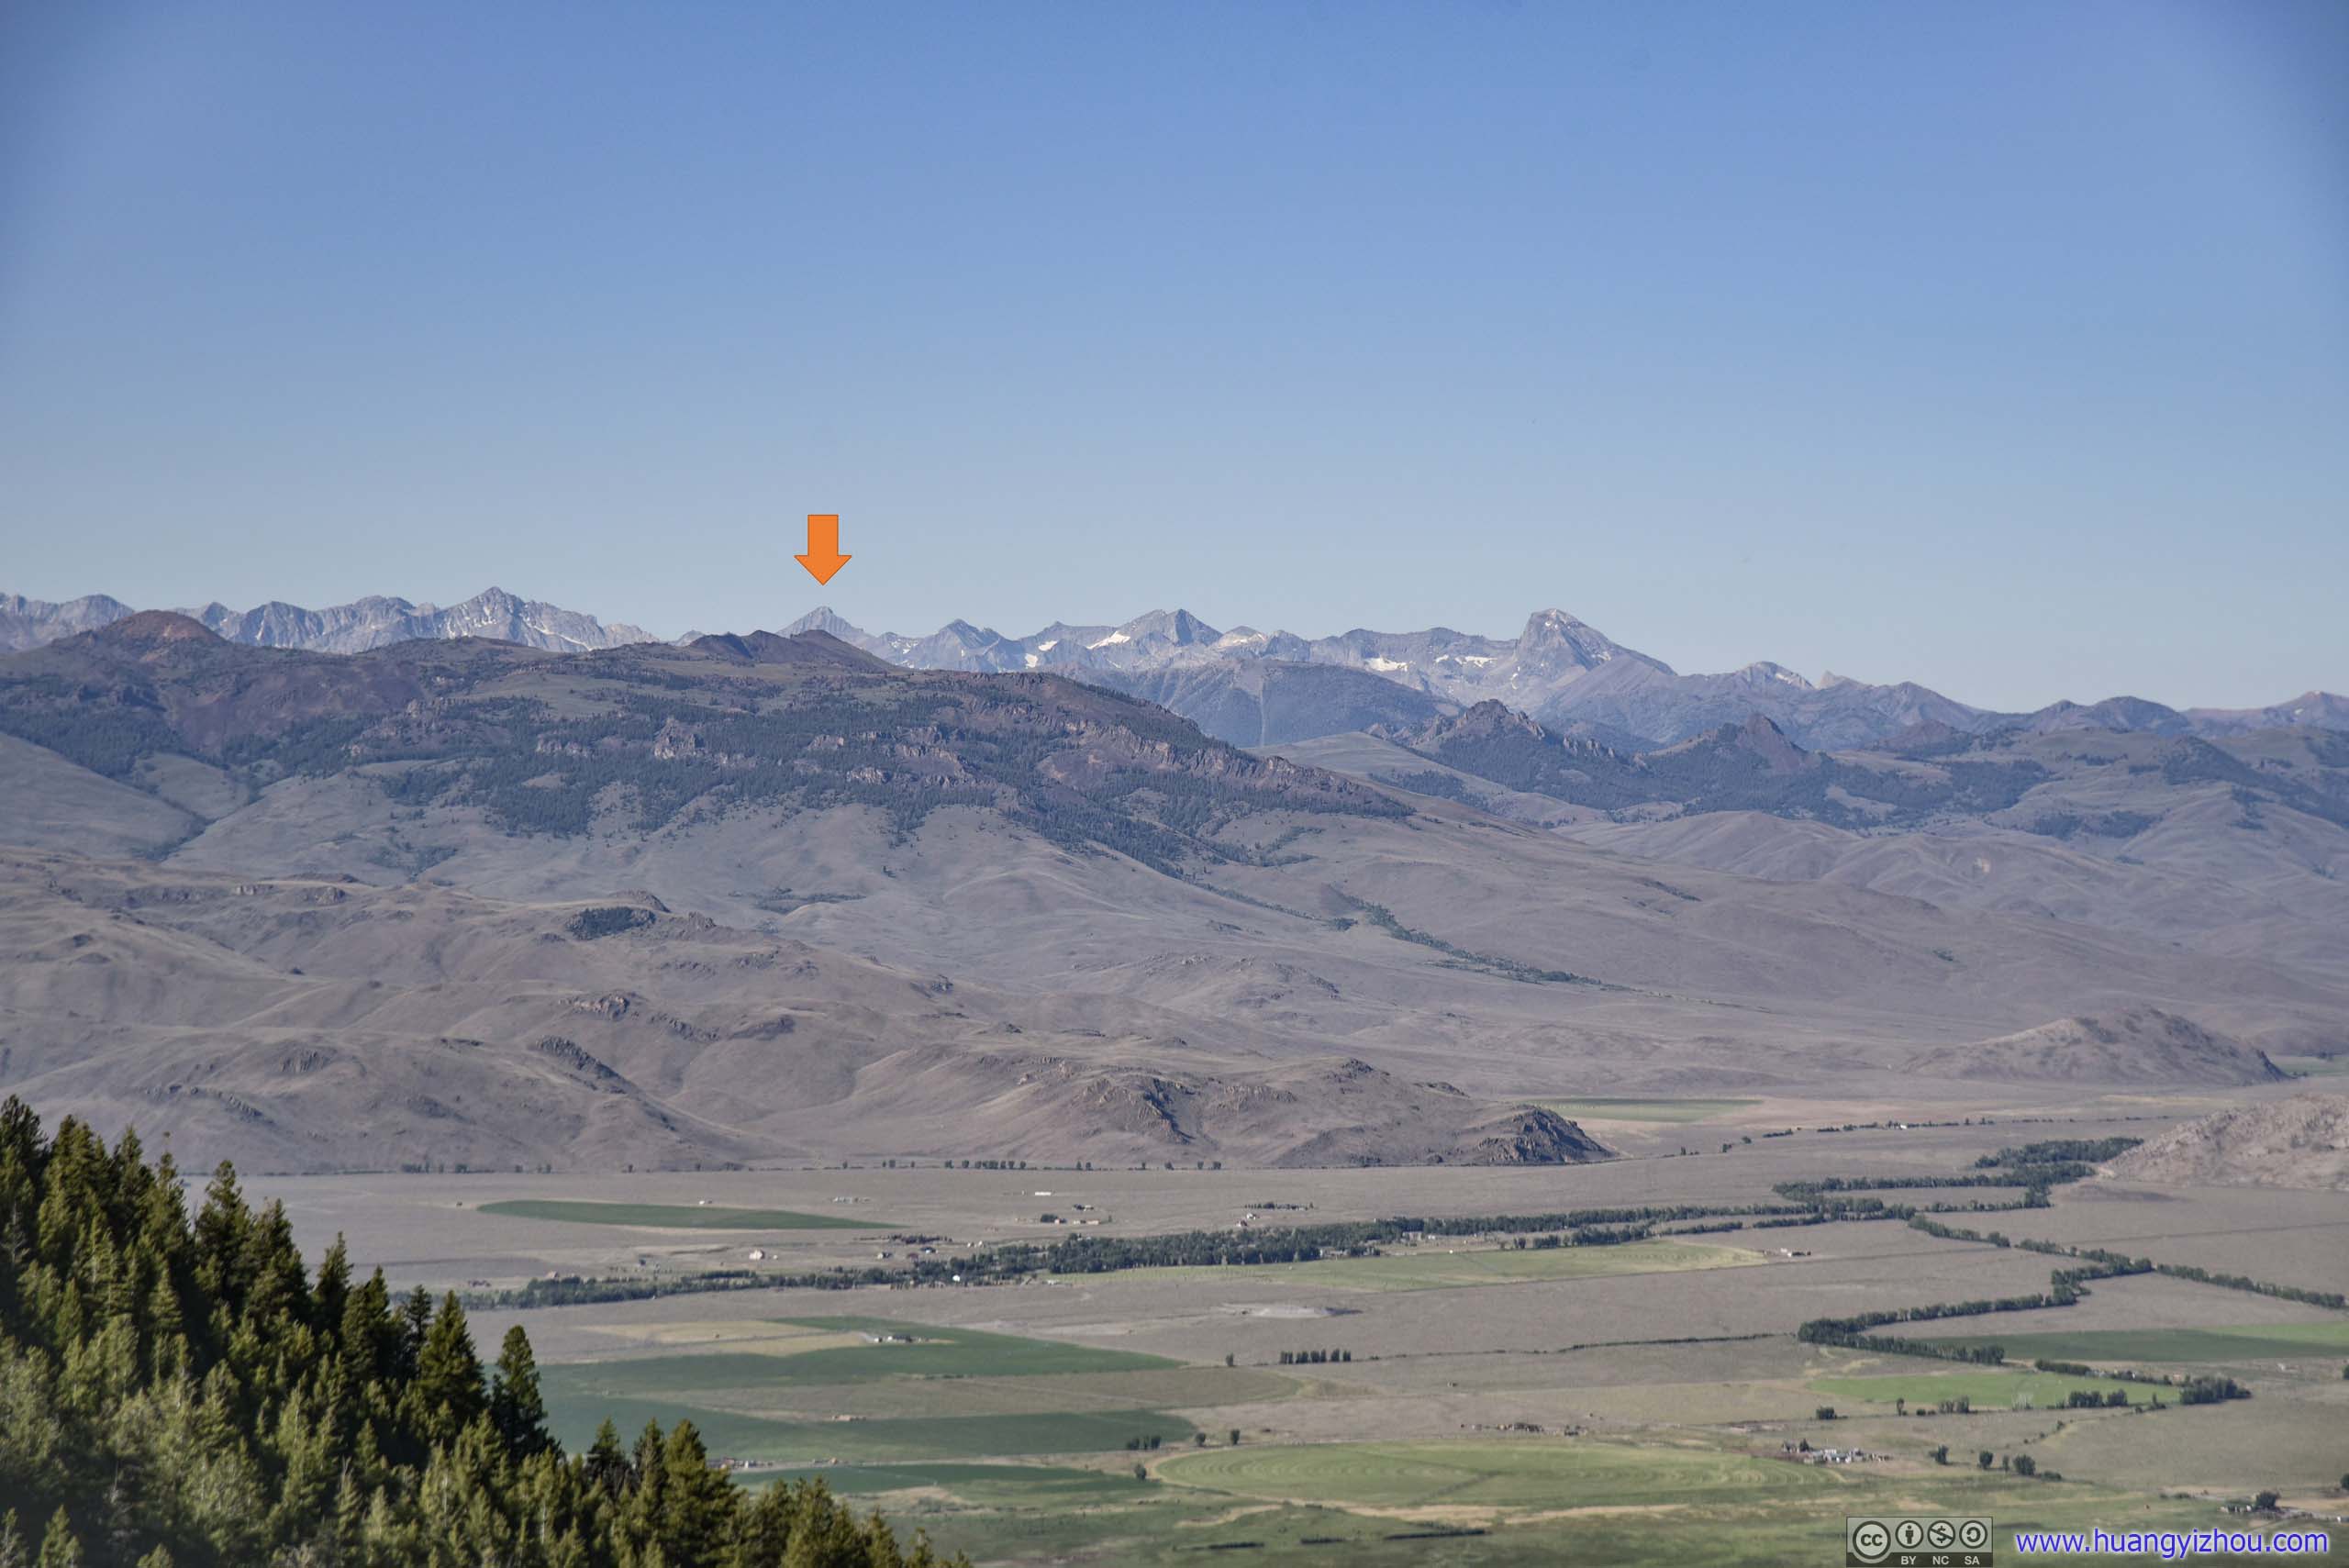
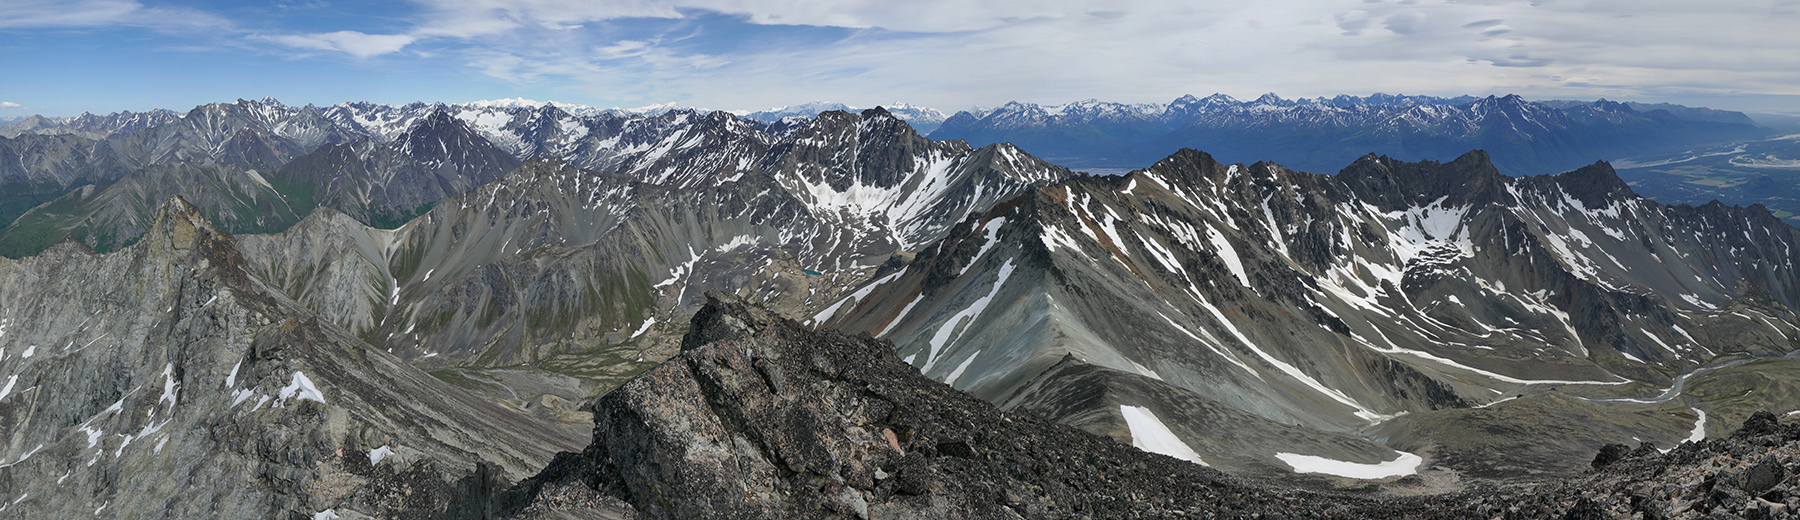
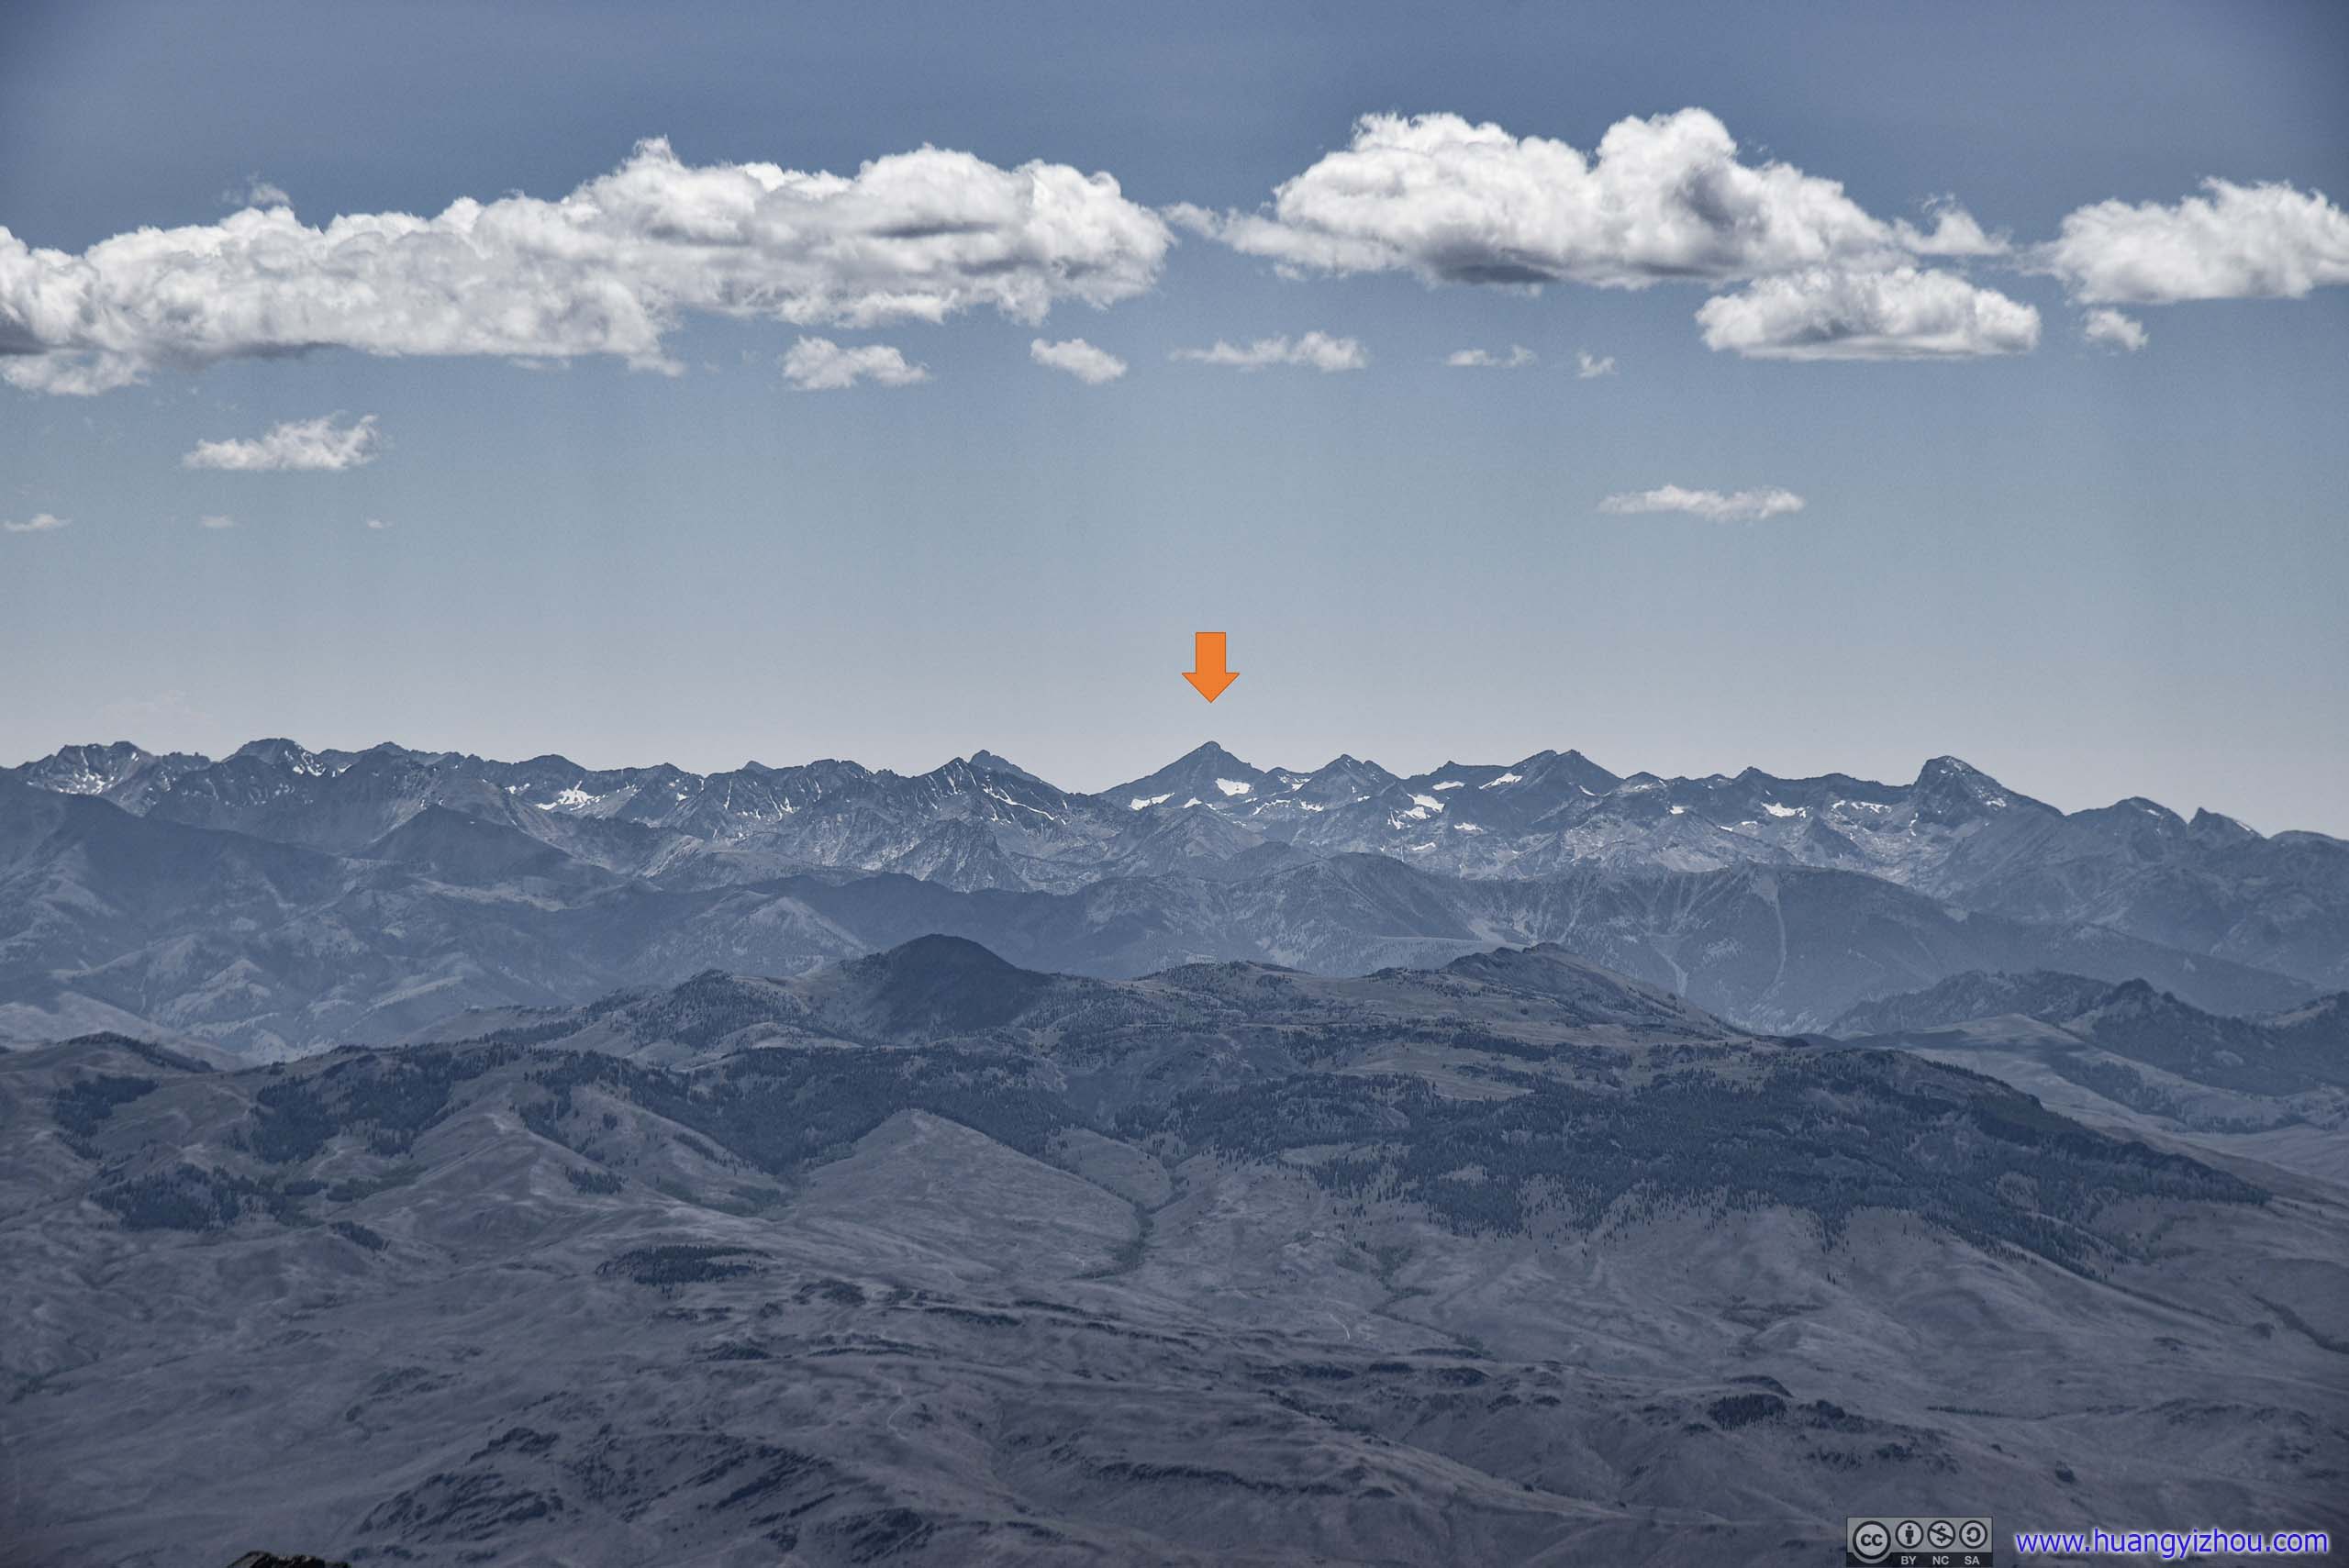 Distant MountainsDistant Pioneer Mountain Range. The peak marked by orange arrow was Hyndman Peak, the tallest mountain of Pioneer Range, which I summited 4 days ago. It’s 52km away, but visibility was spectacular. The photo at the top was taken during my ascent in the woods, the bottom one from the summit.
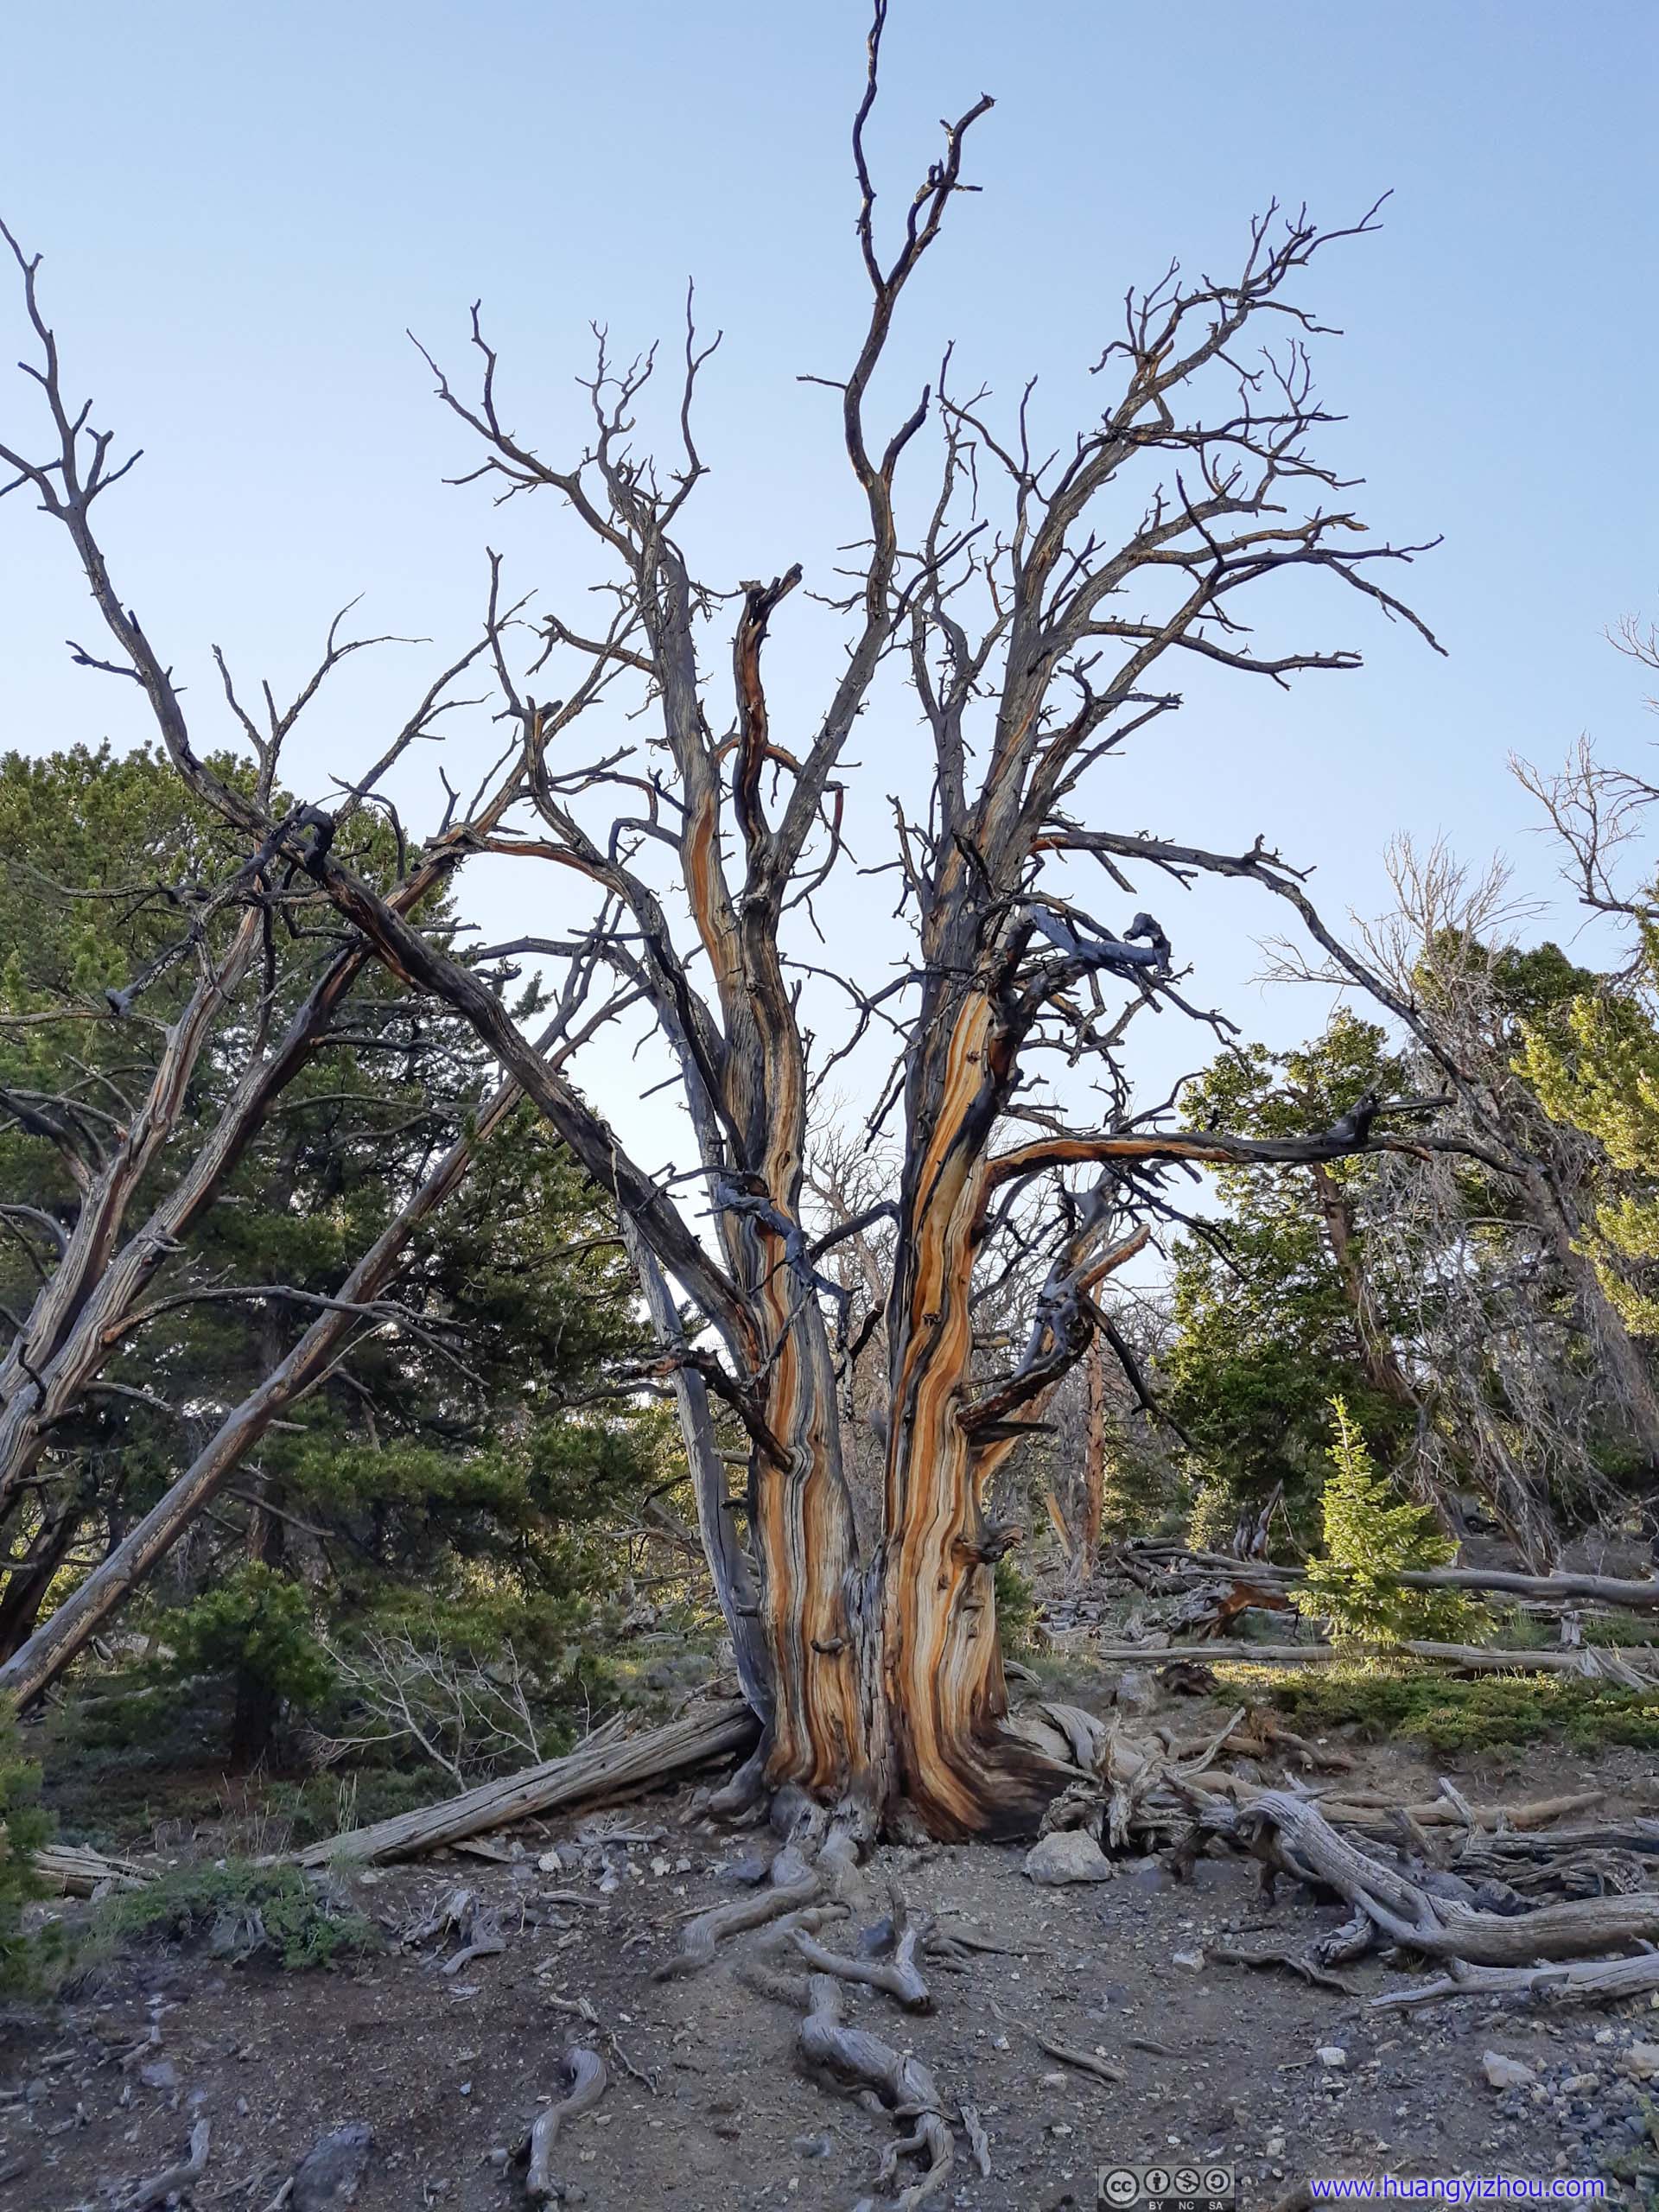
Twisted
 Trail
Trail
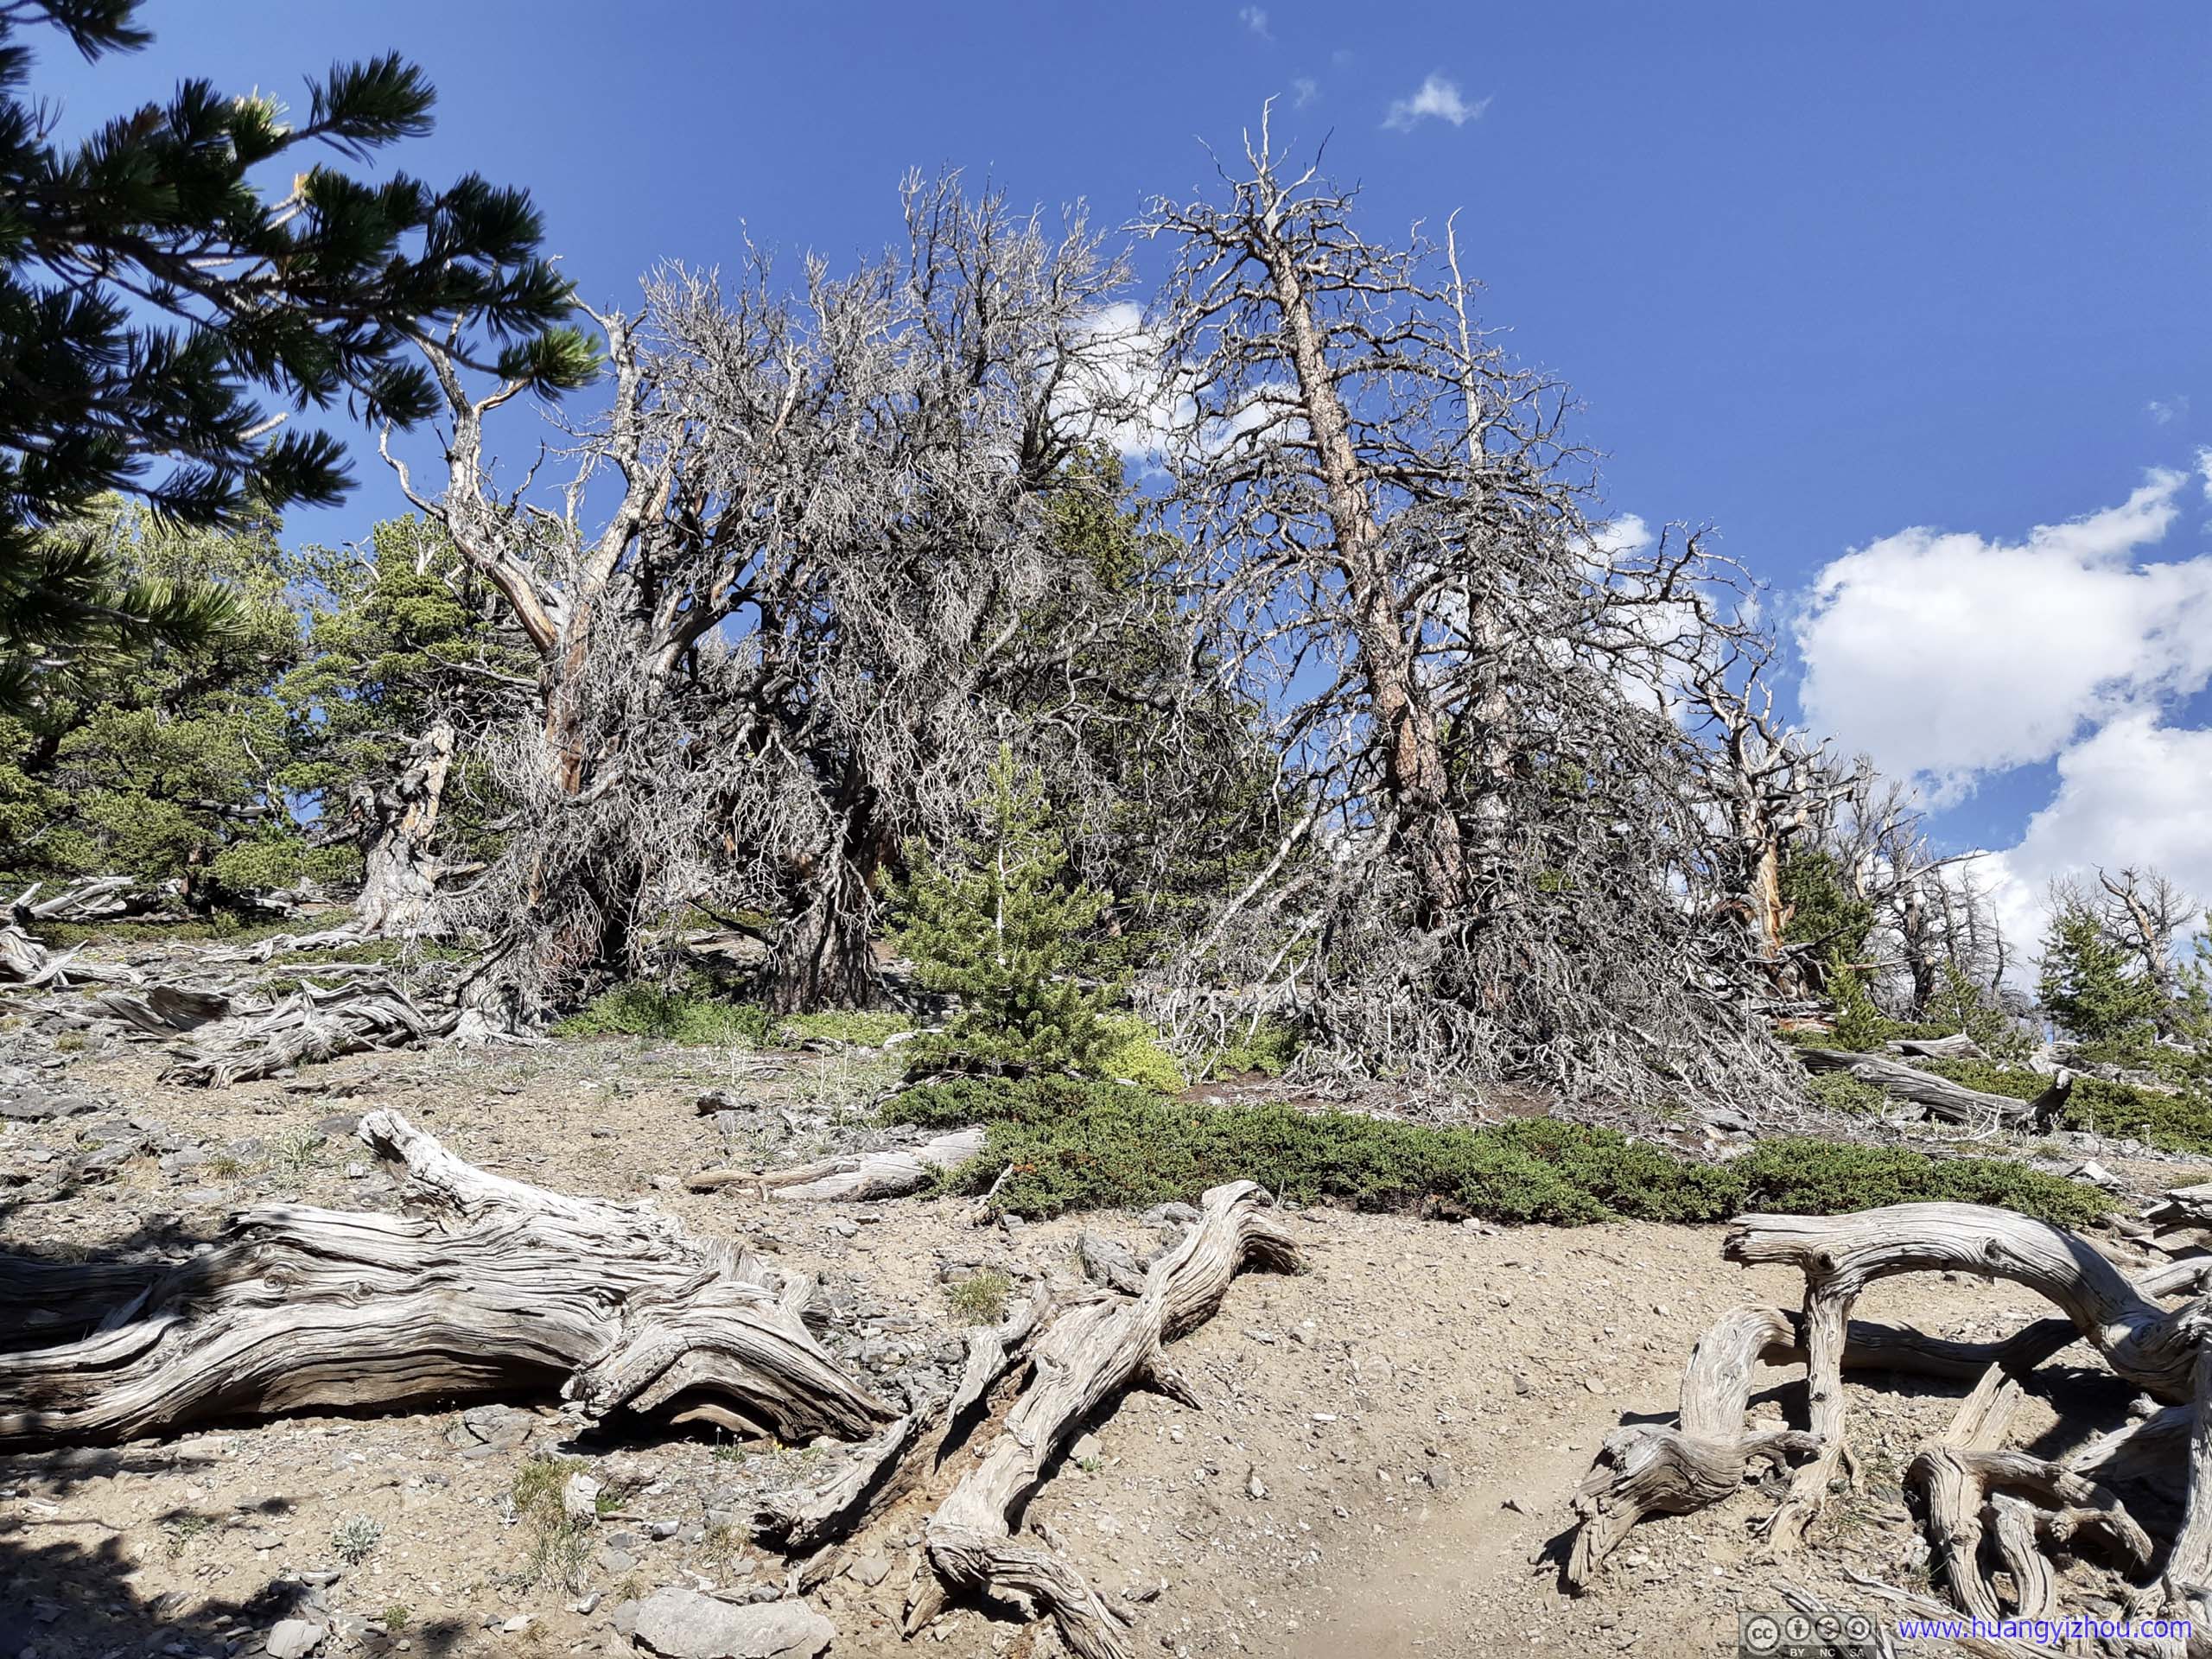
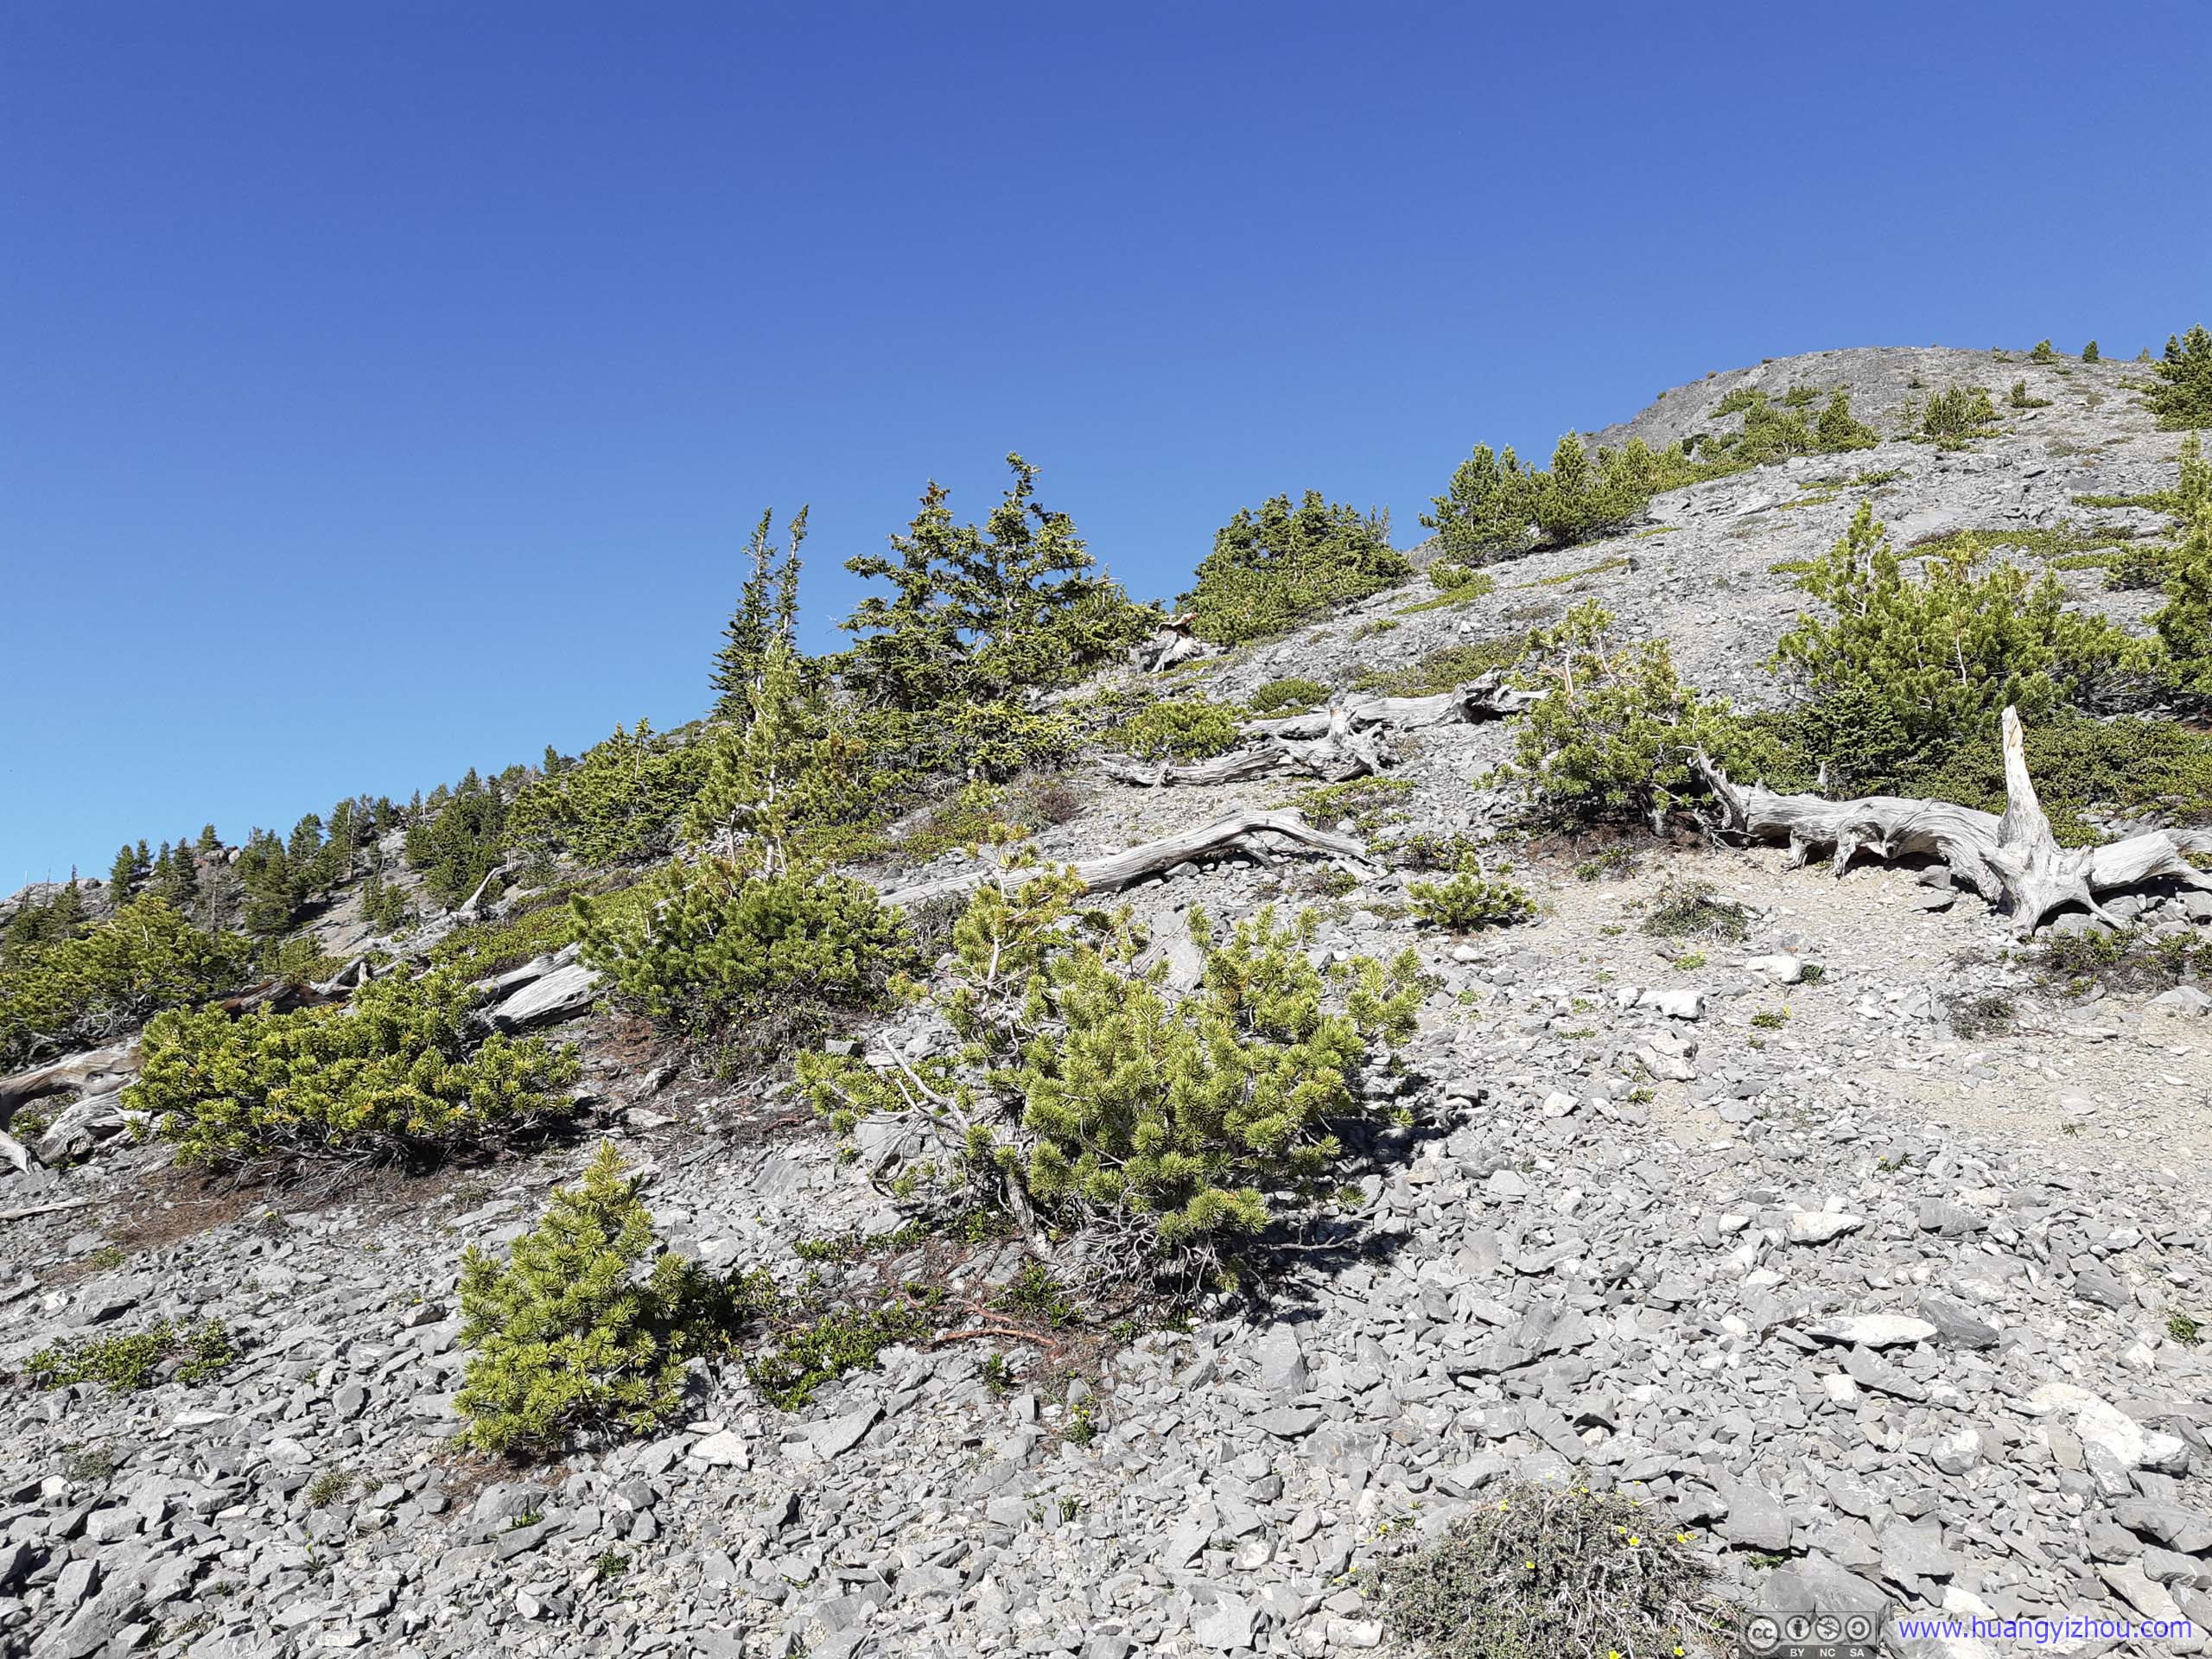
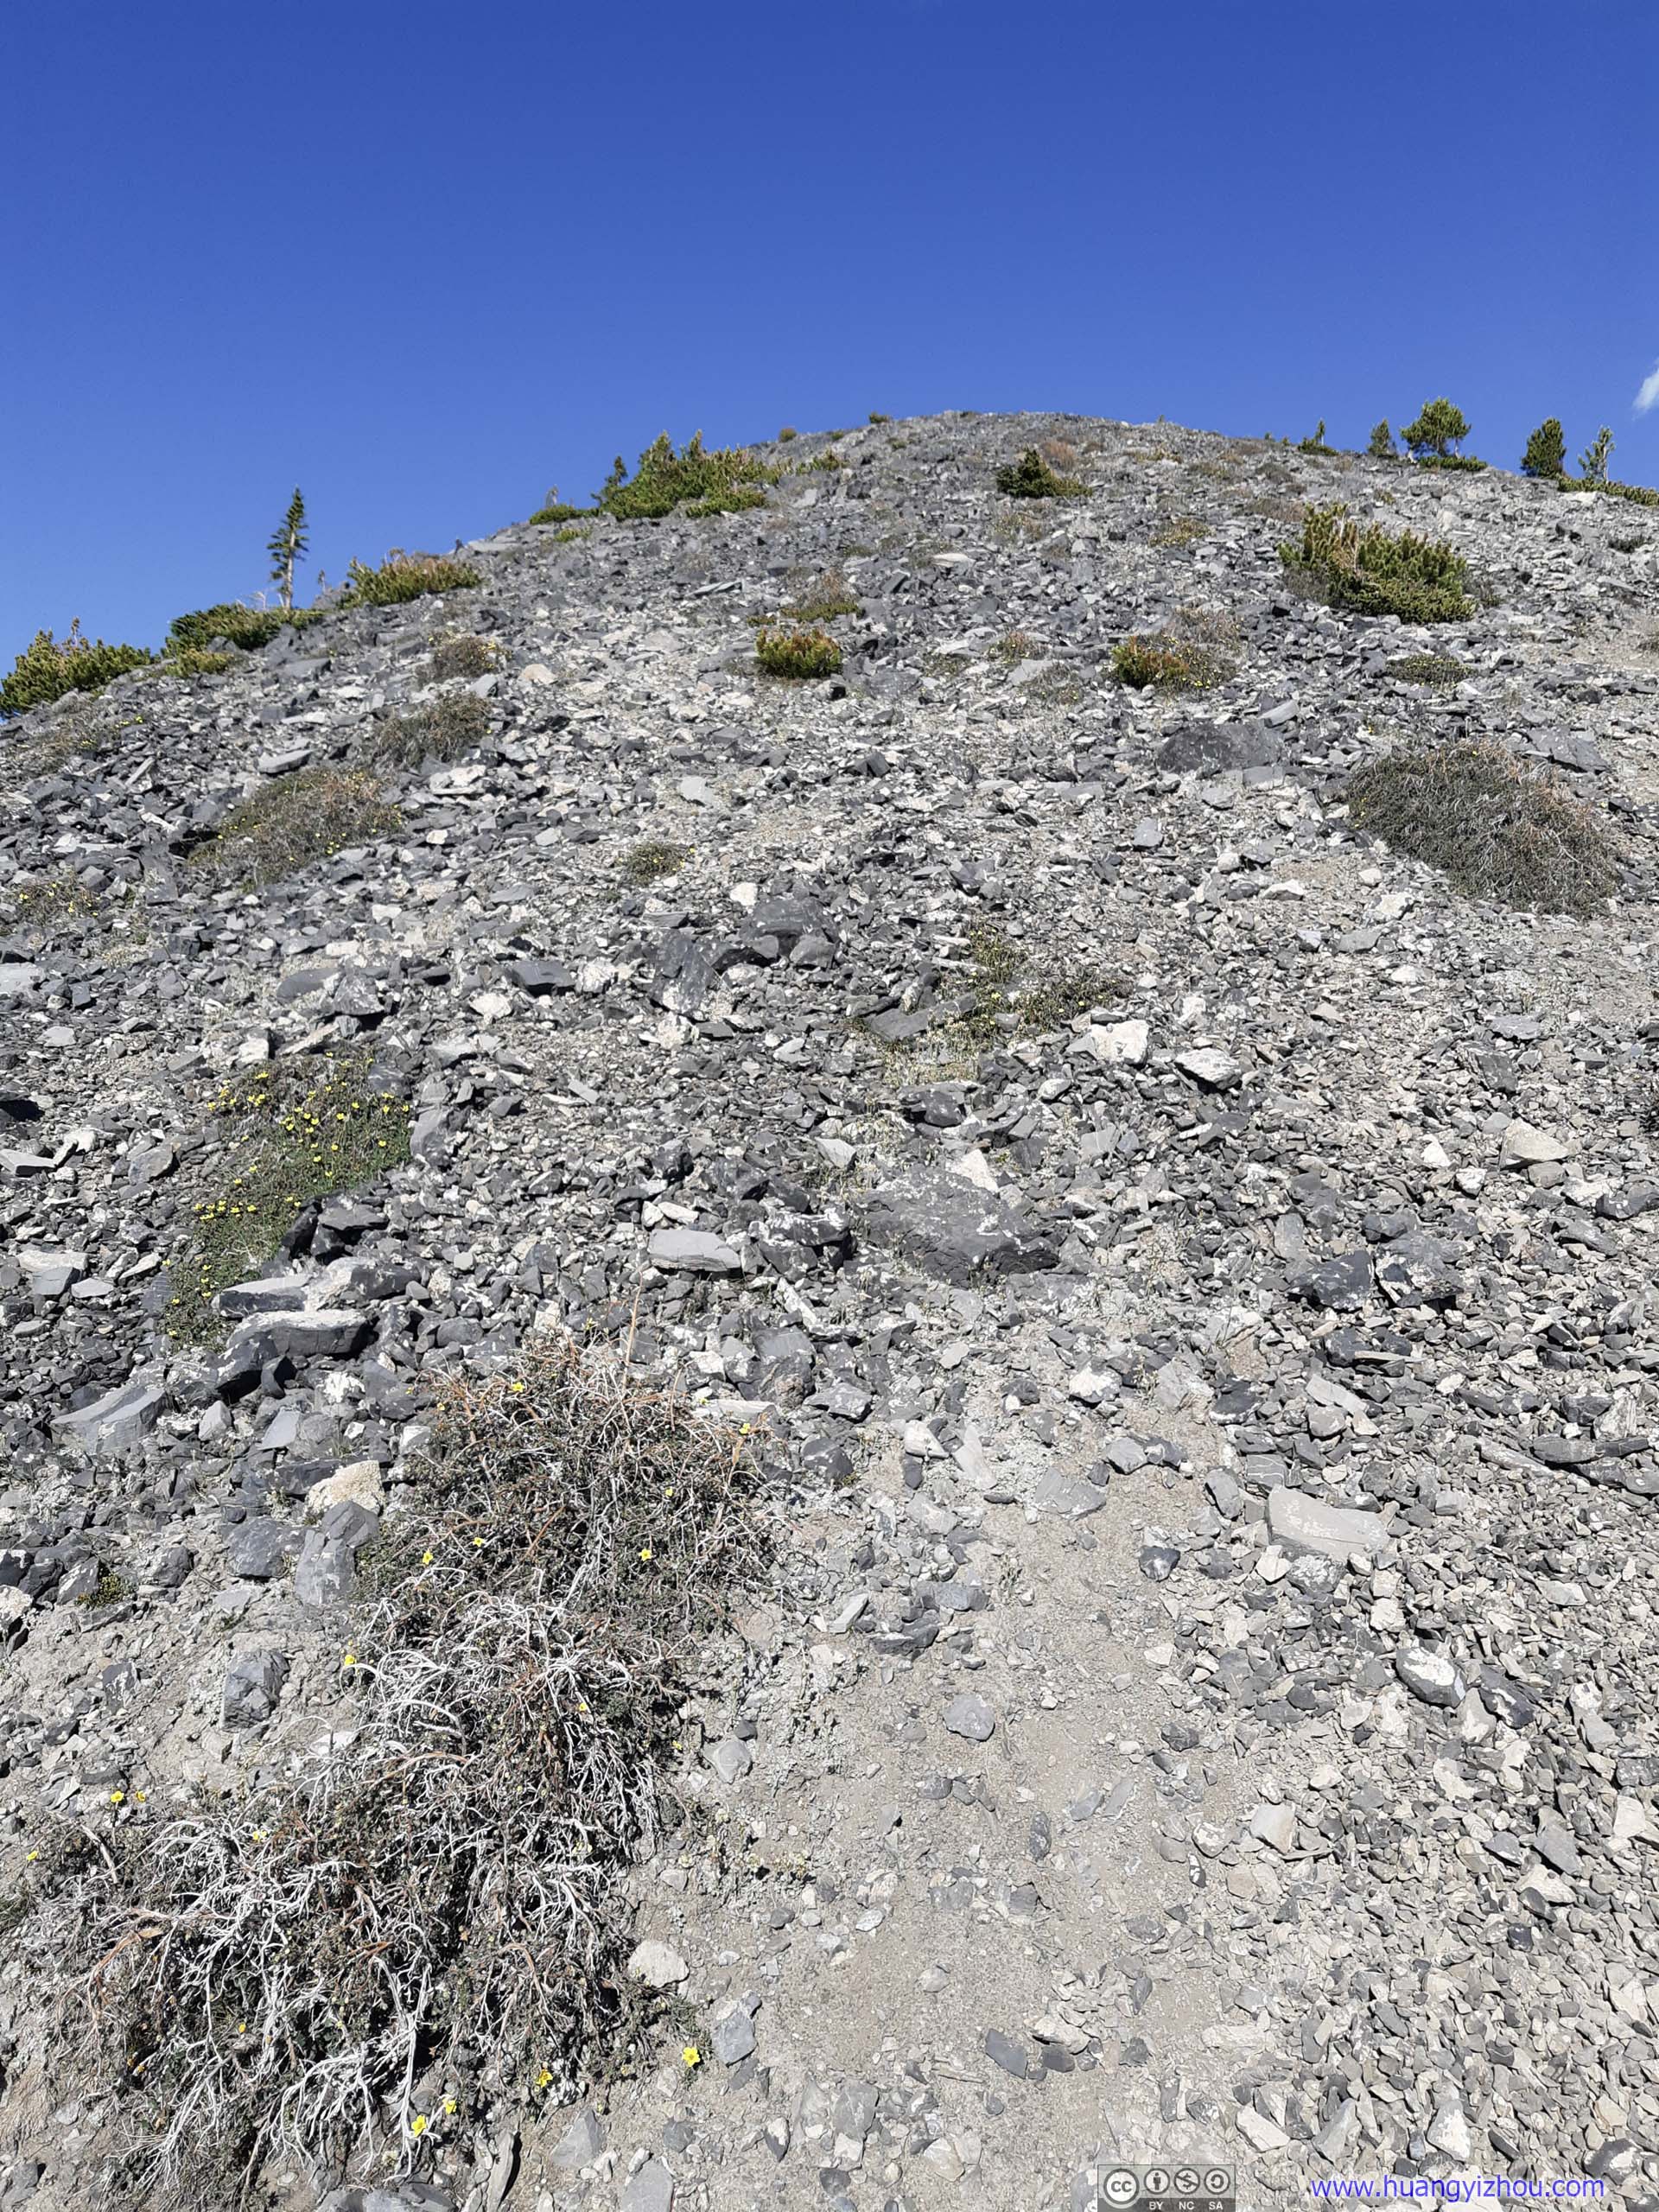
About 2.5km from trailhead and approaching 3000m elevation, the trees got sparser and sparser. Loose rocks began to dominate the landscape from grass.
Overlooking Lost River ValleyNow out of tree line.
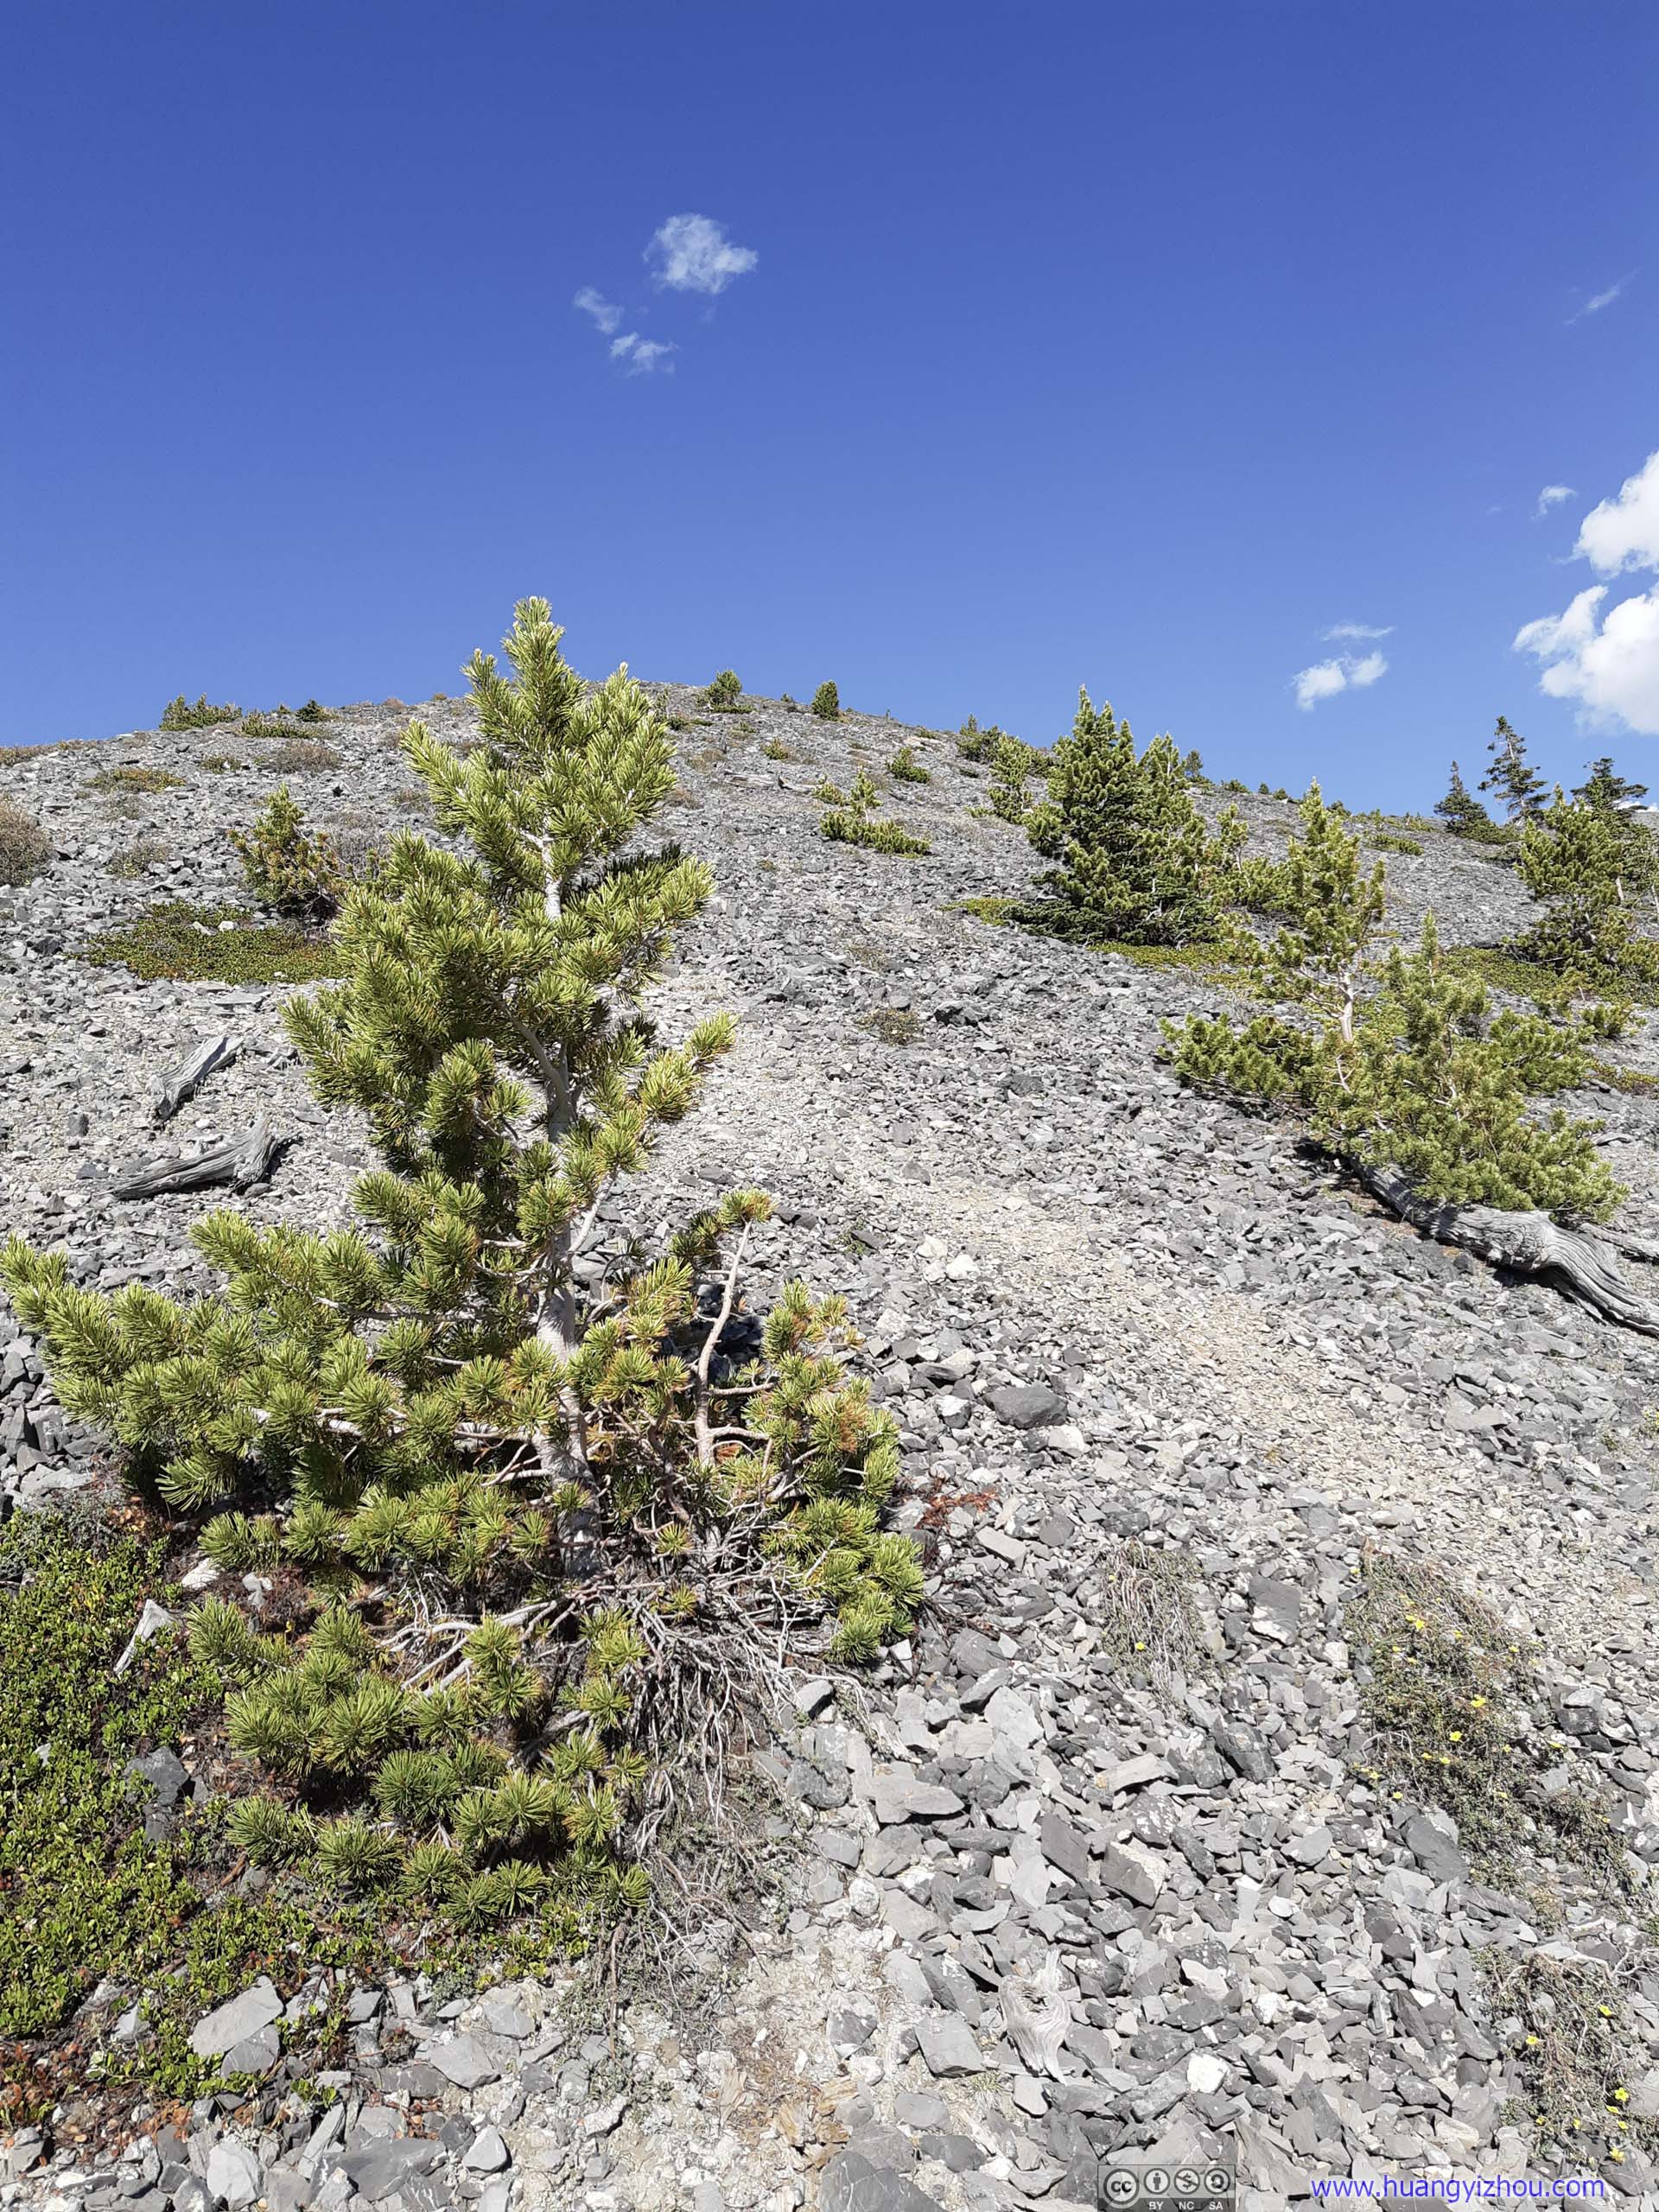 TrailThe trail continued to climb in a series of mini-switchbacks out of the tree line.
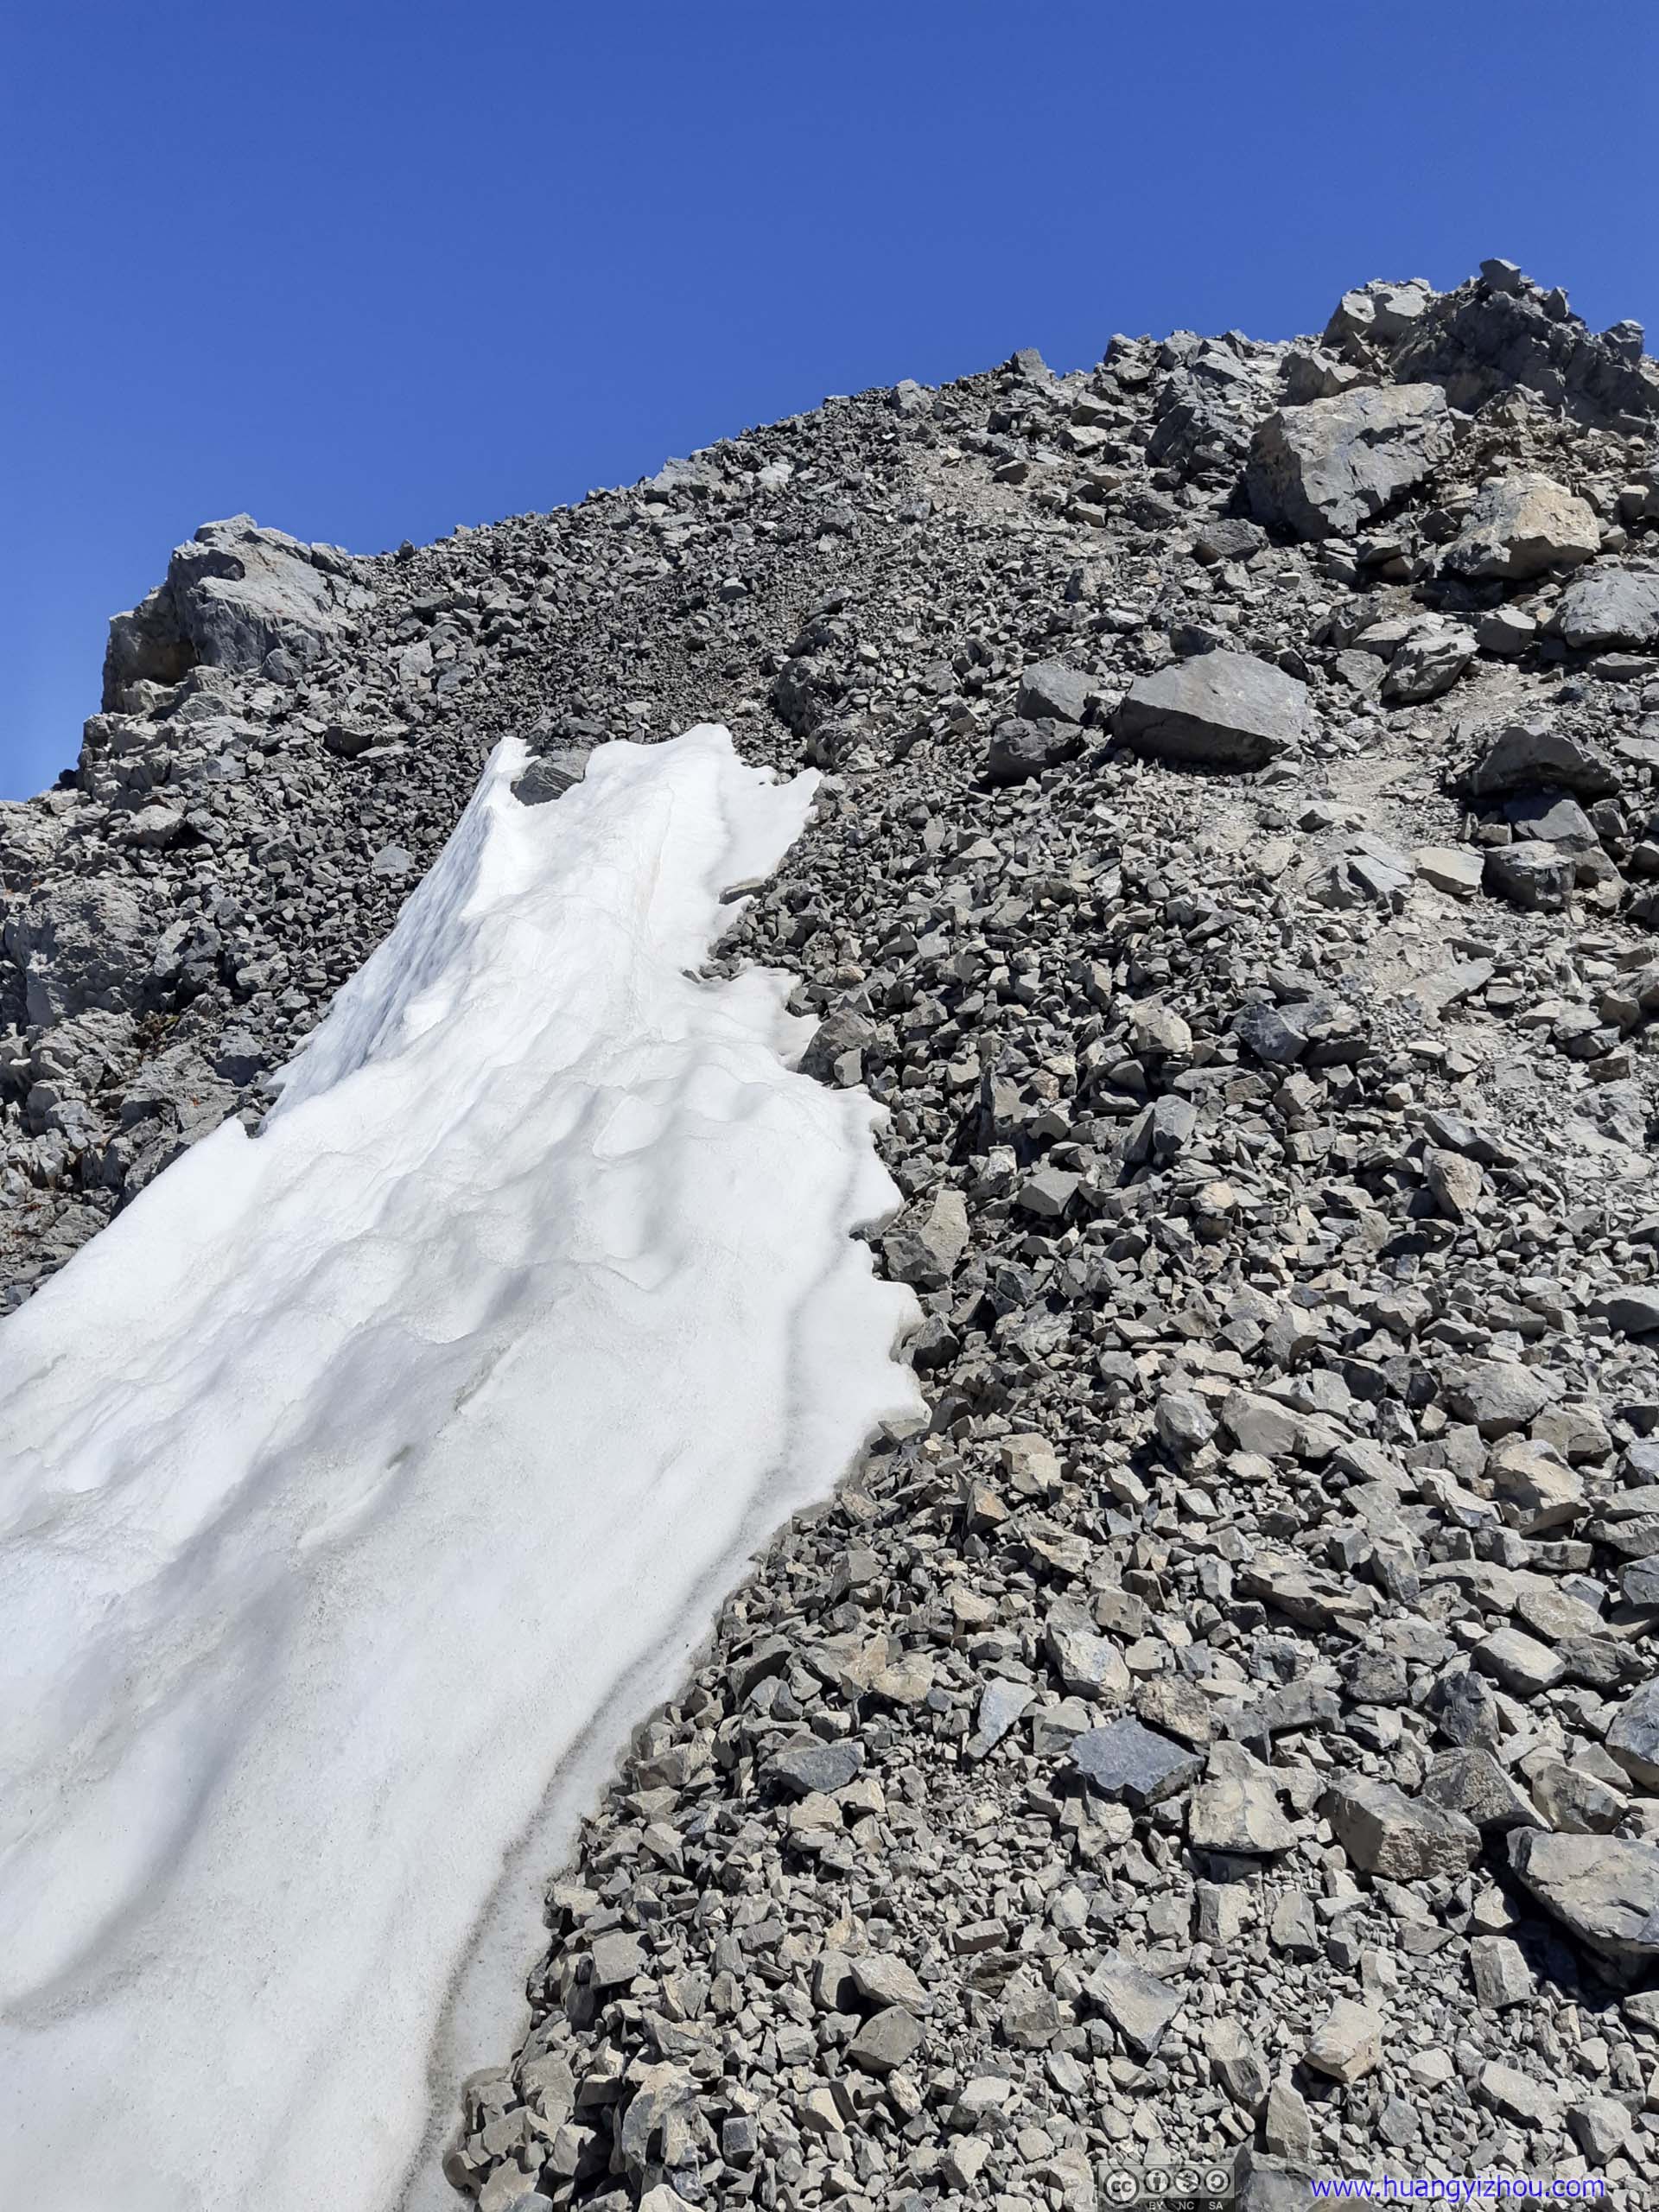
Trail to Snow Bridge
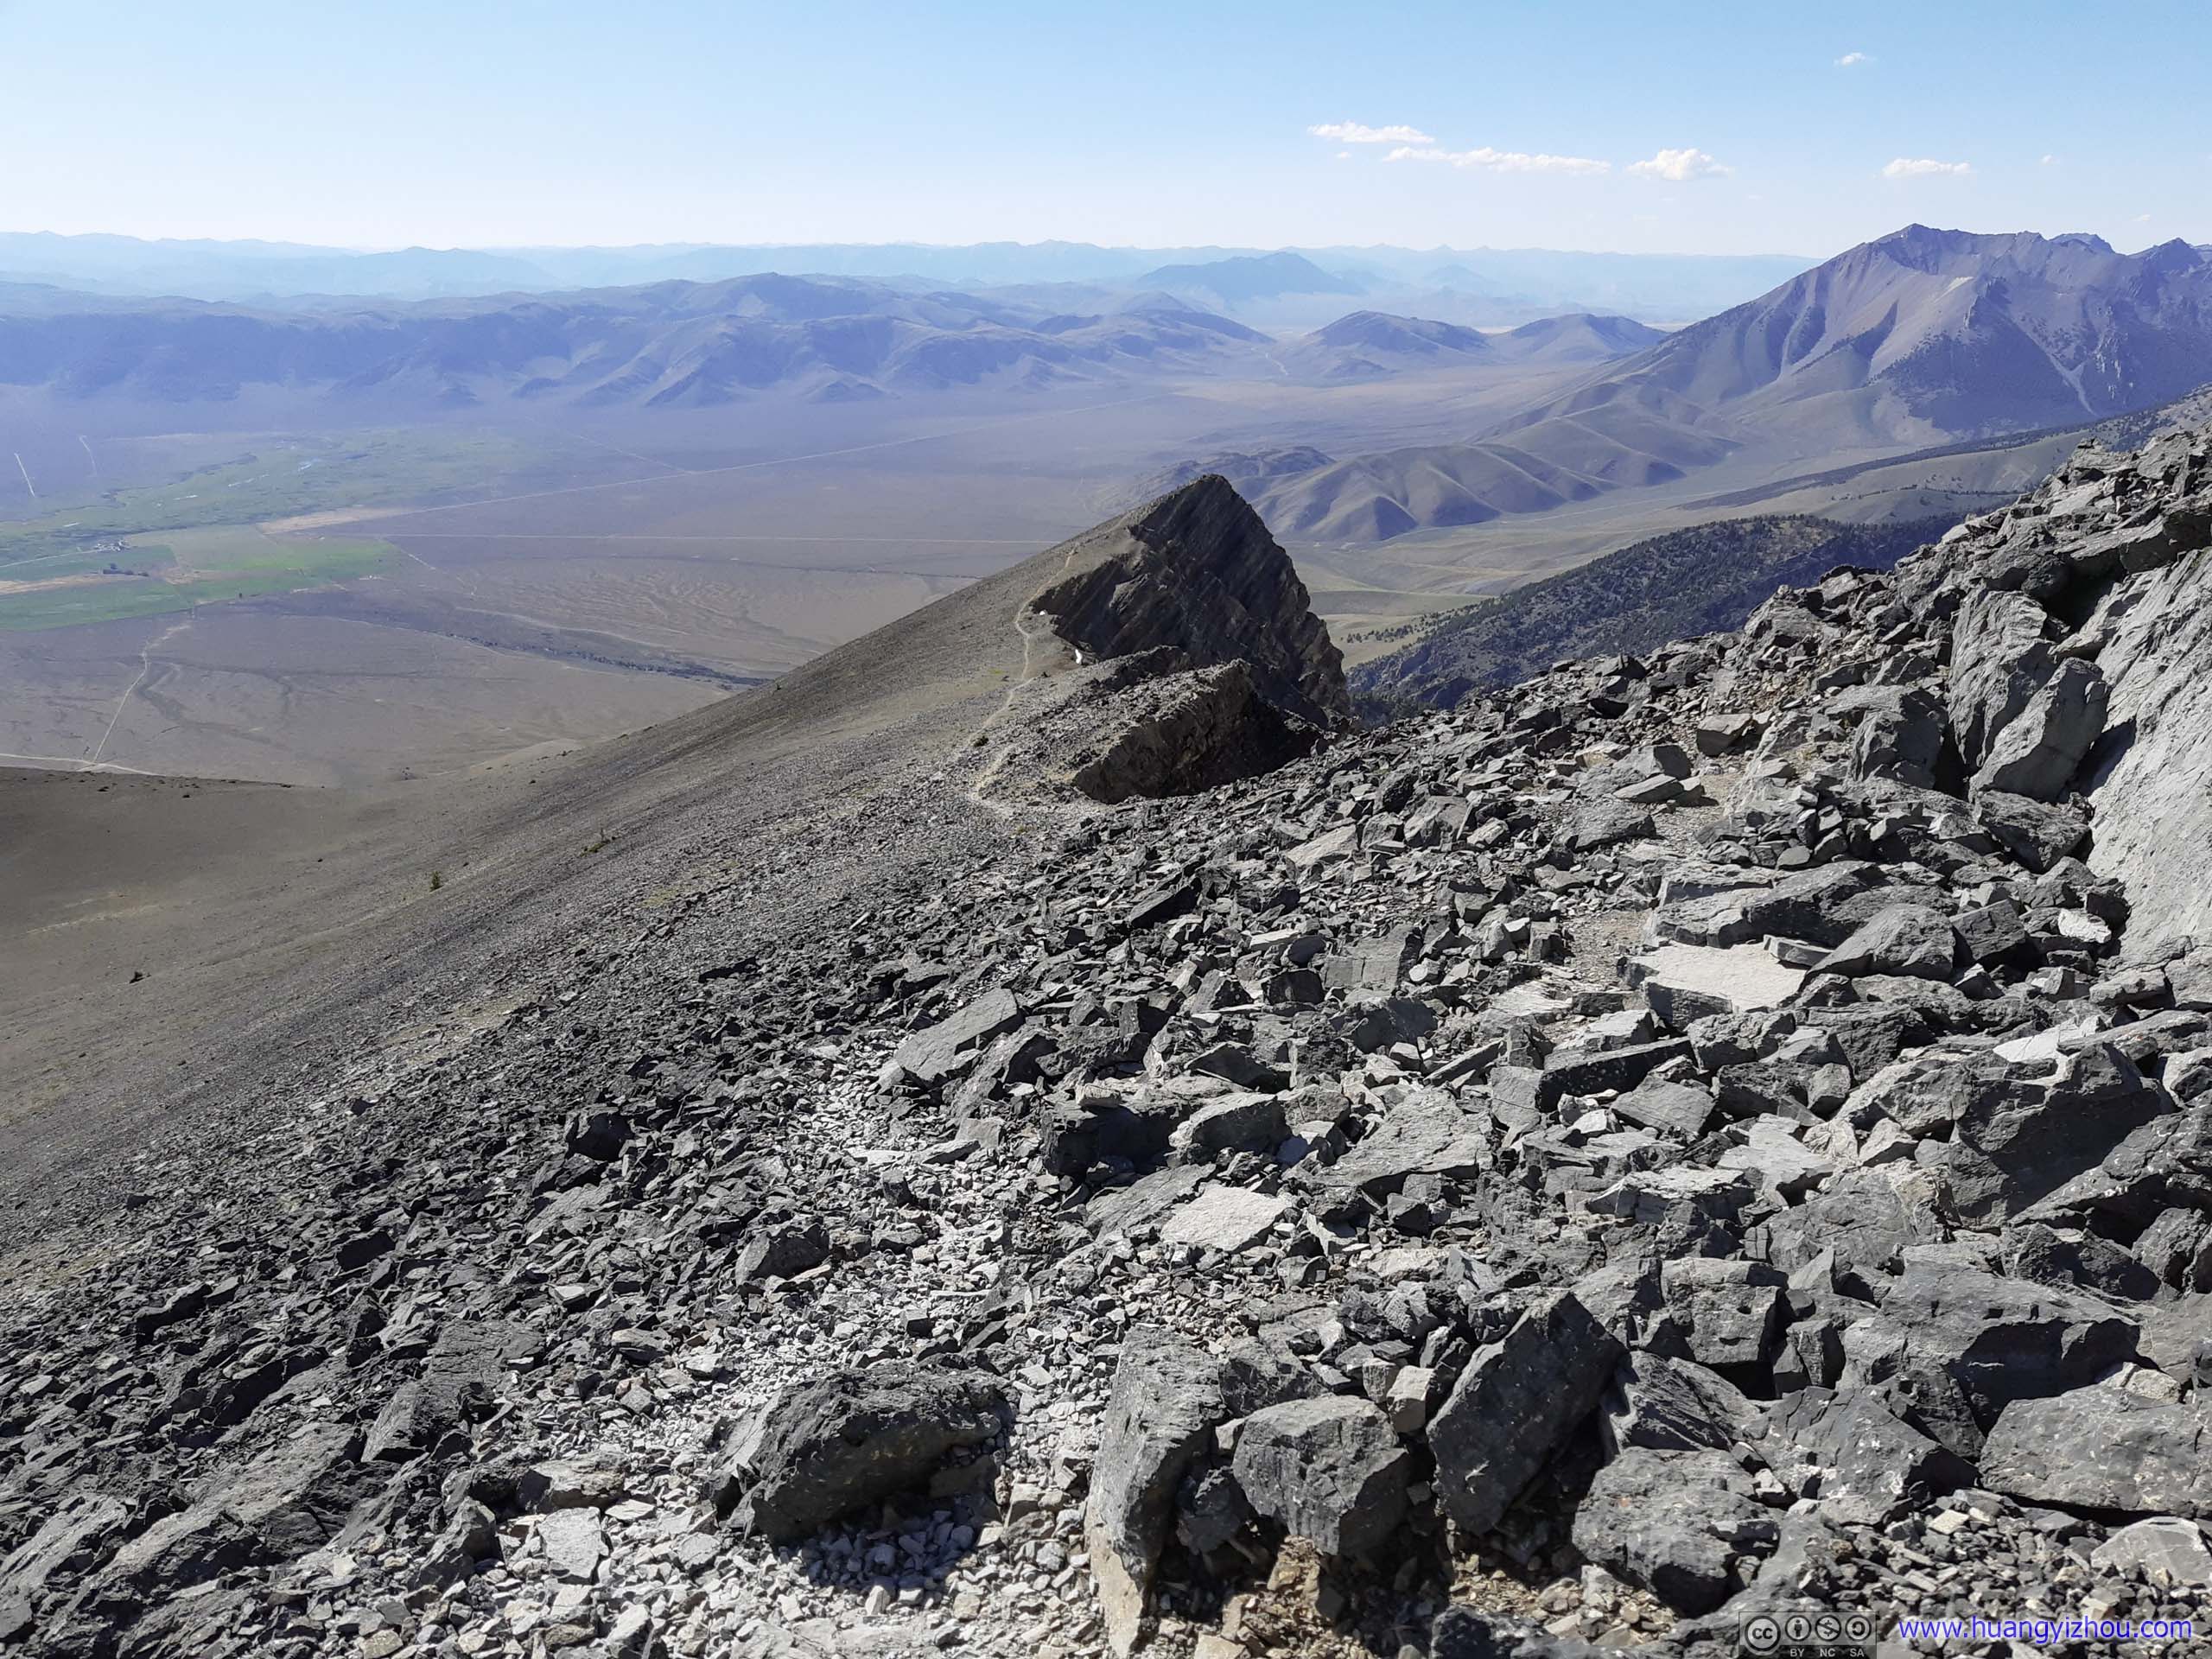
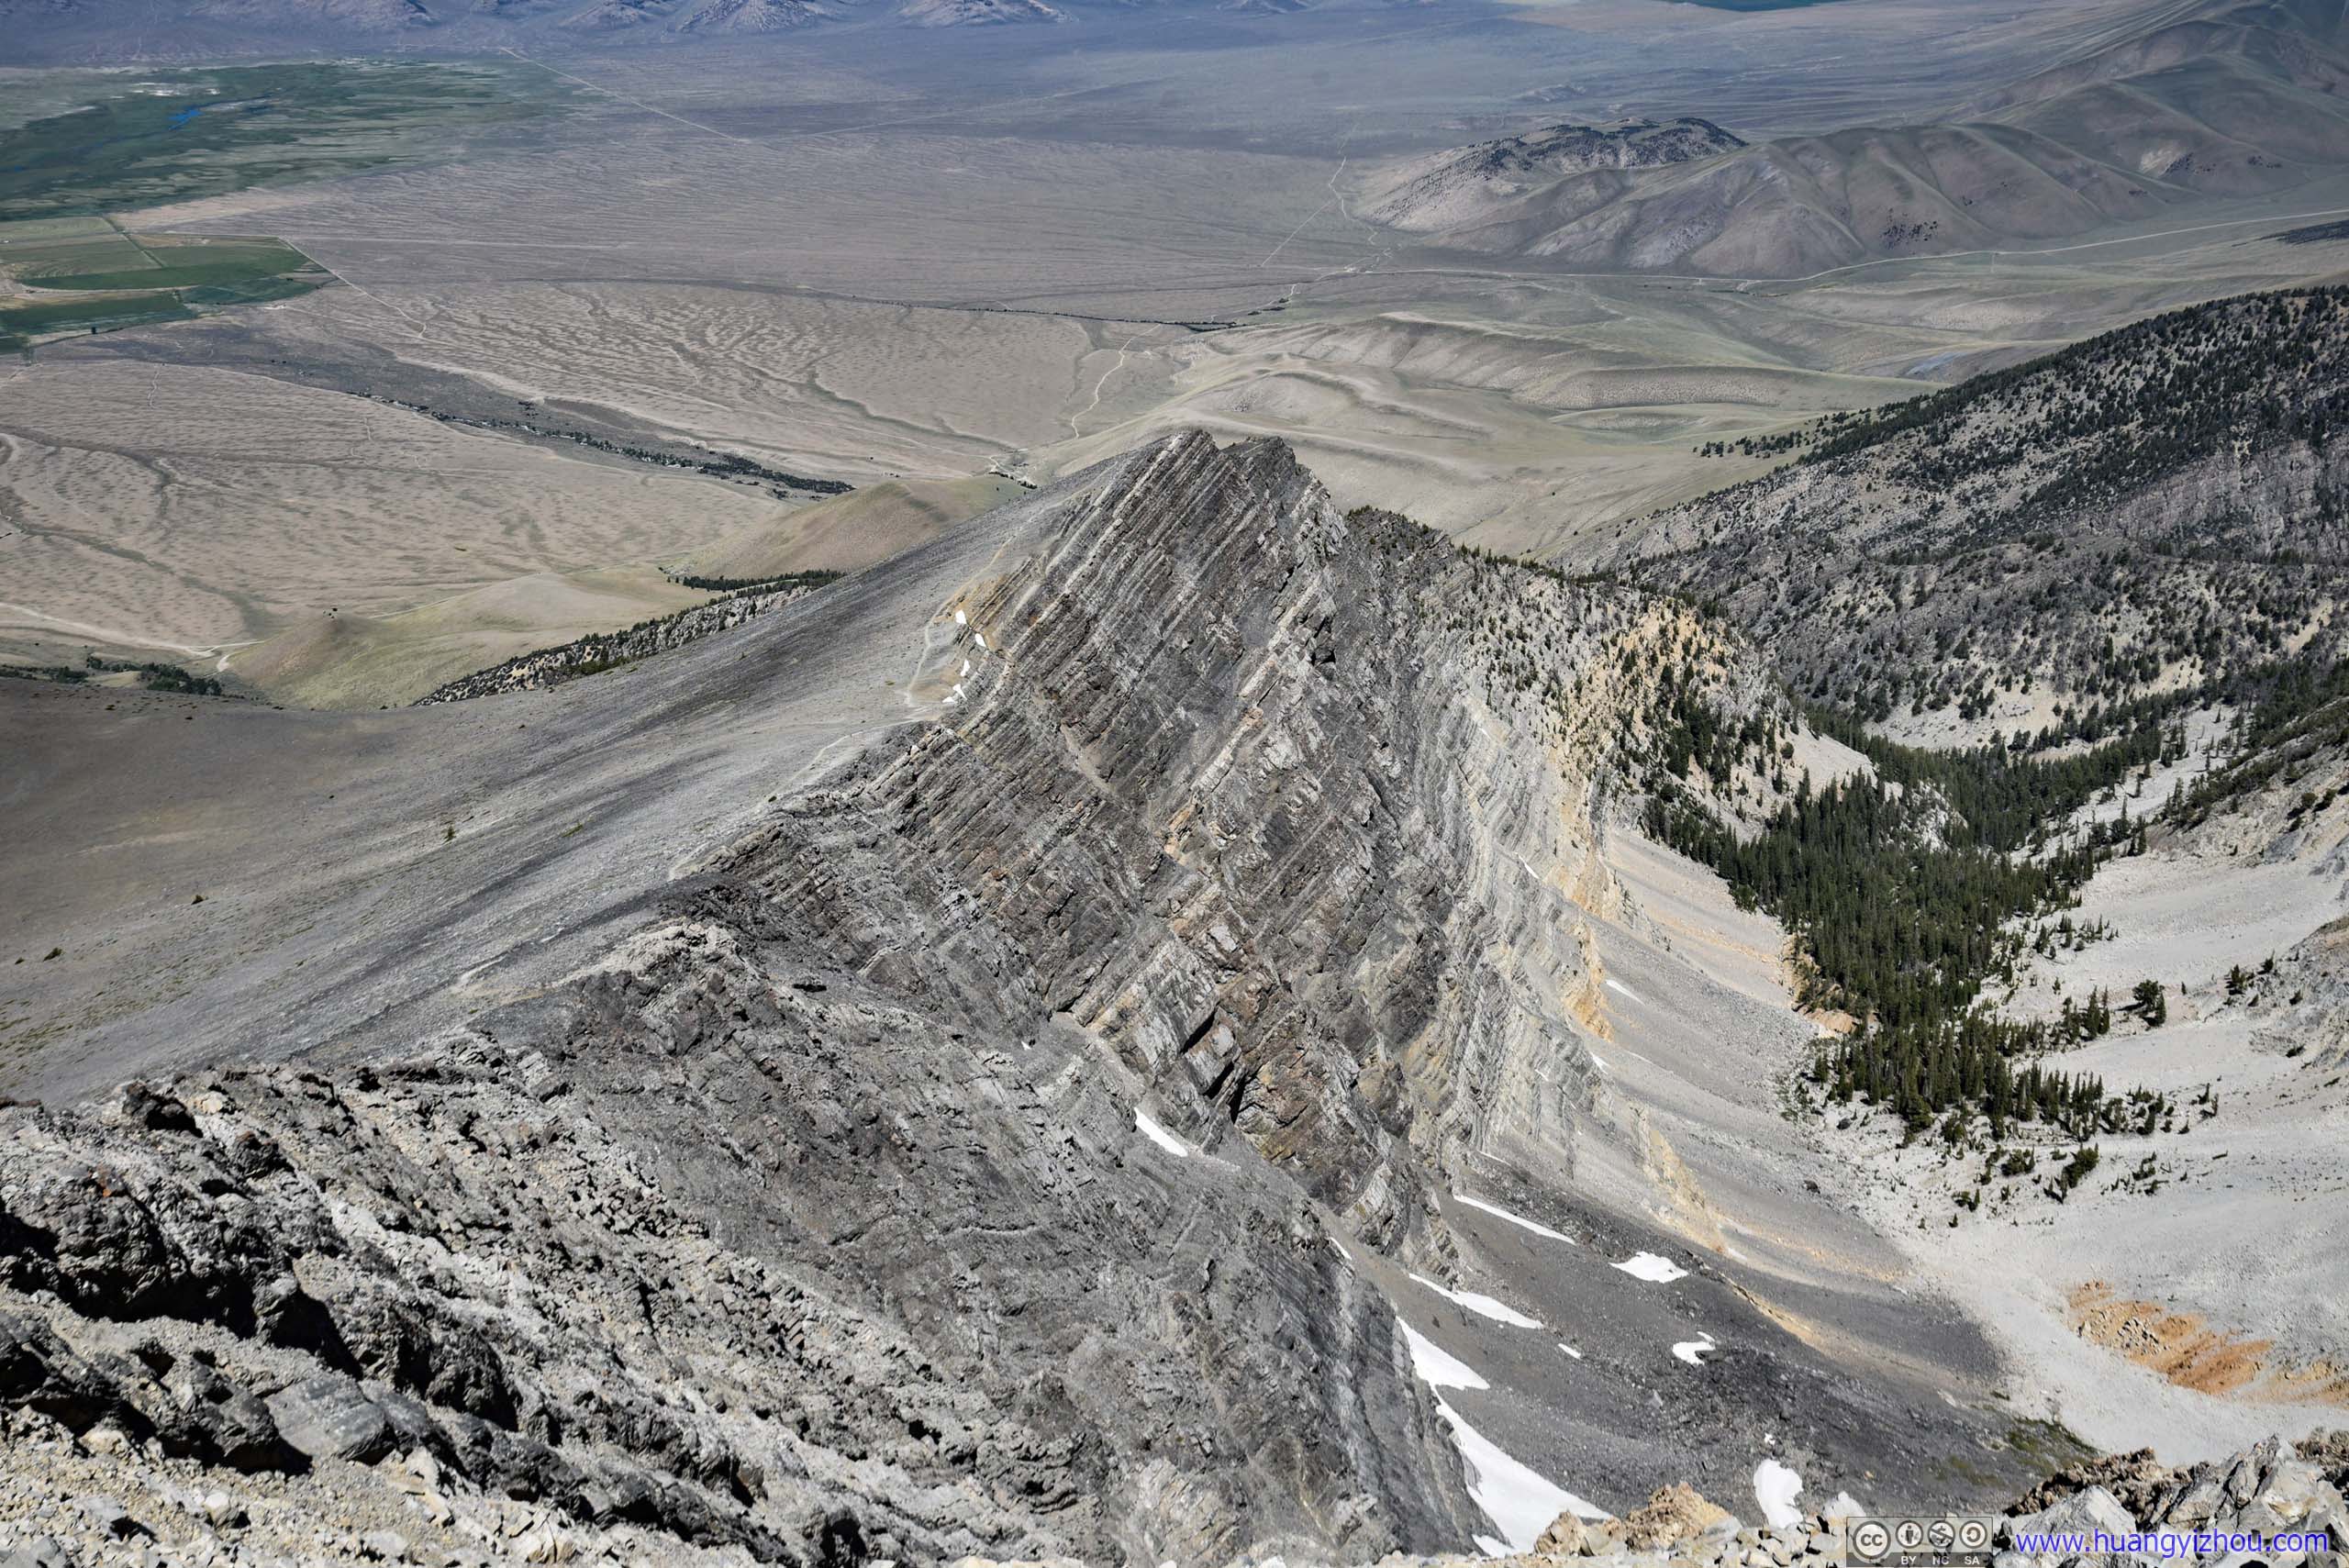
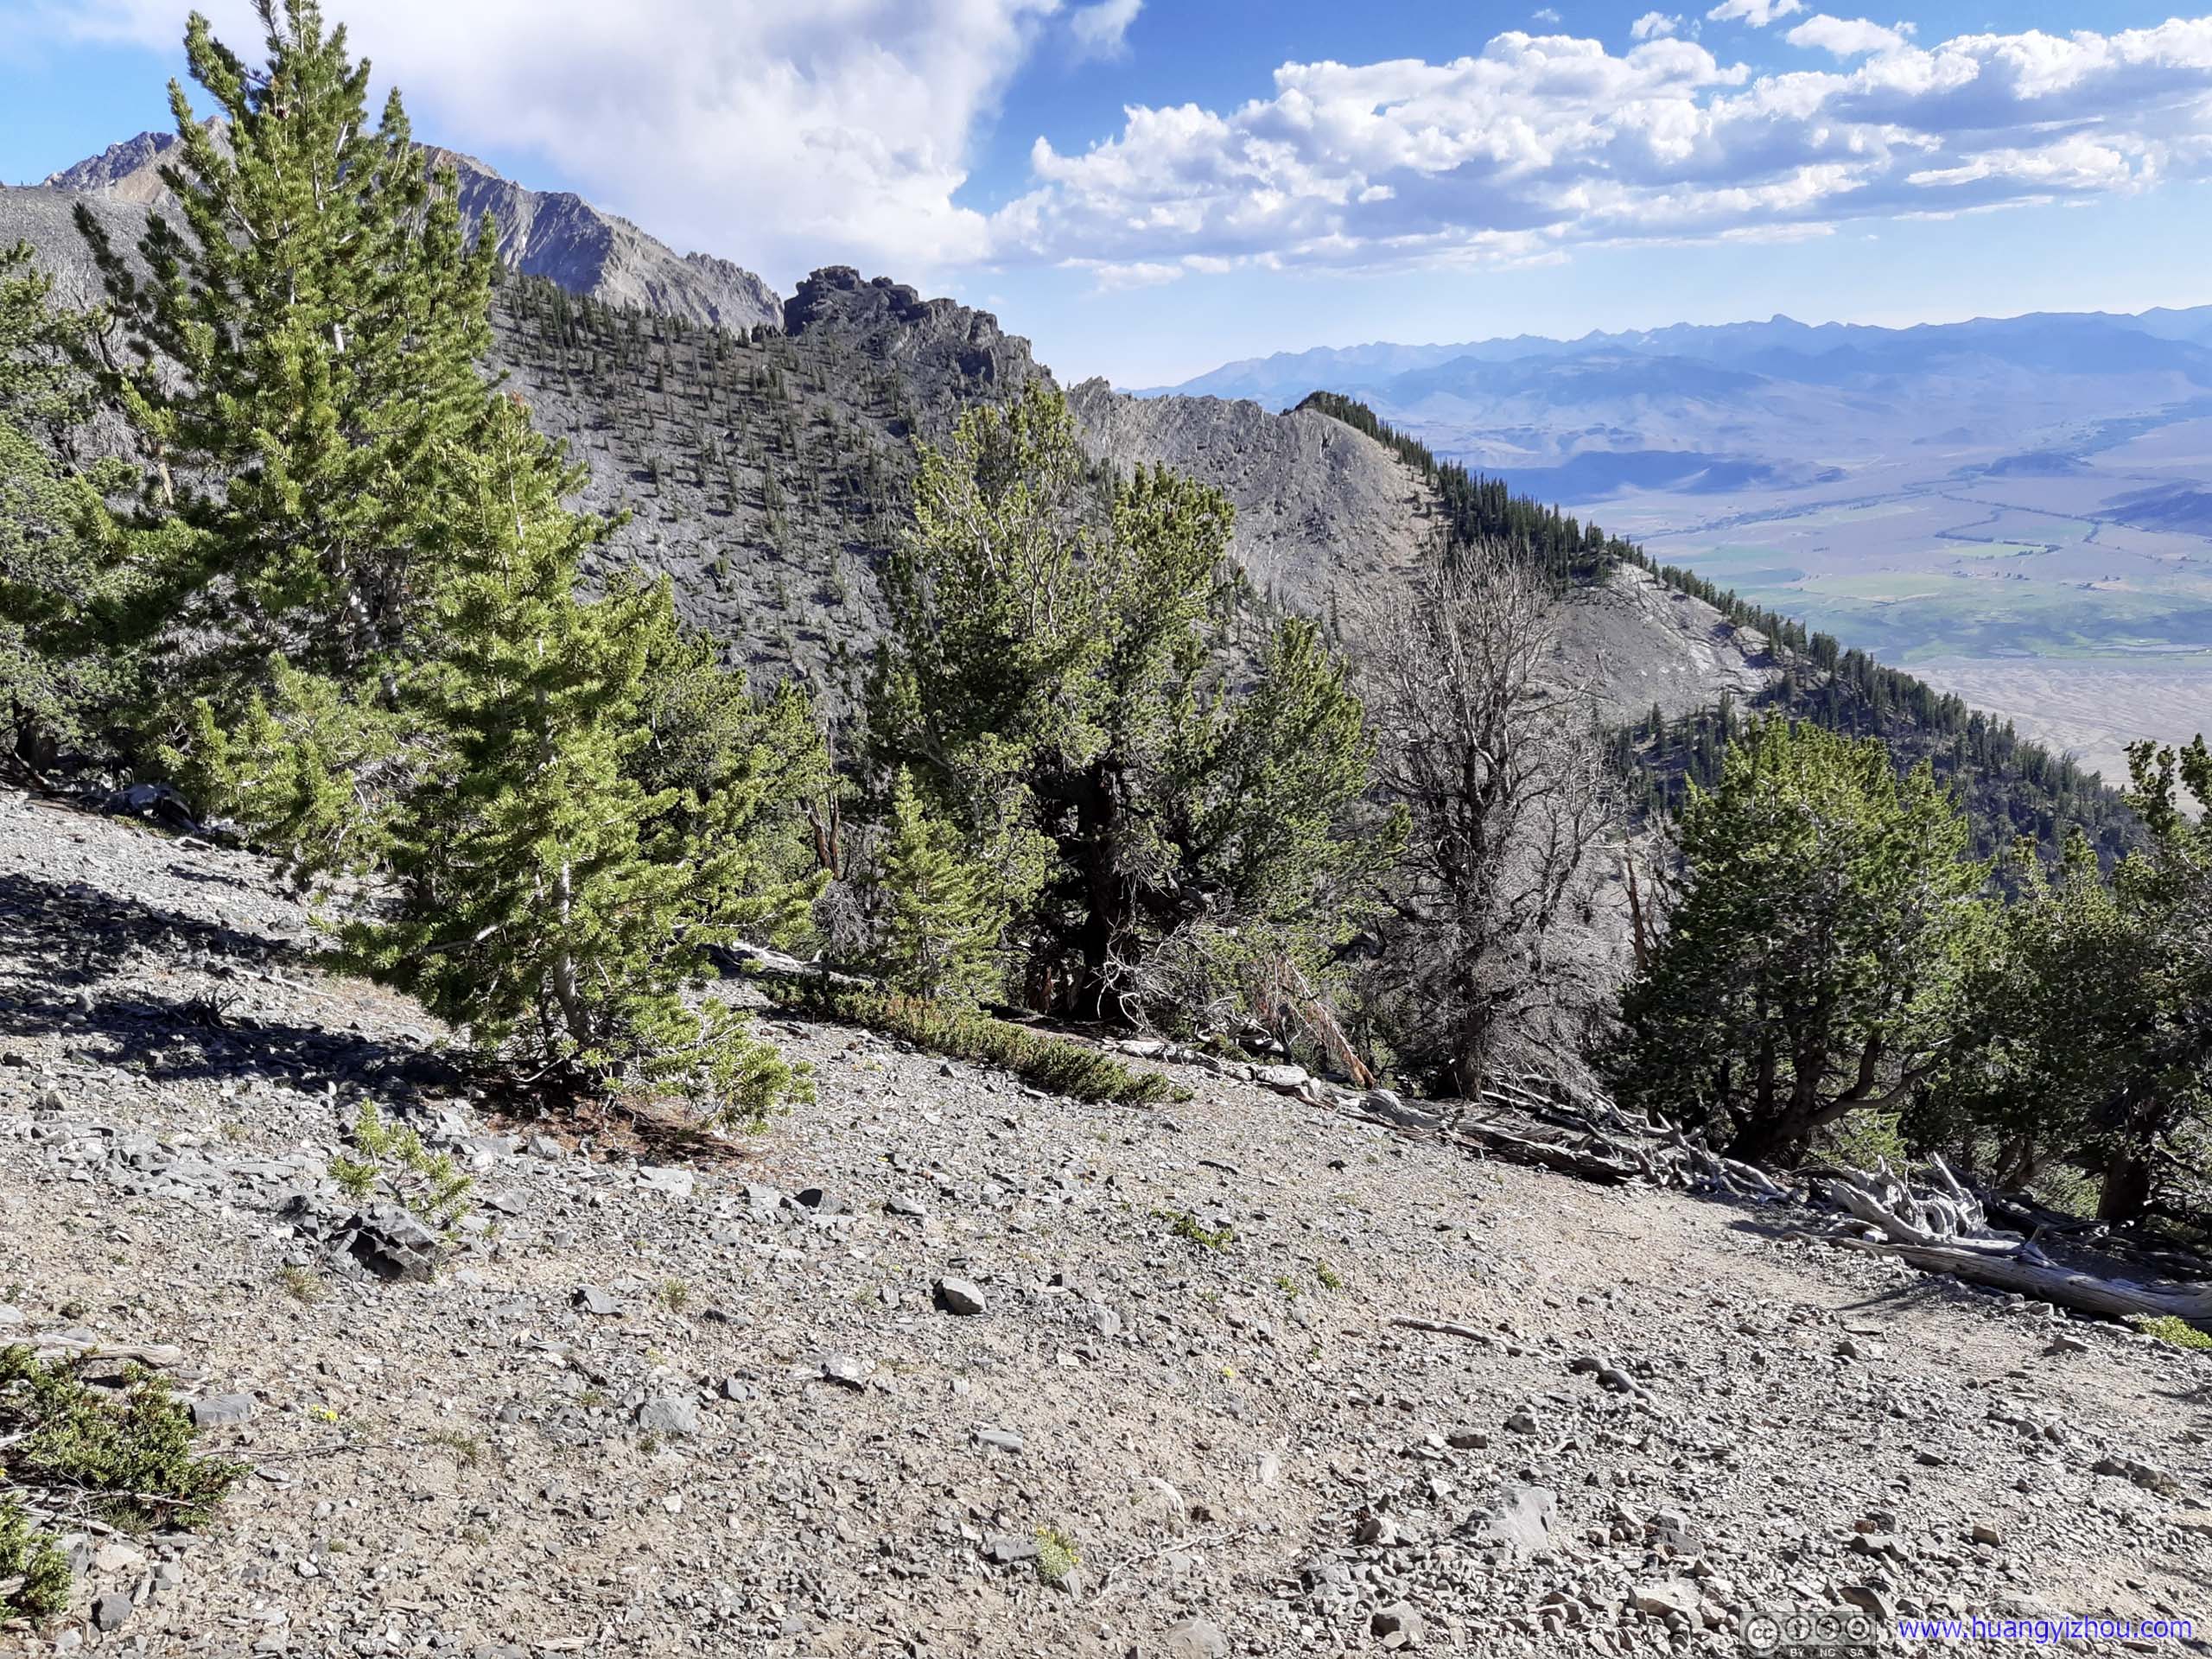
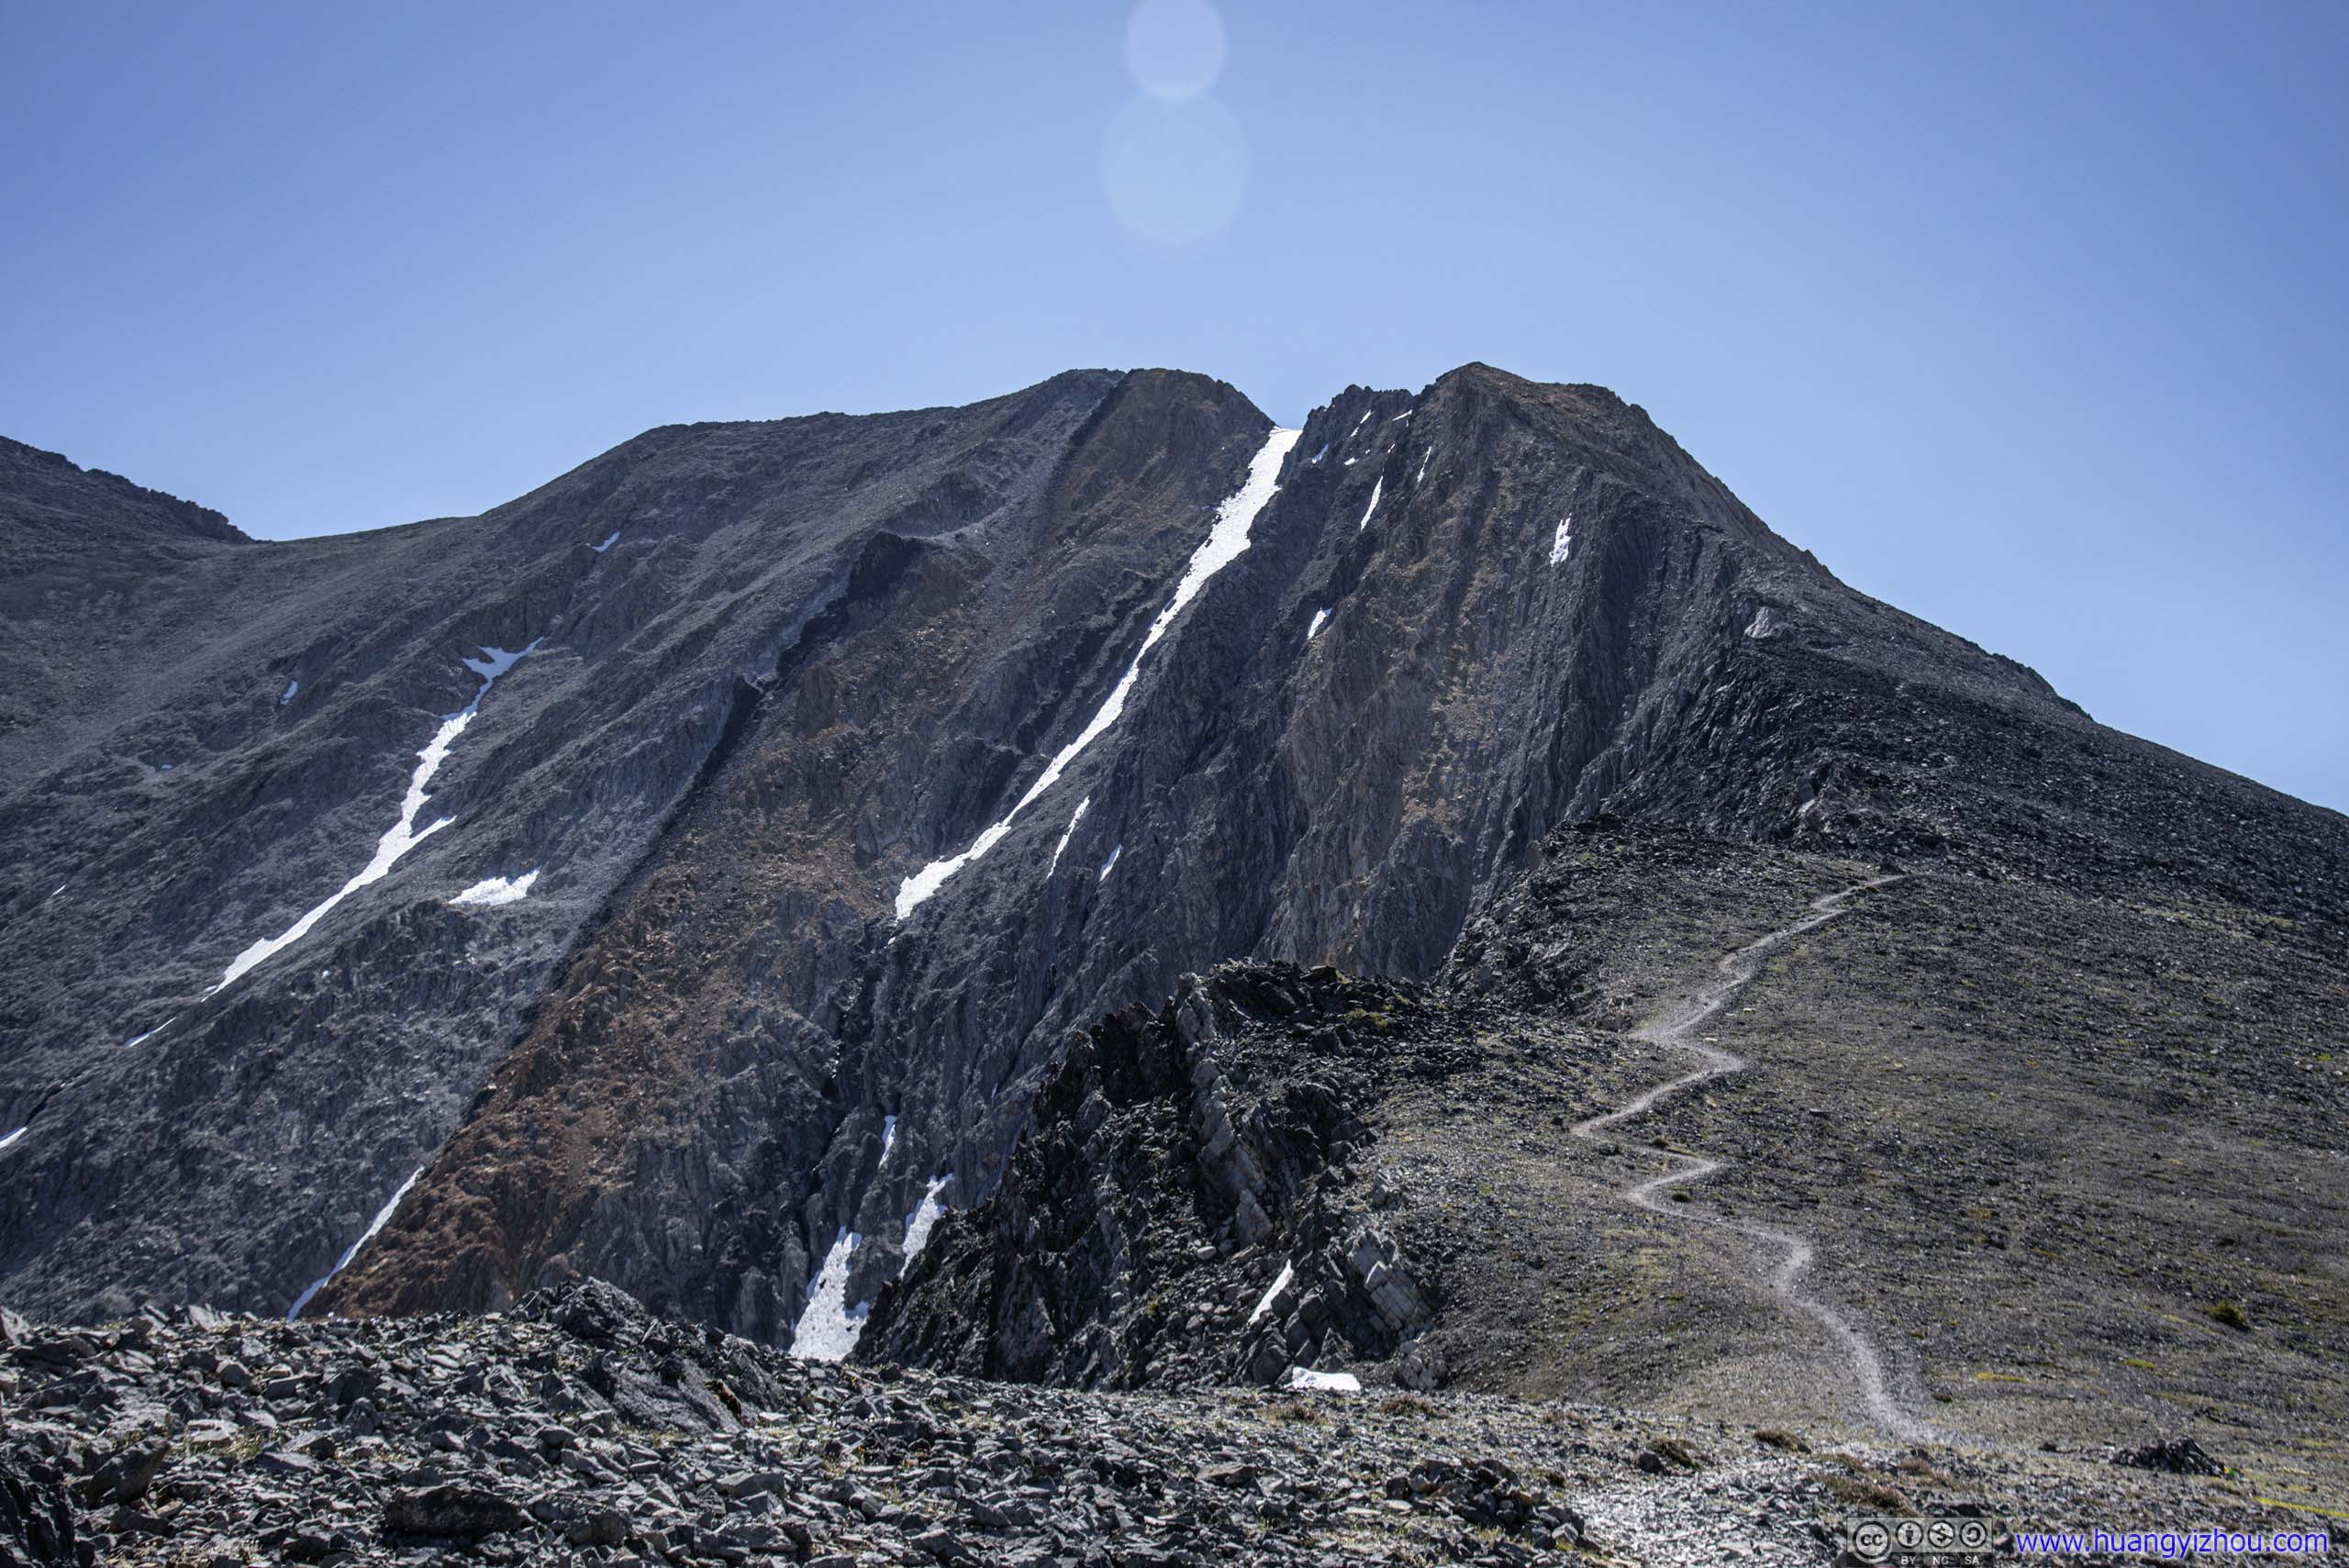
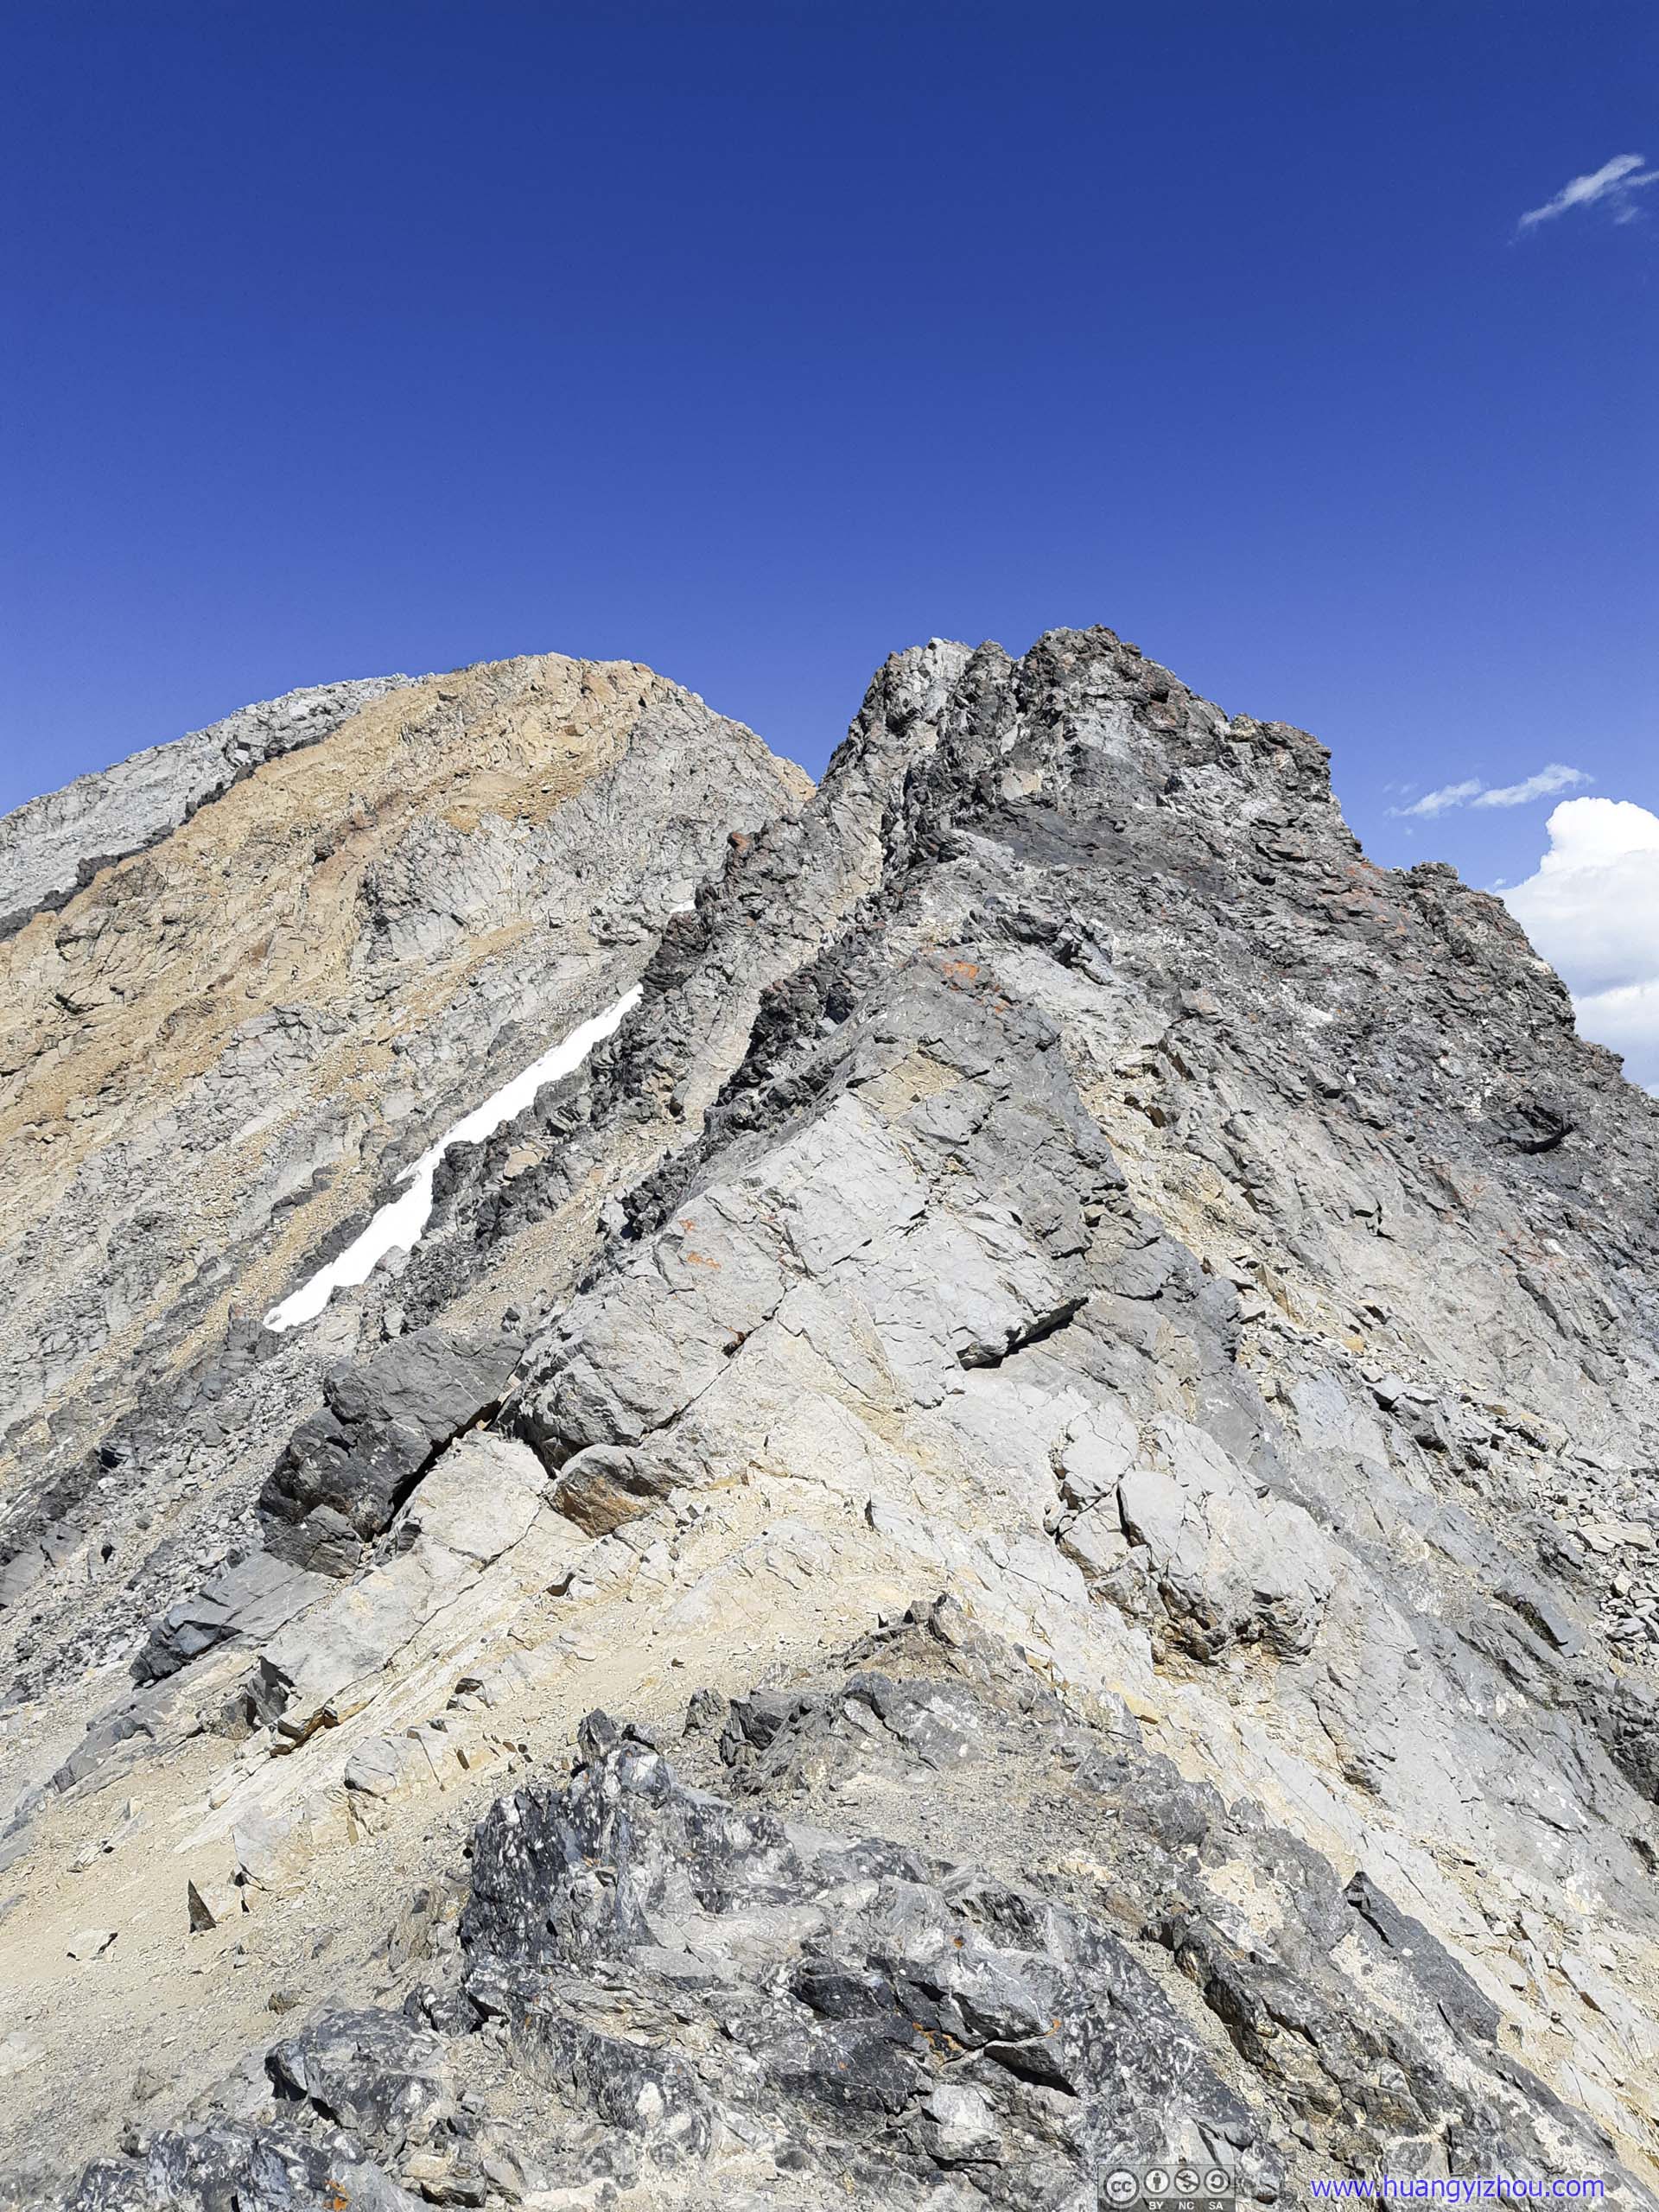
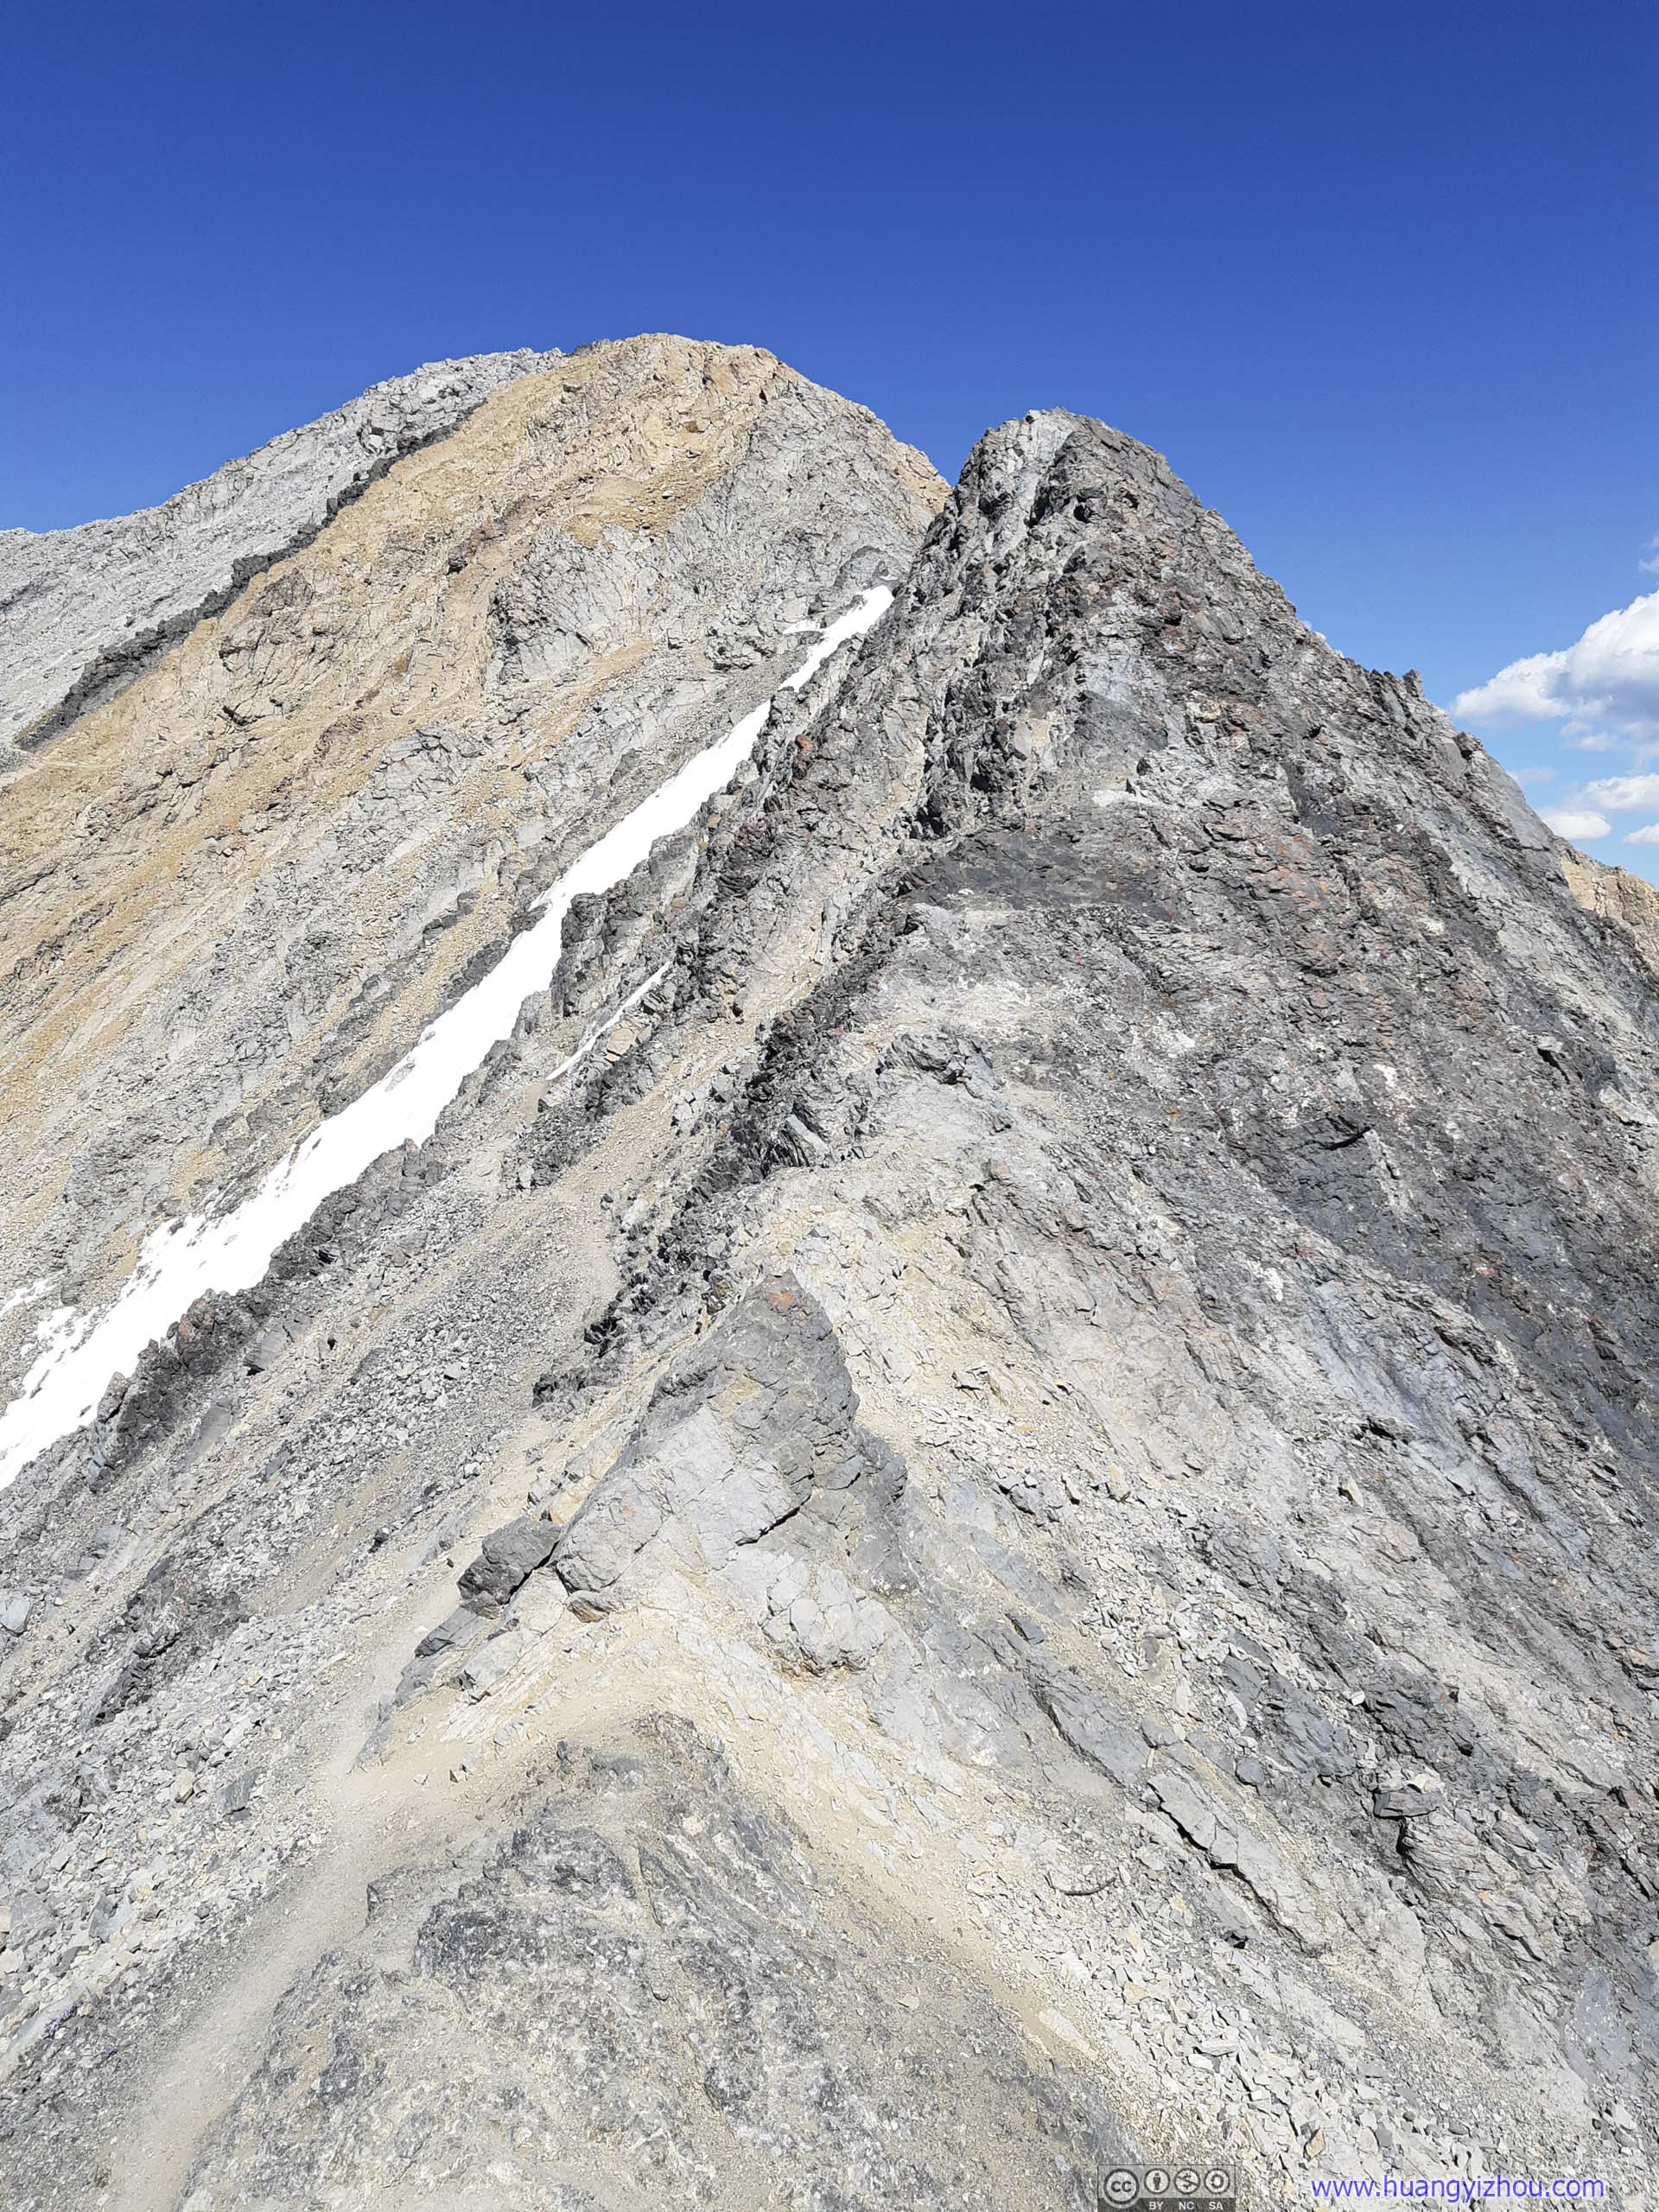
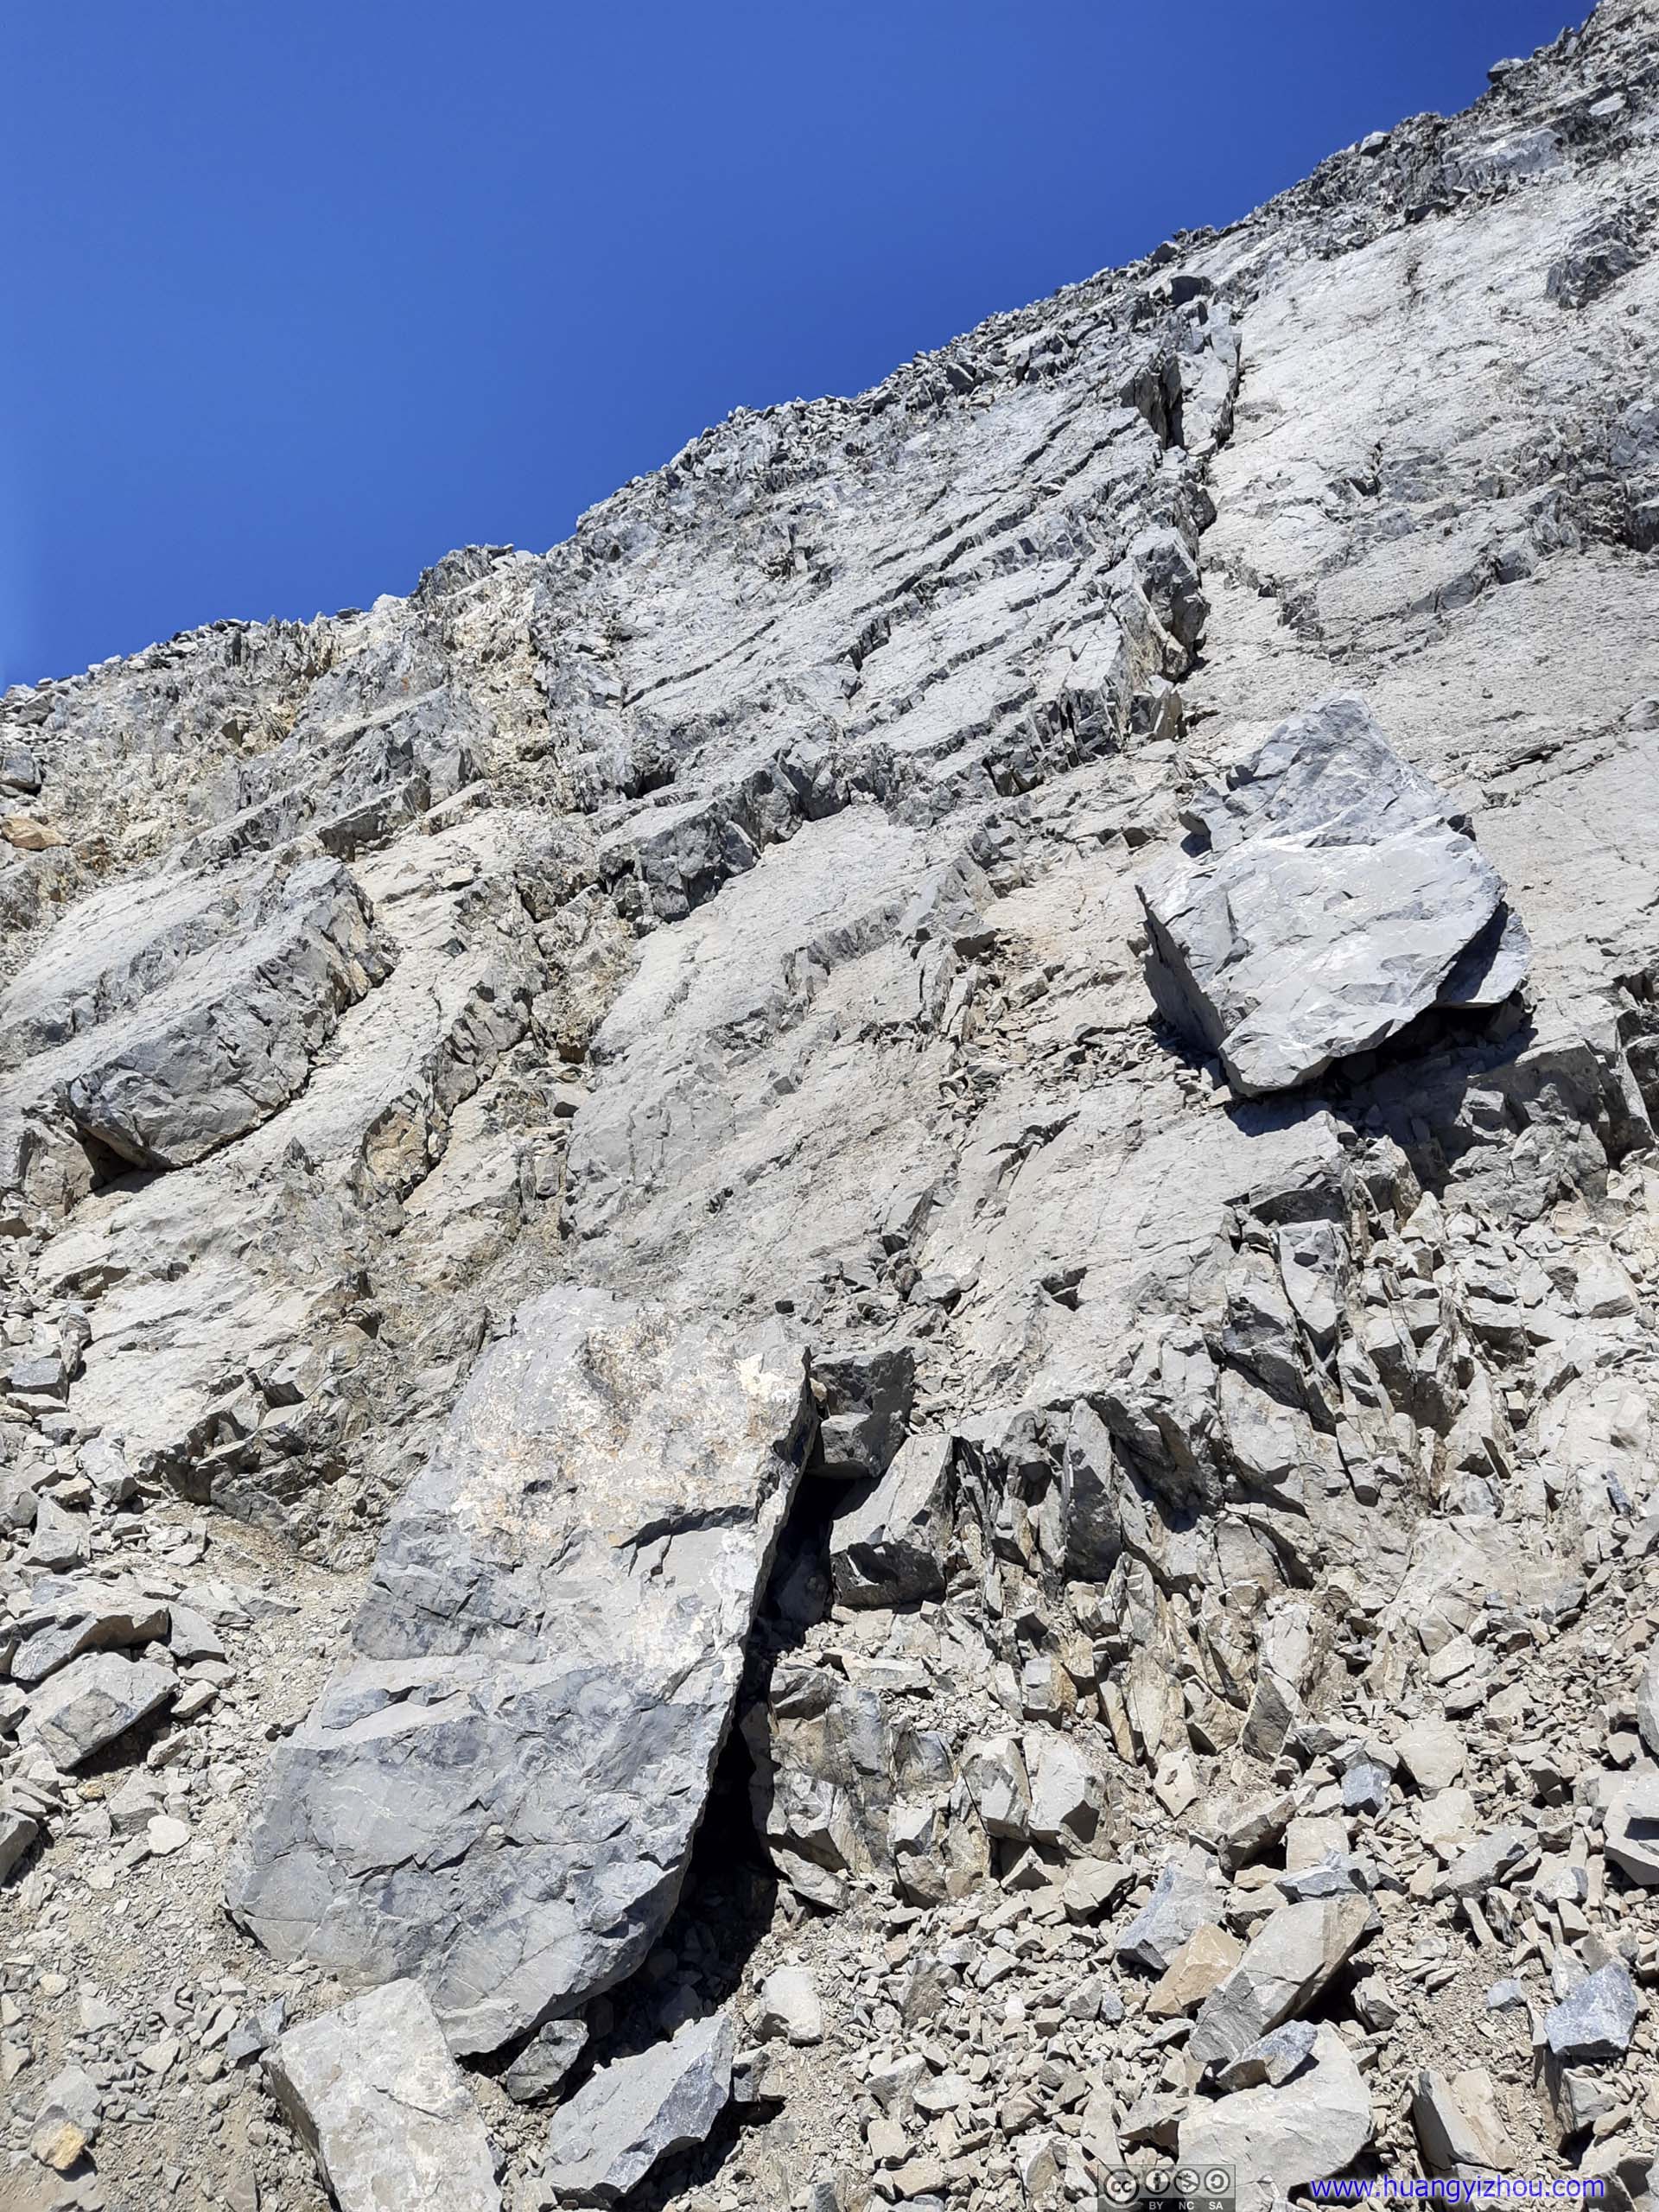
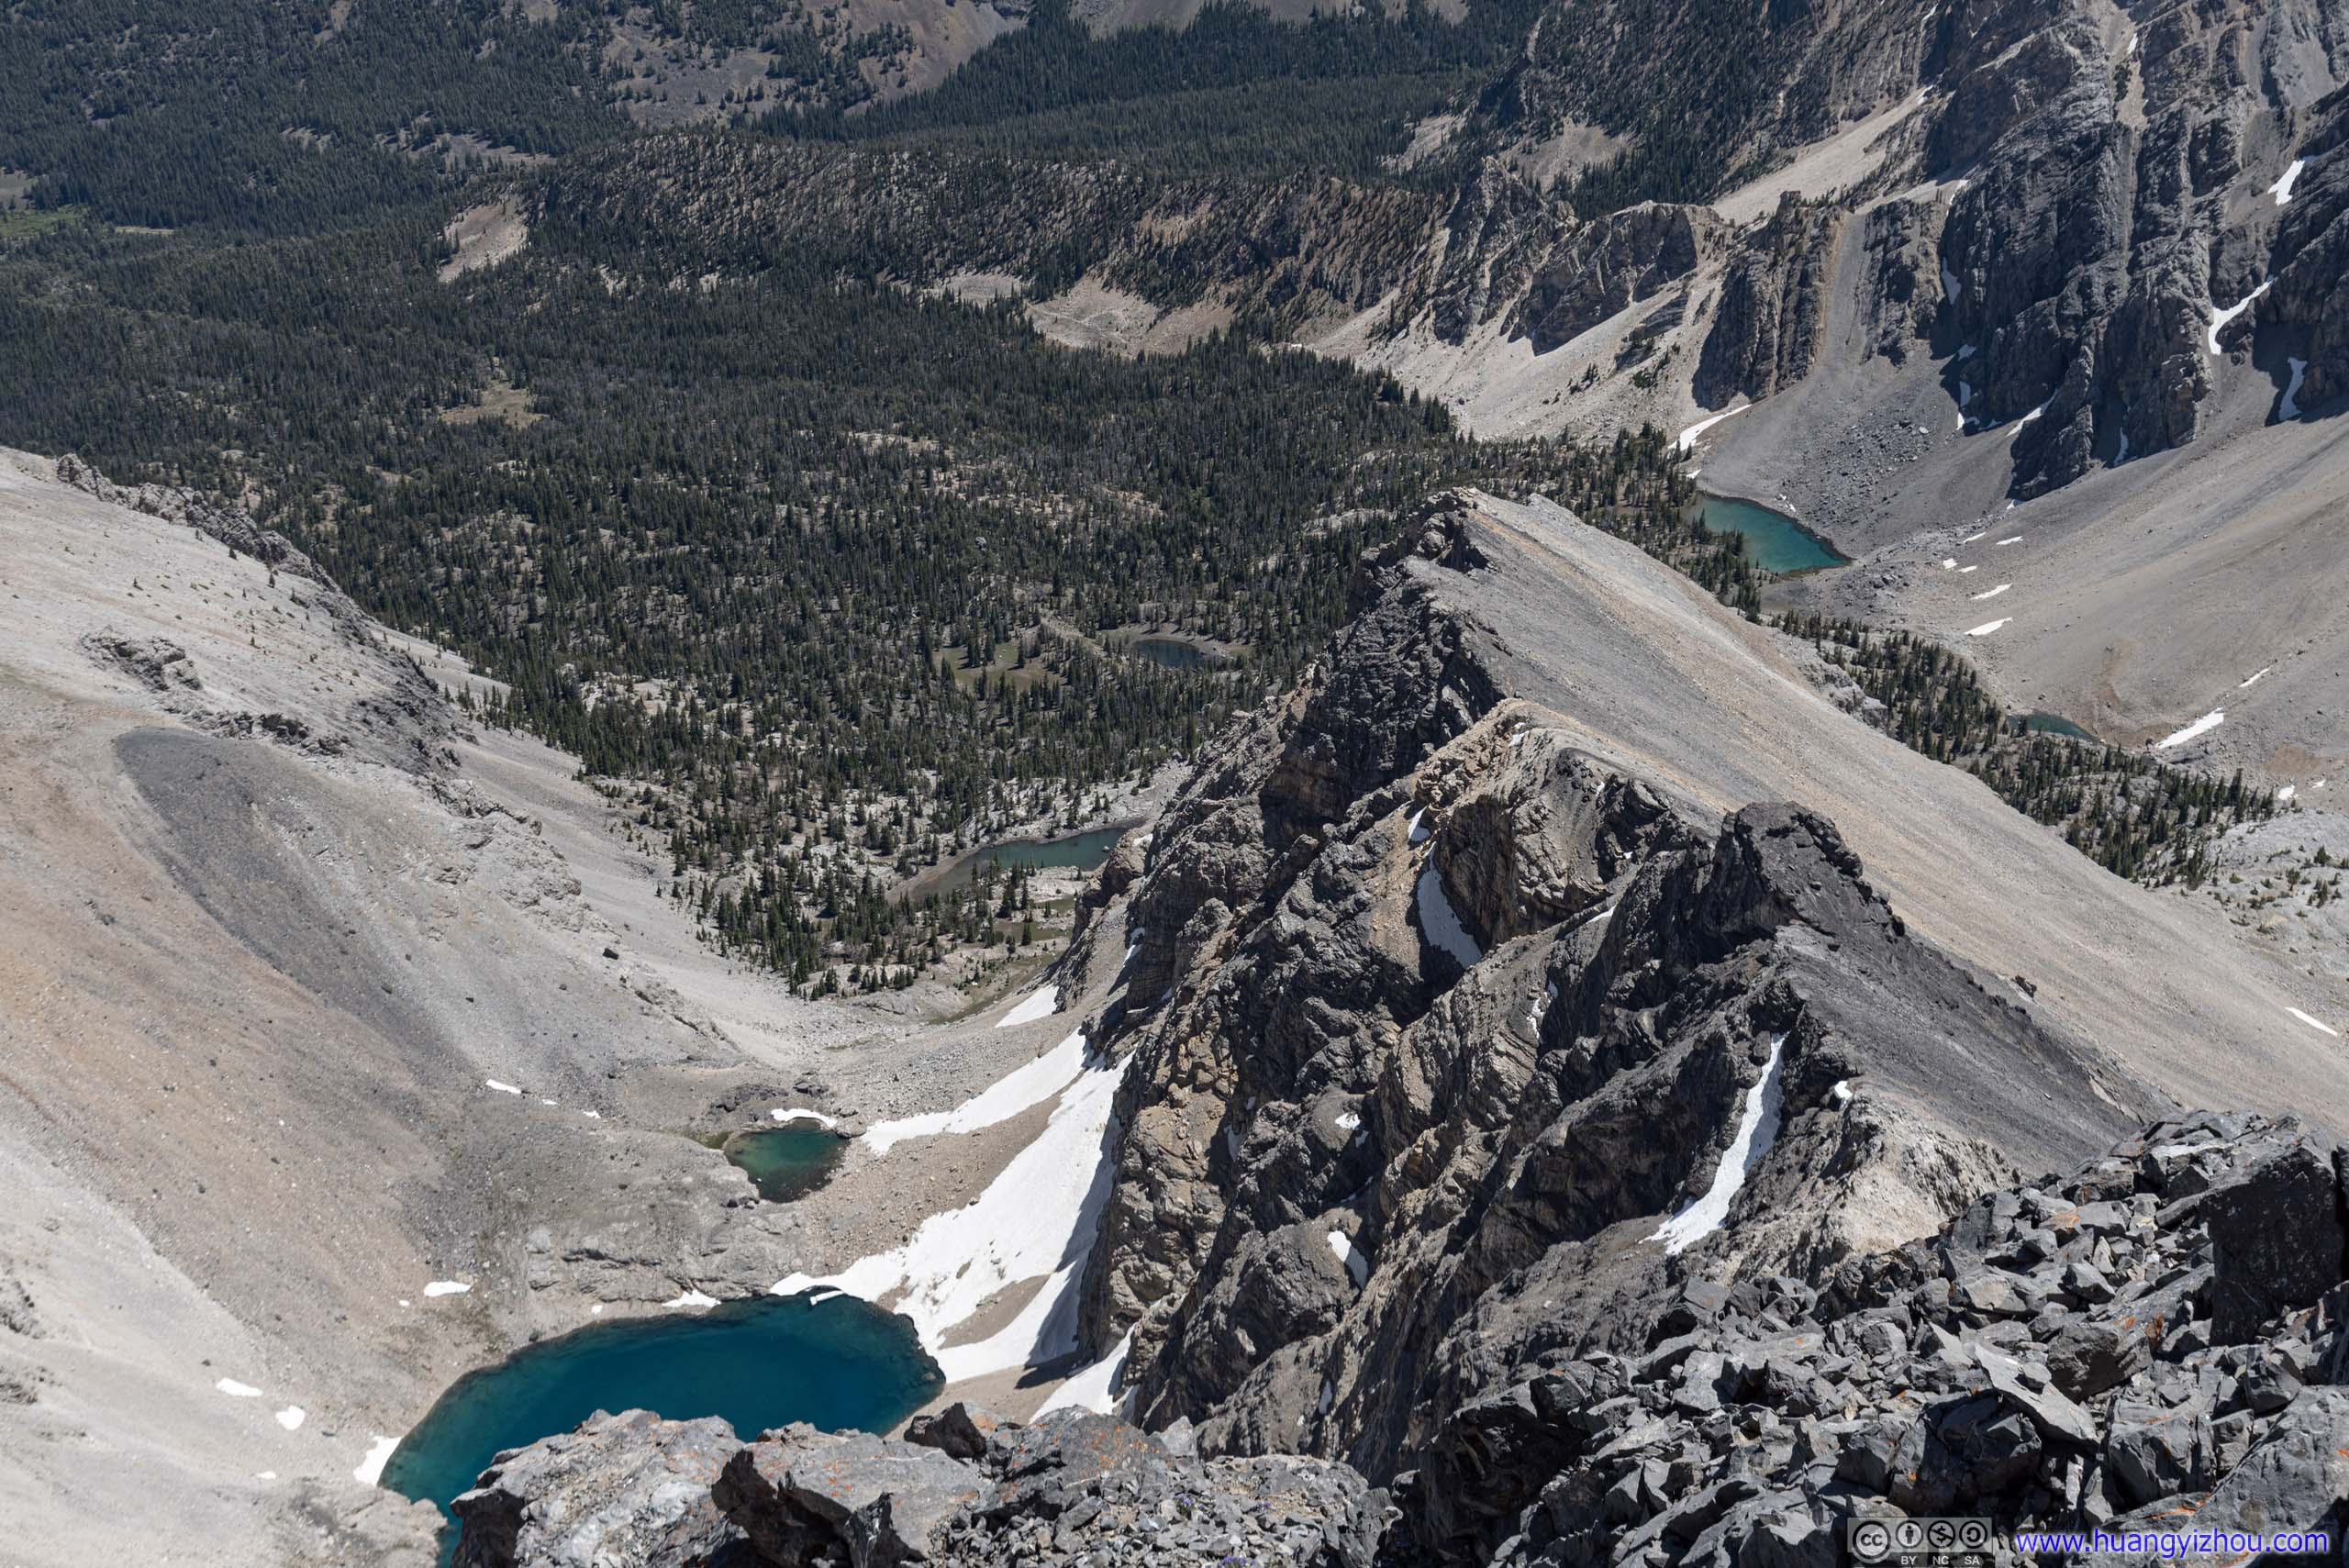
 TrailThese photos depict what the trail was like between tree line and Chicken-out-Ridge: close to the cliff of a giant fault/ridge and climbing up. The top two photos were taken along the trail, while the bottom two at the beginning of Chicken-out-Ridge. Only briefly during this section, the trail wasn’t gaining elevation rapidly, one of two such instances during the entire hike.

Trail

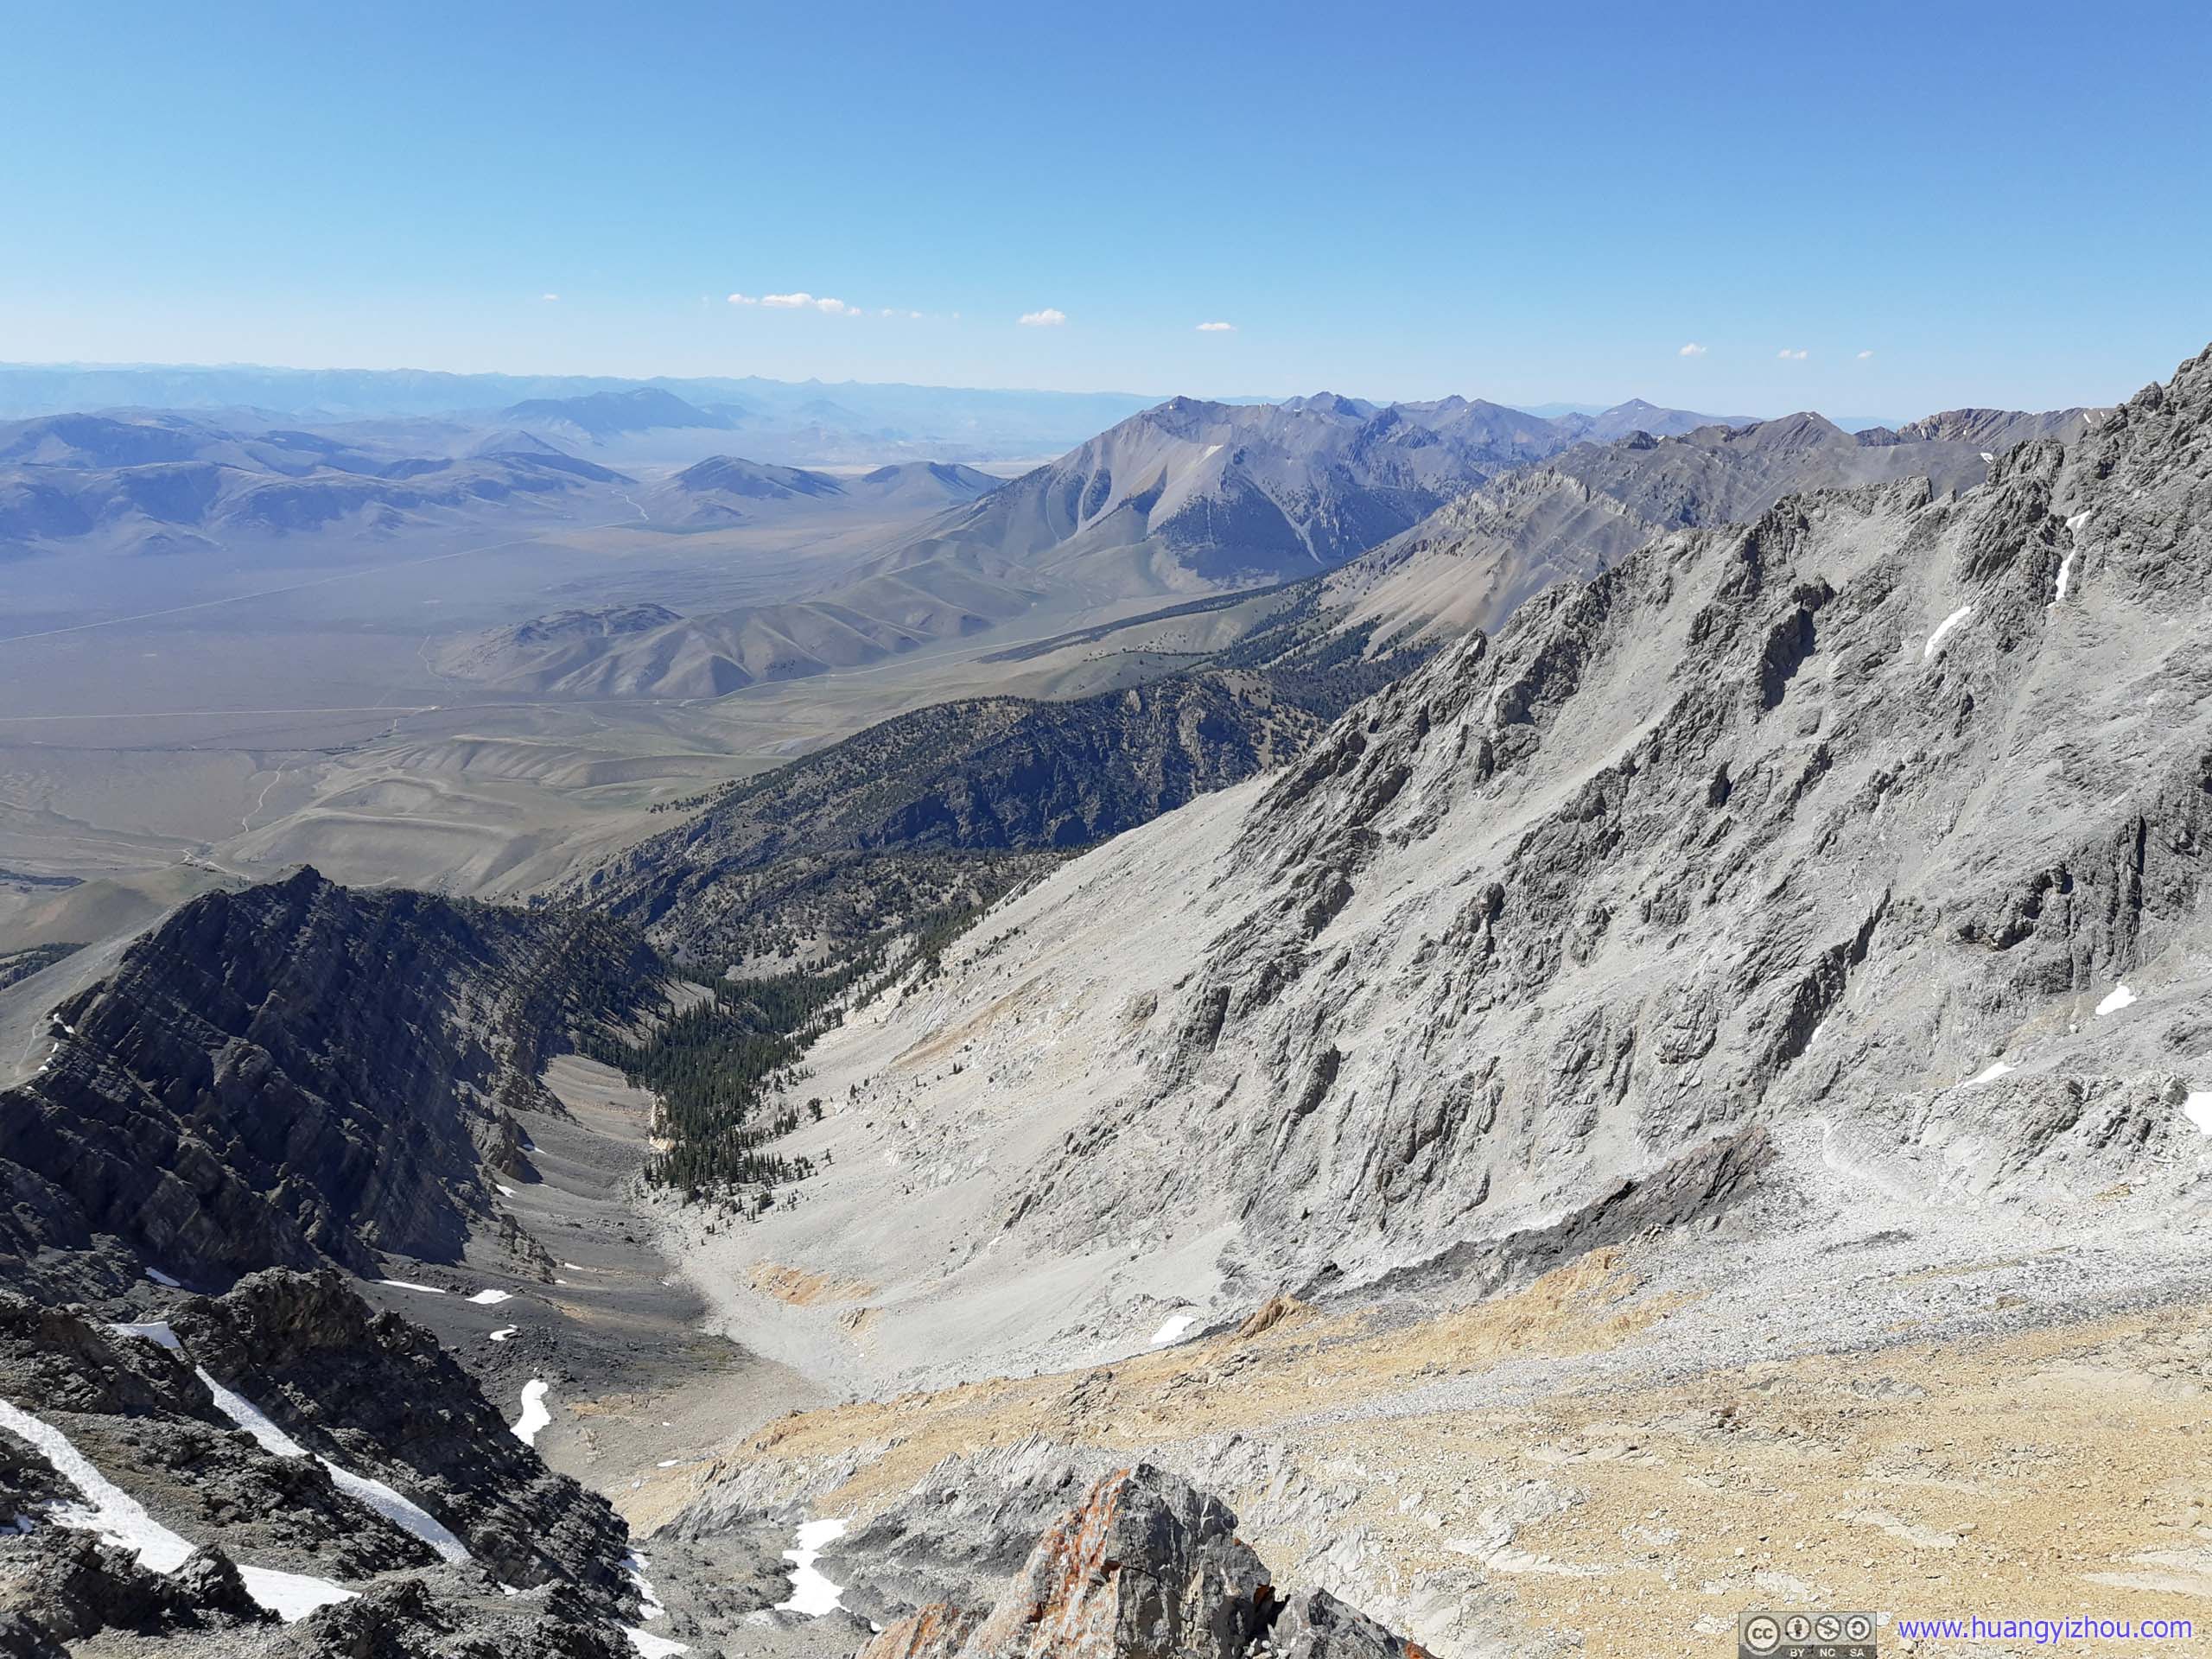
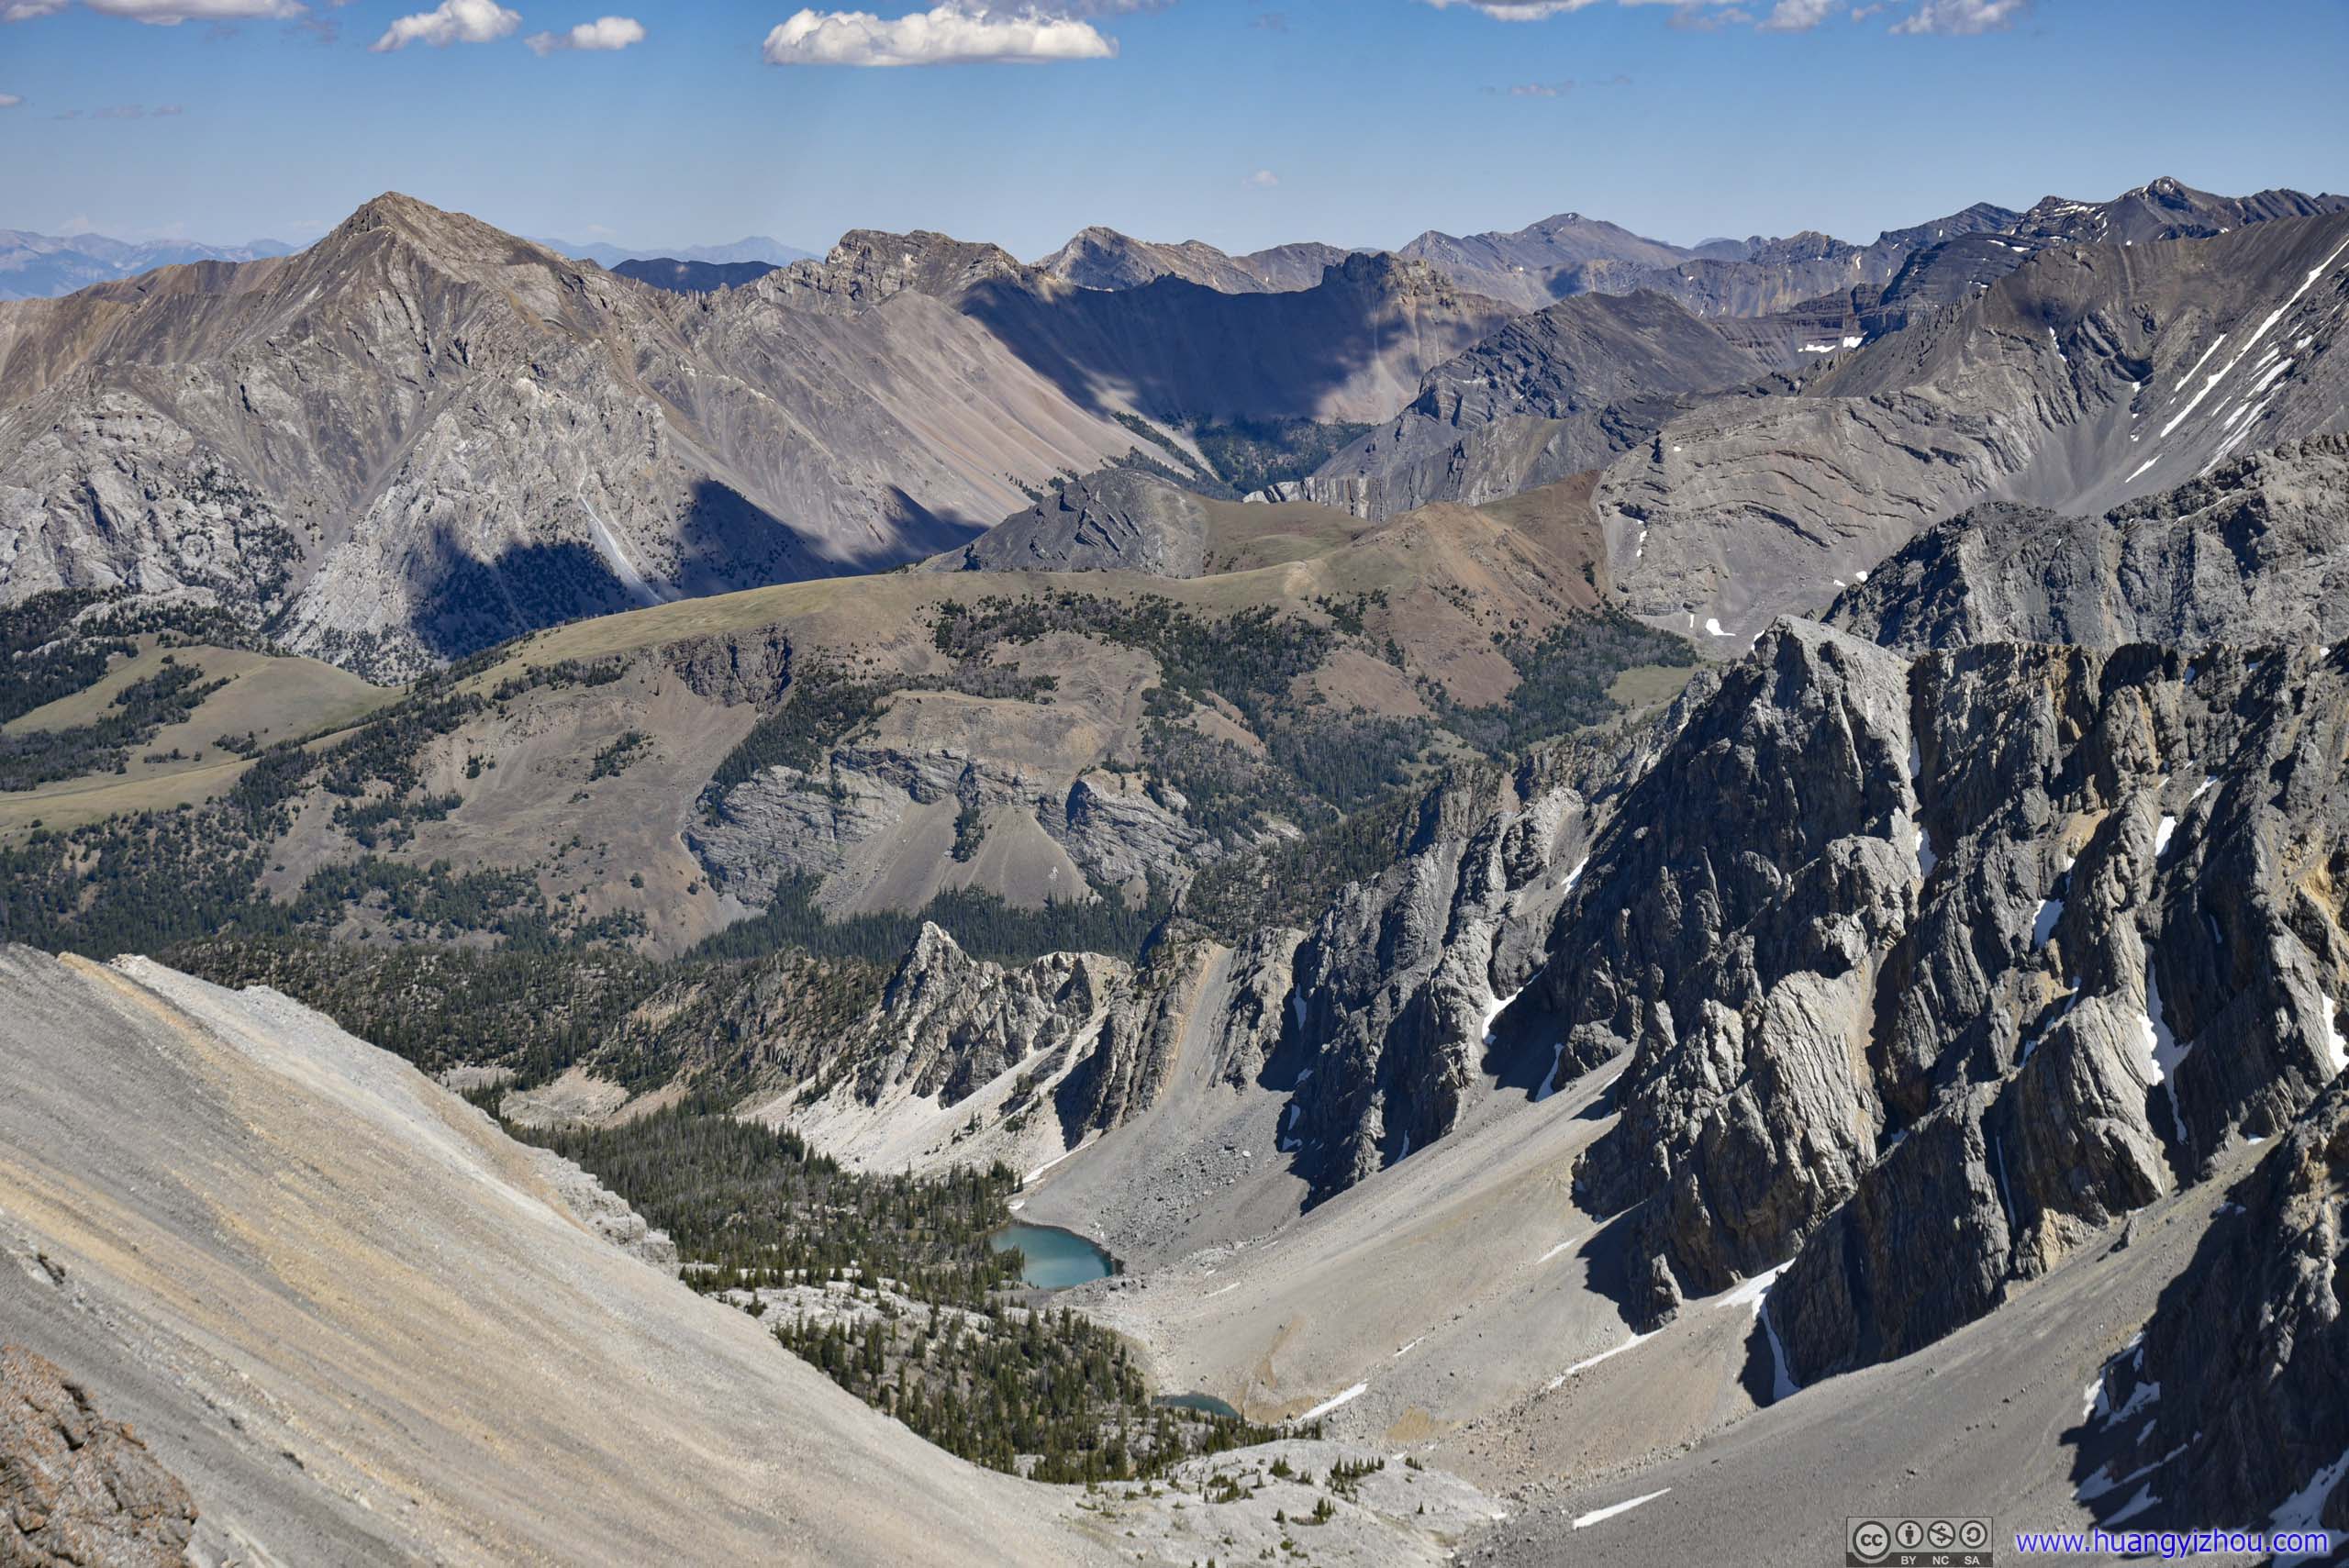
 MountainsOverlooking a valley to the South.
With a few short rests here and there, 4.6km and a little bit under 3 hours from trailhead, I was at the start of Chicken-out-Ridge. I took a longer rest here, ate some food, before starting the scrambling section.
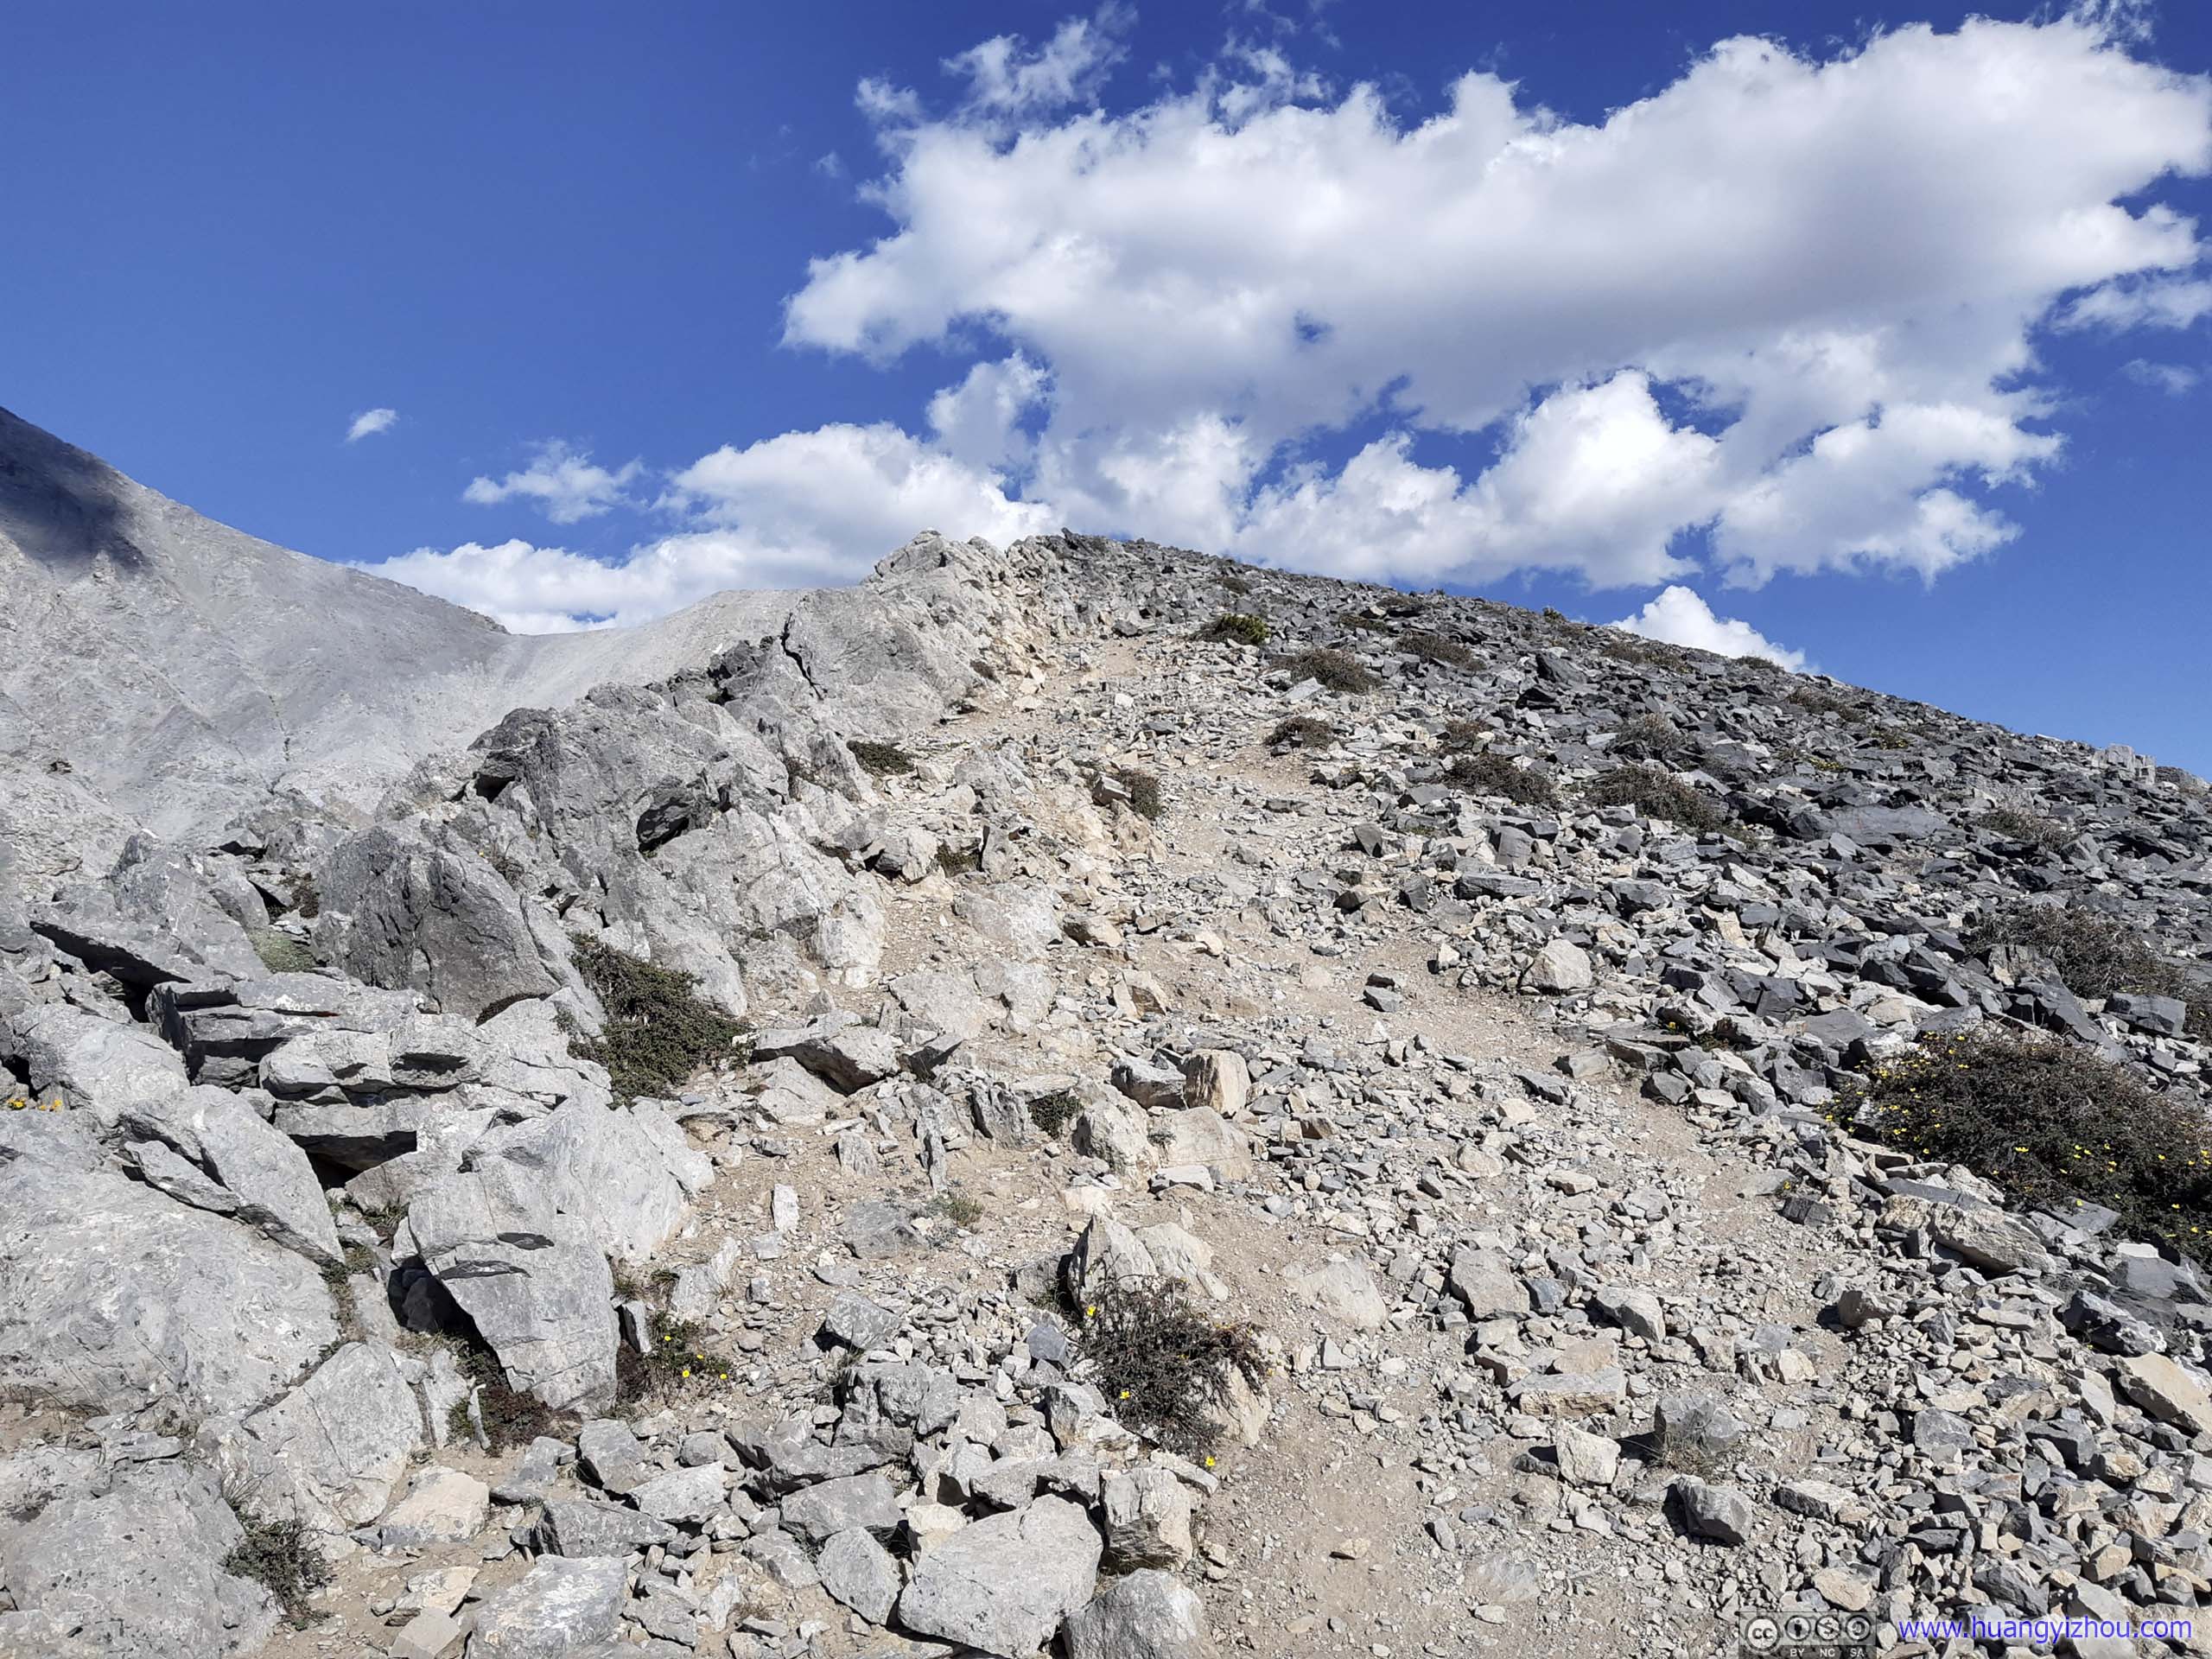
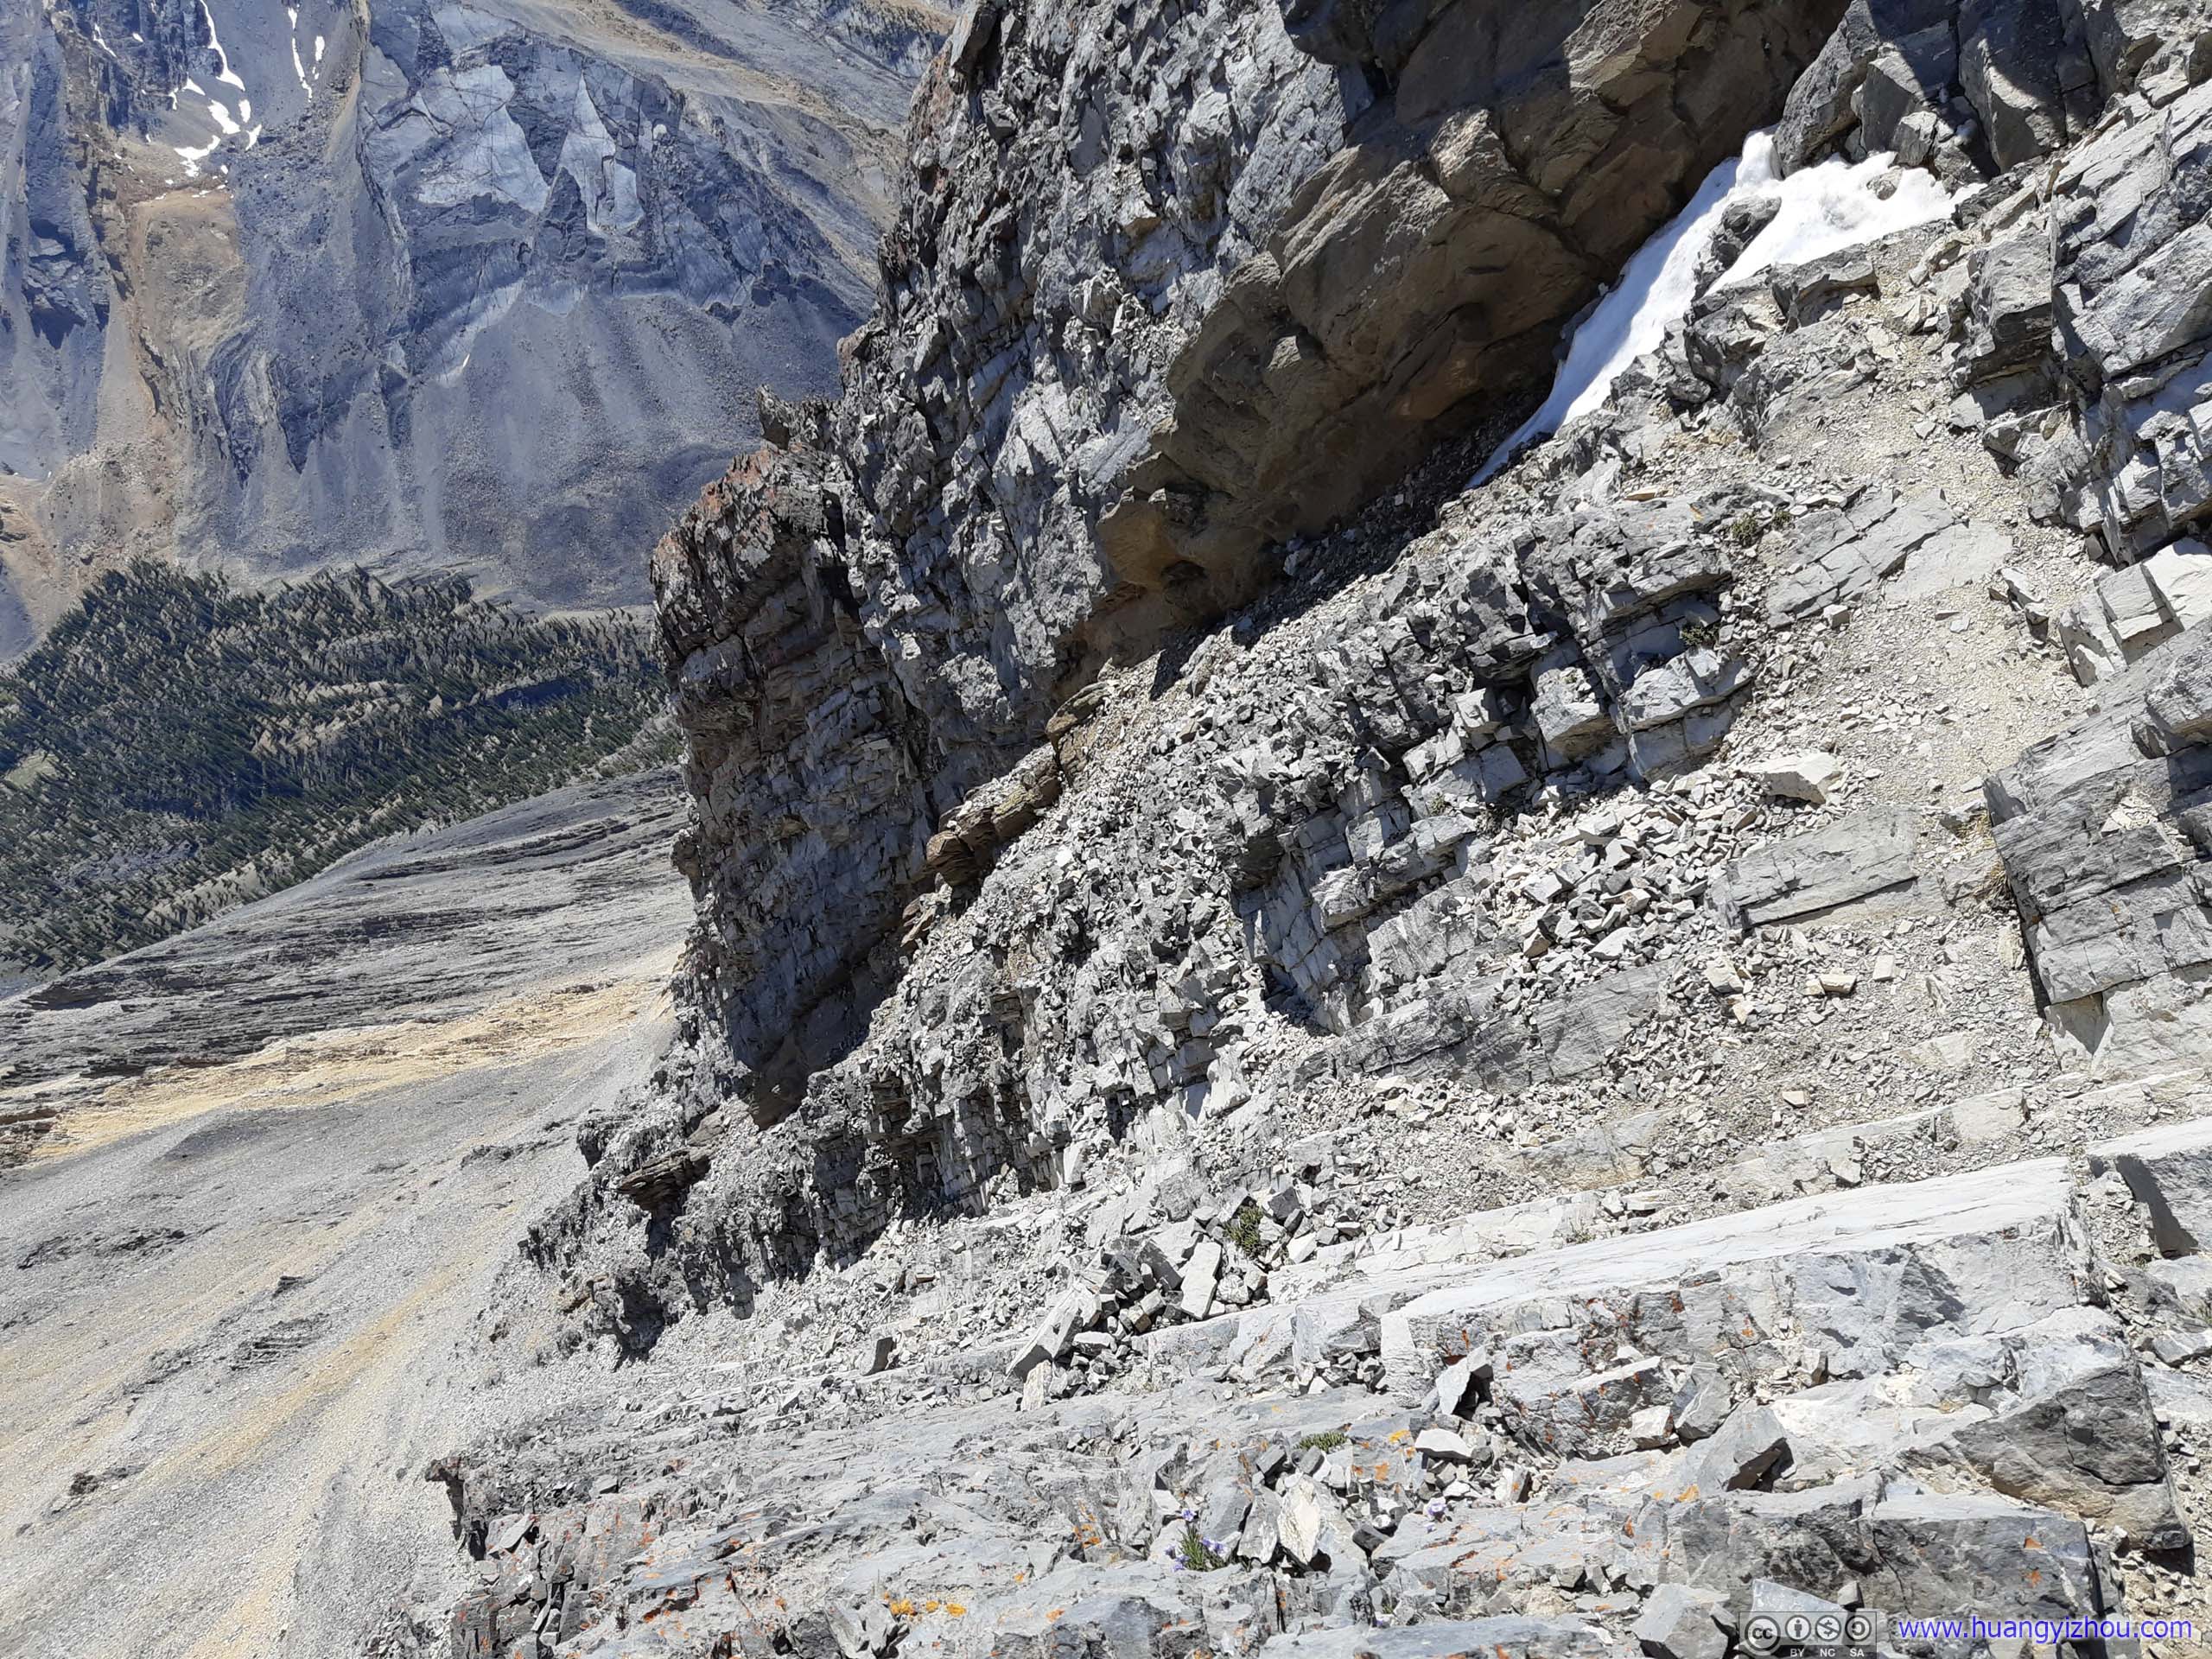
Chicken-out-Ridge was an arete just before the main summit crest, measuring under 300m in length on maps. It’s where “maintained trail” ended on map, as most of the length was a YDS class 3 scramble on rocks. It got this name as many people chose to abort at this point should there be hazards ahead.
I have to say it’s a technical 300m, and one should have some rock scrambling experience before attempting the ridge. A misstep or fall could easily mean a few broken bones here. But on the plus side, while most of the trail was on loose rocks/talus, I found the rocks along Chicken-out-Ridge were mostly big and not tending to give way, providing lots of handholds.
Here’s a video of me tackling the beginning part of Chicken-out-Ridge, shot from my drone.
1.25x playback speed, 5 minutes and 56 seconds, 2160p30fps, 10Mbps/425MB for H265, 11.5Mbps/492MB for H264.
 Chicken-out-Ridge
While it’s true that one can find many scary videos of Chicken-out-Ridge online, the ridge was definitely safer in reality. For me, it provided the right amount of excitement, that while it’s an adrenaline racing experience, it’s not excessively dangerous. It’s one level above roller coasters in theme parks, one had to hold tight to the footholds and handholds in order to be safe from falls, but one will.
Probably, the most technical bit of Chicken-out-Ridge was towards its end, here are the paths I took:
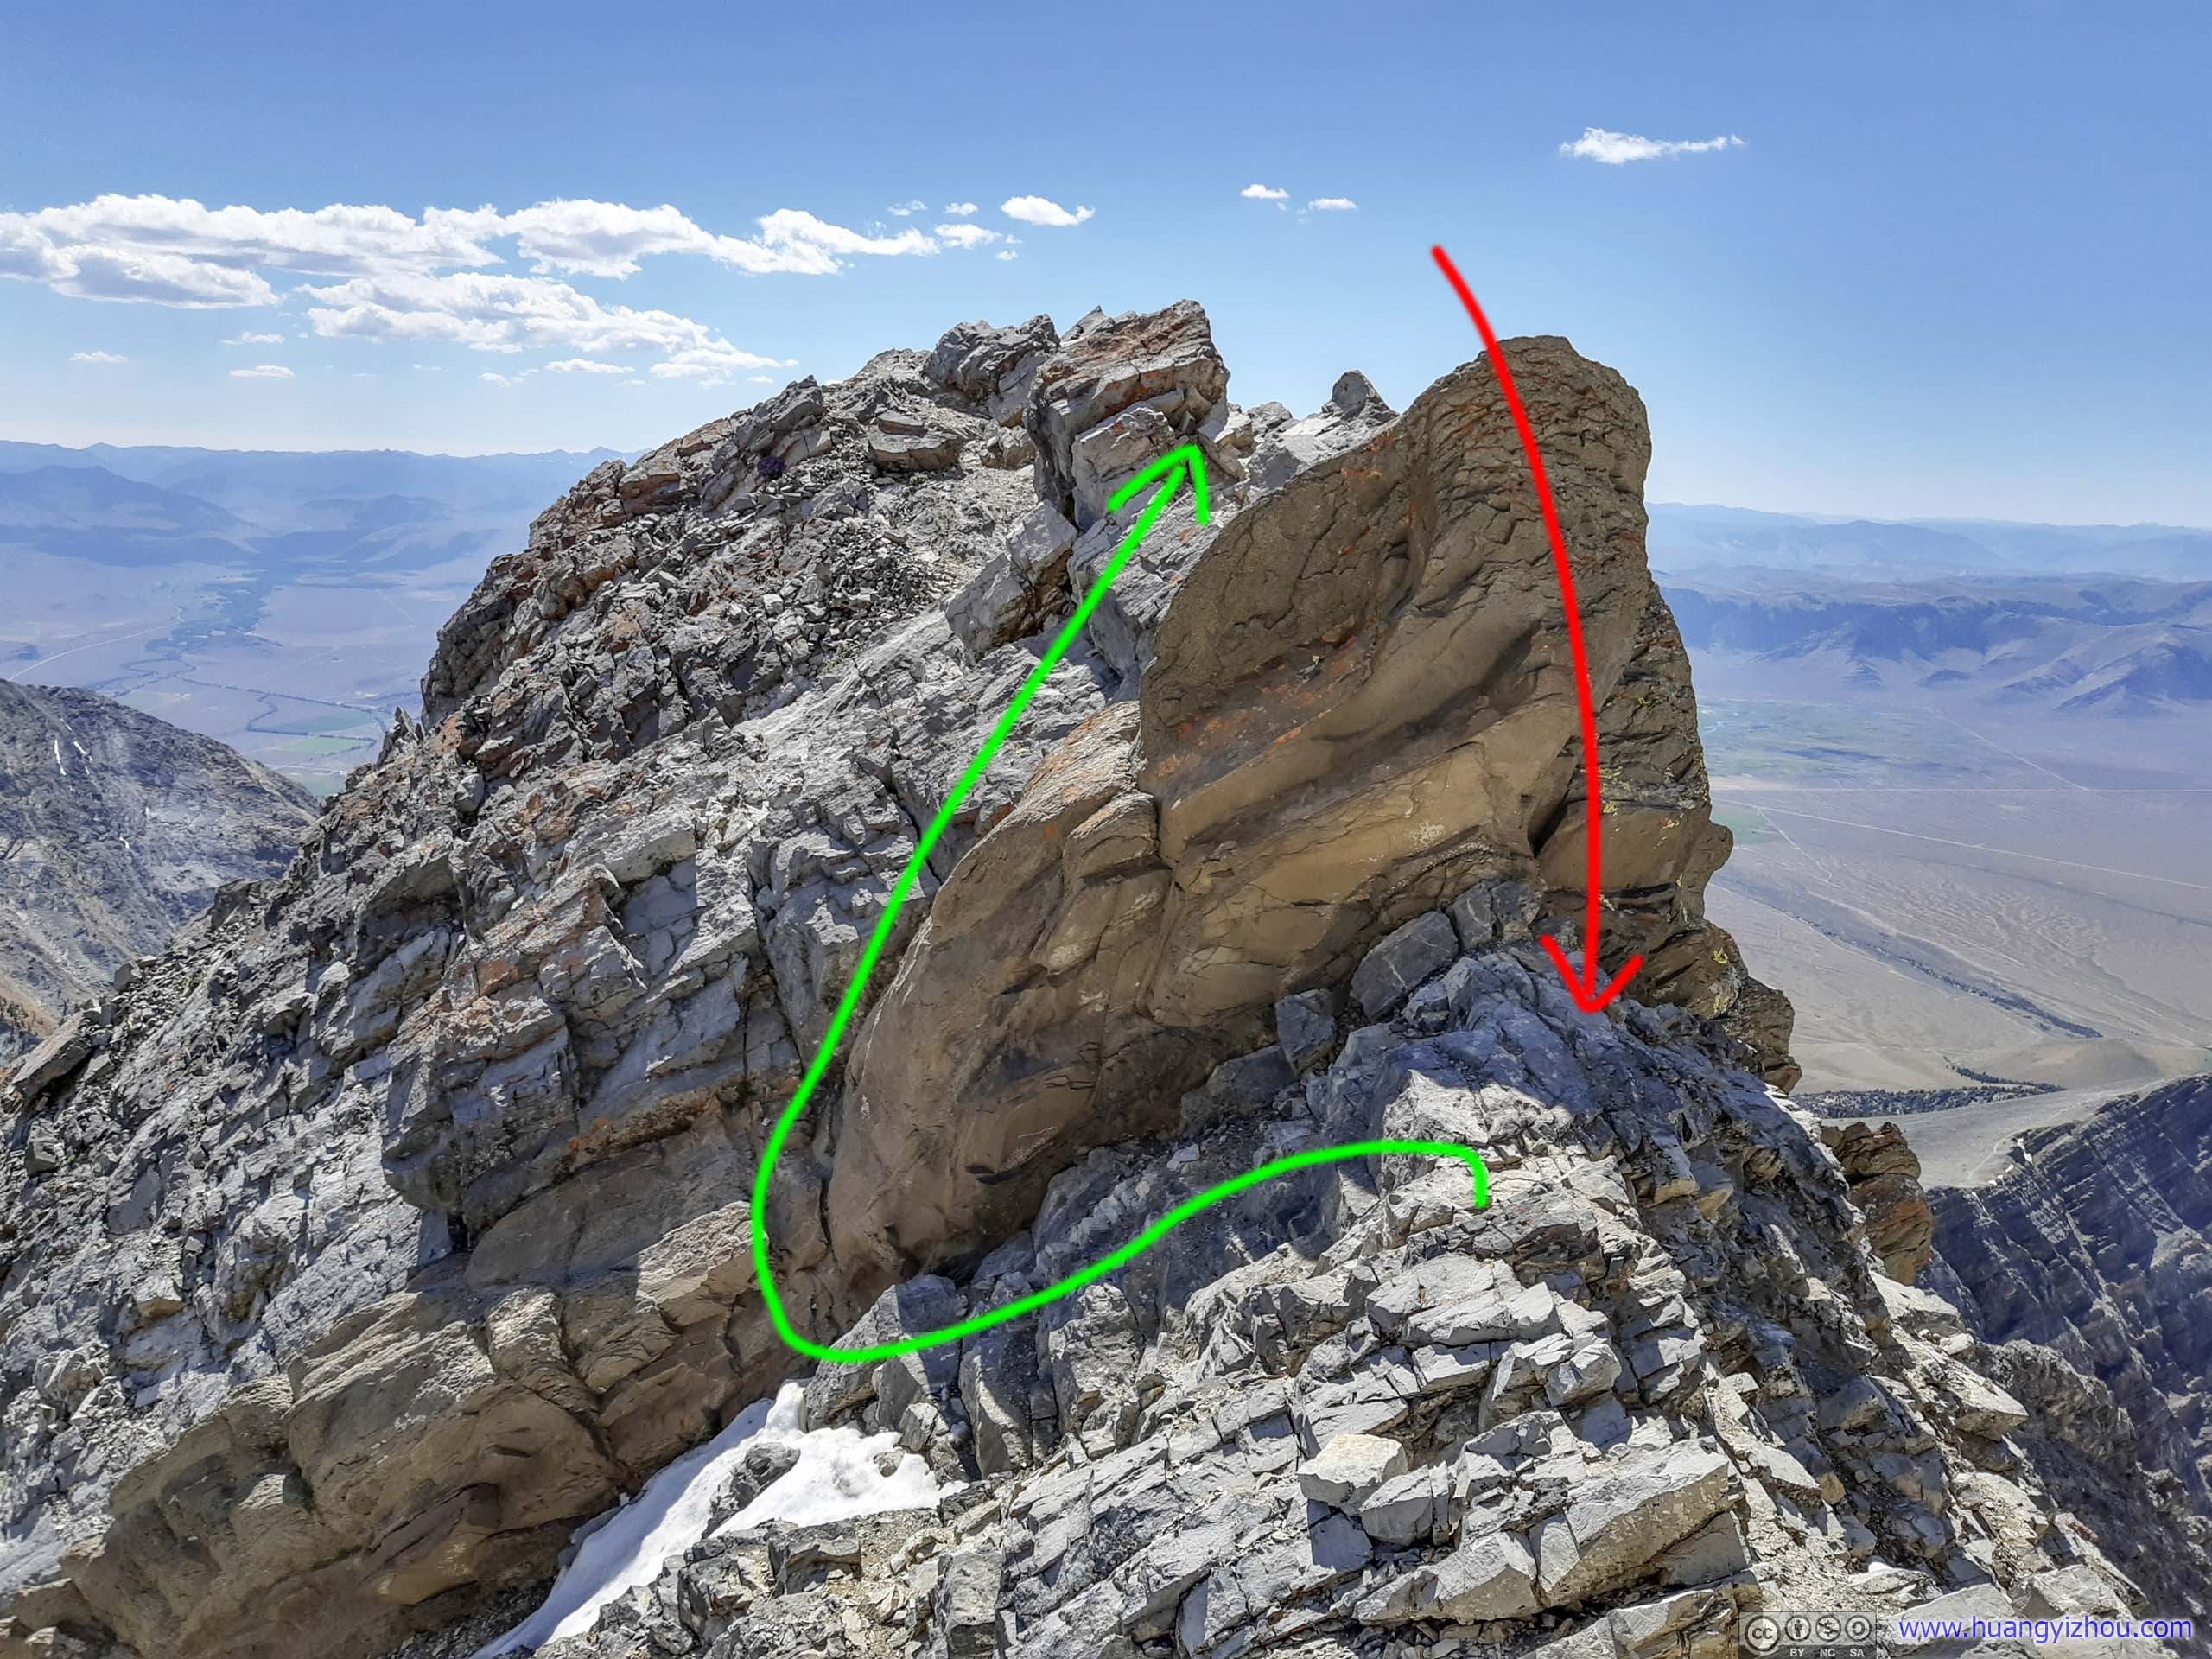
Path around RocksA steep drop close to the end of Chicken-out-Ridge. During my ascent, I took the more direct route (red arrow), with the help of some returning hikers though. During my descent and on my own, I took the safer detour around the rocks (green arrow).
That’s where I met the first group of returning hikers. I was still more than an hour from summit, this just showed how early people usually started climbing Mount Borah.

Chicken-out-Ridge from Snow BridgeTowards the end of the Chicken-out-Ridge there was a steep drop. A rope was in place (orange) for those not feeling most confident. Before the end, there was also a steep drop (red and green arrows corresponding to previous photo).
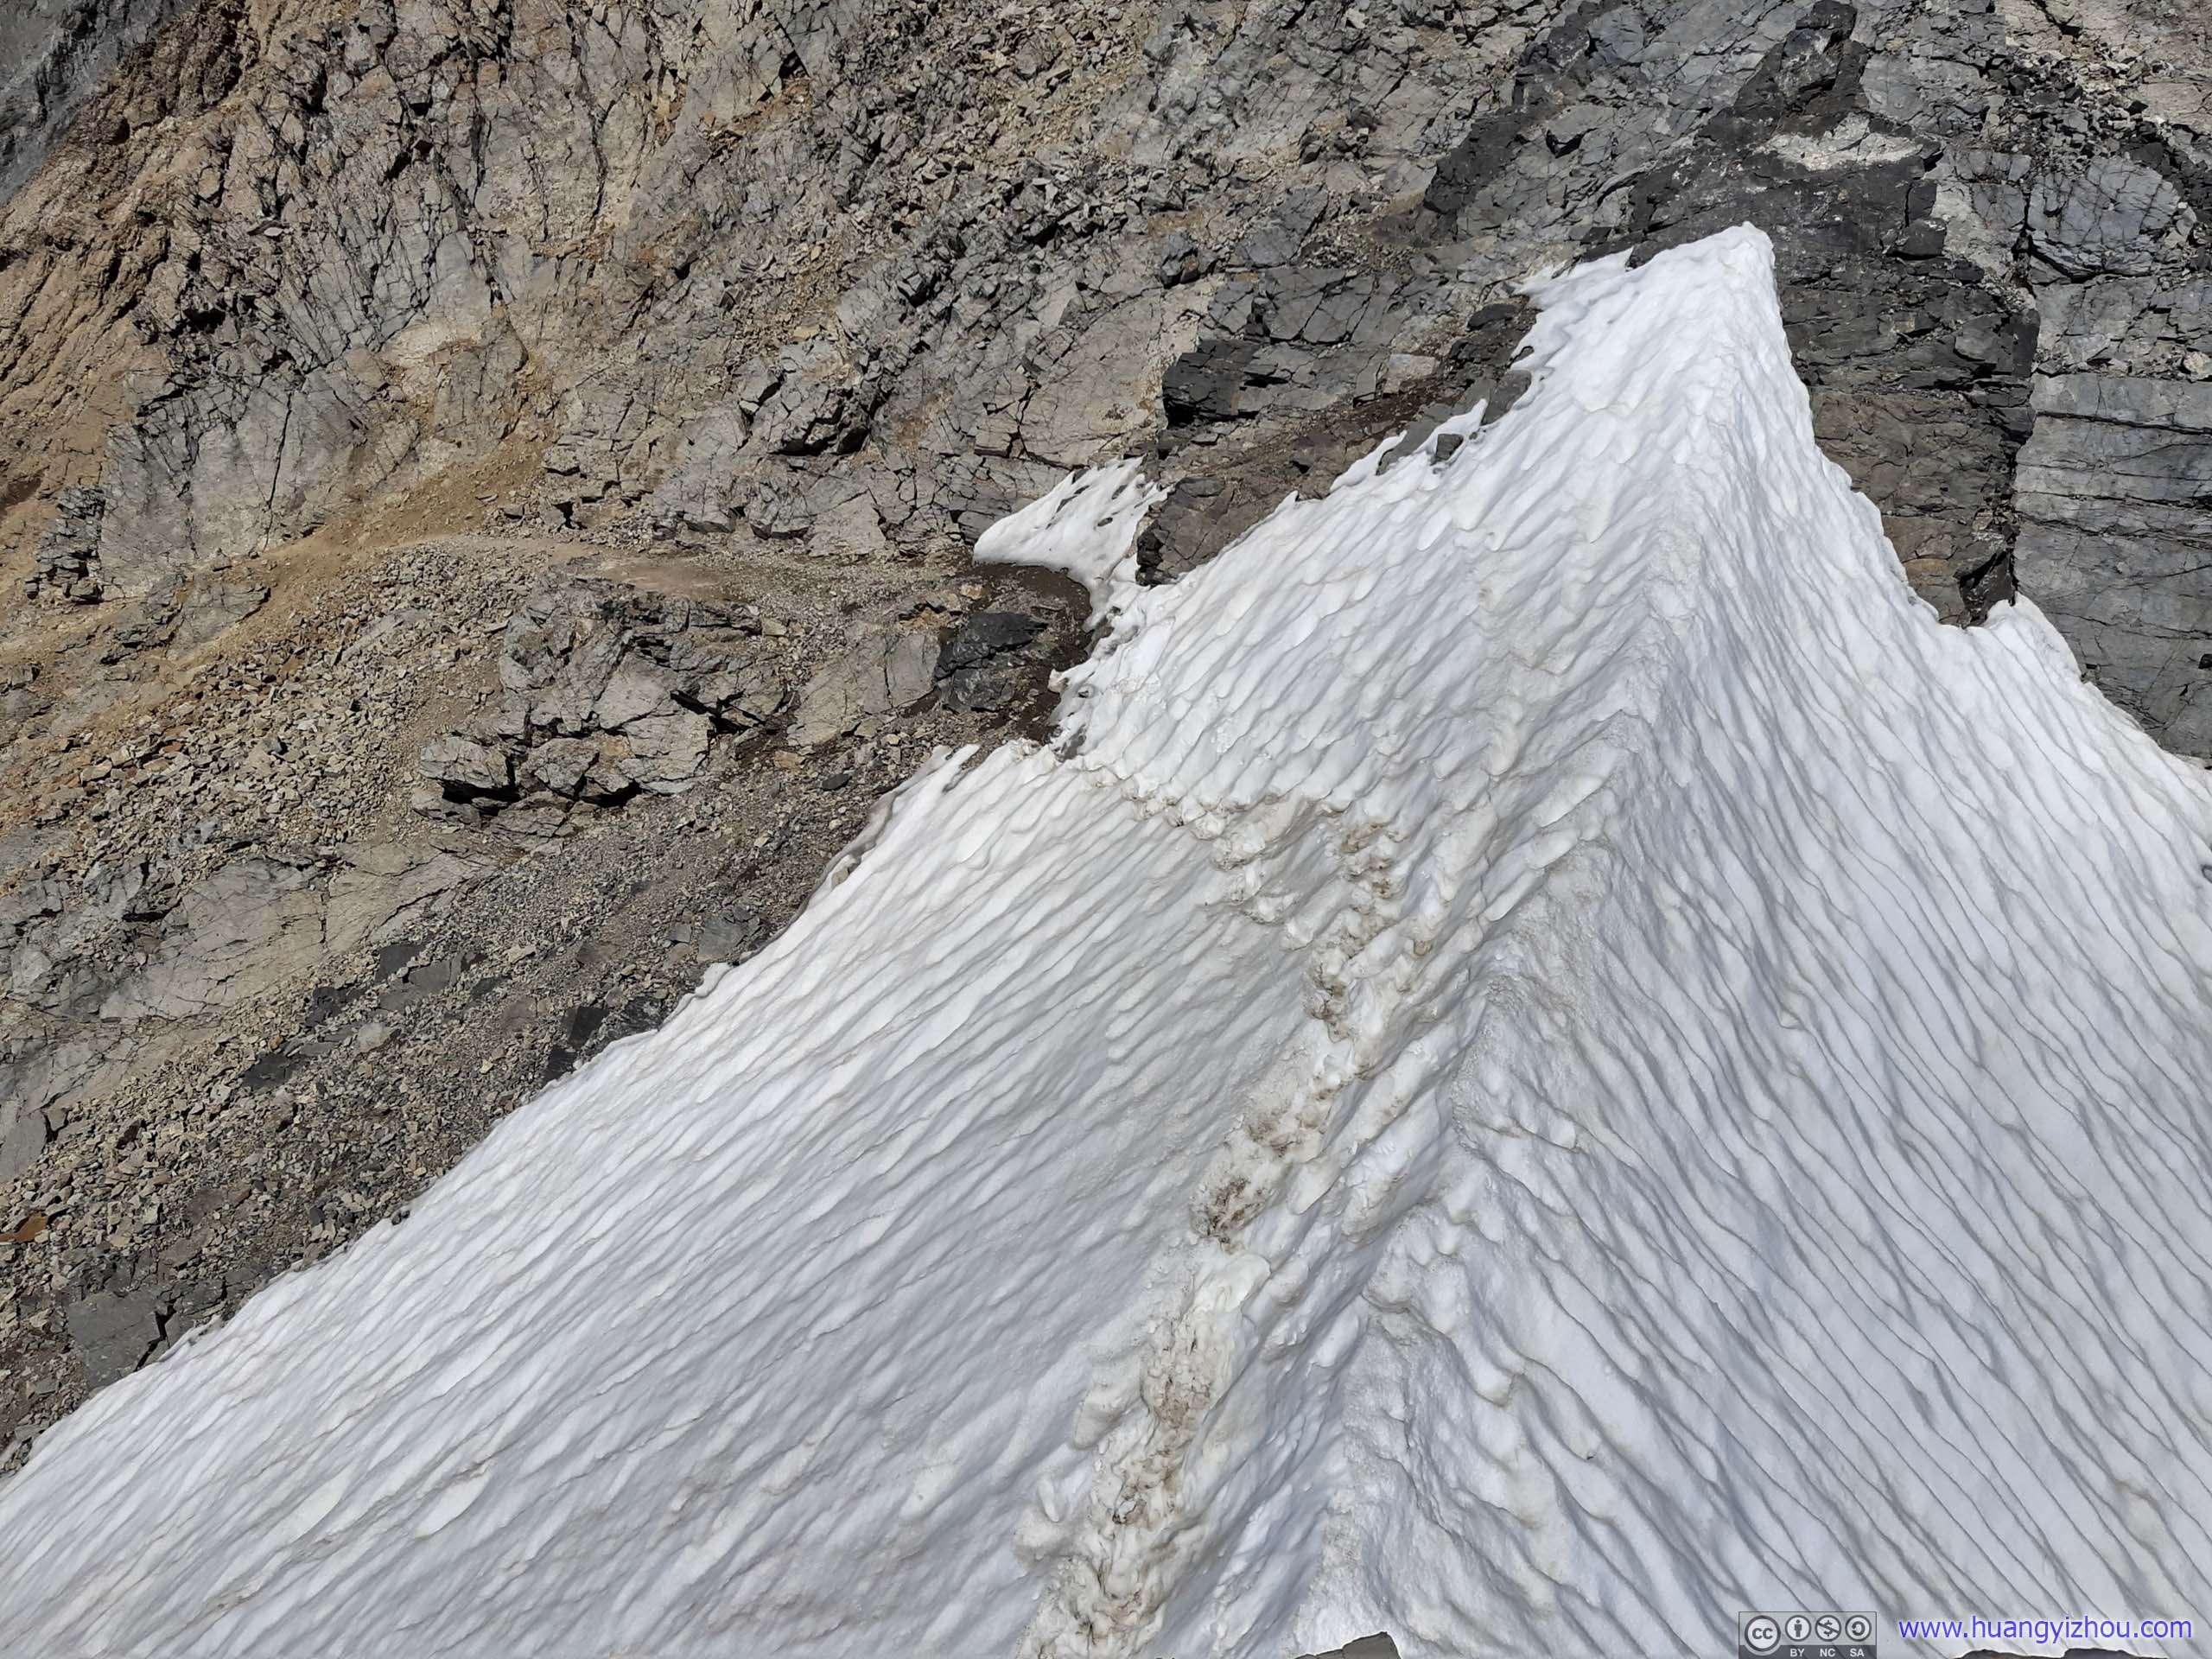
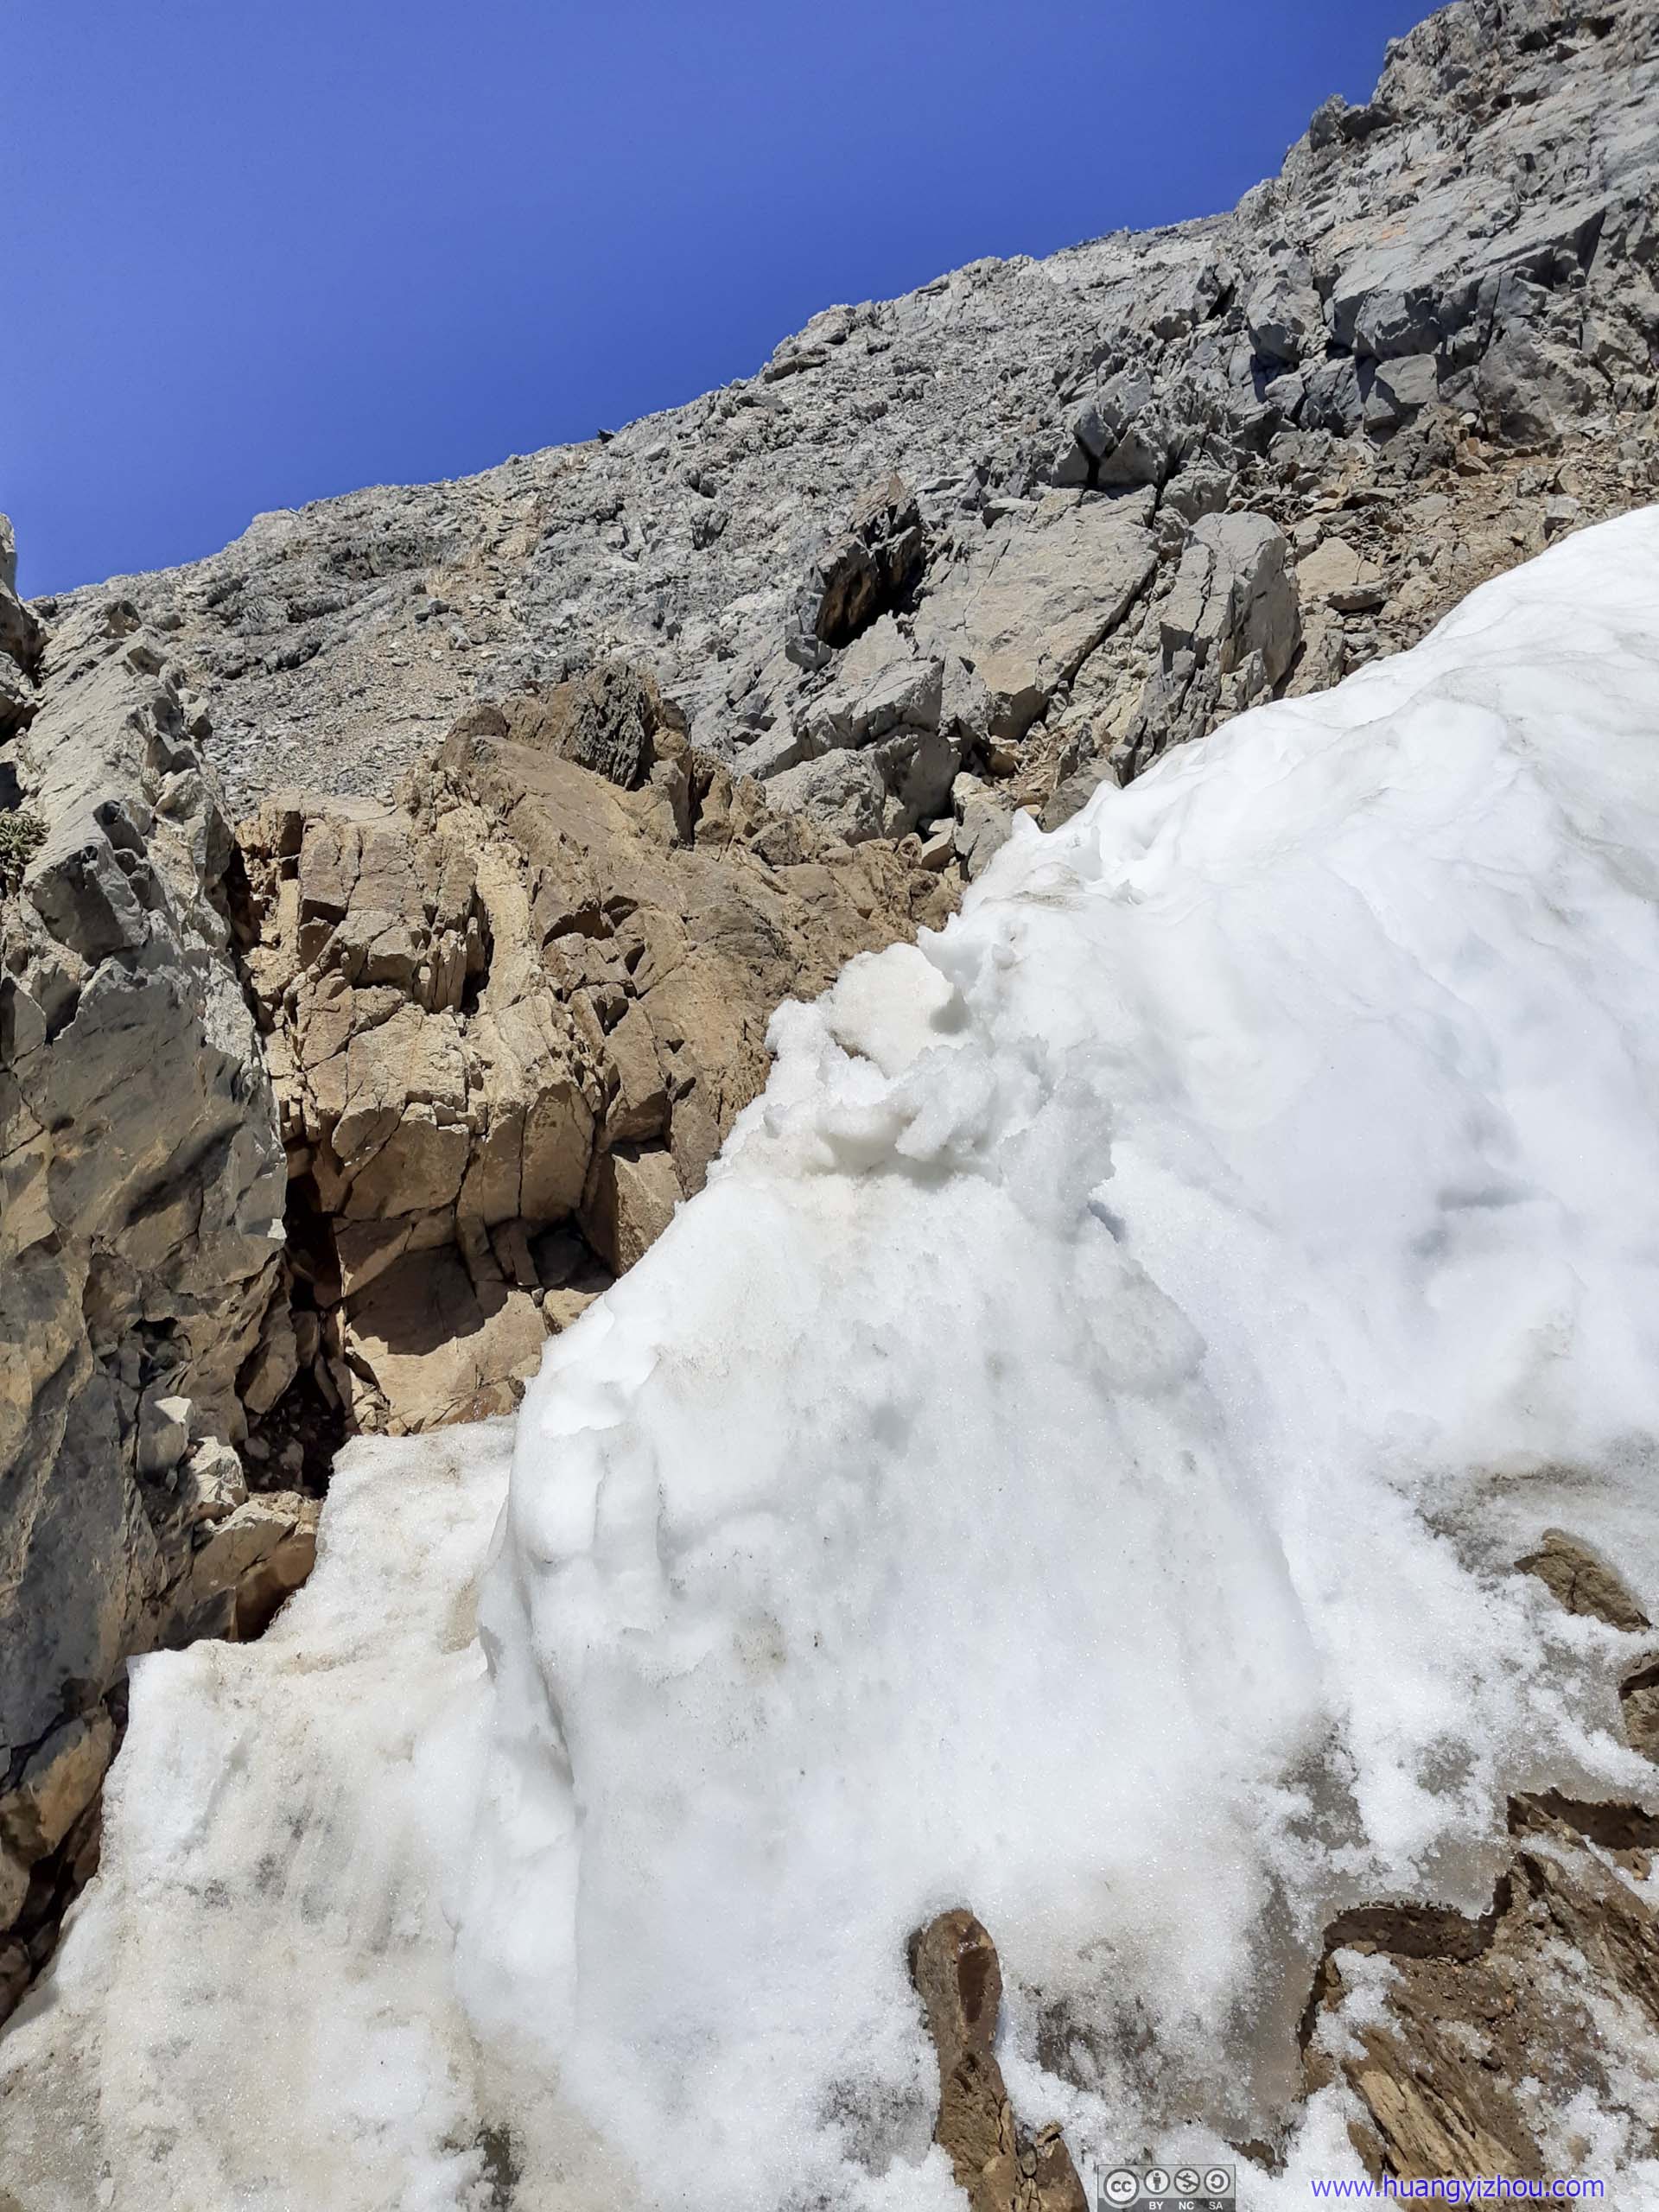
Right after Chicken-out-Ridge, there was the “snow bridge”, which was a ridge covered in snow that one had to cross. It’s not as technical as Chicken-out-Ridge, but a fall on either side of the “snow bridge” could easily be deadly. Lucky for me, there were already deep footsteps in the snow bridge, and it actually felt quite safe walking across it.
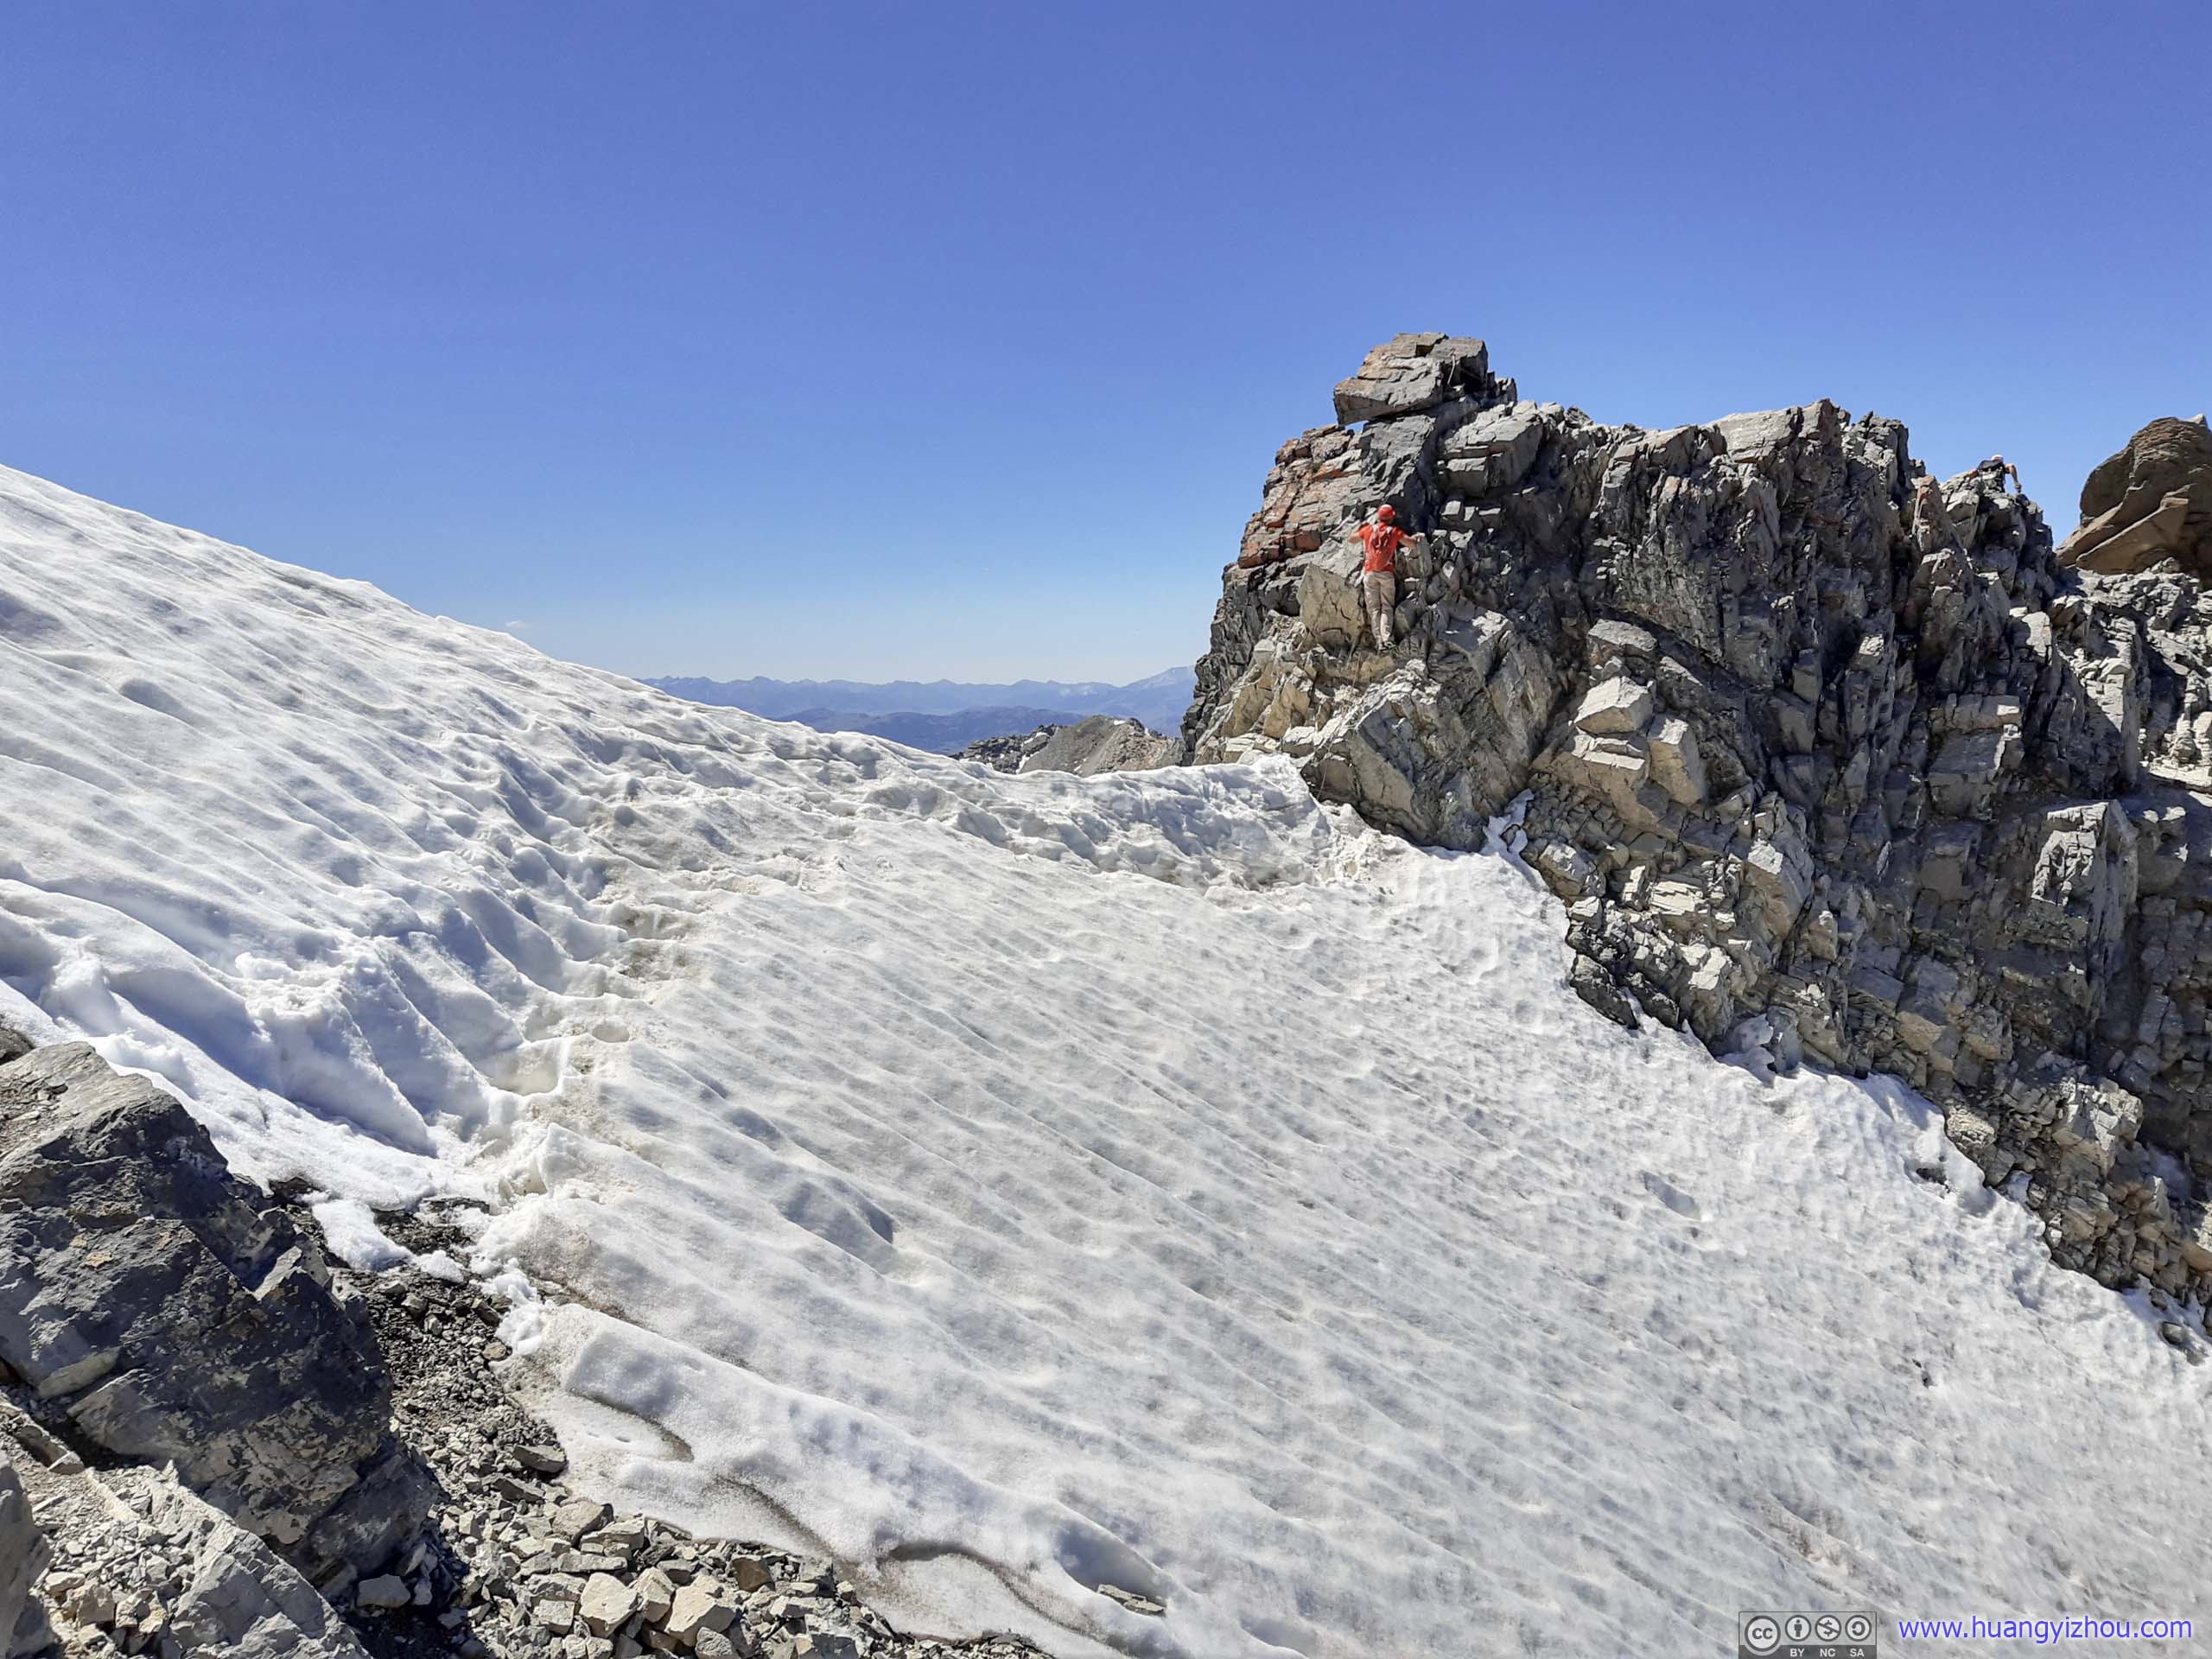
 Snow BridgeShot during my ascent, looking back (top) / during my descent, looking forward (bottom)
After snow bridge, one could get some rest as the trail ceased to gain elevation while it circled around a small hill nearby.
 MountainsOverlooking a valley to the North.

Valley and Mountains
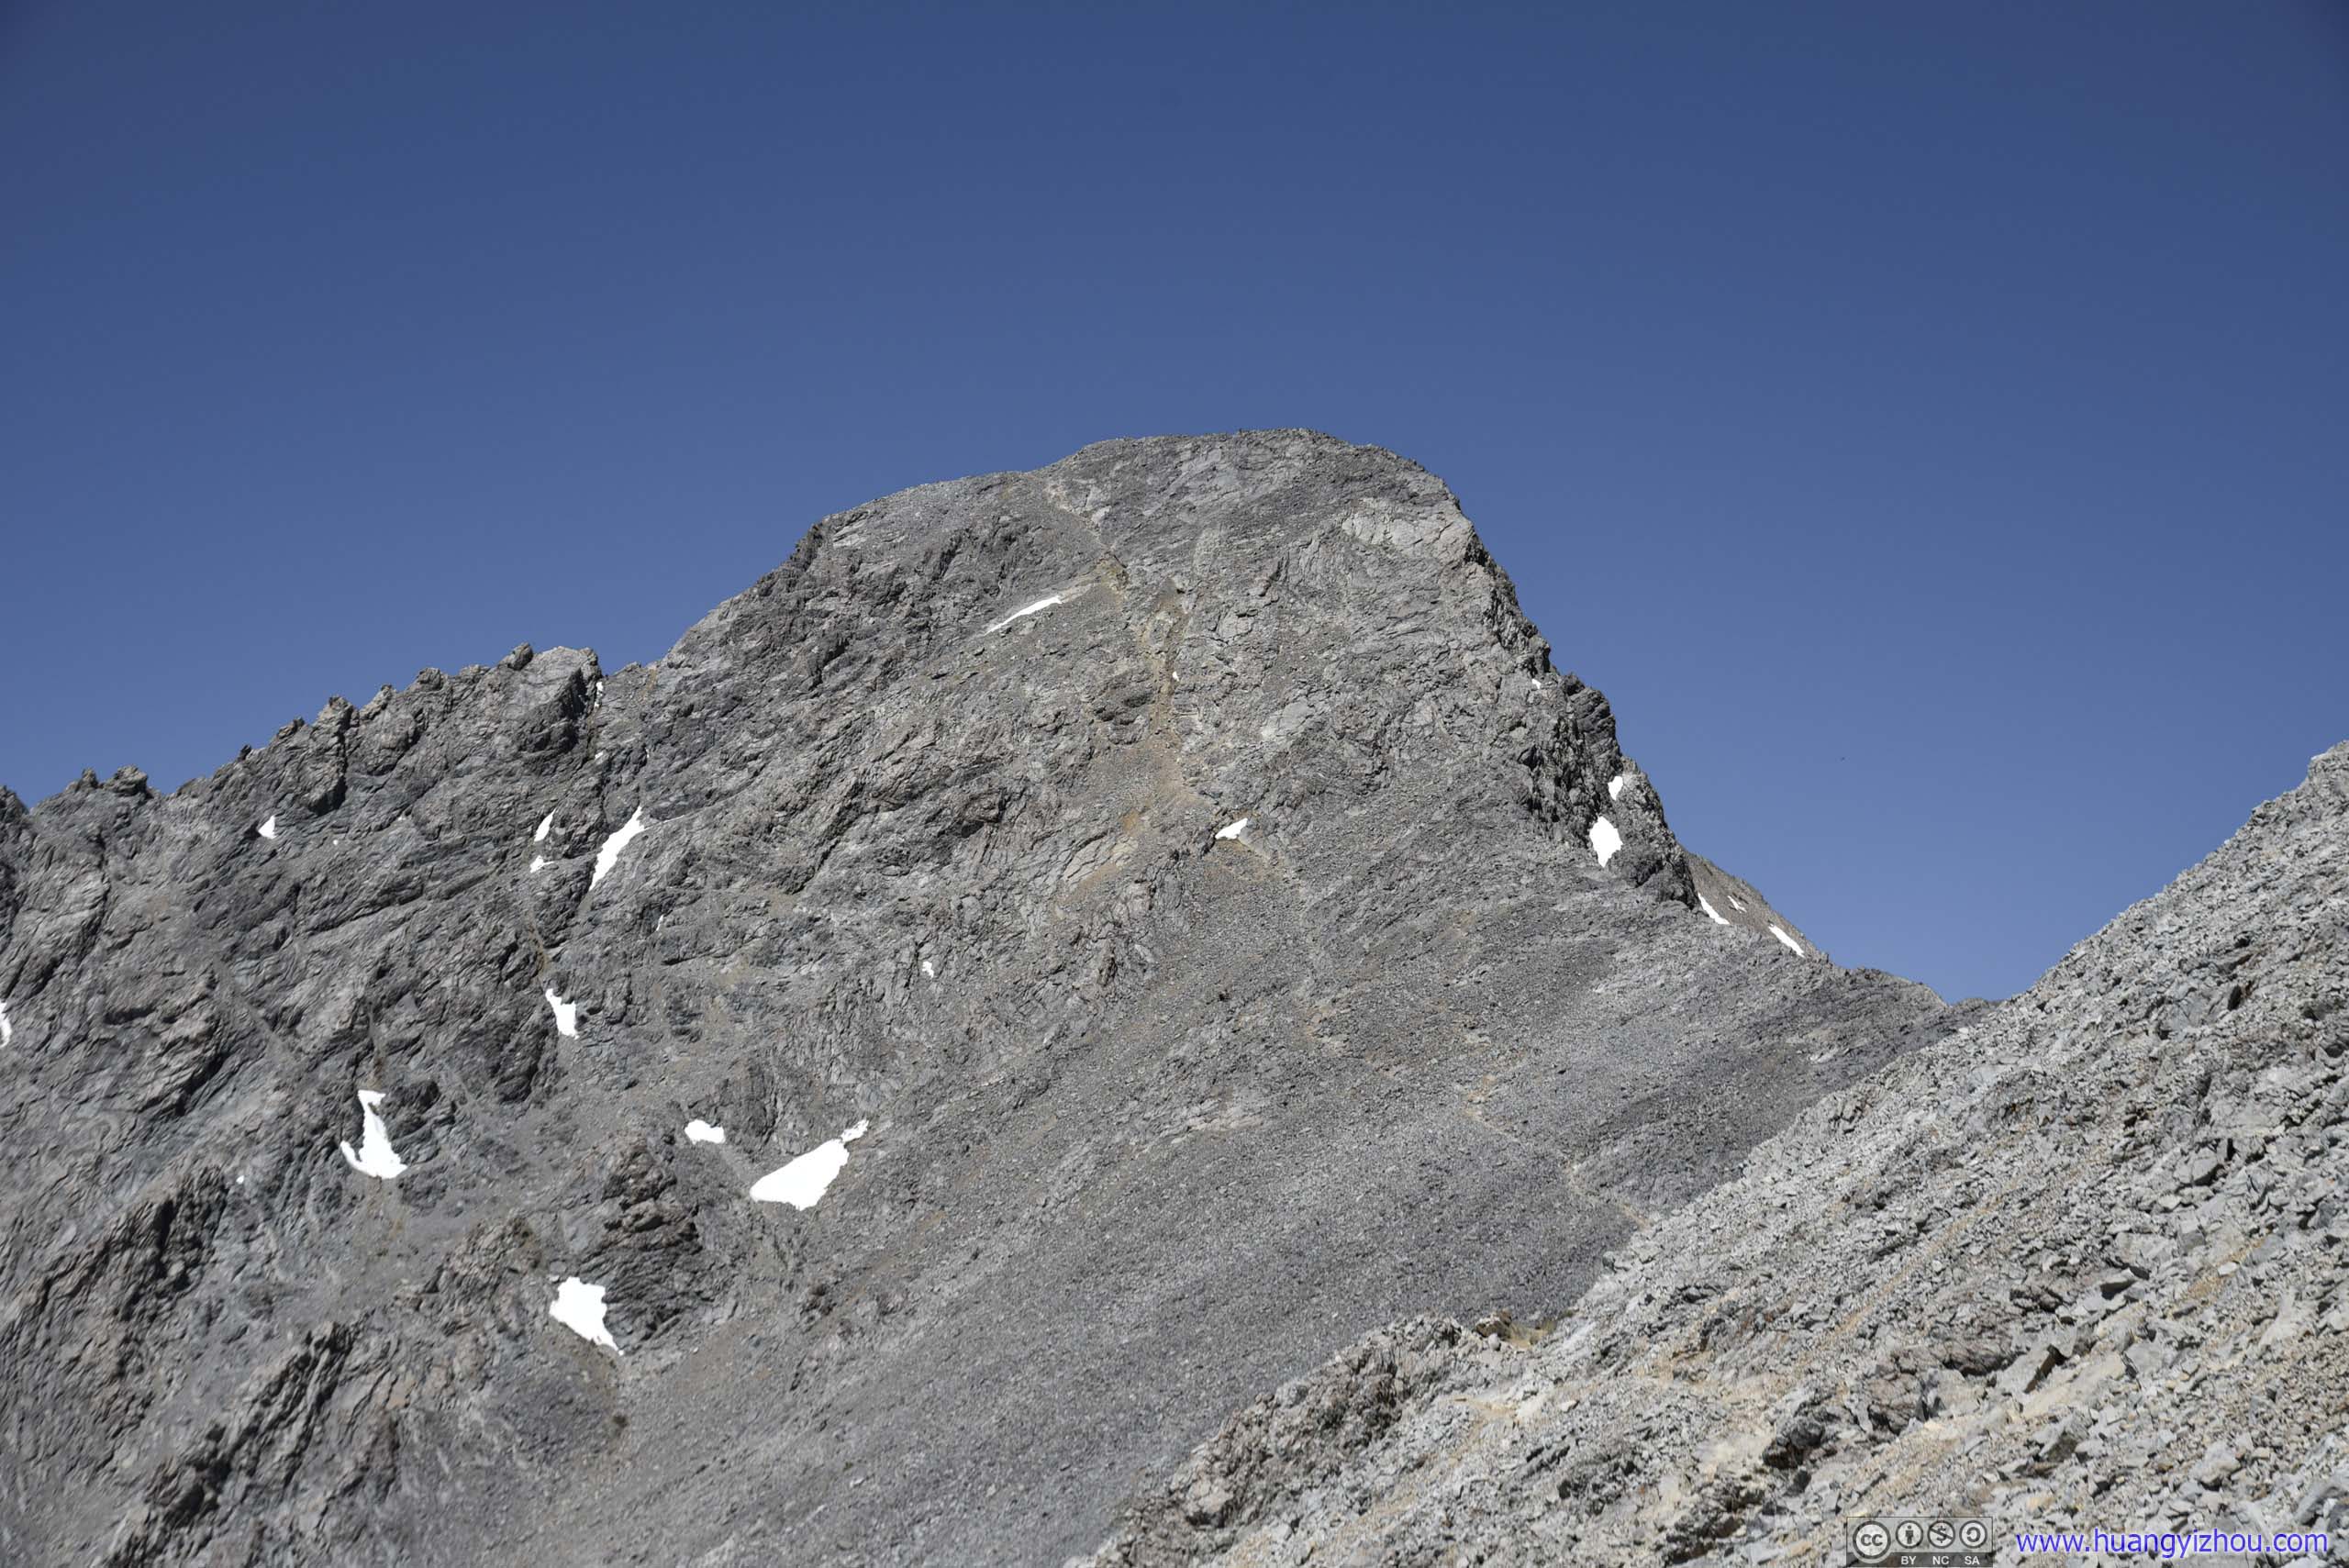
 Borah PeakLooking closer at this stage.
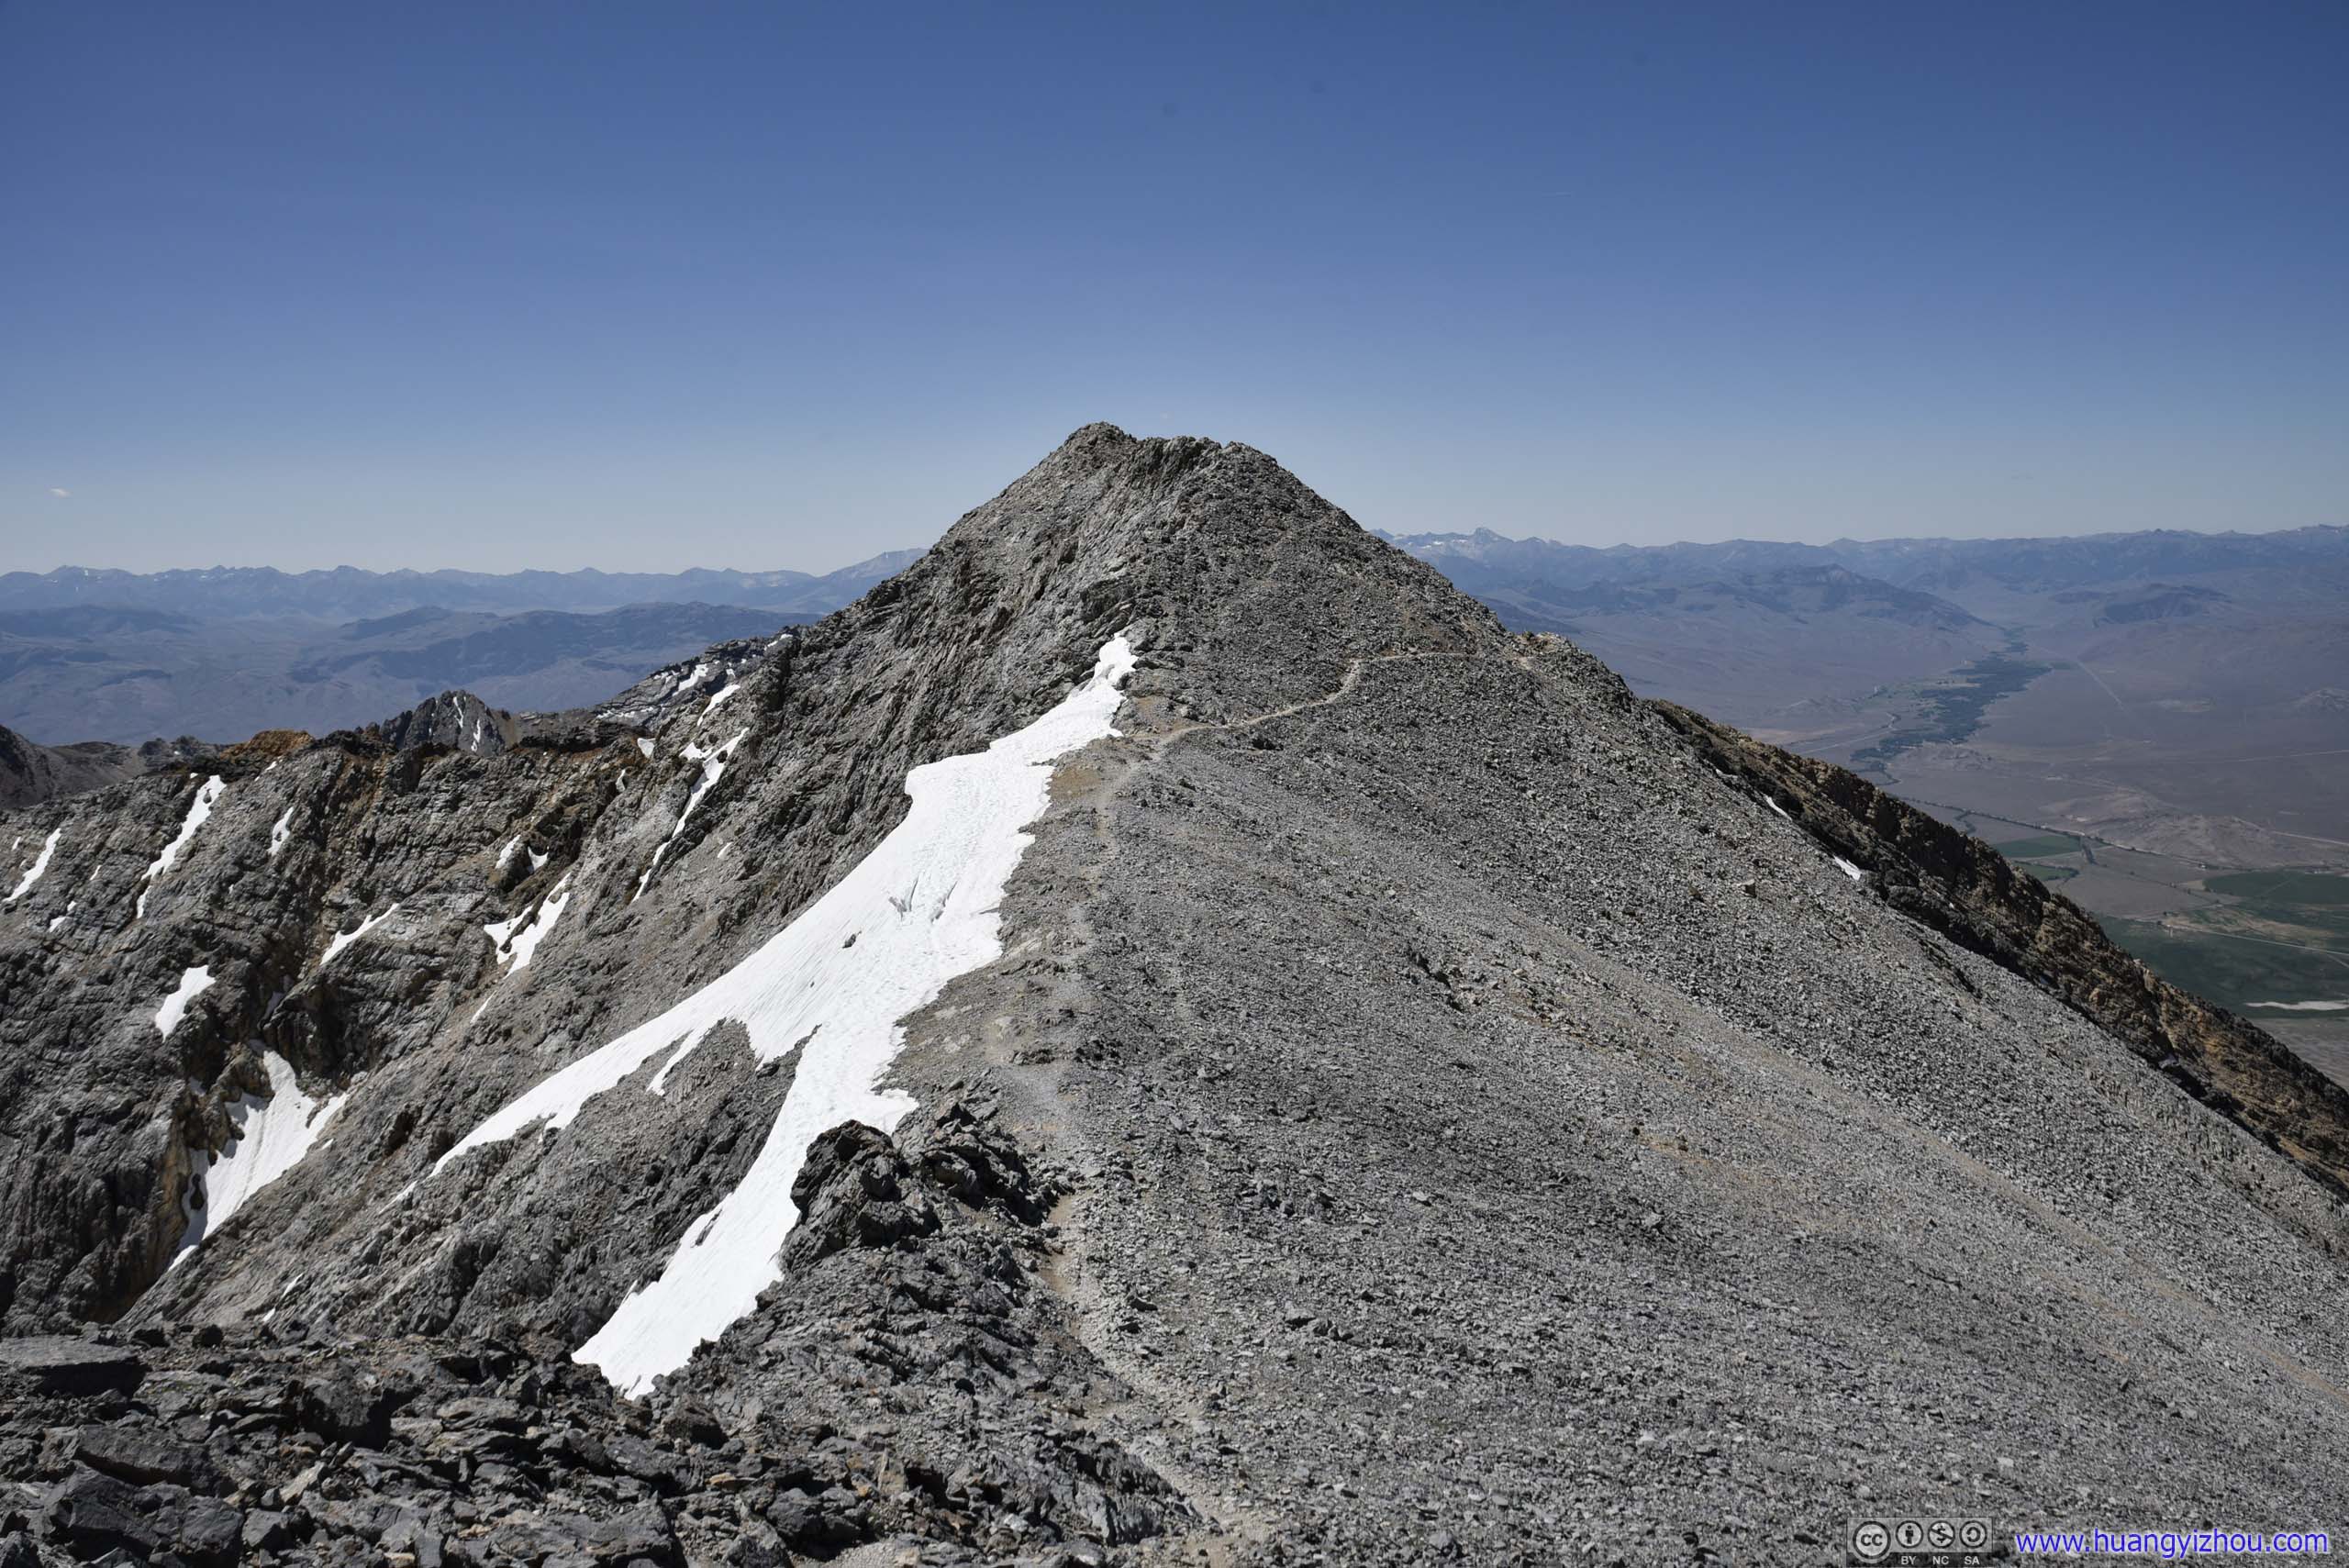
That is, until one passed along another snow field to the right (photo below, taken during return), after which the trail picked up elevation gain rapidly.
Trail

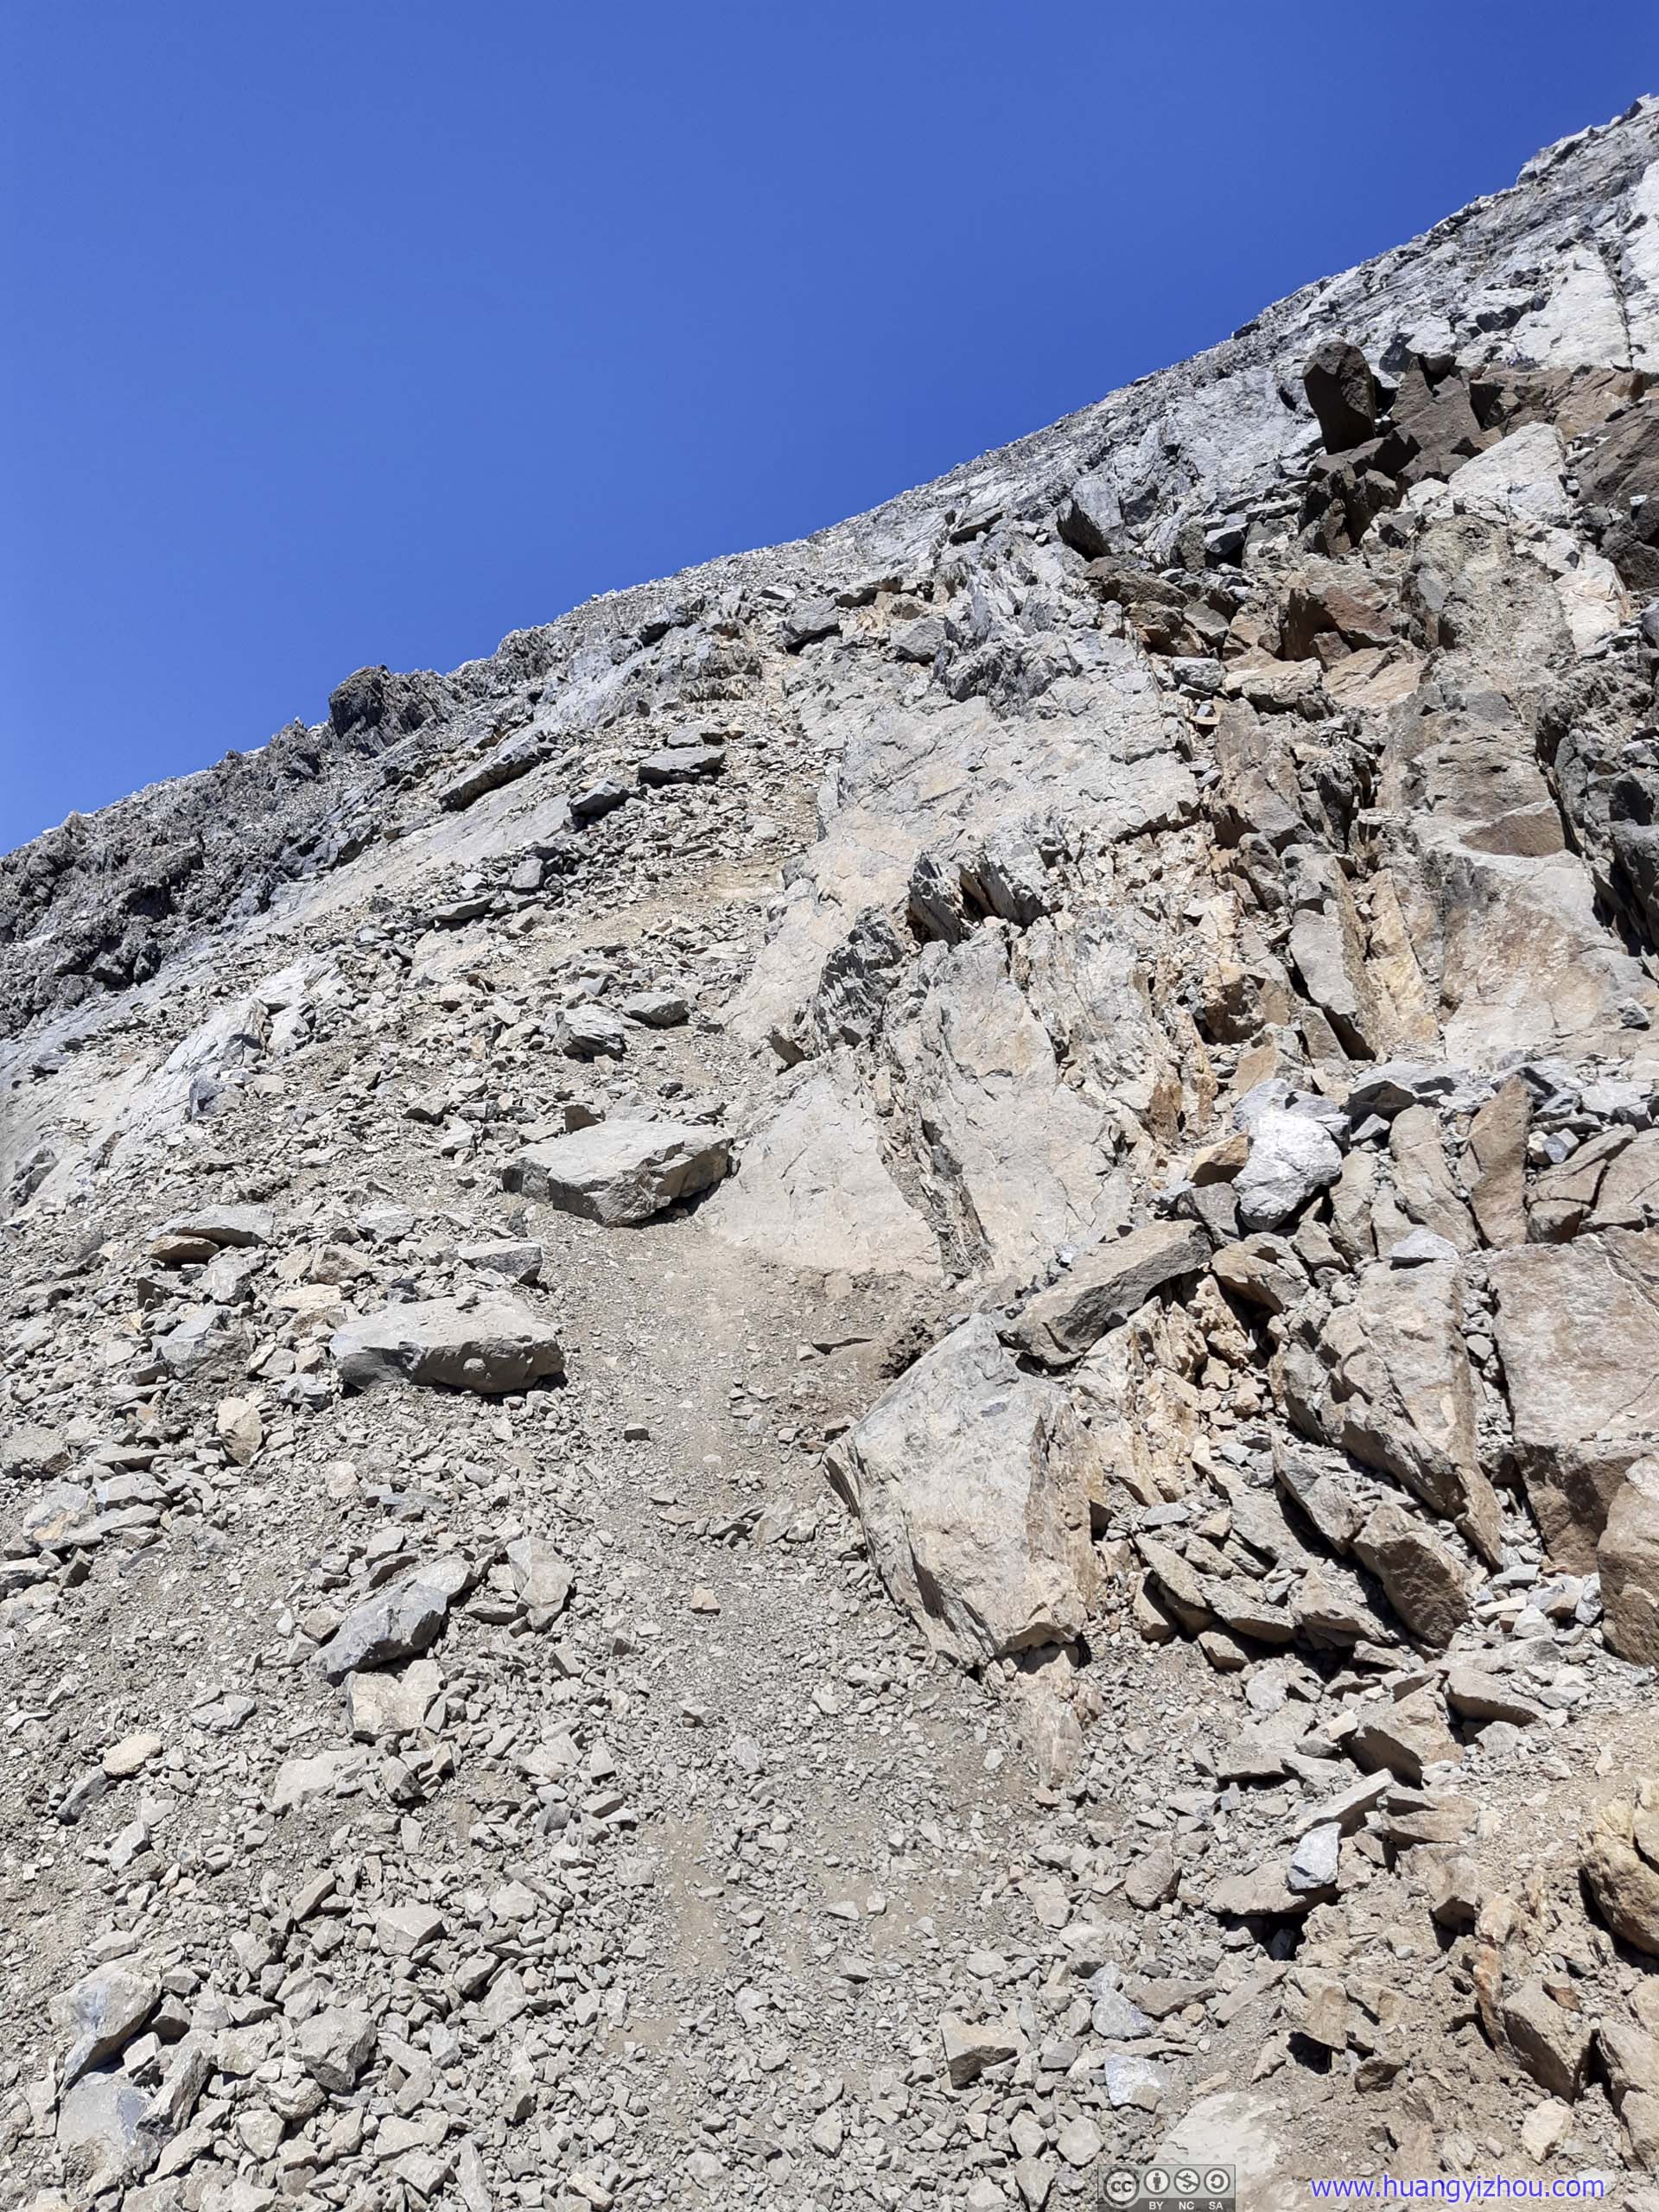
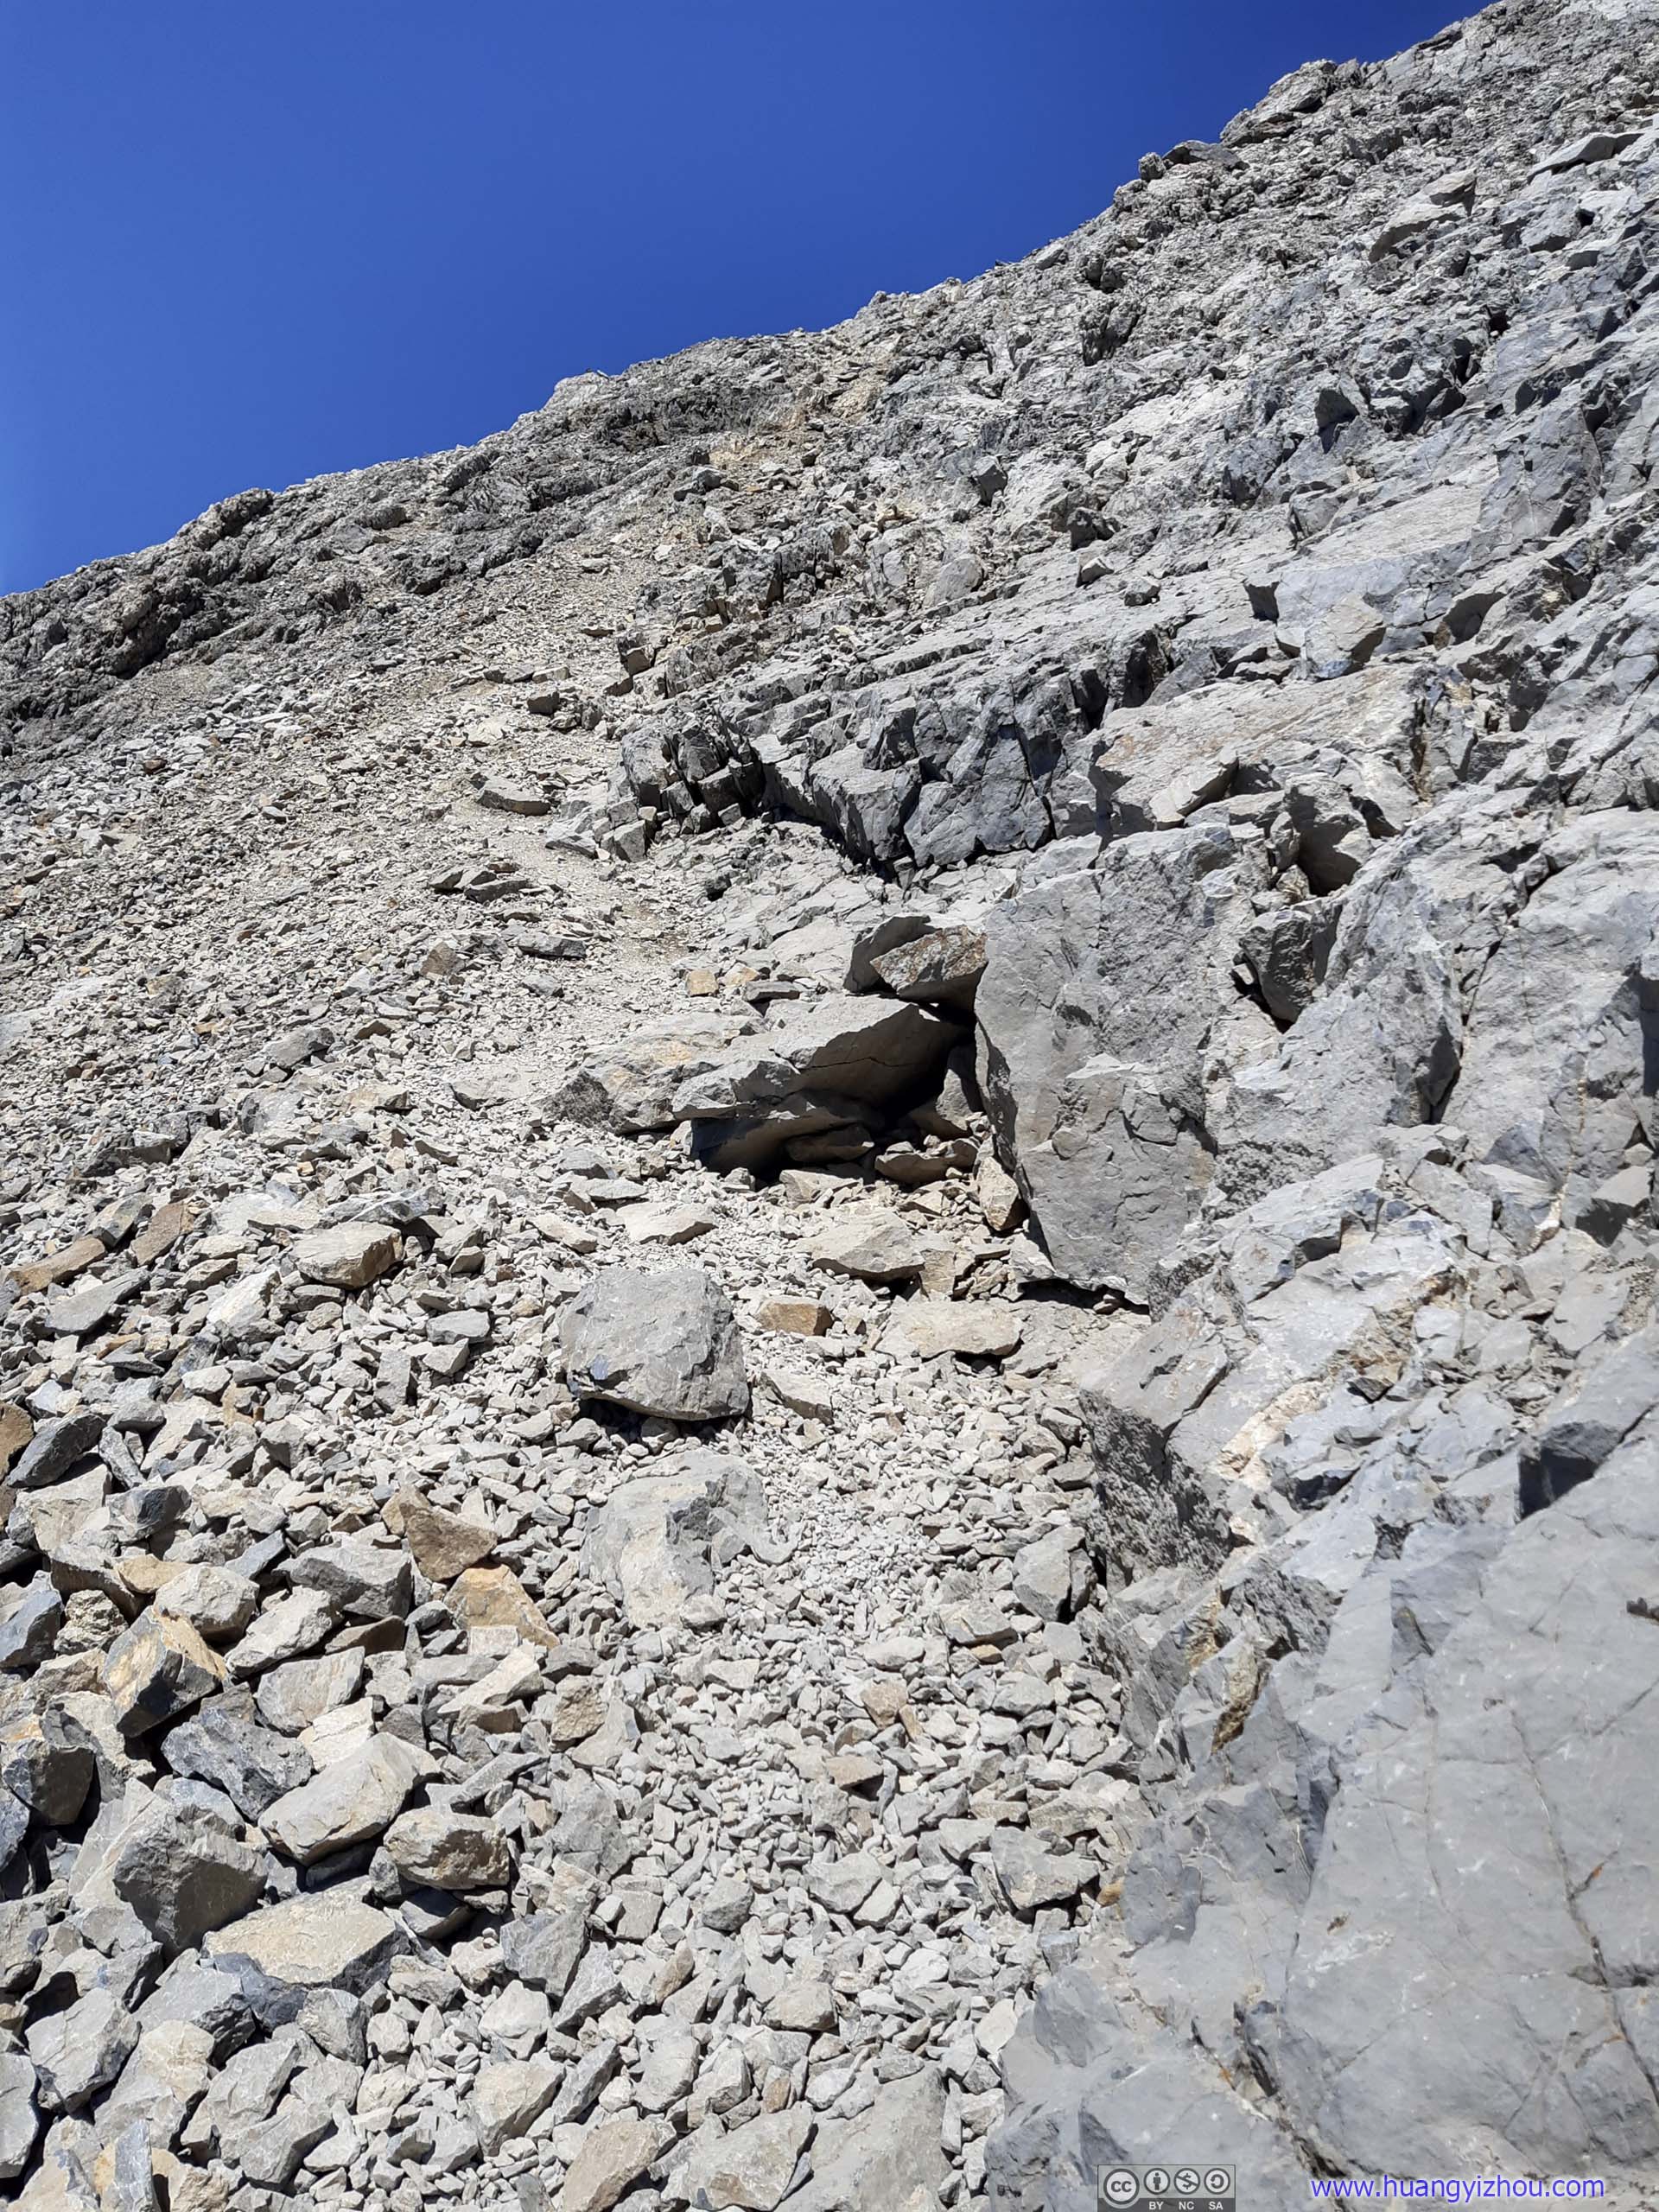
Trail up Borah PeakThe final stretch was over a steep talus field, which was more difficult than it looked. Despite the trail’s pretty visible from this spot, it’s actually hard to follow during ascent. And the incline was dangerously high making it a treacherous approach.

 Trail
Trail
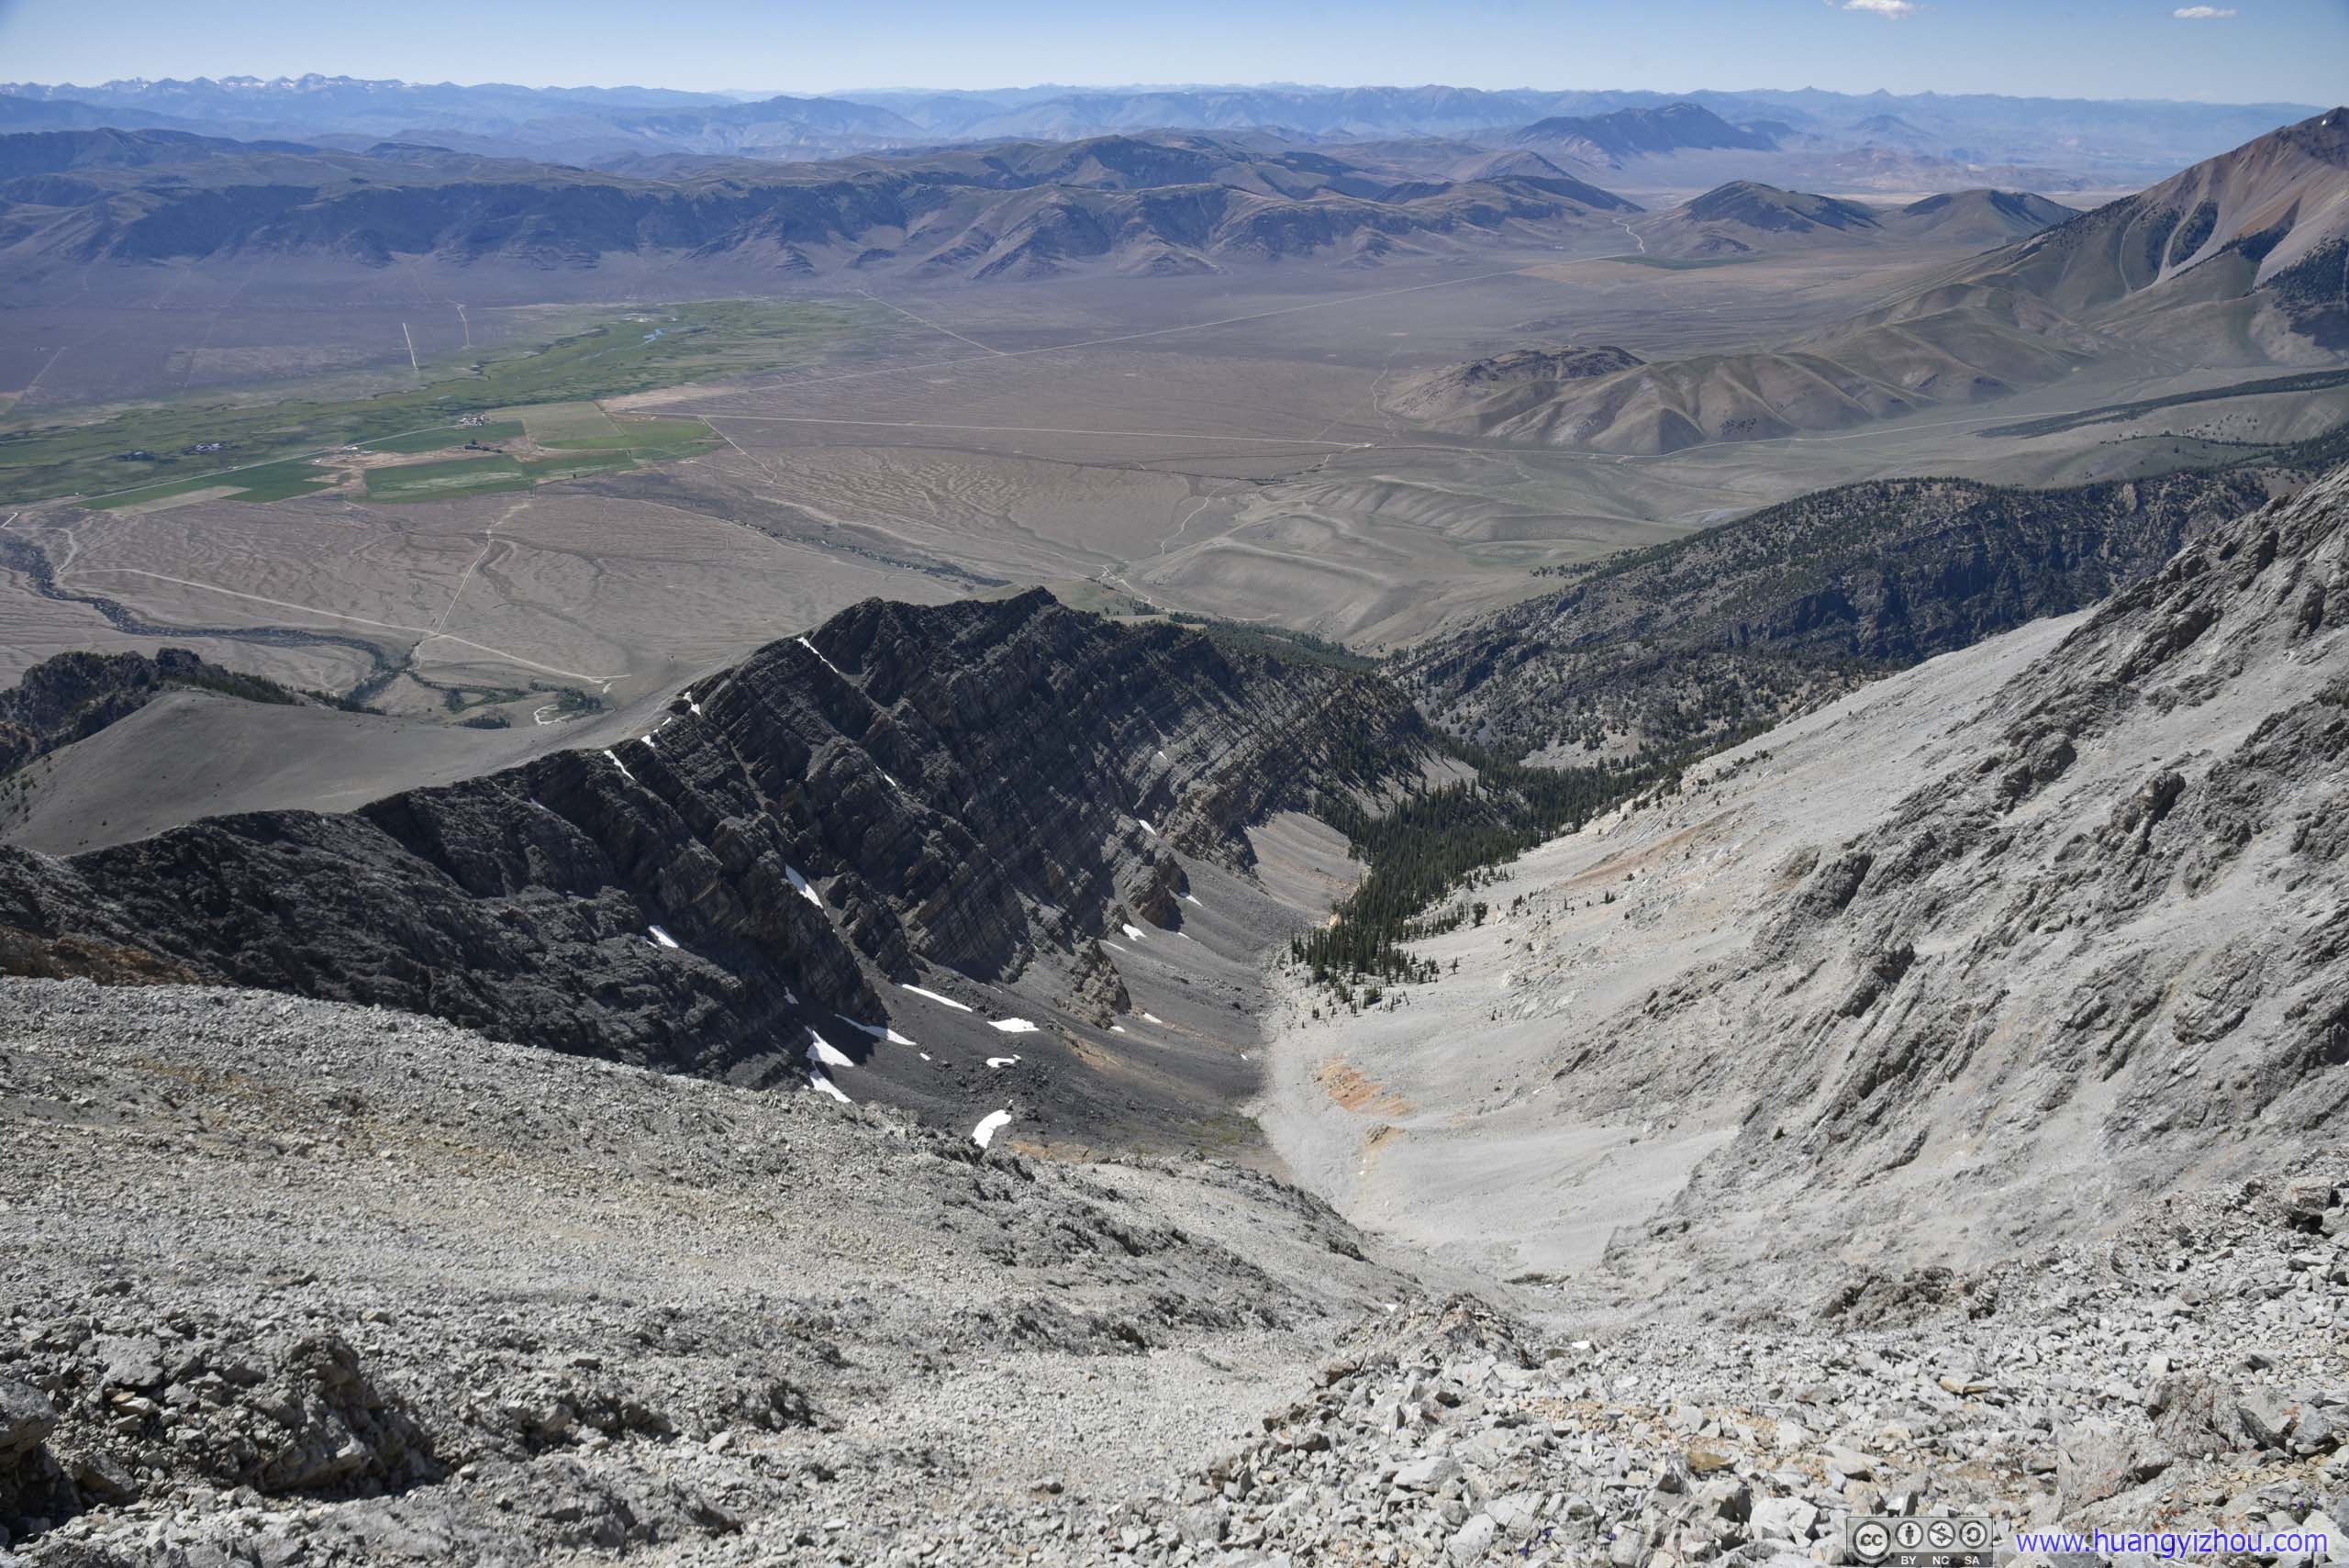
The final stretch has the most gradient throughout the hike. It’s a bit reminiscent of 4 days ago, when I was doing rock hopping onto Hyndman Peak. Here, one had to be careful where to set foot on, as an unstable foot step could easily trigger a mini rock avalanche.
 TrailSuch was the incline during the final stretch towards Borah Peak, that I took these photos without pitching my phone.
TrailAn unexpected patch of snow that I had to slide over on my way down.
And finally, at about 1:30pm, I made it to the top of Borah Peak after 5 hours of strenuous hiking. At an elevation of 3859m, it’s the highest point that I ever set foot on.
In line with my tradition, I commemorated the moment with the following drone video:
26 seconds, 1080p60, 8Mbps for H265, 10Mbps for H264.
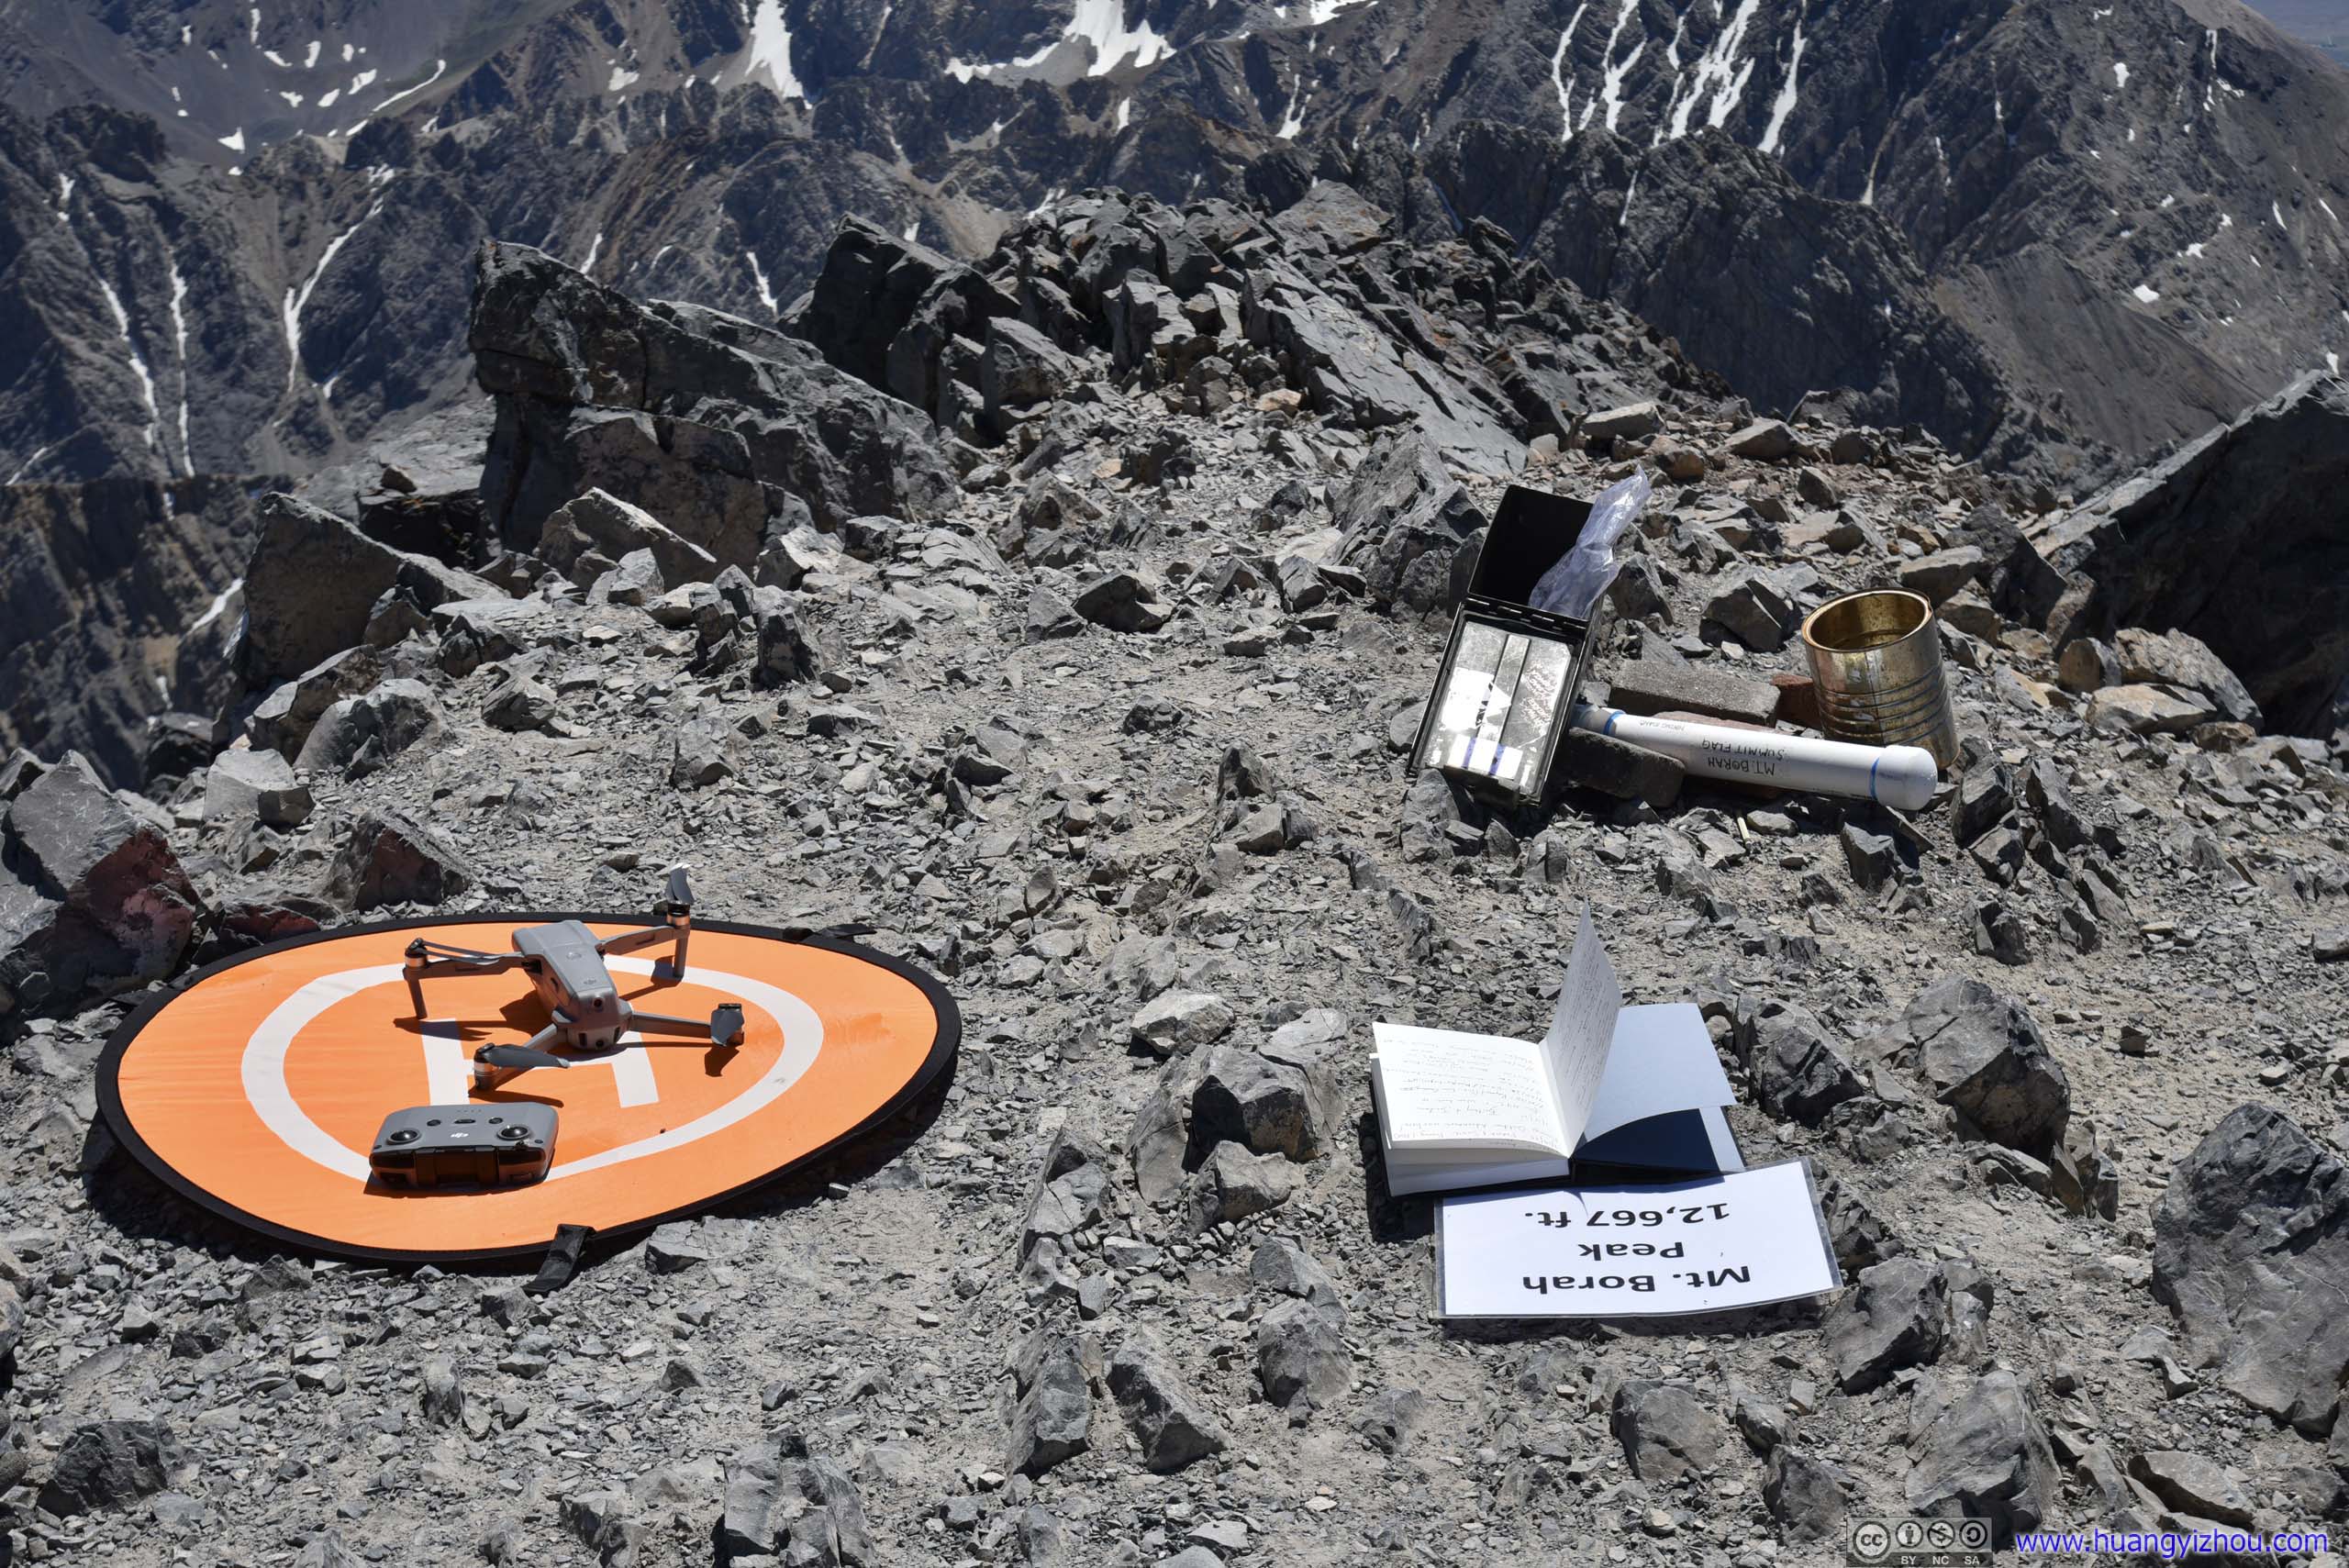
Gear at PeakAll the stuff to commemorate my summiting.
And here are the views of surrounding mountains:

 View around Borah PeakFrom my drone (top) and my camera (bottom)
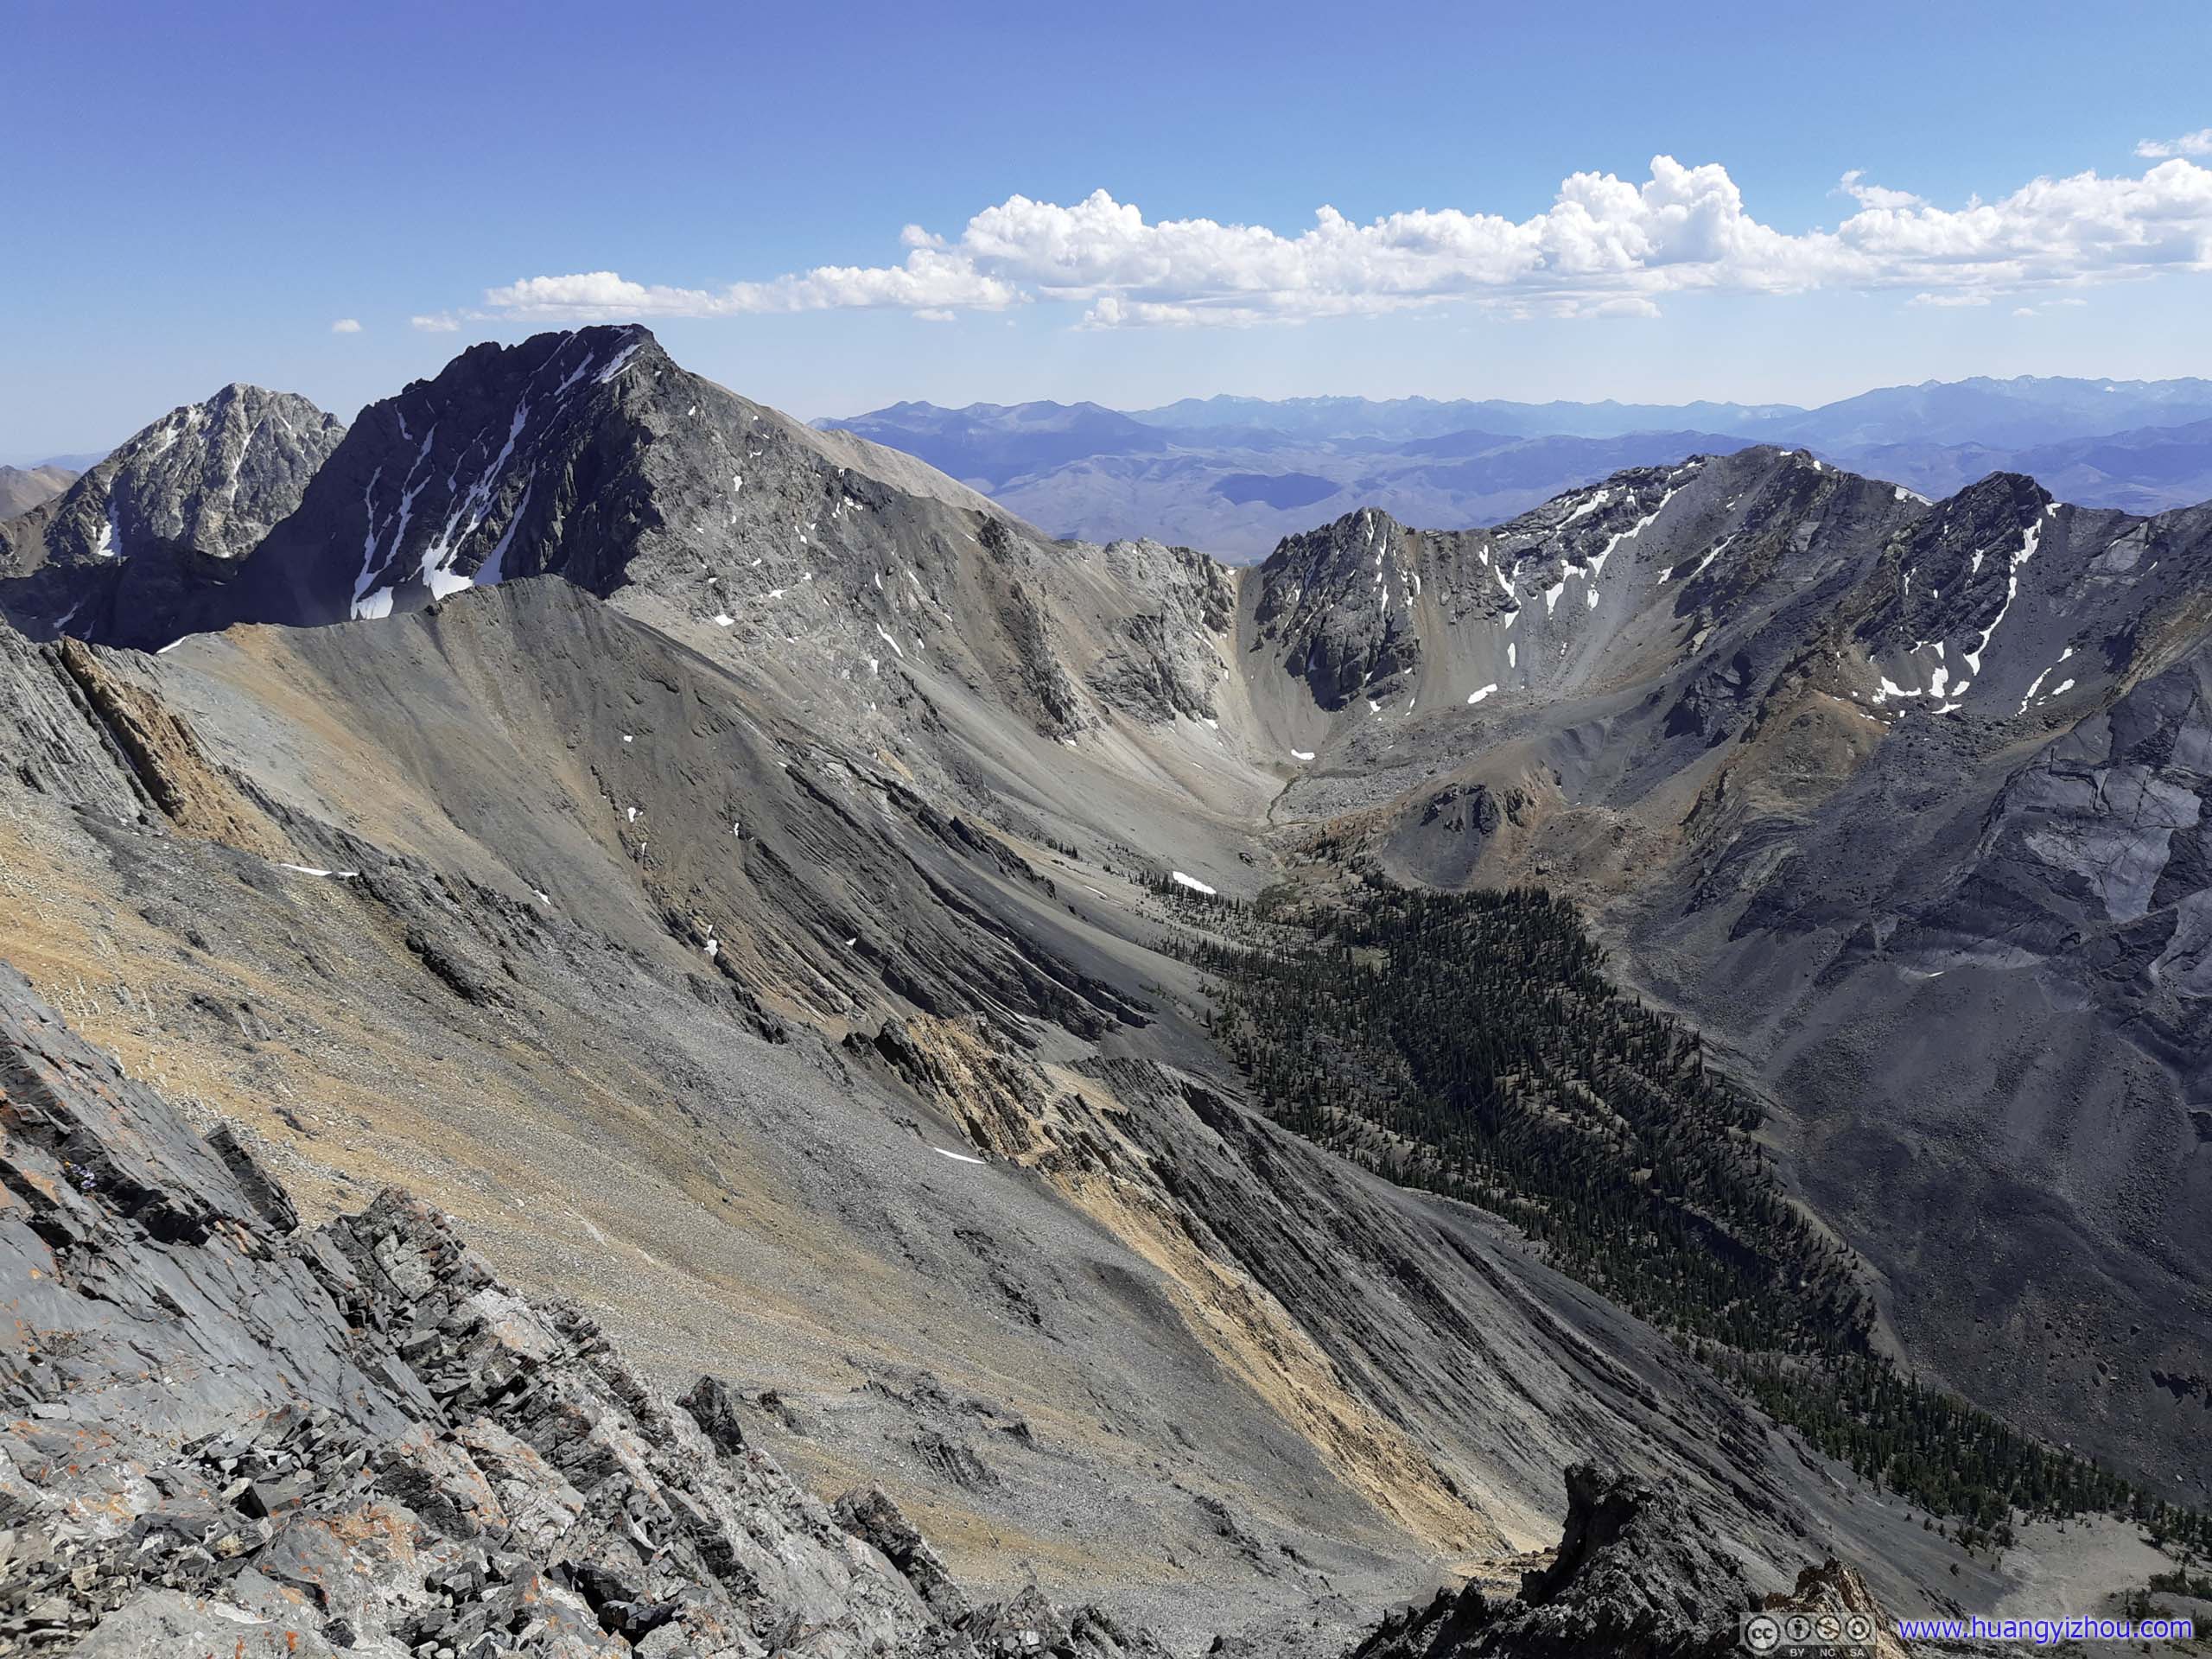
To begin a tour, the taller mountains near Borah Peak were to its South.
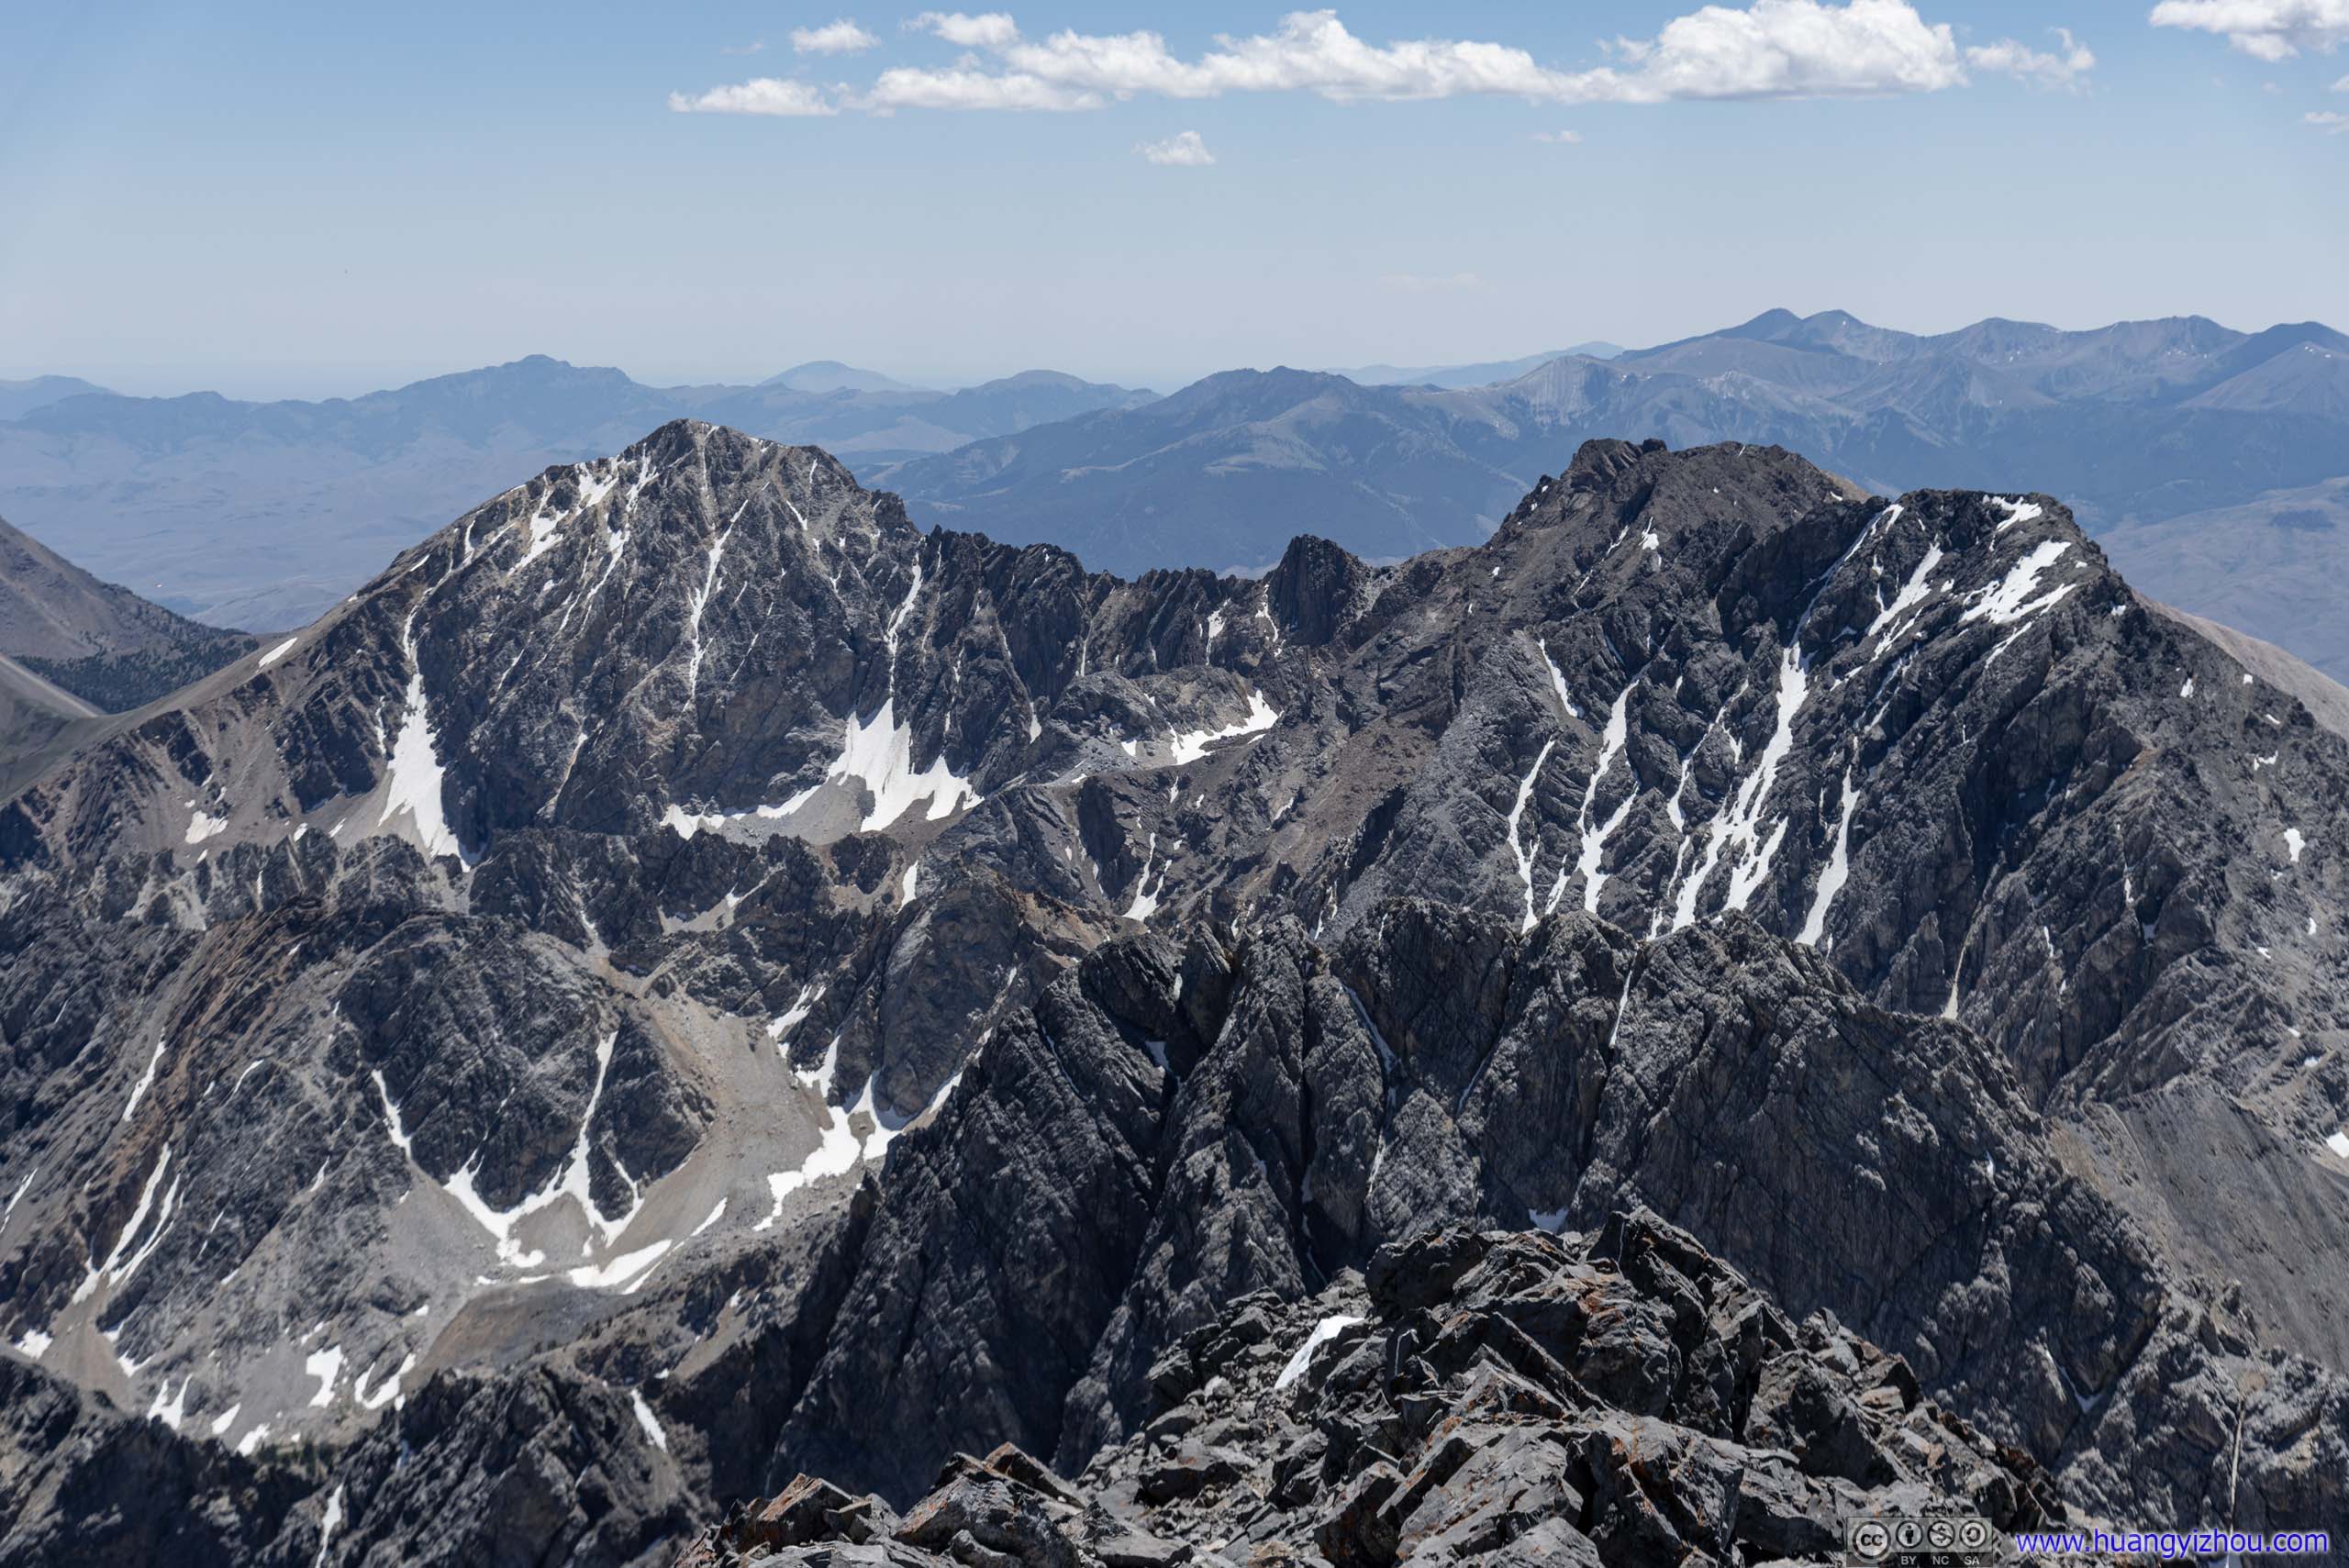
Mountains to the South
Leatherman Peak (3727m)
Nameless MountainAbout 3612m, between Mount Idaho and Leatherman Peak.

Mount Idaho (3677m)
Then it’s an alpine scene as one turns east.
Mountains
Alpine Lakes

Mountains to the East
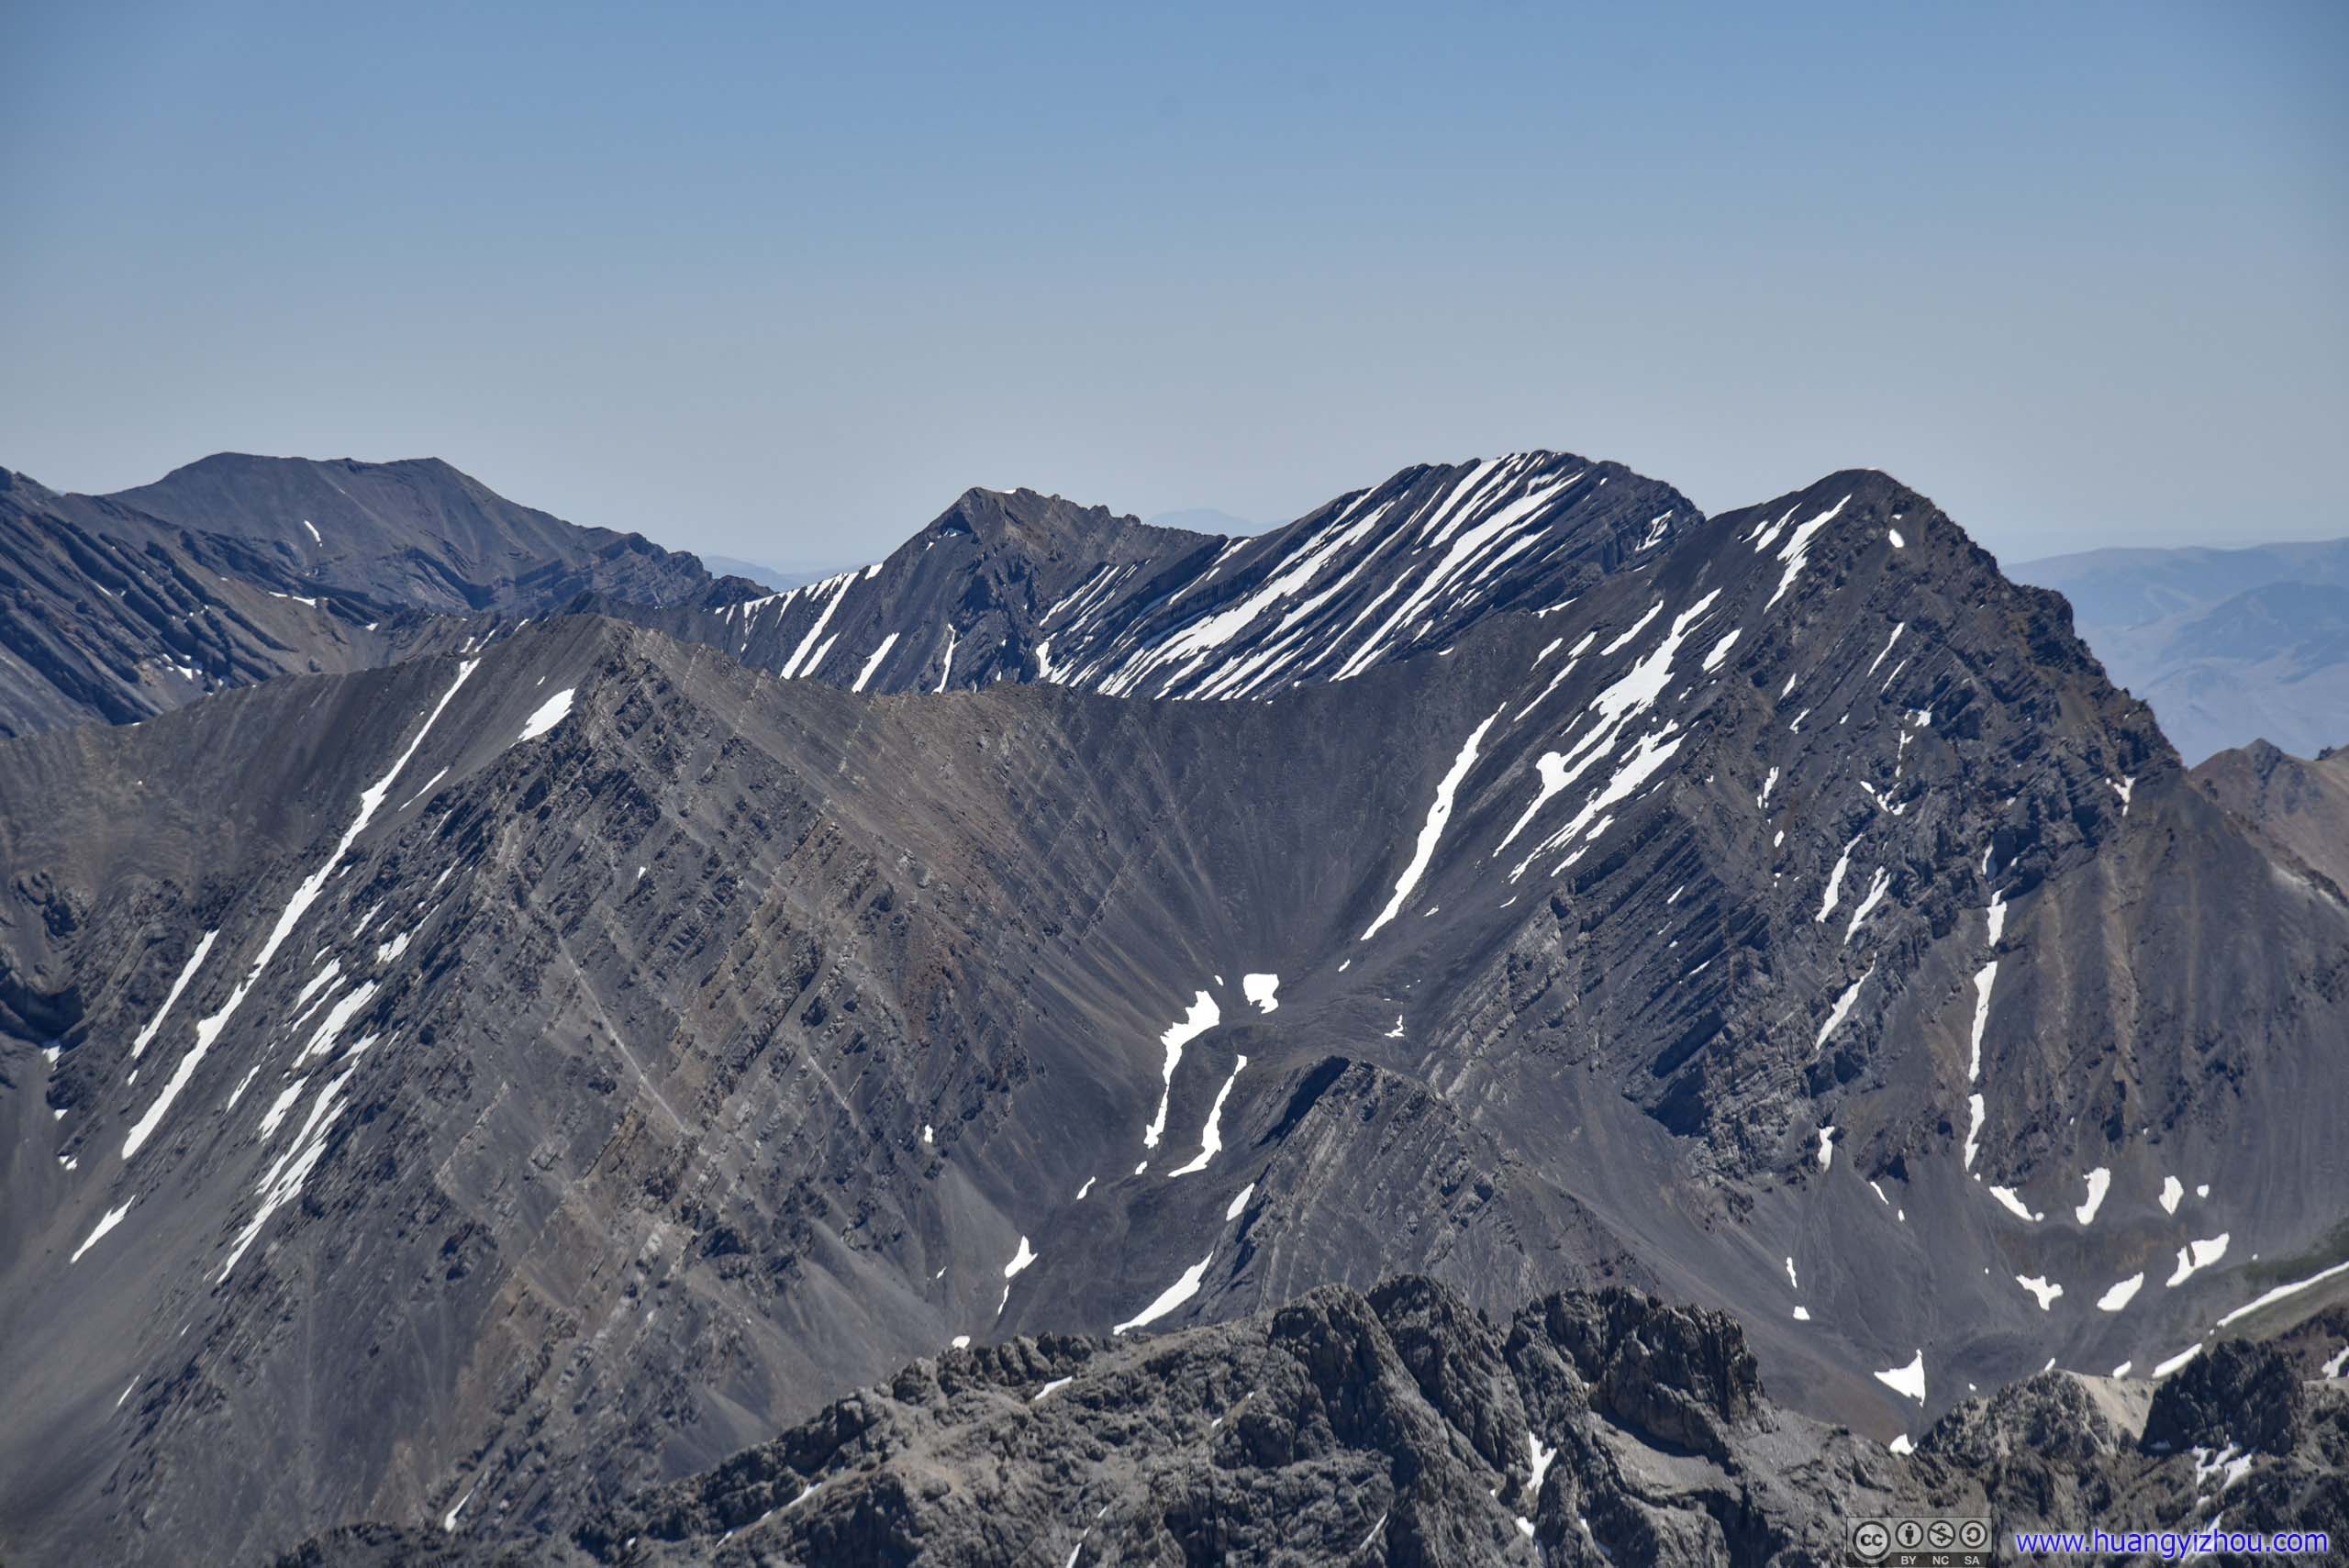
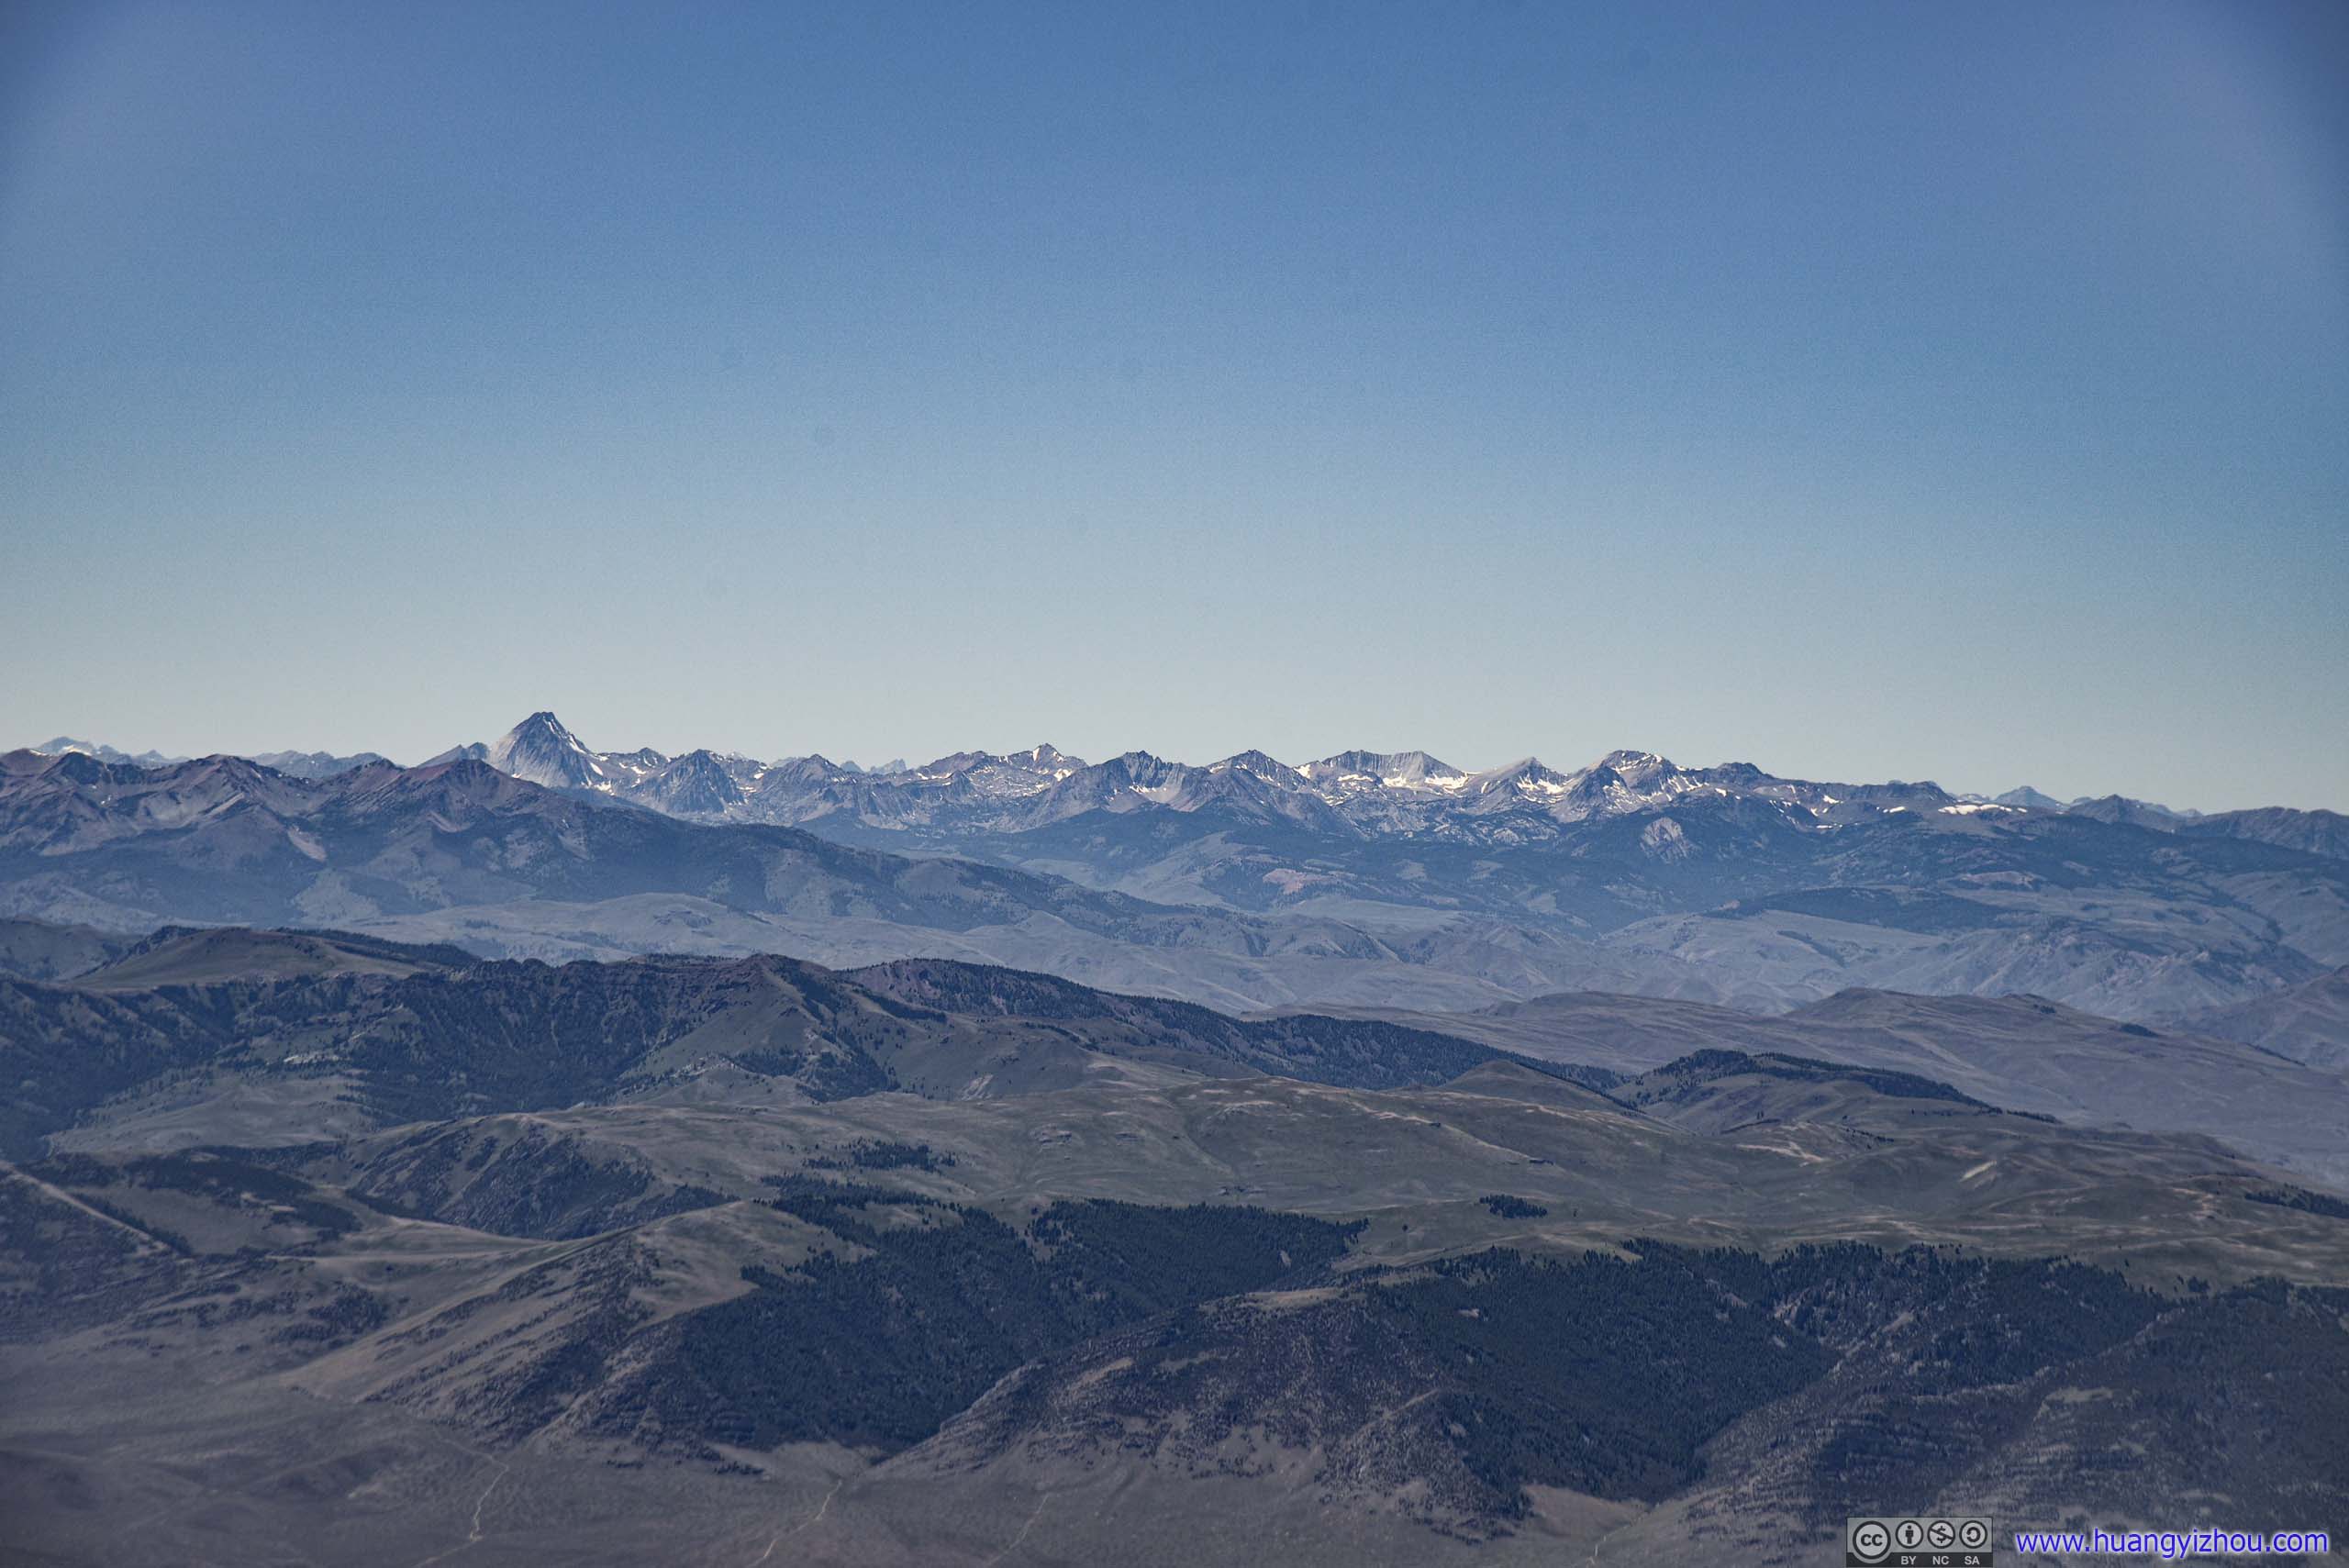
Towards the far East, some peaks among Lemhi Range were also visible.

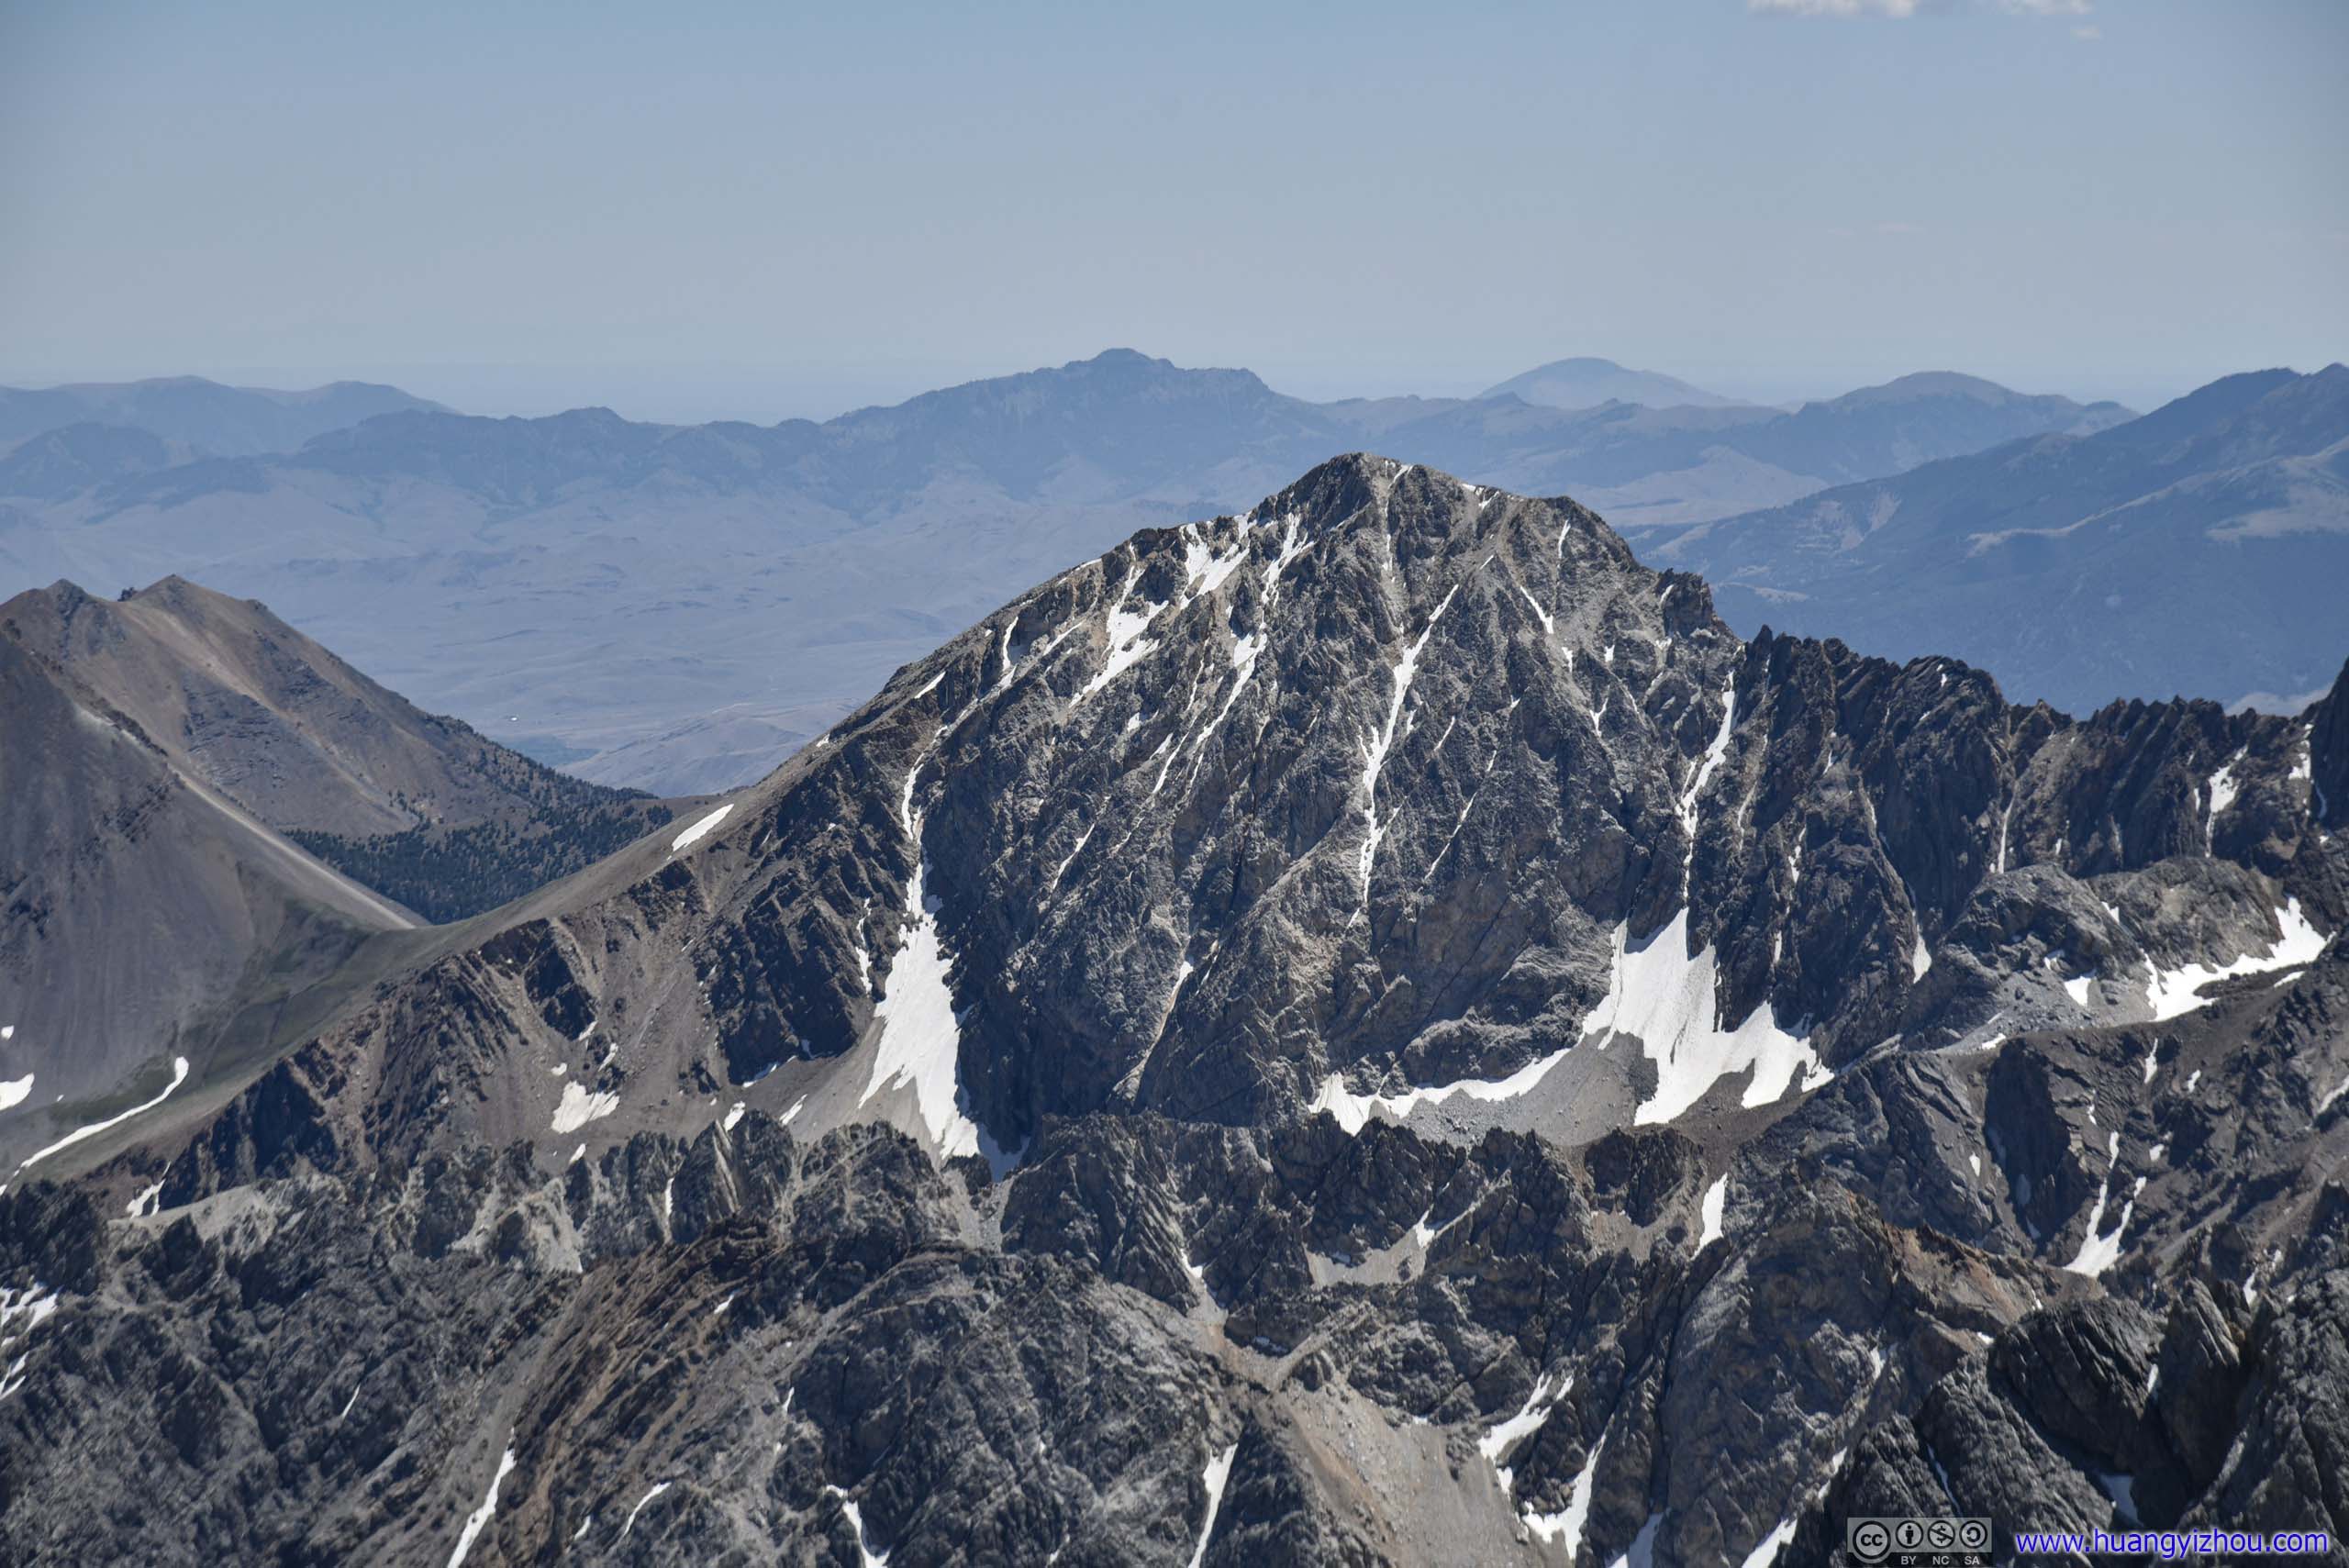
Distant MountainsTo the East, Bell Mountain (3539m) in Lemhi Range at the center. Despite it’s shaped like a bell, it’s actually named after Robert Norman Bell who was Idaho’s State Inspector of Mines in the early 1900s.
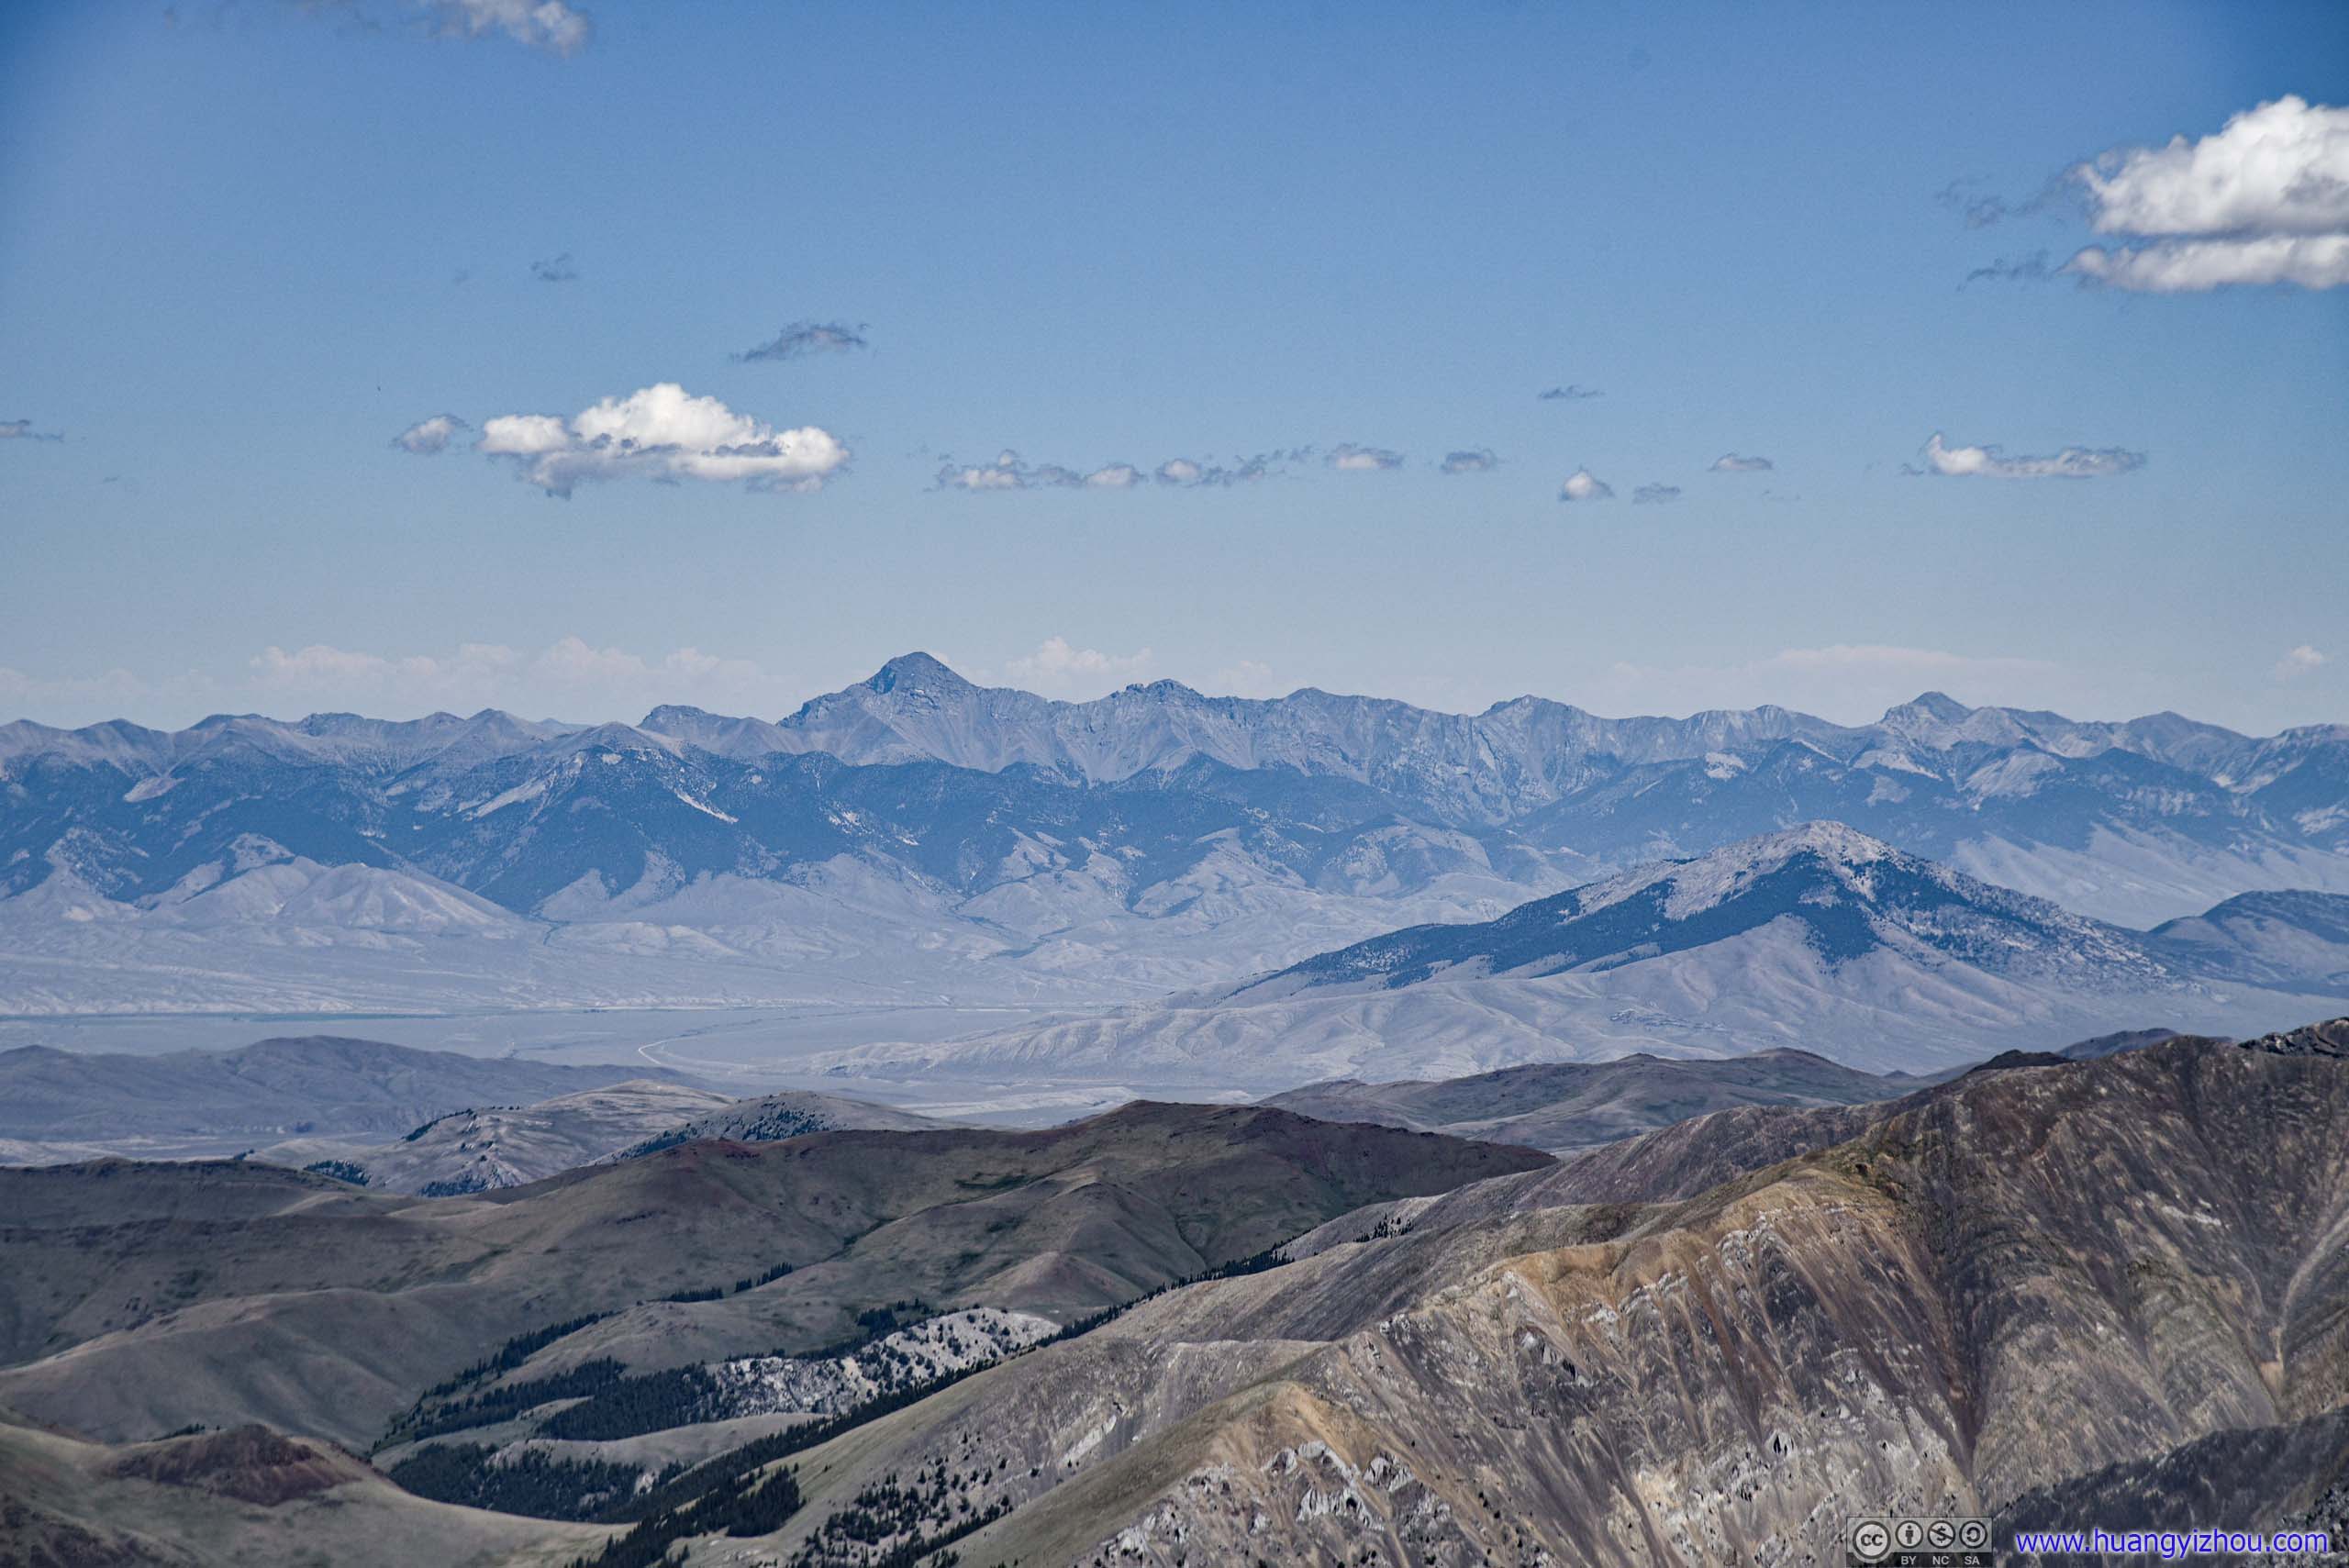
Distant MountainsTo the East, Diamond Peak (3717m) in Lemhi Range at the center-left. For a brief moment I thought of summiting Diamond Peak and Borah Peak in two consecutive days. If the rough dirt roads to access its trailhead didn’t make the plan wholly infeasible, the extra day of rest from Hyndman Peak killed that thought.

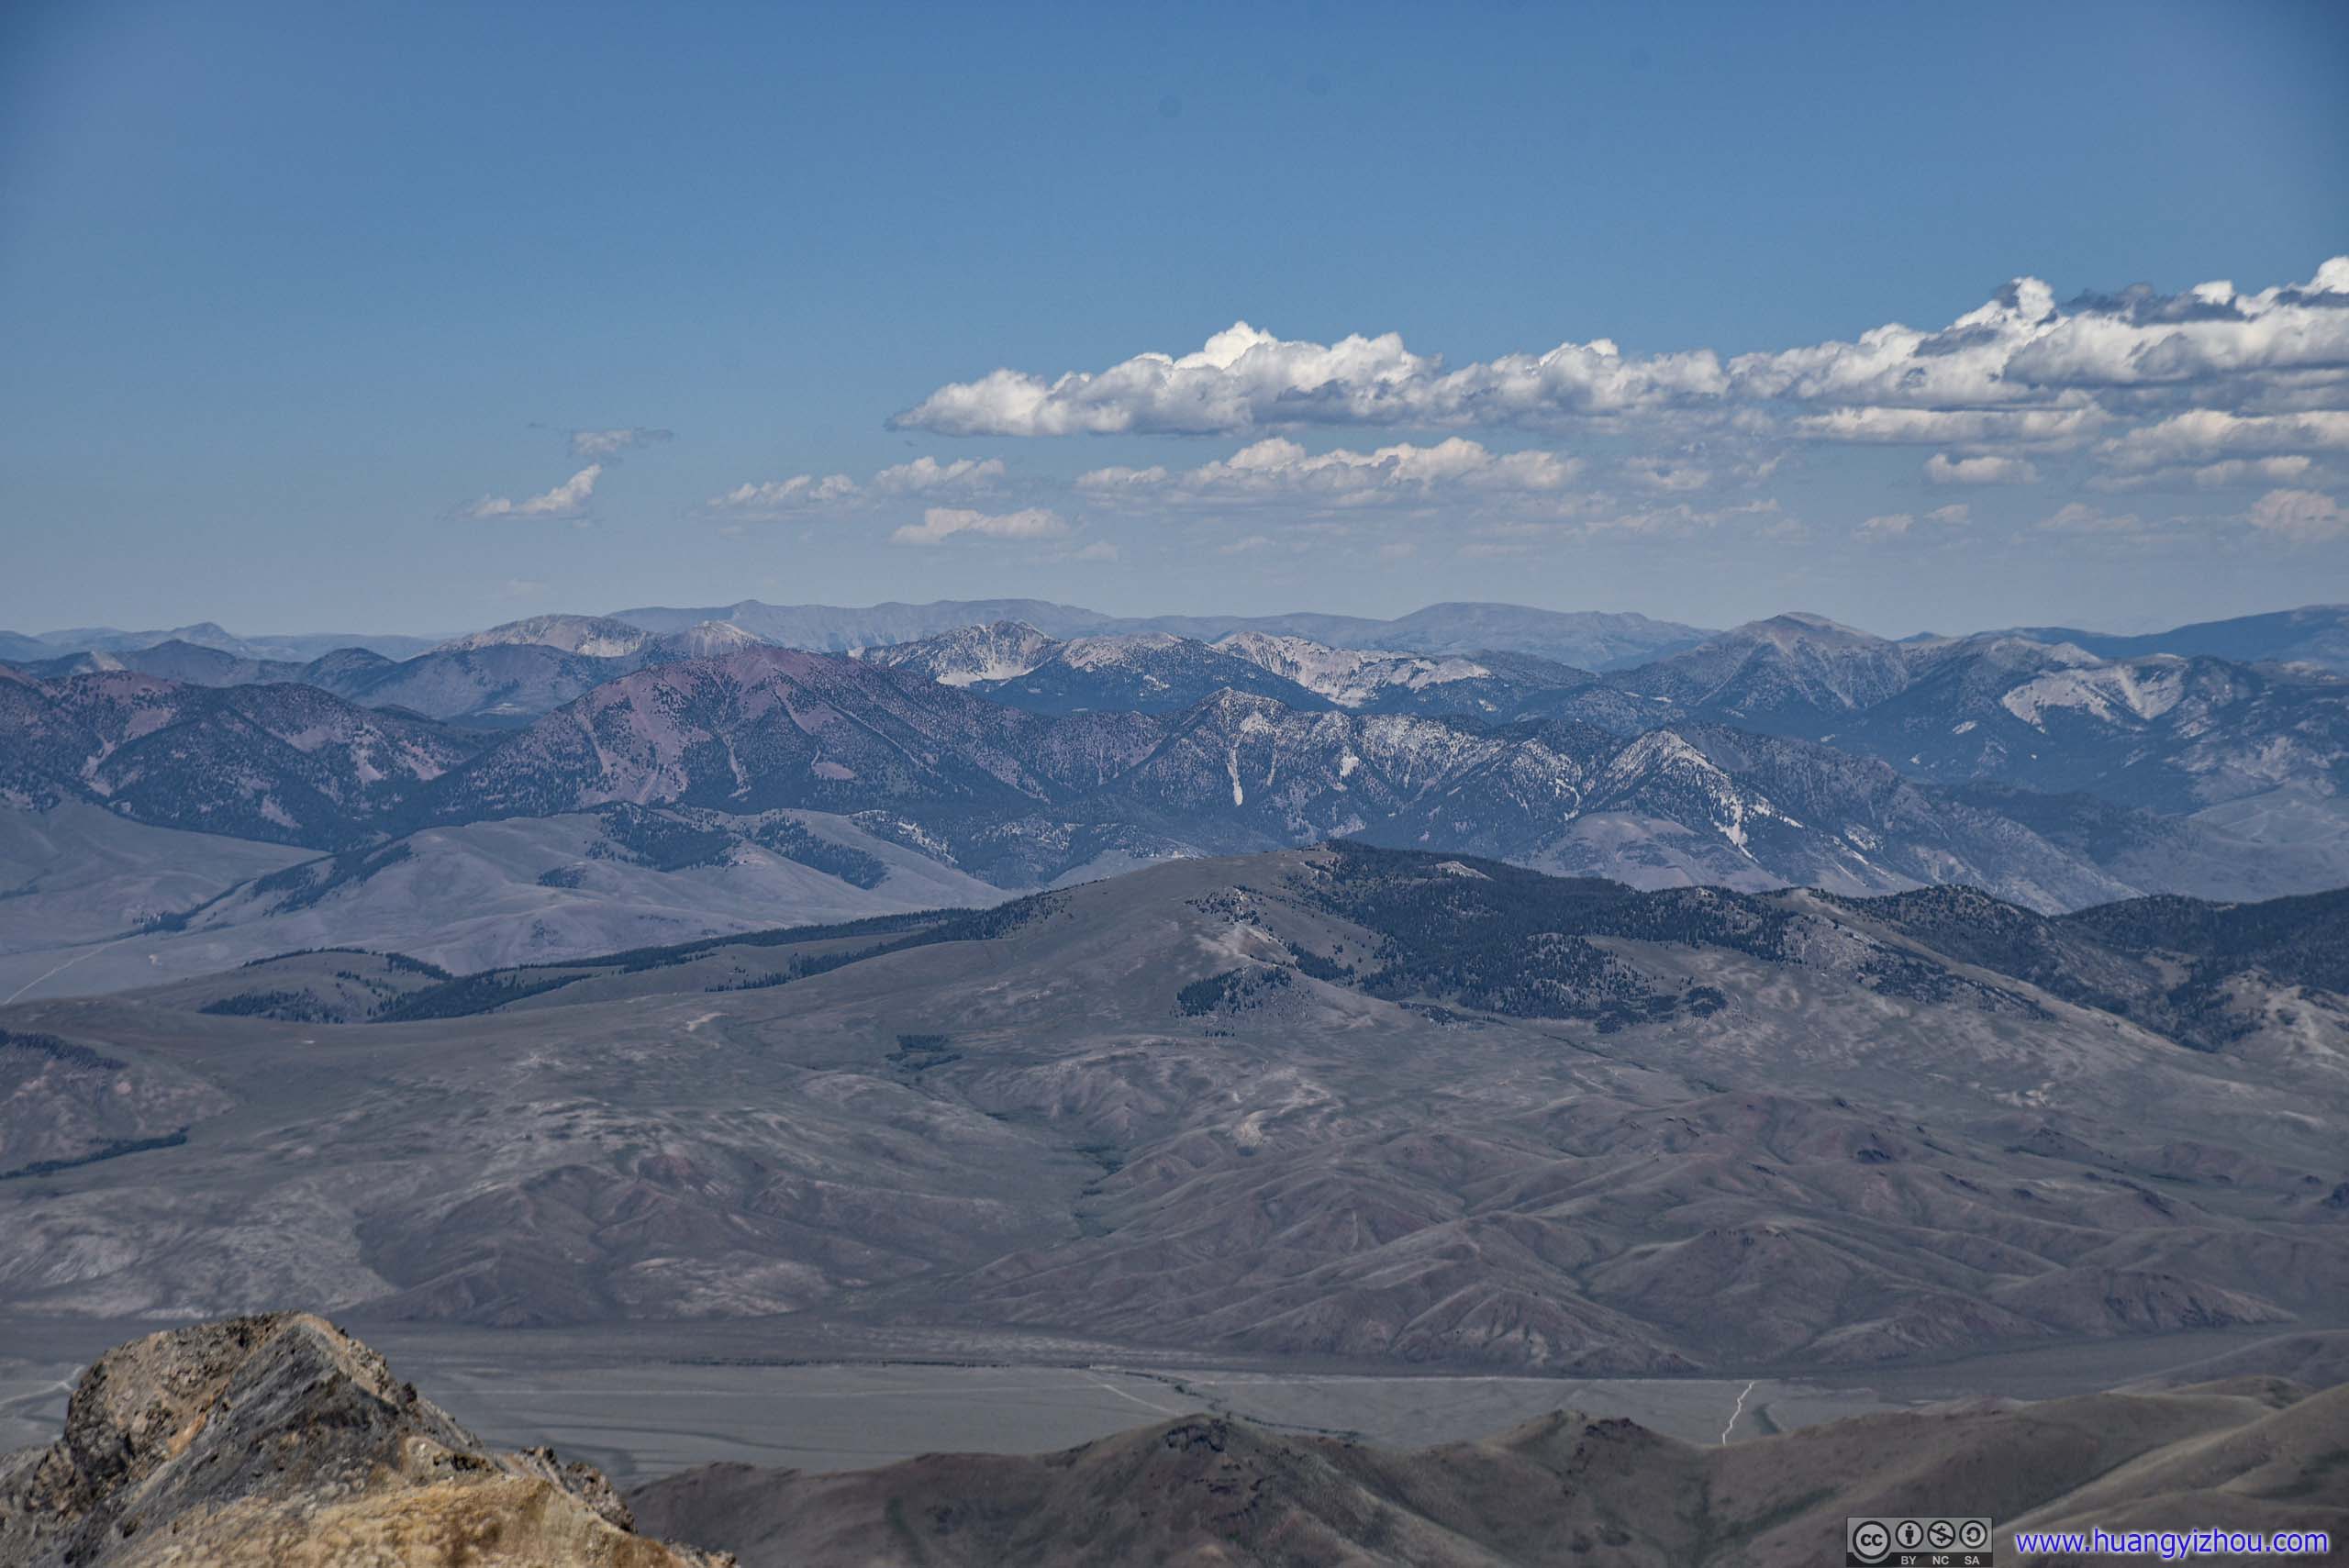 Distant MountainsTo the North-East, Lemhi Range.
Ridge

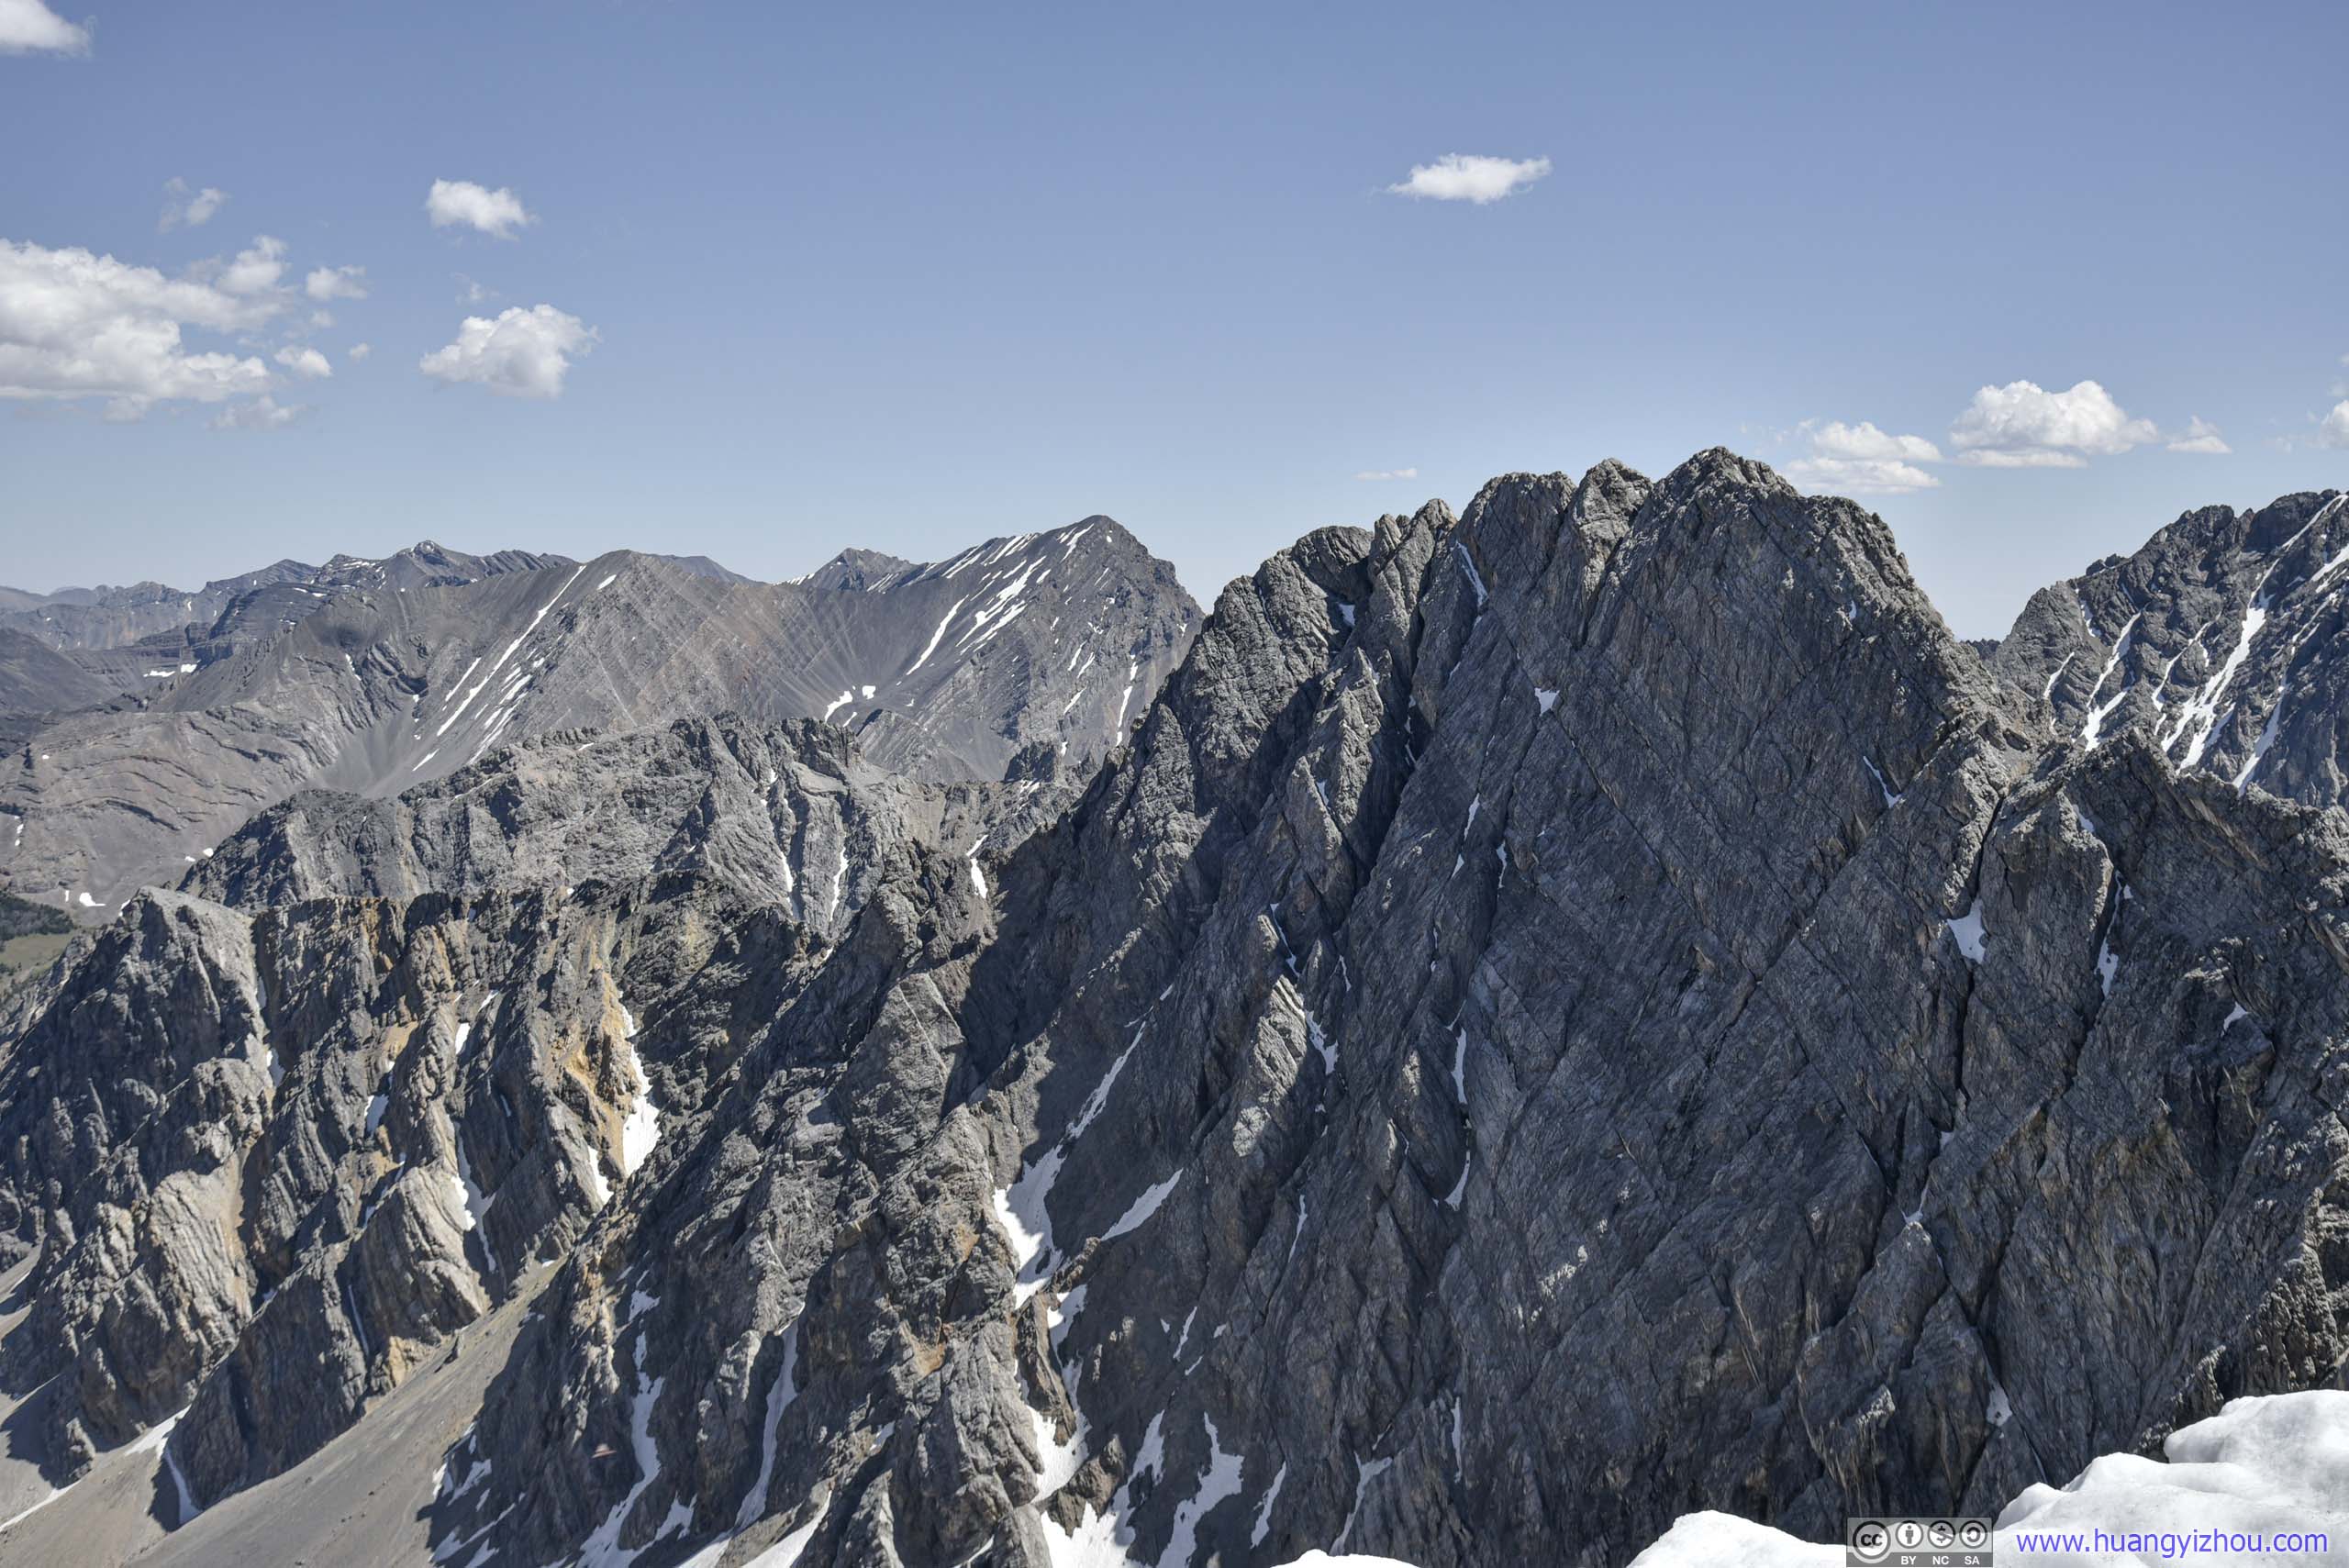
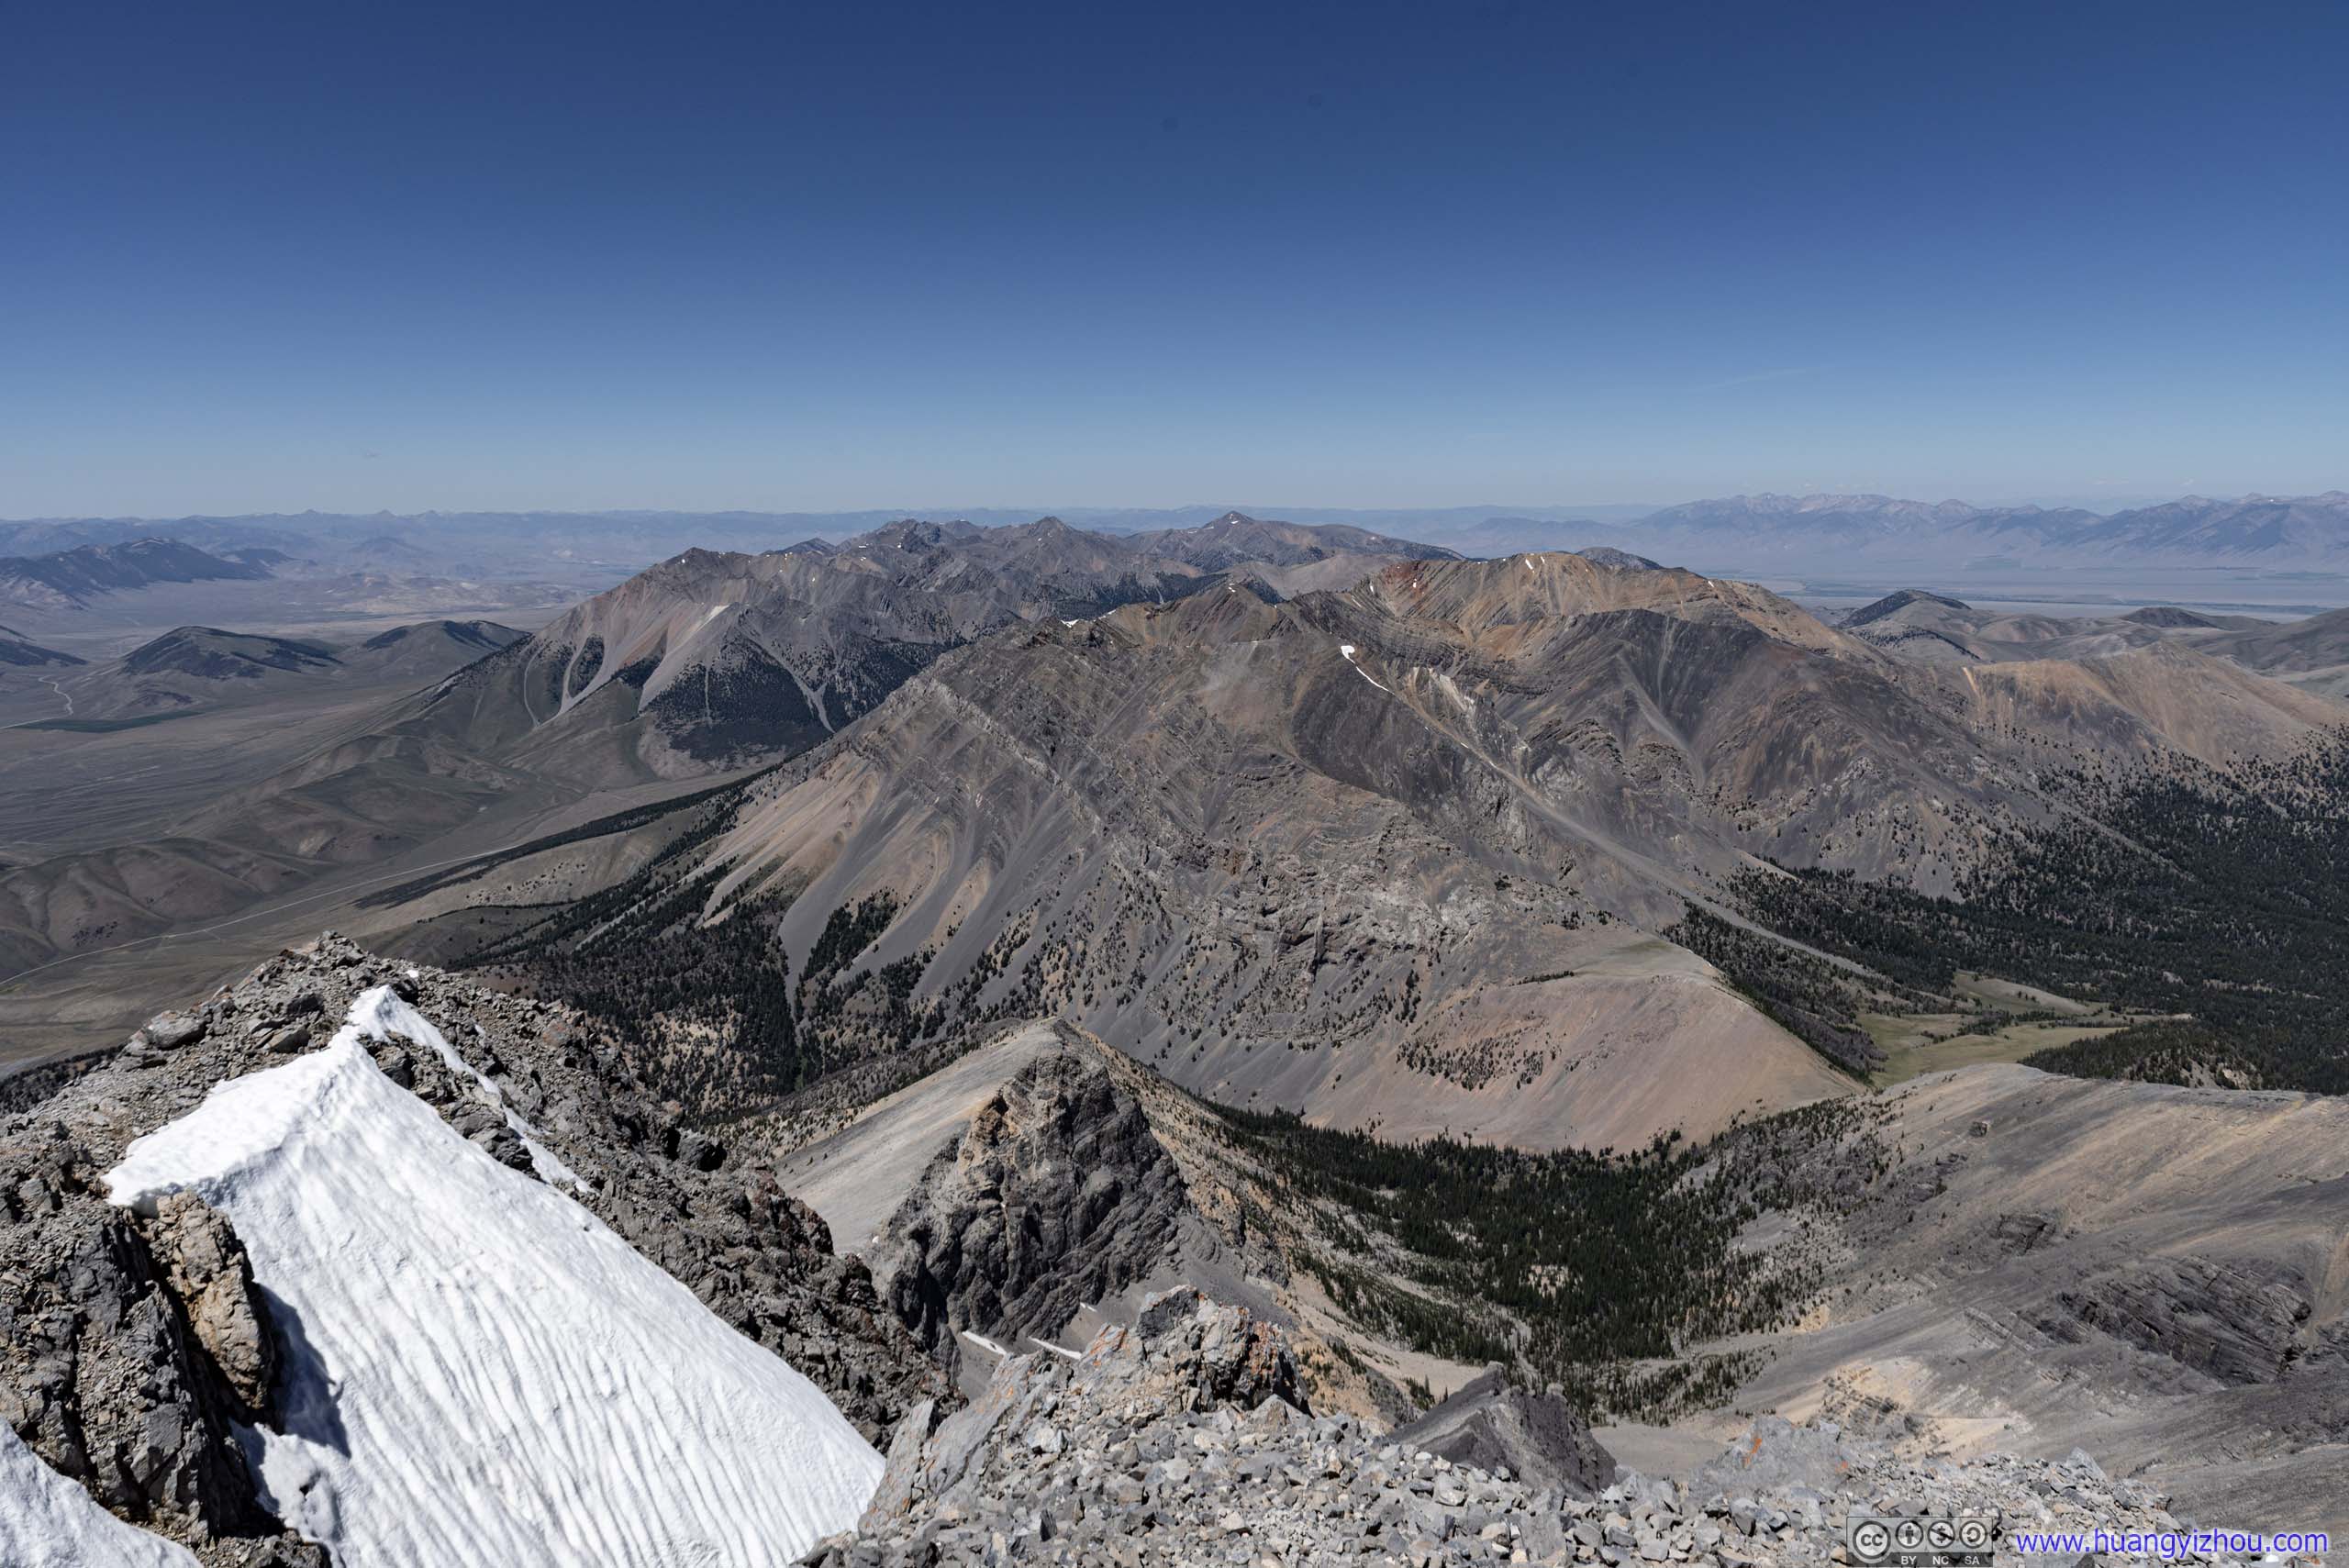 Mountains to the North
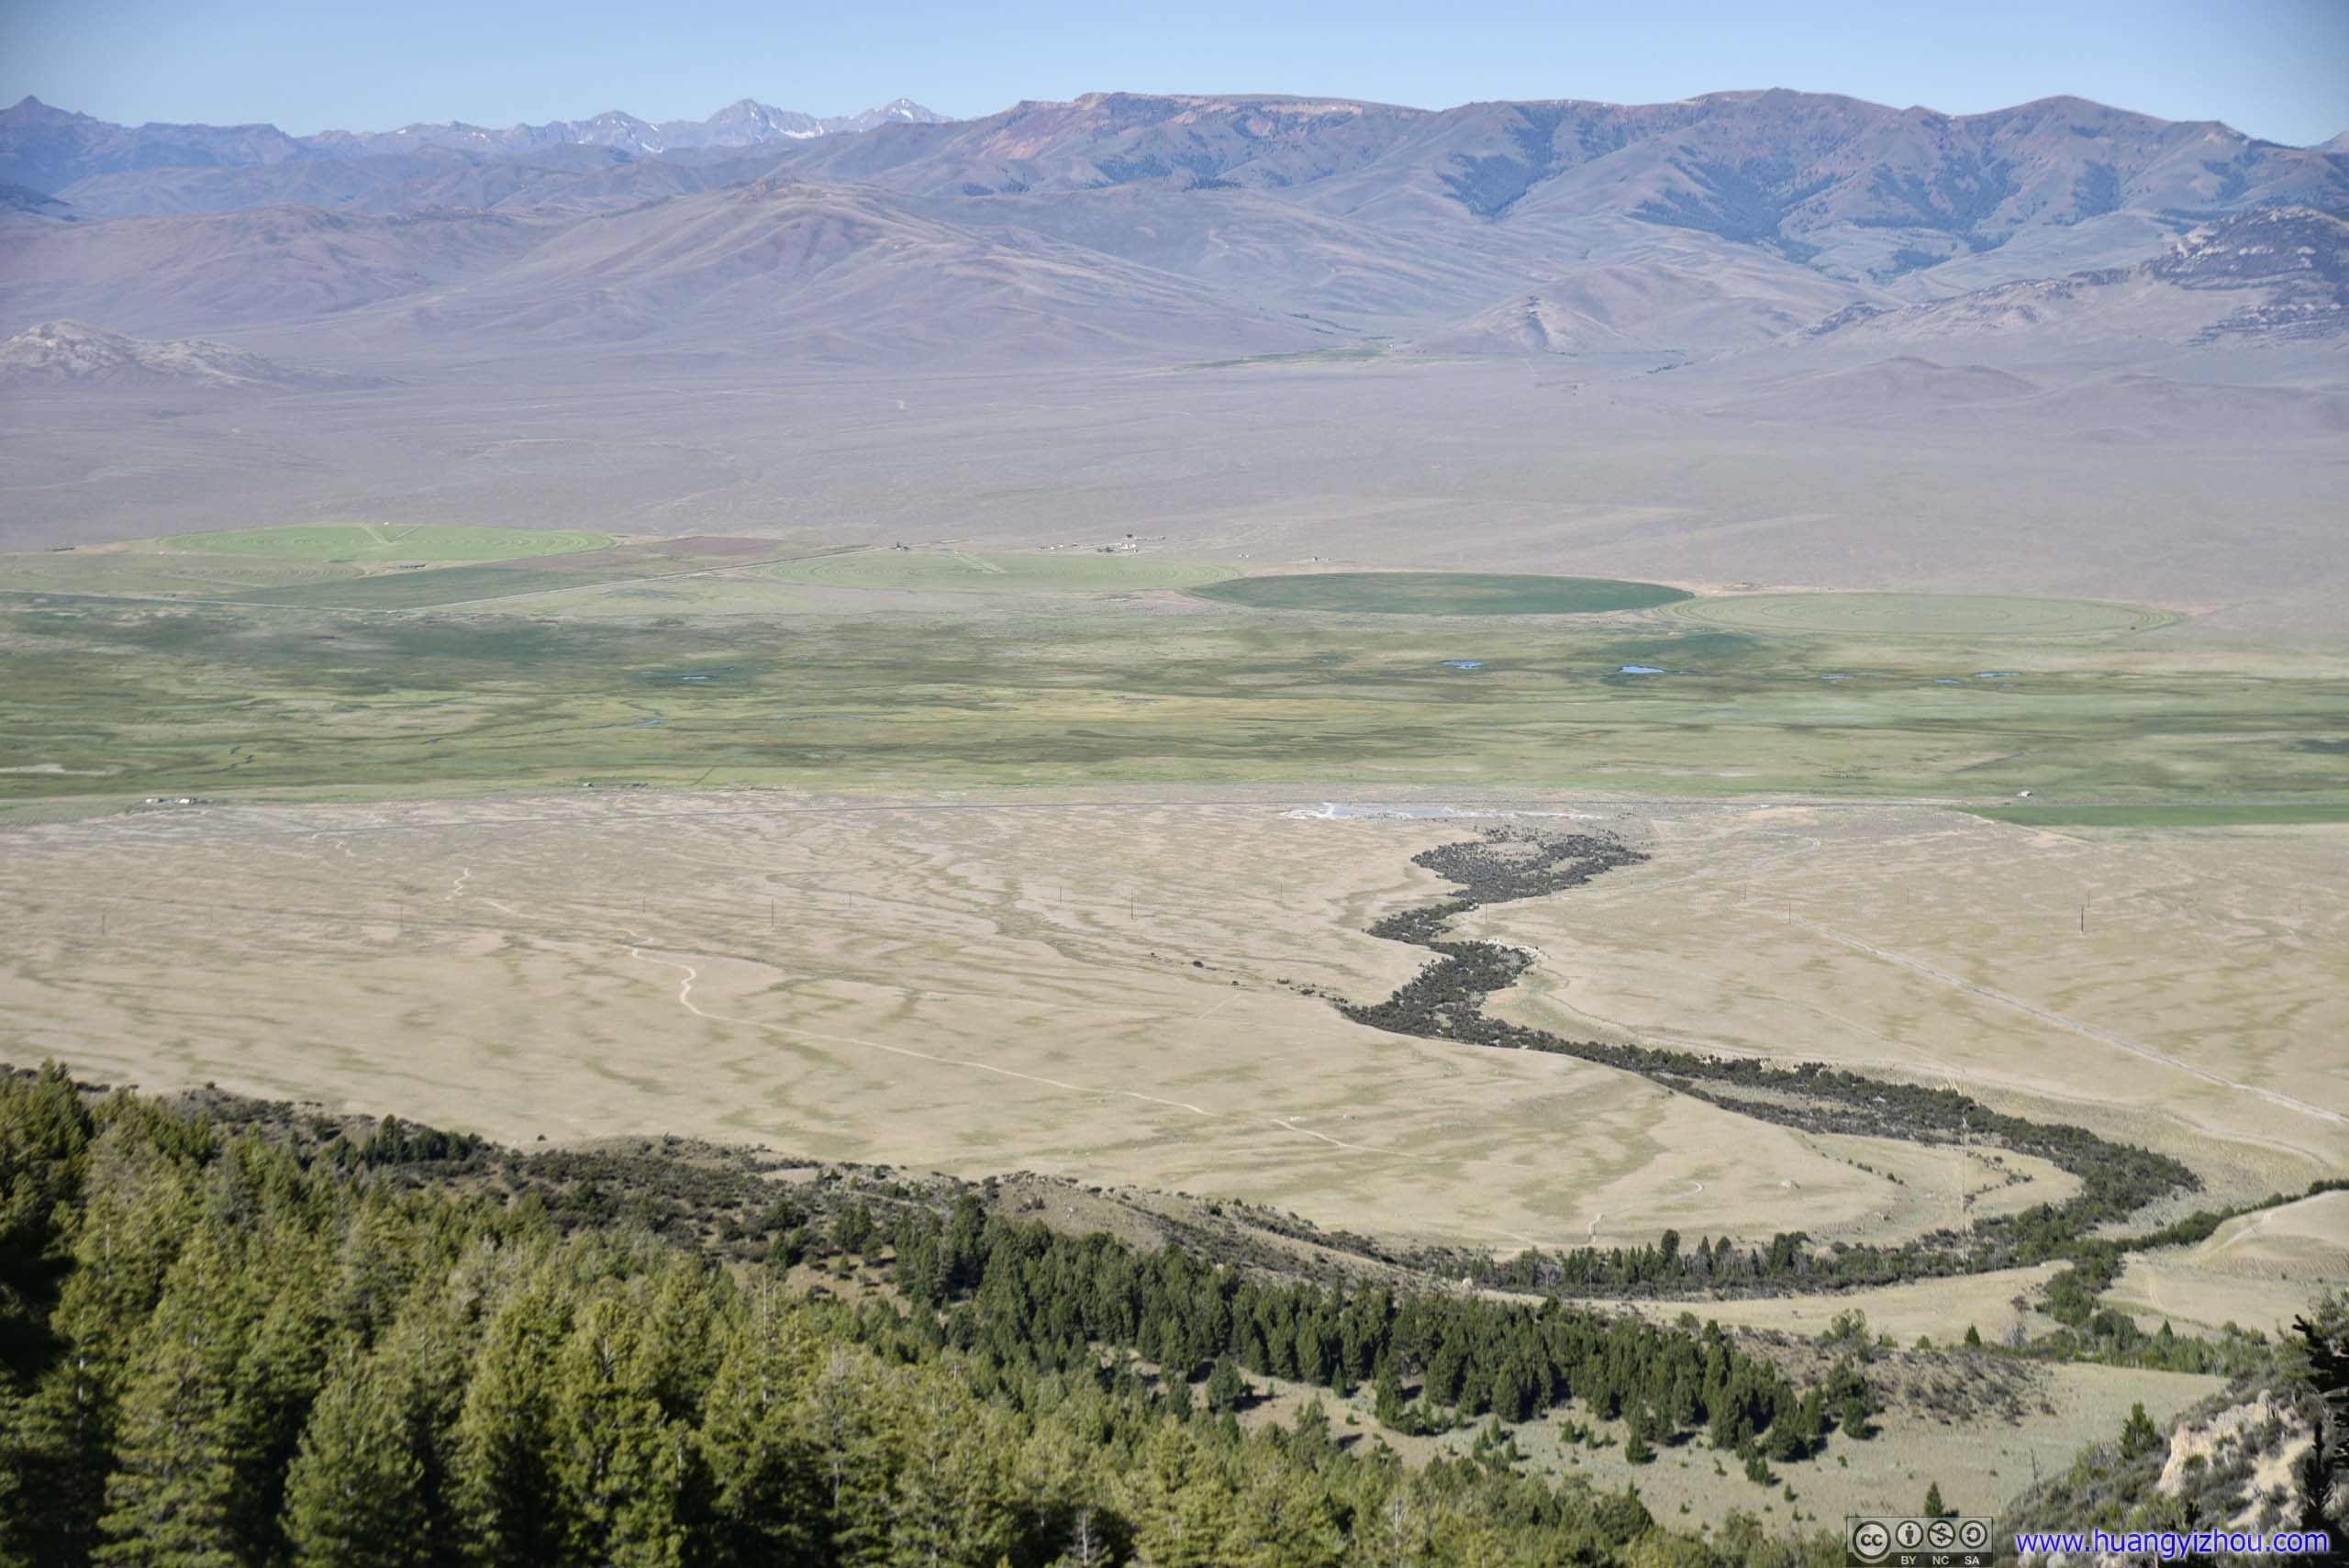
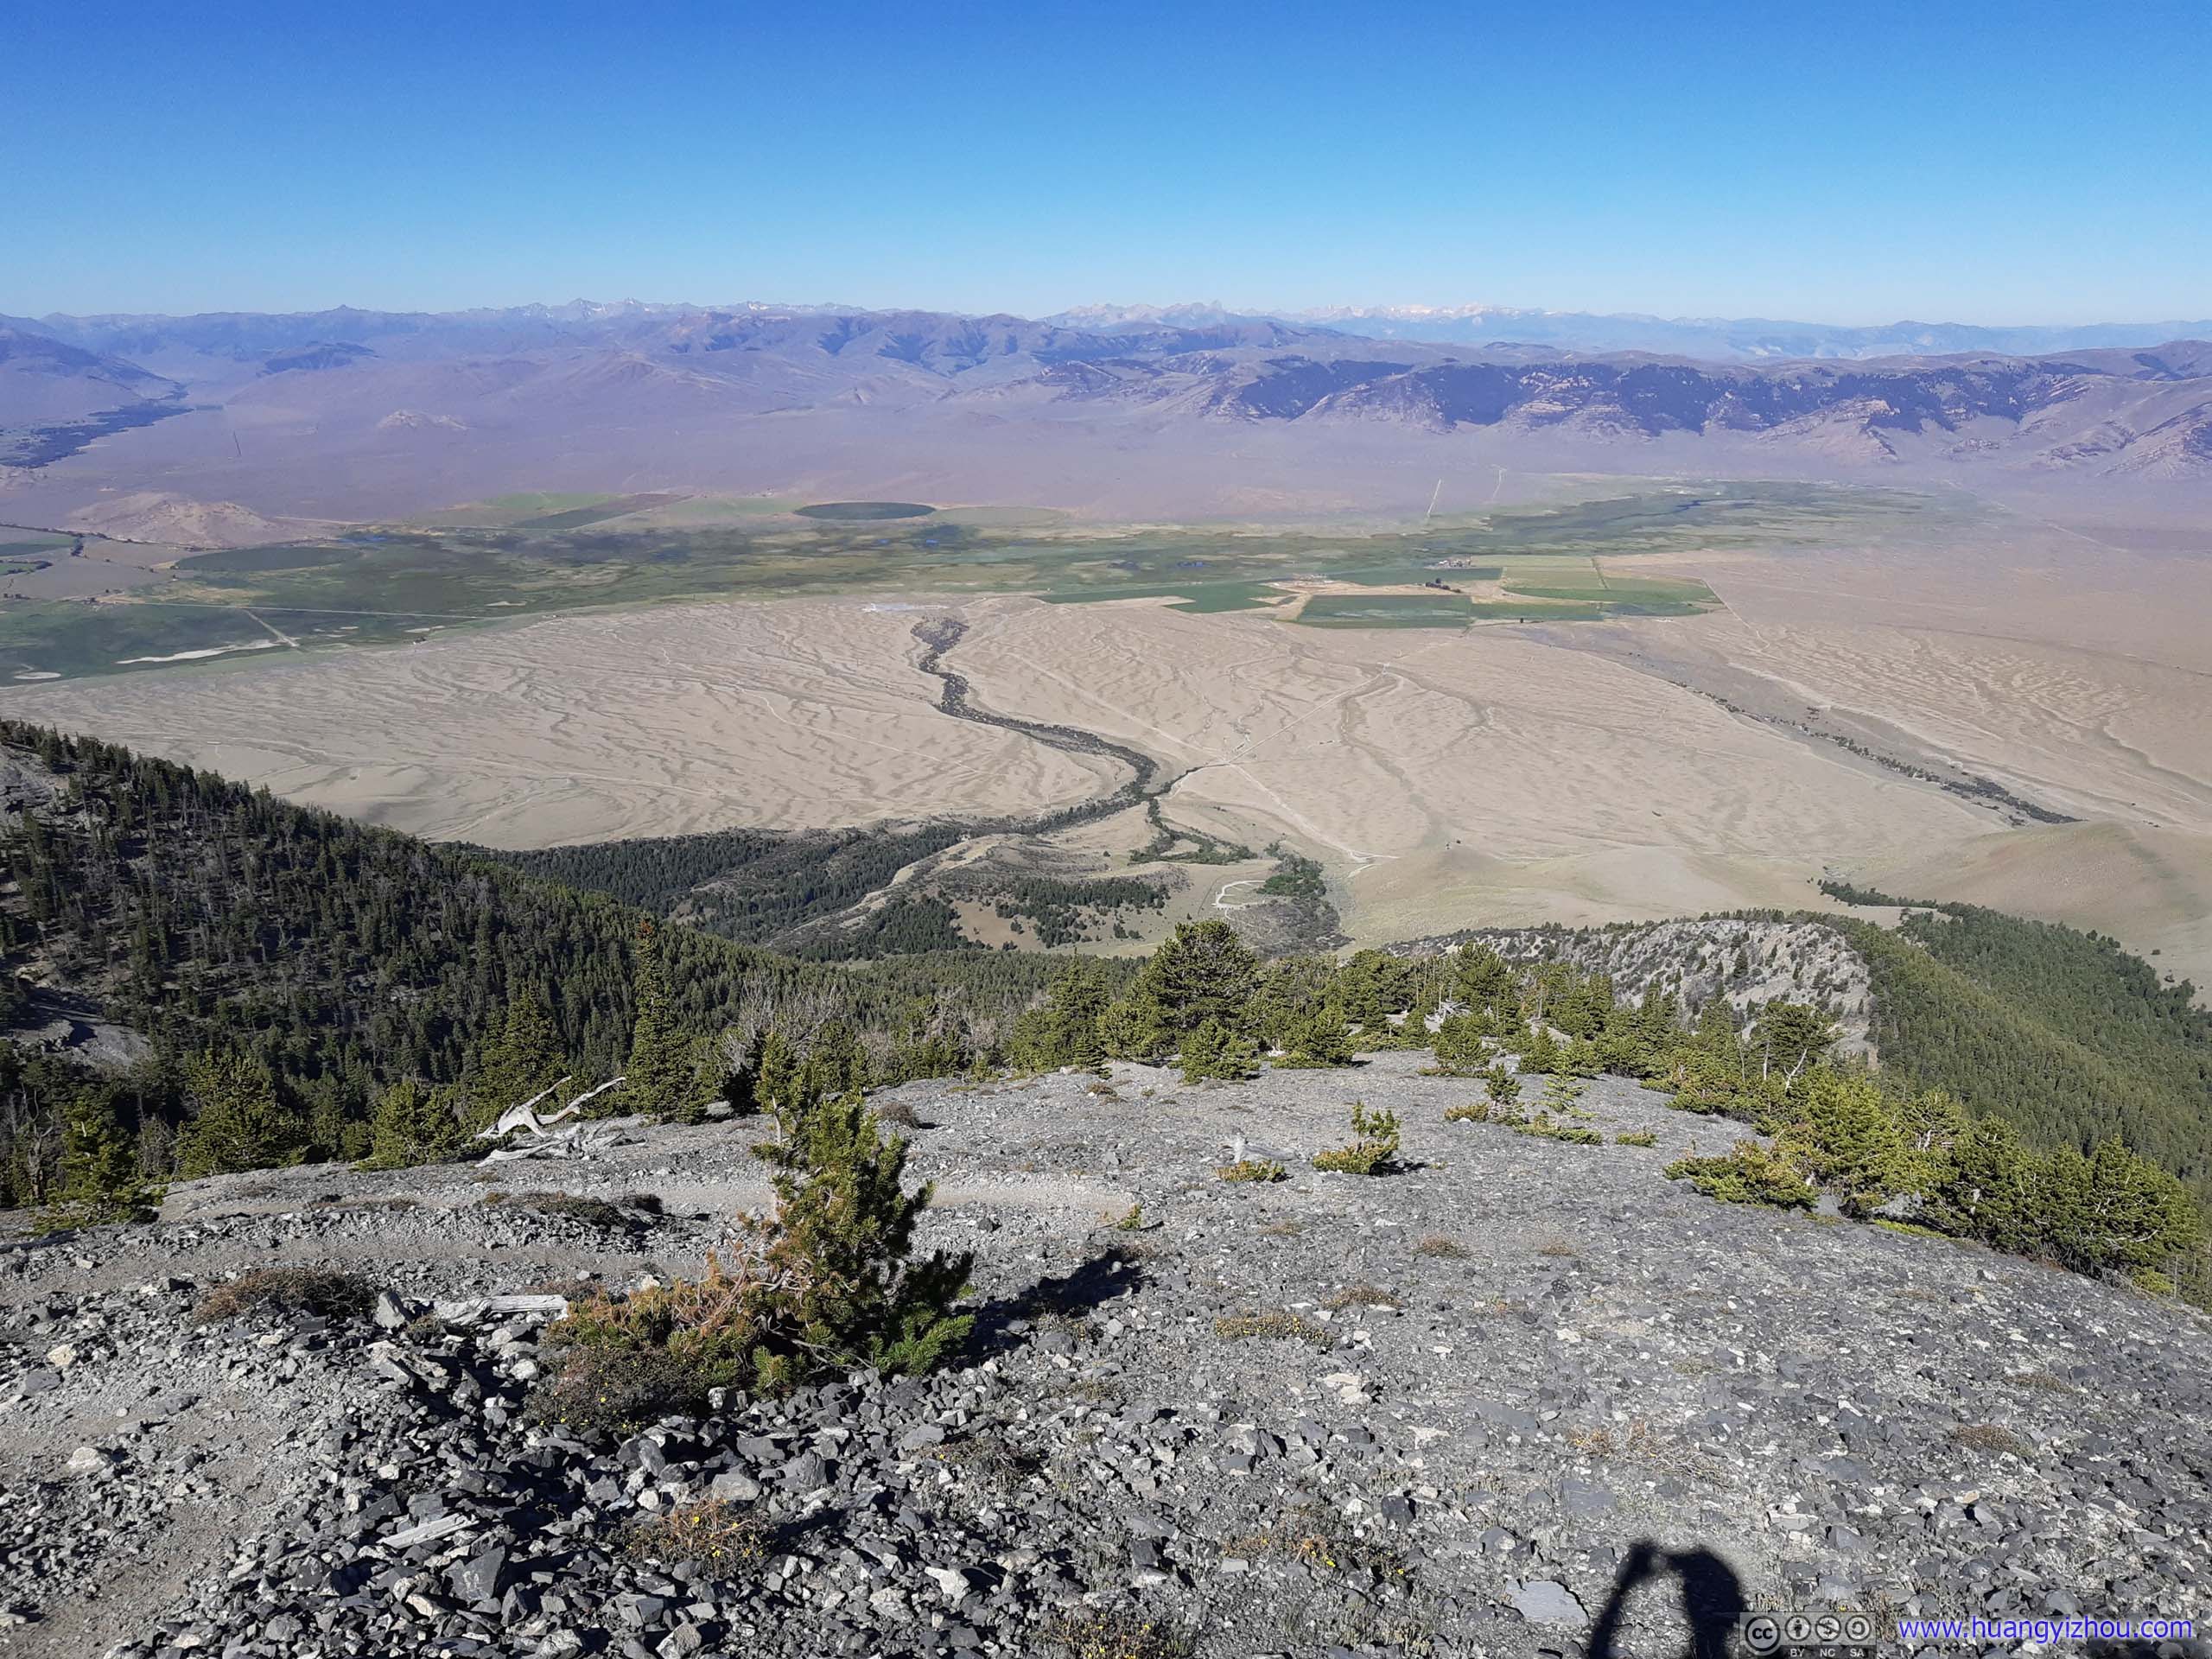
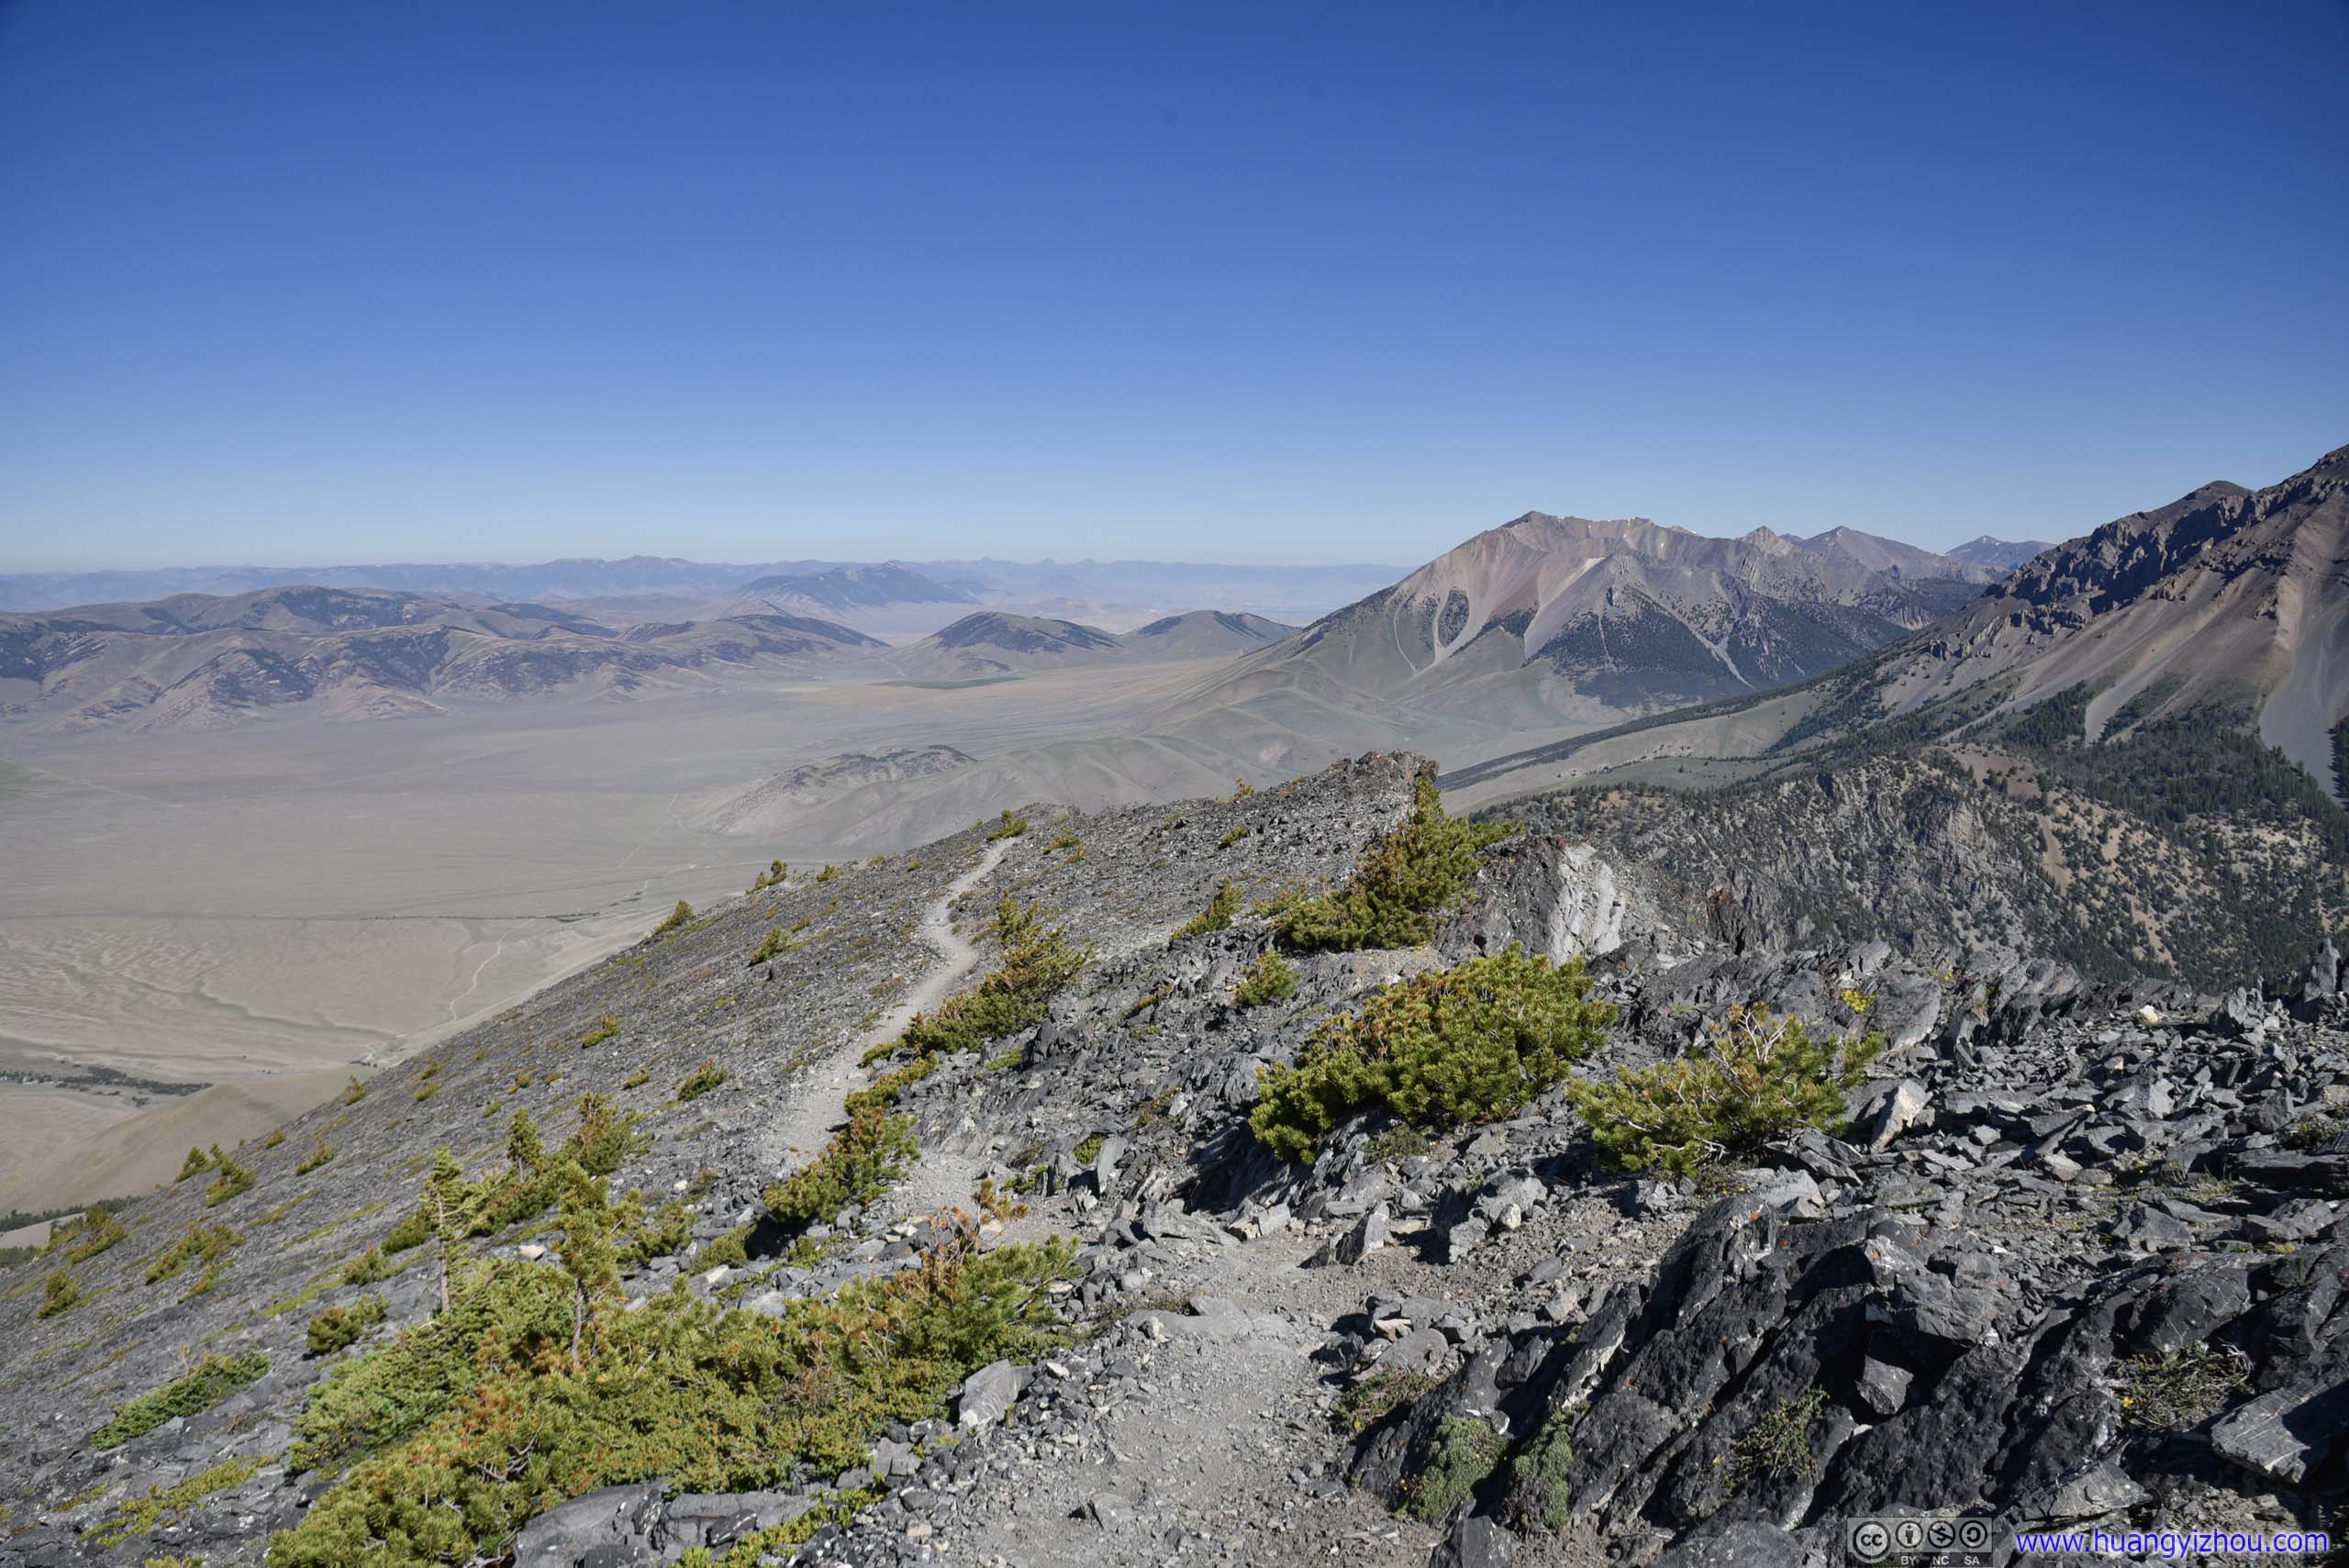
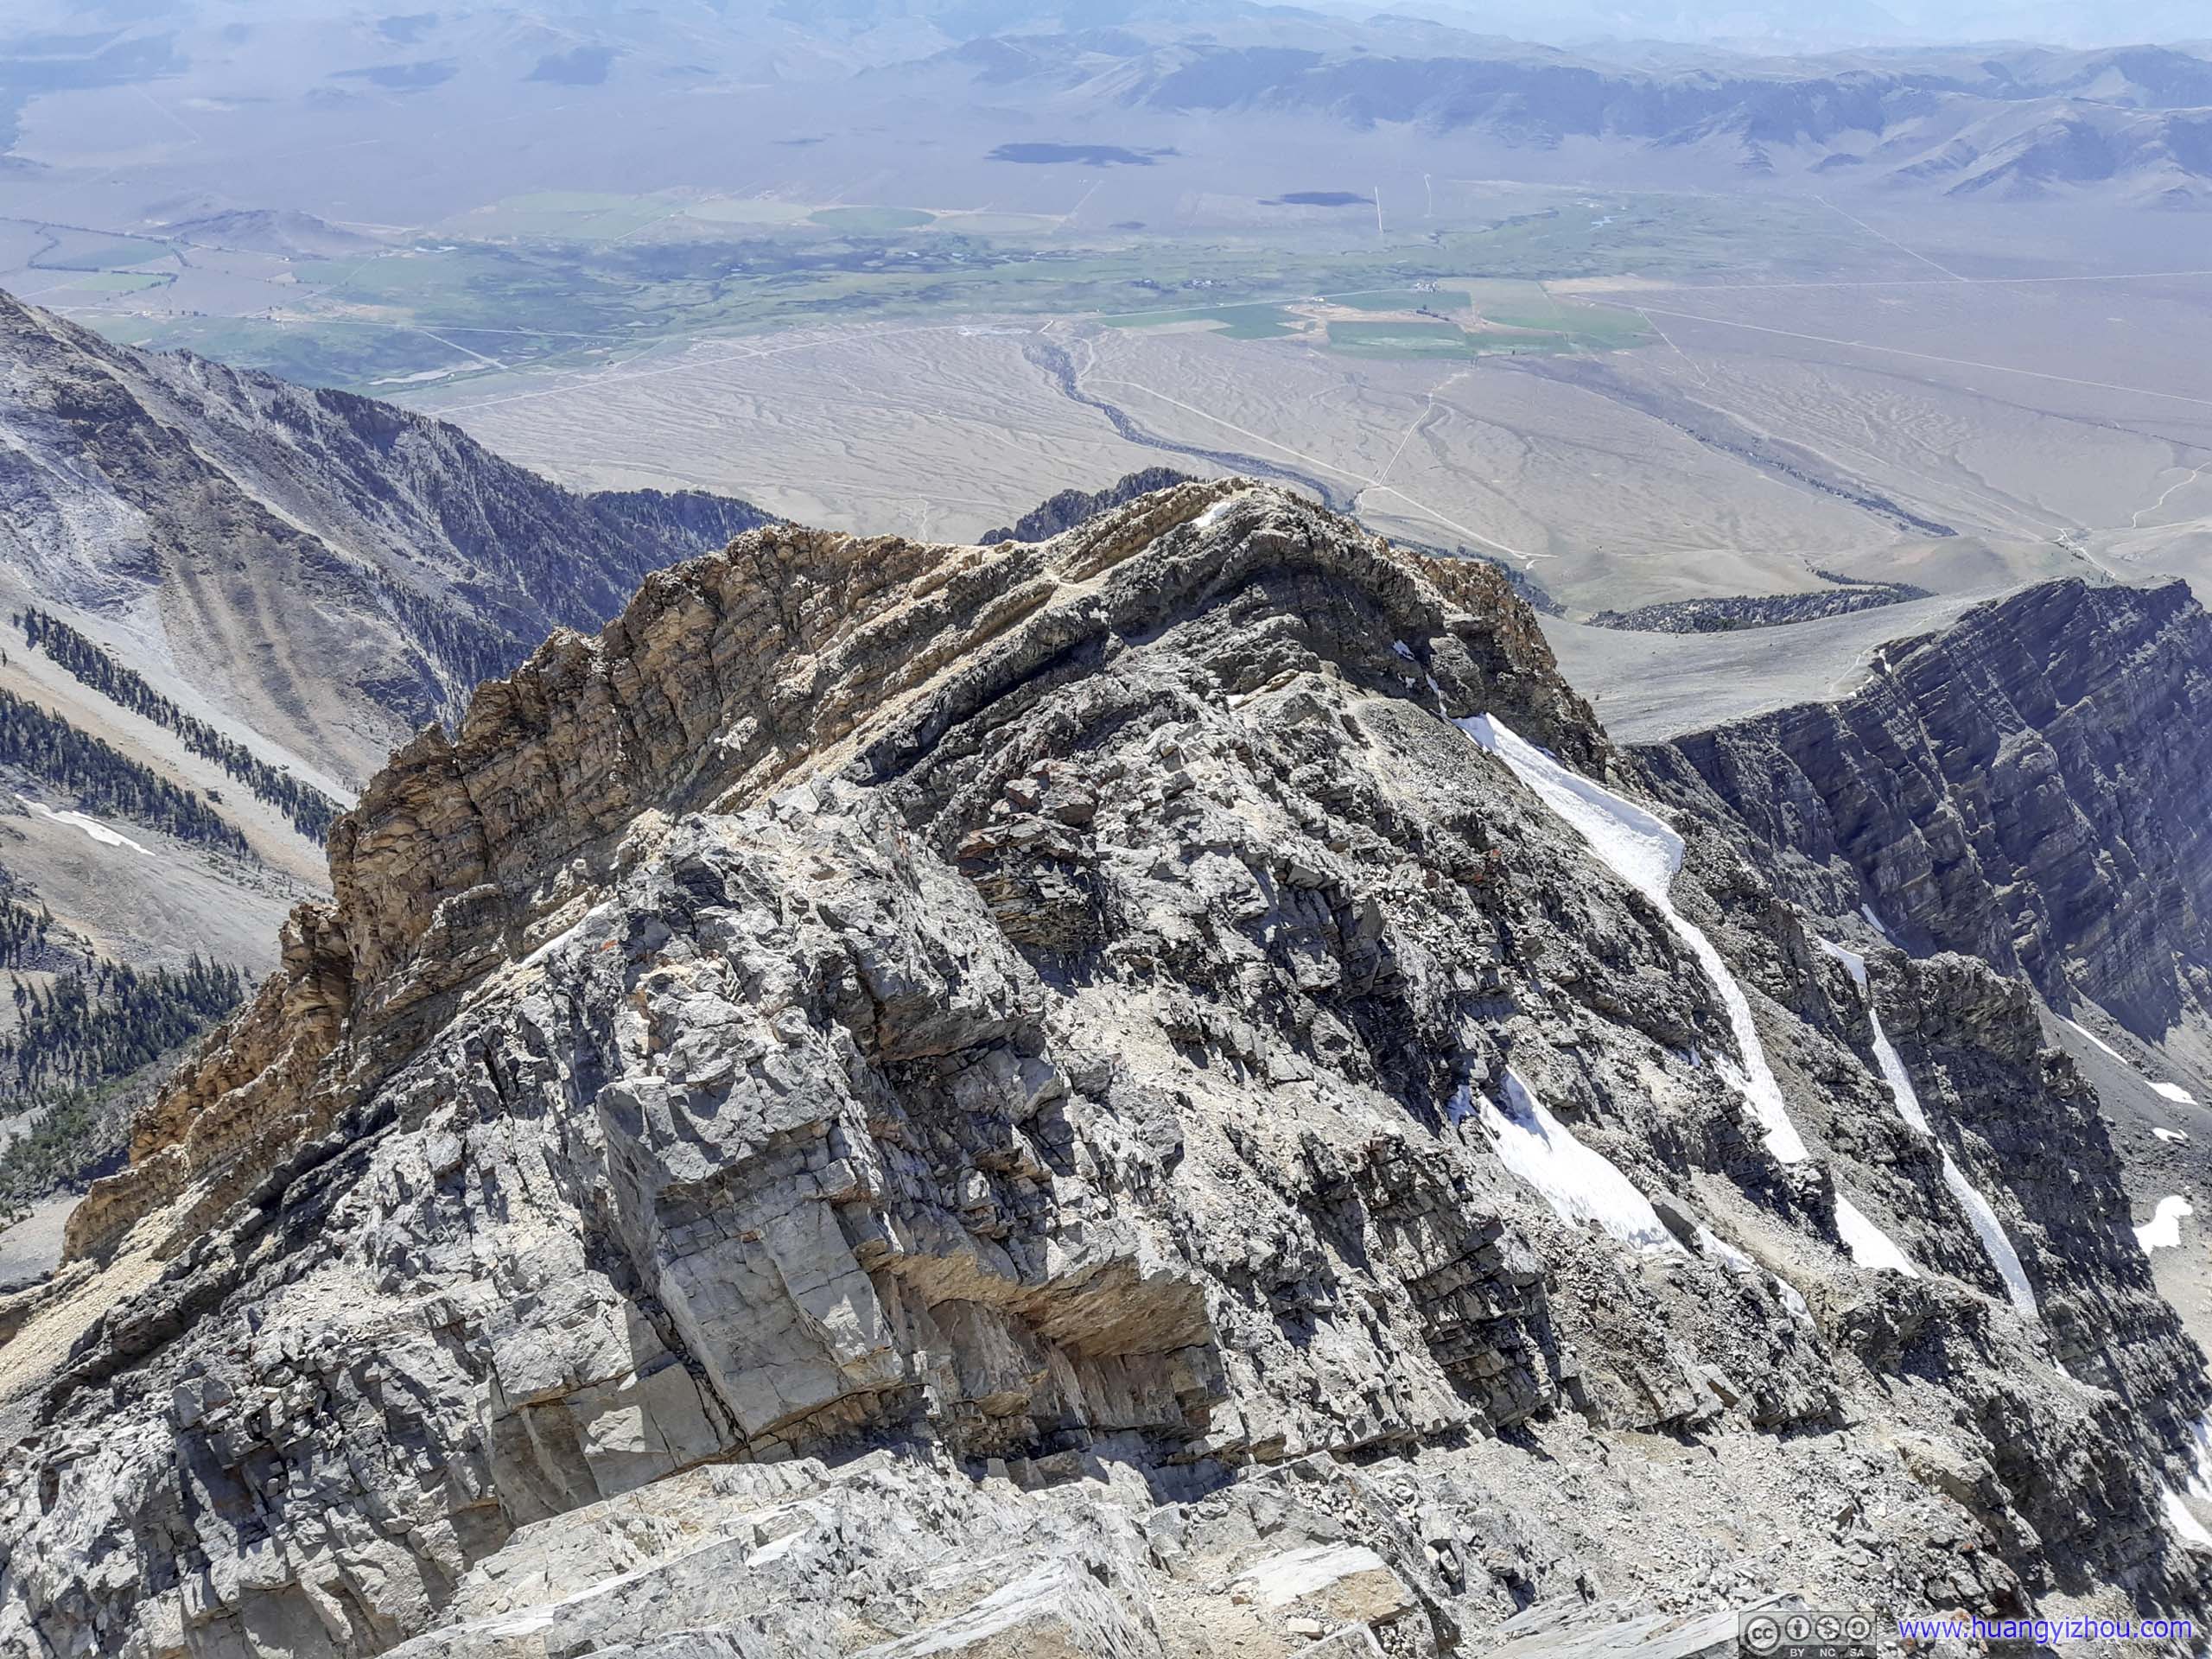
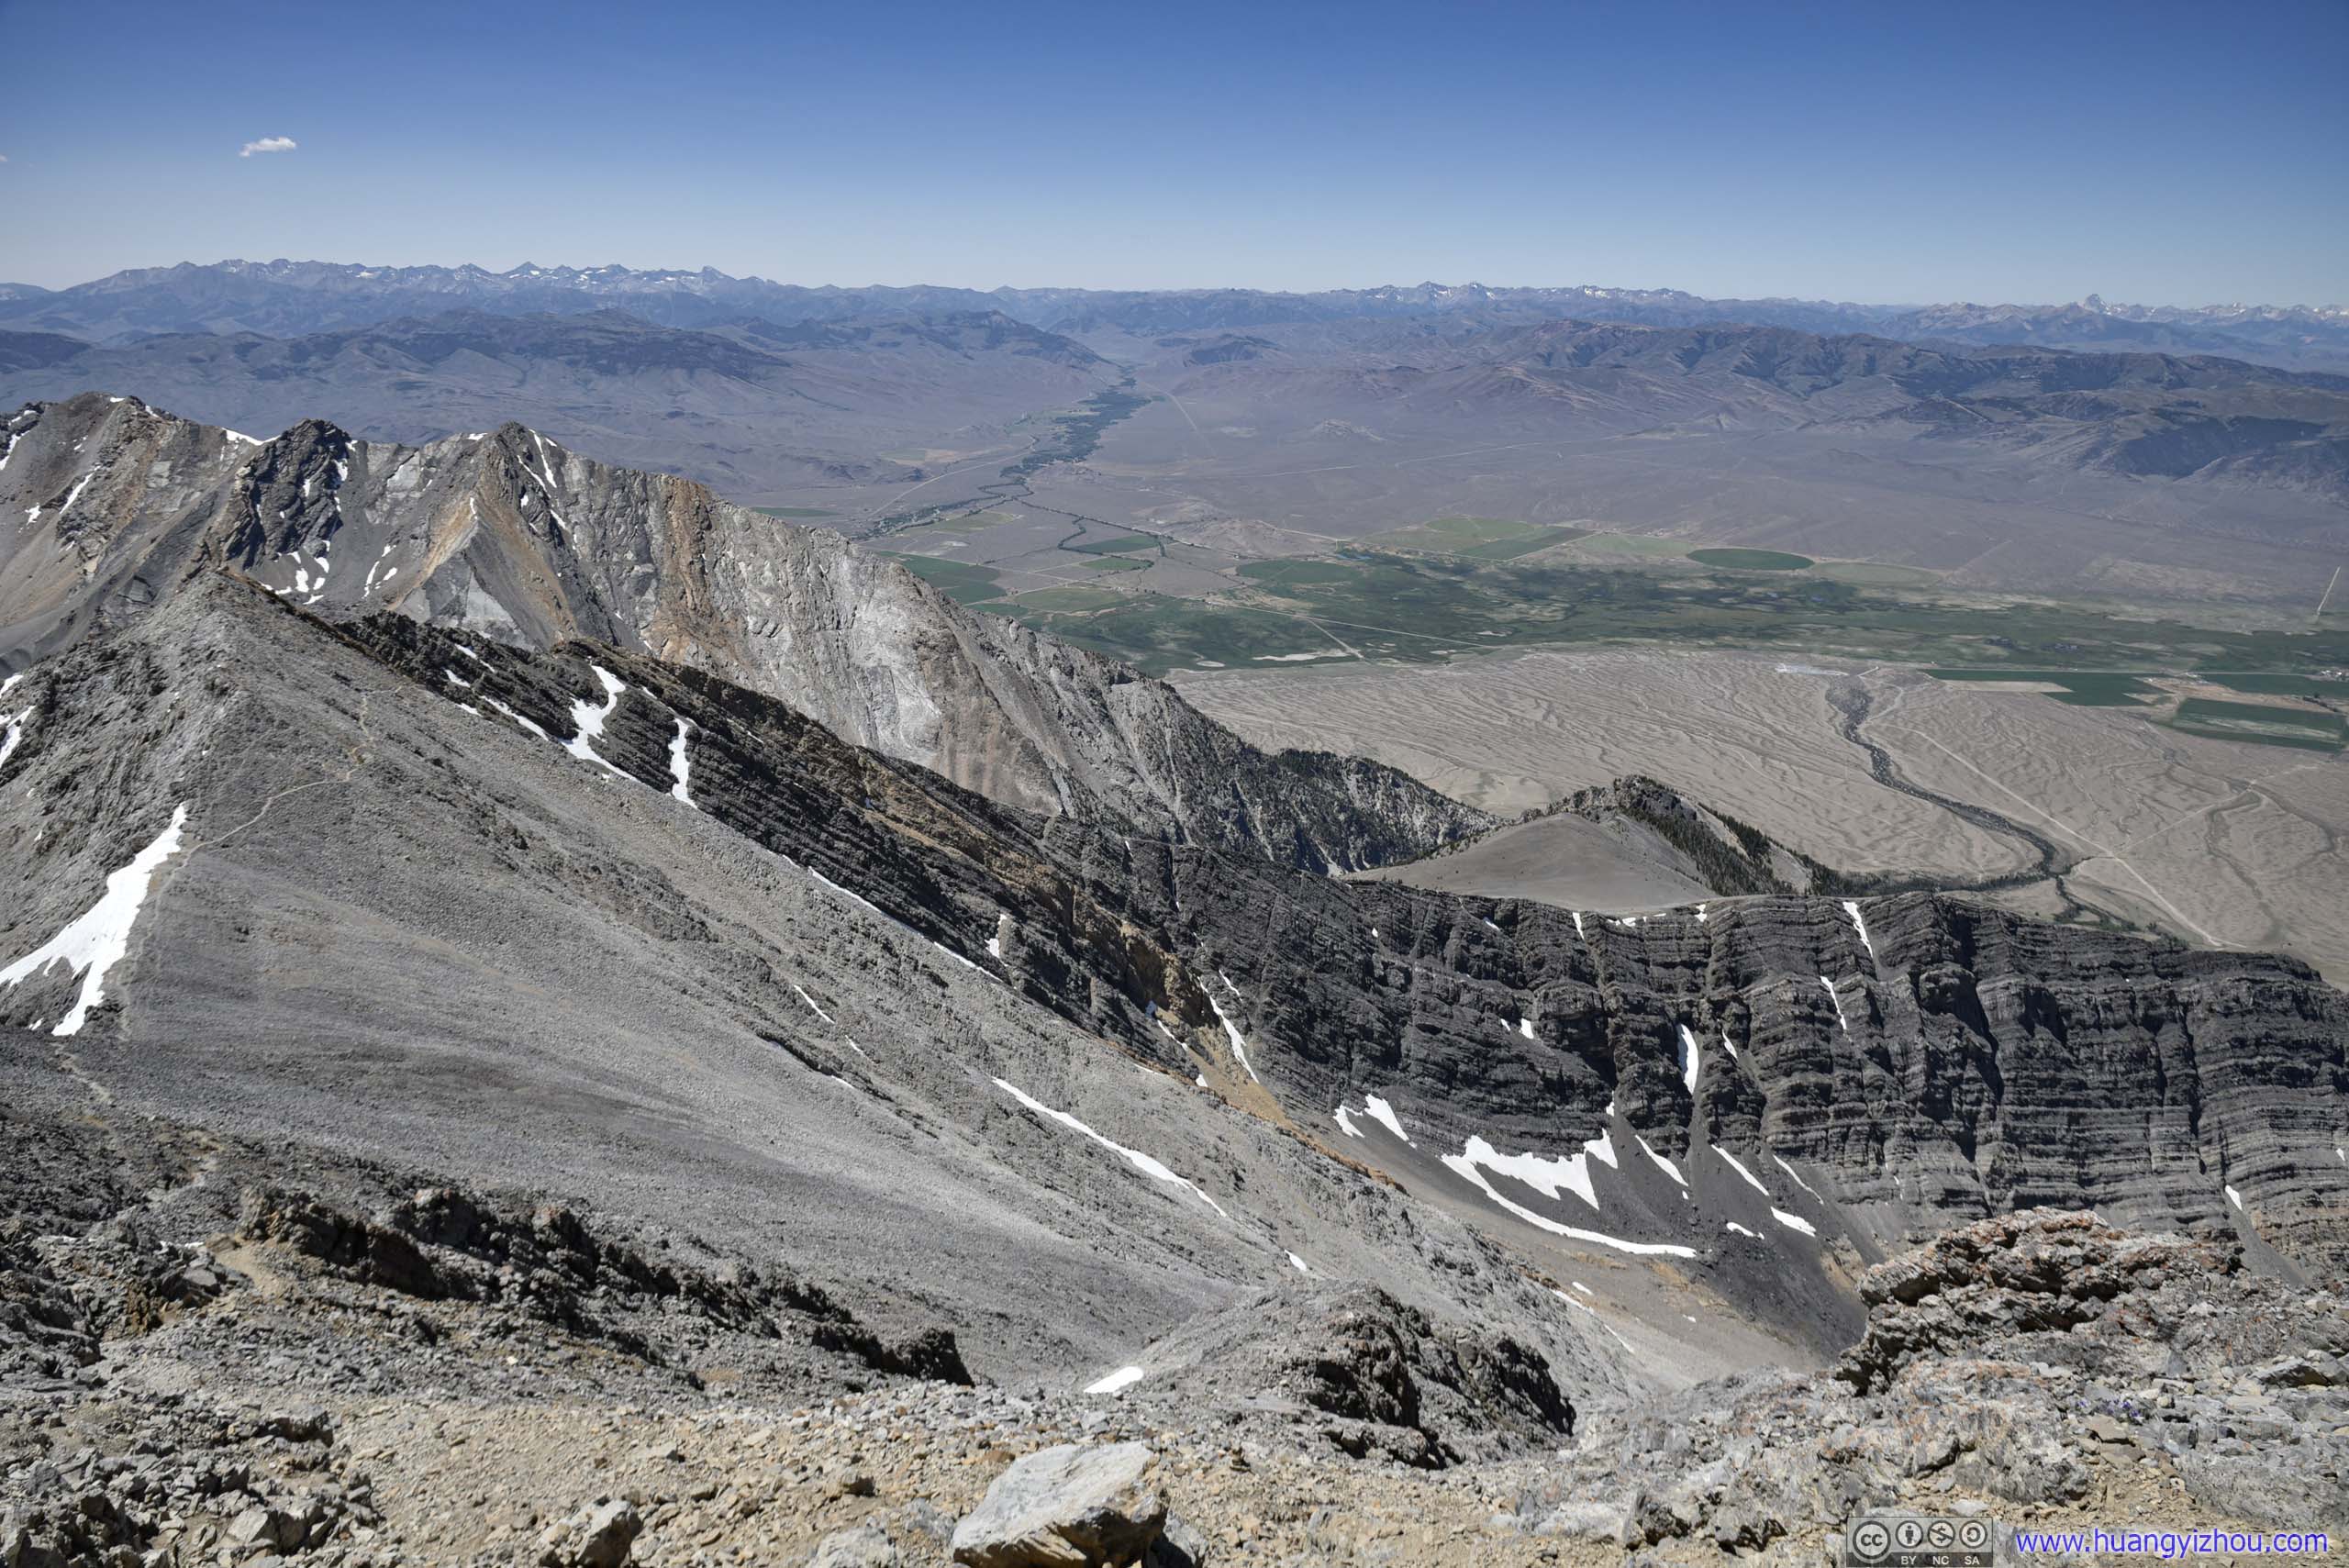
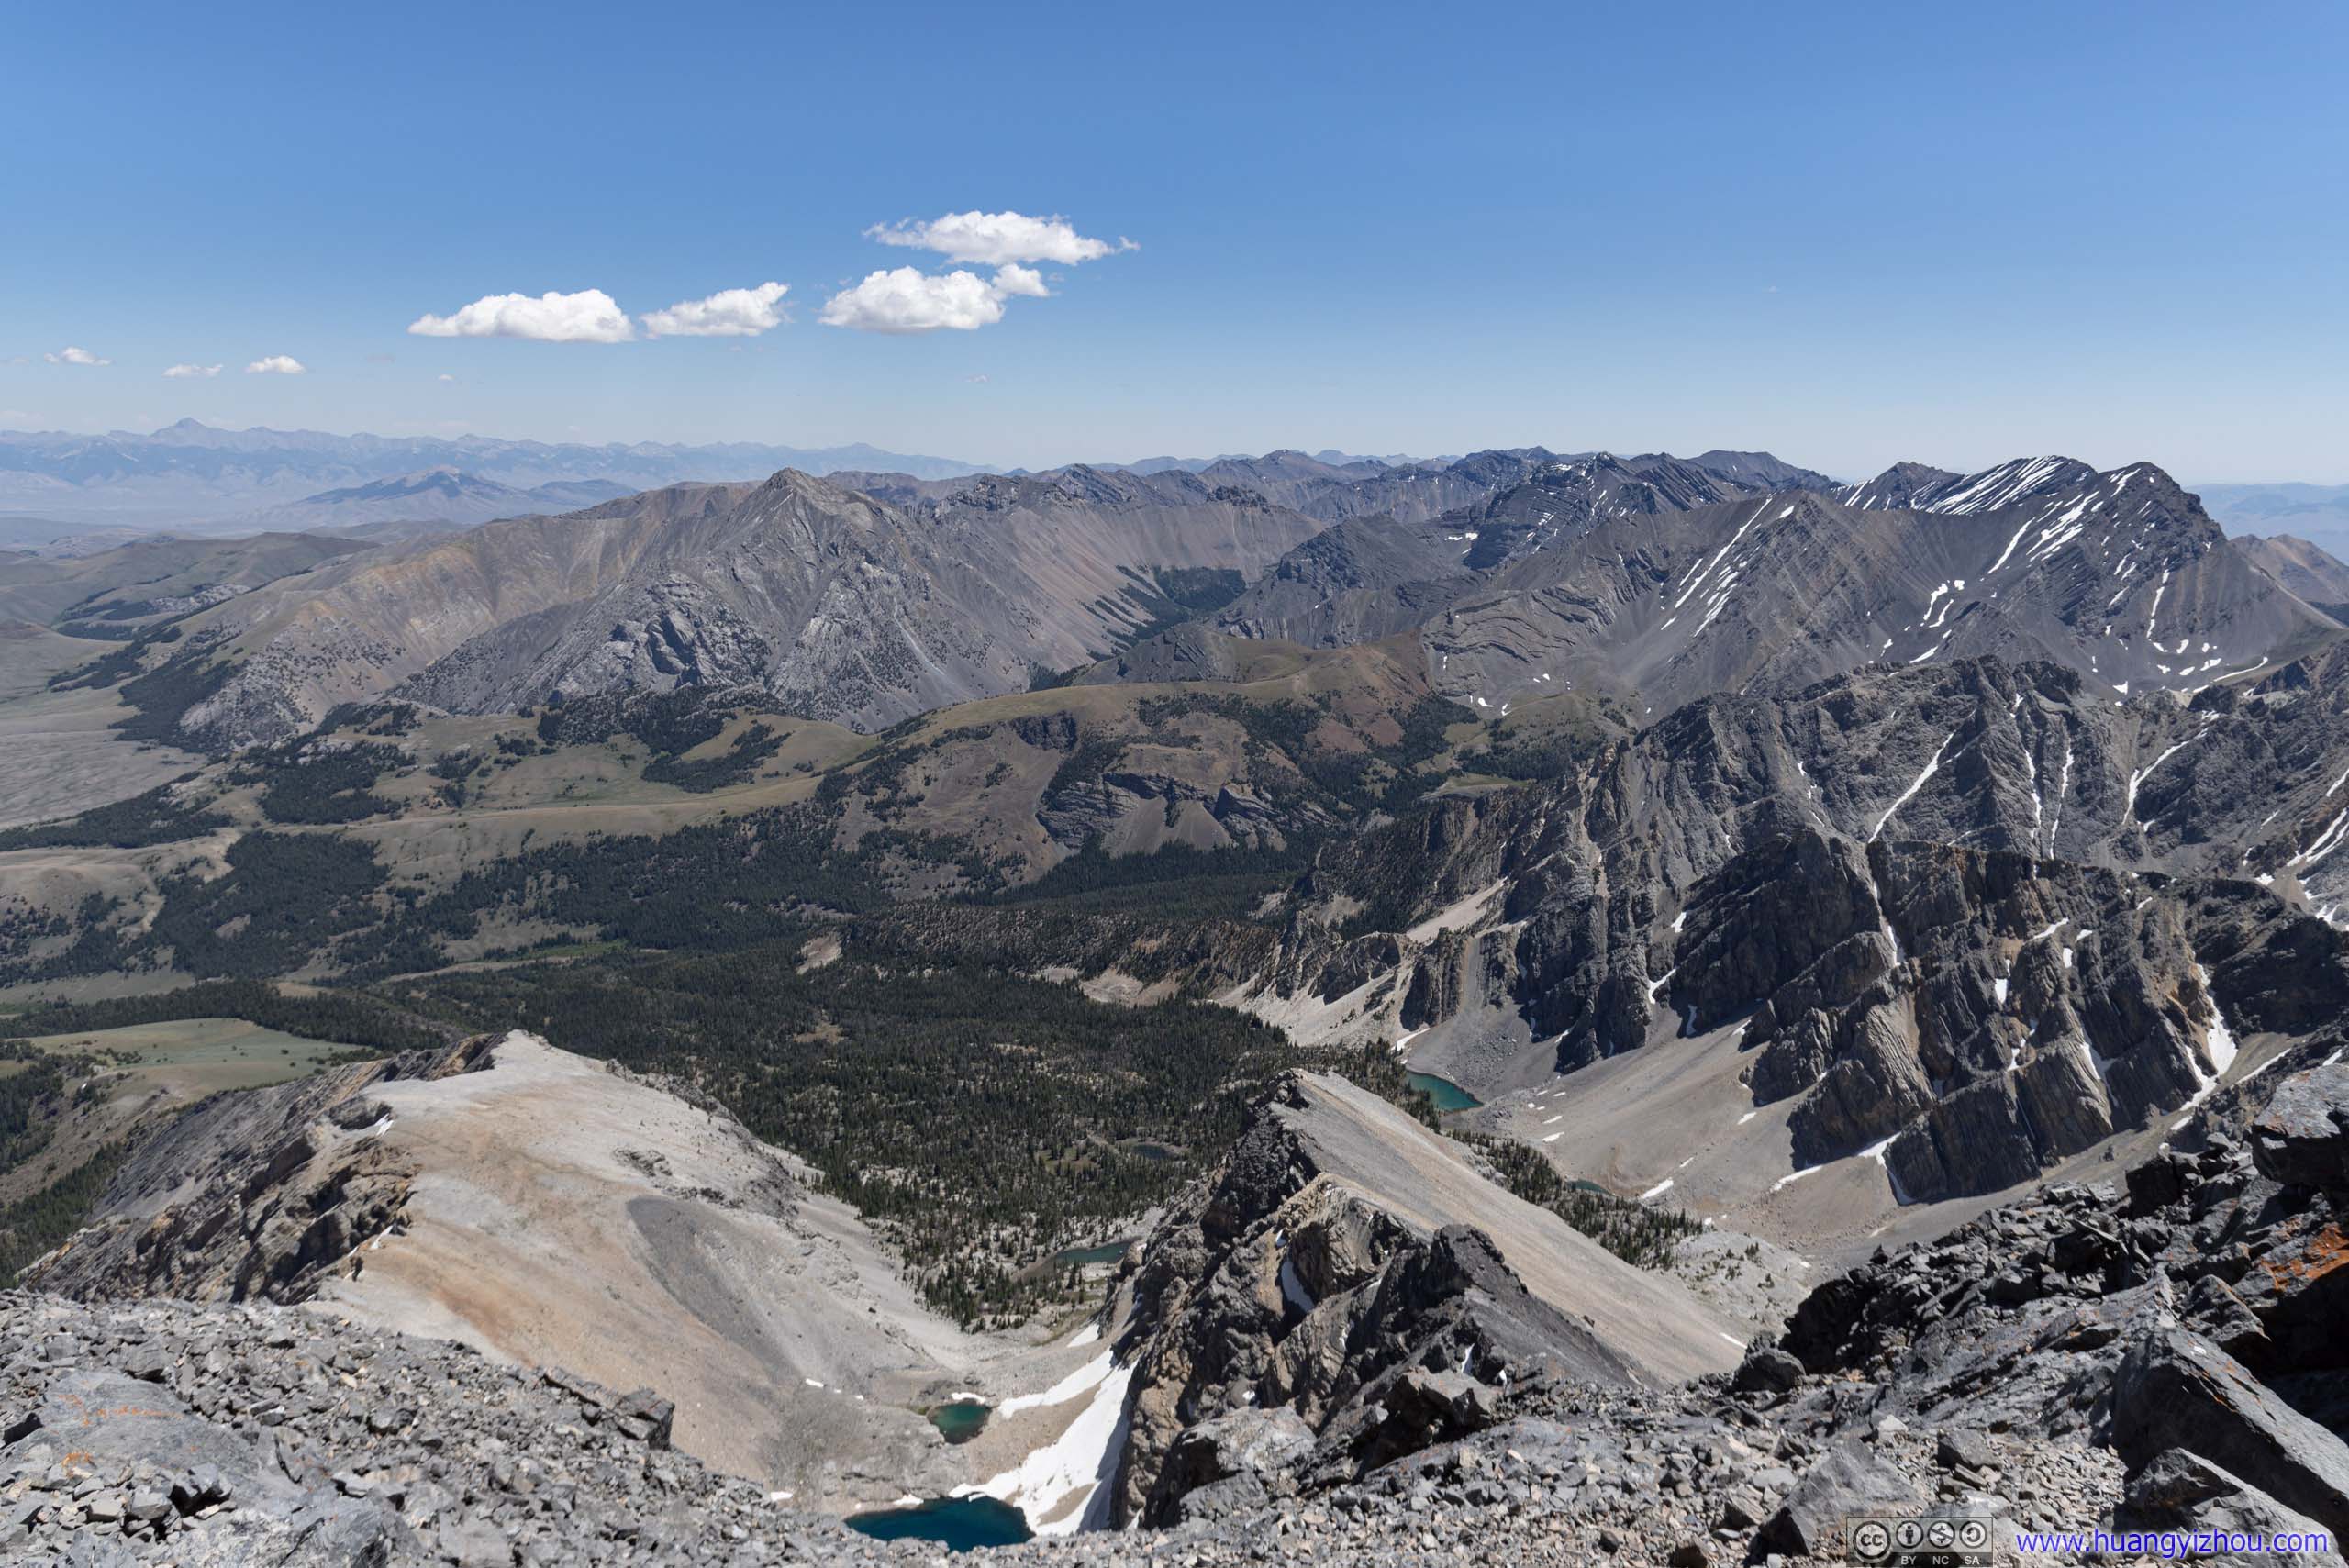
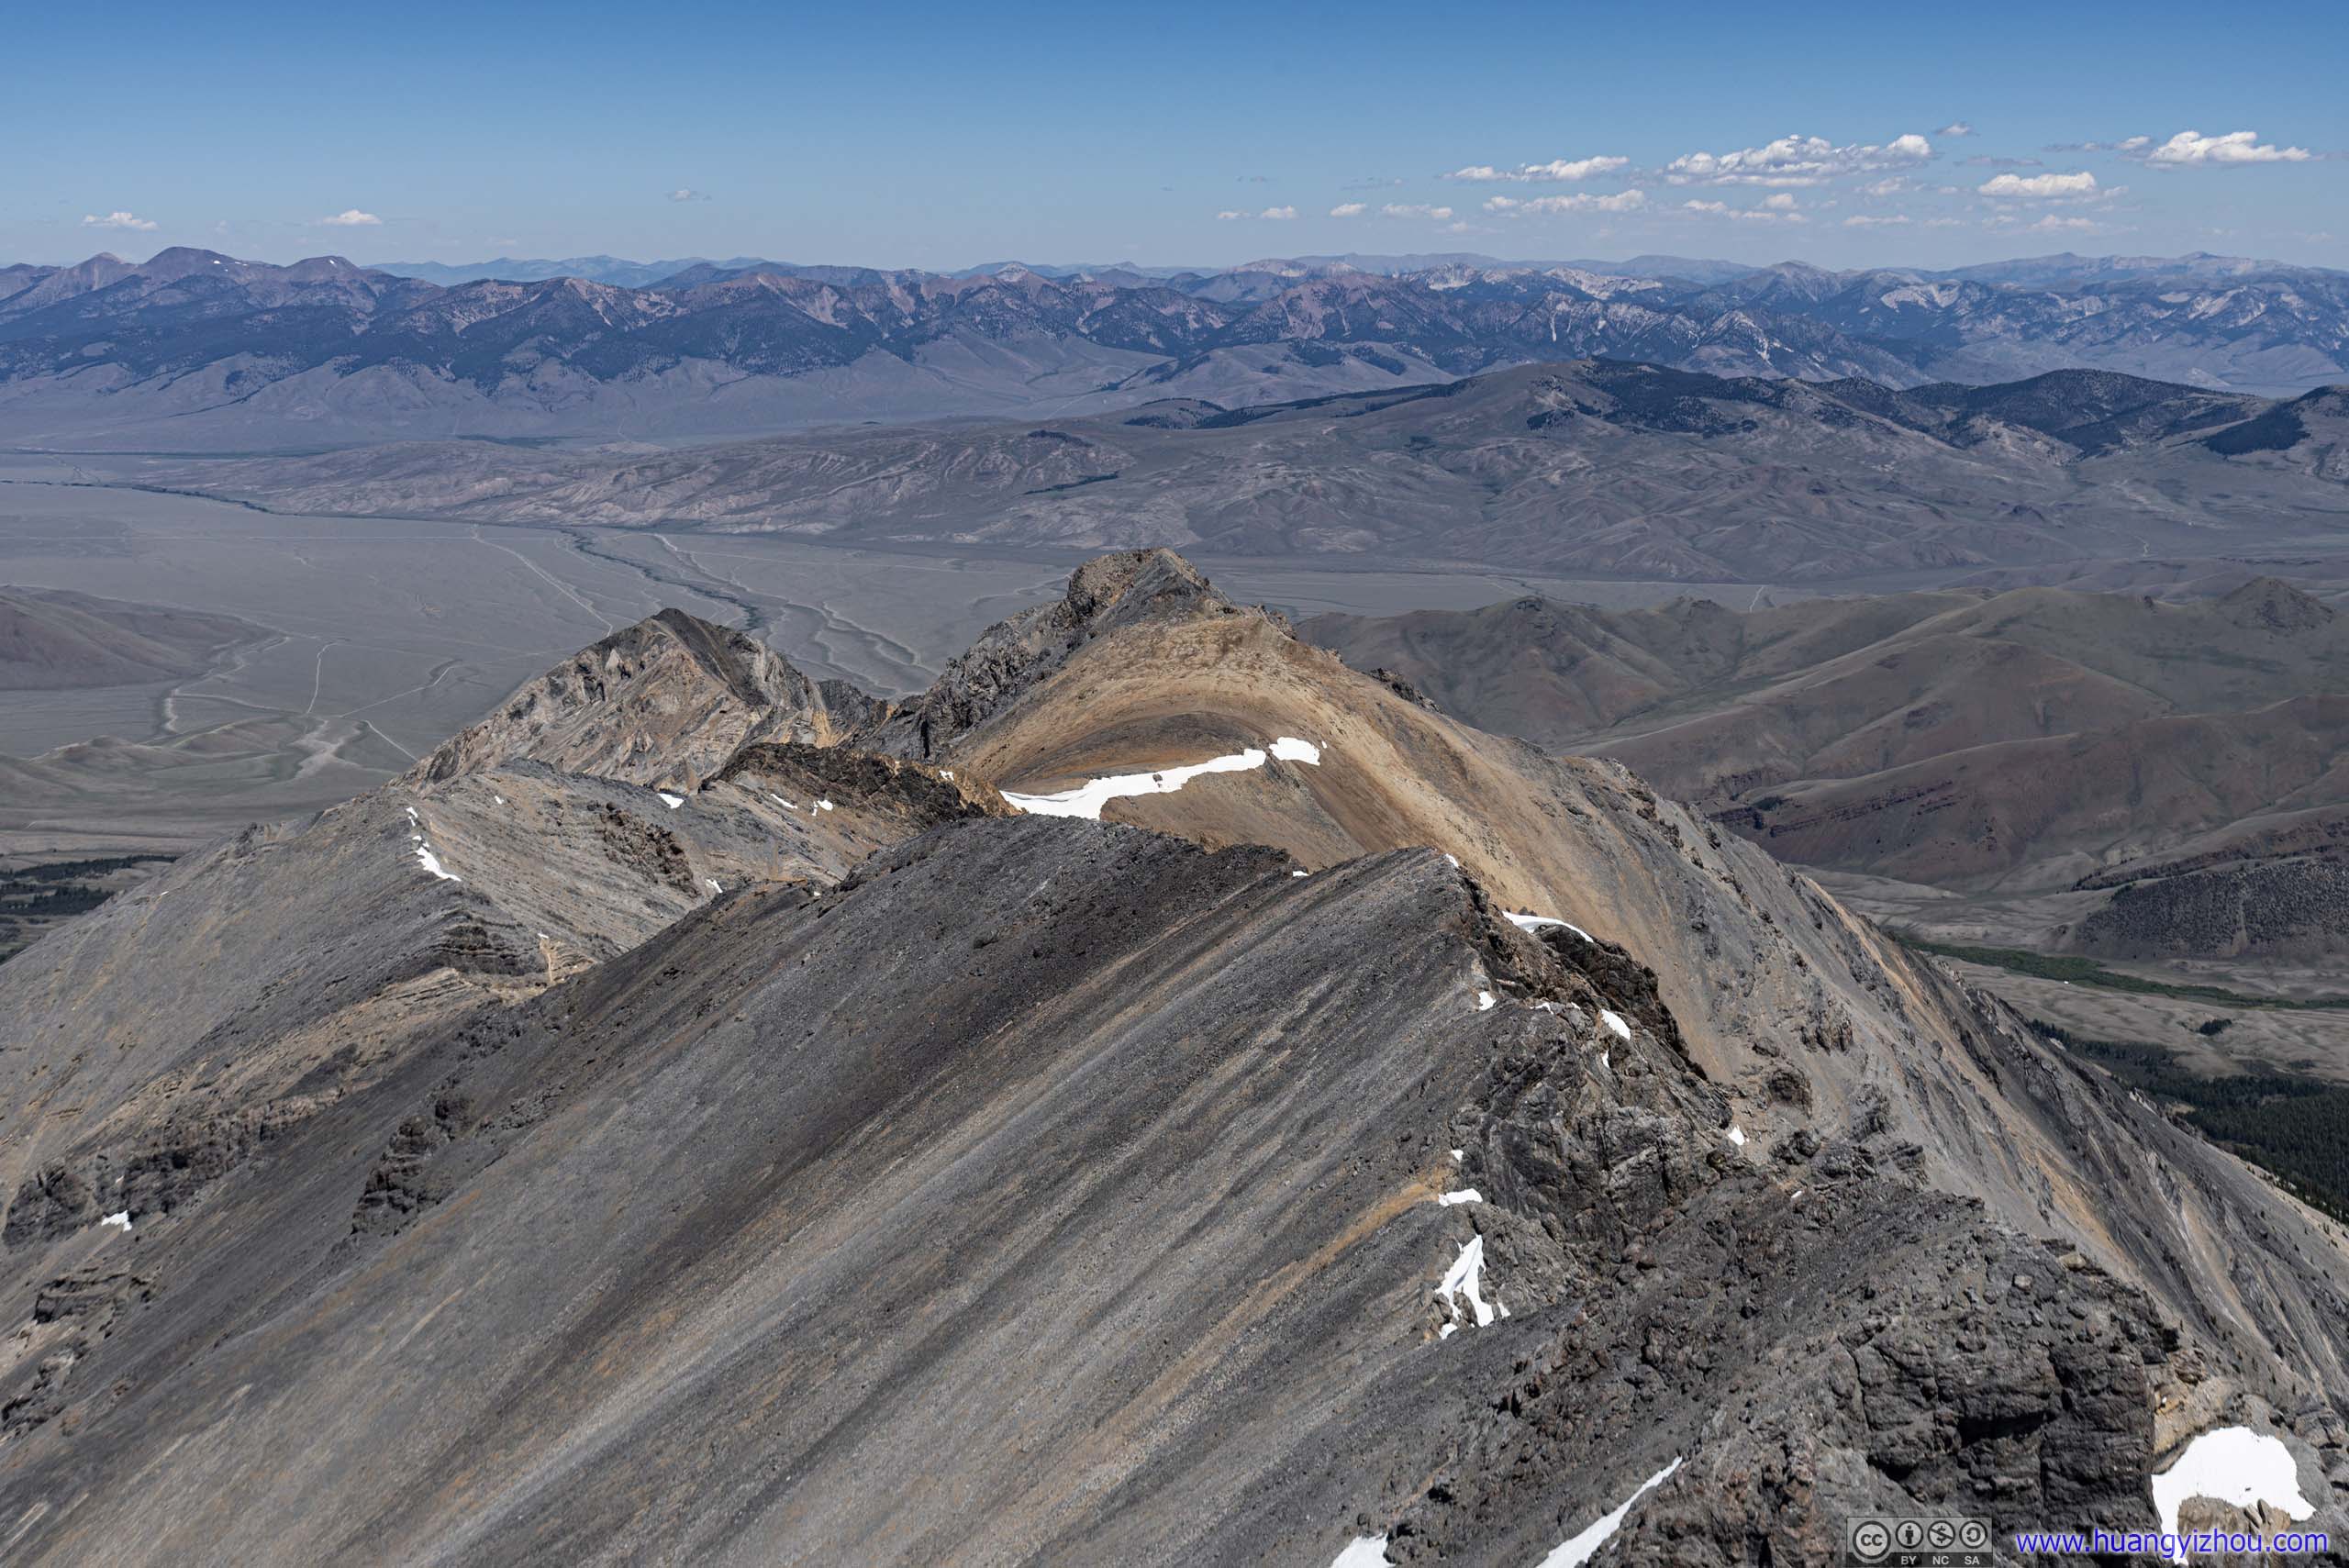
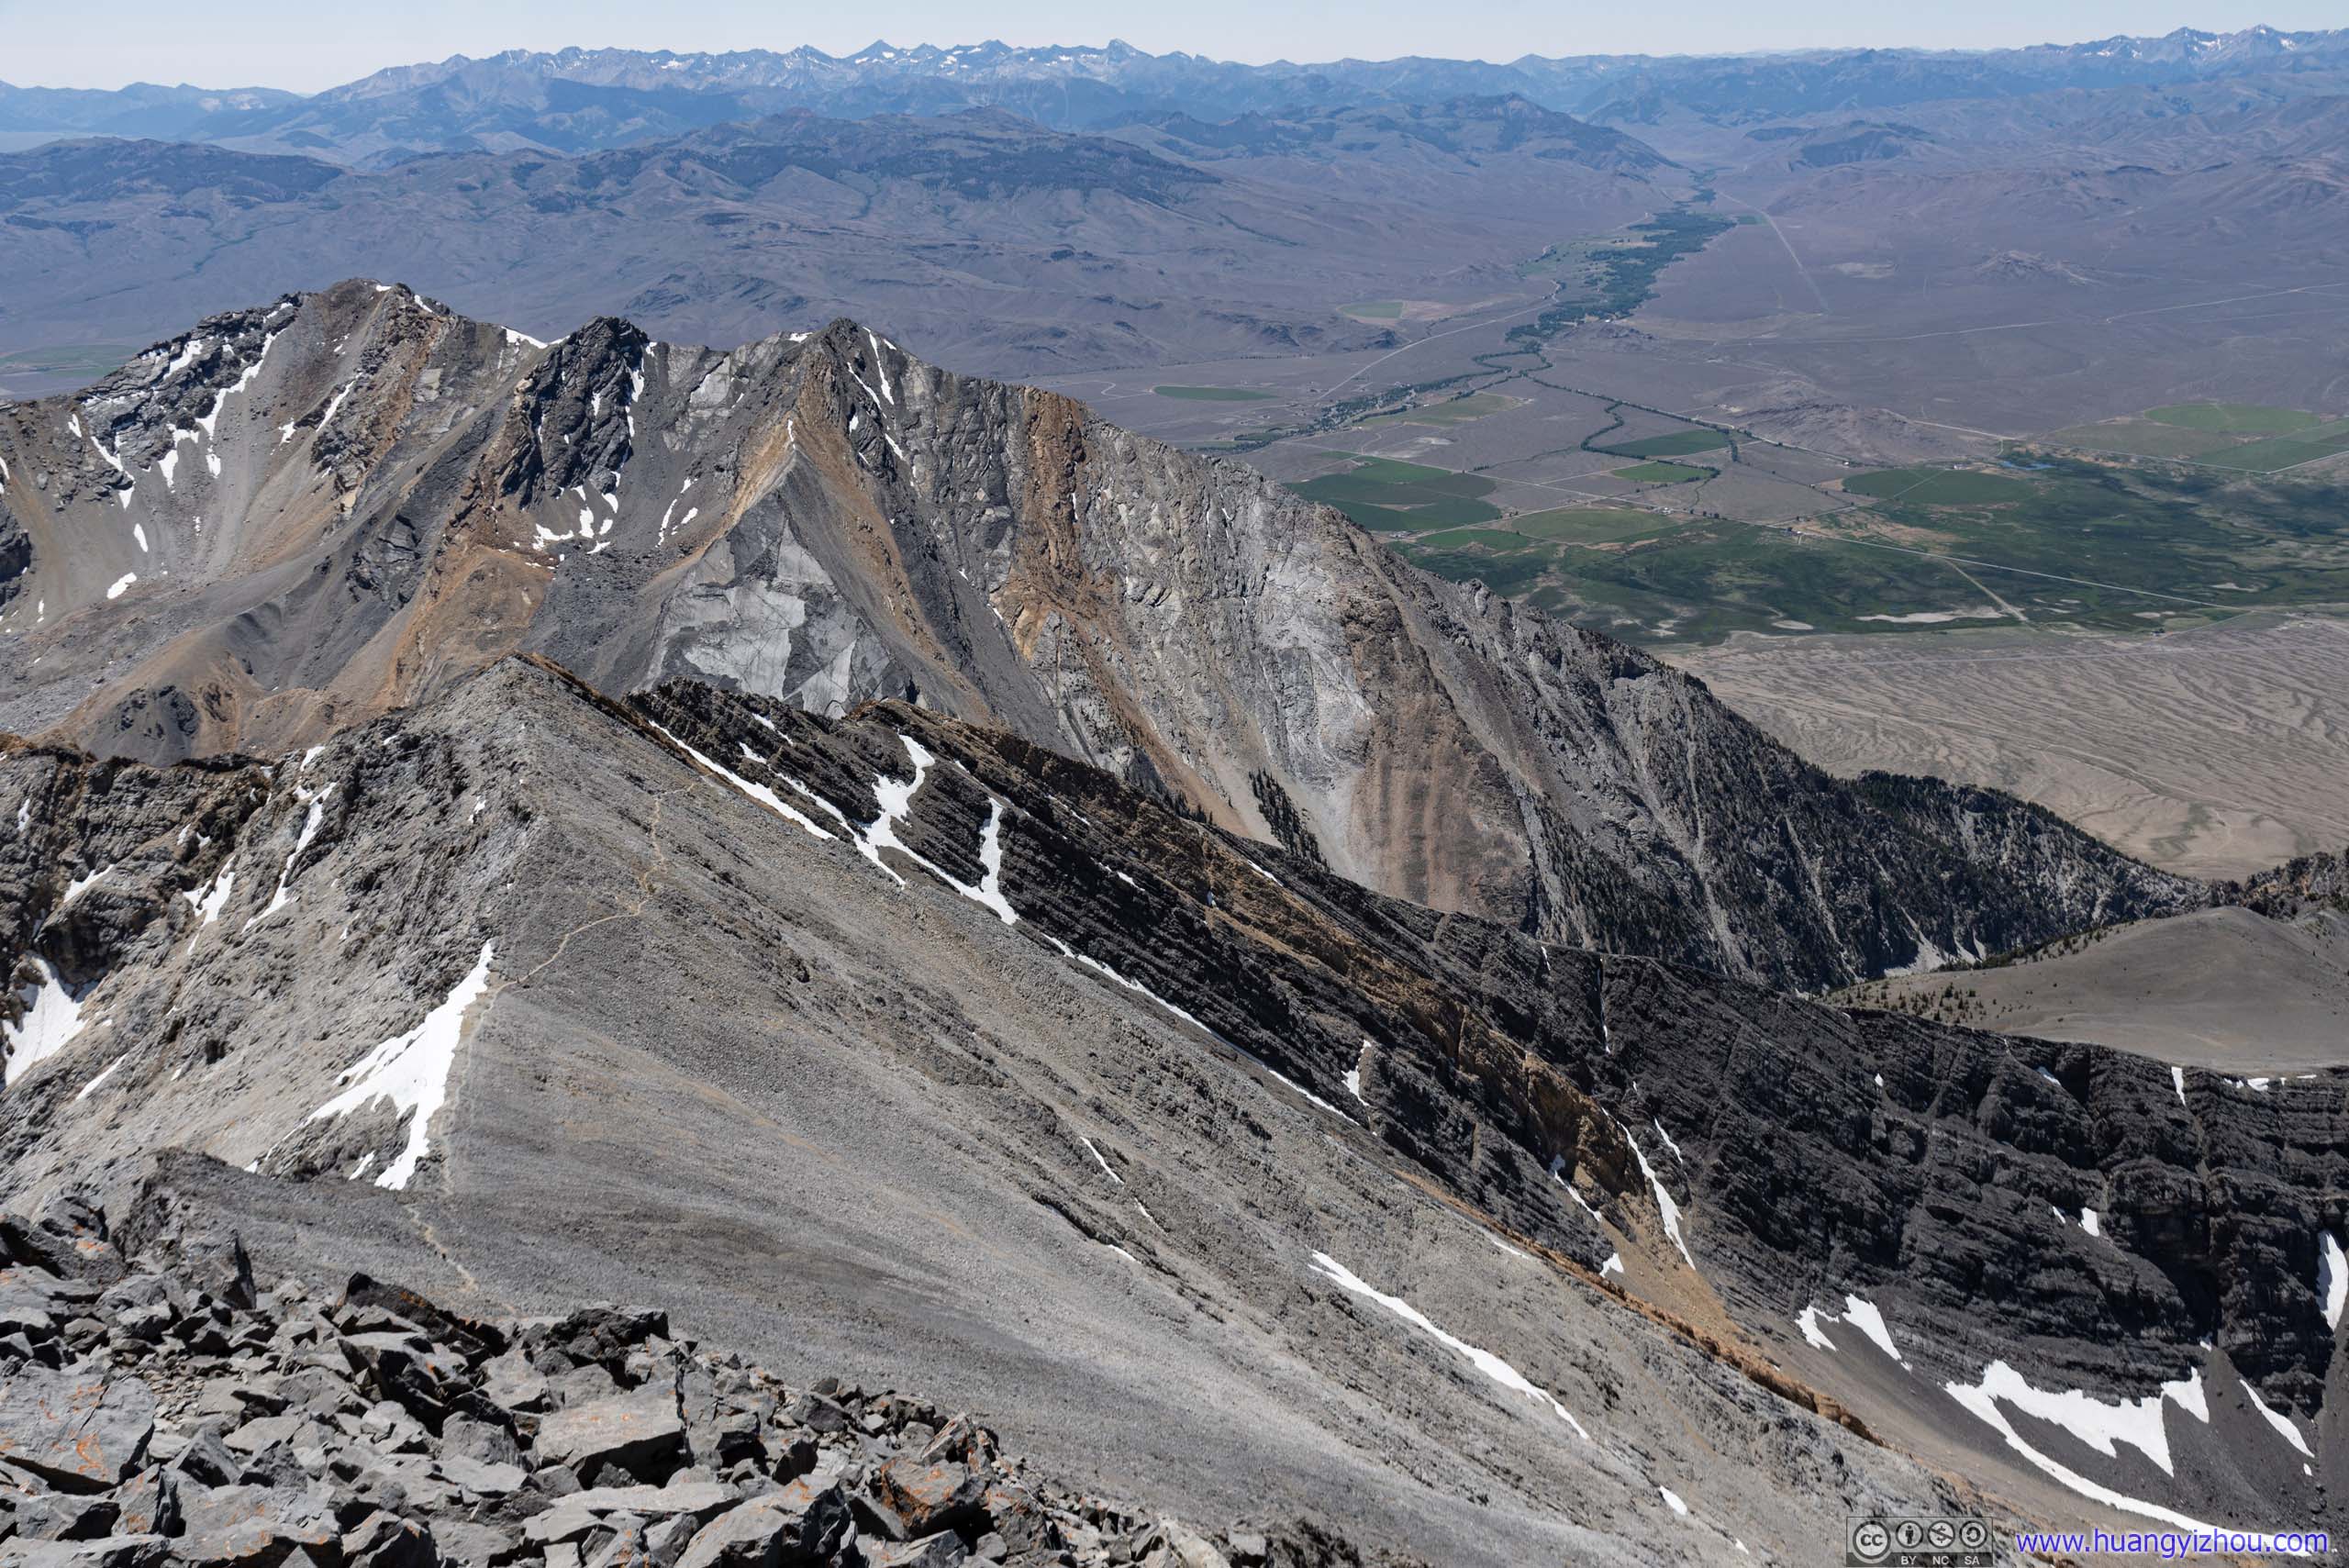
After turning past North, Lost River Valley emerged into view, with the ridge trail that I took climbing up Borah Peak.
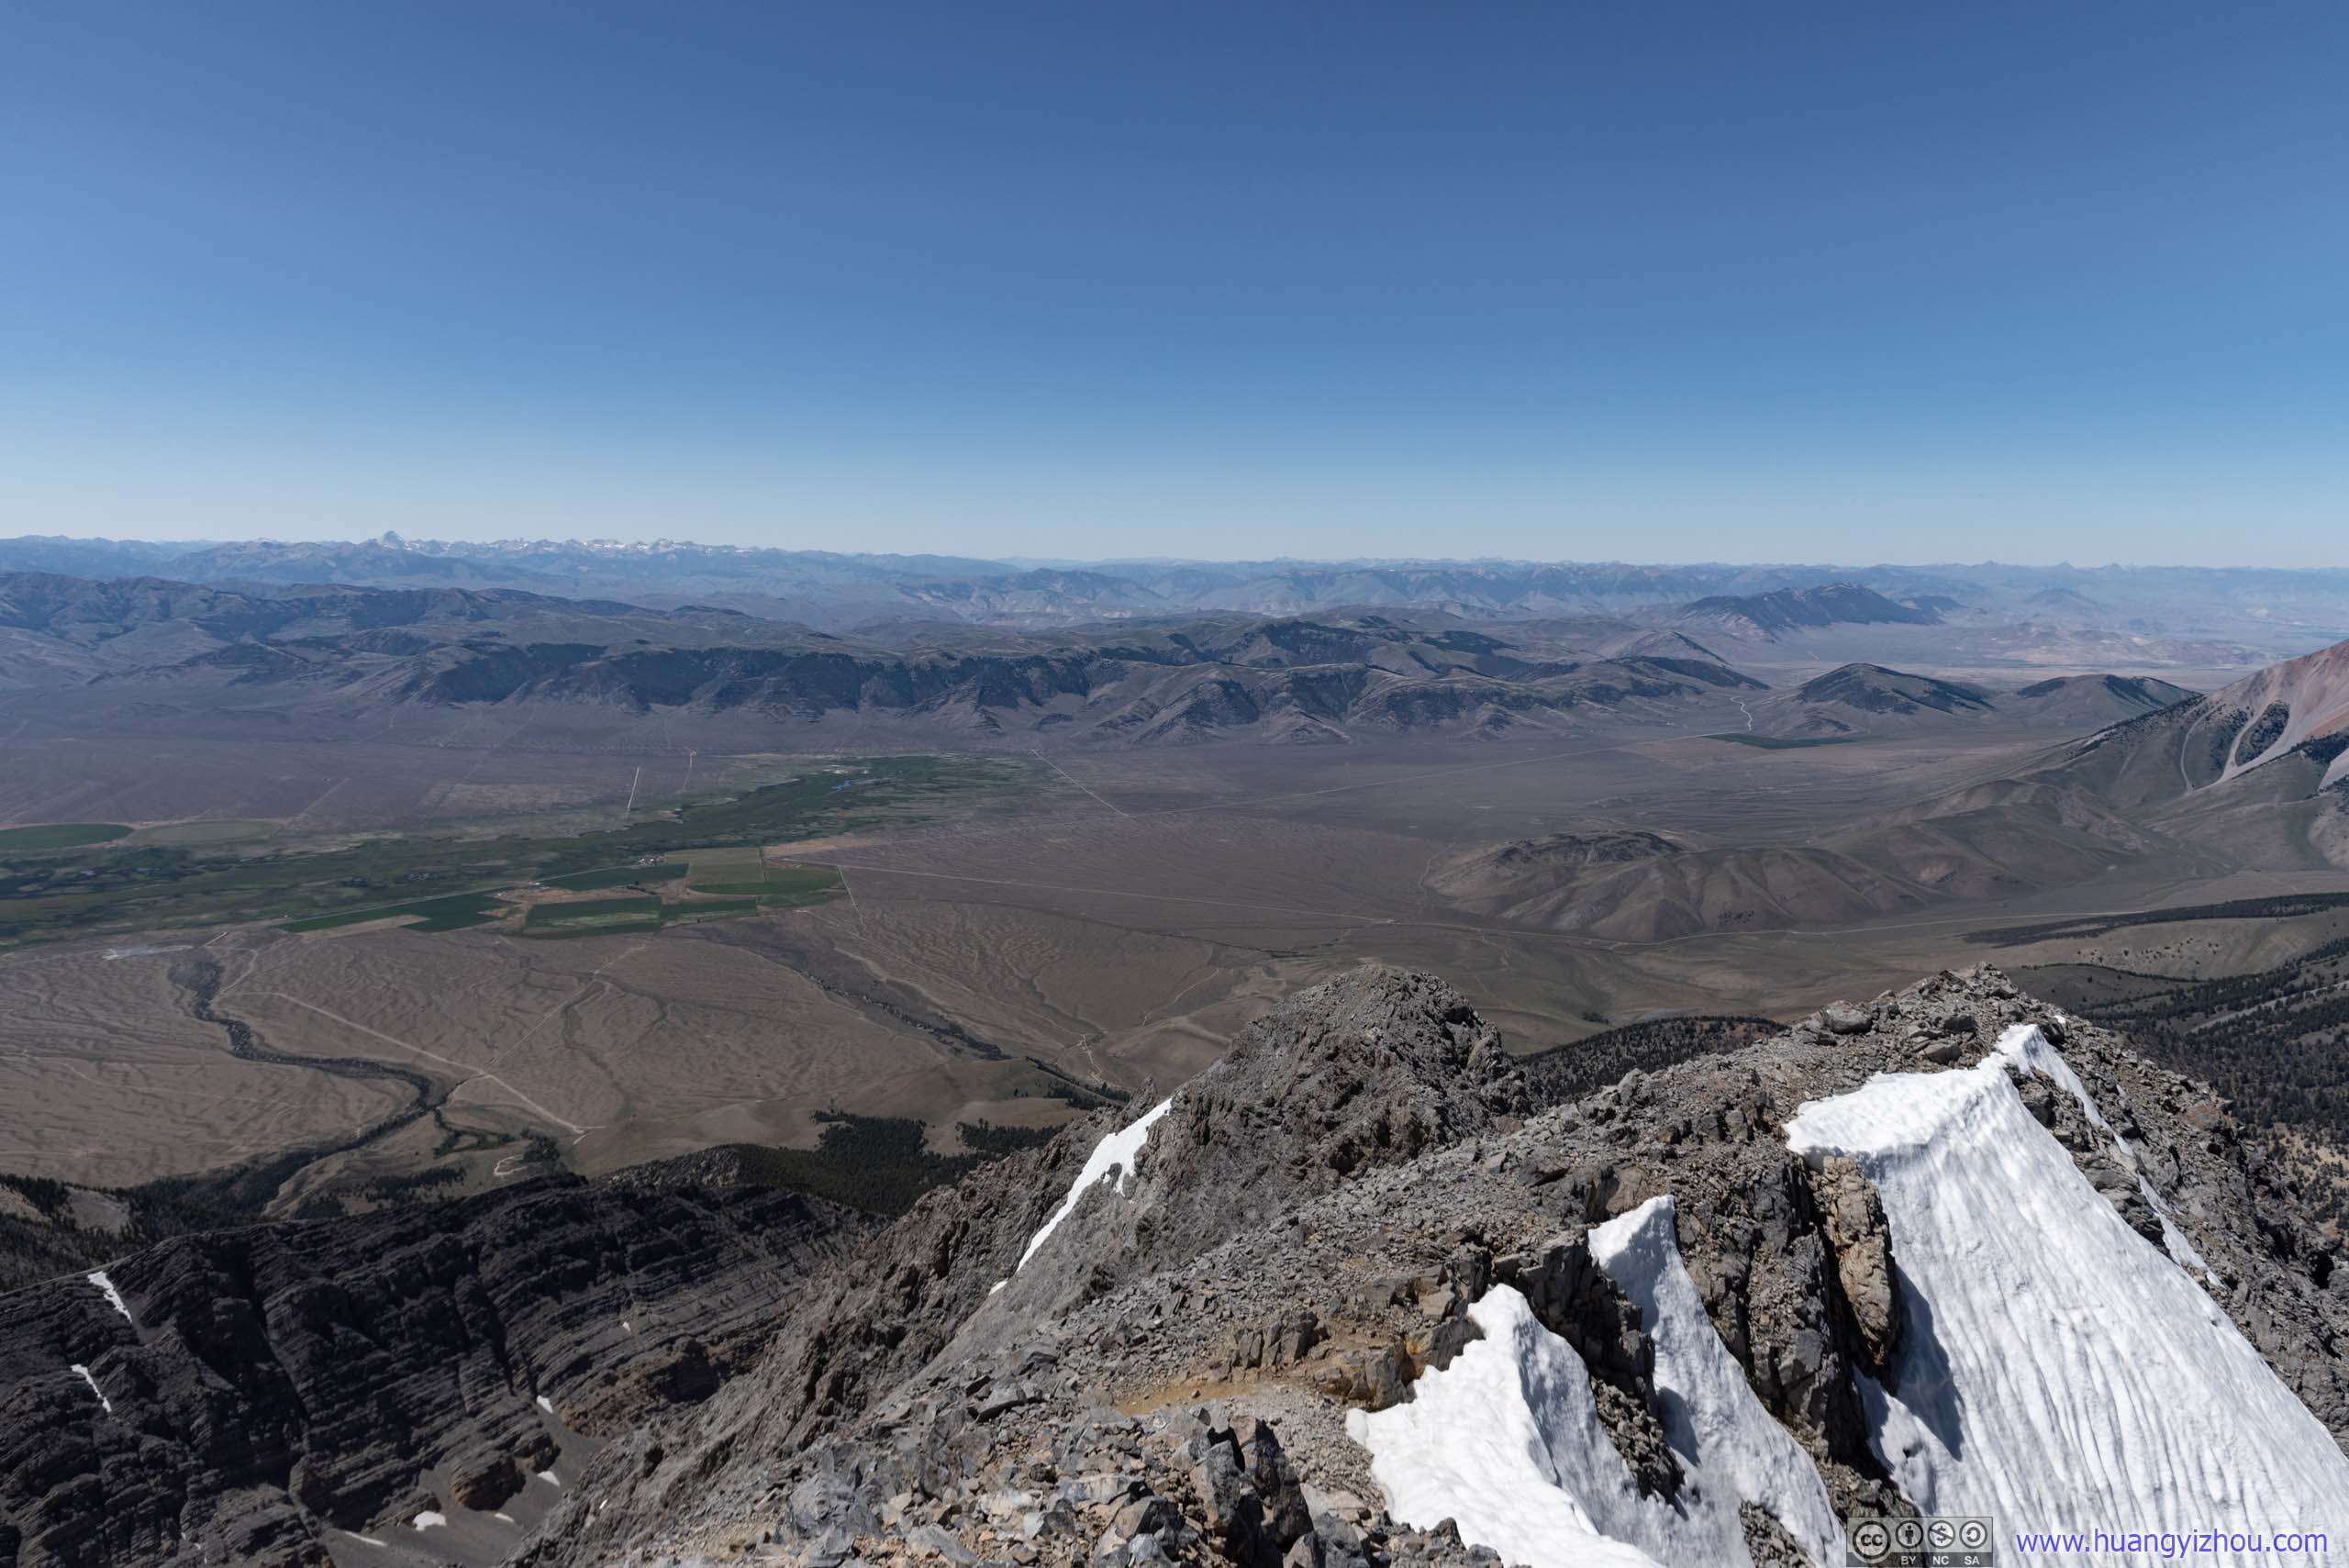
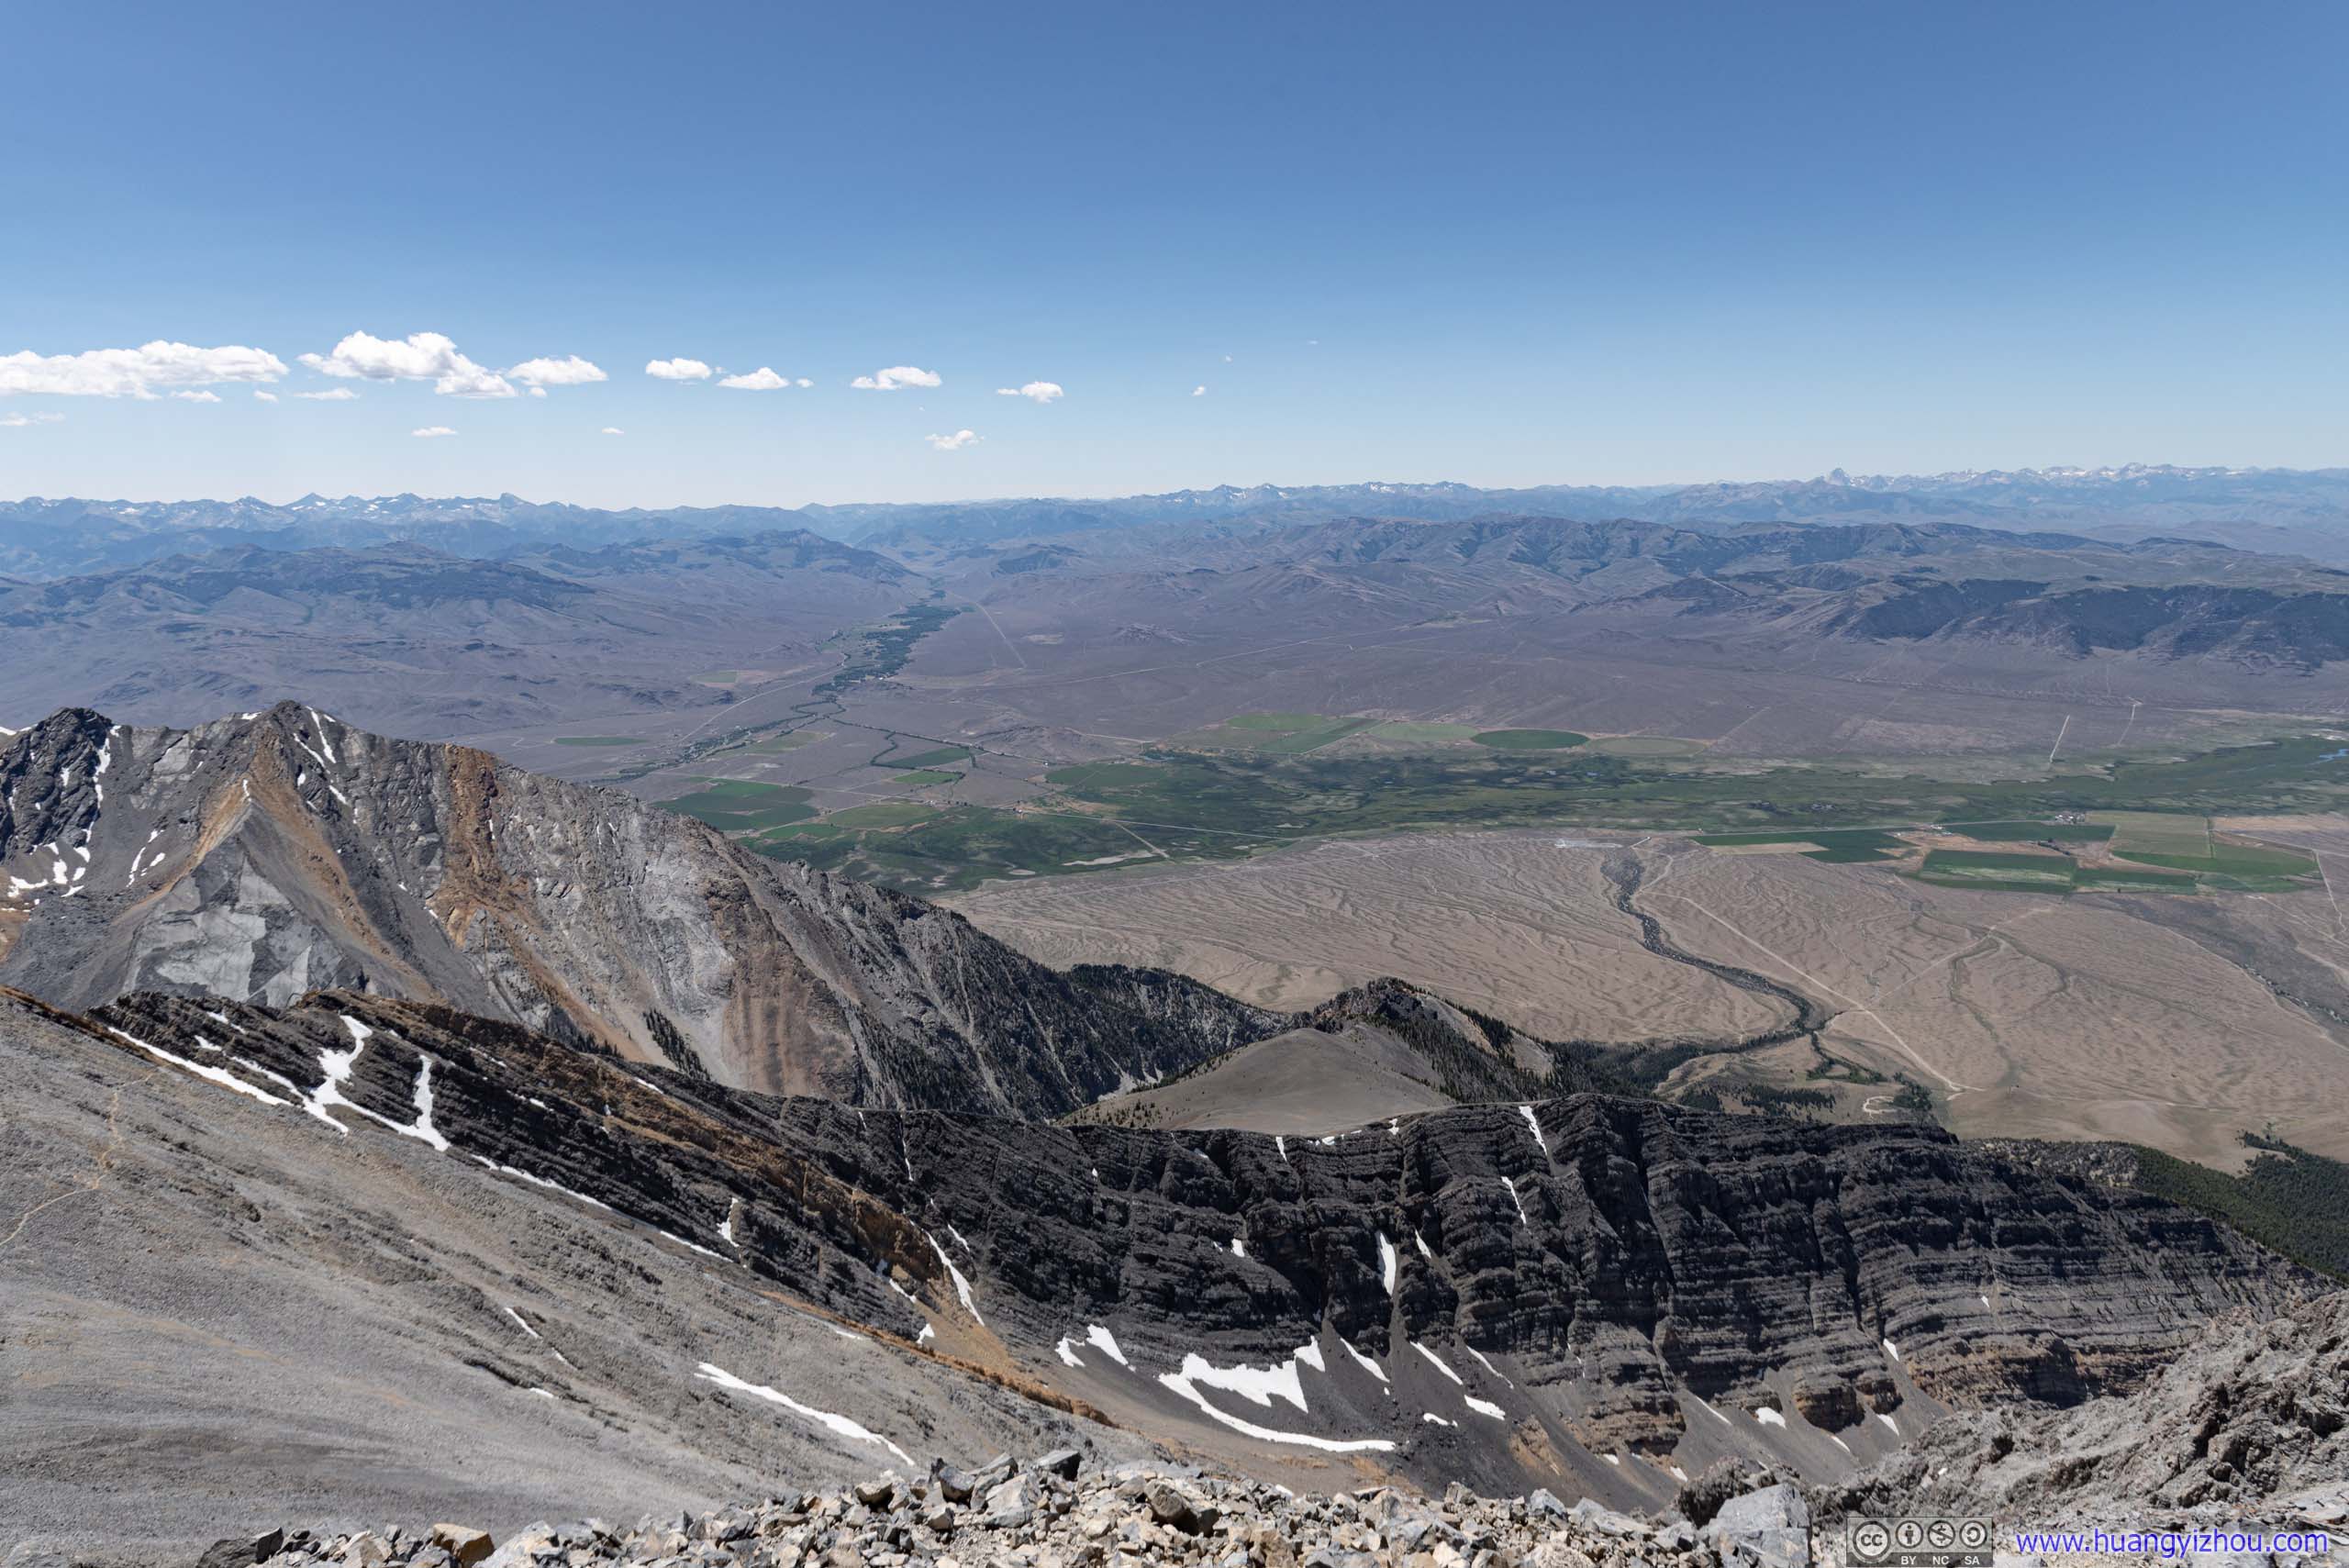 Overlooking Lost River Valley
Distant MountainsTo the West, White Cloud Mountains in Sawtooth National Recreation Area. Castle Peak (3601m) at the left.
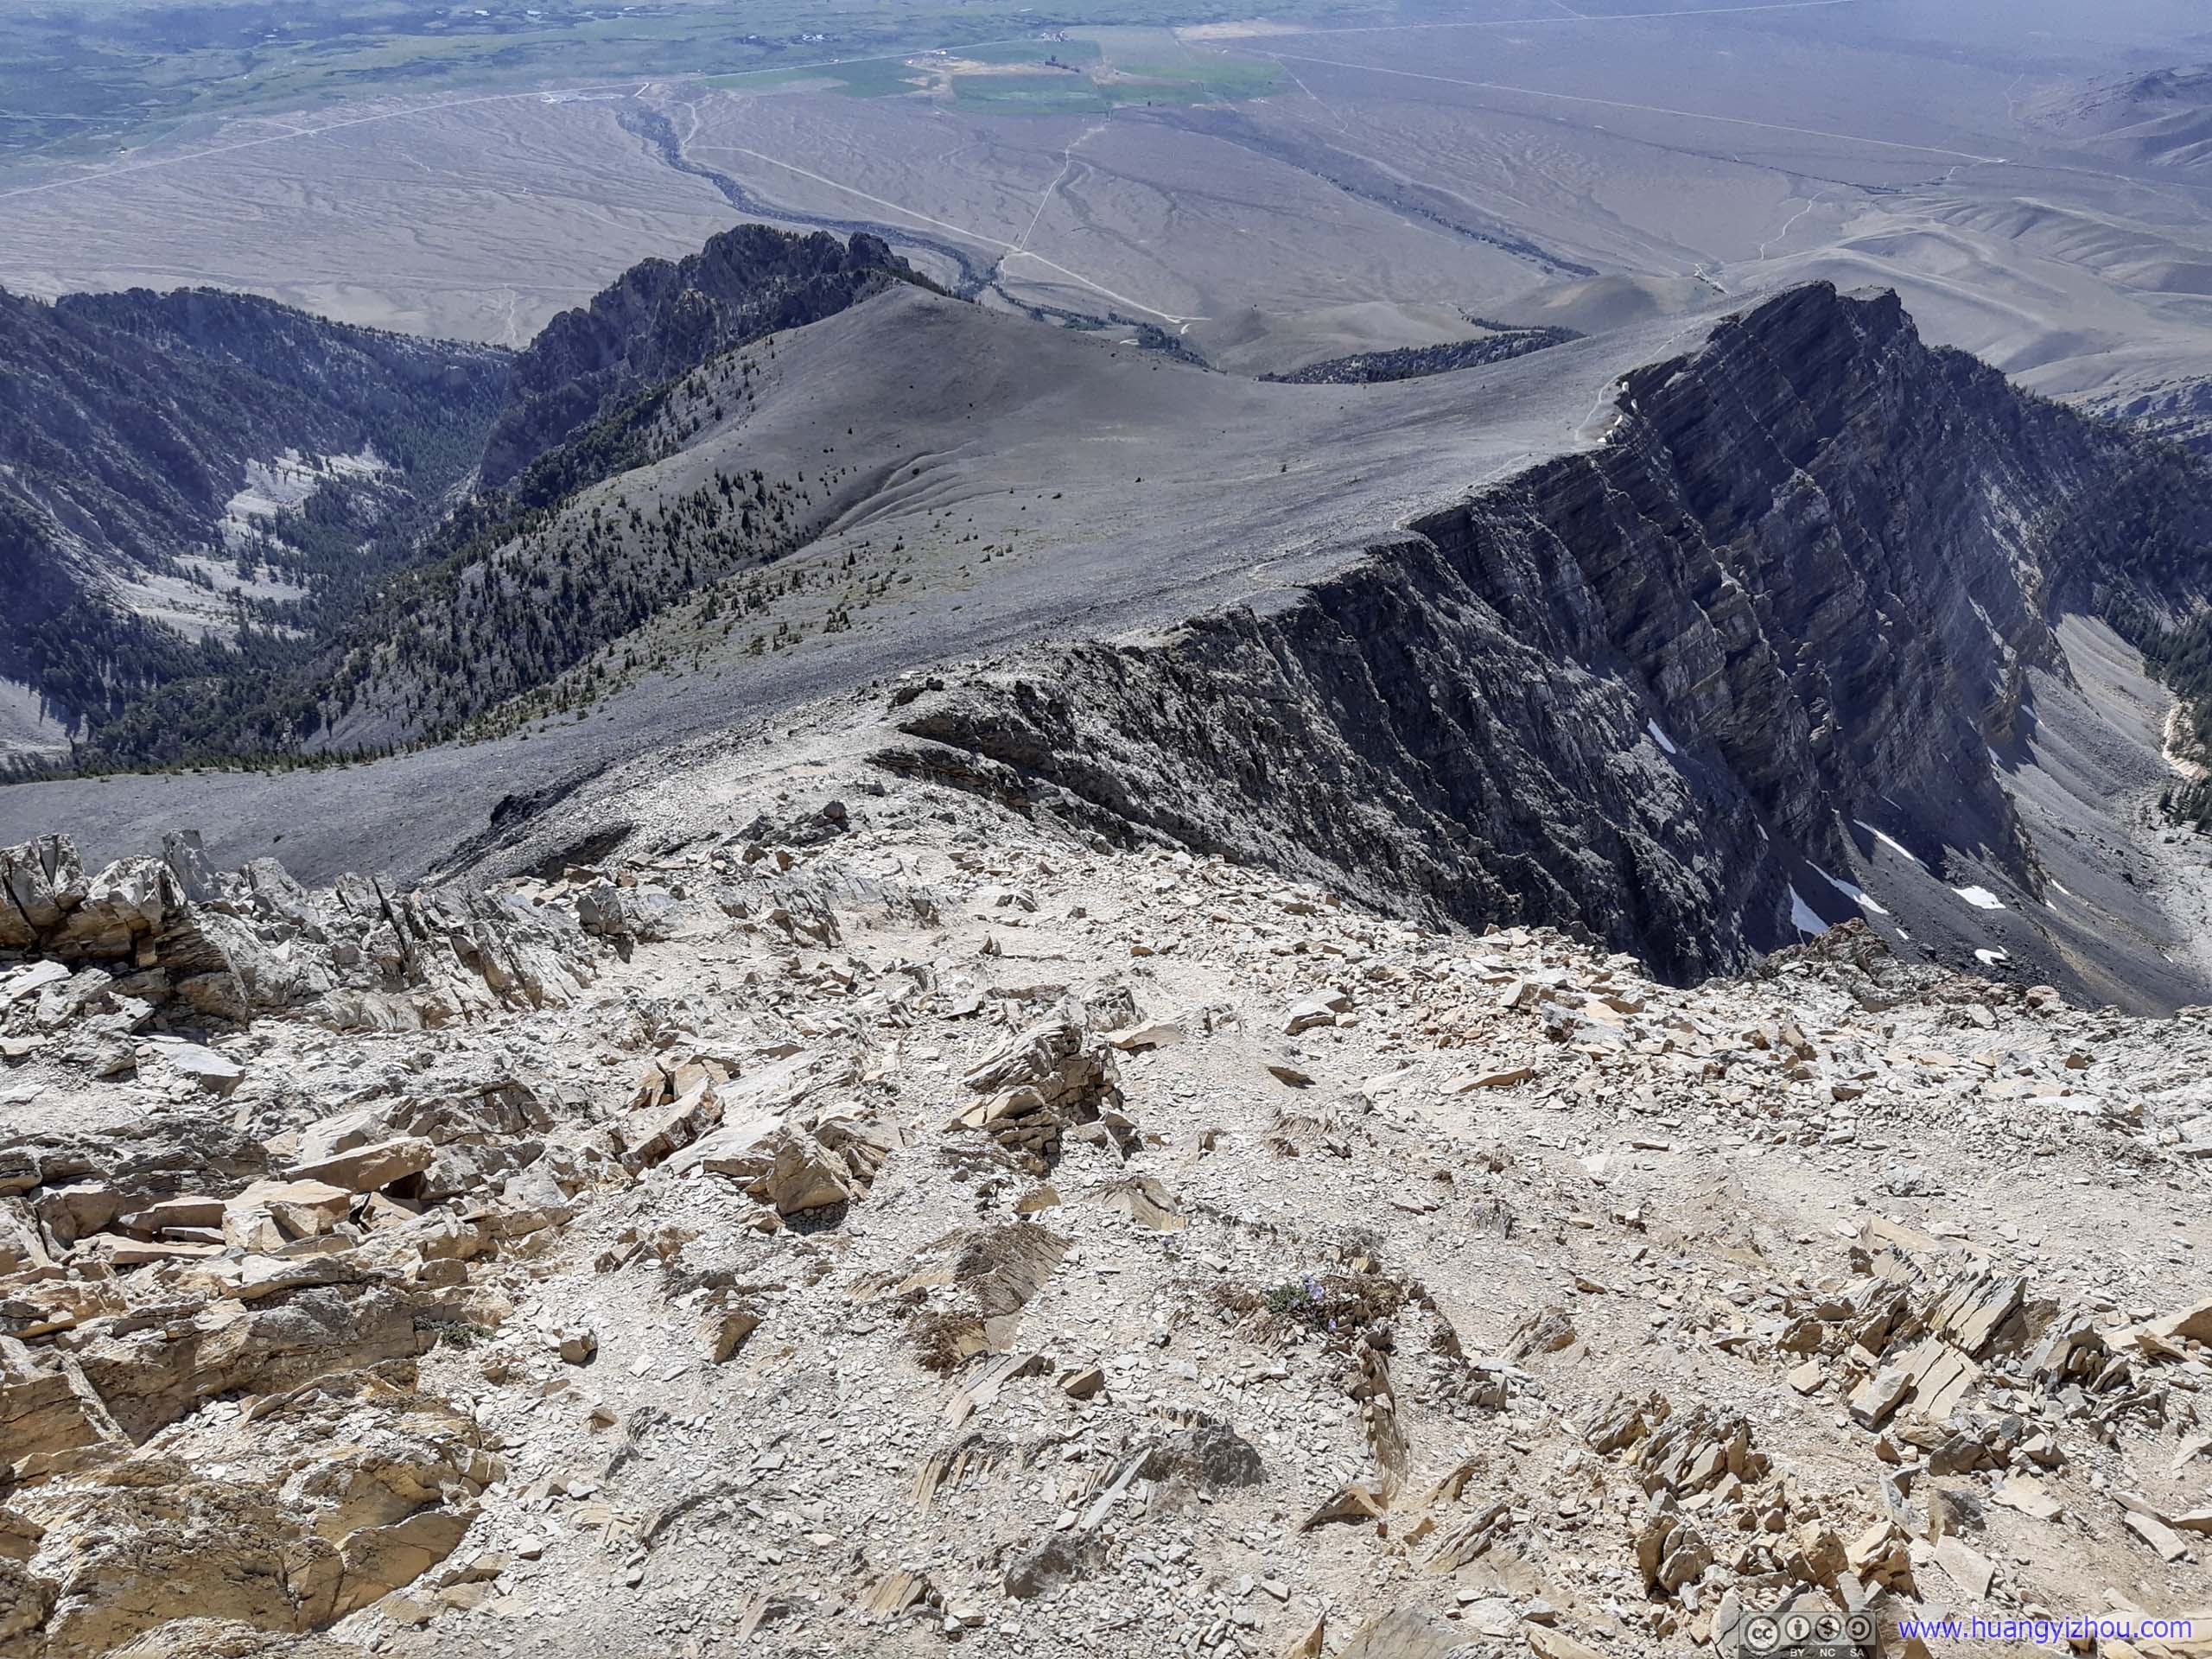
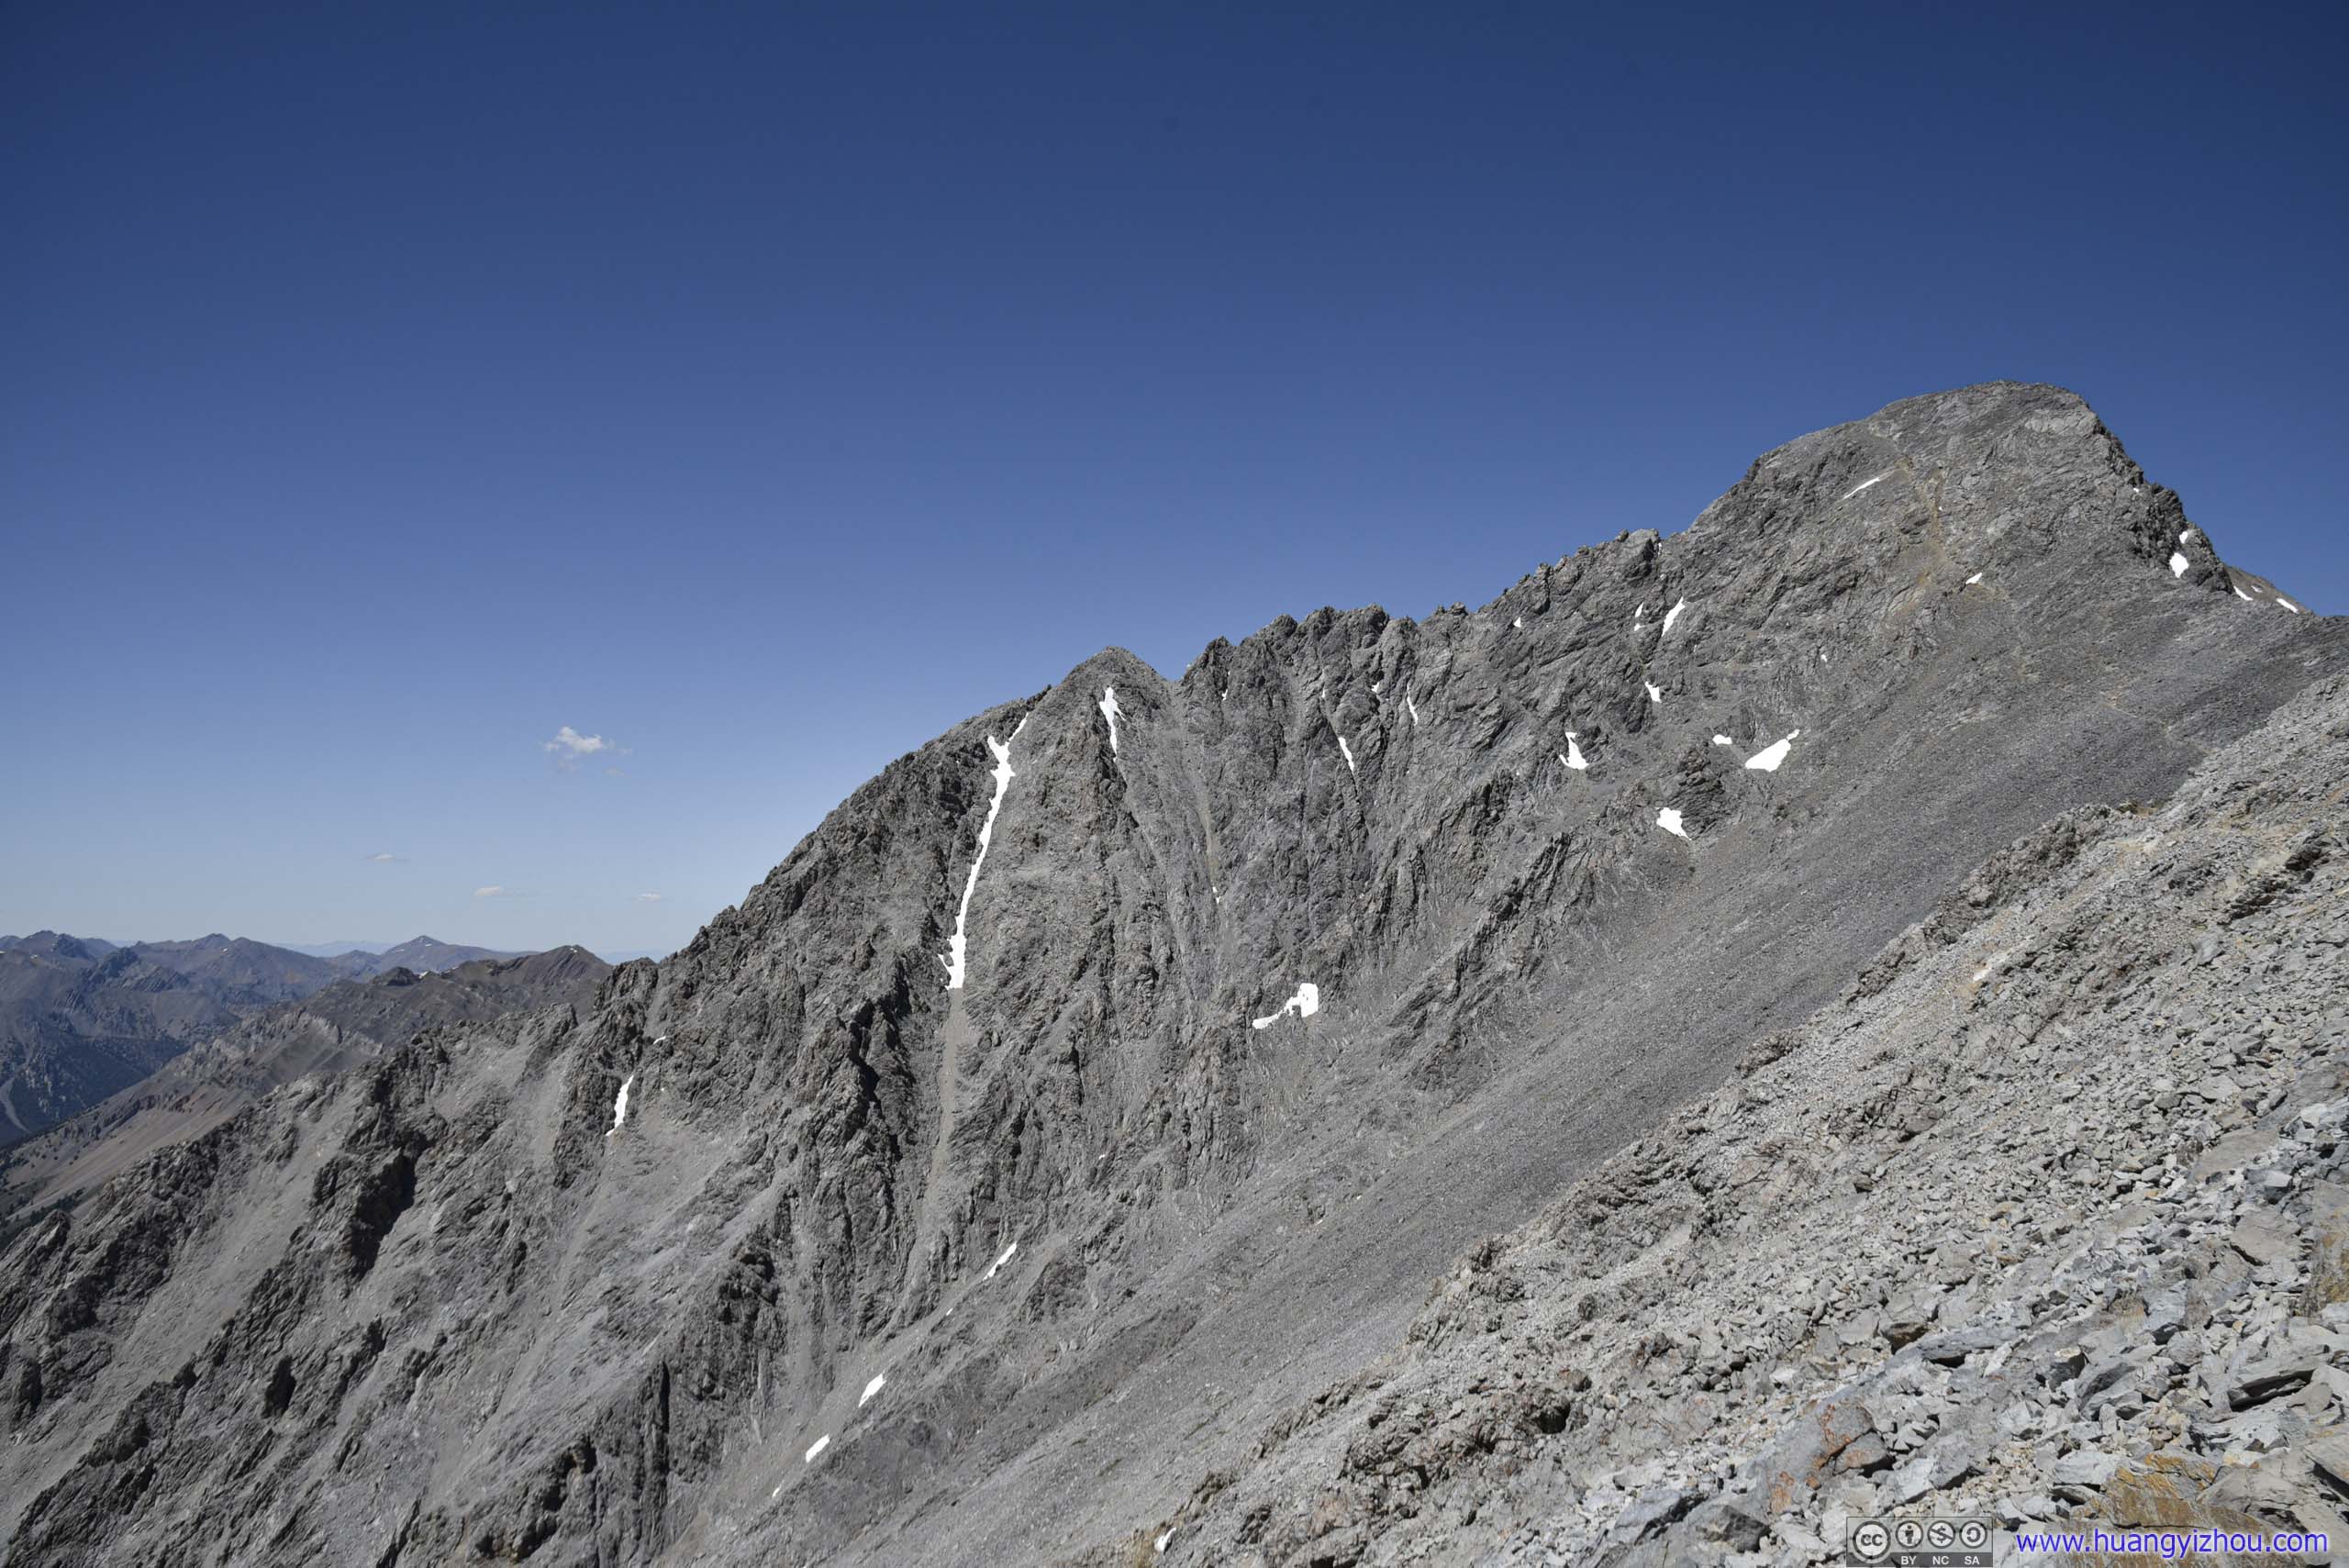
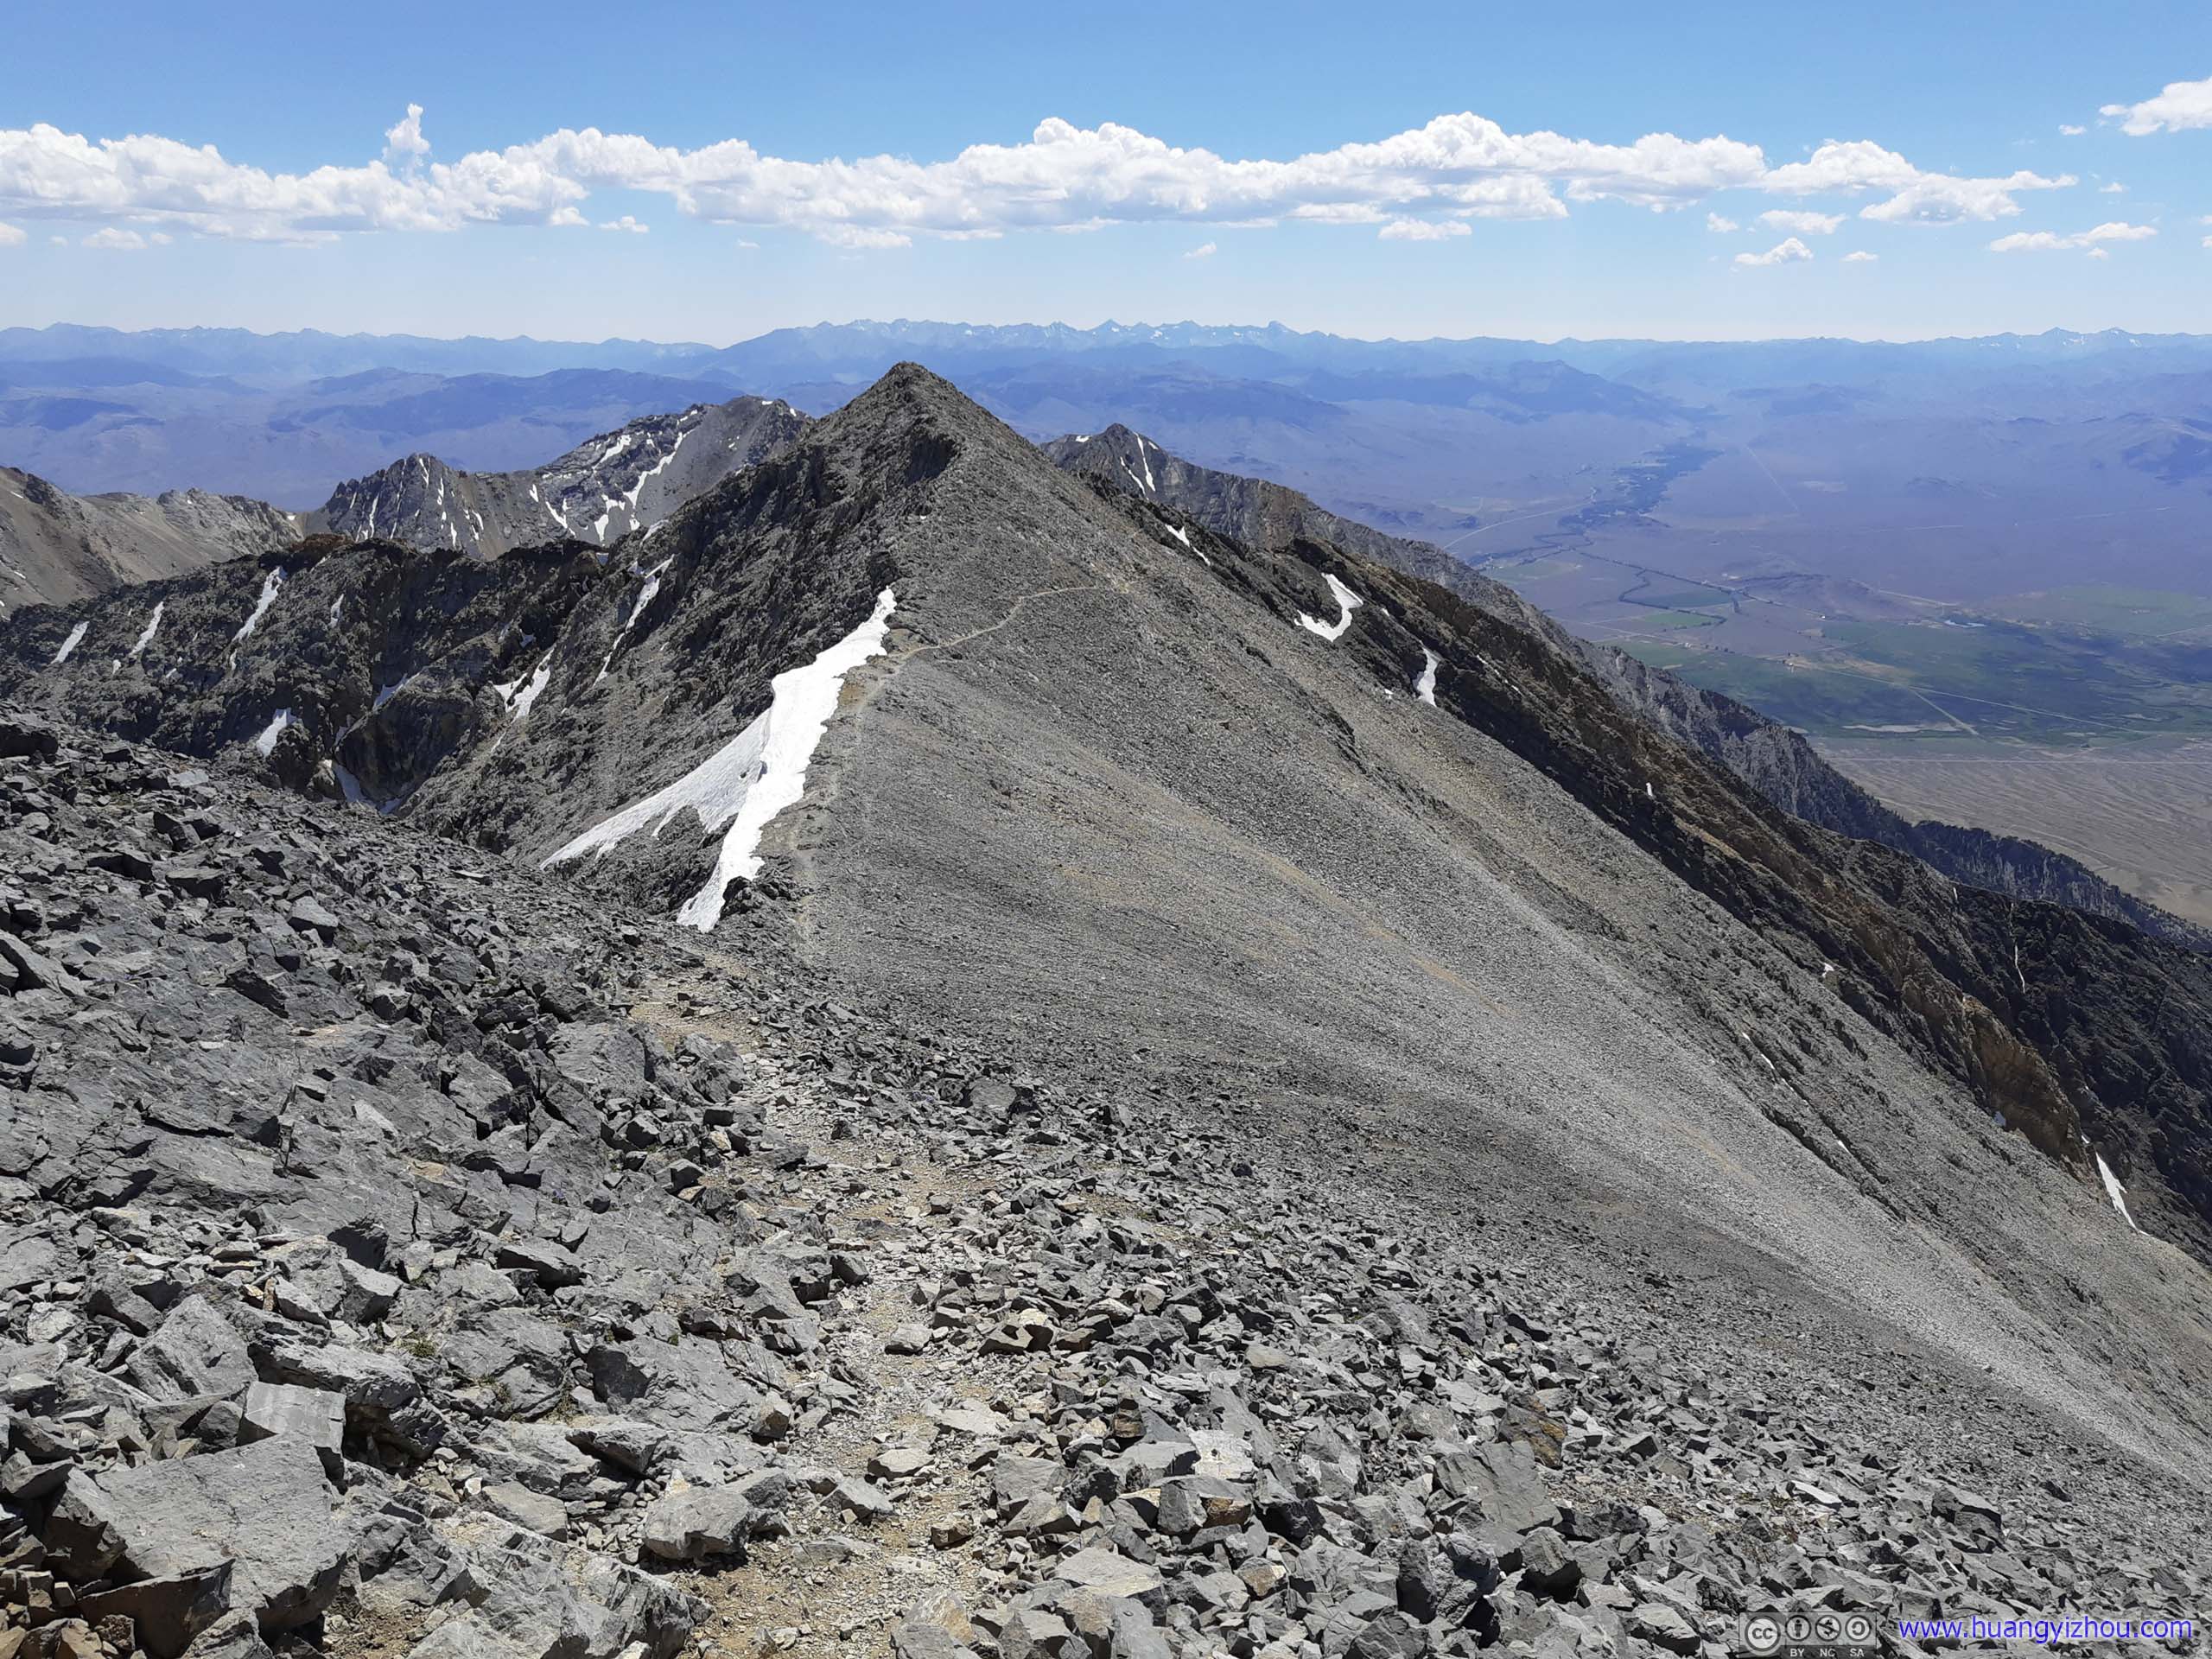
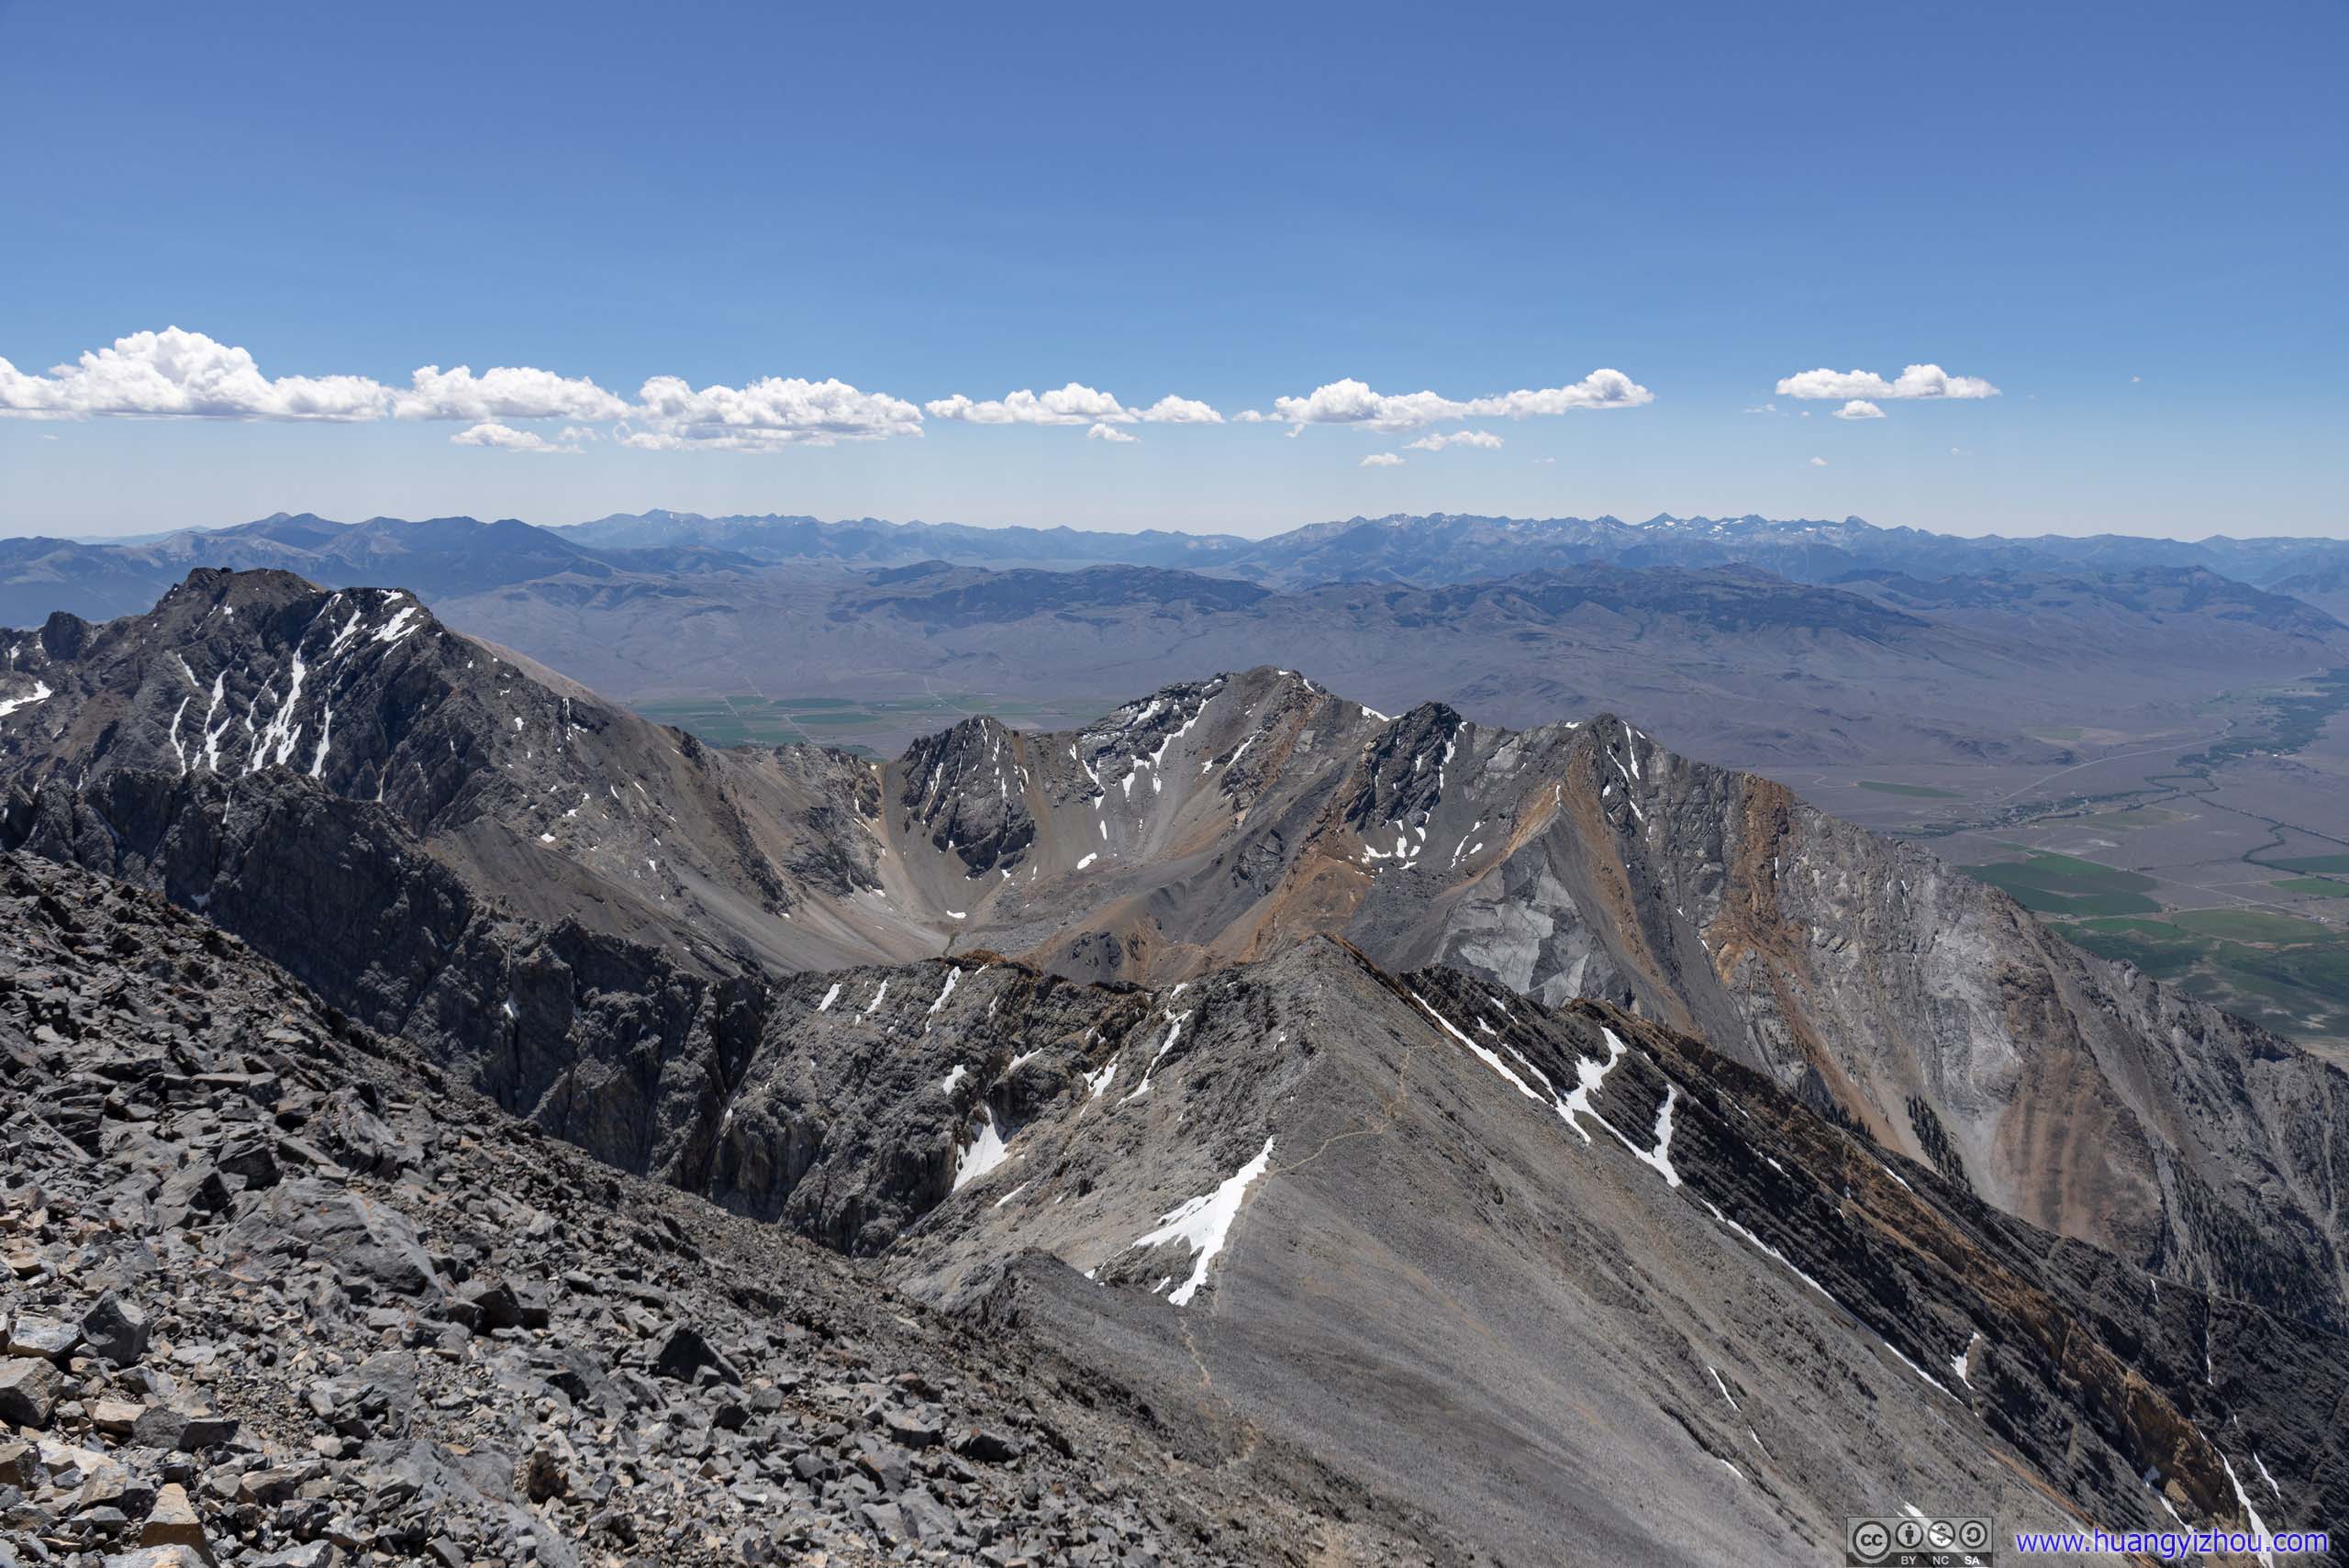 MountainsSnow bridge and Chicken-out-Ridge, where I came from.
That concluded the scenic views at the summit. I spent about an hour at the summit, longer than usual since this was the highest point that I set my feet on. Wind was gentle and soothing, compared with the brutal gale at Hyndman Peak 4 days ago.
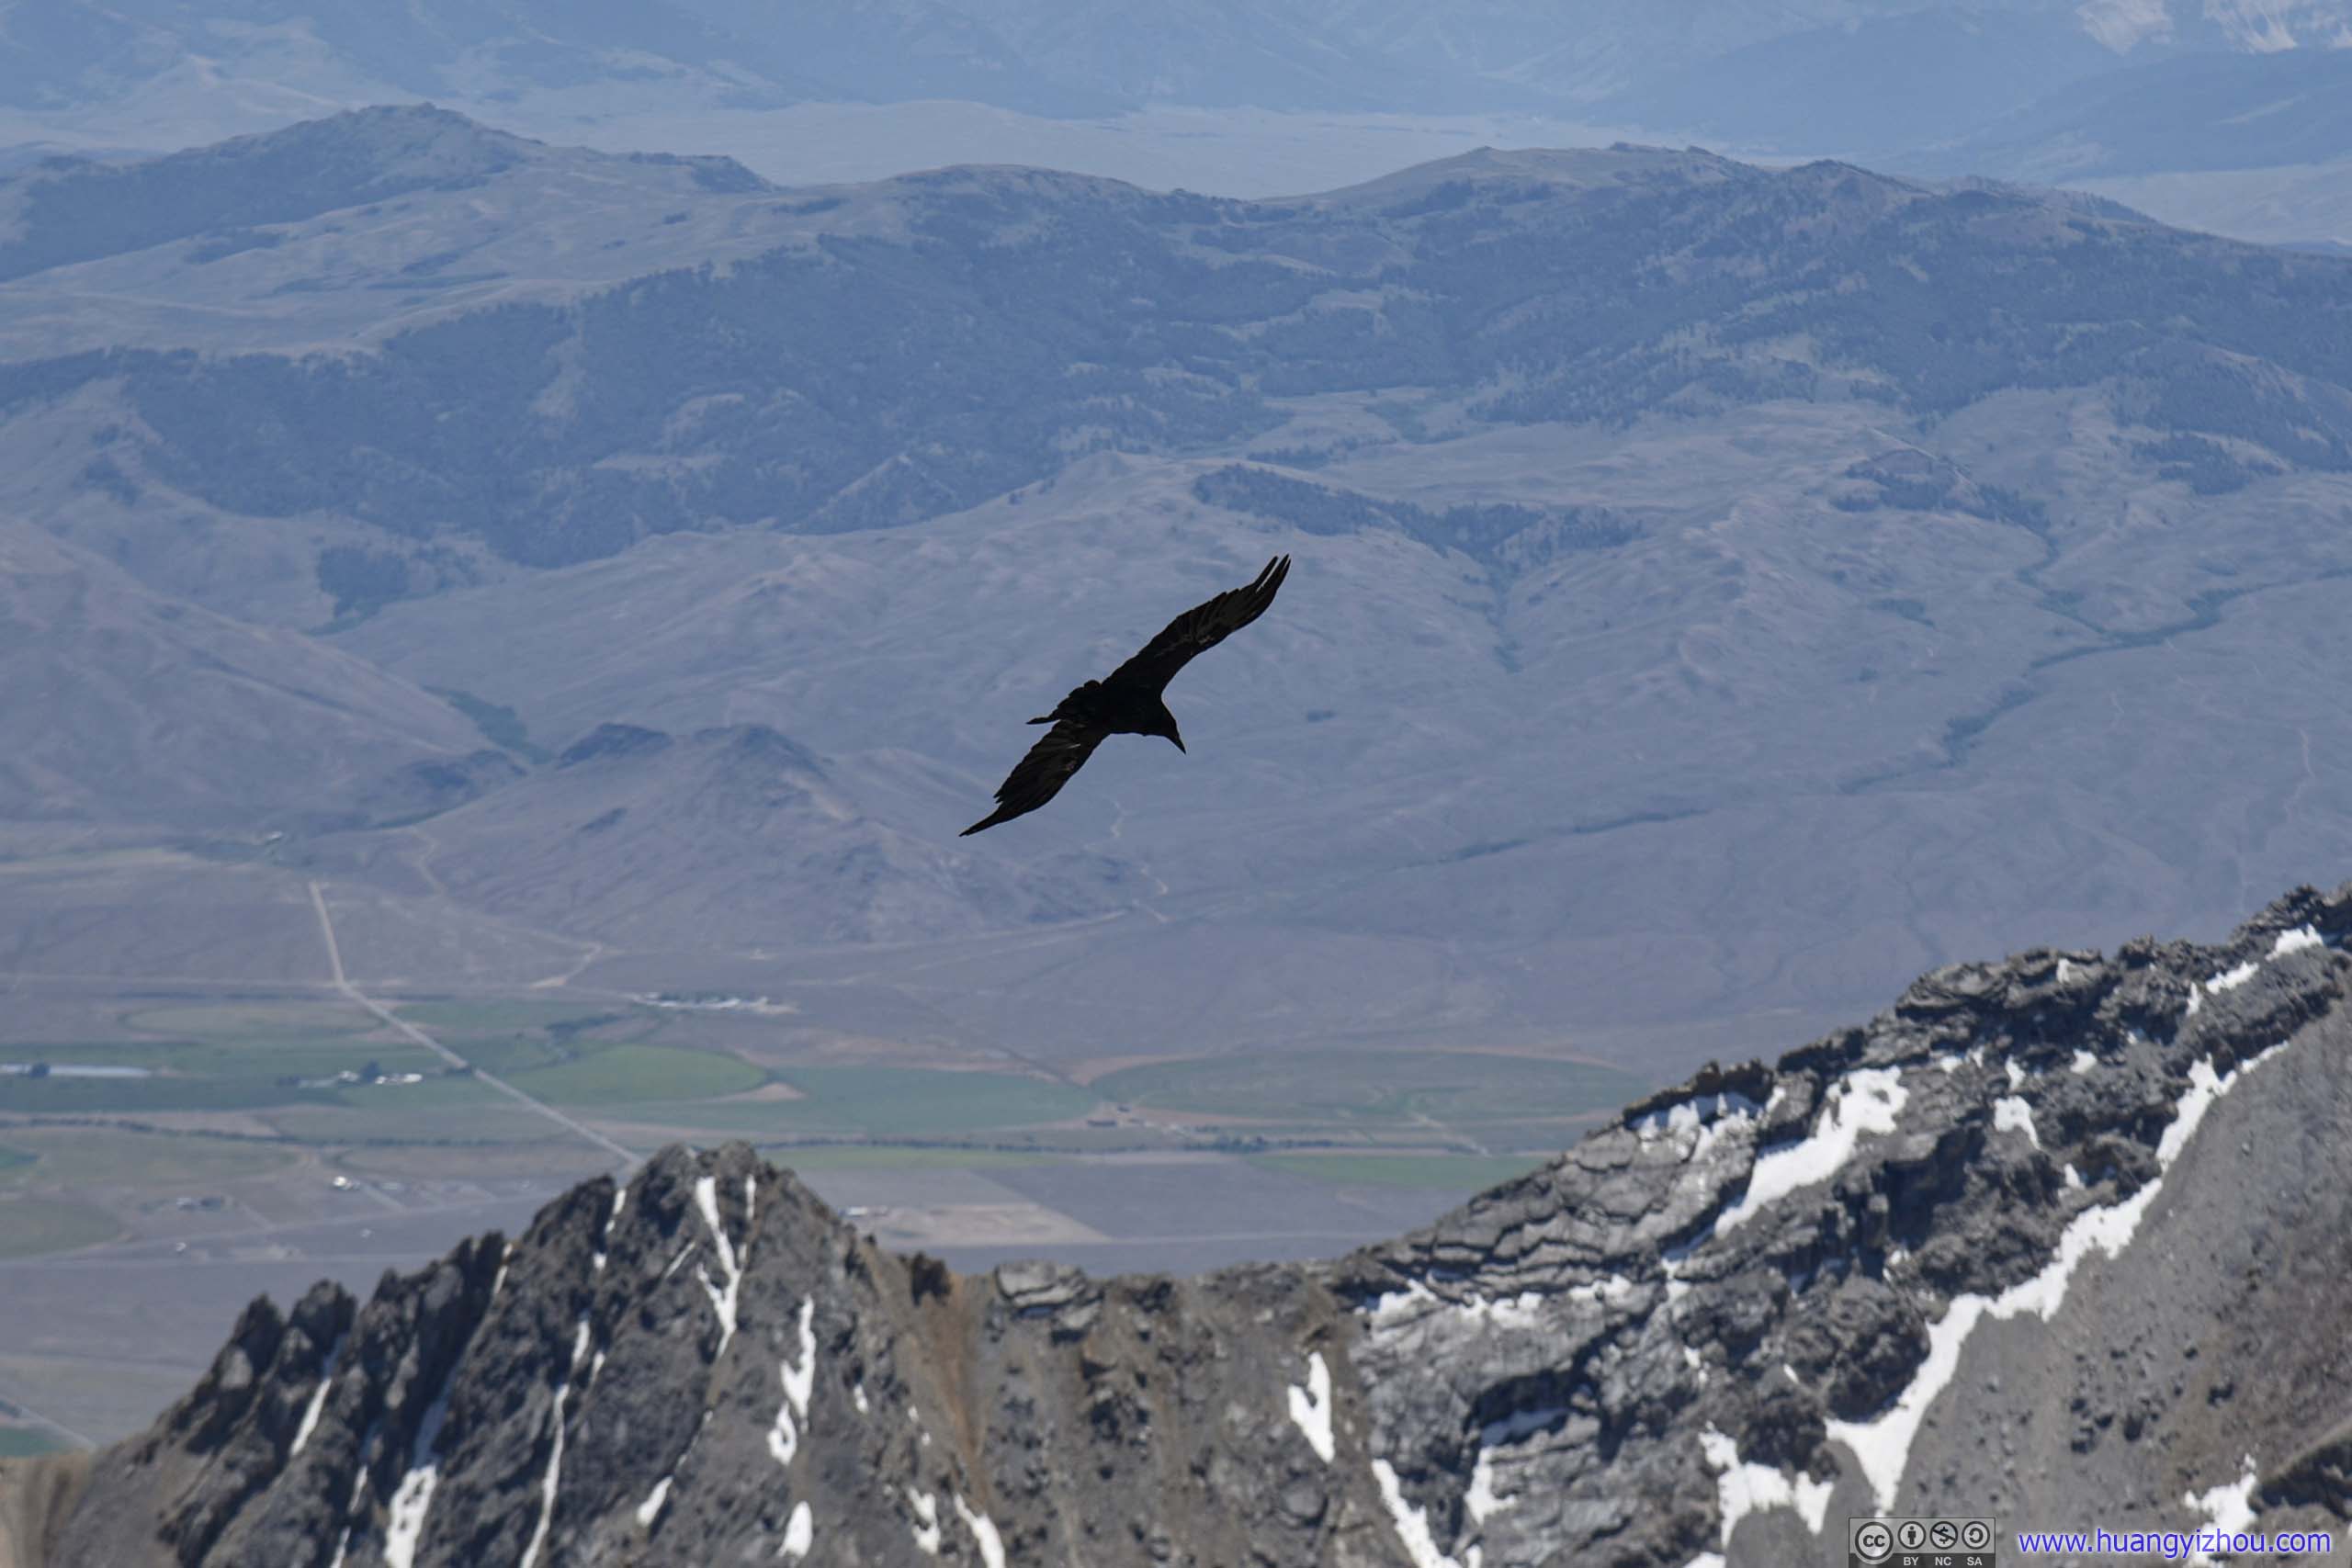
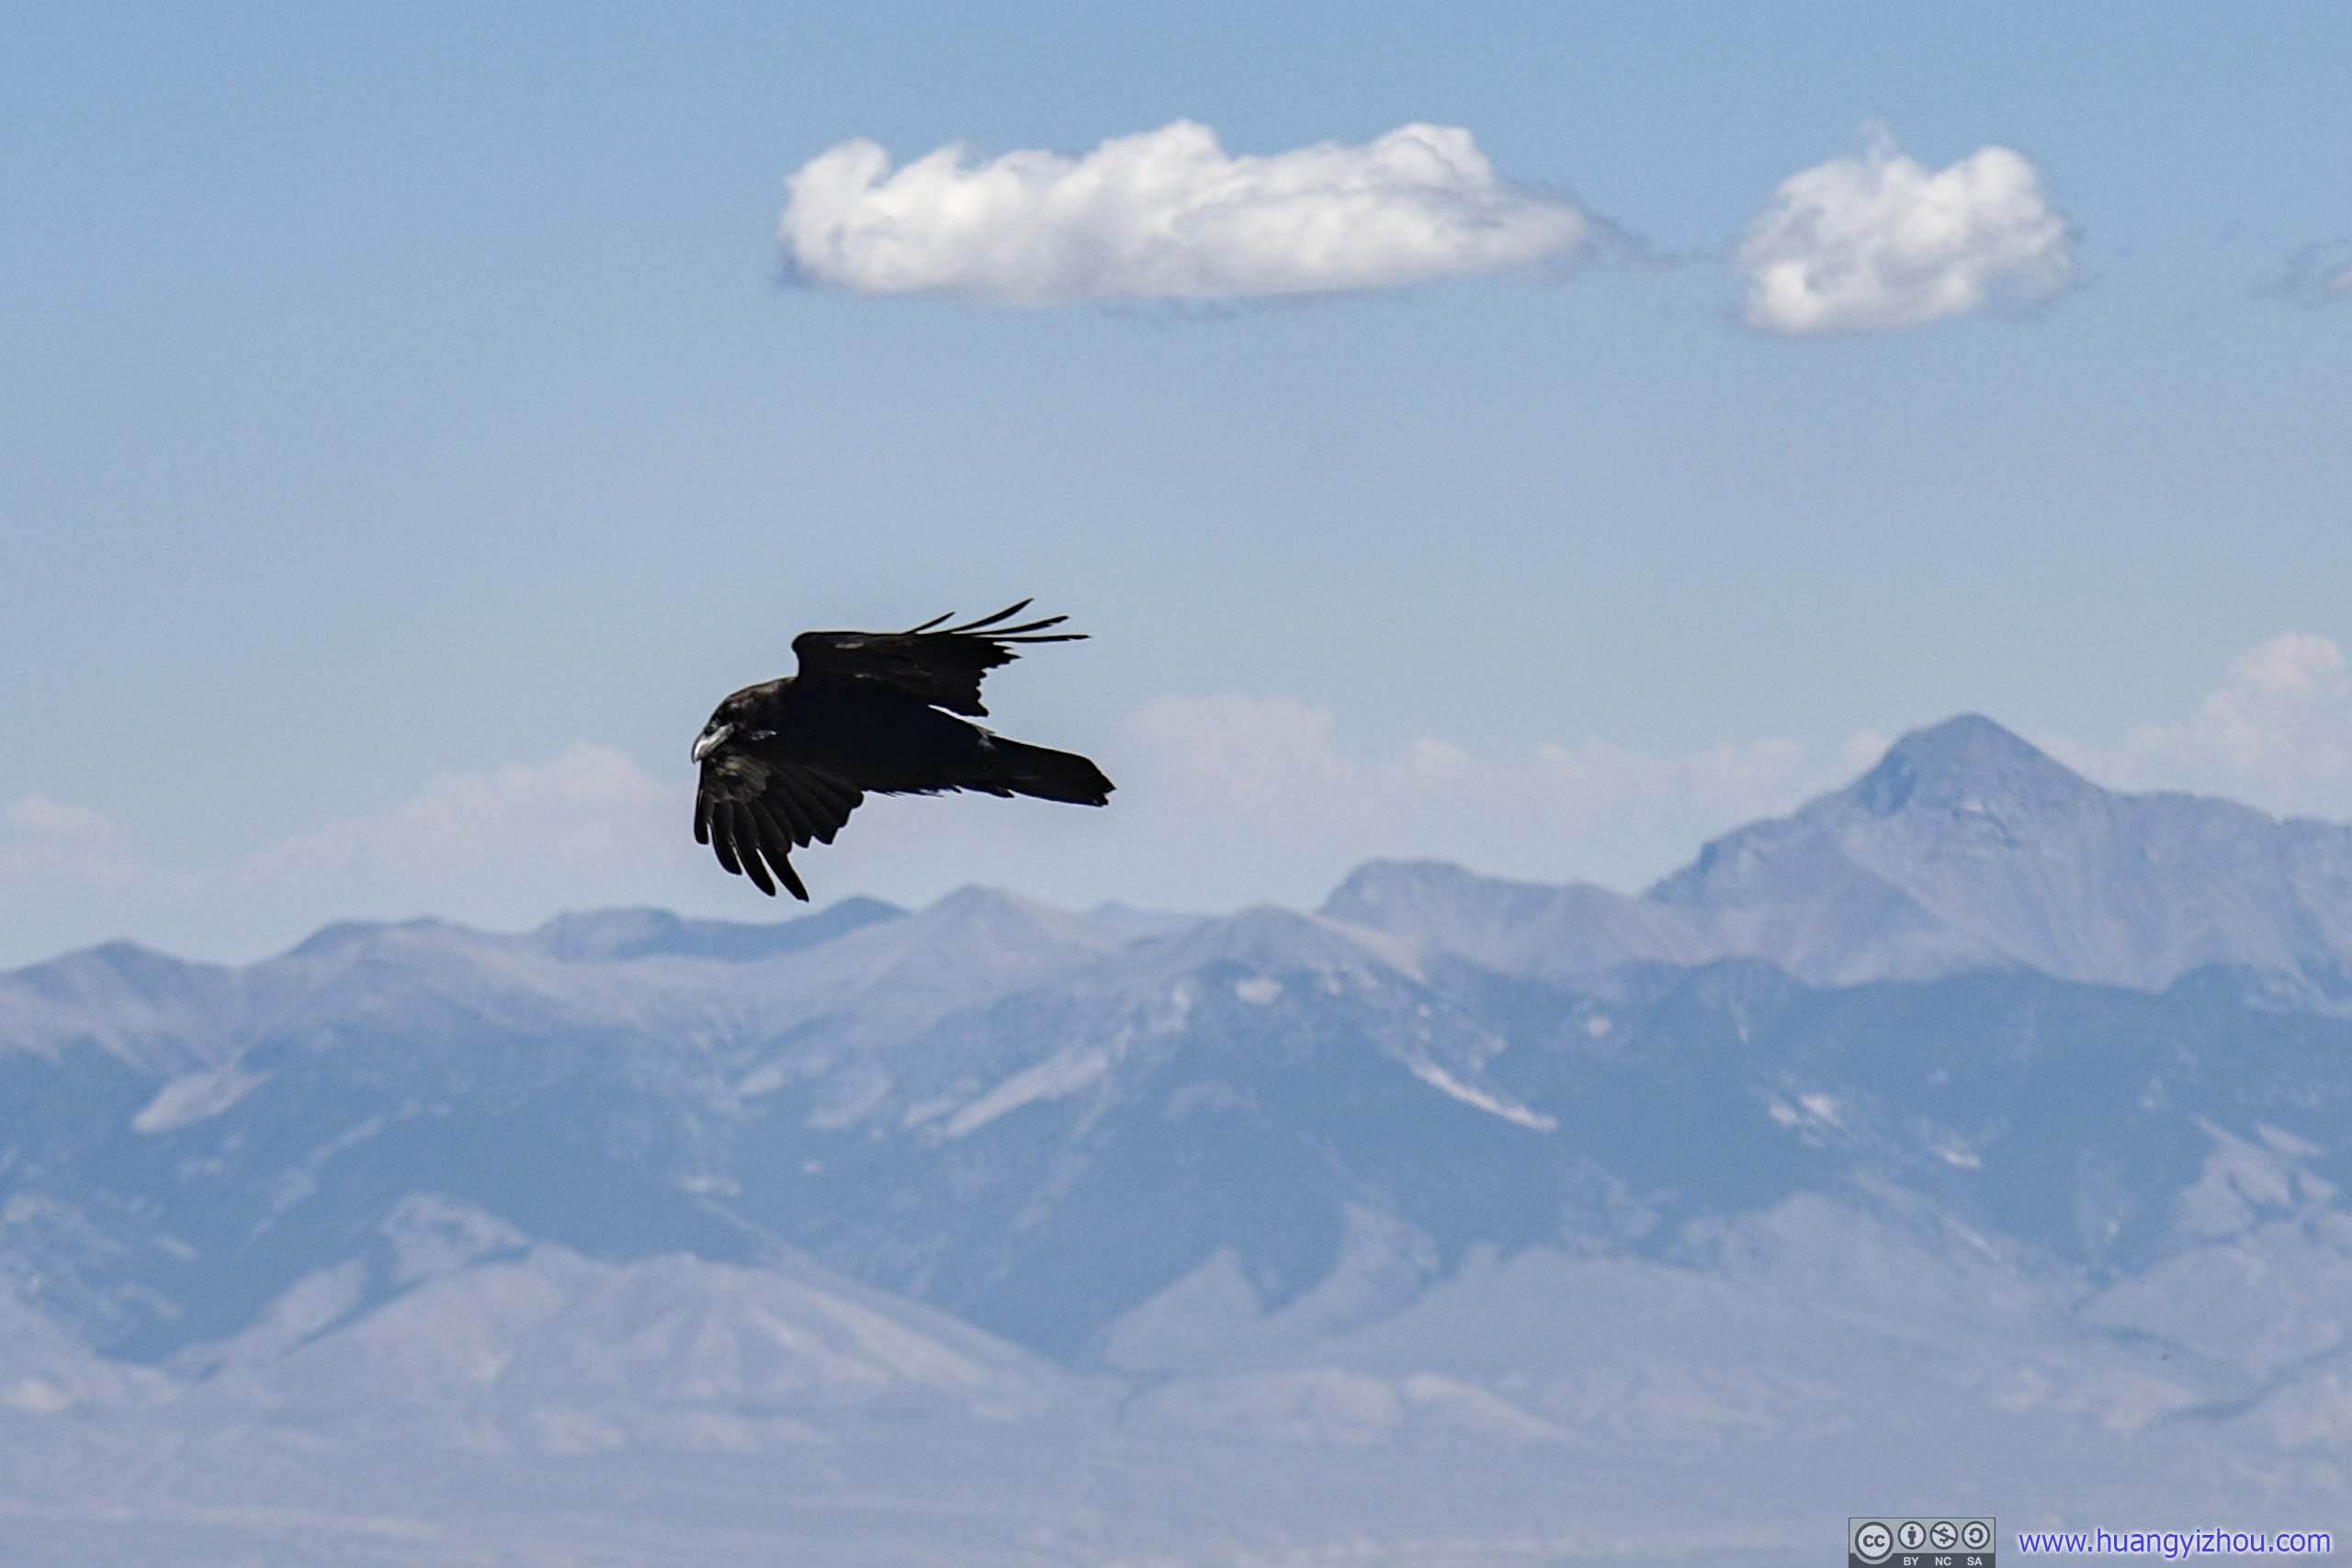
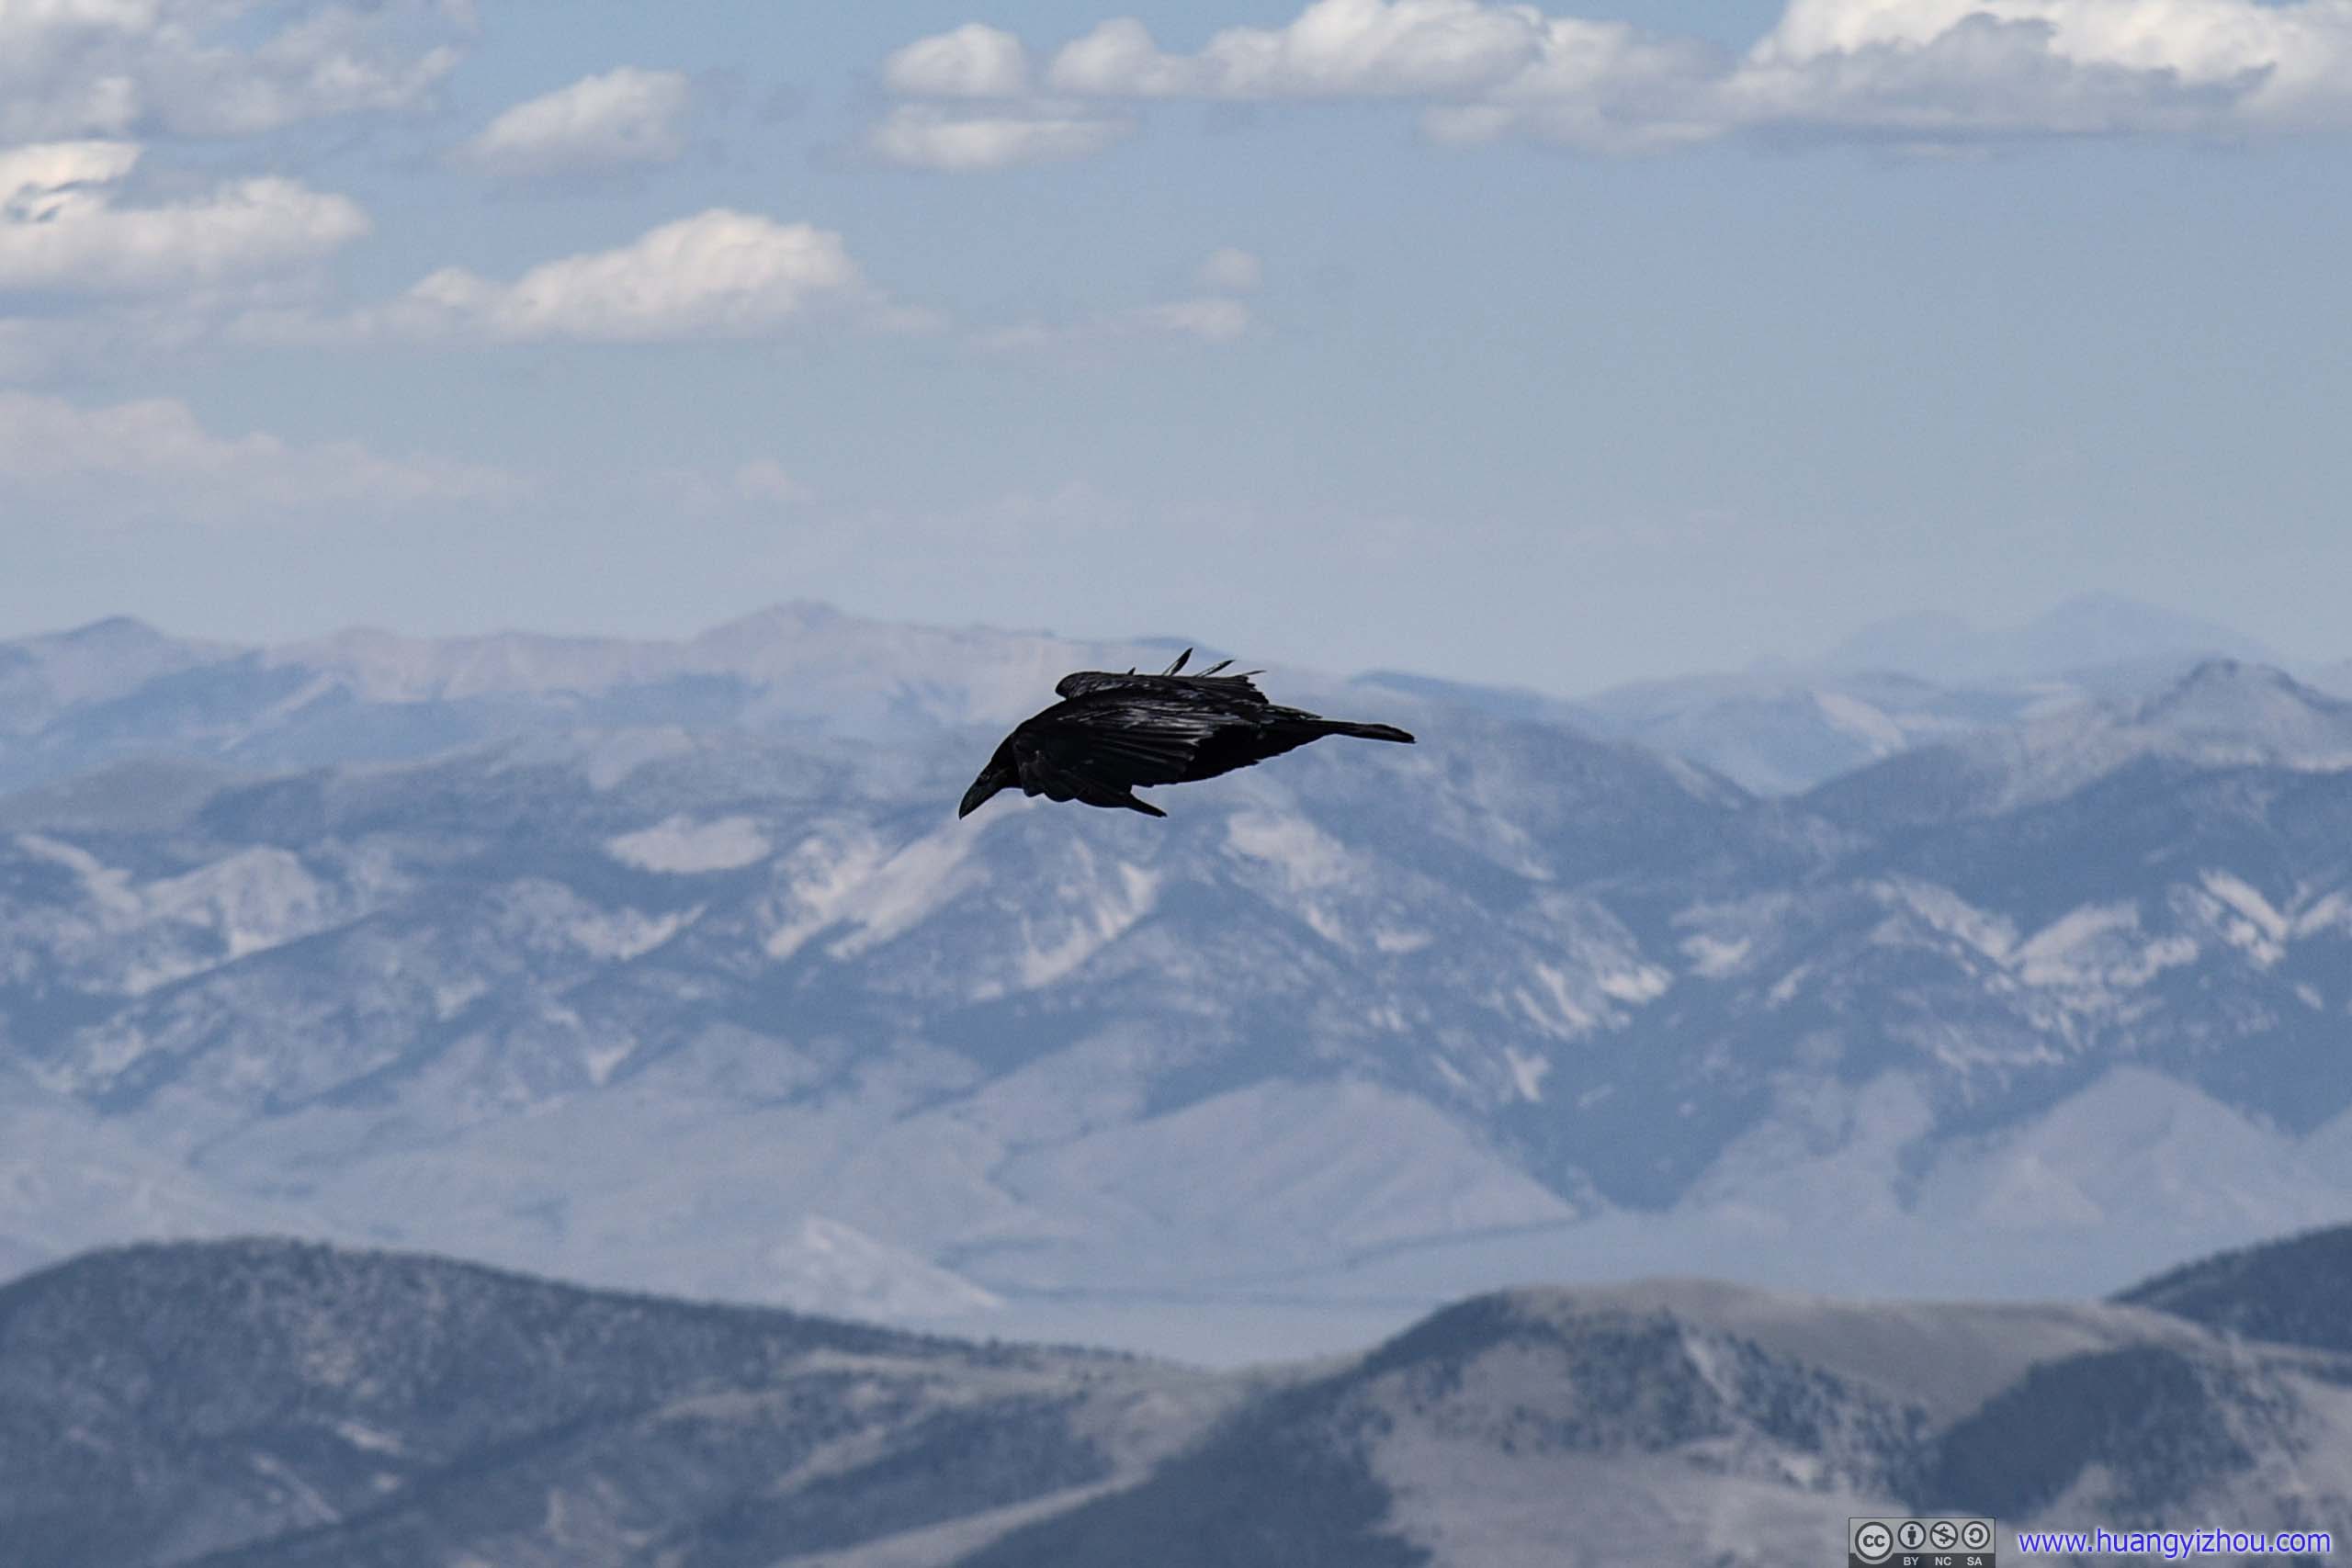
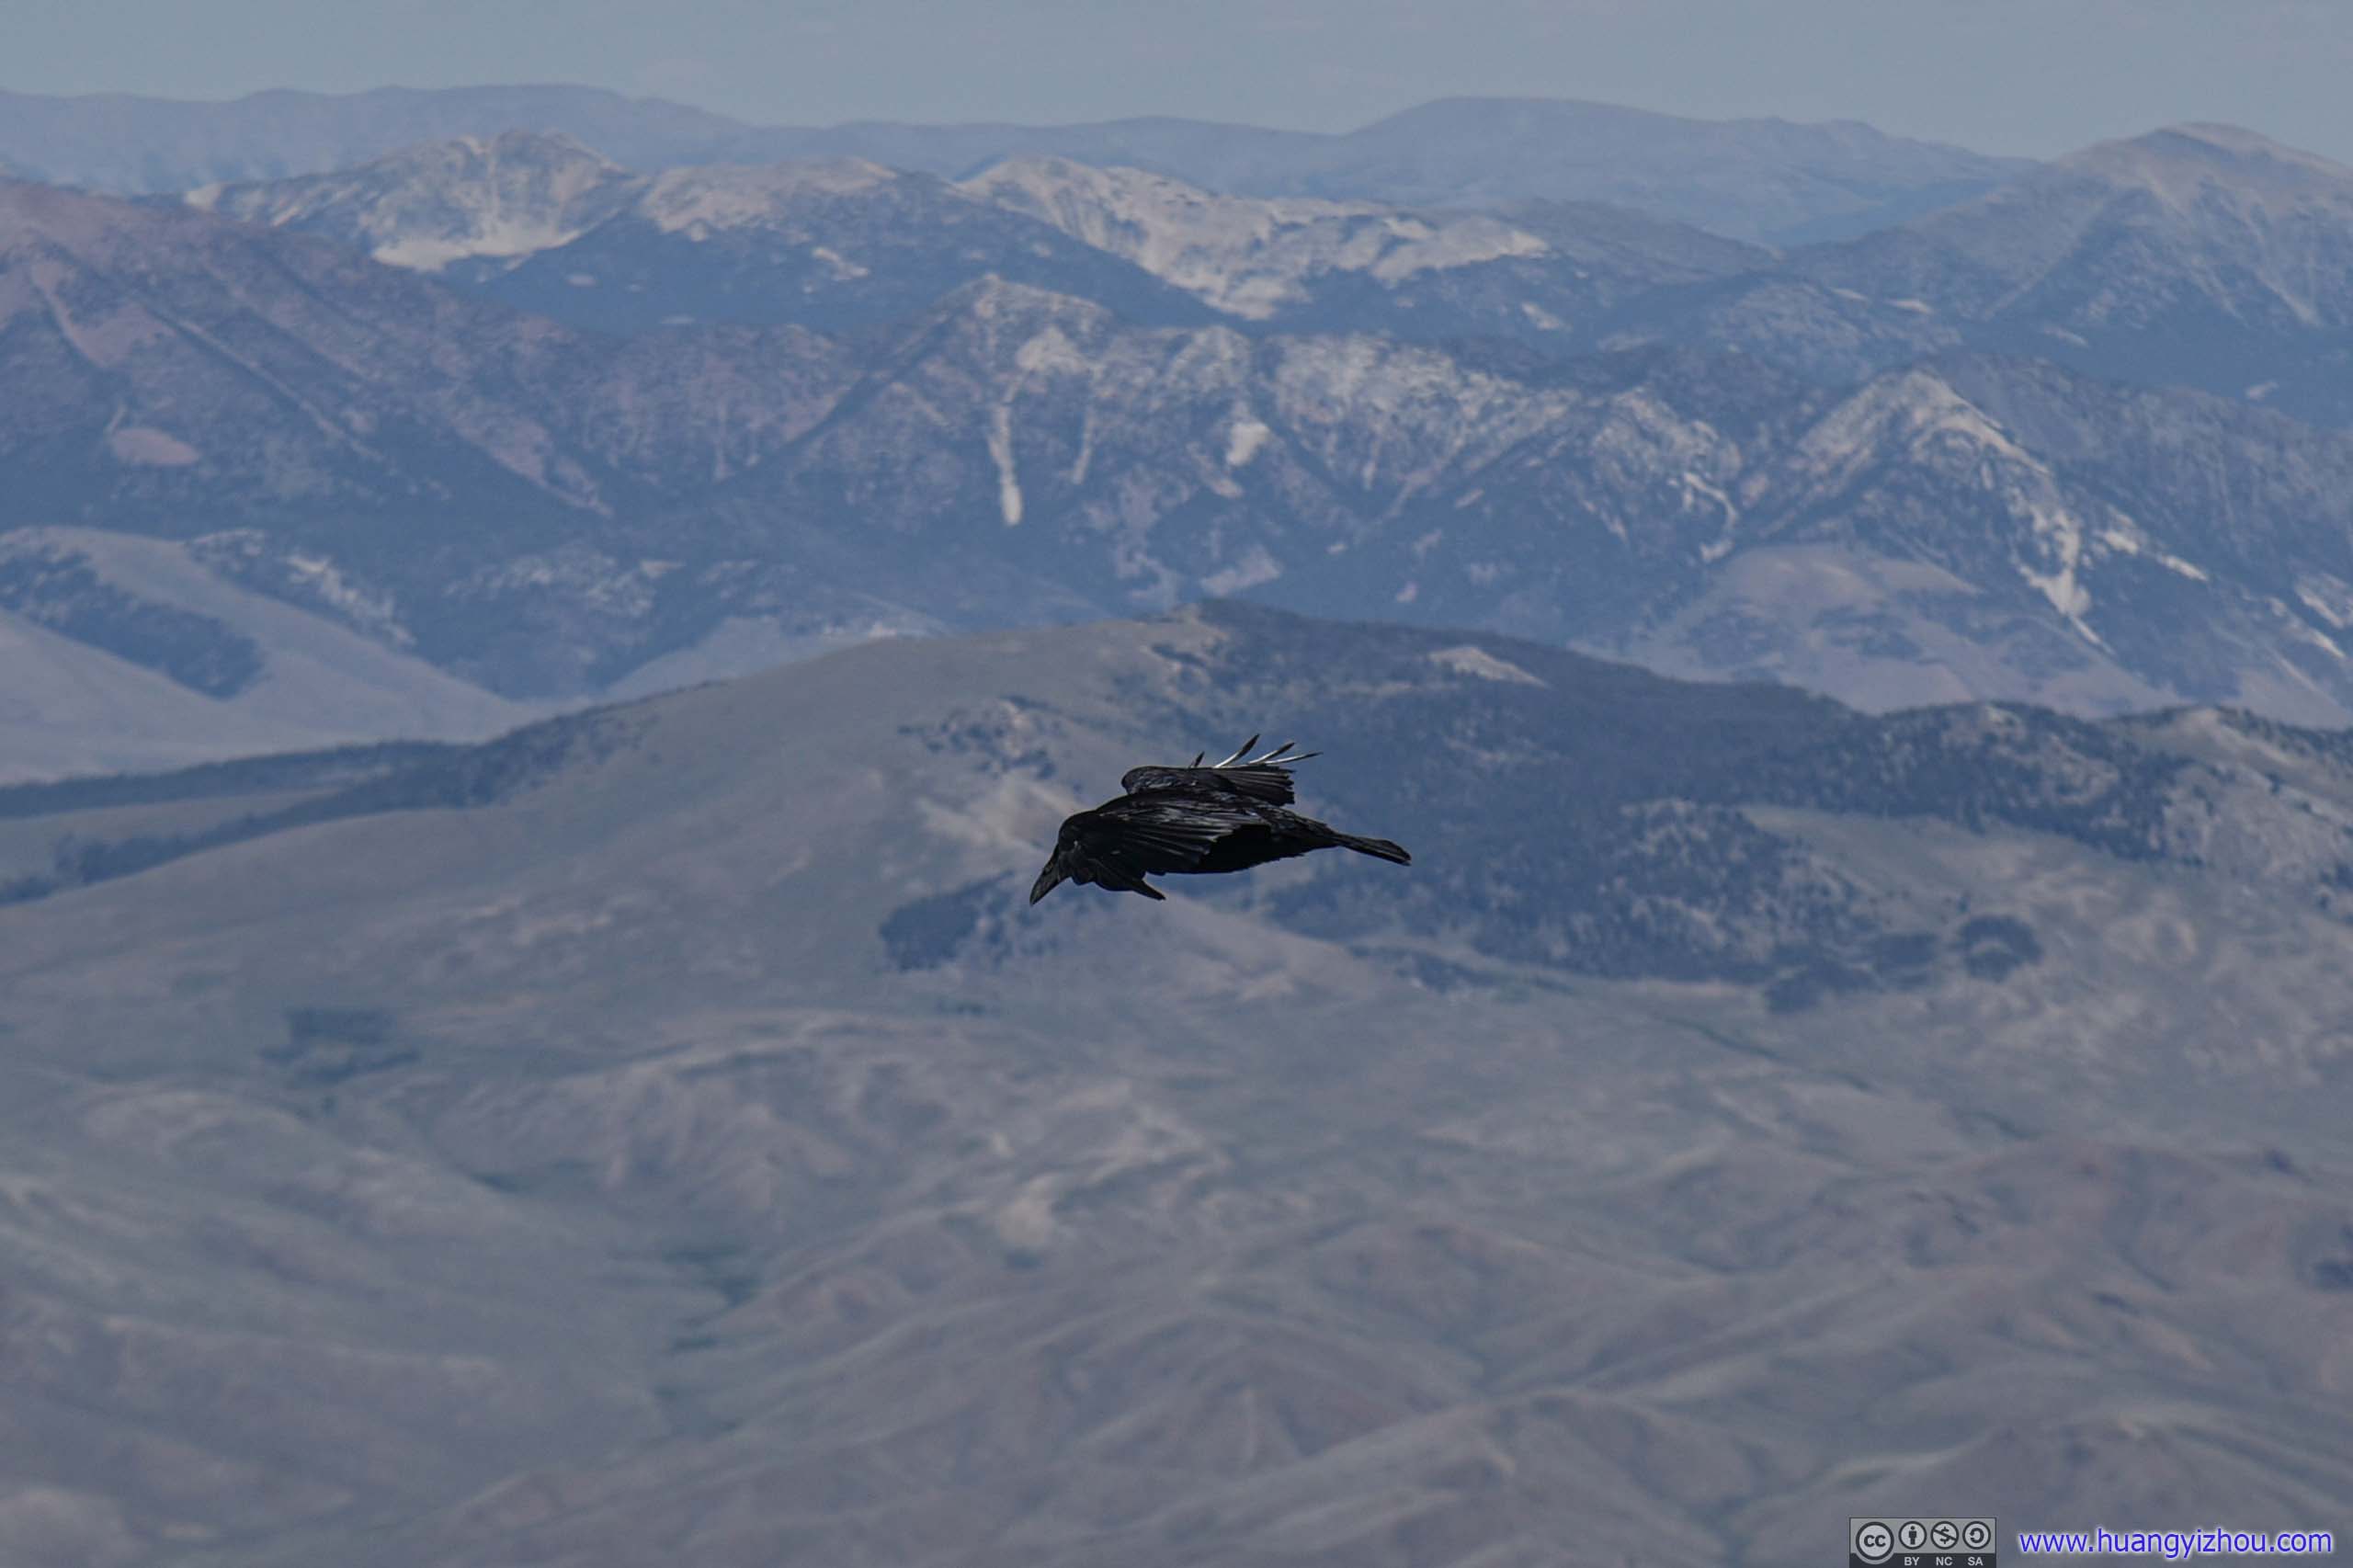
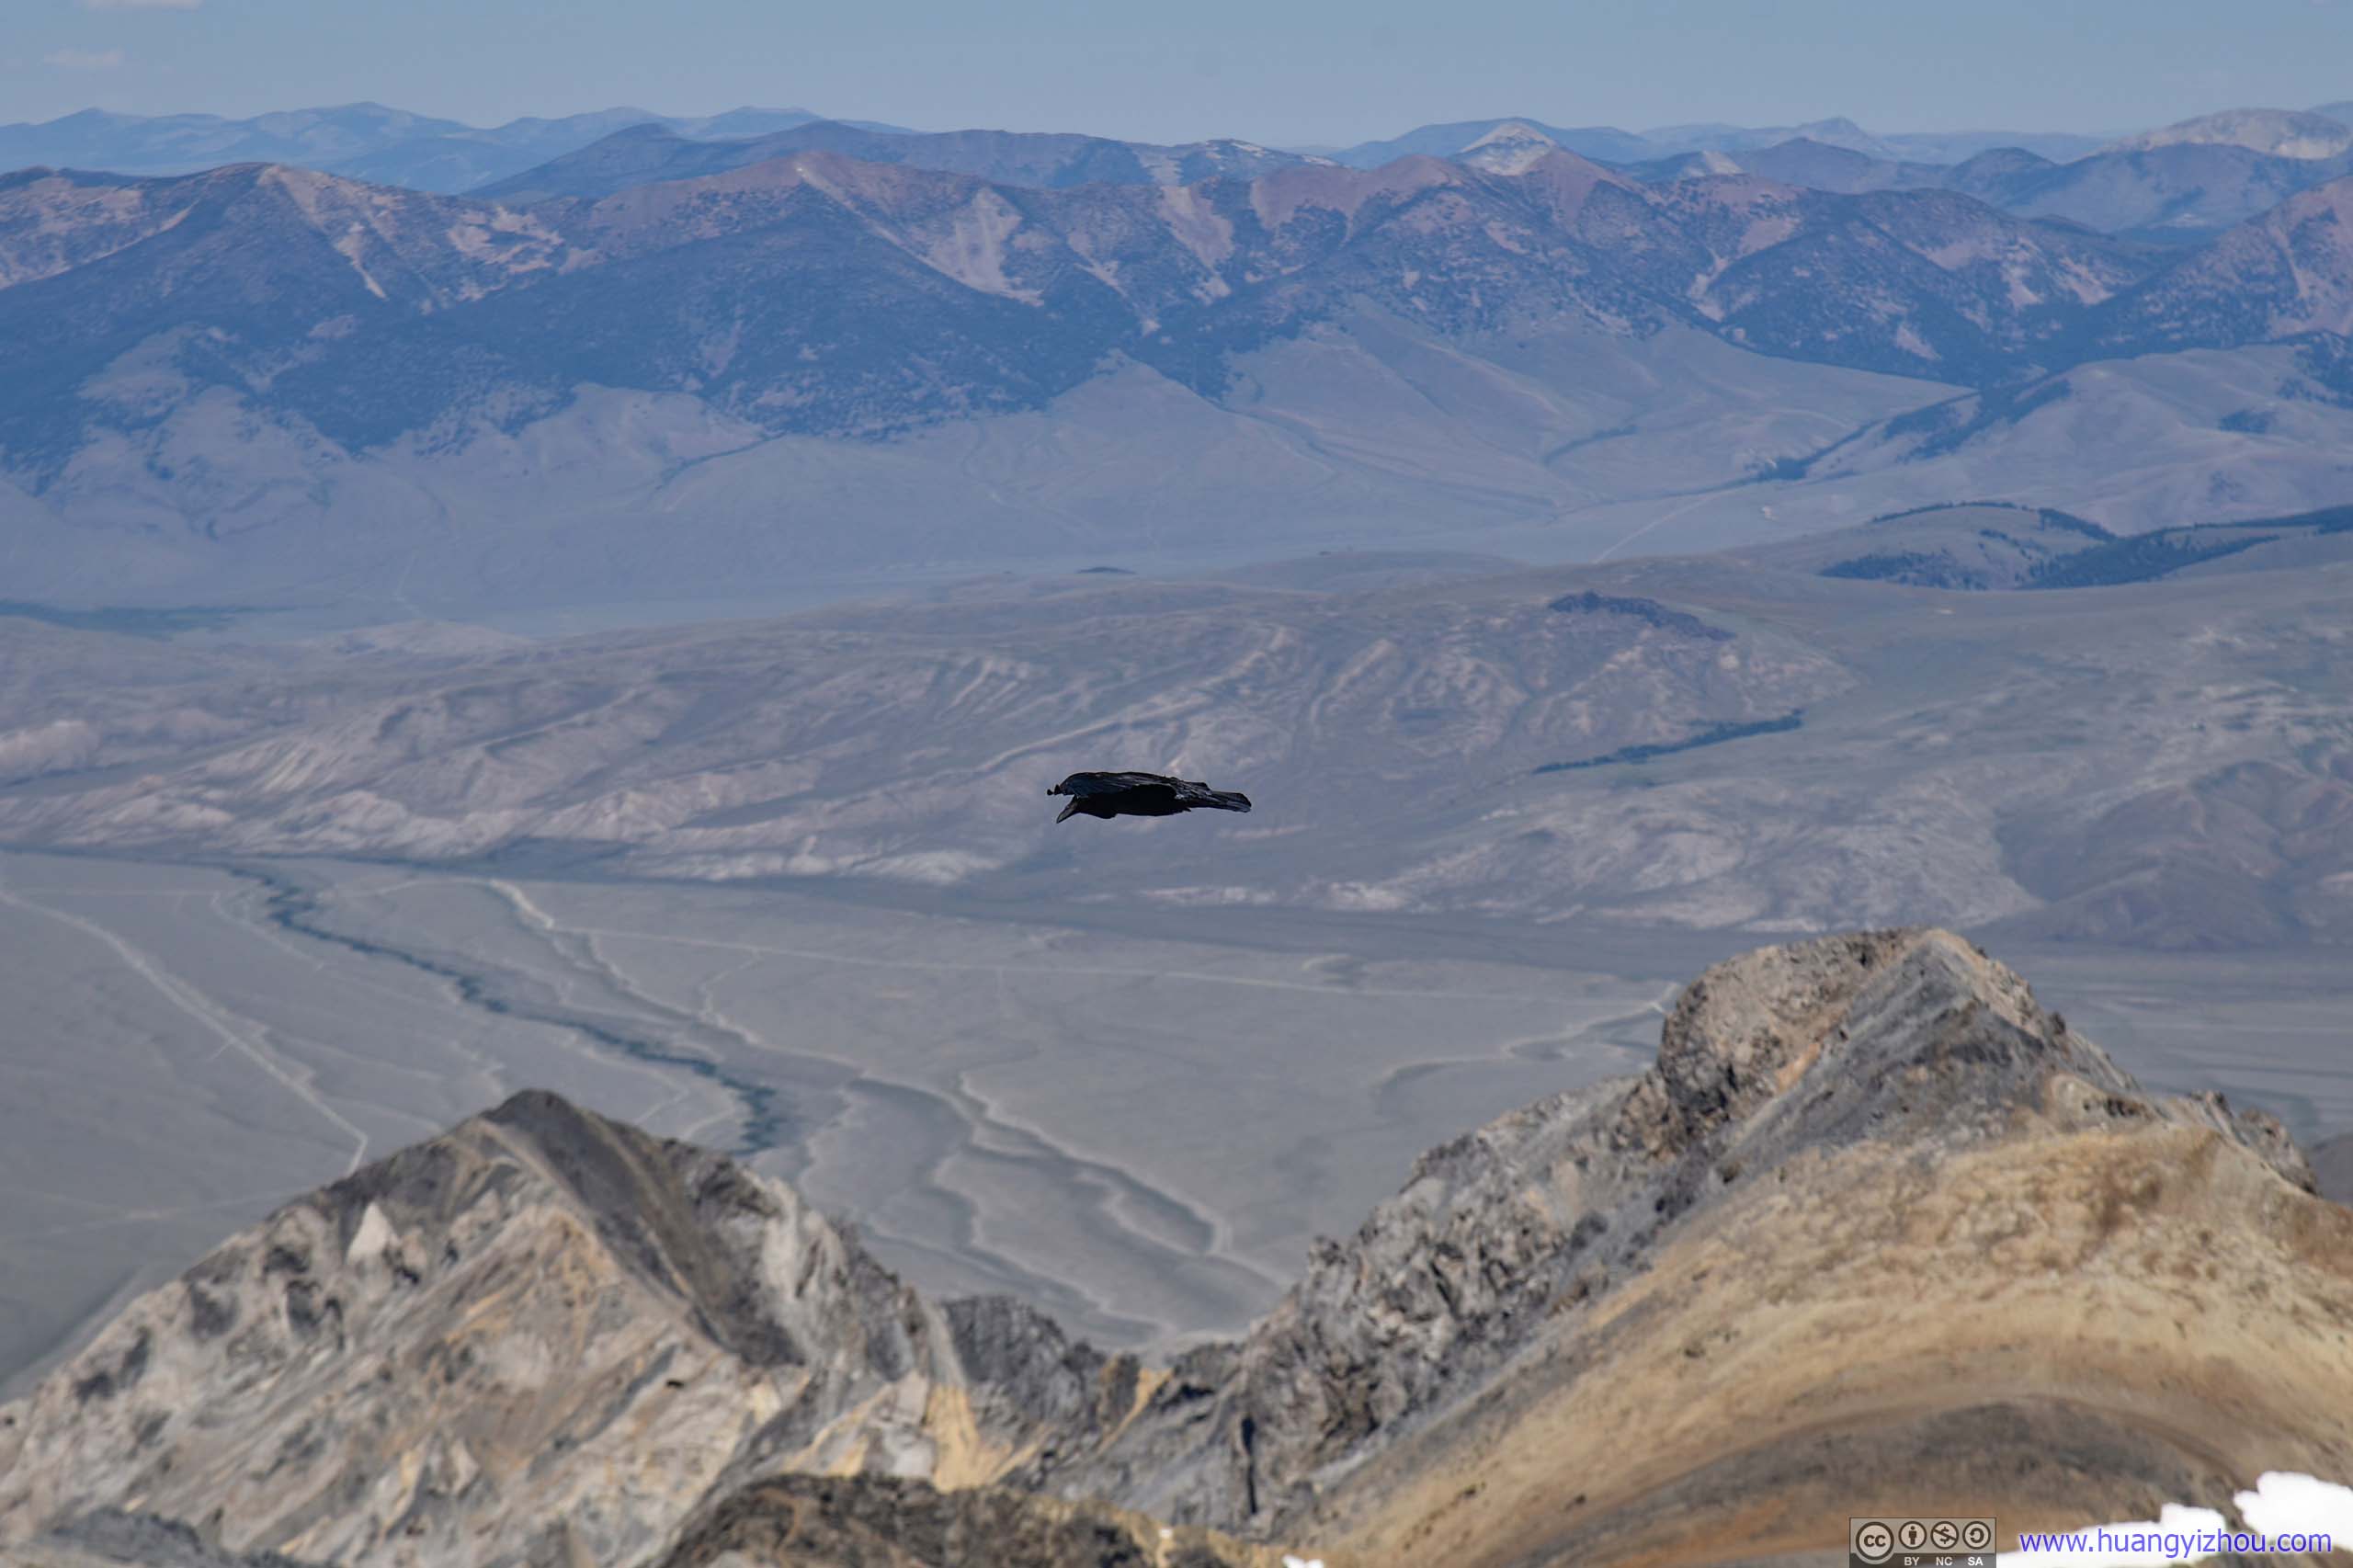
 EagleJust before I left the summit, this courageous creature came into view, soaring gallantly above the highest point of Idaho. A fitting emblem for the free spirit.
After that, I went on my way back. Due to both the steep incline and the fact that I took lots of photos (most of previous photos past Chicken-out-Ridge were actually taken during my descent), it took me an hour to get down the final steep stretch, just like my ascent.
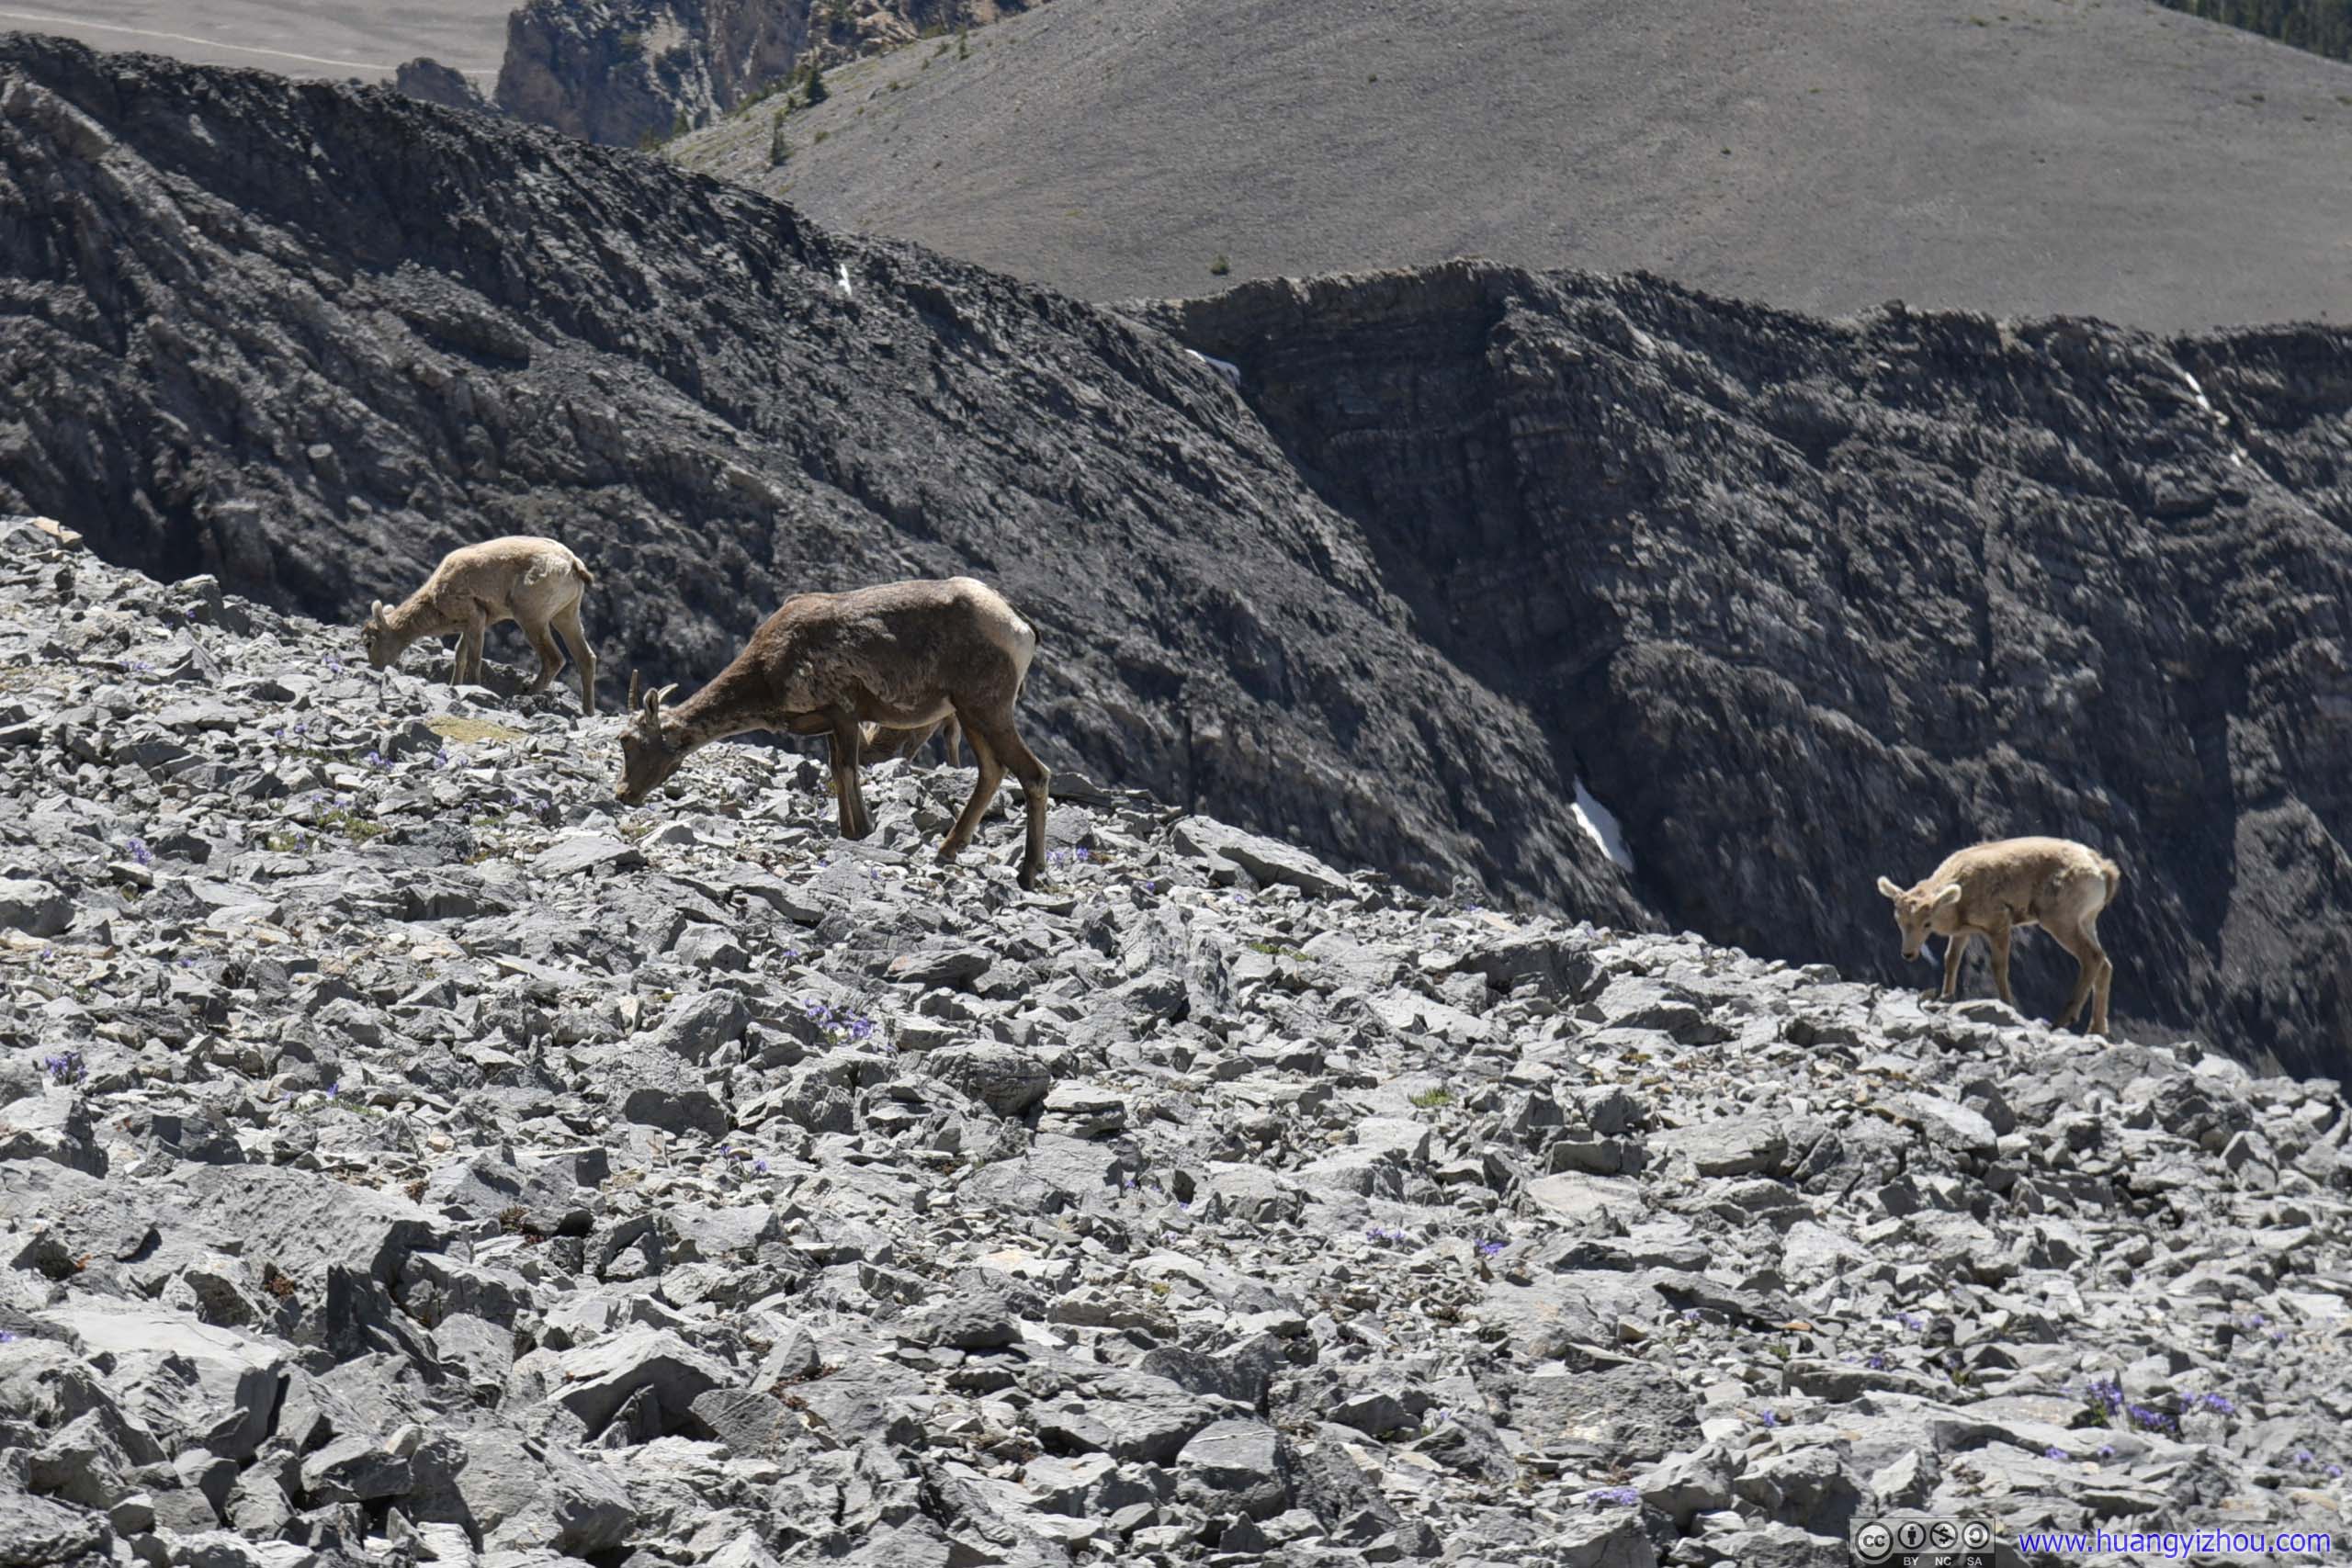
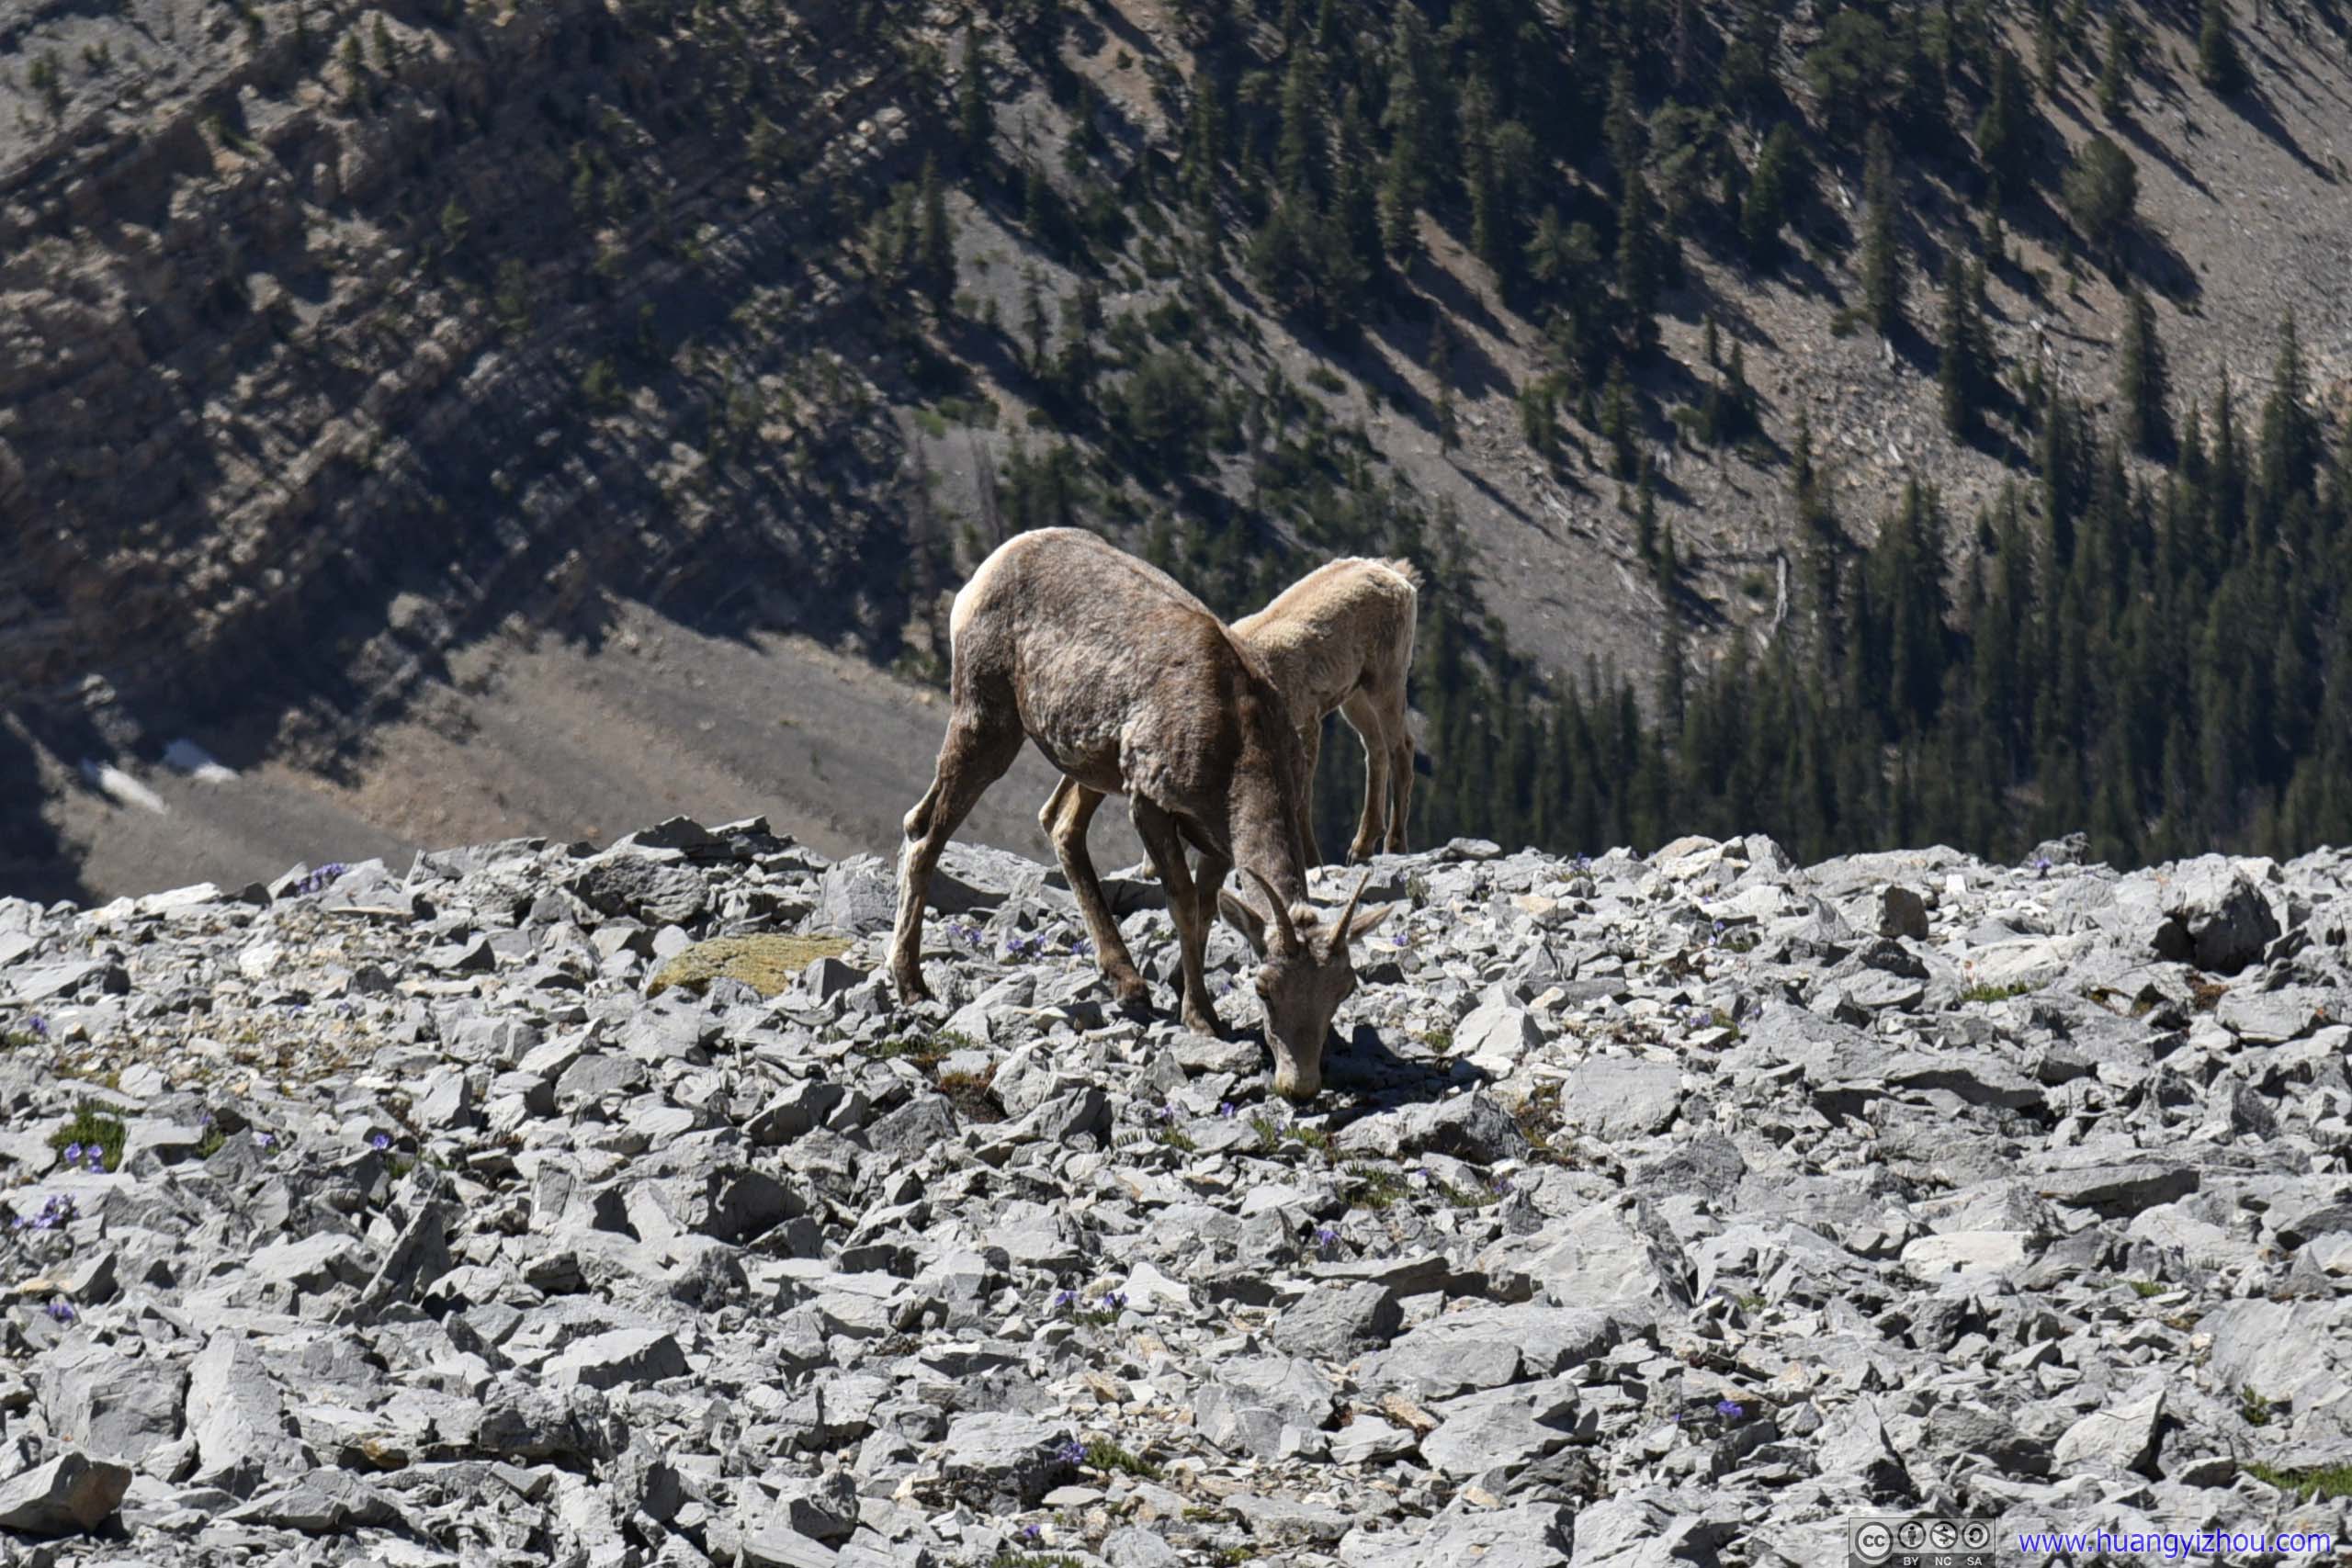
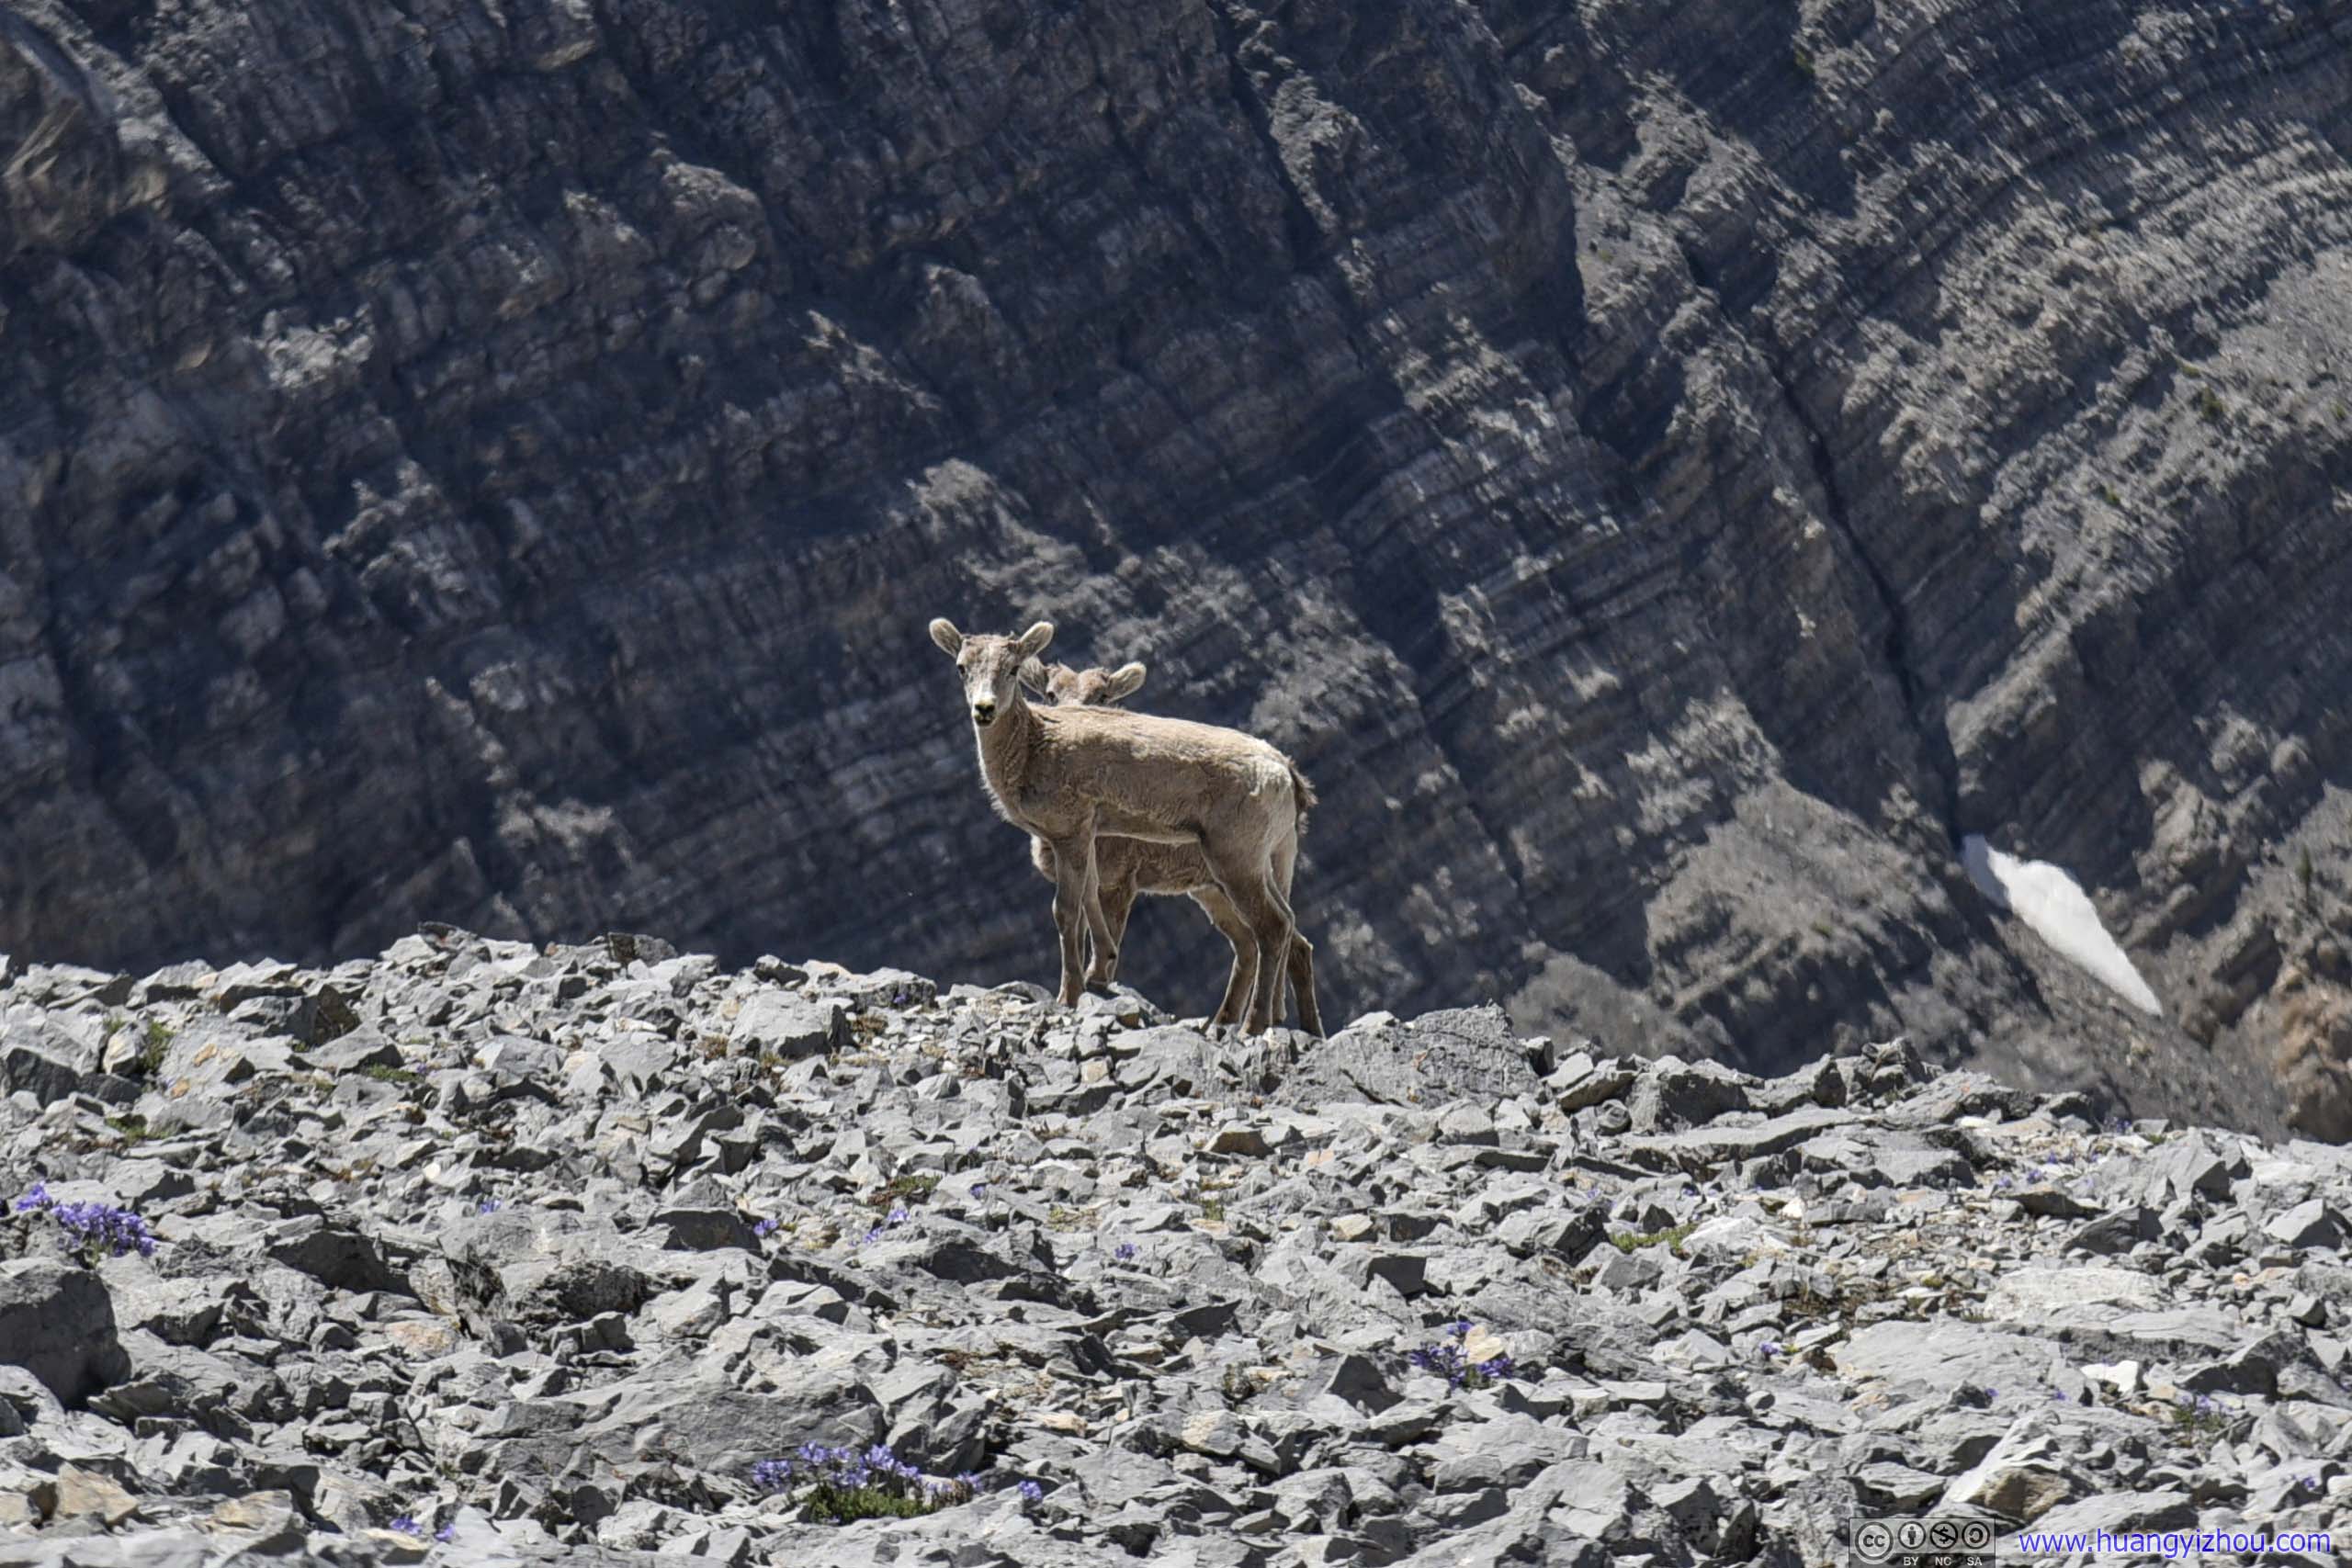
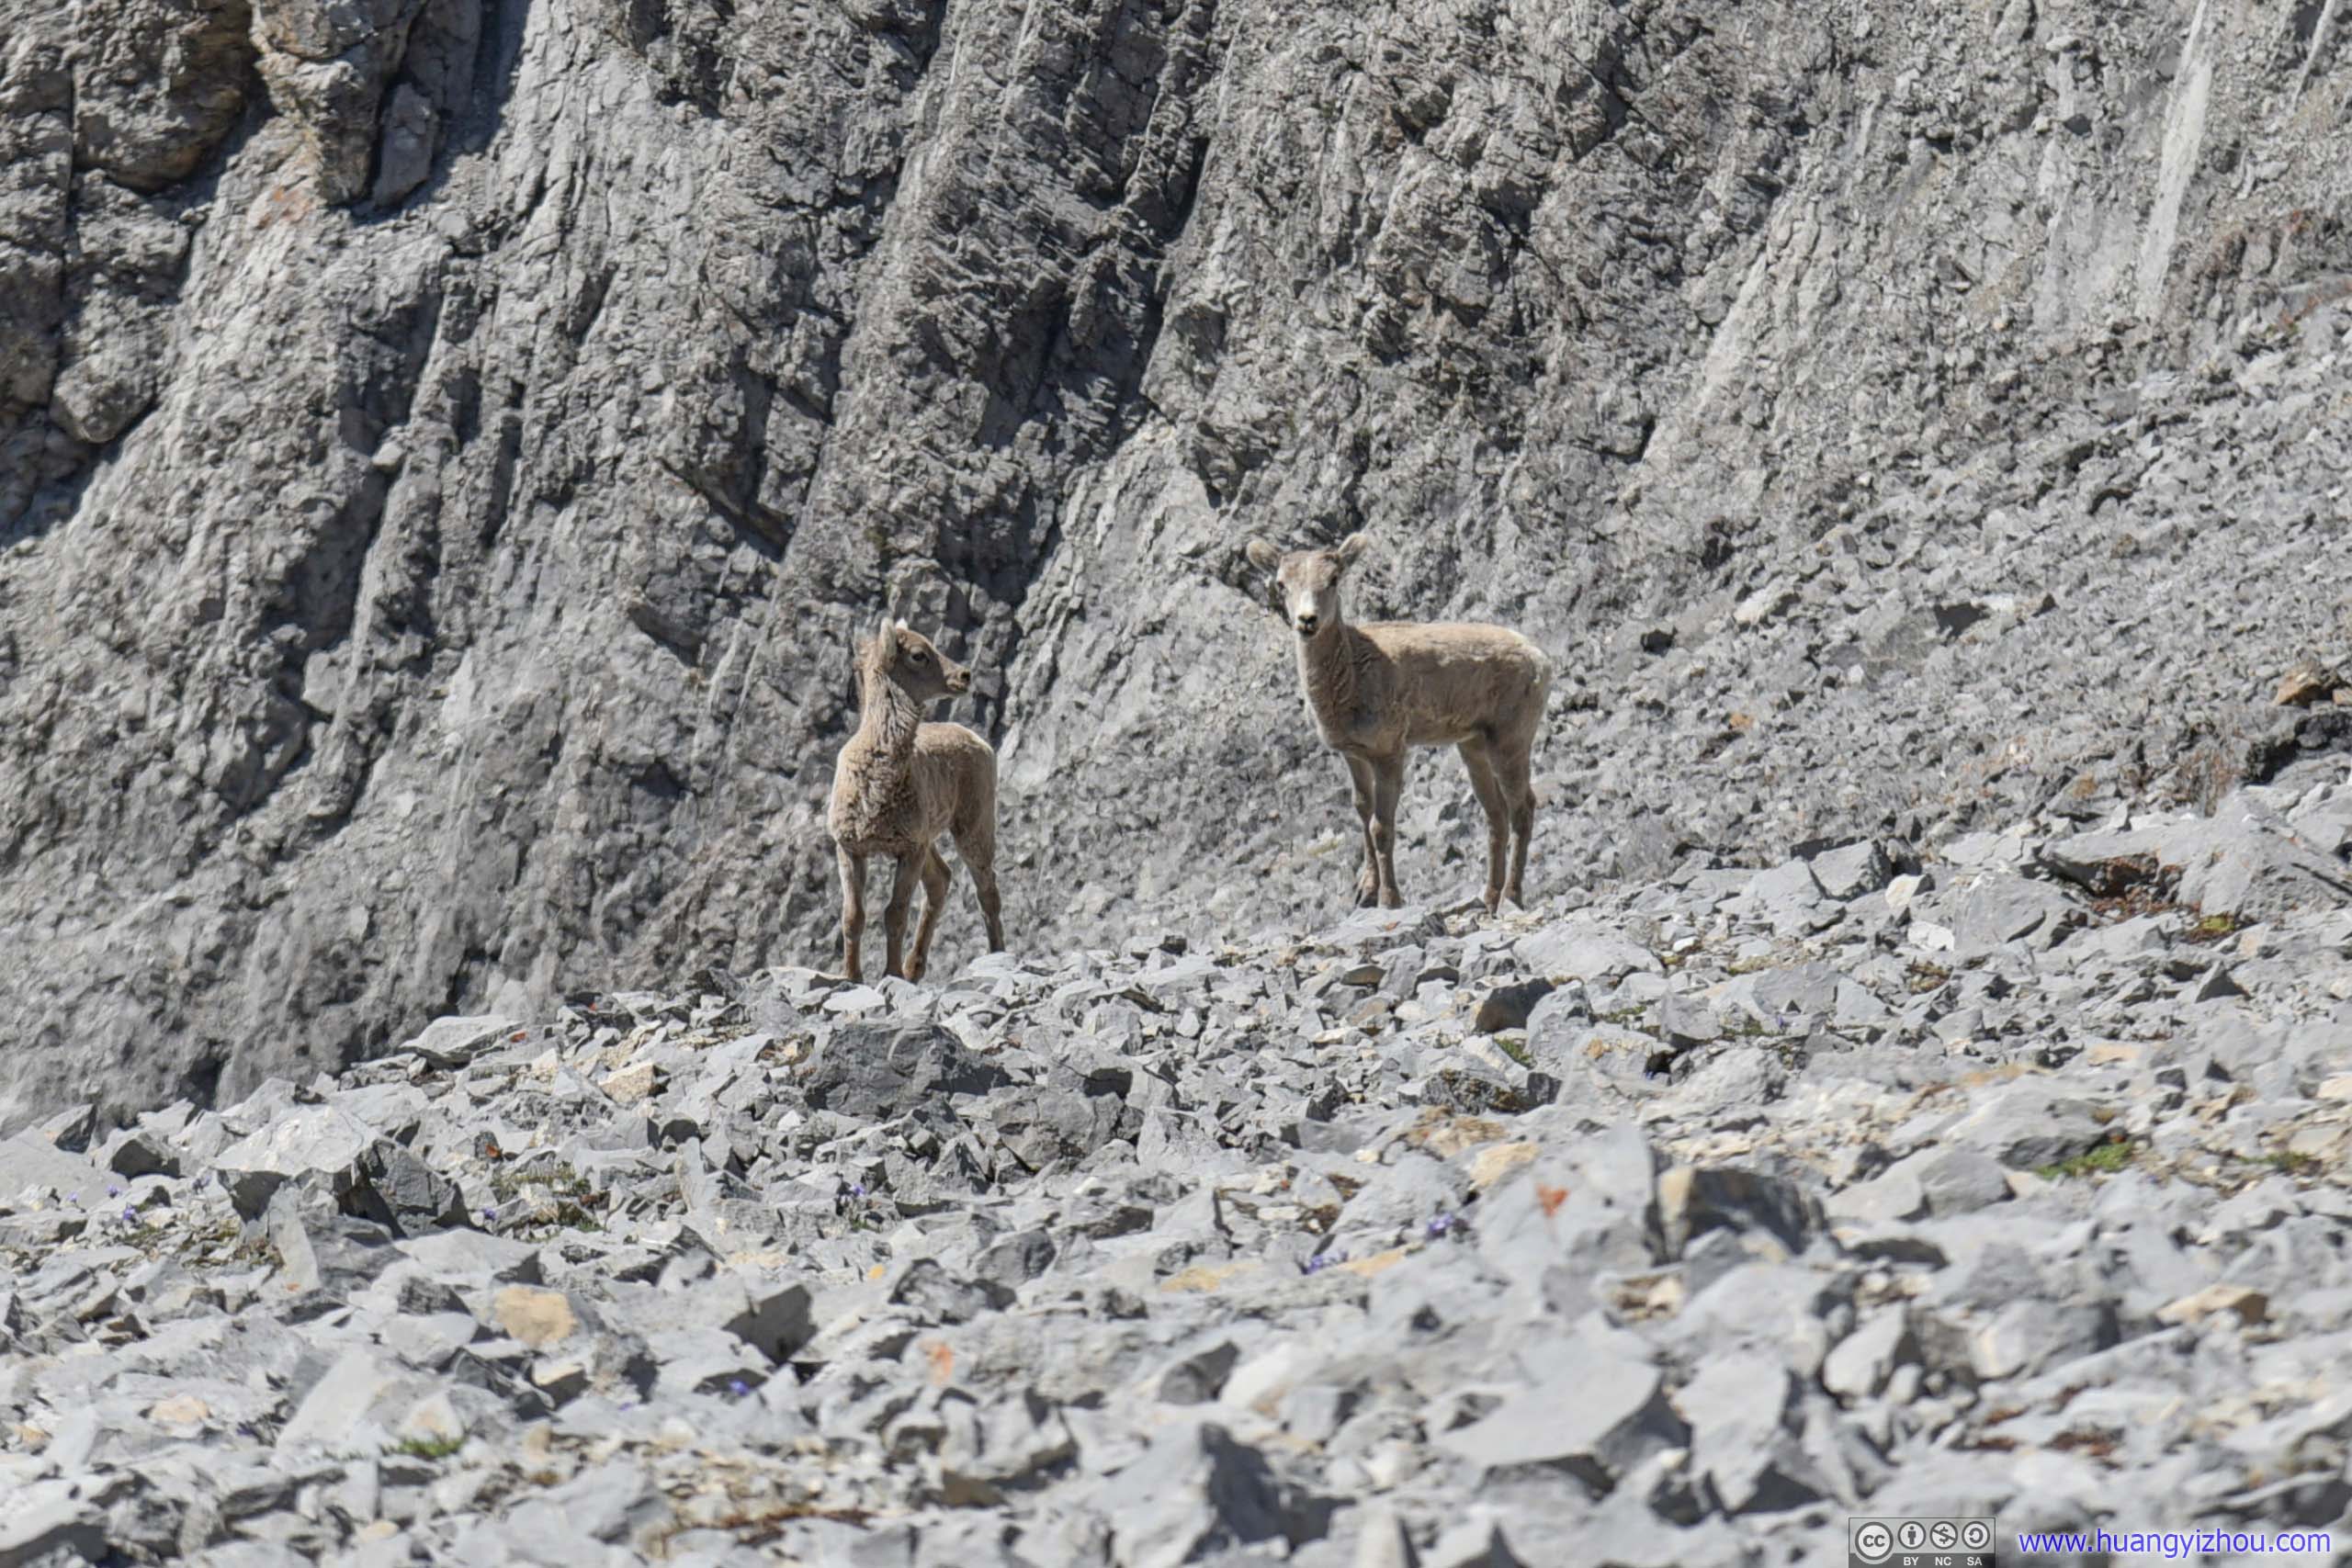
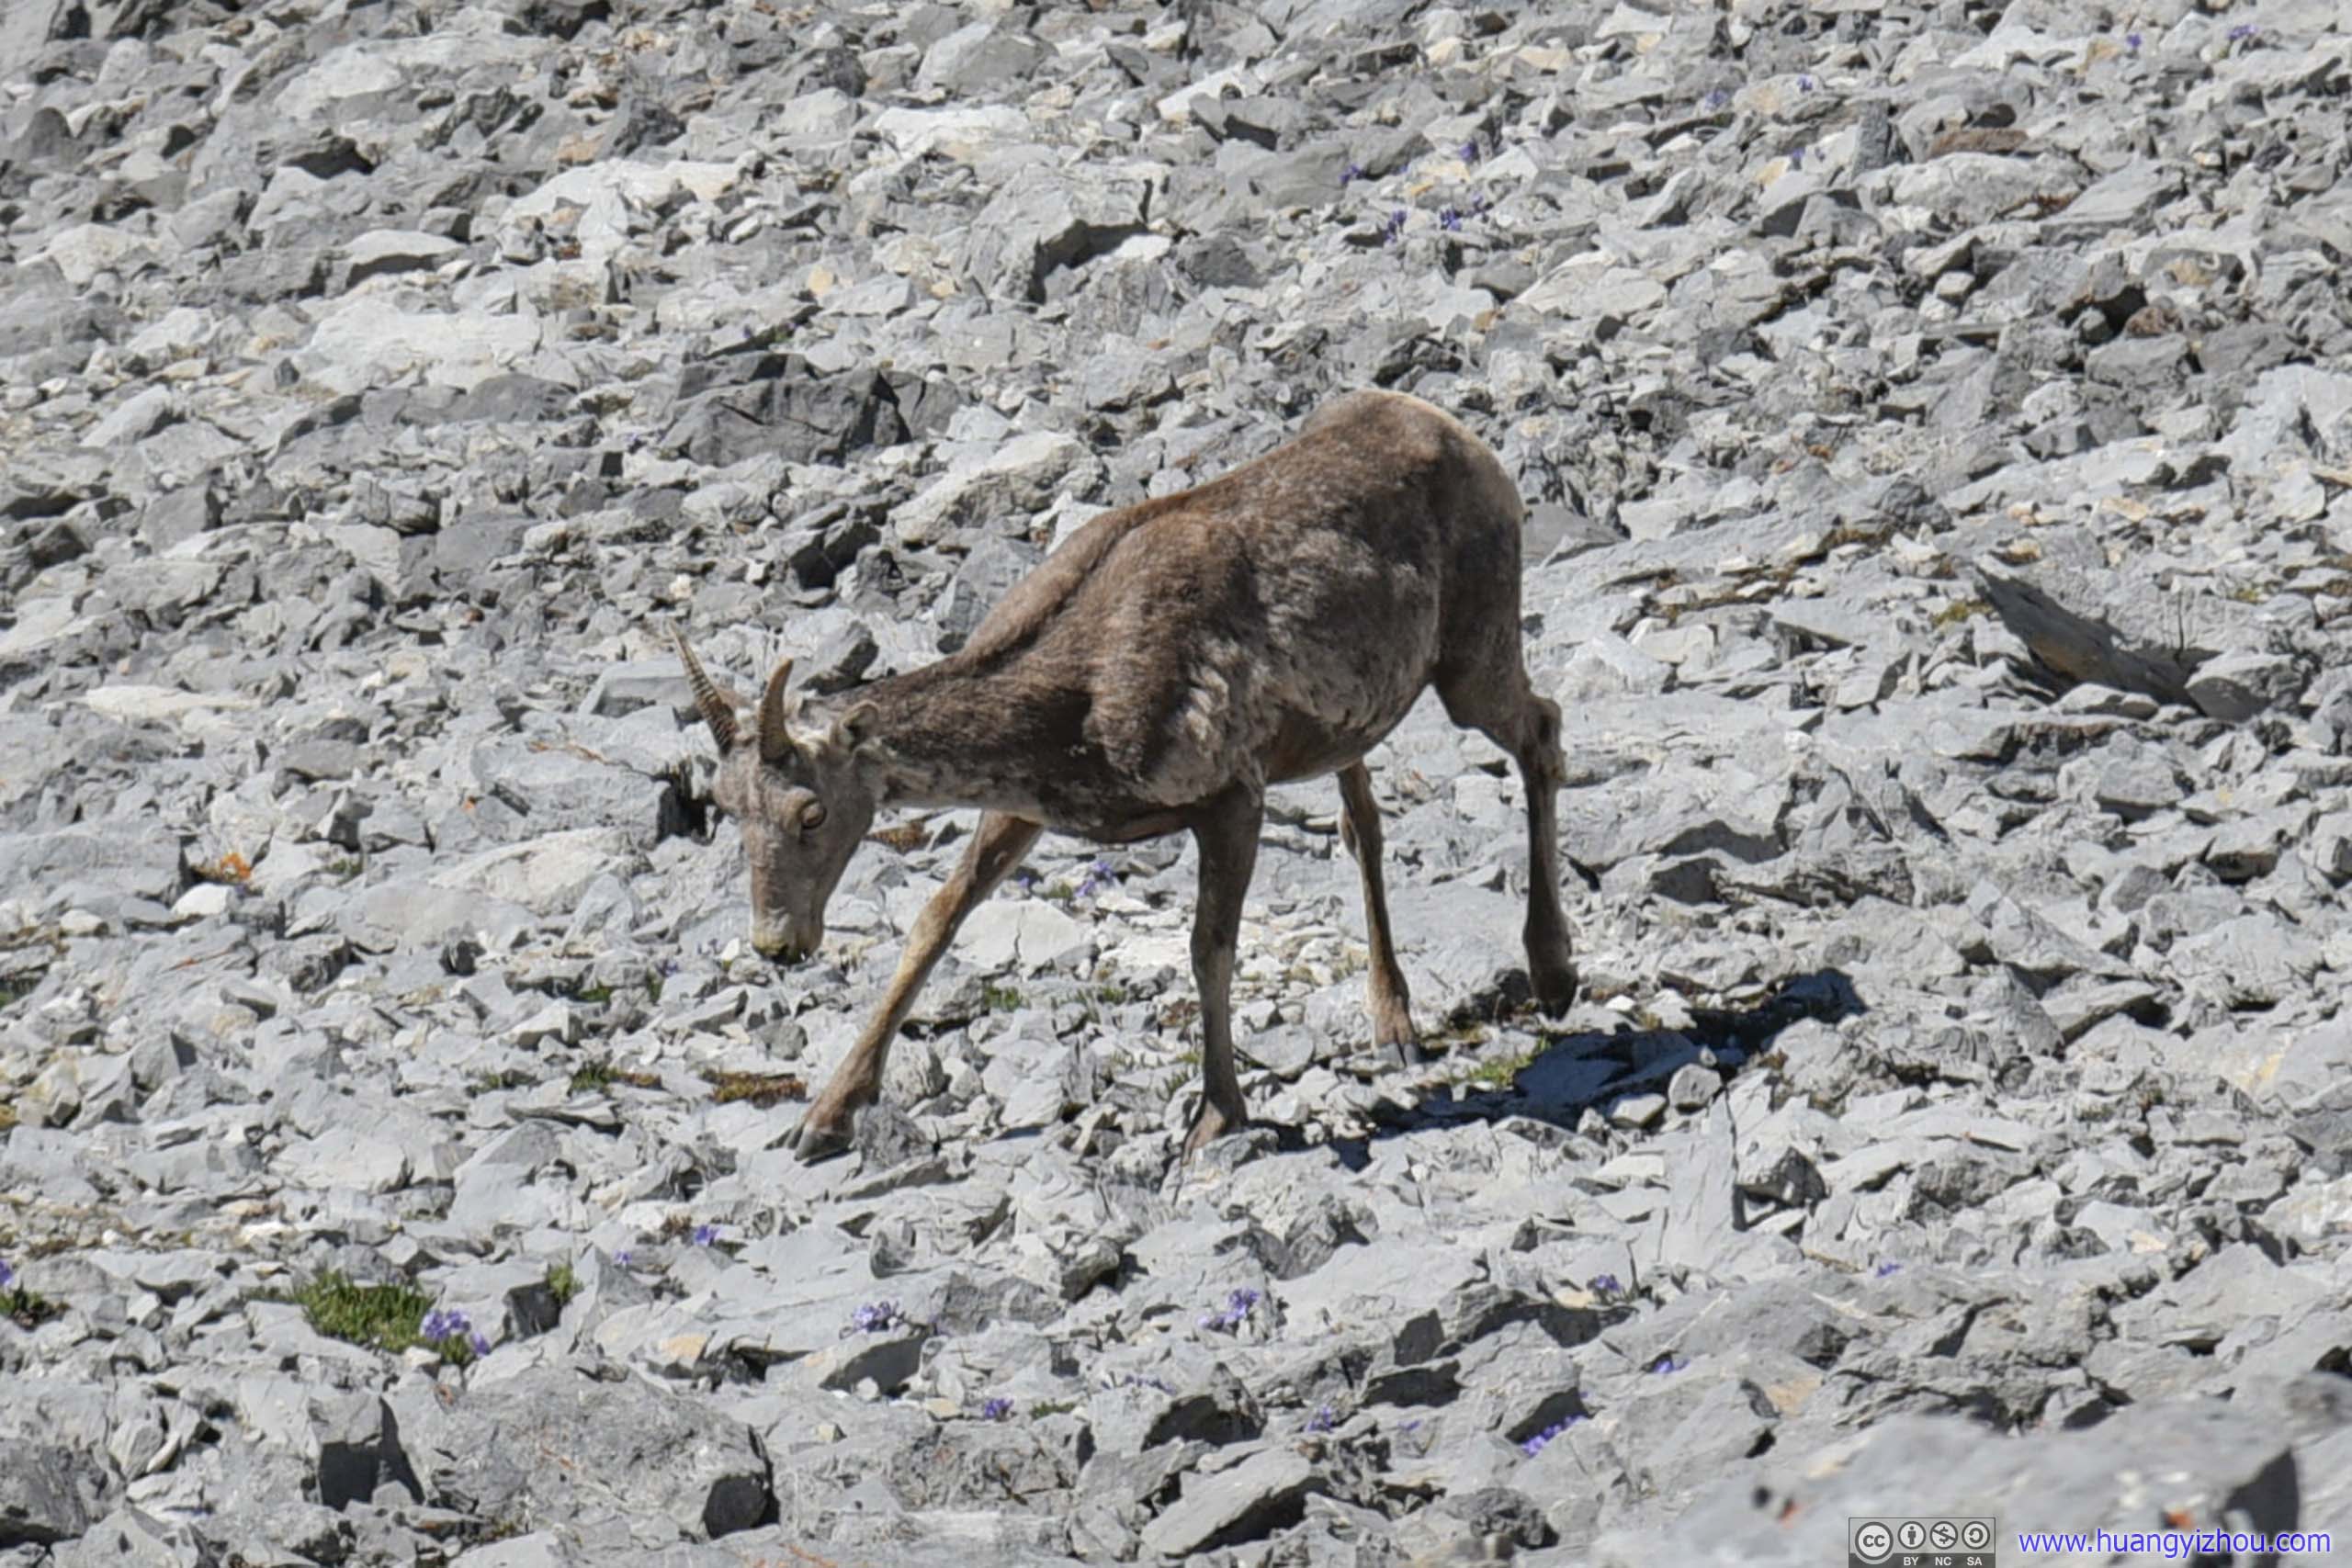 GoatNext to the snow field, I spotted this group of natural mountaineers. They didn’t seem any bothered with the steep mountain slopes.
 Mountains
After that, I crossed the snow bridge and traversed Chicken-out-Ridge back. The descent past Chicken-out-Ridge was taxing on the knees. In addition, it’s stressful on ankles as the trail was made of loose rocks most of the way. But the real danger was when one got into the woods, as sand/dirt replaced rocks in trail composition, which provided much less grip. Overall, I believe a trekking pole would make things easier.
Finally, at 7pm, 10.5 hours since my start, I was back at the trailhead. An epic day.

Mount BorahLooking back from US Route 93.
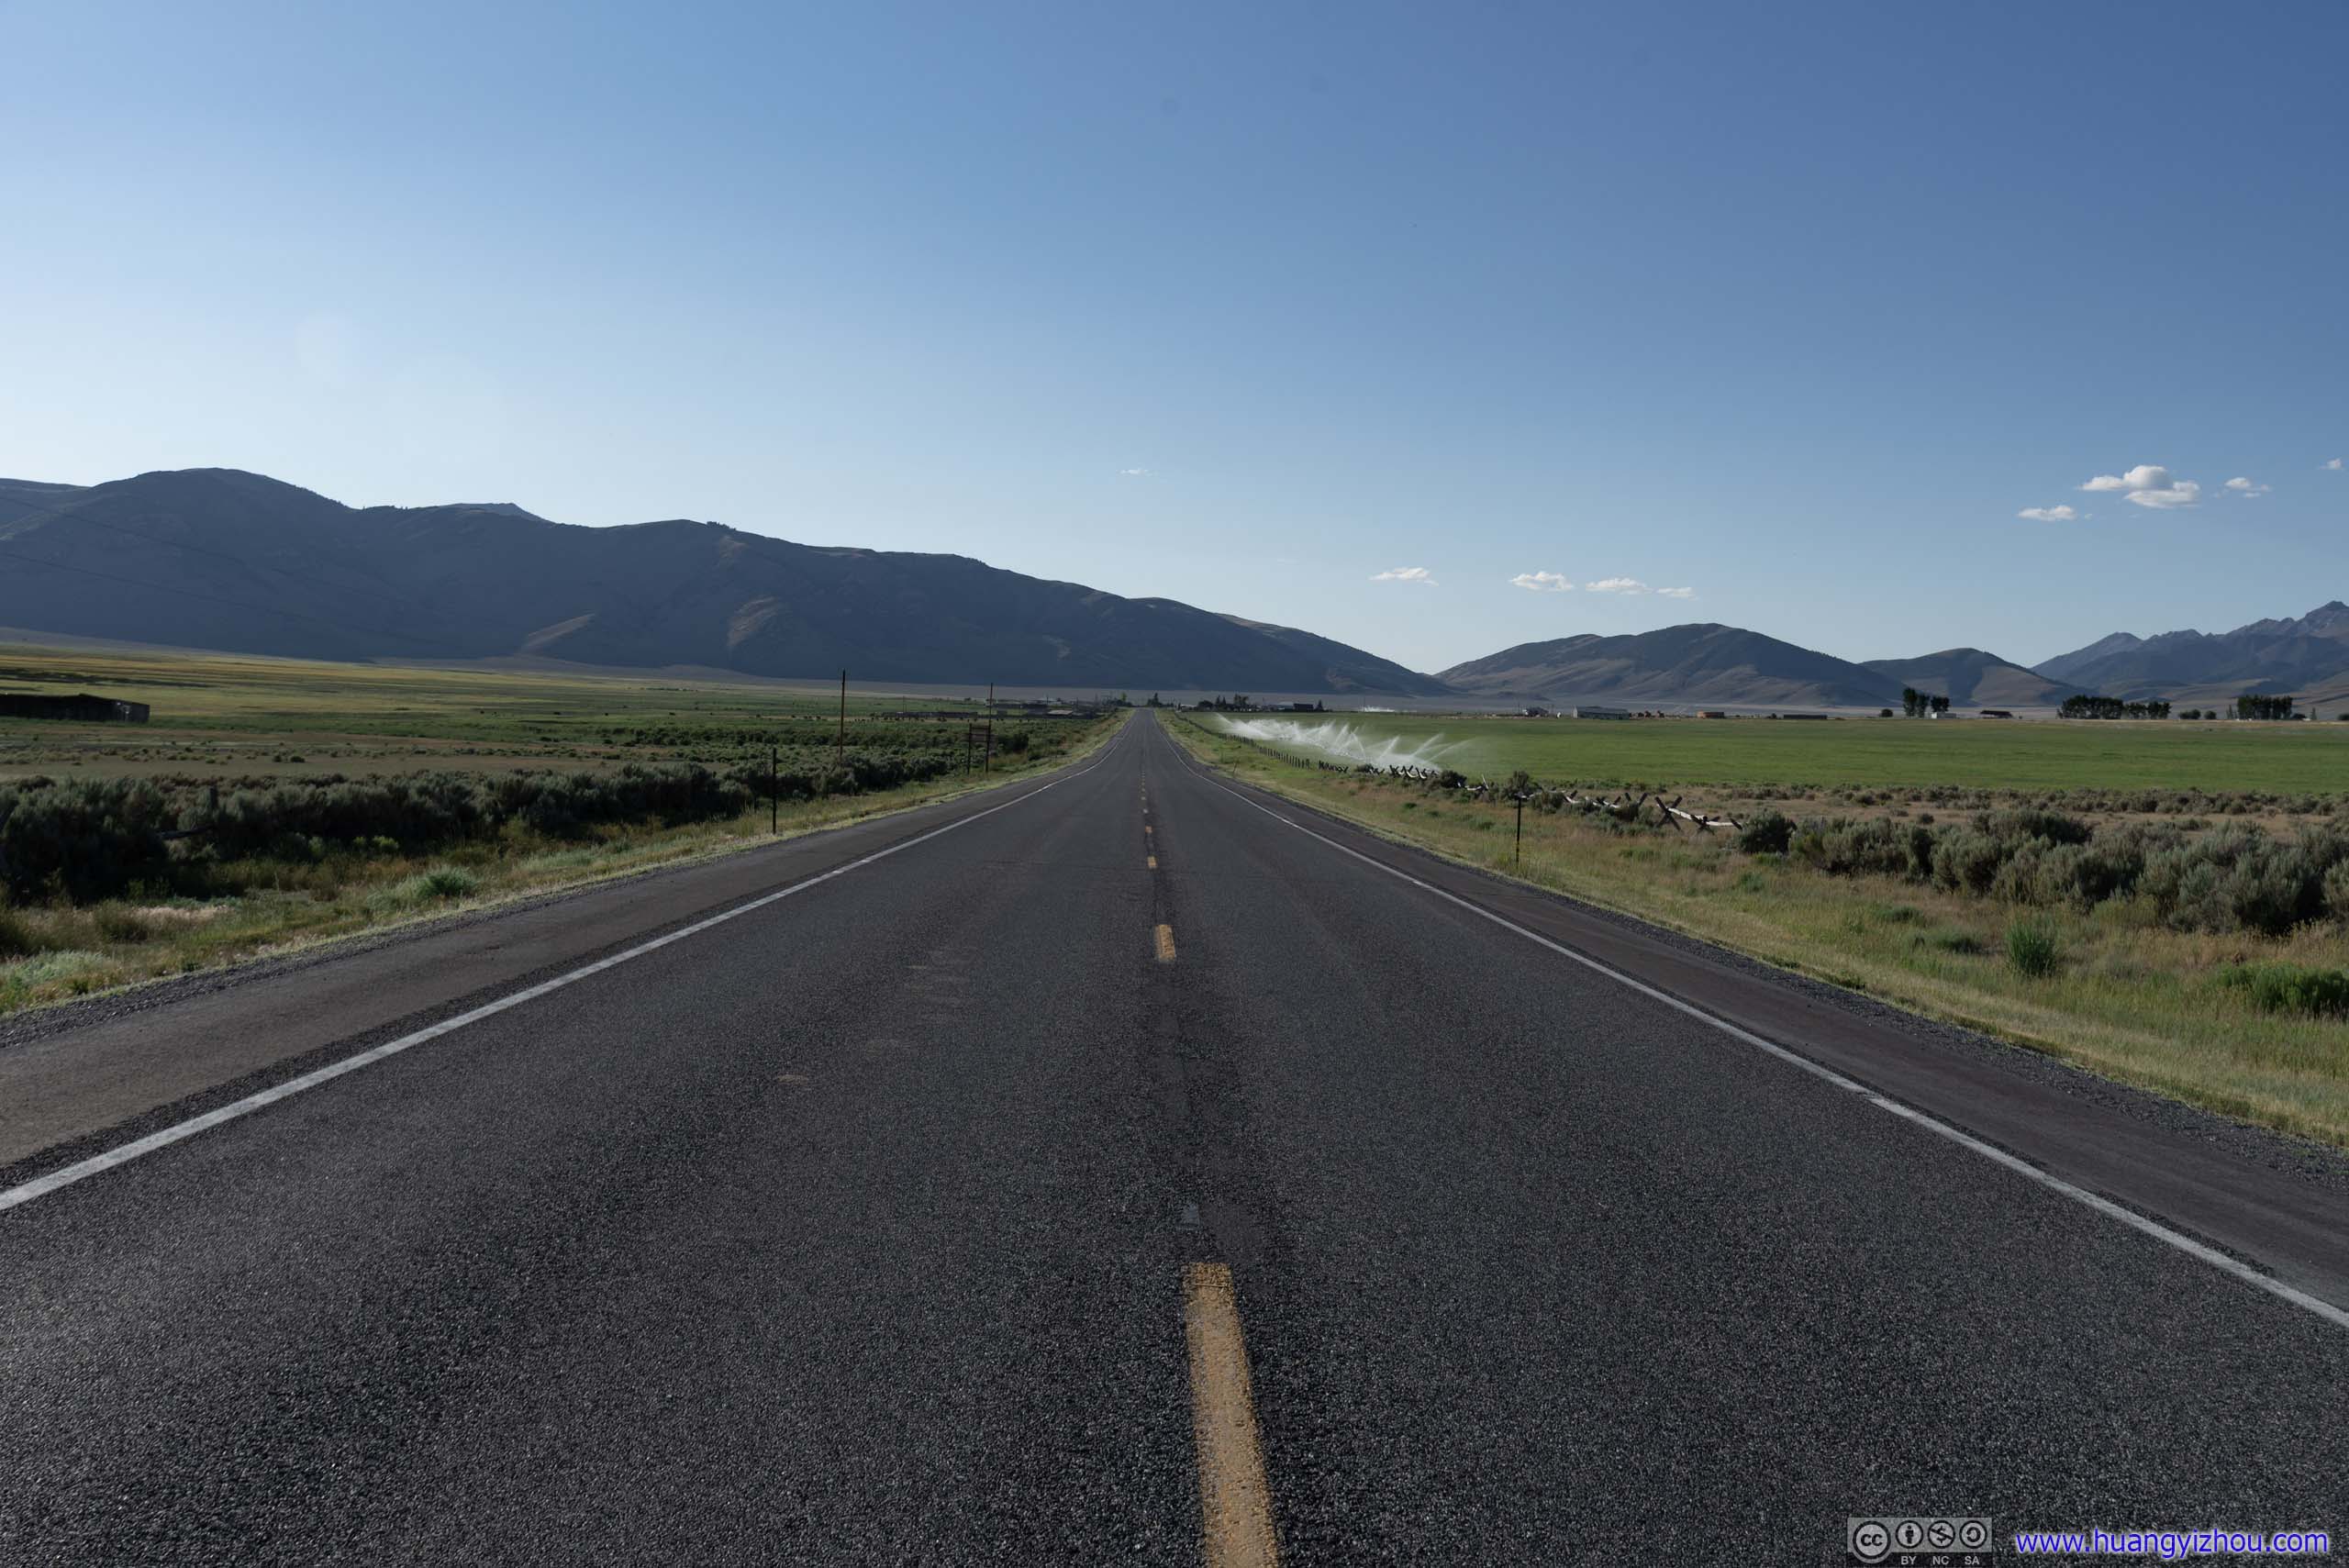
US Route 93Straight and trafficless, with amazing views of soaring mountains that brought back my memories of last summer’s road trip.
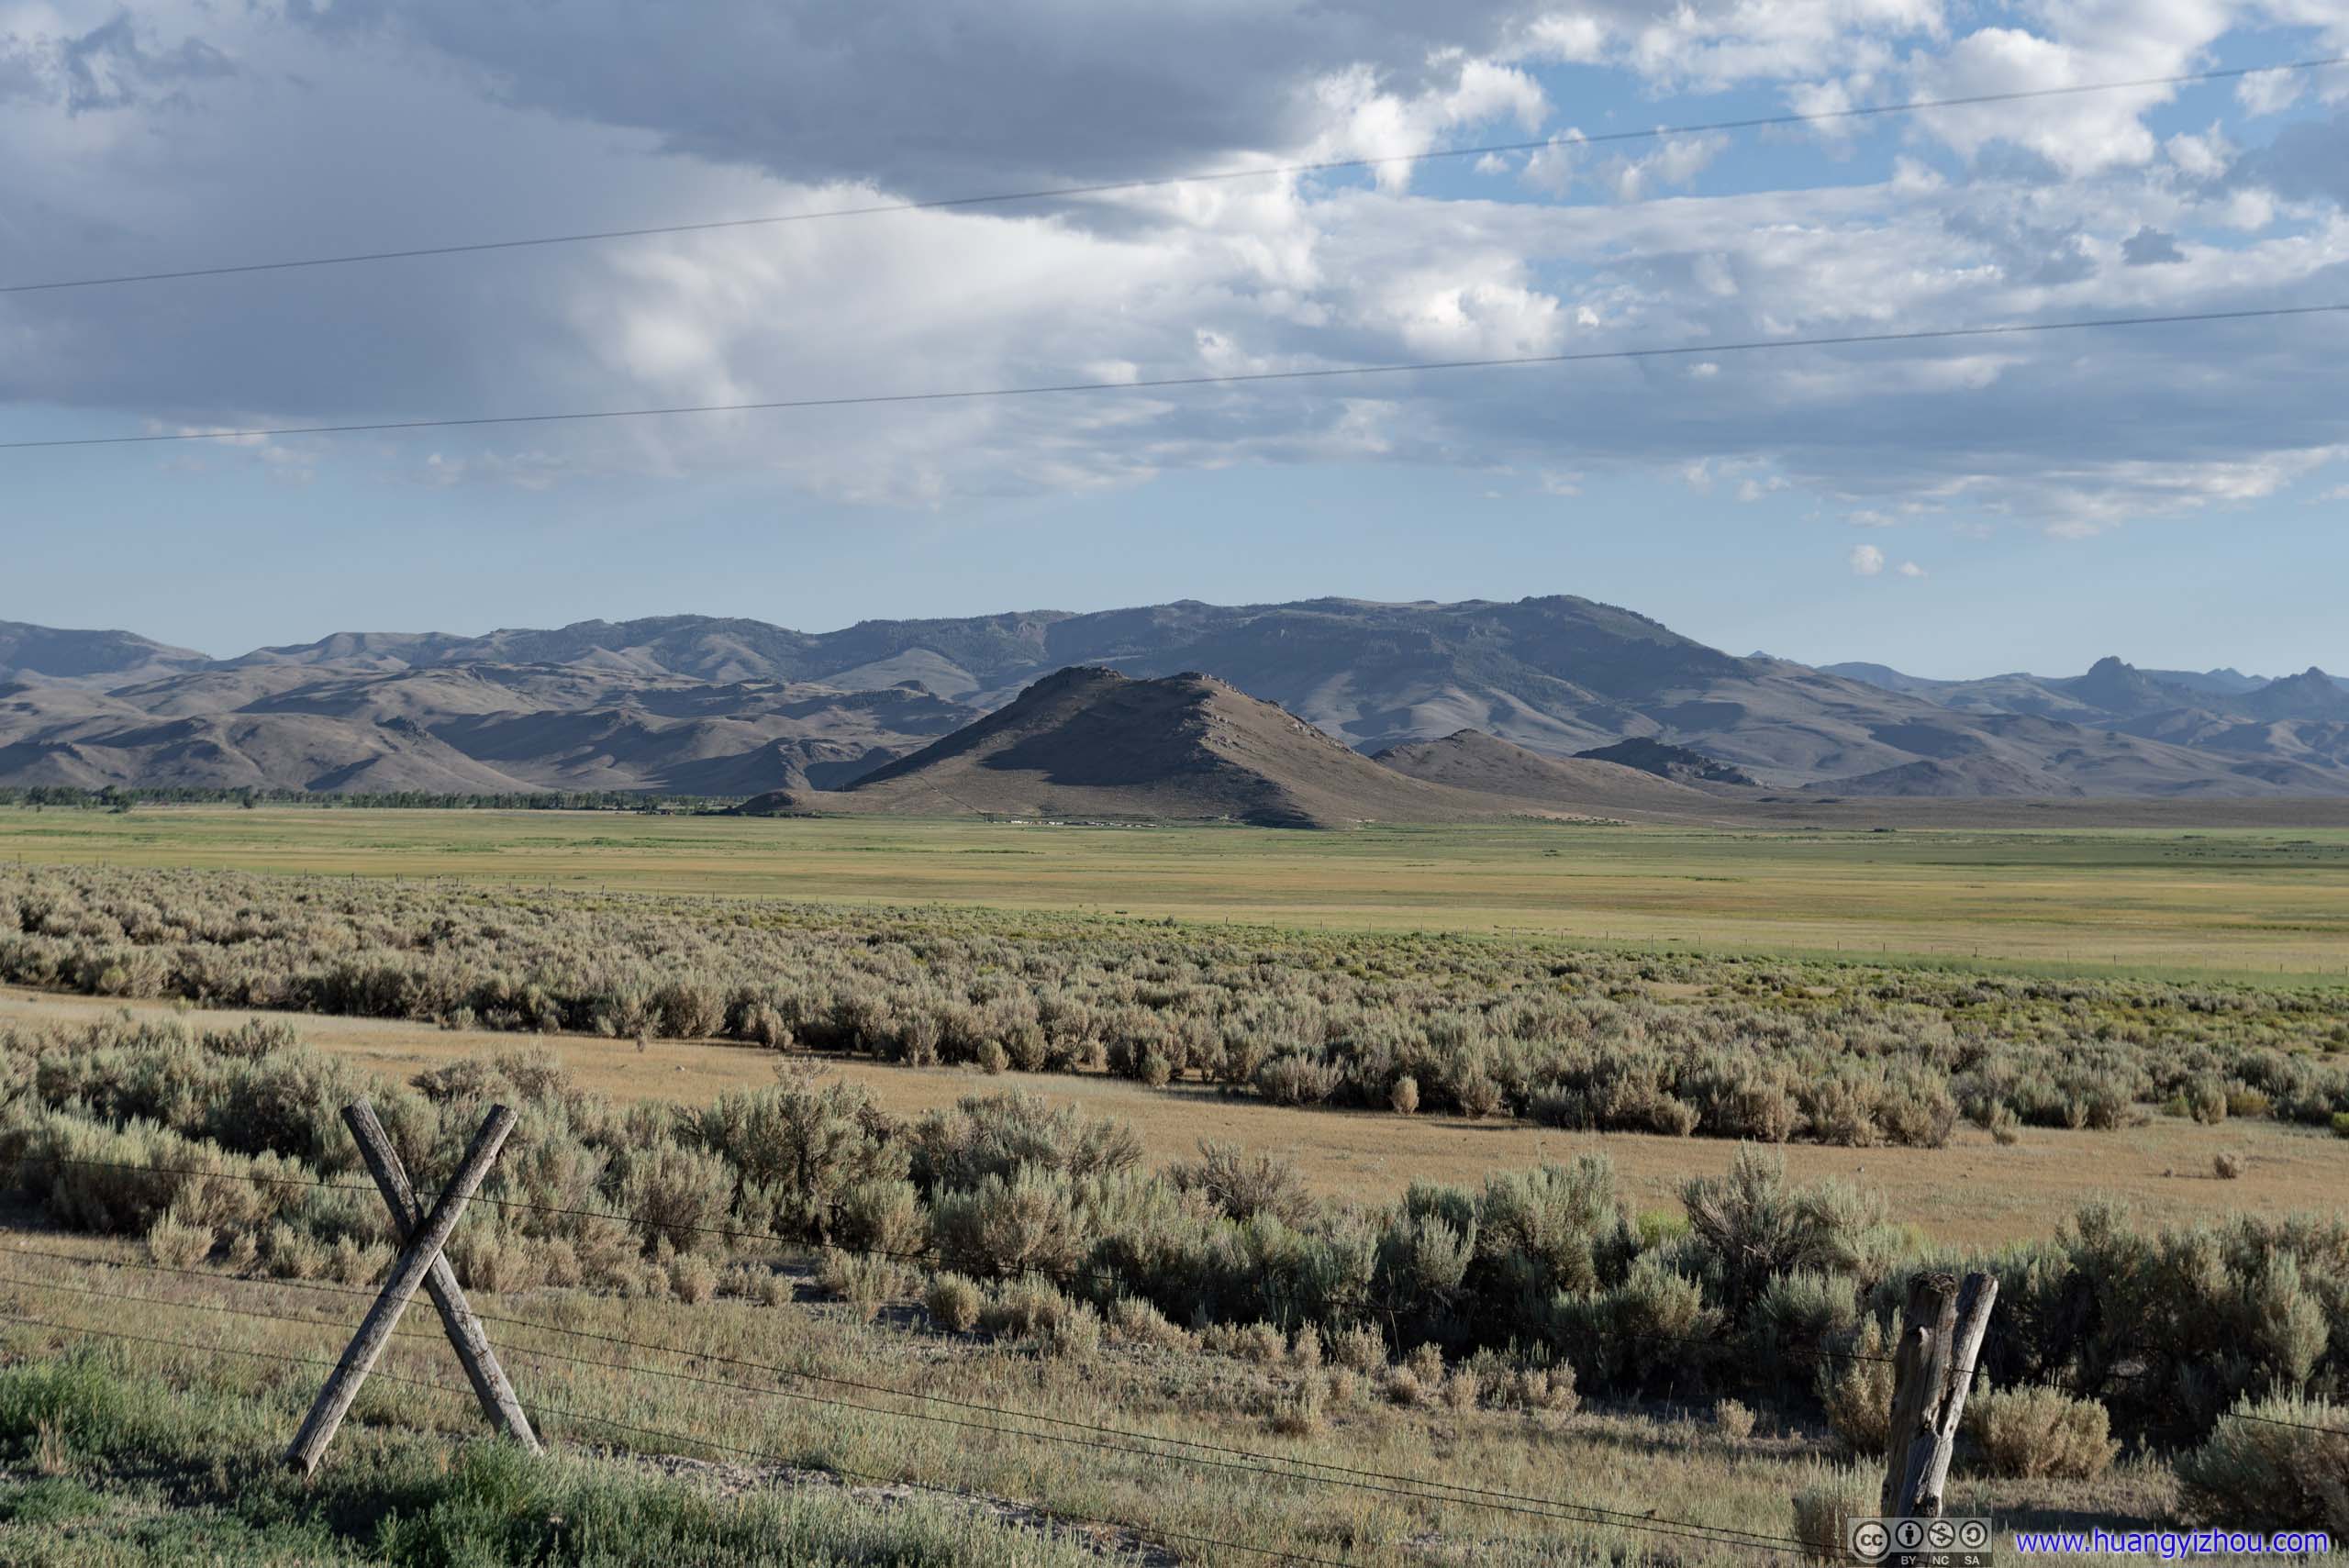

 Farmland
Overall, I would say the trail up Borah Peak was a technical class 3 that’s not for everyone. But for the physically fit and ready, it provided decent amount of adrenaline with minimal peril. I was glad it turned out my body was up to the challenge, and I enjoyed it greatly.
END
![]() Day 6 of 2020 Idaho Trip, Borah Peak, Crest of Idaho by Huang's Site is licensed under a Creative Commons Attribution-NonCommercial-ShareAlike 4.0 International License.
Day 6 of 2020 Idaho Trip, Borah Peak, Crest of Idaho by Huang's Site is licensed under a Creative Commons Attribution-NonCommercial-ShareAlike 4.0 International License.